Thanks to a miraculous break in the recent crap weather I manged to get the car back together today....

Last night I fixed the alarm siren using a combo of the following guides...
The Audi TT Forum :: View topic - How to - MK1 Alarm Siren fix
http://www.audi-sport.net/vb/a3-s3-...ight-mechanics-replacing-alarm-batteries.html

Siren cut in two....
CRW_4636.jpg


My batteries weren't in as bad shape as some, guess I caught it just in time...
CRW_4637.jpg


Hot glued and taped back together, plonked it back in the car and tested... all works fine... yay!!

One small issue I have now got is alternator whine... I had this previously when the original amp cable was running close to the cross over unit for the left front speakers... I fixed it originally by relocating the cross over... however I guess due to there being arguably more 'noise' in the battery cable its come back... its only in the left front speaker (as before) and the cable run is the same side... I know its an inductive issue with the speaker cables as I moved the battery cable away from the speaker cable in the front foot well and the noise has 'almost' gone...

Plans are to remove the passenger seat and see if there is a slightly better route I can take on any of the cables... I also plan to use the rest of my audio kit that I had no room for now that I have freed up a bit of space in the spare wheel well...
CRW_4641.jpg


Another 4 channel amp and electronic crossover... basically means all speakers in the car will be powered by a separate amp and will allow me to fine tune the levels and cross over points to get the best out of the kit I have...

Interior is all back together for now as the whine goes once the stereo is one... I can live with that for now...

Still need to do some mods to the boot carpet and make trim panels etc... I also need to 'panel' out the spare wheel well a bit as the carpet is no longer supported in the middle and anything remotely weighty makes it sink... plan will be to make some compartments for an air compressor and puncture kit as fitted to newer VAGs and of course the amp and crossover..

Was nice to be driving her again today with the comparatively nice weather and a few more bits checked off the to do list :)

<tuffty/>
 
Bill found some time in his busy schedule to weld up my runners (thanks dude :thumbsup:)...

CRW_4650.jpg


CRW_4653.jpg


Then went about porting (only a little) and shaping the top of the runners to smooth the flow a bit...
CRW_4658.jpg


CRW_4666.jpg


...and opened the runners at the head a tad...
CRW_4662.jpg


Not up to Andrews standards but will do for me :D

I have a TB adaptor coming for the std TB (60mm) as I am sticking with that for now and some other bits to do before painting and fitting... a plate for the vac outlets and a boss for the air temp sensor is next along with posts for the cover mounts and some way of fixing the dipstick in place...

Then moved onto replacing MAF plug as mine has been in a dire state for a while...
CRW_4669.jpg


Held in with a bit of 'gorilla snot' (as its affectionately known) its not the best really... so... order a new plug from TPS (thanks to Jason.s for help with the part number, '1J0 973 775 A')
CRW_4672.jpg


My red bit had disintegrated a long time ok... removing the wiring terminals normally requires a tool for popping the little tangs that hold them in the plug but as mine was mostly in bits they just pulled out easily... I did take a pic of the wires for reference before taking them out...
CRW_4675.jpg


Wires out and you can see the little tangs that hold the pins in...
CRW_4678.jpg


Wires popped back in...
CRW_4679.jpg


...and the red locking piece in place..
CRW_4680.jpg


Thats a couple more little jobs off the list... will see how things go tomorrow and make a start on prepping the plenum..

<tuffty/>
 
Inlet looks lovely PT :) Most impressive.

Why the decision to stick with the 60mm TB if you already have an R32 one that you've used before?
 
Inlet looks lovely PT :) Most impressive.

Why the decision to stick with the 60mm TB if you already have an R32 one that you've used before?

Thanks dude...

I sold the R32 TB some time back... I wanted to eliminate it as a potential issue when I was having some driveabilty issues that turned out to be mapping related... should have kept it but needed the cash for other things at the time so it was sold on...

Will keep my eye out for another at some point but its not high on the todo list...

<tuffty/>
 
  • Like
Reactions: Vex182
Do you think it's really required? Welly is on the standard one currently I know, but I wonder if it'd free up much by changing to a larger one.

Over on Vortex they swear by the larger TB's, but then the mongs run 2'' IC pipework on a GT3076, so it's hard to know what info is valid and what's shyte
 
I though that fitting a mich bigger TB than IC pipes in diameter is a waste of time/money and might worsen low end response.
I know the stock is 60 mm so a slight bigger than that, say 70 mm to compensate for the turbolence the butterfy make @ WOT would be ok.
 
As I am going to be using 63mm pipework then arguably a 70mm TB (or maybe a 65mm from an S4) seems a logical choice but its mainly down to availability tbh... I may spend a bit of time looking into the available area of the TB's as arguably a 60mm TB with an obstruction like the butterfly is not going to flow as well as the 63mm pipework coming into it...

I will have a look about and see what crops up but for the time being I am sticking to the original 60mm TB...

<tuffty/>
 
if you're increasing pipe size, and plenum and runner size, its only logical to increase the TB proportionally.
isnt B5's mantra 'its all about the flow'?

Yeah, but my current mantra is 'its all about the cash flow' ;P

It will be looked into but its not top of the to do list :)

<tuffty/>
 
Had a day off from work to help Bill out with some mapping today and discovered he had been a busy lad :D
20120802_094942.jpg


He had welded up the X for me on the plenum ready for smoothing... so I ground it down..
20120802_152205.jpg


...and flushed the top set of vac ports...
20120802_152211.jpg


Screwed in some threaded alloy bar and cut ready for welding...
20120802_180509.jpg


20120802_183943.jpg


Followed of course by a bit of grinding flush...
20120802_184236.jpg


Excellent... now of course comes the 'fun' part of smoothing the texture of the plenum with lots of sanding :(

Also waiting on a bit of alloy plate to make the IAT sensor boss and vac ports and then of course welding the plenum to the runners... yay!

Big shout out to Bill of course for his TIG welding skillage and George for sorting out the threaded bar...

<tuffty/>
 
Good mod mate, itll look way better smooth. Dont like that big x on the top of them.
 
will you be painting it or just smoothing it out for an even texture and having it raw?
same colour as your other silver parts would be very nice. and wouldnt the paint fill the texture?
 
will you be painting it or just smoothing it out for an even texture and having it raw?
same colour as your other silver parts would be very nice. and wouldnt the paint fill the texture?

Yeah, will be painting it to match the rest... got chemical metal and filler primer so should all be good :)

<tuffty/>
 
Is it a good idea to polish it? I was always under the impression that a polished surface is worse for heat dissipation?
 
Is it a good idea to polish it? I was always under the impression that a polished surface is worse for heat dissipation?

Who said anything about polishing it?... god no lol... as mentioned above... it's being painted... :-D

<tuffty/>
 
Oh I read "smoothing out" as polishing heh. It was early :) I did wonder! I thought you'd be going OEM finish ;)
 
Grabbed a couple of hours this afternoon to have a play with the manifold as Nigel (machining bloke extraordinaire) popped round to the workshop and has taken the plenum away to make up a throttle body adaptor for it :thumbsup:

After busily sanding, filing, porting and flap wheeling away the results are this...
20120804_151335.jpg


Filed the welds on the runners to fill and smooth...
20120804_172420.jpg


...and now ready for welding to the runners once the IAT boss and vac ports are done...
20120804_172450.jpg


George (another machining bloke extraordinaire) had dropped over the alloy posts he had machined up for me that will be used for the cover brackets... (not got a pic of those as yet...)

Nearly there although it won't be ready for AITP sadly as there are other things to sort out before I fit it... :(

<tuffty/>
 
Bit more done... got the posts for the cover clips welded on...
20120805_140145.jpg


Awkward to weld due to trying to get the torch into the gaps but Bill being the hero he is did a grand job...

...so no cover...
20120805_135932.jpg


...and cover on...
20120805_135304.jpg


Tried the injector rail to see what problems I might encounter with that... I already have spacers for the 630cc's which work fine on the std manifold but clearly they are too big for the 630's in the AEB mani as they don't even engage the seals...

So I then tried to push them right in and see where they ended up... still in need of a spacer...
20120805_140544.jpg


...but... something to think about for anyone else using this AEB runner setup with these slim style injectors is that they will go right through and drop the seal out the end...
20120805_140436.jpg


Will sort the spacers out when the mani is all ready to be fitted :D

<tuffty/>
 
  • Like
Reactions: Sandra
No update as such as I am waiting on the rest of the bits for the inlet before I can finish it off... I have developed an odd issue with some part throttle situations where the it feels like I have a vacuum leak but the afr goes lean and getting a 17705 code... I have smoke tested the car last week but nowt showed up so I have a feeling it maybe the plugs as I have seen this before on another car... under boost its fine....

Seeing as I only really post pics of my car in bits I thought I would add the following pic taken during our convoy to AITP last weekend..
224372_161525230651321_1771508880_n.jpg


This rather groovy pic was taken by Bullymeister Photography... his Facebook page contains loads of pics of really nice cars so check it out...

https://www.facebook.com/bullyphotography

<tuffty/>
 
Last edited:
Sorry to state the obvious but are you running the Pcv? I guess you've probably deleted it or just running the valve to a catch can
 
Sorry to state the obvious but are you running the Pcv? I guess you've probably deleted it or just running the valve to a catch can

Deleted the PCV ages ago bud... currently running a pipe to the back of the gearbox but will be fitting a baffled catch can at some point... its on the list :)

<tuffty/>
 
Pretty sure I have fixed the little running issue I had recently... firstly though I decided to buy some new plugs as a matter of course as after 2 sets of 8's I think they are a little too cold for my power level and for a car thats used primarily on the road so as things are tight this month with road tax looming I bought a set of coppers rather than the usual iridium's I buy...

BKR7EIX = £26 ish for 4... BKR7E = £7.50 for 4... figure even if I swap them out every 10k (or every other oil change so 12k for me) then can't grumble at that... plus a little research suggests that copper plugs tend to work better in turbo engines anyway so was worth a punt...

Next was to look for the air leak I was pretty sure I had... only real change I have made recently was swapping the phenolic out for a large port one in preparation for the new inlet mani... decided to do the swap at the time as I had a buyer for the transition phenolic and I was doing the work on the runners to get the posts welded on for the the cover brackets so the inlet was off... I used a new large port gasket for the head/phenolic but reused the old smallport one as it looked undamaged and didn't want to waste a new largeport on it until ready to fit the new inlet..

Initial thoughts were that the reused gasket was the issue but as it turned out I had made a classic error of not re-checking the bolts on the inlet as every single one needed nearly 1/2 a turn to go tight again... I knew I had done them tight as I have a procedure I stick too for doing them but of course I have reused the gaskets previously and I also normally do a spanner check after a major amount of work and have driven the car a while... clearly the gasket had settled a bit and the bolts had relaxed a tad... enough it would seem to create a small airleak... I have driven the car today and all seems good in the world... long term fuel trims are back where they were (-5.5%) from +3% over the past week and the car drives as she did before... happy++ :D

Moral of the story of course is to double check bolts and nuts after work like this... doh!!

<tuffty/>
 
I had the exact same thing with my phenolic transition gasket. I check it whenever I have the socket set out and the bonnet up.

I'll be using a drop of thread lock when I do the new inlet as a matter of course but they are all good once the gaskets have settled...

<tuffty/>
 
Mine did that too, only noticed the other day!

Probably worth Bill letting people know that they should be checking the bolts a few times after fitting!
 
I bet a lot of people don't check many components after fitting them. Many parts are meant to be re-checked after a certain amount of miles. Engine mounts etc...
 
Nice work on the mani. Really enjoy reading this thread. I think it should be a sticky - How a S3 should of left the factory :laugh:

But I suppose then there would be nothing to mod.
 
Took advantage of a decent evening to sort out my wastegate base pressure... currently under 'actuator' pressure (there isn't an actual actuator on an external wastegate) I see 9psi (0.6bar) which is not really enough on a setup like mine...

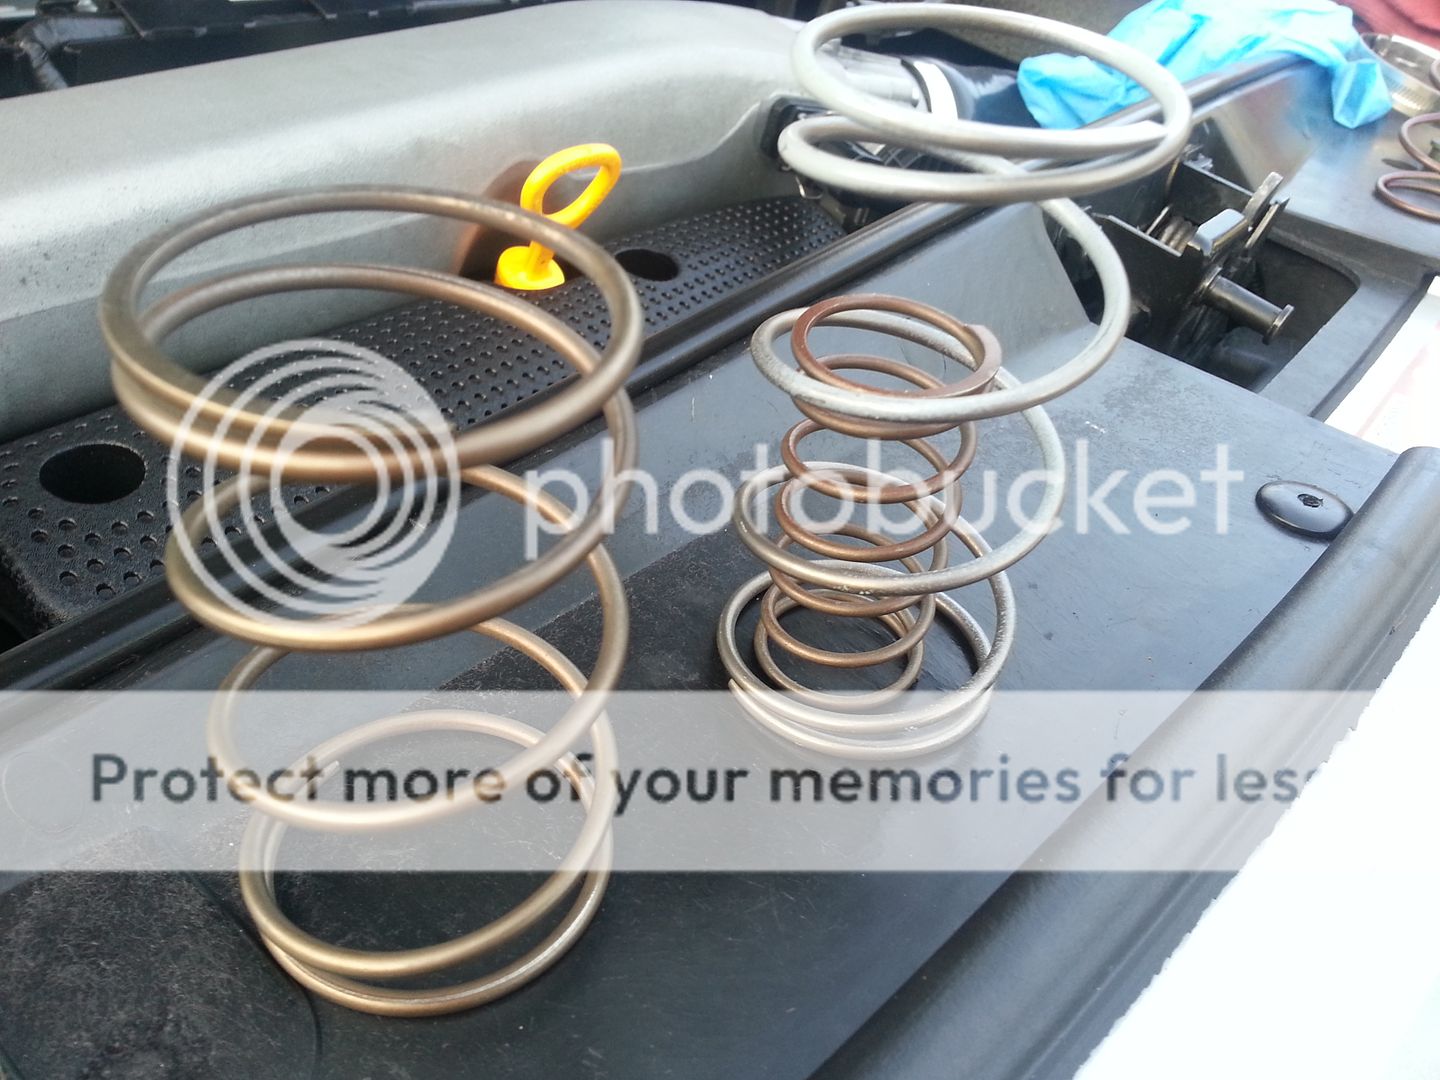
I couldn't remember what spring was in it so I grabbed a few off the shelf at Bills and hoped I would have enough to set it all up properly...

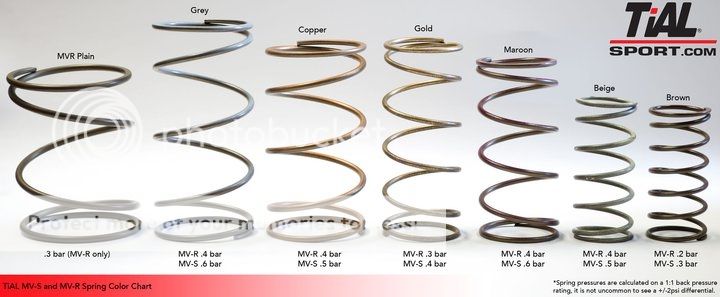
I used this chart for reference...
TialSprings.jpg


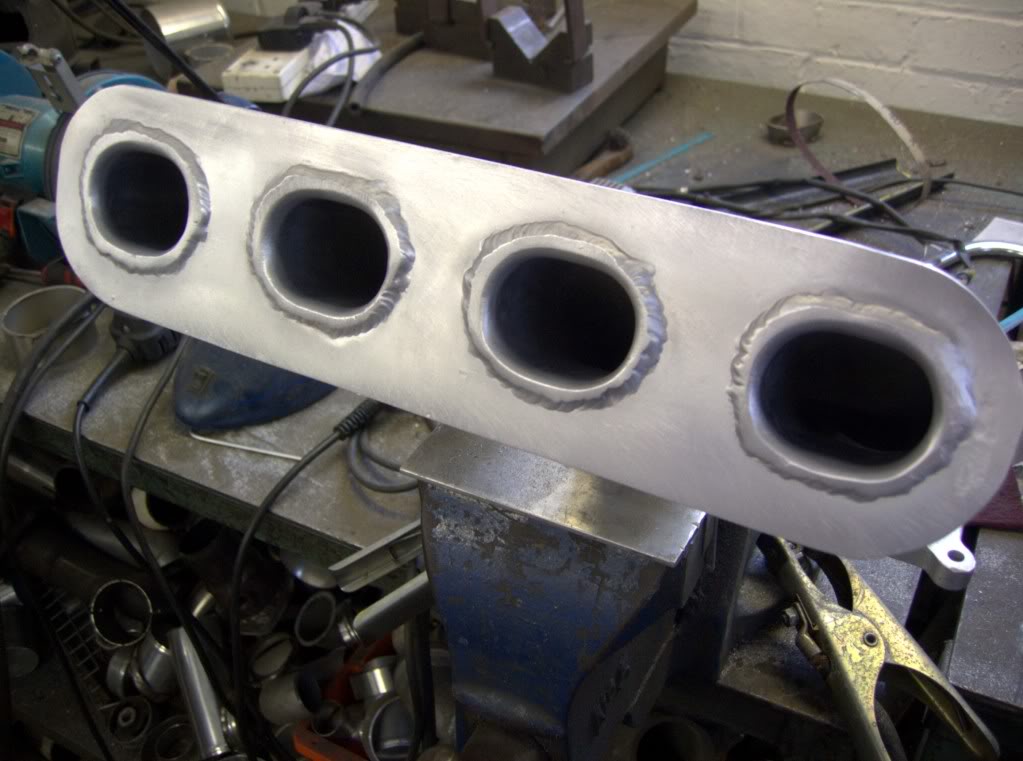
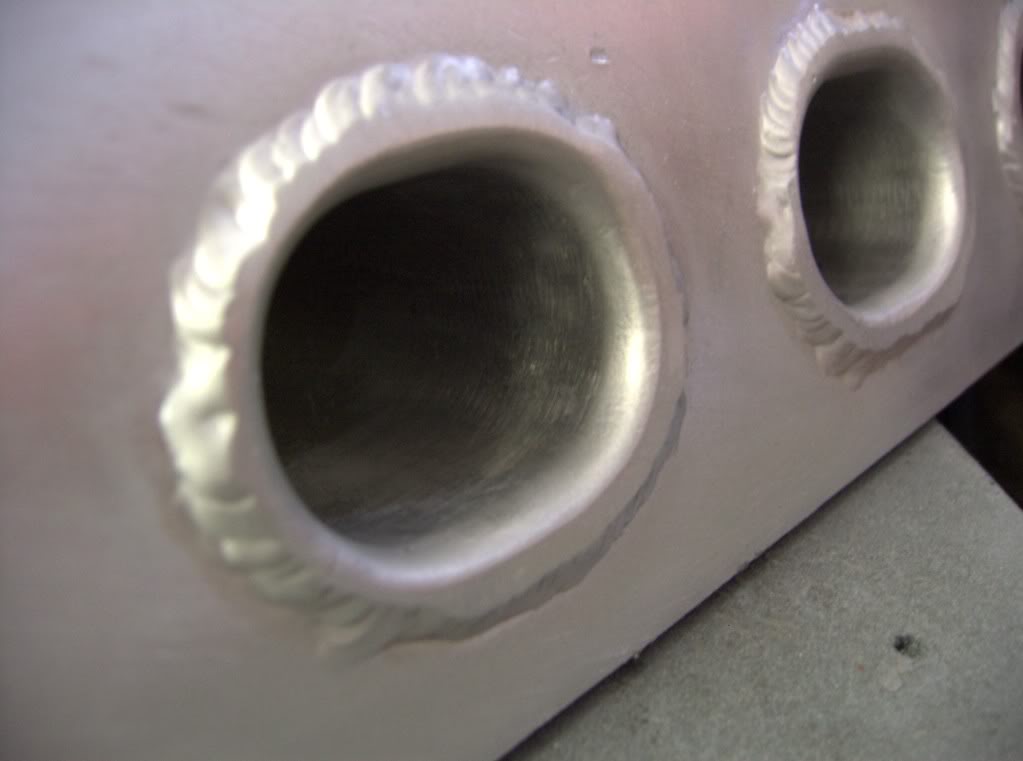
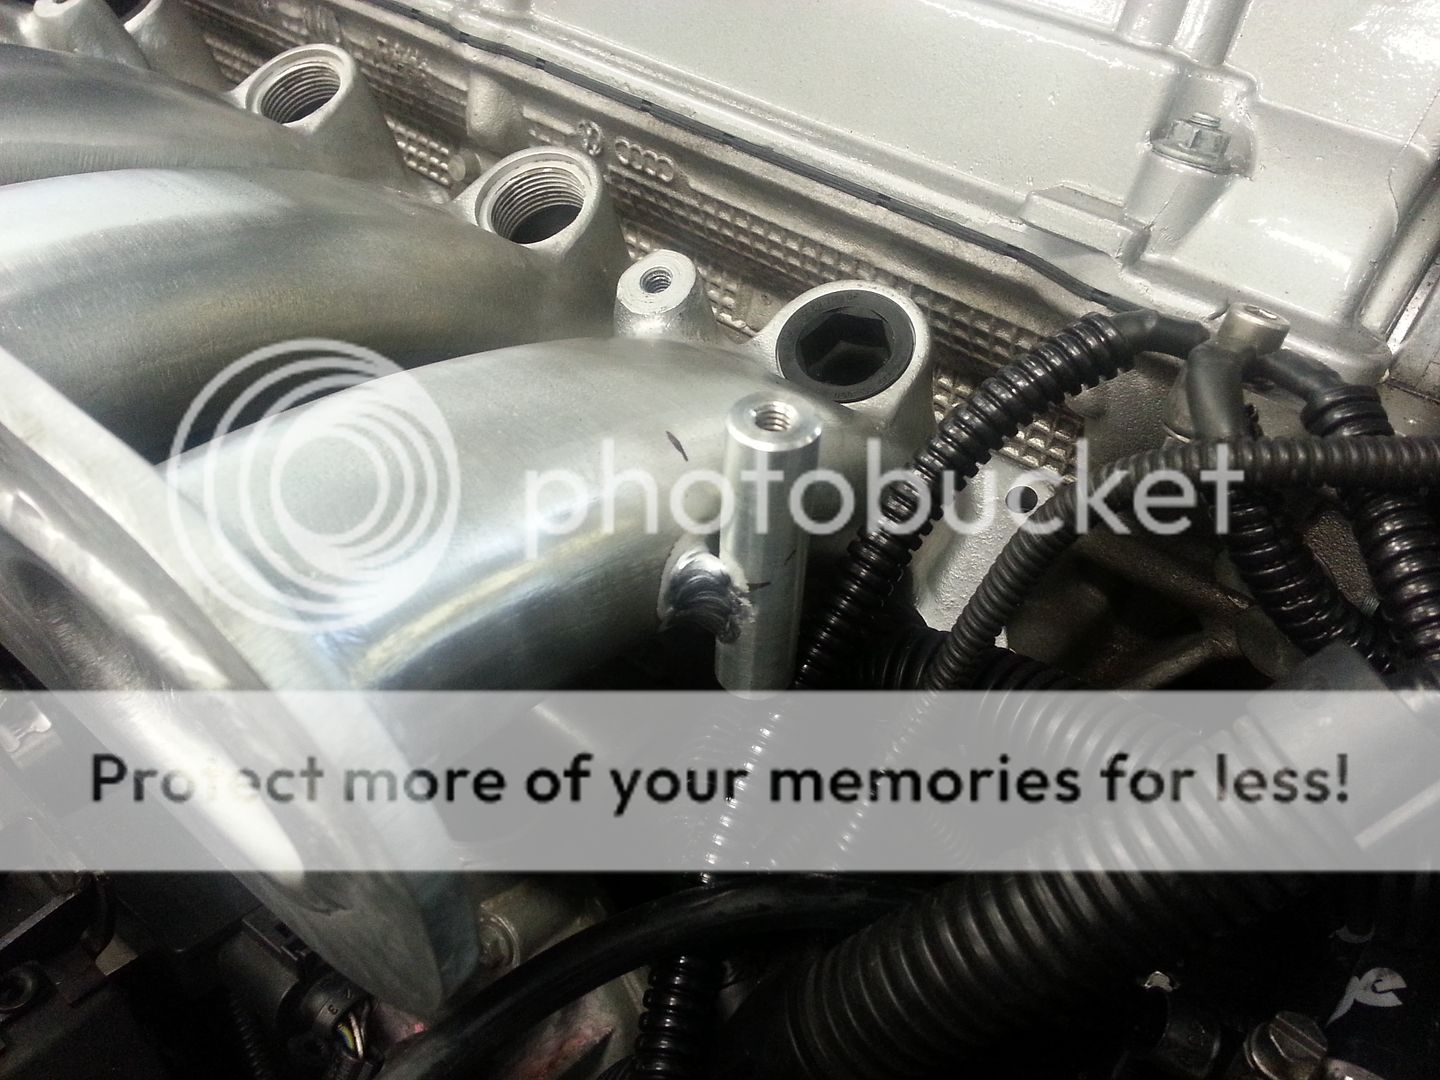
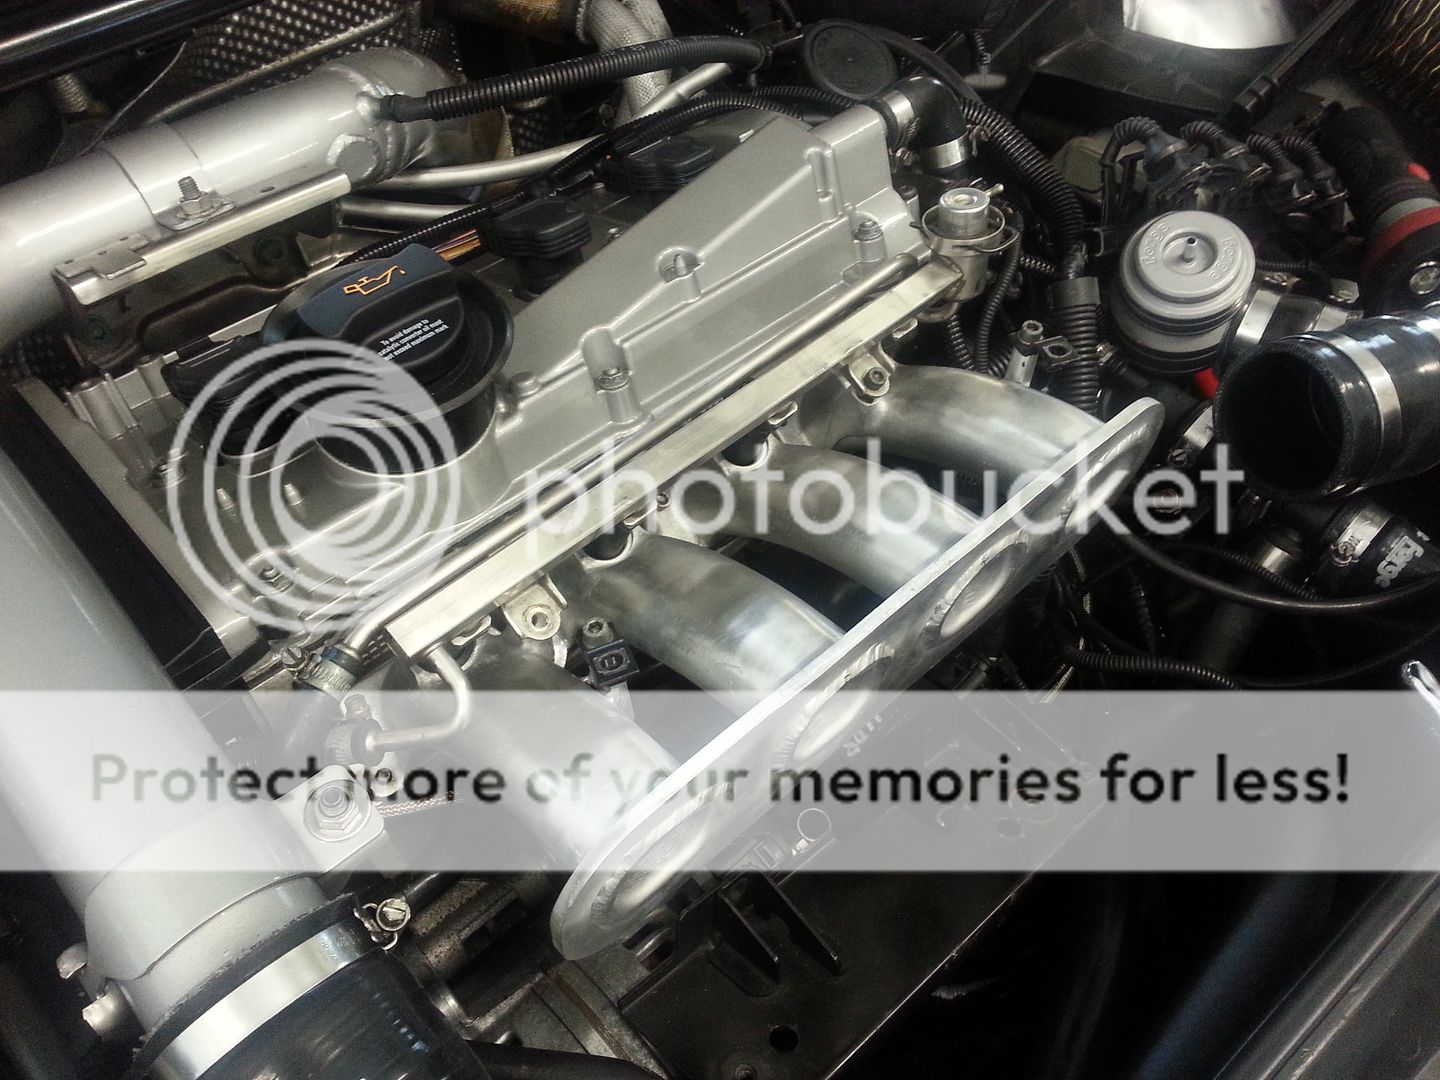
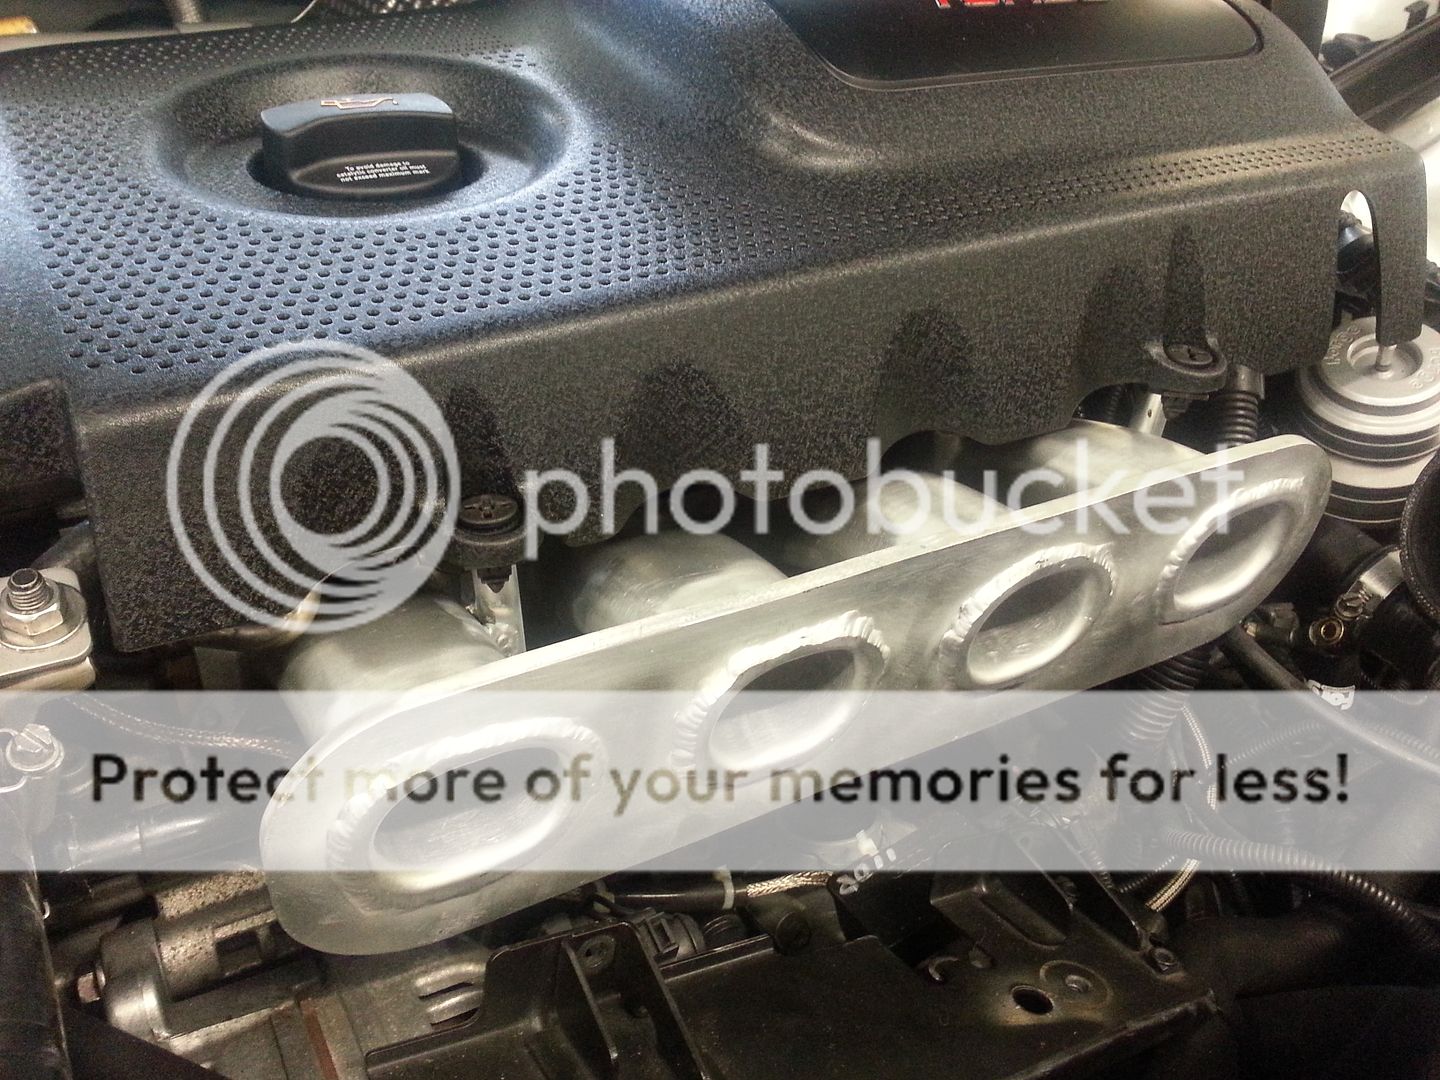
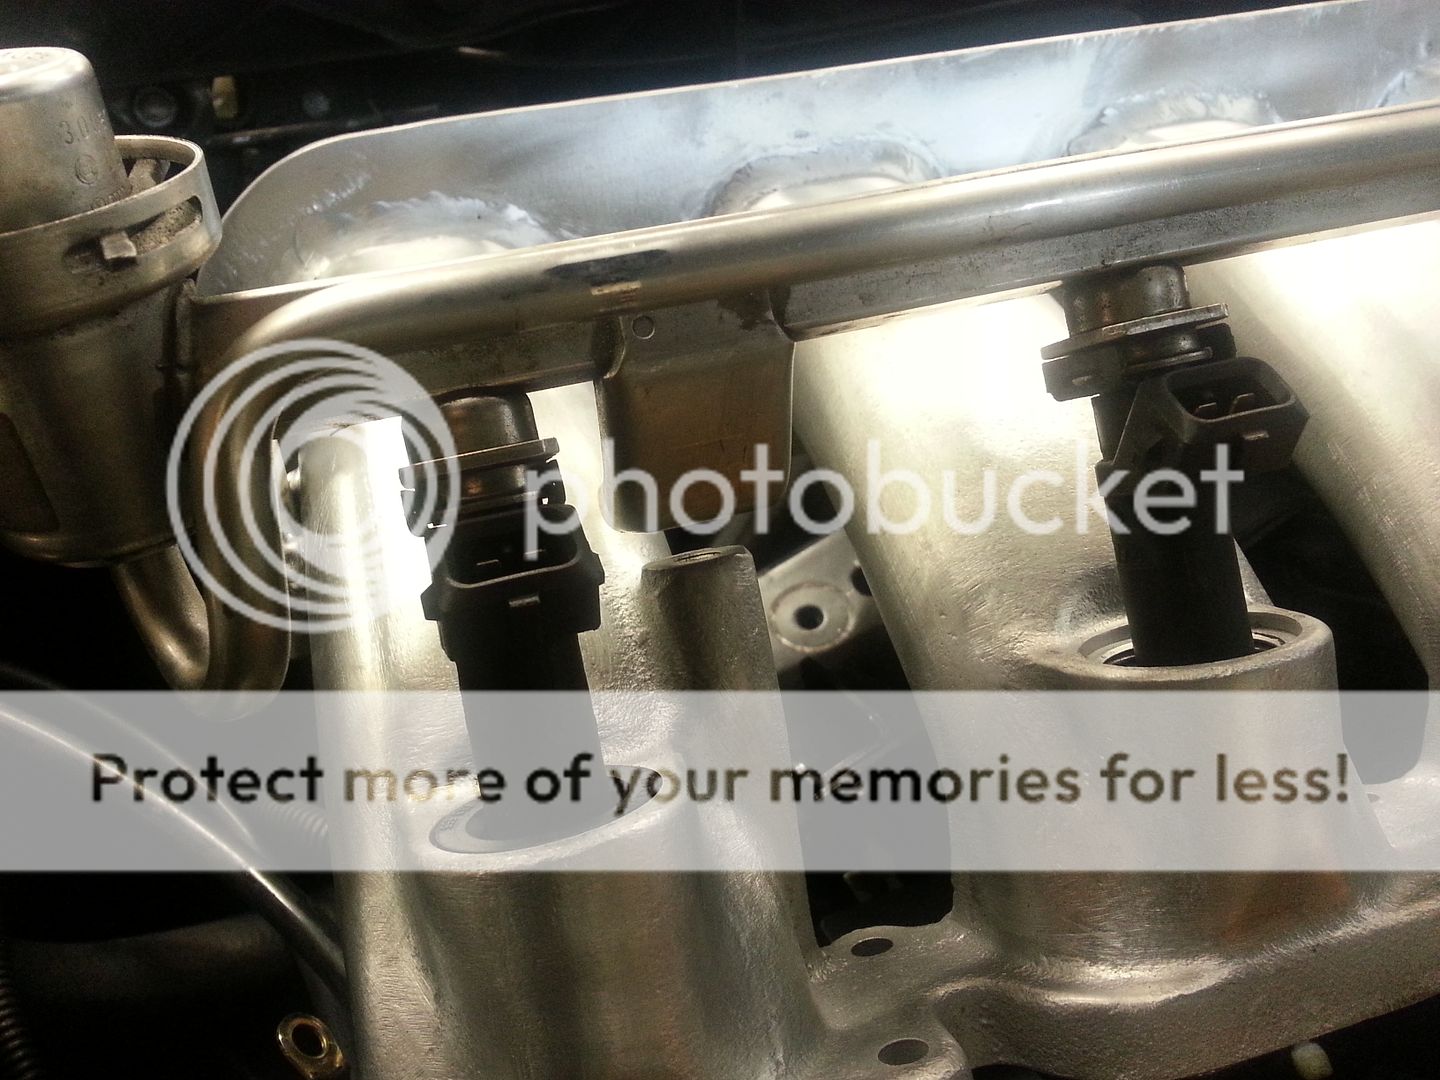
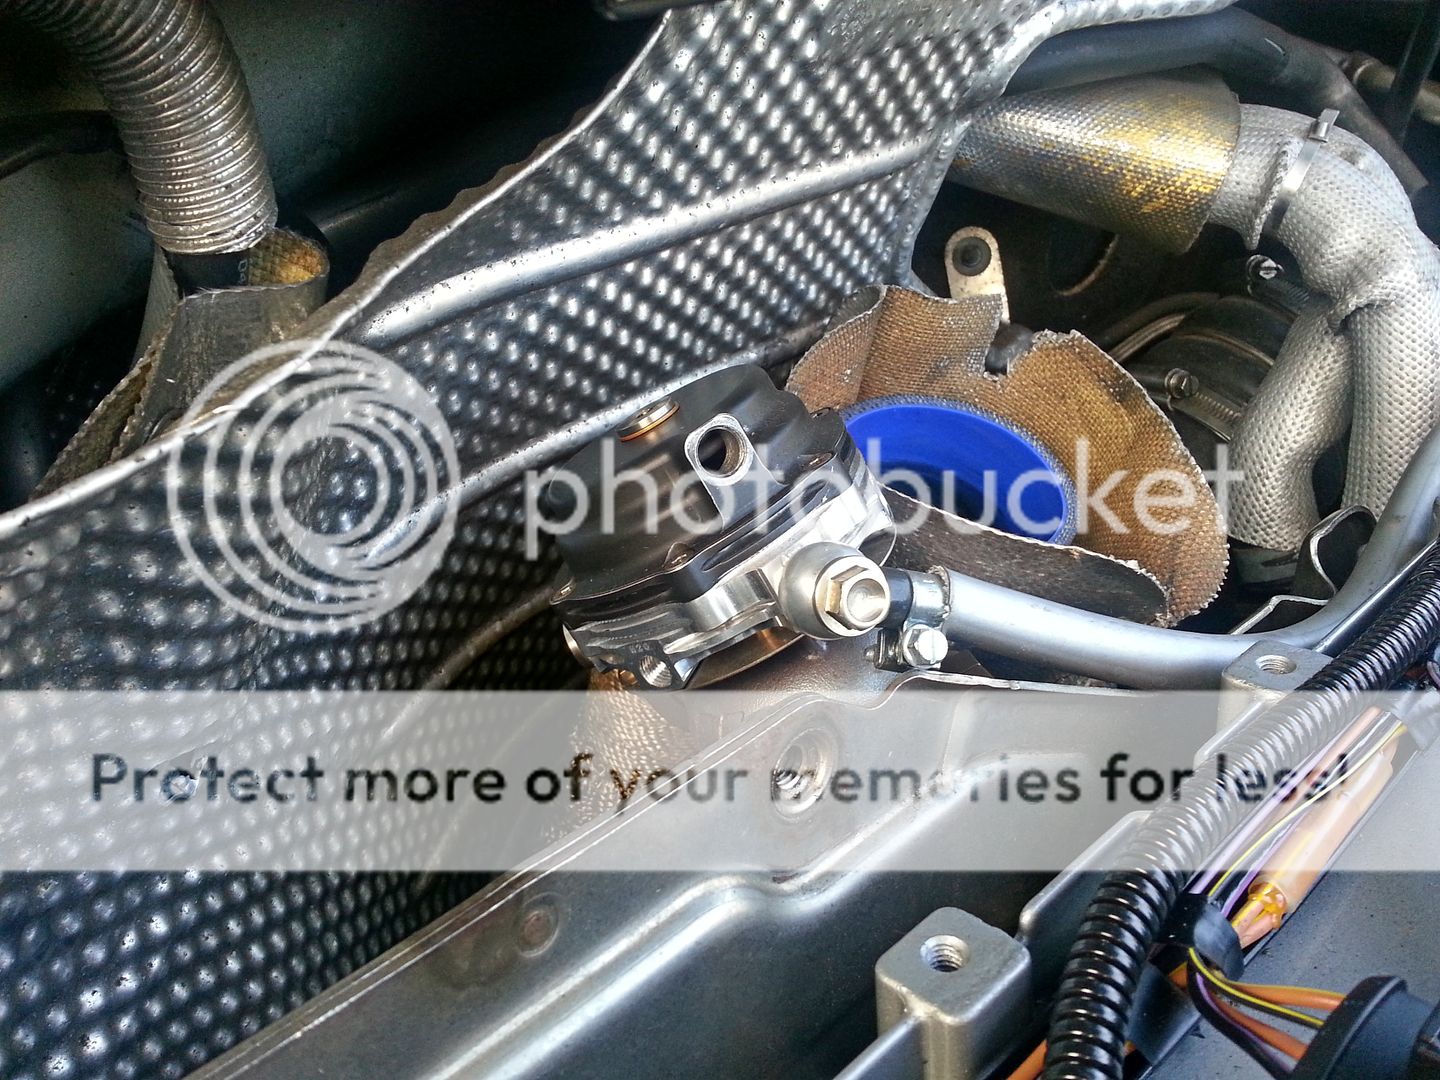
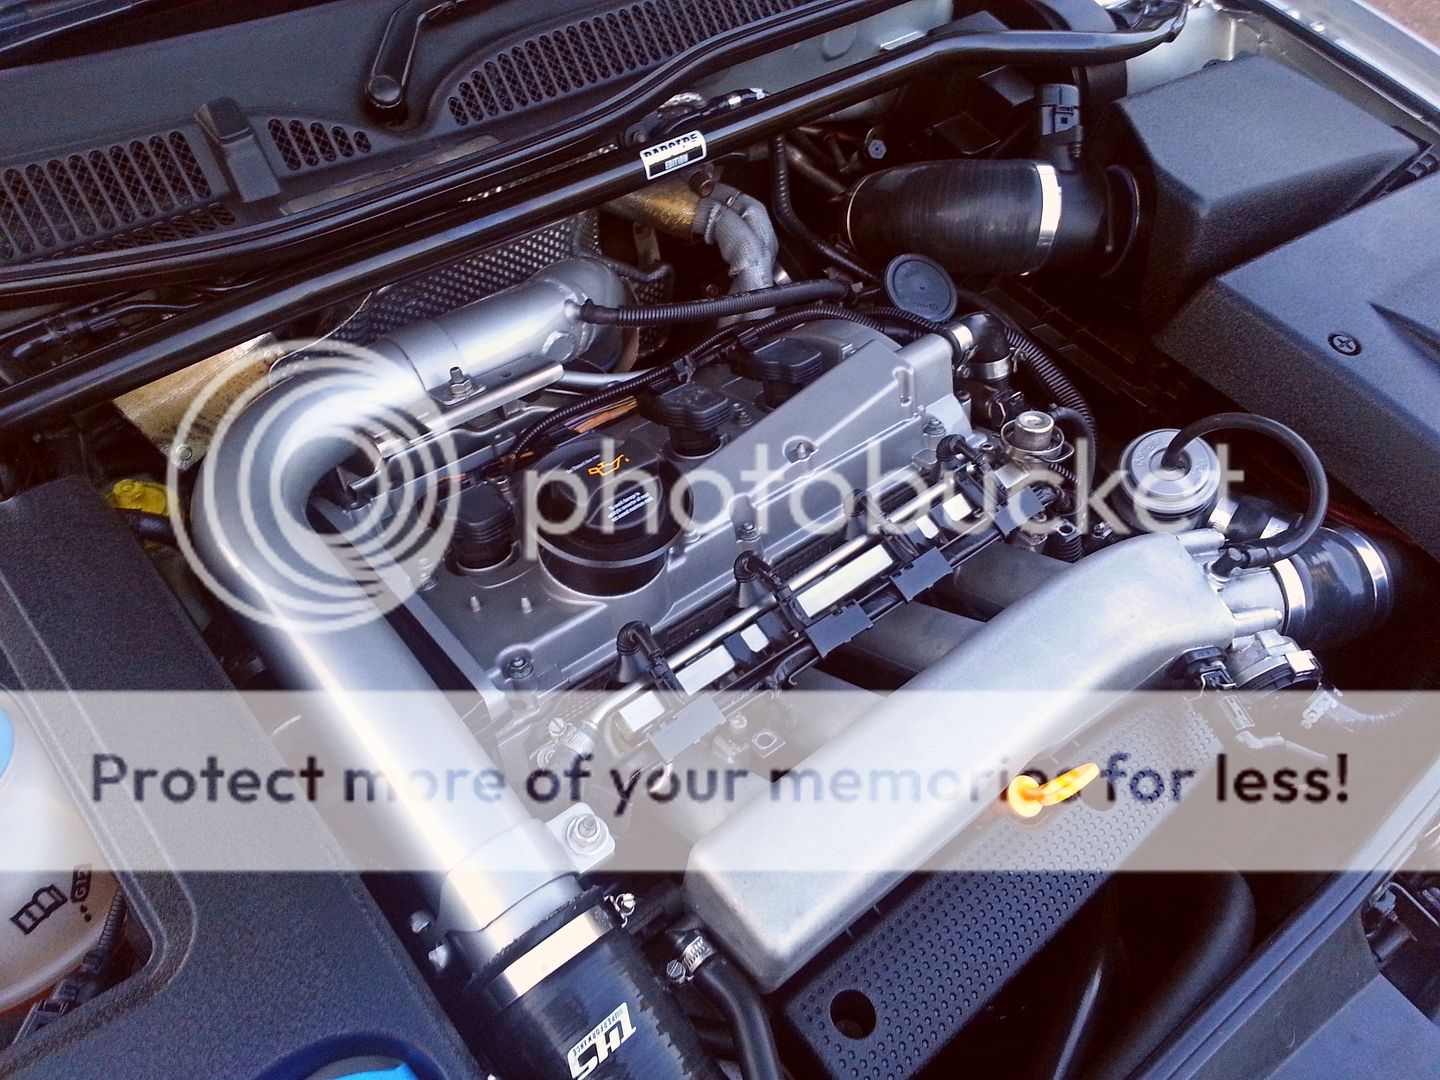
Removed the strut brace and charge pipe to get to the Tial... thankfully even though my turbo is a bit trickier to get too than a top mount turbo the wastegate is a bit easier :)
20120828_185032.jpg


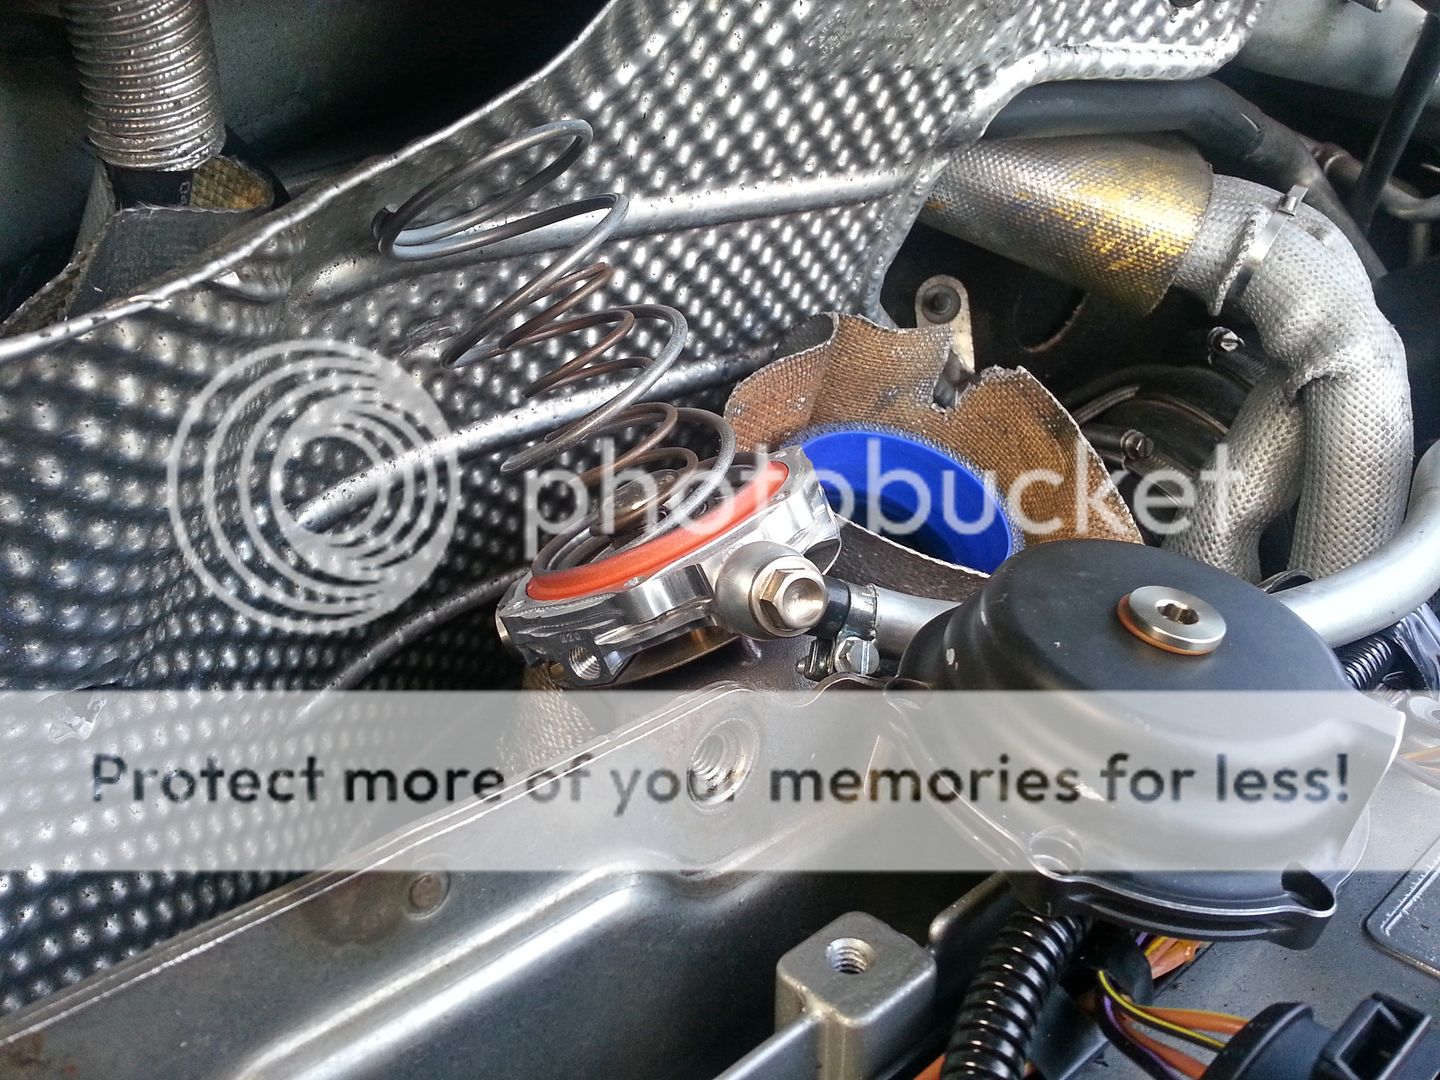
Now the fun begins... anyone who has done this on a Tial will know what a **** of a job it is... its bad enough when the thing is off on the bench but I did mine in situe.. the little caps screws all come undone and the spring pressure is quite a shock...
20120828_185833.jpg


I had a copper spring in there which is rated at 0.5bar for the MVS at 1:1 pressure ratio... as most pressure ratio's a re a little higher than that mine obviously gained a little from that... so about 2psi up on the actual rating...
20120828_190750.jpg


Based on that I tried a combo of the grey spring and brown spring (you can use up to 3 different sized springs in the Tial)... that should give 0.9bar at 1:1 but was hoping it would be 1bar with the variance but... the grey spring is quite tall and basically due to the space limitation and a little help from the next door neighbour there was no way I could hold it compressed enough for long enough to get the bolts in :(
20120828_191017.jpg


So I used a maroon spring with the brown spring and managed to get the thing held down long enough to get the bolts in! phew!!! put the engine bay back together and of course... what external wastegate and large turbo???
20120828_195504.jpg


Took the car for a quick test drive on 'actuator' pressure only (unplugged the N75) and bingo... 1bar on the gauge... result... I also changed the spring in my super size DV from the white to the red... I was never happy that the spring had enough preload when the valve was assembled so I plonked in a couple of shims to add a bit which helps keep it shut however I did notice that when changing gear under WOT at high rpm I was getting a hint of compressor stall so rather than risk turbo damage (did sound cool though) and to keep the valve closed I swapped out to the red spring which is a little softer... no more flutter on gear changes now and 1bar boost to redline...

A Good evenings work but does mean I need to go back to the map and look at my boost maps as I suspect thats going to change a bit now so until I have dropped it down a bit I won't be running with the N75 connected just yet...

<tuffty/>
 
Nice little update mate.

on a side note i checked my inlet manifold bolts yesterday as i fiited a phenolic kit off bill about 2 month ago and sure enough every bolt and nut was at least a 1/4 to 1/2 loose, fell quite daft for bot checking this sooner :(, all tight now though.
 

Similar threads

Replies
5
Views
1K
Replies
1
Views
1K
D
Replies
0
Views
702
Deleted member 65282
D