- Joined
- Dec 8, 2006
- Messages
- 12,100
- Reaction score
- 4,340
- Points
- 113
- Location
- Eastleigh
- Website
- twitter.com
Awesome 
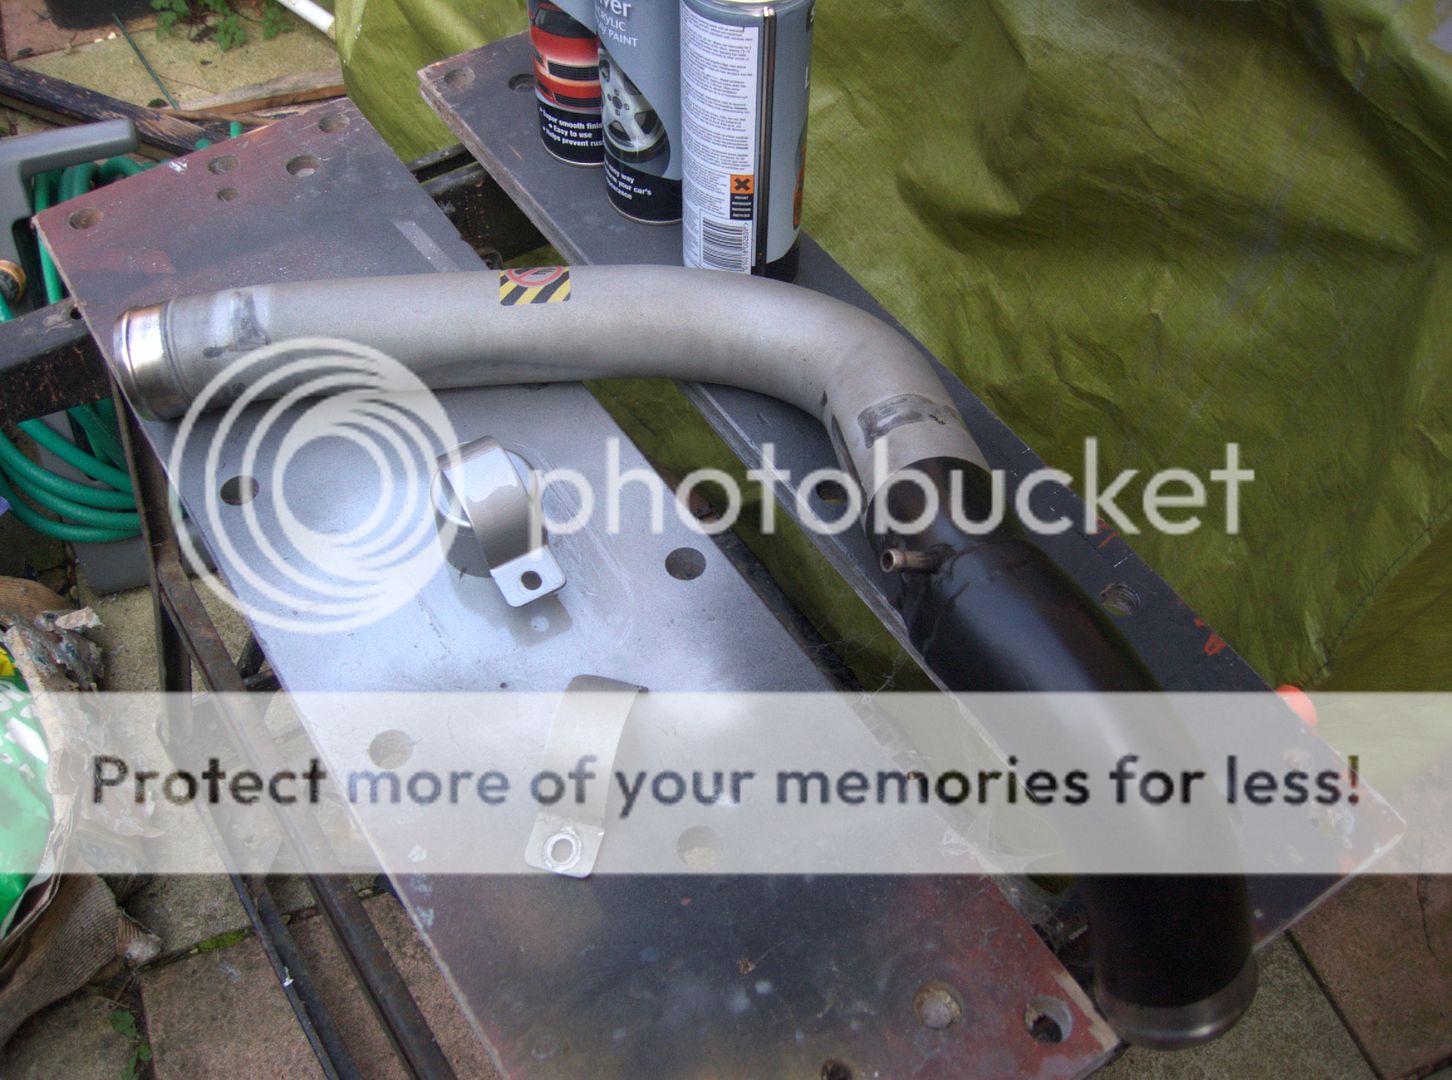
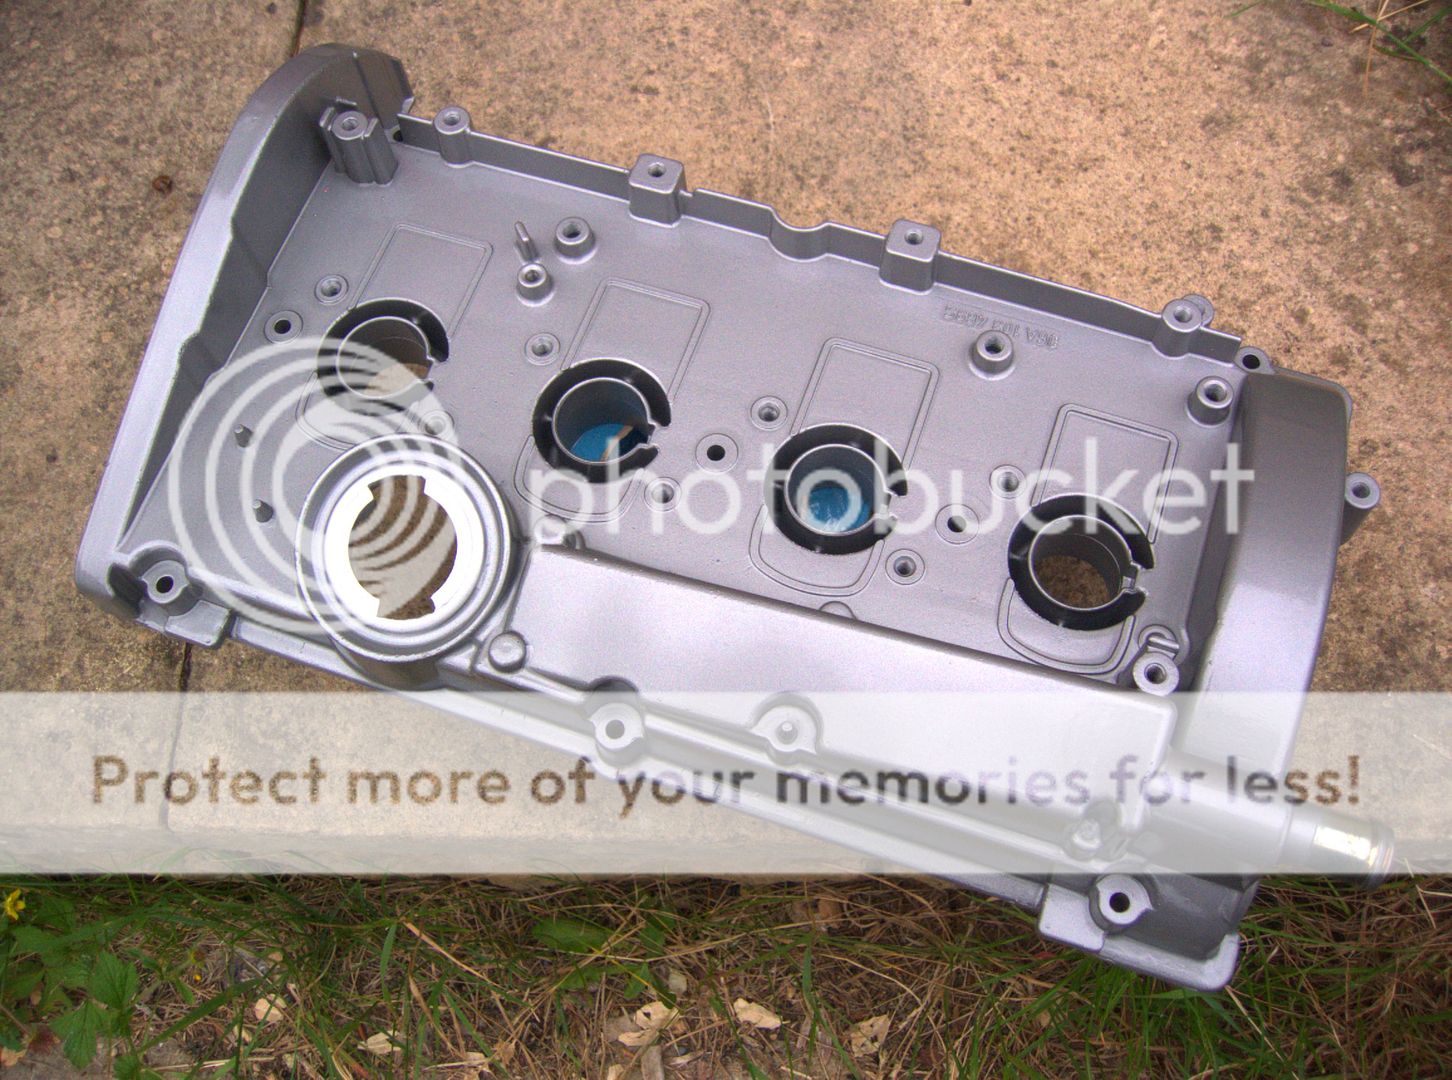
I would say I want one of these large port inlets, but as I've already got one as standard, I'm not sure simply increasing the plenum size would help.
Which plenum are you going to use PT?
I would say I want one of these large port inlets, but as I've already got one as standard, I'm not sure simply increasing the plenum size would help.
Which plenum are you going to use PT?