Attempting door blade removal later today

The Doctor

Registered User
Joined
Jul 25, 2009
Messages
1,390
Reaction score
190
Points
63
Location
Notts
Website
www.wbmcc.com
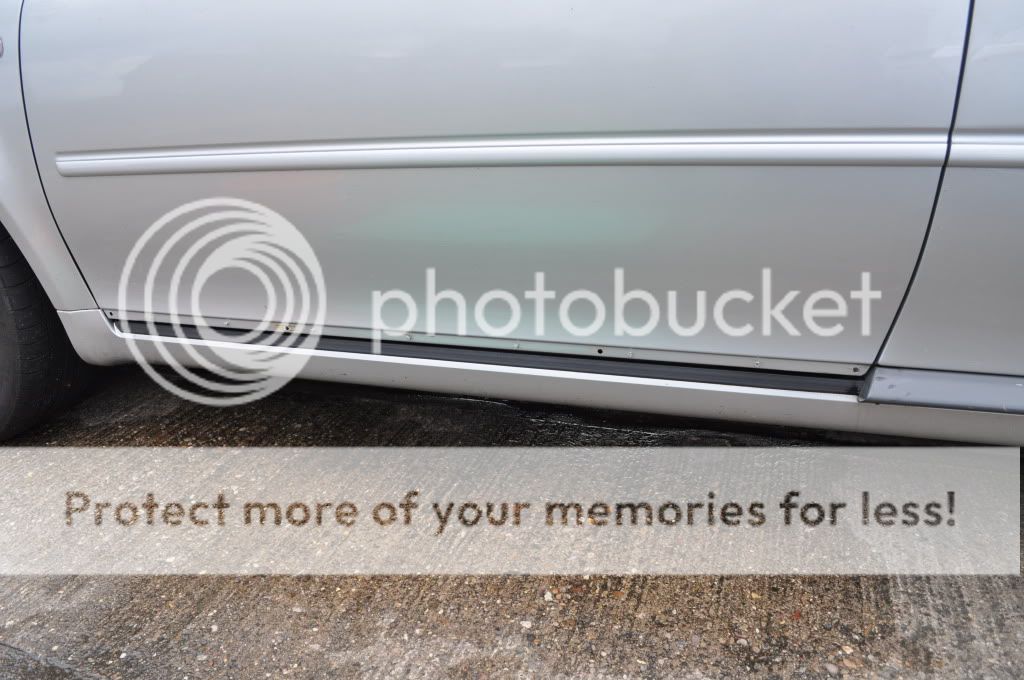
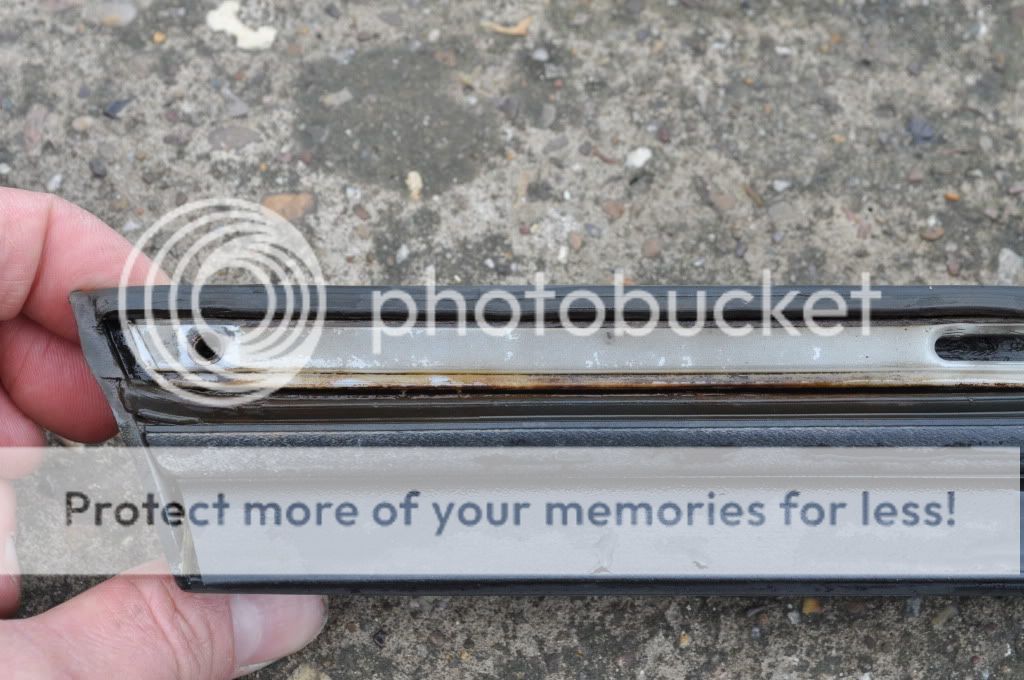
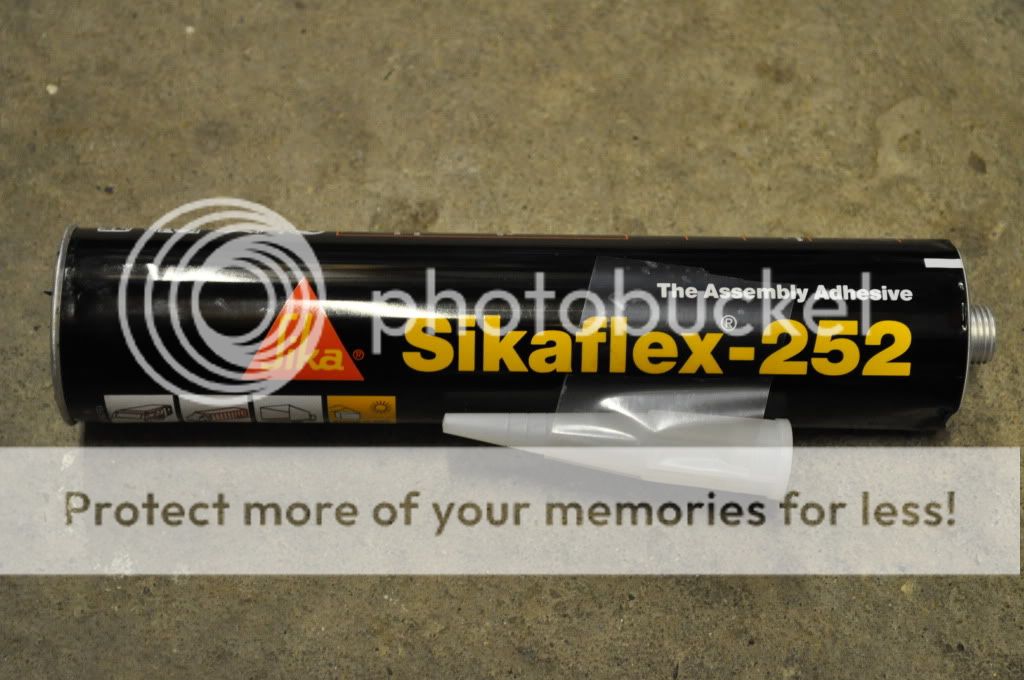
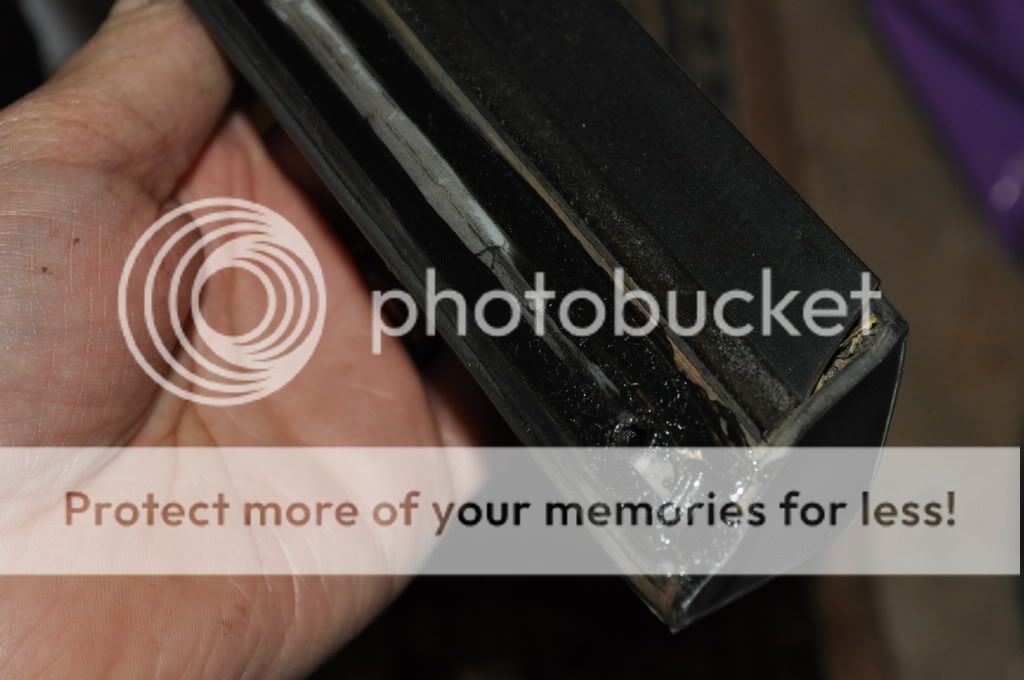
OK, so at last I've made it to this item on my "to do" list! The passenger door blade on my S3 has started coming away from the nylon strip, so I'm going to remove it & fit a replacement that I bought from someone breaking an S3. I've decided to re-fit it using Sikaflex 252 rather than the original screw fittings, which should be a better solution (i've had advice from Sikaflex themselves that this is the one to use).

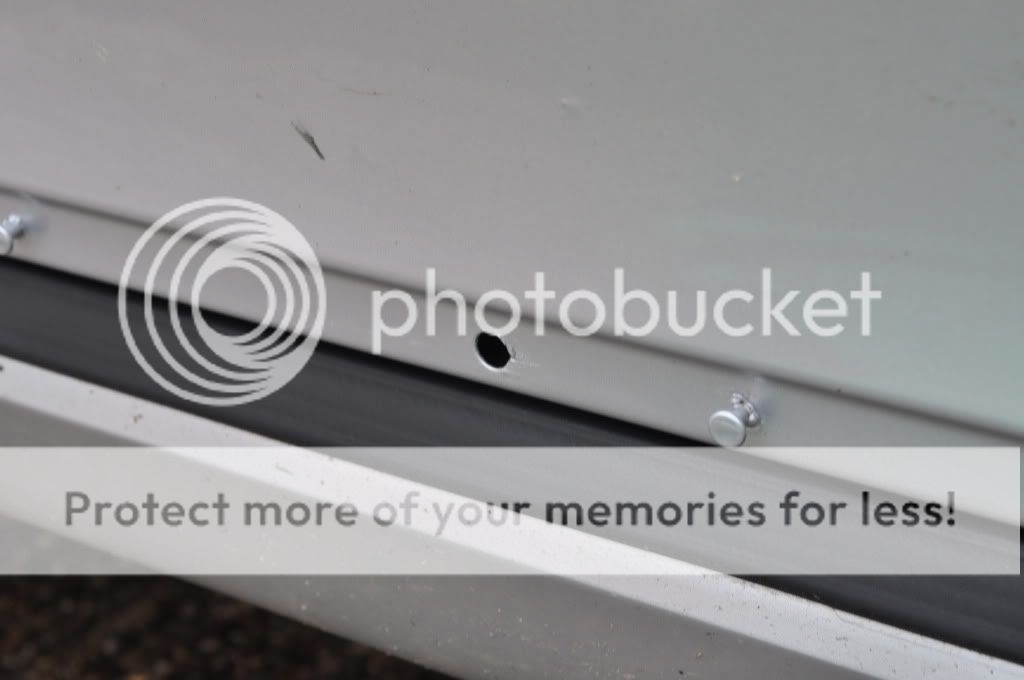
1st challenge will be getting the old screws out. Just been out & given them a squirt of WD40as I'm expecting them to be a PITA to remove after 9 years! Anyone had any experience of this & any tips to share before I start?
 
When i took both my door blades off after buyinjg my car they came off easy no troubles with the screws at all.

I managed to fix my door blade using a small self tapping screw that i screwed through the back into the blade to hold it in place.

If i remember rightly once you remove the screws you slide it forward on the door to take it off the lugs on the door
 
  • Like
Reactions: S3-
When i took both my door blades off after buyinjg my car they came off easy no troubles with the screws at all.

I managed to fix my door blade using a small self tapping screw that i screwed through the back into the blade to hold it in place.

If i remember rightly once you remove the screws you slide it forward on the door to take it off the lugs on the door

yup thats it pull forward towards the back end of the car , might be a hard pull but seeing as you used WD-40 then should be a piece of cake shouldnt take more then 5-10 mins tops, however watch out you dont brake the clips along th edoor blade :p they tend to break off easily atleast mine did
 
Two of my screws were seized and I just couldn't get them off....in the end I had to drill them out so be prepared! I bought four new screws from Audi, which were like 9p each so they didn't bother to charge me. Once the screws are removed its a doodle. Slide the blade forward and it will fall off the door.

I'd certainly refit with screws though. I did and mine is solid as a rock.
 
I need to look at mine too, so just to clarify... you undo the screws and it slides towards the back of the car before coming off...?

Dan
 
I need to look at mine too, so just to clarify... you undo the screws and it slides towards the back of the car before coming off...?

Dan

yup at-least mine did i replace both of them ... broke a clip in the process, also check once the clips unclip from the little screw like thing on the bottom of the dorr you might be able to pull it out in your direction too... if the clips are knackered then you might need to pull all the way back salvage what you can and put the new clips into you new door blades just be gentle at the start as the the pointy end of the door tends to bend easily and you don't want that sodding Audi manufacturing defect
 
OK, so the blade came off OK. Here's what to do.

Undo the 4 screws along the bottom edge of the door. One in each corner and 2 more that are behind black rubber plugs. The screws come out easily with a #2 philips screwdriver. With the ones behind the rubber plugs, I put some Blu-Tak on the end of the screwdriver to stop the screw from falling inside the door once removed. This worked fine.

Once the screws are out, you just slide the blade towards the REAR of the car. I found that there was initially very little movement, but after working it back & forth it soon loosened up and came off easily with no damage to the blade or door.

This left the door looking like this:

DSC_0001.jpg


Some of the pins attached to the door were missing some paint, and it initially looked as though some corrosion had set in underneath the blade in one area:

DSC_0002.jpg


The rubber had clearly shrunk away from around white nylon strip over time at the rear-end of the blade, where it had started to come loose (sorry, forgot to take a pic of the blade before removal!):

DSC_0005.jpg


Anyway, I then cleaned up the area of the door beneath the blade and was pleased to see no corrosion as I had originally feared, and just a little paint missing from around a couple of the pins, which I simply covered over with a touch-up stick:

DSC_0006.jpg


So door is now looking like this:

DSC_0007.jpg


Tomorrow I will be attaching the replacement blade (used but still in good condition) to the door with the screws and this:

DSC_0012.jpg


I am confident that this will both be a secure fit and help to seal the area to stop water getting behind the blade. Hopefully this will prevent/slow down the replacement blade coming away from the nylon strip better than the screws alone.

I'll post an update once all done.
 
Last edited:
  • Like
Reactions: Danman1
Maybe once I've finished it off. If I balls it up and end up with it stuck halfway up the door at a 15 degree angle then it's probably best left to sink to the bottom of the thread list!!
 
  • Like
Reactions: Danman1
Had all 4 of mine off 2day to wrap then in mat black. Hope it works out well for you.
 
Paul sorry to ask but why sika it on rather than use the two self tappers?? it will become a perminant fixture then and if ever needed to be removed you risk trashing the door. You shouldn't need anything but the two self tappers as the lugs hold the blade in place the scres just stop forward movement.
 
Problem is that on the replacement one, although the nylon piece is fine, one of the screw threads is knackered. 3 screws will probably be fine, but I'm also thinking that sealing it to stop crap getting behind it should also make it a more permanent solution, and the Skia should also stop the nylon piece from coming away in future.

By the time it comes away again after Sika-ing it on, I'll probably have changed the car anyway, or be too old to drive! I guess the only risk is if the blade was to get damaged in some way and needed replacing, but this should be pretty unlikely I would have thought.
 
Paul I glued the white nylon bit in with tiger seal on mine.
 
Fair one mate. I only have the front screw in my passenger side the other is inside the ****** door lol and it's rock solid.
I don't know the grab strength of the sika. Maybe A bead of clear silicone around the inner edge would give you the seal your after.
 
I glued the white nylon back into the door blade too but it didnt last long and soon came away.

this is why i put a small self tapping screw through the nylon into the door blade and its held happily for 6 months no probs. Just make sure you dont use a screw thats too long as it will come out of the door blade.

I also took the opportunity whilst i had my door blade off to clean out all the drain holes on the bottom of ther door so it could drain properly as 3 of 4 of mione were blocked with crap. This then lead me to remove both inner arch plastics as i found lots of old leaves an mud stuck in there too.
 
Well, we took the kids out today and so I didn't get the time to complete this job. I think I'm going to keep to my plan and use the Sikaflex for the replacement blade. However this will now be next weekend because I want to allow a full 24hrs for it to cure before using the car. So, will post an update next week. For now the passenger door has a strip of gaffer tape covering the screw holes & the gap to the sill to prevent any water getting in. Very un-OCD and not in keeping with my usual standards, but that's going to have to do for now. At least it's silver tape so it vaguely matches the car!
 
  • Like
Reactions: Danman1
I remember driving mine around without the blade on for a while. I Remember thinking it was so nice to not hear it flap and bang when the door was closed!! I agree...if adhesive is involved you'd want it to cure properly.

Keep us posted.
 
Paul I still think your mad sticking it to the motor but once that OCD kicks in there ain't no stopping it lol
 
Right, I gave this some further thought during the week and decided that I would not bond the blade to the door. Instead, I decided to use the Sikaflex 252 to re-bond the white nylon strip to the blade itself, and also to use a self-tapping screw to help minimise the chances of it coming away again (as suggested above by vrbob). Details as follows:

First, I sourced a 3x15mm self-tapping screw (anyone familiar with RC cars will recognise this as a bog-standard Tamiya screw!):

DSC_0203.jpg


I then drilled a 2mm diameter hole through the white nylon strip and into the blade itself, being very careful not to drill right through the blade! Before inserting the screw, I filled the gap under the nylon strip with Sikaflex 252 and also used this to seal the strip along its full length, to minimise the chances of it coming loose again:

DSC_0209.jpg


Then, I inserted the 3x15mm self-tapping screw into the hole and fastened it tight:

DSC_0210.jpg


The next step will be to file off the head of the screw so that it's flush with the nylon strip, which I will do this evening once the Sikaflex has dried. This will leave the threaded part of the screw in place, which will hold the nylon strip to the blade to add extra strength to the Sikaflex bond. Then I will re-fit the blade to the door using the standard OEM screws.

Next update this evening once I've completed the job. So far so good!
 
Last edited:
Good work Paul, my passenger side one looks like it's popping out, so this is the next step for me. I purchased a brand spanking new one for the driverside many moons ago, but the passenger side one I will just do this type of repair!
 
When i did this repair using the self tapping screw method i used a flat headed screw and countersunk it into the white nylon plastic to make it a flush fit but either way should work.

Nice to see some of my McGyver repairs being used elsewhere lol
 
Right, all done. After leaving the door blade in the airing cupboard all day to allow the Sikaflex to cure in a warm environment (being careful not to get it on the washing!), I then filed the heads off the self-tapping screws and re-attached the blade to the door with the standard screws. As an additional preventive measure I also sealed around the blade with some clear silicone sealant to reduce the chances of this happening again. Pretty pleased with the results:

DSC_0016.jpg


DSC_0018.jpg


Here's the only picture I had of the blade before the repair - this was taken about 2 years ago, so over that time the blade had come away more than shown in this photograph:

DSC_0491-1.jpg


I'm going to leave the driver's side blade because it's fine for now, but if/when the same thing happens I will repair it in the same way.
 
Last edited:
I wondered what those trim bits were called as I have wanted to do mine too and couldn't determine what to search on in this forum or google - this guide is just the ticket :)

Martin
 
Oh, and one last tip for the 2 middle screws that are inside the door - to stop them falling into the door, wrap a thin layer of Blu-Tak* around the end of the screwdriver so that the screw sticks to it and doesn't drop off. Although I had a magnetic screwdriver, I wanted to be doubley sure of not losing them.

*other brands of coloured sticky stuff more commonly used to hold up posters are also available from reputable outlets!
 
Two of my screws were seized and I just couldn't get them off....in the end I had to drill them out so be prepared! I bought four new screws from Audi, which were like 9p each so they didn't bother to charge me. Once the screws are removed its a doodle. Slide the blade forward and it will fall off the door.

I'd certainly refit with screws though. I did and mine is solid as a rock.

Sorry to be a pain mate. But do you happen to know the part no for the screws? Got this job on my to-do list and worthwhile grabbing these ahead of time.


Sent from my iPhone using Tapatalk 2