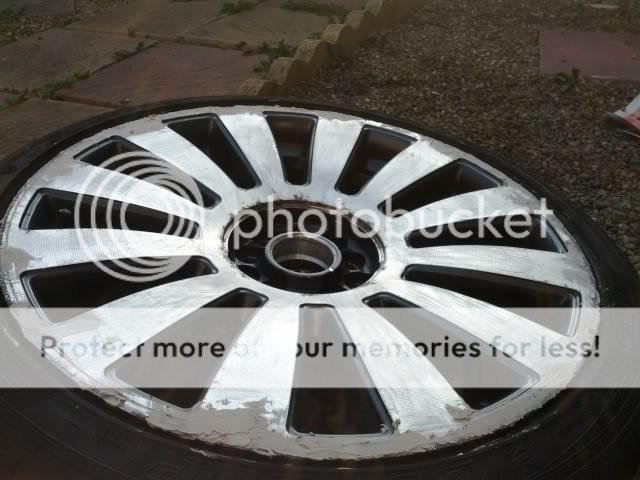
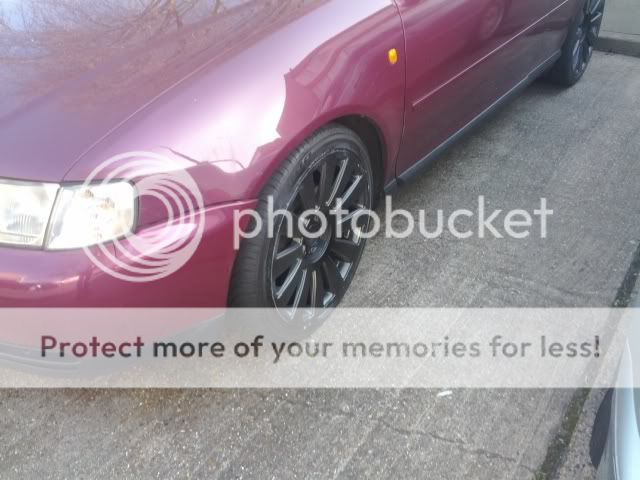
Alloy wheels refurb

deeman88

Watch this space...
Joined
Aug 24, 2011
Messages
416
Reaction score
10
Points
18
Location
SE London
Obviously i got too much time on my hands these days and gonna attempt to refurb my 18's while they are off the car. Those who seen them have noticed some kerbing damage inflicted by the previous owner! So Operation Bling starts tomorrow and will update here as it goes along.

Bring on the ASN, COV Ace Meet on Tuesday!!
 
Be interesting to follow this as I'm looking at doing mine, nice one.

Chris.
 
Im gonna update in a lil bit when i get to my computer. But jus a quick question is it adviseable to lacquer then now it wait 24 as instructed on the can? Im all for doing it now n going bed lol
 
Should do a cheeky guide. I wouldnt mind doing mine in a gunmetal grey colour (standard 16" tdi quattro rims).
 
  • Like
Reactions: deeman88
I decided to leave the paint to dry overnight and Lacquer it tomorrow morning/ afternoon whichever tickles my fancy
 
Well... Here goes a lil something.

The Stuff you need or rather the stuff I had

Alloys
Degreaser/ Soapy Water
Brush to clean the alloys thoroughly
Cloth/ towel to speed up the drying process
Assorted Wet and Dry
Primer
Filler
Spray Paint
Lacquer
Sanding Block
Air Mask
Masking Tape
Newspapers
Drill + Sanding bit
Fan
Fan Heather
Pressure washer
 
Thanks for the heads up so far buddy :) really looking forward to seeing the outcome soon :) Nice list aswell there buddy :) Cheers
 
Alloys before :
IMG_20120326_134700.jpg


Well... Here goes a lil something.


The Stuff you need or rather the stuff I had

Alloys
Degreaser/ Soapy Water
Brush to clean the alloys thoroughly
Cloth/ towel to speed up the drying process
Assorted Wet and Dry
Primer
Filler
Spray Paint
Lacquer
Sanding Block
Air Mask
Masking Tape
Newspapers
Drill + Sanding bit
Fan
Fan Heather
Pressure washer

IMG_20120326_134807.jpg

IMG_20120326_134654.jpg


Step 1: Clean the Surface area thoroughly, i used Degreaser as 1 of my cv boots had a rip and the inside of the rim was dirty. Jetwashed and Degreased all four alloys.

2: Use the Cloth or towel to dry them before cleaning them again (2nd clean is optional. Only did it as mine needed it).

3: Use the Wet and Dry to get the Old paint/Lacquer off and to create a surface coarse enough for primer to stick to.
I started by using 240 then 600 then finally 800.
My Process was as follow: Sand down with 240 then a quick Jetwash, Dry with cloth then Sand down again with 600- Jetwash and
Dry with Cloth, then sand down with 800 - Jetwash then dry with cloth or towel to speed things up a bit
IMG_20120326_134647.jpg


4:Mix the Filler and supplied hardener accordingly. And start filling. but beware not to overplaster the alloy as this will lead to more work later on, You want the filler to cover it up not overwhelm it.

IMG_20120326_174903.jpg


5: Wait for it to dry

6: Sand with 240 (600 recommended), Clean it up (blow to remove dust or jetwash in my case) then use 600, Clean it up again then use 800 until the surfcase is nice and flush. If you have a sander- happy days!! i didnt so had to improvise. then the final Clean up.
IMG_20120326_192837.jpg

IMG_20120326_192841.jpg


7: Mask up well. Preparation is everything!!!
IMG_20120326_214745.jpg

this step took forever as i wanted to keep the gunmetal grey insides and just paint the "face" of the allloy. I shall change the color of the insides later to a magical colour1 ;)
IMG_20120326_230953.jpg


8:If its a cold day, heat up your spray paint while shaking or heat up and then shake to minimize big drops and uneven spray.
Start by applying an even layer of primer and wait for it to dry. Apply a second coat making sure you cover everywhere (on the alloy!) and a Third coat just to make sure.

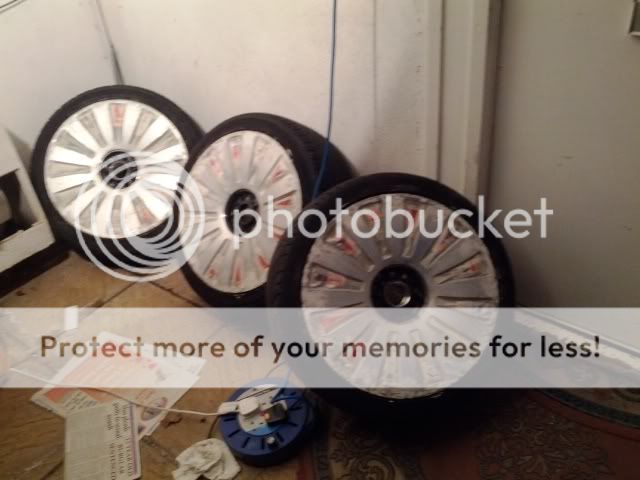
9: Wait for this to dry and now you can do your Underlay in color. I chose Glossy Black.

10: Spray carefully from a distance of about 10inches or so and in light layers, you dont want to have any Runs in paint at this stage as that will be a nuisance to correct. do not point, paint and stare. Keep the paint moving for an even finish.

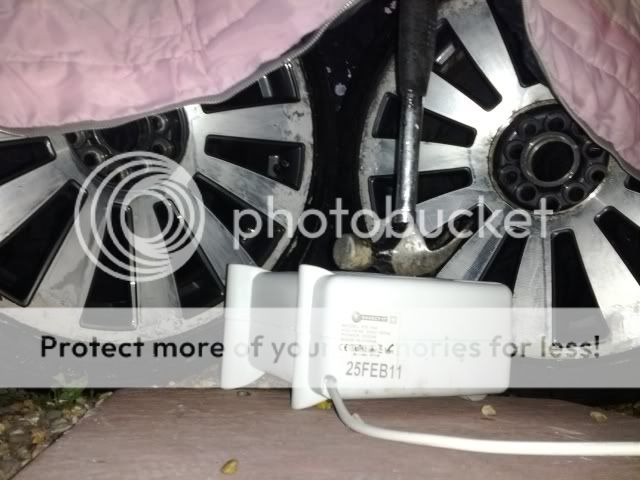
11: Wait for this 1st layer to dry or use a heater to speed up the process, then apply the 2nd and 3rd layer in the same fashion until you have a nice, satisfied grin on your face.

12: Either leave them to dry for 30mins or overnight then:
Use a fine 1200 grit paper and just coarsen up the surface slightly in order to prepare it for the lacquer.

13: Spay Lacquer again in a careful controlled manner, in even layers and build them up accordingly allowing it to dry inbetween sprays.
 
Thanks Chaddy, managed to lacquer them today but for my 1st attmpt they looking alright and i can definately spot my errors!

I needed a proper sander because it looks like i got a bit lazy halfway through sanding tho haha. #embarassed.

But will rectify this soon!!
 
Look's like your getting there - it does take a long time, I am still doing mine, prep has been taking ages (when ever I get a chance at the weekends!) but I want the surfaces to be spot on before I prime & paint.
 
  • Like
Reactions: deeman88
Cool buddy, aslong as you having fun then no prob at all :) yeah i agree sanding down is a B!tch at times especially when you want things done ASAP to see how its gana look. Cheers buddy
 
i admit, i kinda rushed mine so as to come Ace Cafe Last night and i can see clearly the imperfections :( I guess you live and you lean and patience is the key. I'm gonna redo the bits i think need it with a proper sander this time because my arms were in for a work out the last two days :)
 
Looks awesome buddy, great job :) tempted to get mine done now :) did you use a spray gun or can's? & what colour is that?? I want It!!! haha. Cheers buddy
 
Thanks bro, its Glossy Black and it makes a real change to how the car looks! and you should get them done if you want a nicer looking car. because everytime i go outside, i think twice if thats my car
 
Deeman - just thought I would update you you, I have finished priming my wheels ( hope to paint & lacquer at the weekend!) If you end up doing your again in the near future - use Filler primer ( High Build Primer) before normal primer. I did this with mine & it hid alot of imperfections that I could not get right with body filler as my wheel rims were really badly curbed.
 
  • Like
Reactions: deeman88
thought i would add a little something....

The key to perfection is proper preperation

let the primer dry then sand it with p800 wet or if your brave p500 dry the apply the top coat(colour) you will get much better results this way.

no need to key the colour just apply clear coat..


btw i do this day in day out im a painter, so if you need advice gimme a shout.
 
Deeman - just thought I would update you you, I have finished priming my wheels ( hope to paint & lacquer at the weekend!) If you end up doing your again in the near future - use Filler primer ( High Build Primer) before normal primer. I did this with mine & it hid alot of imperfections that I could not get right with body filler as my wheel rims were really badly curbed.

Thanks for the tip, will definately need to hide a few imperfections on mine, as mine were all curbed and scratched. And please show us some pics when you get started :)
 
no need to key the colour just apply clear coat..


btw i do this day in day out im a painter, so if you need
advice gimme a shout.

Thanks for that also mate, one quick question... when you said"no need to Key the colour" do you mean no need to spray multiple layers?

Thanks Deeman
 

Similar threads

Replies
6
Views
933
Replies
8
Views
1K
I
Replies
3
Views
2K