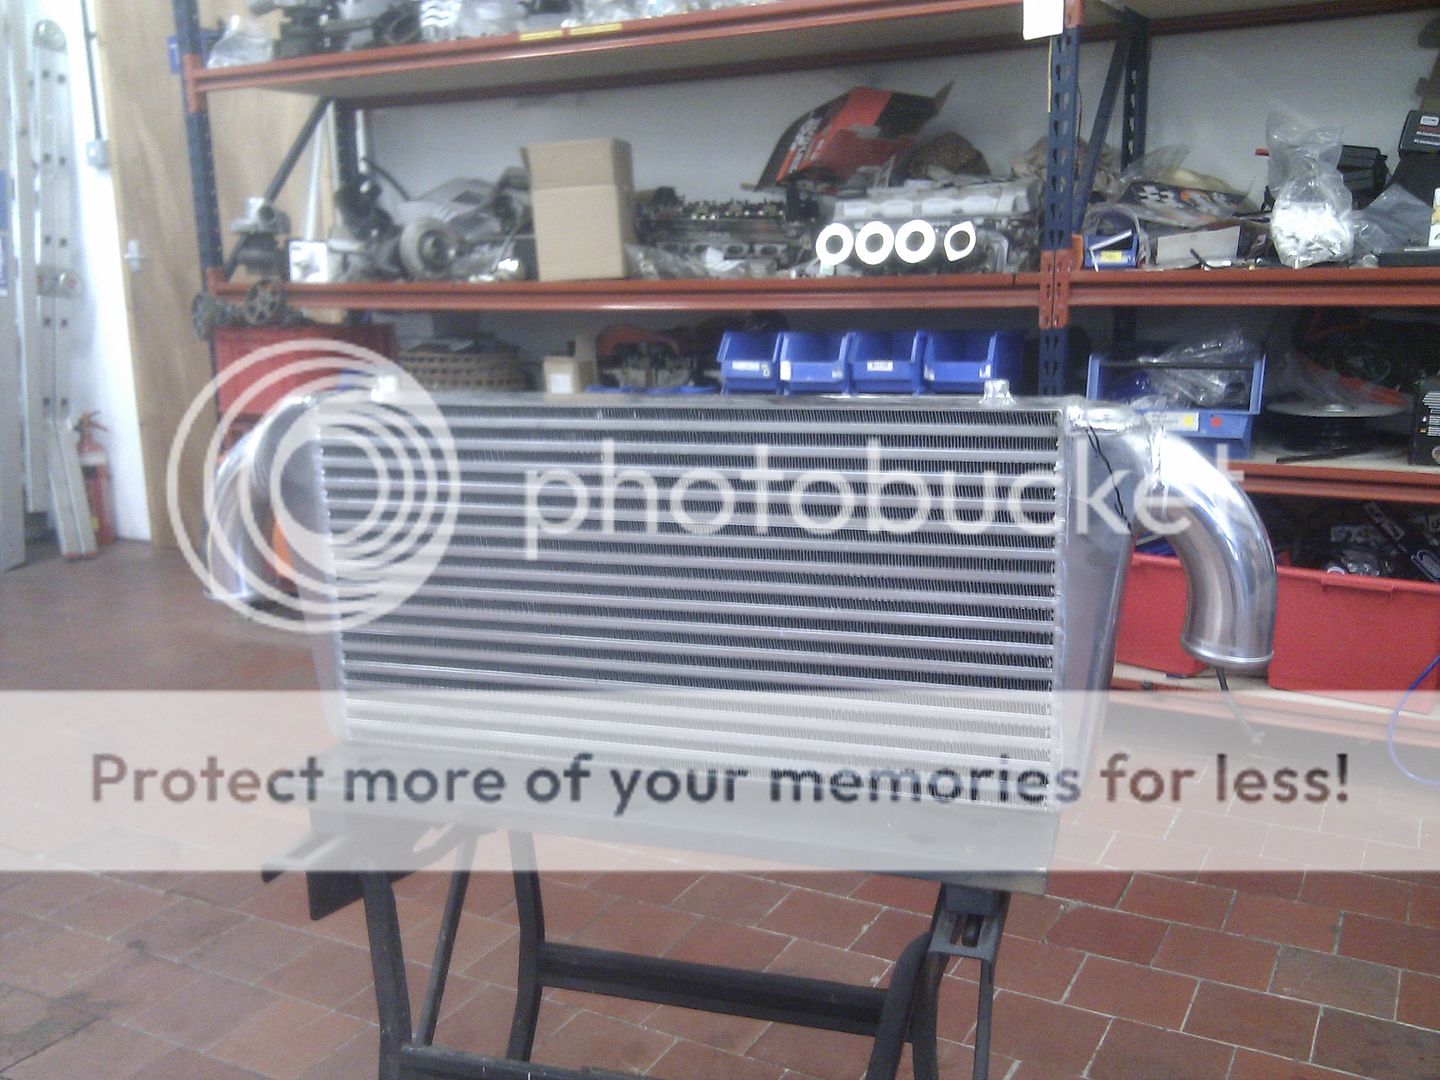
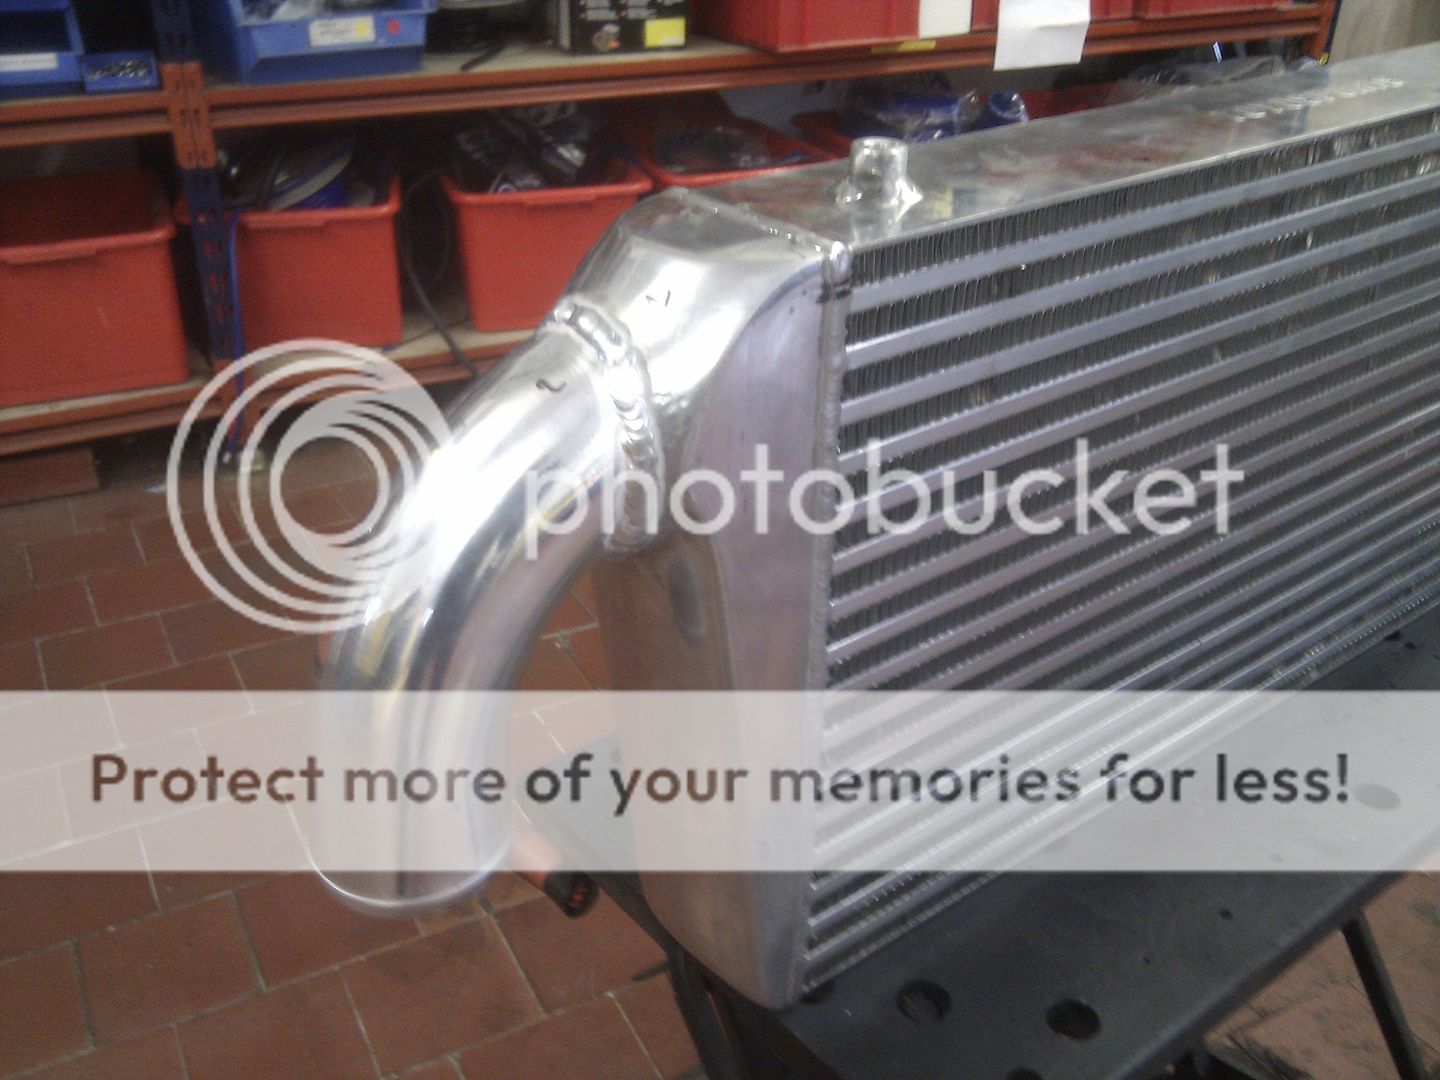
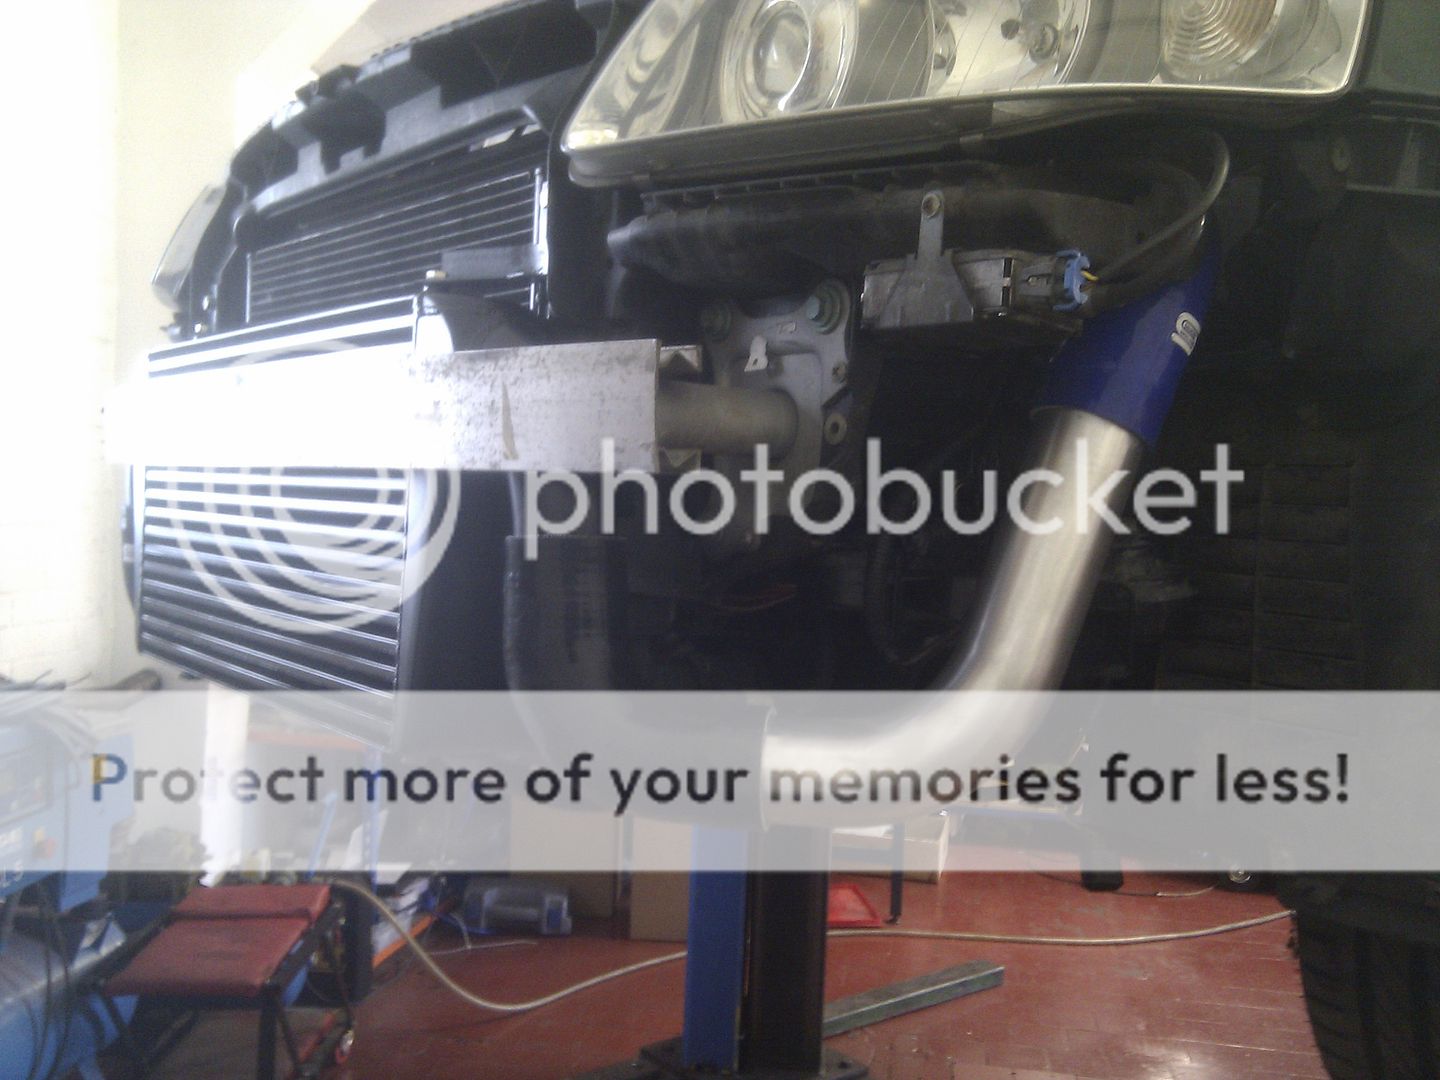
AH Fab / Ebay / Forge S3/A3 FMIC installs (image heavy)

Well I think one of these should be on the cards now then. Cheers for doing the write up. With length do you recommed for the alloy 90oc bends?

Cheers

I used std Forge alloy bends... they come in one length as far as I know... not sure if for the other S3 we cut them a bit and redid the bead or just left them std length... my fabricated ones were cut and bead rolled afterwards...

<tuffty/>
 
Cool cheers for info. Was looking on ebay and you can get different lengths on the bends. But i will get the forge ones. They are not beaded tho. They dont look it in the pics.
 
Cool cheers for info. Was looking on ebay and you can get different lengths on the bends. But i will get the forge ones. They are not beaded tho. They dont look it in the pics.

I think it does depend.. have seen some from Forge that aren't but all the ones I have seen recently have been...

<tuffty/>
 
Great update Tuffy. Love the time and effort that's gone in to this to provide a decent product with proven results.
 
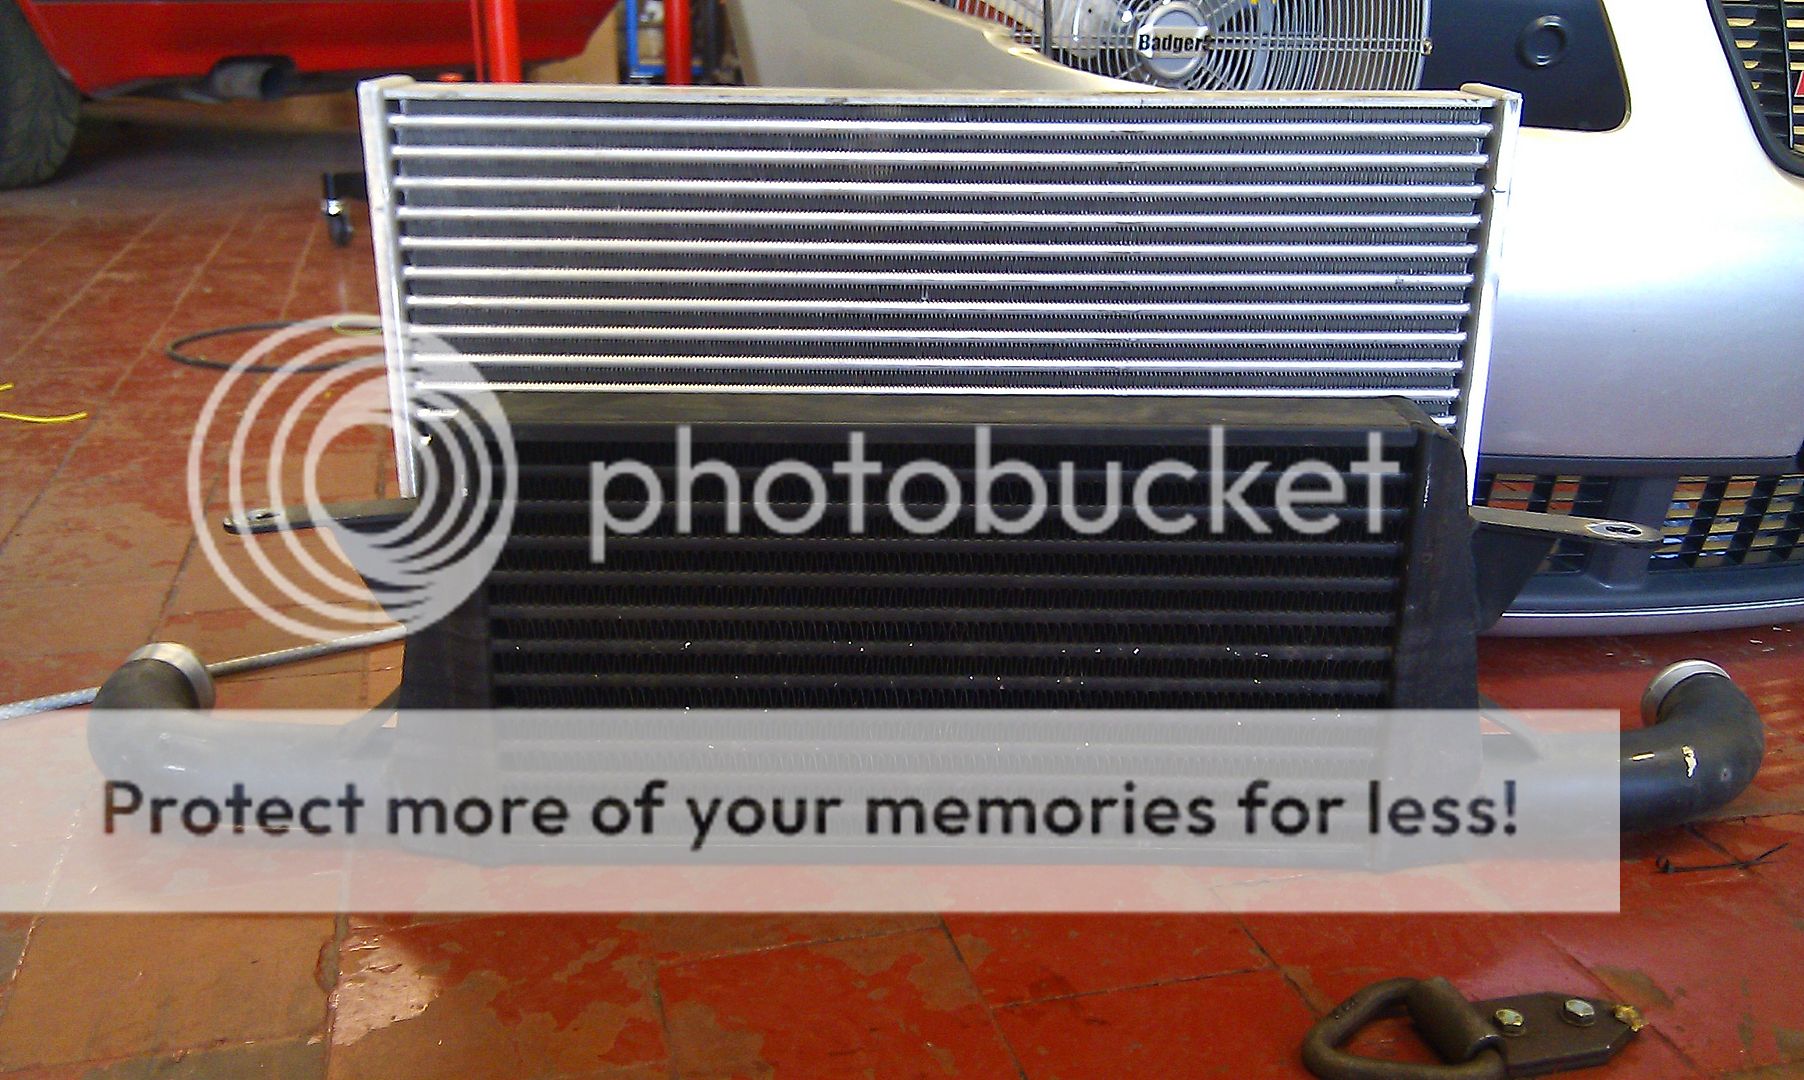
Don't remember the dimensions no but it should be noted that is not always the size that makes a difference... the row spacing on this core is tighter giving more rows for the same height...

The v1 core was 13 rows compared to the v2 which is 22 (might be 21 as I can't remember if I lopped off 3 or 4 rows to get it to fit...)

Its the same depth at 62mm and you can see the width difference in the pic below..
20110311_IMAG0595.jpg


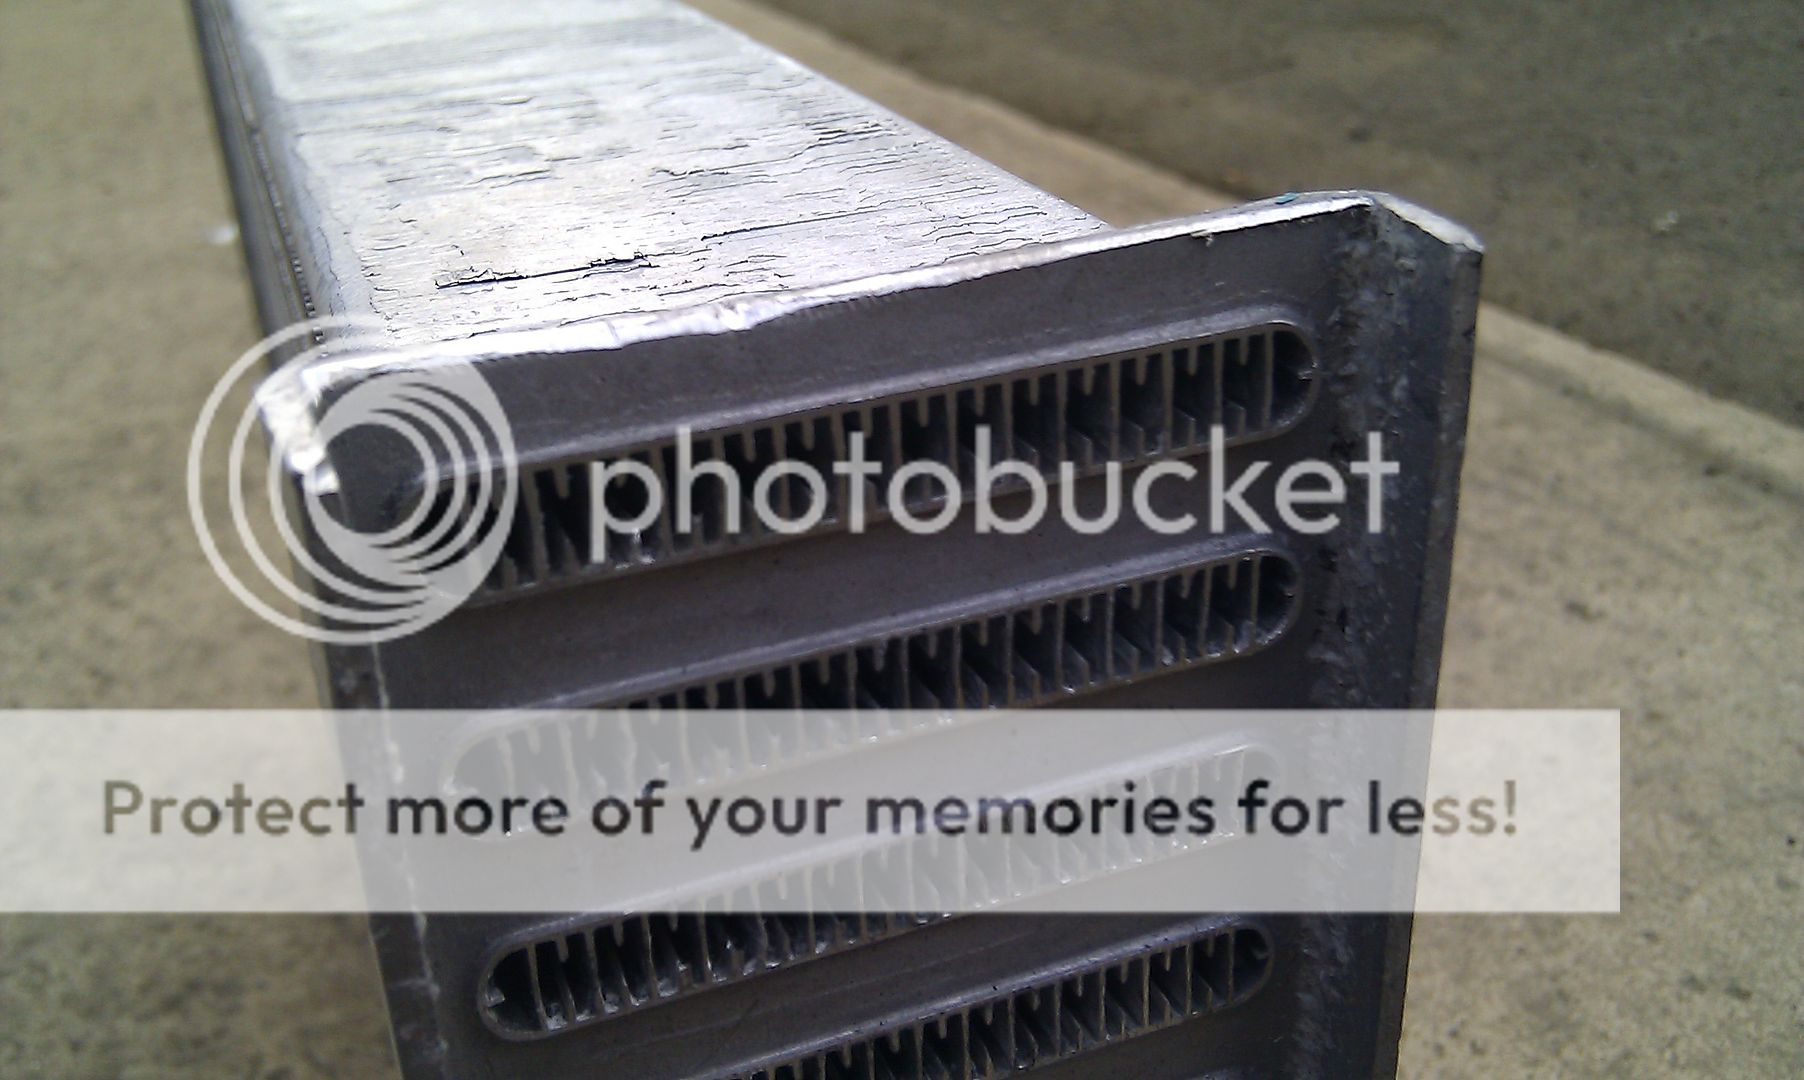
The core is made up thus...
20110311_IMAG0625.jpg


<tuffty/>
 
Thanks tuffty for the info.
That is a tube and fin matrix.
I'm only asking as the depth of my core is 55mm and the end tanks are 63, 450 wide and 230 tall.
With this setup i see temp dropping on boot up to 4500 rpm, after that temp raises an average of 20C above ambient temp at 6000 rpm.
I might need a deeper and wither core and stick a wmi kit.
 
  • Like
Reactions: dusty
I could use a bit of advice on pipework require for the Welly style toyo setup as I cannot find much detail at all. So far all I know for sure is

2x 76-63 bent 90 reducers
1x 63mm 90 (for charge pipe)
1x 63mm coupler onto tb
2x 63mm alloy 45s
2x 63mm alloys 90s

Please feel free to correct me as id like as little wastage as possible. I don't mind getting parts welded up. I did look into just buying the toyosport 63mm universal pipe kit, but put off by the lack of bead on the pipes, and in unsure that my local engineers will be able to flare the ends. Anybody running pipework without the beaded pipe with no hassle?

I'm guessing by the list above you are going to use silicone reducers that come out of the fog grills like mine? If you're not too fussed about getting bits welded up you could speak to Bill as he has fitted one of these cores upside down and made welded pipes so that the fog lights could be kept.

I strongly recommend that you get beaded pipework. Tam tried none beaded and it was constantly popping hoses. Removing the front bumper on the hard shoulder of the M25 in the dark to put a hose back on is not fun ;)
 
I could use a bit of advice on pipework require for the Welly style toyo setup as I cannot find much detail at all. So far all I know for sure is

2x 76-63 bent 90 reducers
1x 63mm 90 (for charge pipe)
1x 63mm coupler onto tb
2x 63mm alloy 45s
2x 63mm alloys 90s

Please feel free to correct me as id like as little wastage as possible. I don't mind getting parts welded up. I did look into just buying the toyosport 63mm universal pipe kit, but put off by the lack of bead on the pipes, and in unsure that my local engineers will be able to flare the ends. Anybody running pipework without the beaded pipe with no hassle?

This may be of some use to you...
http://www.audi-sport.net/vb/a3-s3-forum-8l-chassis/88541-intercooler-bits-bobs-arrived.html


<tuffty/>
 
Hey guys sorry to be a pain etc but after reading through much of this thread and with there being so many different options I am after some advice on which FMIC to go for on my s3 or which way to go about it. Ideally I'd quite like to keep the fogs, but also want it to be as easy as possible and relatively cheap if pos.. Unsure where to start really, also I have no technical knowhow whatsoever so won't be attempting this myself. whether to go for a kit or get bits seperately, I'm thinking seperately will be cheaper? and also beaded pipes i'm not really sure what they do what advantage they have except reading without them there is more risk of popping clips off or joiners off or something... Any ideas/help ?! Cheers, Josh
 

Thanks tuffty, exactly what iv been looking for.

I'm guessing by the list above you are going to use silicone reducers that come out of the fog grills like mine? If you're not too fussed about getting bits welded up you could speak to Bill as he has fitted one of these cores upside down and made welded pipes so that the fog lights could be kept.

I strongly recommend that you get beaded pipework. Tam tried none beaded and it was constantly popping hoses. Removing the front bumper on the hard shoulder of the M25 in the dark to put a hose back on is not fun ;)

yeah using the silicone bends out the intercooler seems the best idea looks wise. Im not bother about losing fogs so il do it the same way as yours, im already missing a lower grill so saves me buying one :p Roger roger, beads are a must, good to know.
 
Hey guys sorry to be a pain etc but after reading through much of this thread and with there being so many different options I am after some advice on which FMIC to go for on my s3 or which way to go about it. Ideally I'd quite like to keep the fogs, but also want it to be as easy as possible and relatively cheap if pos.. Unsure where to start really, also I have no technical knowhow whatsoever so won't be attempting this myself. whether to go for a kit or get bits seperately, I'm thinking seperately will be cheaper? and also beaded pipes i'm not really sure what they do what advantage they have except reading without them there is more risk of popping clips off or joiners off or something... Any ideas/help ?! Cheers, Josh

AH Fabs V2 (update in forst post of this thread) is the easiest option to fit/keep foglights and is around the 350 quid mark plus pipes/hoses...

You MUST use beaded solid pipes else your hoses WHILE pop off under boost... no ifs or buts... :)

<tuffty/>
 
As its relevant to this thread and discussions to do with Toyosport or eBay FMIC's...

FMIC with modded end tanks...
IMG_20111023_131402.jpg


IMG_20111023_131457.jpg


Fitted to car (stealthed of course with satin black paint) and the drivers side pipe work...
IMG_20111023_144736.jpg


...passenger side pipe awaiting WMI nozzle boss to be welded then painted black too..
IMG_20111023_144710.jpg


...pic showing the route of the endtanks...
IMG_20111023_144744.jpg


...I know what your are thinking... how well does that fit behind the bumper.... answer is that the pipes do catch however I modded the lower surround and fog grilles...
IMG_20111023_162007.jpg


...and the bumper fits as well as any Forge/AH FMIC I have fitted in the past...
IMG_20111023_162058.jpg


<tuffty/>
 
AH Fabs V2 (update in forst post of this thread) is the easiest option to fit/keep foglights and is around the 350 quid mark plus pipes/hoses...

You MUST use beaded solid pipes else your hoses WHILE pop off under boost... no ifs or buts... :)

<tuffty/>

thanks, right beaded pipes it is. saying that though, I still don't know what exactly they are, or is it a case of getting the hoses/pipes listed in the first post in the v2 ah fab one and making sure they're all beaded? sorry again for showing my lack of technical skill! Josh
 
thanks, right beaded pipes it is. saying that though, I still don't know what exactly they are, or is it a case of getting the hoses/pipes listed in the first post in the v2 ah fab one and making sure they're all beaded? sorry again for showing my lack of technical skill! Josh

Beaded means the ends are flared so that the clamps grip better.
 
Westy, I don't suppose you could be a legend and post a list of the pipework you used? Wellys seems to have done the whole job in 76mm which is overkill for stage 2 power which I'm looking at surely, and I don't quite understand why he has 2x 63mm alloy couplers there.
 
As in why I used the 63mm couplers? I did use some and I think it was to join up to the OEM boost hoses. I used a 76 - 63 reducer hose and then coupled onto the OEM boost hoses.
 
Westy, I don't suppose you could be a legend and post a list of the pipework you used? Wellys seems to have done the whole job in 76mm which is overkill for stage 2 power which I'm looking at surely, and I don't quite understand why he has 2x 63mm alloy couplers there.

Ok mate. I'm also taking the front bumper off again tonight to look at my WMI so I can take pics for this thread at the same time.

Mine uses 76 > 63 silicone reducers straight out the end tanks so that I then use 63mm pipework into the charge pipe and map sensor. Welly stayed with 76mm hose for as long as he could then he reduced down to the 63mm to fit the charge pipe and map sensor. He would have used one of the 63mm couplers to join the reducer to the boost hose from the charge pipe. Not sure about the other though.
 
As in why I used the 63mm couplers? I did use some and I think it was to join up to the OEM boost hoses. I used a 76 - 63 reducer hose and then coupled onto the OEM boost hoses.

Ah that makes sense, I was thinking you had gone right up to alloy charge pipe and tb. I really need to get the bumper off and cooler in place to assess what iv actually got to do... Although connection onto original hoses makes far more sense
 
Ah that makes sense, I was thinking you had gone right up to alloy charge pipe and tb. I really need to get the bumper off and cooler in place to assess what iv actually got to do... Although connection onto original hoses makes far more sense

Made the job so so easy to do.

The 76mm helps with passage through the cooler. Lets put it this way, going from 63mm up to 76mm, through the cooler, and then back to 63mm hasn't held me back in any way.

And it makes fitment easy peasy. With the added benefit of some 76mm piping.
 
As promised, here are a few bad pics ;)

First up is the passenger side:

- 1 76mm to 63mm silicone 90 degree reducer going into a 90 degree 63mm alloy bend, going into a 90 degree silicone 63mm bend up to the map sensor.

07f53142.jpg


890972c8.jpg


Drivers side is like this:

- 76mm to 63mm silicone 90 degree reducer into a 63mm alloy coupler, into a 63mm 90 degree silicone bend, into a 90 degree 63mm alloy bend into the silicone hose on the charge pipe:

83c9c0e6.jpg


aebc4d5b.jpg


So if you do it my way you will need the following:

- 2 76mm to 63mm 90 degree silicone reducers
- 2 alloy 63mm 90 degree bends
- 2 63mm 90 degree silicone bends
- 1 63mm alloy coupler

Obviously a lot of it needs trimming but hopefully this will help.

d238f7d9.jpg
 
just a quicky for those who have sprayed there cooler, iv bought some vht satin black paint, how did people prep there cooler? just a clean and spray straight on, or did you use etching primer? obviously want a durable finish, but dont want so much paint that it interferres with heat transfer
 
just a quicky for those who have sprayed there cooler, iv bought some vht satin black paint, how did people prep there cooler? just a clean and spray straight on, or did you use etching primer? obviously want a durable finish, but dont want so much paint that it interferres with heat transfer

I couldn't be ***** to spray mine as the huge black hoses hanging through the fog grills kind of give the game away. If I'd managed to keep the fogs and went for a stealth install I would have sprayed it. Be nice to see what yours looks like with a black core ;)
 
just a quicky for those who have sprayed there cooler, iv bought some vht satin black paint, how did people prep there cooler? just a clean and spray straight on, or did you use etching primer? obviously want a durable finish, but dont want so much paint that it interferres with heat transfer

I used brake cleaner to degrease and a scotchbrite pad to key up the surface... only needs a light coat of decent paint... I use Rustoleum Hard Hat Satin Black... covers well and doesn't go washy like smoothrite tends too...

<tuffty/>
 
Where abouts do you get all the pipe work from? eBay? Is there a favourite seller to get it all from? I get my annual bonus this month and looking to do FMIC. And with a budget of about 200.

Do you have to chop bits off the crash bar using that cooler in the link? That's the only thing putting me off...id rather not have to do that.

This is my seller of choice for all pipework:

eBay My World - mrsiliconelso you shouldn't worry too much about cutting the crash bar. It's mainly there to shrug off very minor parking bumps and wouldn't hold up too well in a proper impact anyway. Once you have a huge intercooler bolted to the front of the car it'll replace any strength you lost from slightly cutting the crash bar.
 
just a quicky for those who have sprayed there cooler, iv bought some vht satin black paint, how did people prep there cooler? just a clean and spray straight on, or did you use etching primer? obviously want a durable finish, but dont want so much paint that it interferres with heat transfer

all i did was cleaned it off using clutch and brake cleaner and spray straight onto. 2 coats was enough. no probs
 
Anyone know the size of the n75 hose on these eBay intercoolers? I brought one from an agu but I need to fit it to a aum.I've already got the map sensor flange but nees to know the aize of the n75 pipr to get it welded.
 
I believe the N75 line is 6mm matey (anyone confirm?), sorry I've not replied to your PM's, I'm having severe laptop issues, it's just taken me 15 minutes to load this page!
 
Not sure where your on about mate the N75 doesn't go anywhere near the cooler it has a feed from the charge pipe next to the dv feed, a pipe to the turbo actuator and another pope to the tip :)
 
Westy fancy making me a set of brackets like what your using for some beer tokens :).
 
StaceyS3:1460962 said:
Not sure where your on about mate the N75 doesn't go anywhere near the cooler it has a feed from the charge pipe next to the dv feed, a pipe to the turbo actuator and another pope to the tip :)

sorry should have mentioned its for a mk4/a3 setup :)