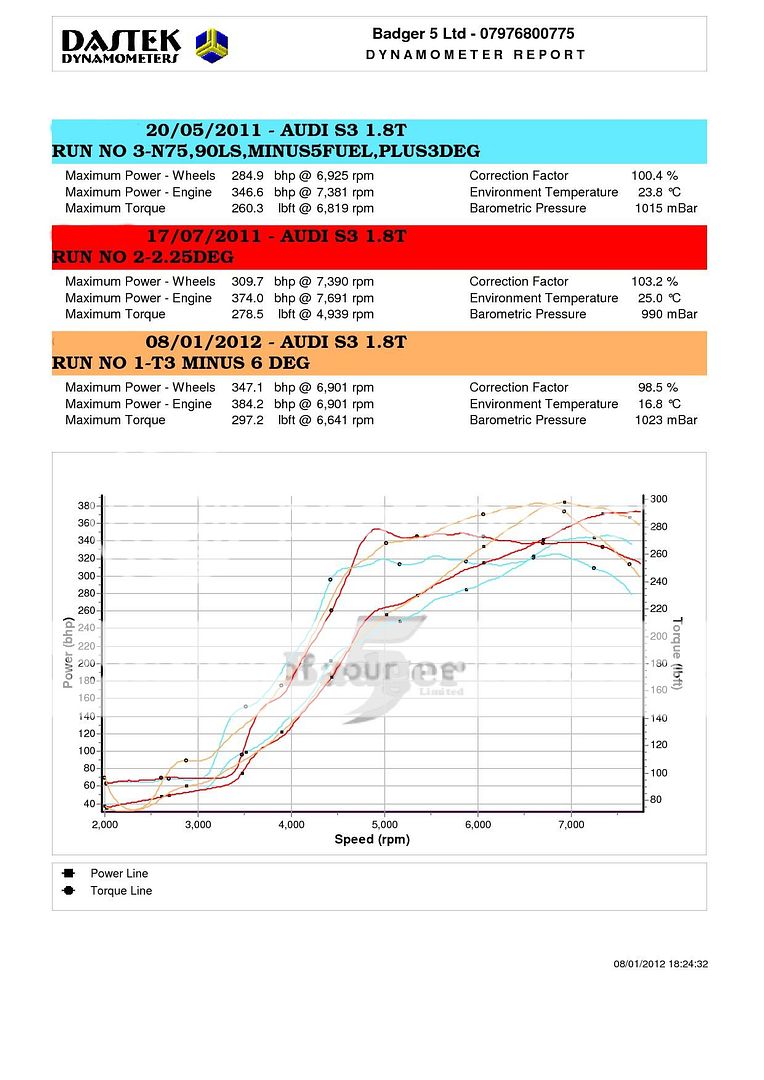
Ok... got onto the dyno today...
Started off with a few baseline runs to see where we were... worked out at 14ish psi she was putting out 280hp... not that it felt like that on the road... BT has the advantage of pulling to the redline of course over say a K04 that kinda runs out so feels must faster to drive as peak power was at pretty much redline not between 5 and 6k as is the case of a normal K04..
Anyhoo... as it turns out it would appear there is yet more work to do!! the mapping is not finished yet.. Bill is looking to smooth the boost out and get it all started sooner (if possible)... I plan to do a bit of logging with my MBC fitted and see where she starts coming on boost as a baseline for tweaking the N75 requests...
Upshot of all this is I didn't hit 400hp like I was hoping for however on reviewing previous runs of my car with its previous states of hardware and tune, its actually progress...
When I was running the same turbo as Lee and Andy123 is using I was struggling to get to 340hp... they both got just over 370hp but both cars have after market inlet manifolds, better designed exhaust manifolds than mine and are now running WMI...
I was using a std small port inlet, small port head and std TB
I then rebuilt the turbo using the full size GT3071r turbine wheel but on the same internally gated hotside... changed to the R32 TB and I was getting 350hp as a one off best run but 345hp more consistently...
Trial fitted an SEM inlet with my R32 TB and a couple of tweaks to the map got 374hp (similar power to Lee and Andy)
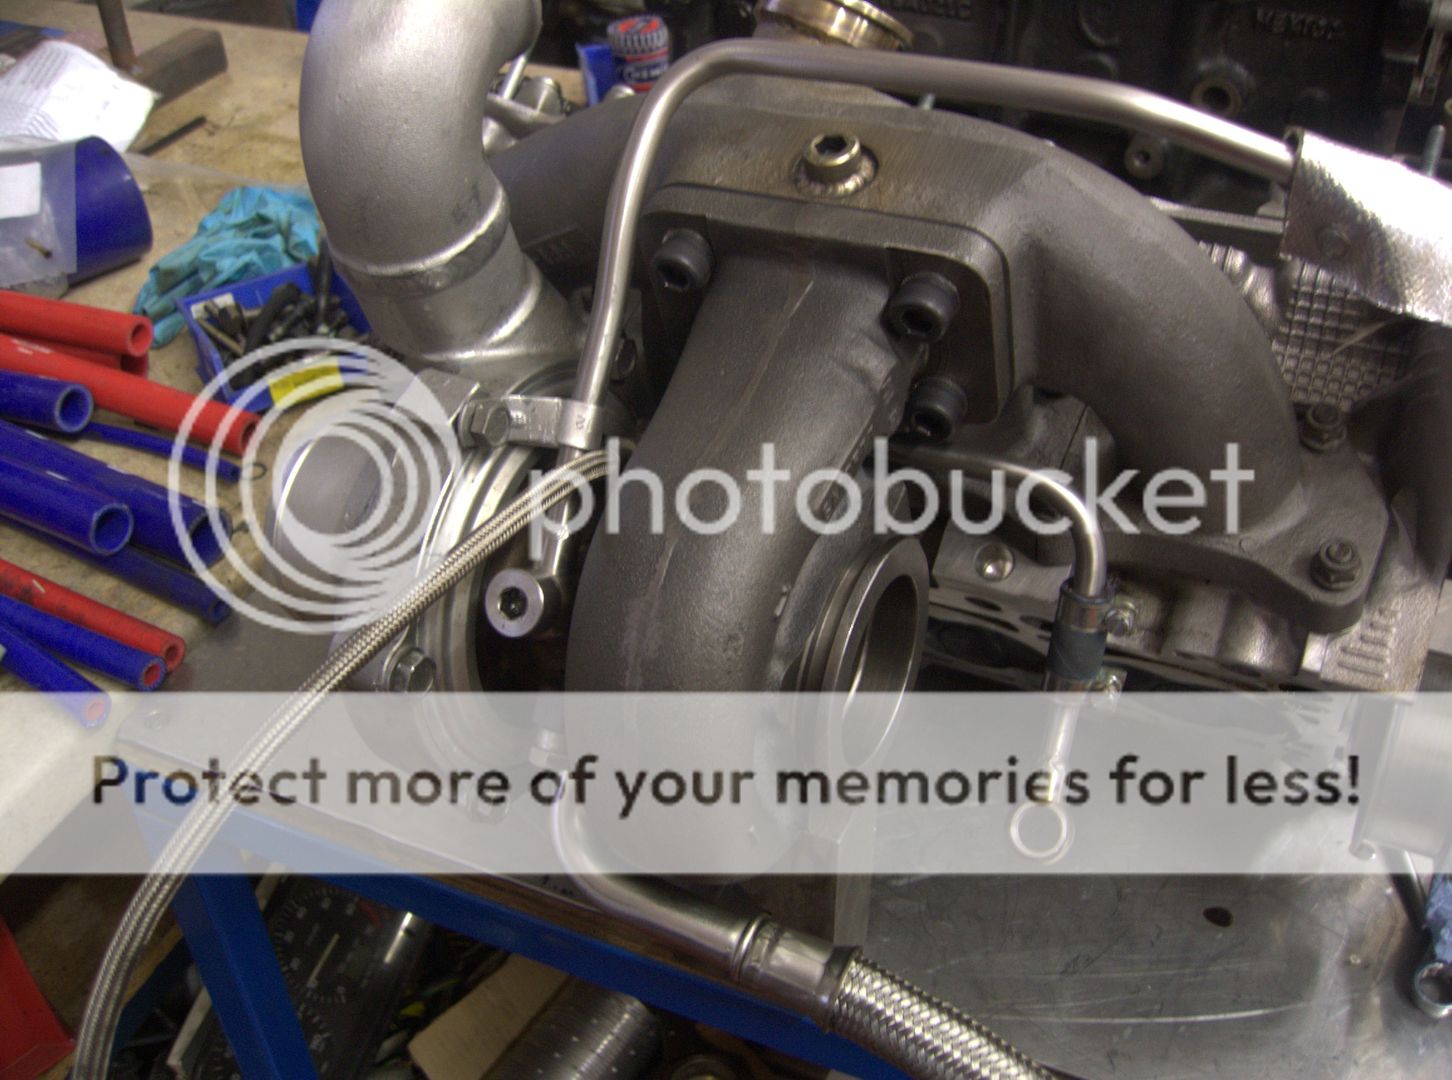
Current setup is back on the std small port inlet, std 60mm TB but with the external wastegate and better flowing hotside... this netted me 384hp...
What does this mean in reality and looking at the previous graphs...
First results are the baseline... std small port inlet, R32 TB, full size GT3071r, T25 internally gated
Second results... SEM large port inlet, R32 TB, full size GT3071r, T25 internally gated
Third results... std small port inlet, std 60mm TB, full size GT3071r, T3 externally gated
Based on these kind of results fitting an SEM would get me the 400hp I am looking for it would appear...
As I said though... mapping is not finished, once done it should see the spool getting started a little earlier and torque holding a bit longer while tweaking the top end power a bit too...
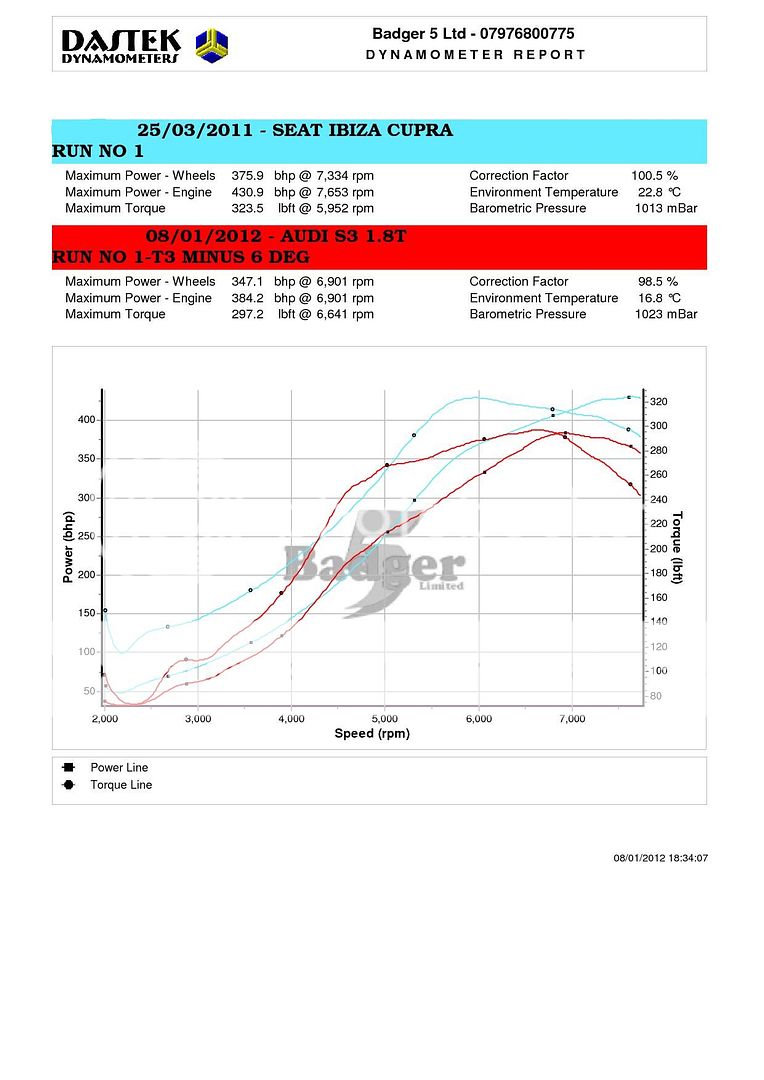
To put a bit more perspective on this... here are some graphs comparing mine to the Ibiza we built a little while back.. the Ibiza did make a bit more power than the graph I am using but it had everything turned up to 11 so this one is a bit more realistic as a comparison...
The spec of the Ibiza was a bit better than mine... 83mm overbore, ported small port head (larger exhaust ports than mine), SEM and tubular exhaust manifold...
As you can see though it makes better use of the boost top end which has to be the SEM helping top end flow... low end torque etc could well be just mapping and I have some work to do there but it at least shows that mine is not too far away and where my current limitations are...
A little more to do then... was initially cheesed off not to hit 400hp but when I had thought it through and compared to other cars we have done then I am a lot happier..
Fact of the matter is the way she drives is so much more different to what I remember... power delivery is smooth and the way she pulls in third is actual scary...
I have a few other odds and sods to try... I still have WMI to fit at some point too...
This pretty much concludes this round of modifications but I will of course update the thread once we have sorted the mapping out and of course if there any further developments such as inlet manifolds etc...
<tuffty/>


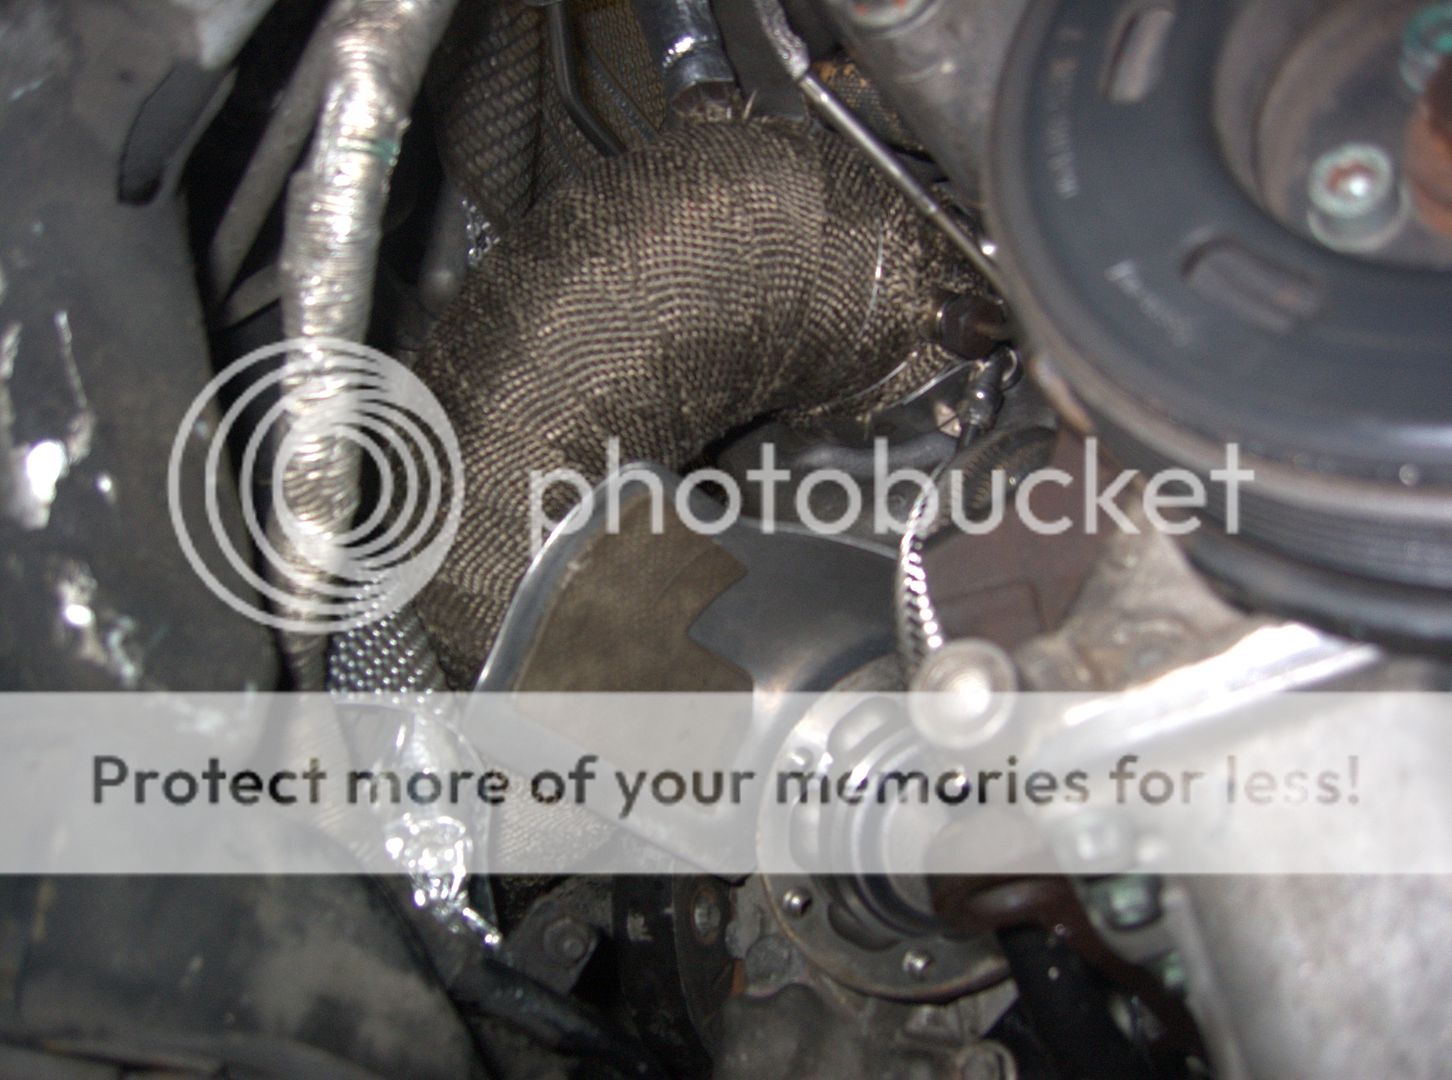


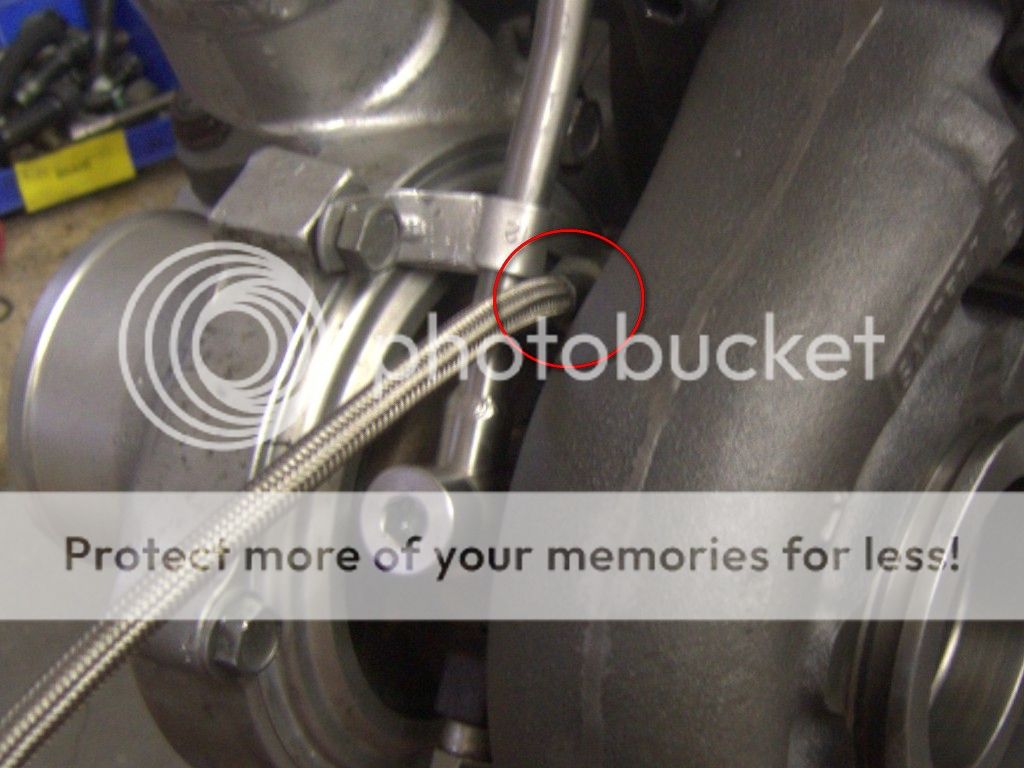
 , alot of chopping and changing has gone on, but i respect you for how much patience youv had! i would of thrown it out as soon as turbo was hitting on transfer box


 ... nothing to report on that yet though as she is still being run in)