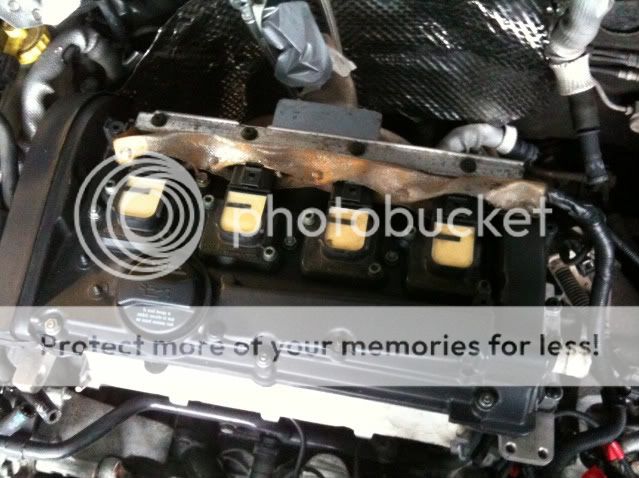
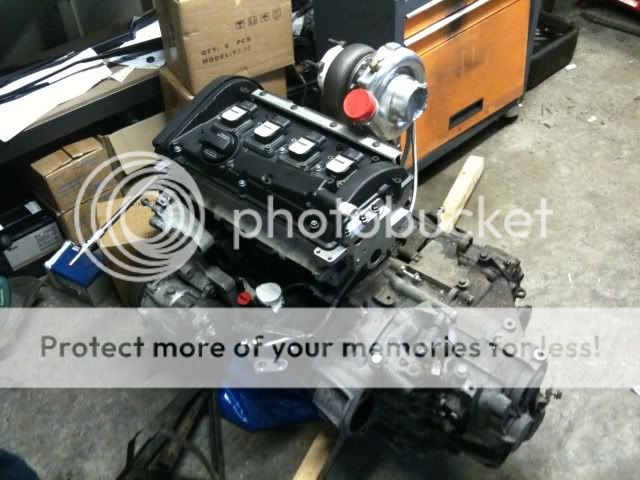
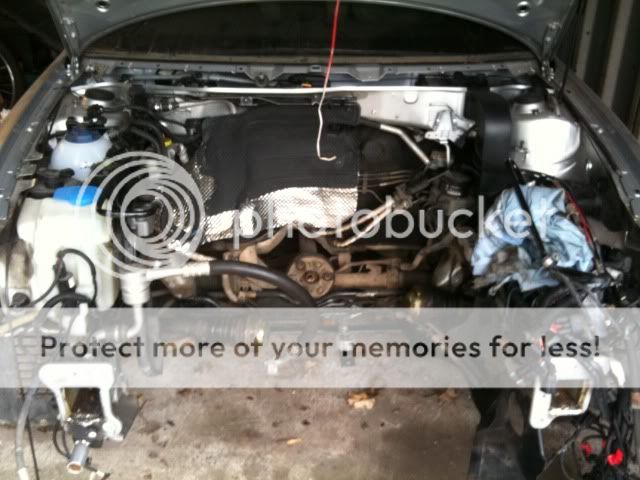
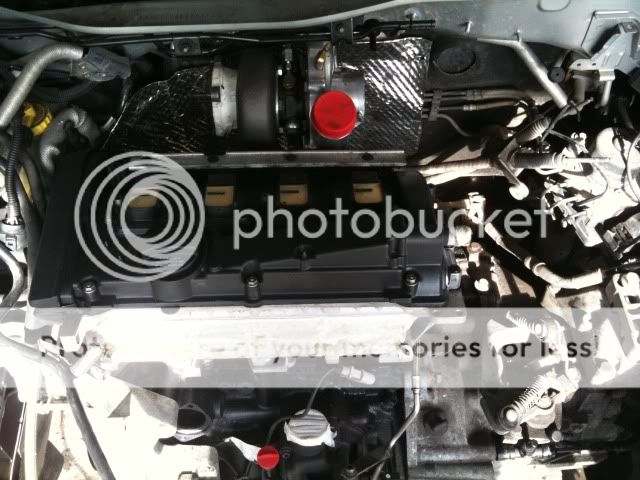
With the engine now in the bay, it is a big step forward. However installing it did highlight a few little problems.
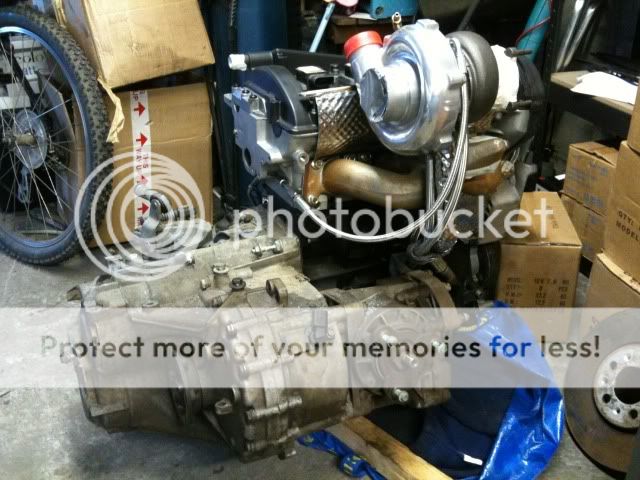
At first the turbo was close to the air con pipes and the brake servo vacuum line. I had to bend the pipes slightly which was easy enough as theyre just ali. At first i thought i was faced with a dilemma of aircon or not. However it was quite an easy fix. The brake servo line will have to be made aswell as the original sits in my way, again an easy fix really. As pictured i also had to ditch the top heatshield. Ill be making another to replace that one soon.
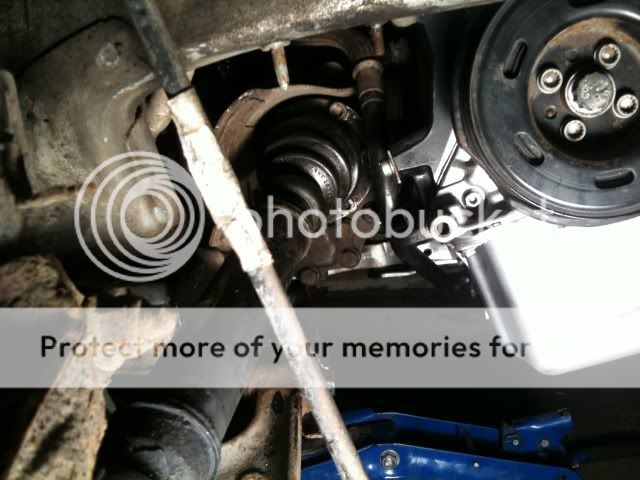
The biggest problem once the engine was sat level and aligned, was that the turbo compressor housing was very close to the top of the bulkhead, on the underside of the scuttle.
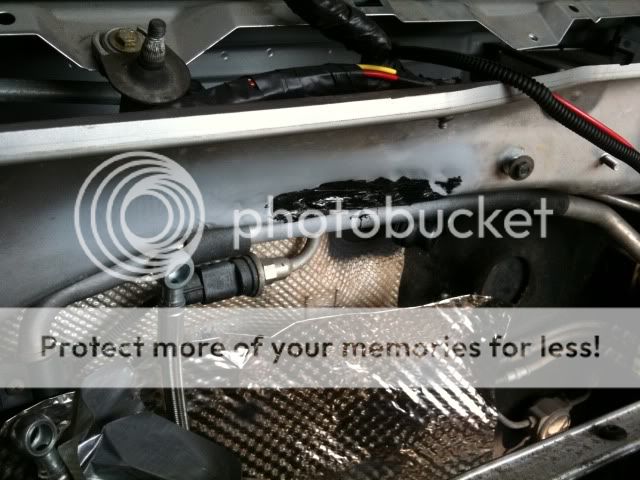
So after filing the compressor housing down slightly, i then bashed the bulkhead.
All i did with this was make sure there was a good few cm`s of space at the rear in case of engine movement or heat expansion. I gave it big licks and the metal split slightly in one place, but this isnt a problem as once i was finished bashing, i prepped, sealed, and then painted.
This isnt cosmetic, as ill cover that area in heatshielding. Its purely to protect the metal. I did consider cutting and welding the scuttle, but decided against it as it simply wasnt necessary, especially as its getting covered anyway.
Once that was sorted, i started on getting the ancillaries all installed. Just plodding on now and making sure everything fits properly, and if it needs modding due to the big turbo, then modding it on the way.
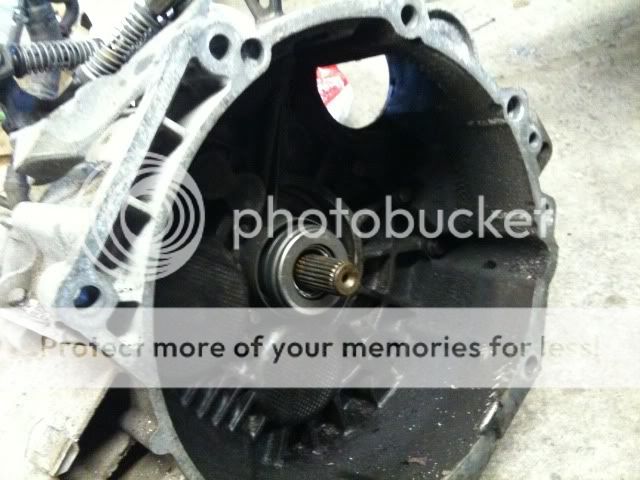
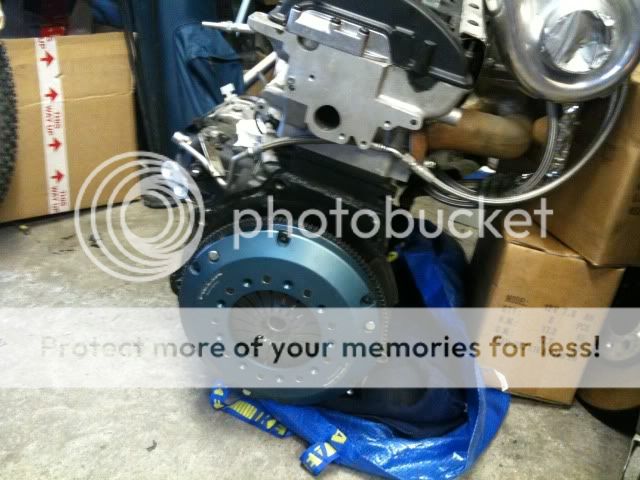
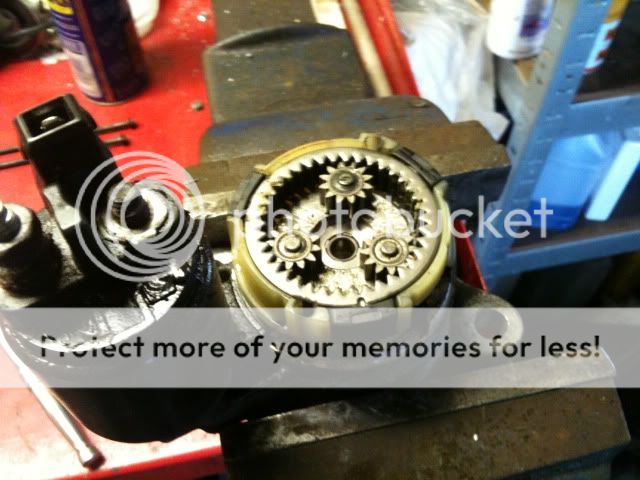
As its common for these starters to screech when starting the engine, i decided to do what i did to fix this on my mk4. It simply needed cleaning out and greasing up. Obv i havnt used this one yet but id like when fitted for it to stay fitted, so i stripped it down to clean out...
Cover comes off...
and then its just a case of stripping out all the planetary gears, the main ring gear and cleaning it all up. Then when clean regreased and built back up. And thats it done, this isnt a rebuild, just a spruce up so hopefully no horrible noises come from it.
Then fitted it...
Which meant i could fit the loom support and get the looms dressed onto the engine. As it was fitted i also connected up all the pas pipes. Had to remember how they all went together but it all came back to me...lol
Time to fess up about being a bit of a tit too, made a few little mistakes of late. Didnt even think about the sump, and when i was under the car fitting the dogbone, i realised the AGU block and sump i had was from a non oil sensor car.

So i needed a sump. Good job me pal had one spare and he even brought it down for me. Top bloke! Cheers Neil.
So now ive got this...
And its even nice and clean!! Just needs a final going over and thatll be going on.
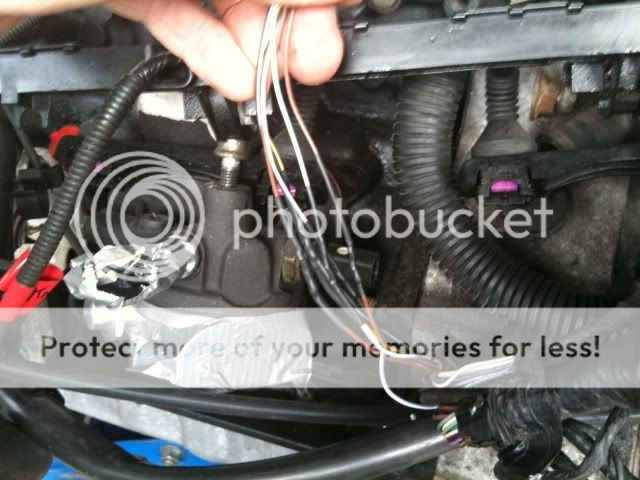
Next **** up was wiring. I checked over the engine loom and even tagged it up to help myself when fitting it. But for some reason i didnt check for the oil sensor and gearbox hall sensor.

And when it wasnt there to feed round and down the back of the engine i shat myself, thinking the loom might be spurious or damaged. But luckily when i took off some of the convoluted tubing, i found the correct cores. Someone probably snipped them out when they couldnt be bothered to disconnect the loom properly. So under the tubing i found these...
Which made me vey happy as ive got looms i the garage which i could take the missing loom from. Then it was just a simple soldering job...
And thats the loom repaired. I rewrapped the loom and then fed it to the back of the engine and dressed the oil sensor loom down the back of the engine to where it needed to be.
Two simple **** ups

But luckily easy to fix!:icon_thumright:
One job i cant stand for some reason is driveshaft removal and installation. So wanted to get that out the way. Got the driveshafts/propshaft and heatshield all fitted with no problems...
And now onto more problems... lol
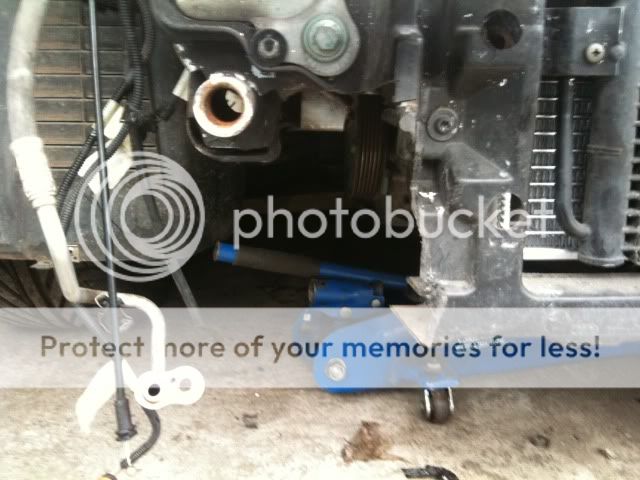
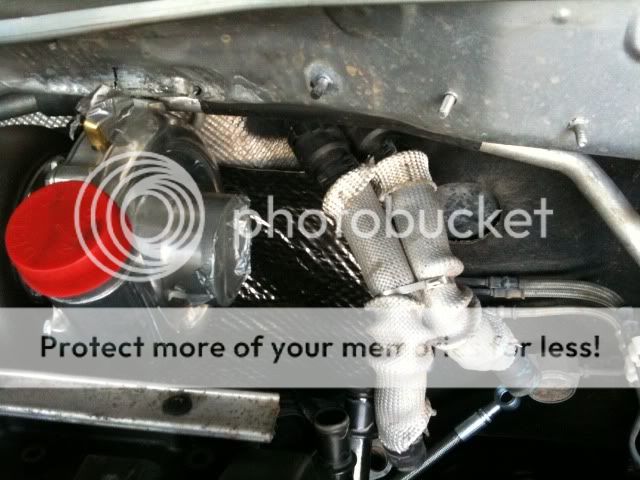
The original heater matrix pipes run right in front of where the turbo intake is going to be...
Not a greatphoto, but trust me theyre in the way. The biggest issue is that the connectors that clip onto the matrix, stick straight out like this...
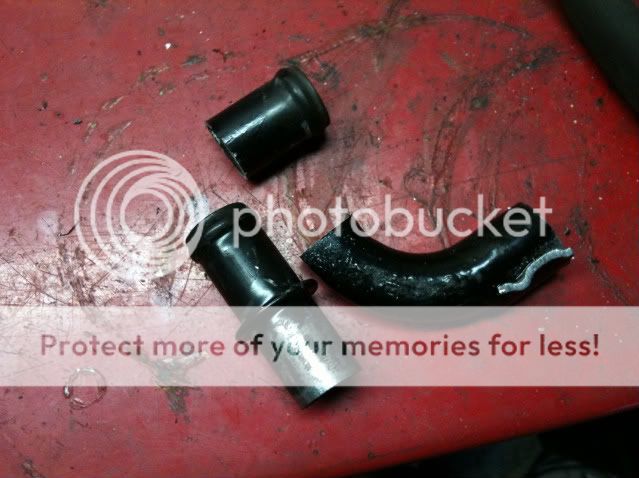
Which puts them in the way, so after a bit of digging i found these ones...
Which are great as i can angle them down. So i got two of them and then mocked up the pipes but they didnt line up with metal water pipe. So out came the hacksaw...
And then mocked up to see where i had to weld the end on...
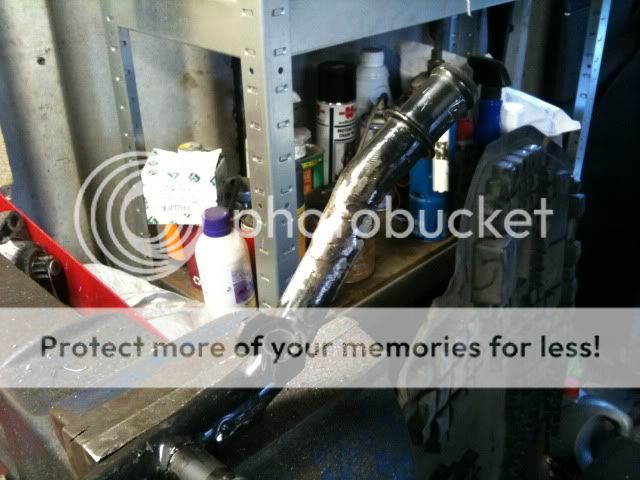
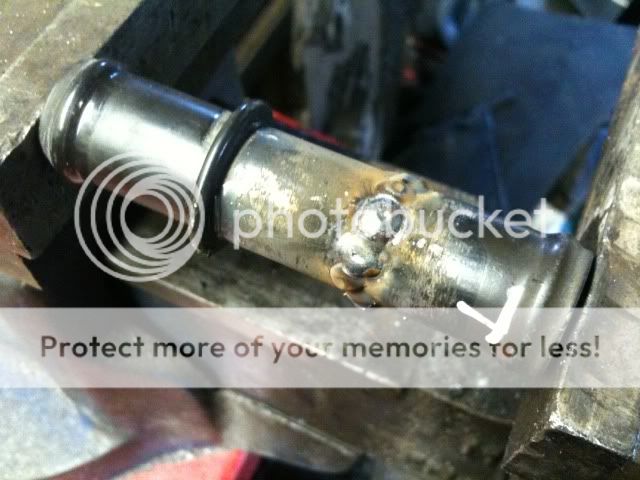
I then welded it up.
I welded it first then dressed it back with the bench grinder, but then decided to go round it again so its a nice big weld as i certainly wont want this failing when on the car as its a PITA to get off once everythings fitted. And this is it fitted with the matrix pipe flipped...
For the other pipe i could have used a 2wd 20vt pipe as it goes straight to the coolant flange on the side of the head, but its got a big kink and would have looked a bit *****. Plus the big loop of pipe would have been close to the turbo. So i used the flipped heater matrix pipe as the top part, and then the bottom part is the 2wd 20vt pipe. This i found was the neatest option and best suited. But i needed a hose joiner then to join the pipes. And as i wanted proper beaded ends to ensure no coolant loss, i had to make one out of the metal pipe remains...
So used two bits together...
And then welded them together...
Not the neatest but didnt matter. Dressed them back...
And then just a quick prep and paint...
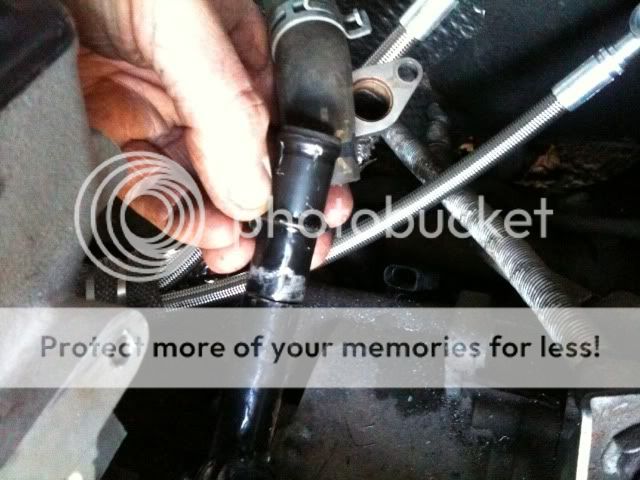
And this is how they will look when fitted. (Just mocked up for now)
No interference so all good!! When making these i made sure none of the pipes were strained and they were exactly where i wanted them, so that when theres pressure in there that they put no unwanted pressure on anything else.
Next tasks will be finally making and fitting the last of the heatshield for the top of the bay and then i can crack on with more of fitting it all up.
Cheers for looking...


")


 ). And also got the alternator cable/knock sensors/connector mount and cable tidy.