What number BKR7E'S do we need for our 1.8t's? There seems to be a few variations.
Just plain BKR7E i.e not the BKR7EK
What number BKR7E'S do we need for our 1.8t's? There seems to be a few variations.

The "code" is the supplier s number, the plugs are just as listed.
I use the Eks too as they are twin electrode so don't need gapping.
Copper all the way for me as they handle the heat better but last less time. I just change every other oil change

I have also decided that the time has come to change my oil pickup pipe inside the sump... Top end is beginning to get a bit rattly, and I suspect that this is the likely cause.
")
Have you done the oil pump, tired oil pumps can also cause noisey tappets. Might aswell change it whilst the sumps off " would be rude not to"
OK, change of plan.
Bit concerned about this whole thing so I am going to take it off the road tonight and use the woman's car to get to work for the rest of the week, and anywhere else I need to go.
Going to start taking it apart tonight I think, as want to see what's what when I lift the lid off.
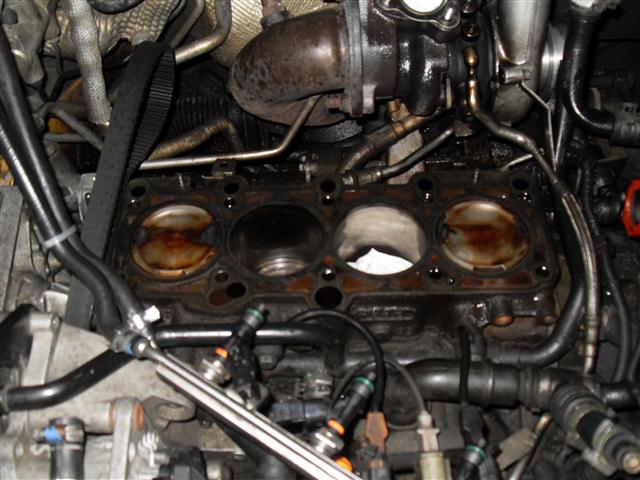
My FPR pipe had a colossal split in it when I looked yesterday, and so I want to make sure all is OK piston and valve wise.
And so it begins again.
A bit more in depth this time though as I will be having a good look up into the block whilst the sump is off...
Will take photos tonight.
Hope the pistons/valves are ok Welly, just when you think everything is going well something else happens!
Bit off topic but is it easy/possible to put a knock sensor on the 1.8t's
i have ordered an aem wideband gauge to have in stock welly....
i have ordered an aem wideband gauge to have in stock welly....
Easy to install Bill?
Can you get hold of this one > VEI Systems -- Intelligent Vehicle Instrumentation -- Products: Instruments
Like this? AEM WIDEBAND Universal Lambda Gauge Kit - NVMotorsport on eBay (end time 21-Feb-11 14:24:00 GMT)
Why do you do it to me???
AEM one is..Easy to install Bill?
Can you get hold of this one > VEI Systems -- Intelligent Vehicle Instrumentation -- Products: Instruments
AEM one is..
weld an additional lambda bung in DP and wire it in
I am not a fan of digital boost guages.. they constantly flick between digits.. give me good old analogue any day for boost
I've got 1 pod in the vent and i'm not a fan of having gauges on the pillar

Just to let you know you can get oil pumps for £55 from GSF, changed mine a little while ago.


i know I went for 7th once when I hit the limiter in 6th in ickle ibiza a few years ago playing with superbikes on an early sunday morning
. Get that car working!! lolWicked

pictures!
what happened to ur HD movie excitement lol
I'll take some I promise. Been a bit lazy with the camera lately...

In all seriousness though, are you doing the pickup pipe?

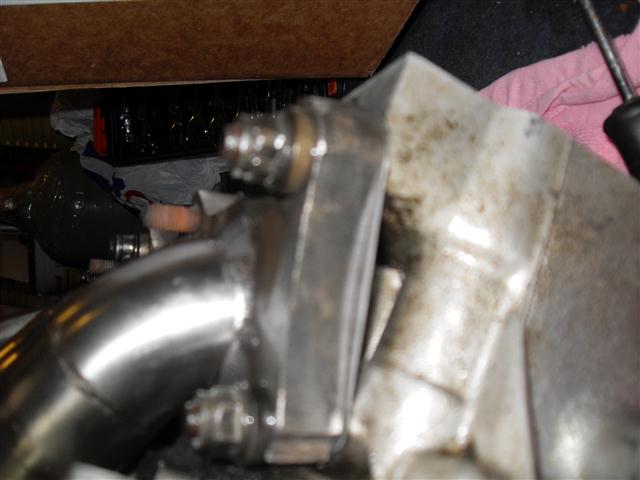
 to make runner 1 fit a bit nicer around the head - see below: