

- Joined
- Nov 24, 2010
- Messages
- 15,084
- Reaction score
- 1,131
- Points
- 113
- Location
- Plymouth
- Website
- wheelsnwires.blogspot.com
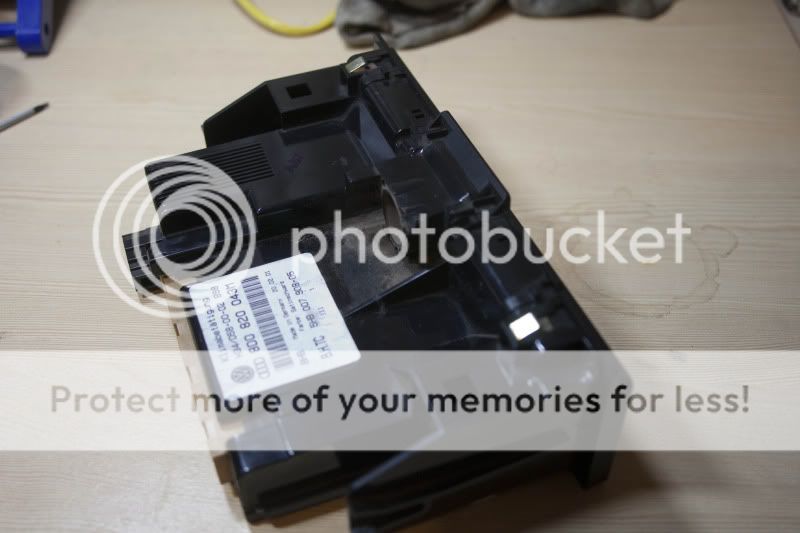
I'm bored and thought it be a good idea to strip down my AC control unit and give it a clean.
You will need a T6 screw driver to take the unit apart.
First get a set of AC Controls

Remove the two screws that holds the fan in place. The fan can be a bit stiff to pull out but give it a wiggle and a tug, it will soon come out.
Then the 4 screws that hold the faceplate to the body. Left and right of the fan is two clips. small screw driver or the T6 screw driver, in the top one and little wiggle away will release. Do the same for the other side.
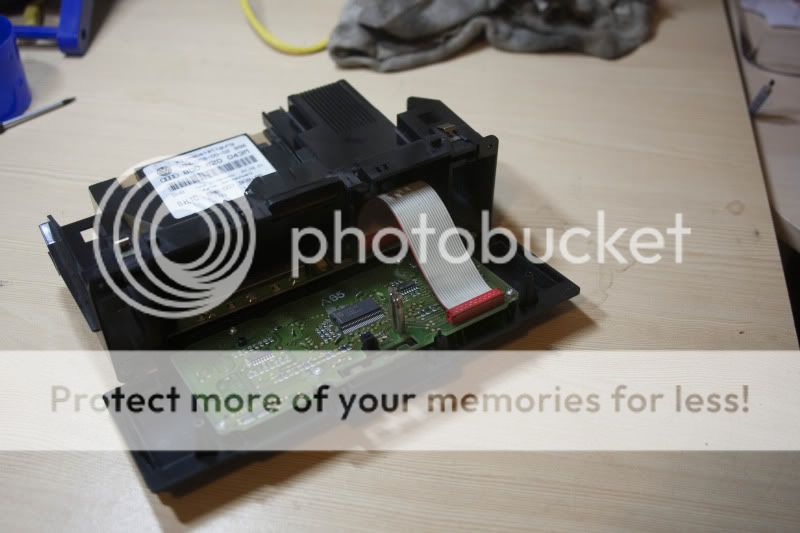
When remove the faceplate what out for the ribbon cable. This is soldered on to the button board.
Lay the faceplate down and you will see 4 more T6 screws. Remove theses.
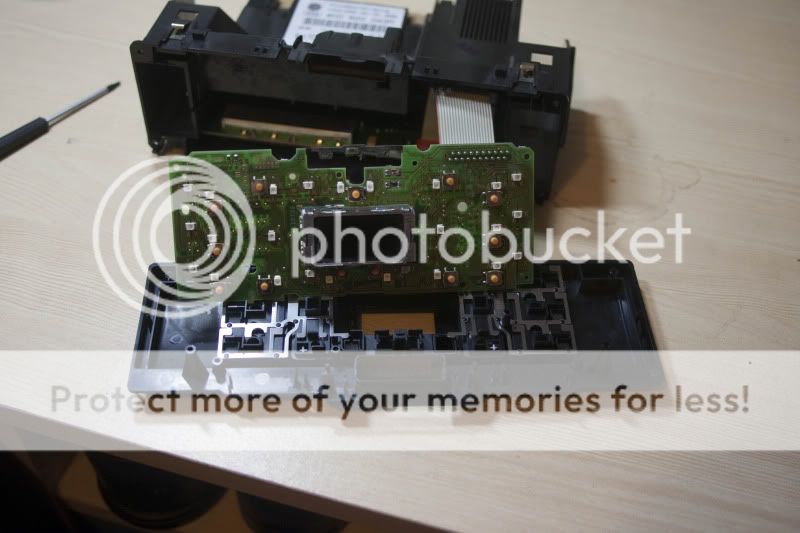
You should now be left with just the buttons.

Time to take the buttons out and give them a clean. If you look on each side of a button, you will see a small hole. This is the catch that stops the buttons from fall out. You will need to push the button out, towards the front past this clip. Just go careful not to stab your self, break the button or damage the tracks (this will make the buttons movement rough). Use a small screw driver and gently push down with in the hole on each side. I used cotton wool buds and some alcohol cleaner.

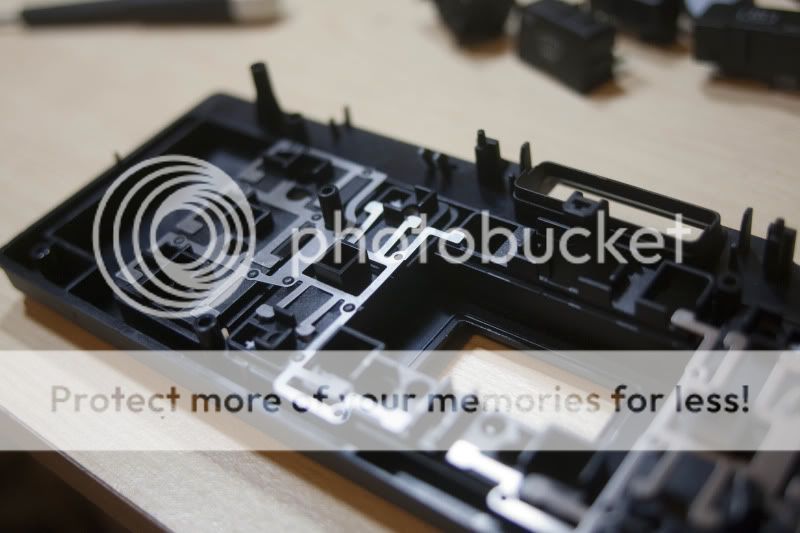
Below is a picture of the springs. one of the plastic welds was snapped off and caused the metal spring to move away from the panel a little. I used my soldering iron and melted some more plastic over it. It seemed to hold during the test and refitting of the buttons.
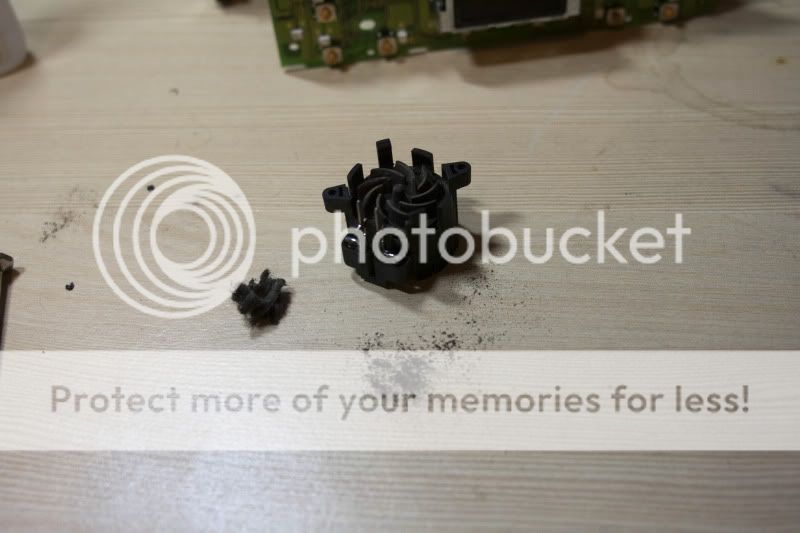
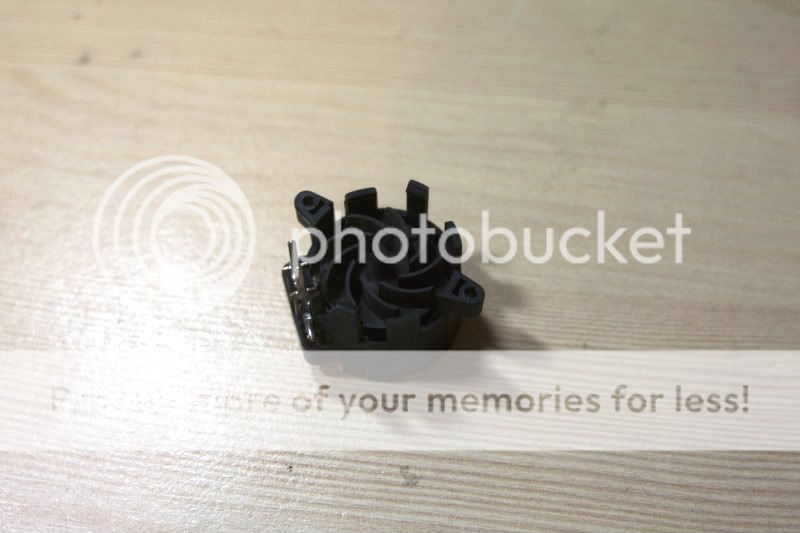
Time to clean the fan. Unless this has been done before the fan will have about 10 years of hair, skin and other particles.

Screw driver, cleaning alcohol and cotton wool buds did the job.
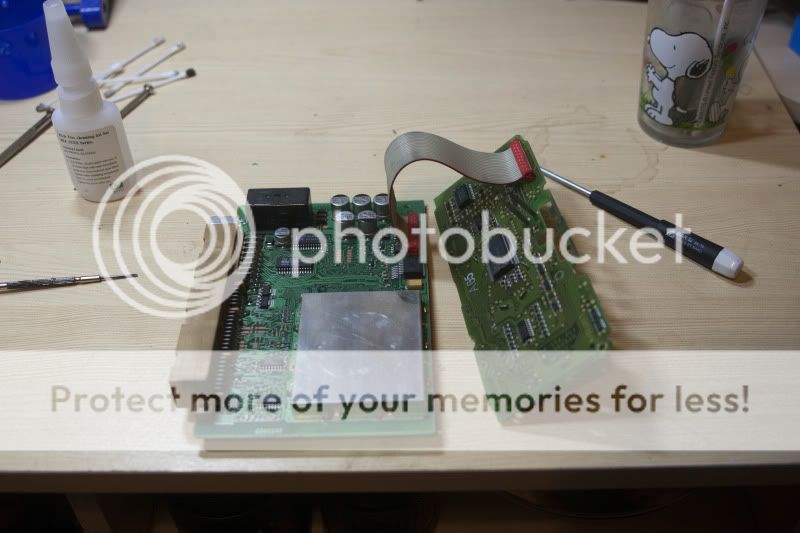
I also removed the boards. No real reason, just felt like it.
And put it all back together.

You will need a T6 screw driver to take the unit apart.
First get a set of AC Controls
Remove the two screws that holds the fan in place. The fan can be a bit stiff to pull out but give it a wiggle and a tug, it will soon come out.
Then the 4 screws that hold the faceplate to the body. Left and right of the fan is two clips. small screw driver or the T6 screw driver, in the top one and little wiggle away will release. Do the same for the other side.
When remove the faceplate what out for the ribbon cable. This is soldered on to the button board.
Lay the faceplate down and you will see 4 more T6 screws. Remove theses.
You should now be left with just the buttons.
Time to take the buttons out and give them a clean. If you look on each side of a button, you will see a small hole. This is the catch that stops the buttons from fall out. You will need to push the button out, towards the front past this clip. Just go careful not to stab your self, break the button or damage the tracks (this will make the buttons movement rough). Use a small screw driver and gently push down with in the hole on each side. I used cotton wool buds and some alcohol cleaner.
Below is a picture of the springs. one of the plastic welds was snapped off and caused the metal spring to move away from the panel a little. I used my soldering iron and melted some more plastic over it. It seemed to hold during the test and refitting of the buttons.
Time to clean the fan. Unless this has been done before the fan will have about 10 years of hair, skin and other particles.
Screw driver, cleaning alcohol and cotton wool buds did the job.
I also removed the boards. No real reason, just felt like it.
And put it all back together.


")