

Talkwrench
Hoonigan
I just happened to stumble across this thread, and what a thread it is. It's guys like you that push the boundries on what a car should be that make us modfiers as skint as we are. The lengths you've gone to are amazing and would love to see this ripping up the quarter mile. As far as I'm concerned, sleepers are the ultimate cars. Great read and can't wait to see a video if you finally treat yourself to a camera.
Best build thread I have ever read, just spent nearly am hour or so reading through everything, wicked read and much respect
After reading through all 359 posts, I am a changed man lol
Firstly apologies for the delayed response and many thanks for the compliments chaps, always good to hear and Iâm glad you enjoyed the read, I know thereâs a lot to get through!
I think its time for a quick update; unfortunately progress has slowed due to being involved in other folkâs projects! Iâve been fabricating all sorts, drawing stuff up for machining and running back & forth to the machine shop and what not! But in between all that I have managed to get a few small things doneâ¦â¦â¦..
Finished off mounting the Tilton reservoirs to the strut bar, once Iâd drilled all the holes I tapped em all out to accept the M8 fasteners

Then bolted them on


Happy days! Then bolted the strut bar back into the carâ¦â¦

Job done.
I then turned my attention to the planned wiring changes. First job was to get the battery + bulkhead fitting fitted because naturally the battery is going in the back of the car.

Then for once I saved a few quid by reusing the S2âs battery cable, the battery in my S2 was mounted under the rear bench so the cable fit the bill & it fit perfectly, made forât job.


So I just need a battery tray to mount my red top race battery into and thatâs another job ticked off the list.
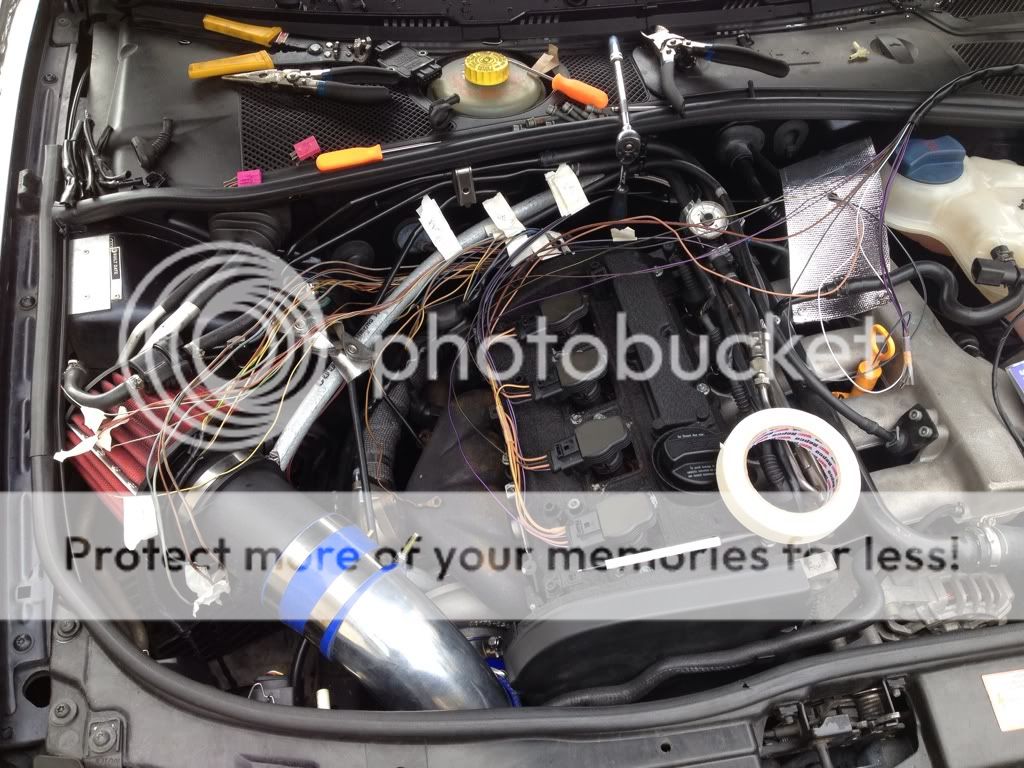
I then turned my attention to the ECU wiring and various upgrades & or additions, since the ECU use to be mounted in the plenum tray next to the batteryâs original position, I wanted to now mount this in the car, hence the bulkhead connectors. So first job was to plan which wires needed to go where, so of them wonât leave the cabin where as some obviously will pass through the bulkhead connectors. If I didnât sit down and think about this I would without doubt forget something and once itâs all braided you canât add or change the wiring without starting again! So Big brew, note pad, multi meter & big bundles of wire were required

So with the ECU now planned to live where the rear bench normally goes I routed the cabling accordingly to gauge the lengths of braiding to order and make sure everything was going to reach.


Now Iâm happy thatâs all going to be alright Iâve ordered all the cable braiding and heatshrink from the far east, it normally comes through swiftly so once that arrives I can braid the looms up from the comfort of my couch. Still need to make the ECU bracket which I've already drawn up, that won't take long.
I plan to add in some additional functionality to the set up by utilising some of the unused inputs to the ECU, launch control, MAP select, Hi / low boost & possibly nitrous. I will need a switch panel to make all this work, problem being that I canât reach the centre console whilst strapped to the bucket seat so I need to have a think about that.
And thats all for now folks, hopefully progress will pick up again now I have satisfied my friends requests for parts! I have a few things up my sleeve........... All will be revealed in time.


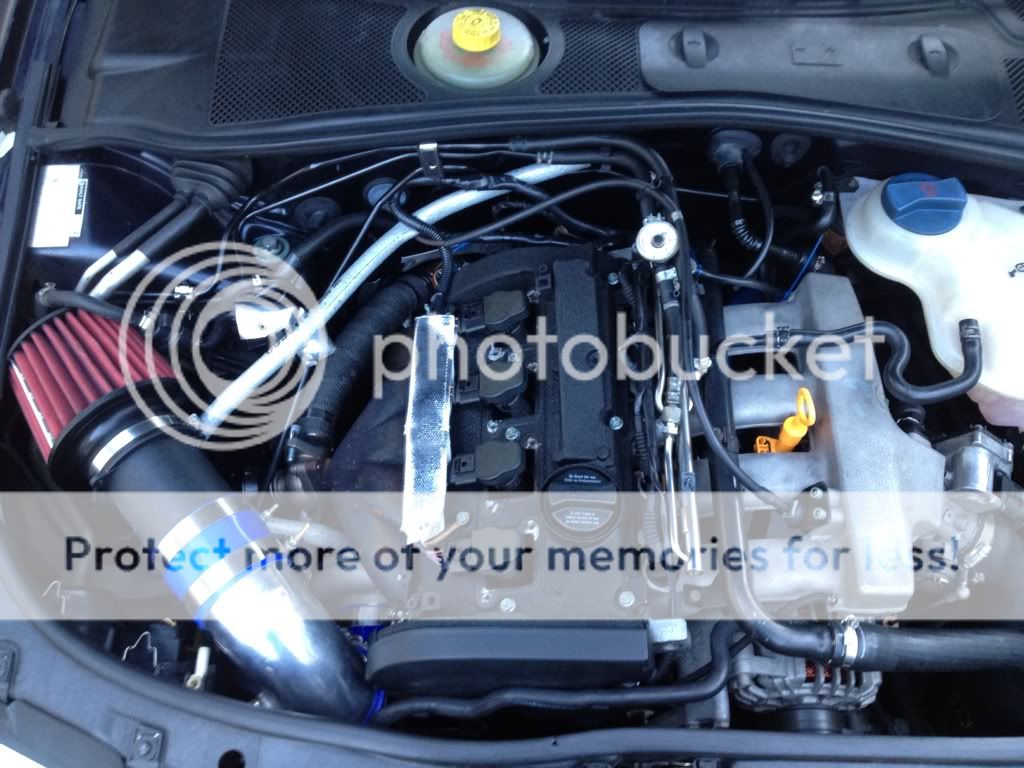
 Like the crackle finish on the rocker cover dude and the install looks nice & tidy.


 I then sat in the car for a while making car noises


 . It will be going back on the rollers when its all back together to see what affect all these little changes make, Im hoping the combined affect will be considerable! Plus the guy who maps it has just invested in a 4WD dyno which will make life easier as we won't need to rent the dyno off someone else. He did a 2.0 20V at a little of 700HP the other day!

