jamiebennett81
Registered User
Standard spec:
Standard spec:
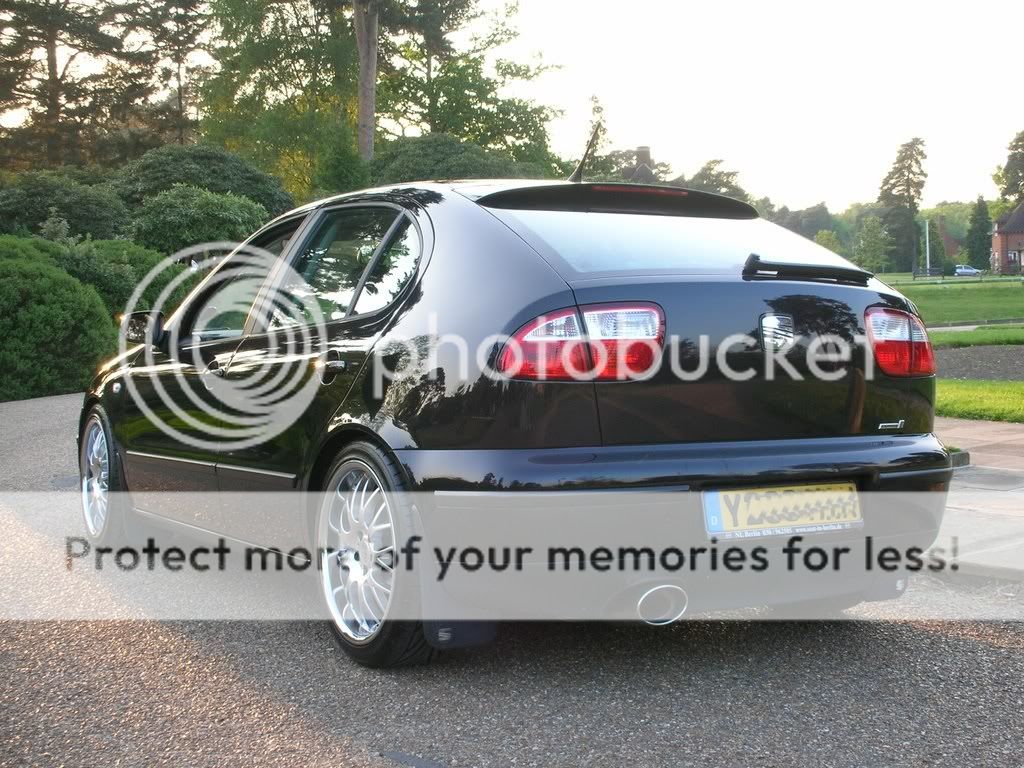
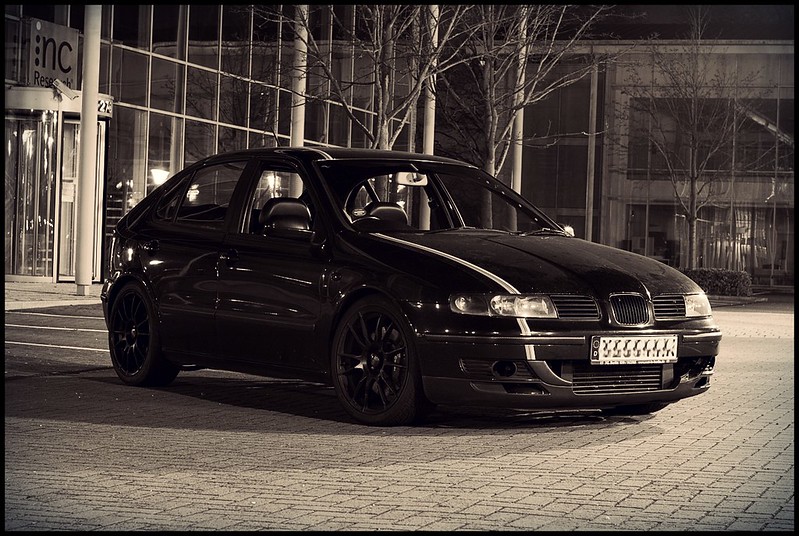
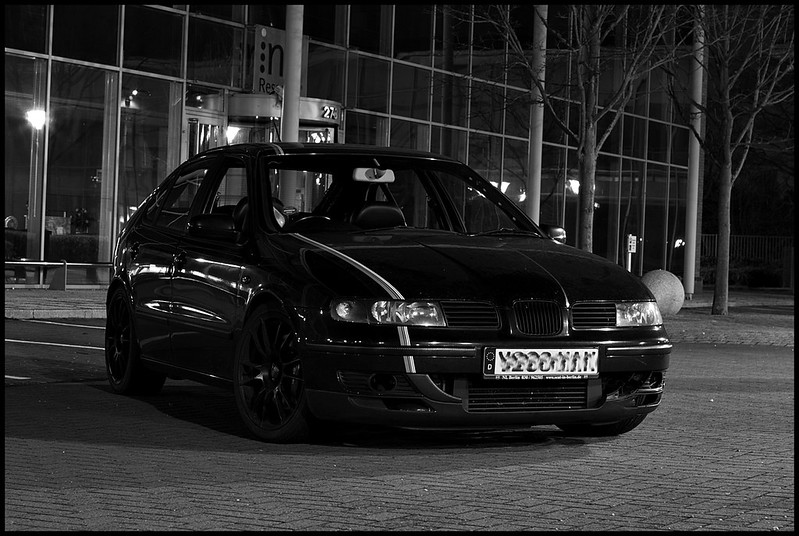
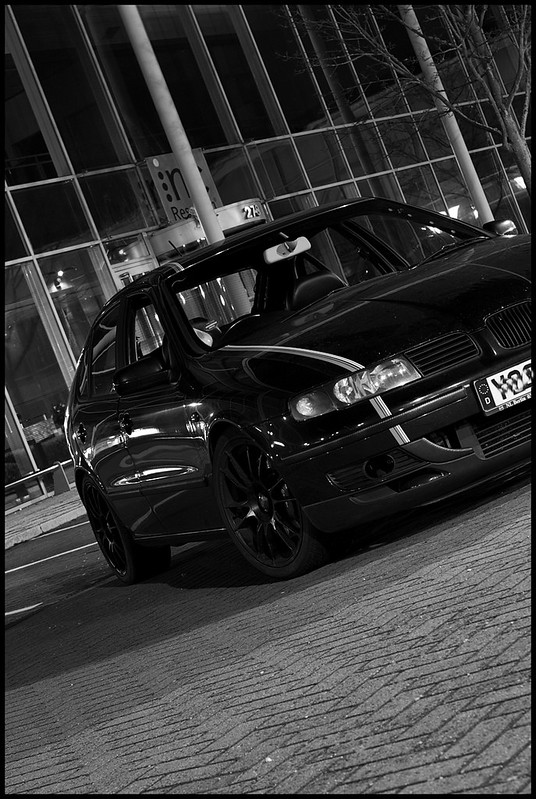
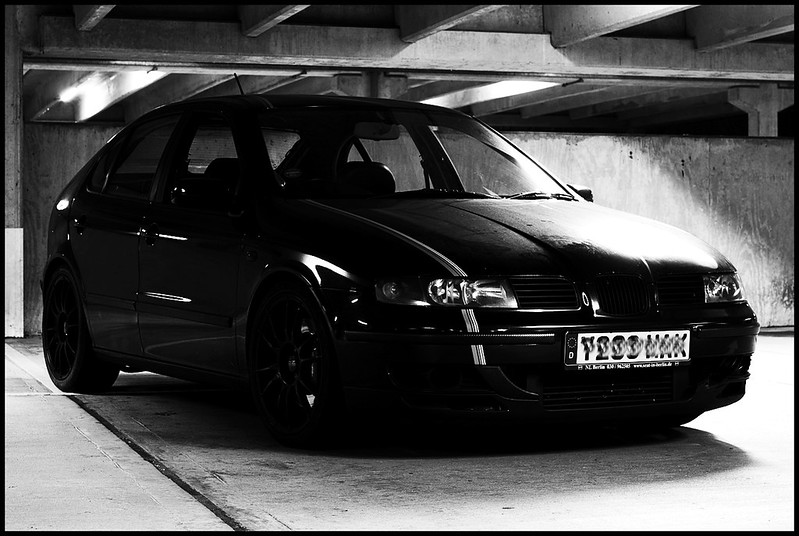
2001 Black magic Seat Leon Cupra
Full black leather interior
Electric front seats
Electric folding mirrors
Electric windows all round
rain sensitive wipers
Auto dimming rear view mirror
Any other usual extra's
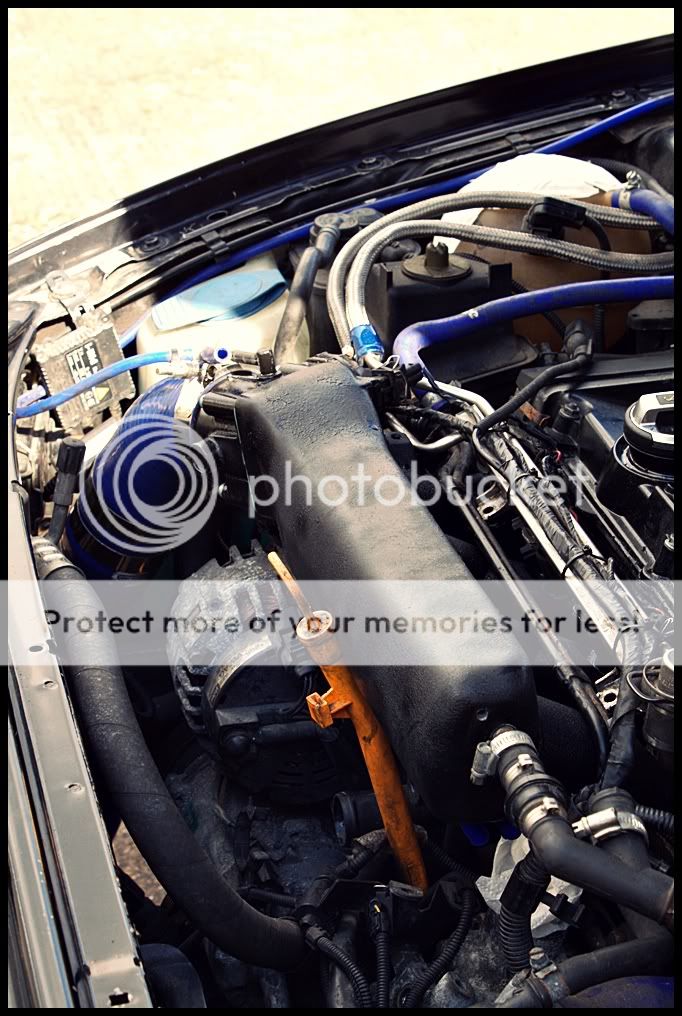
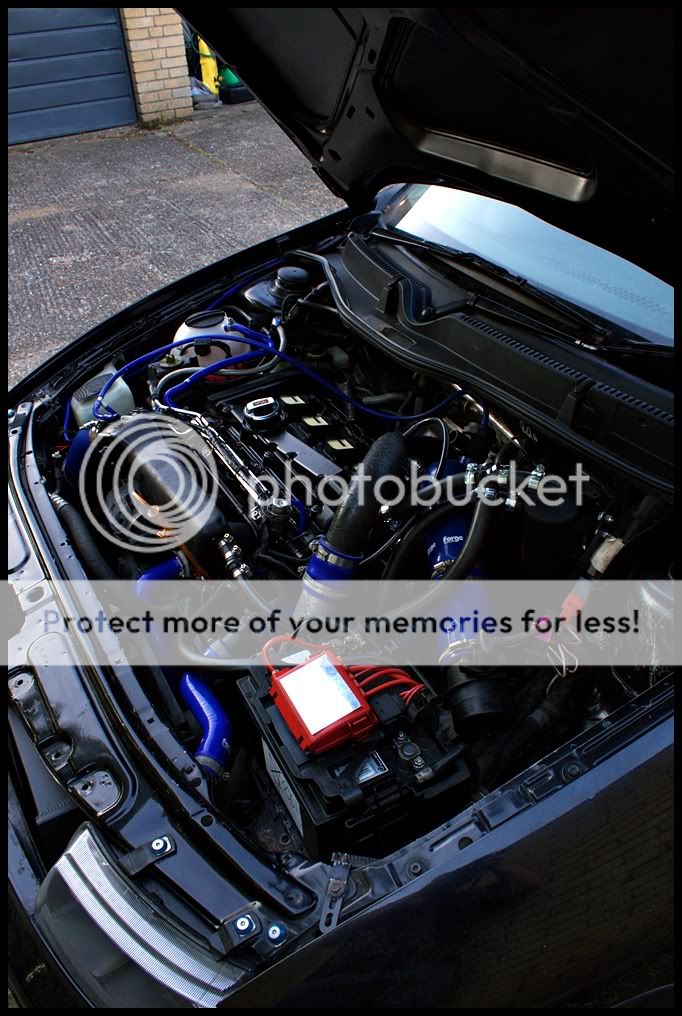
Modifications:
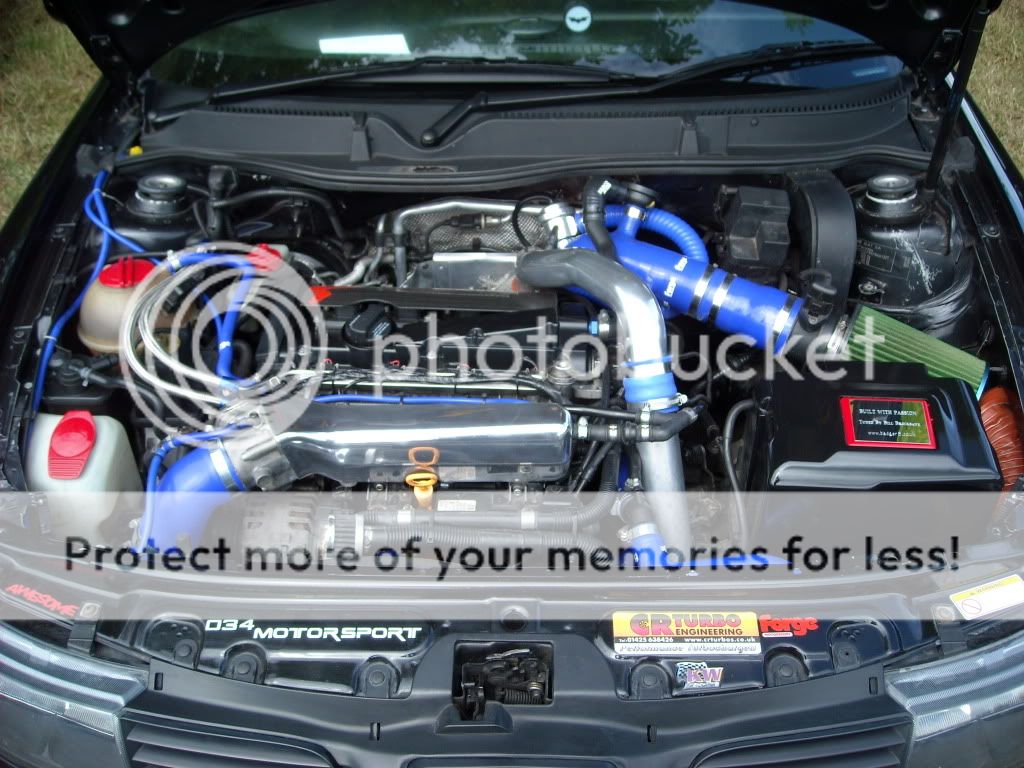
Engine
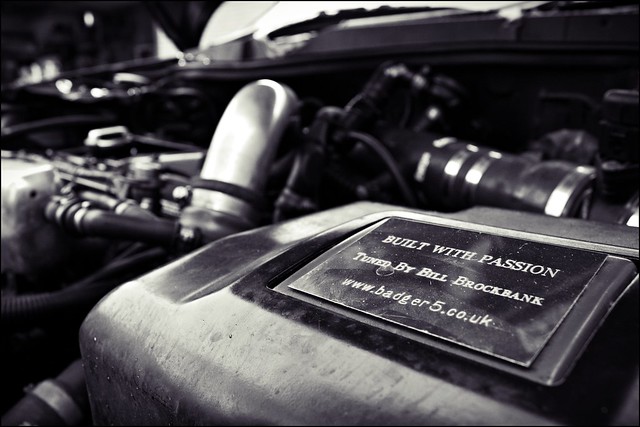
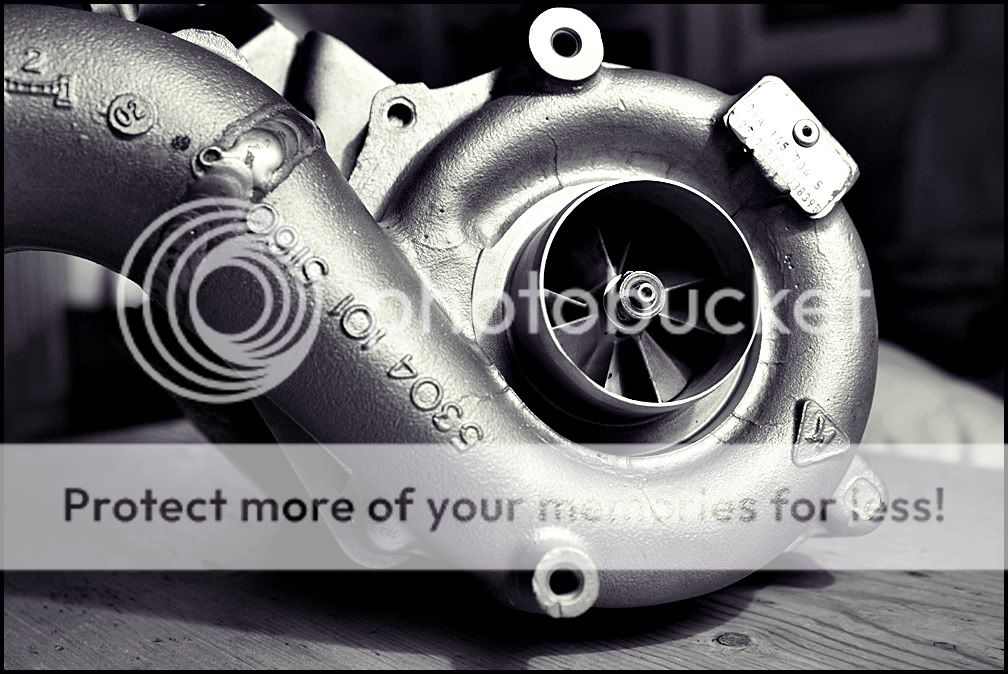
K03 hybrid turbo - Built by CR Turbo's (basically a ported K03 mated to a K04)
K04 MAF housing
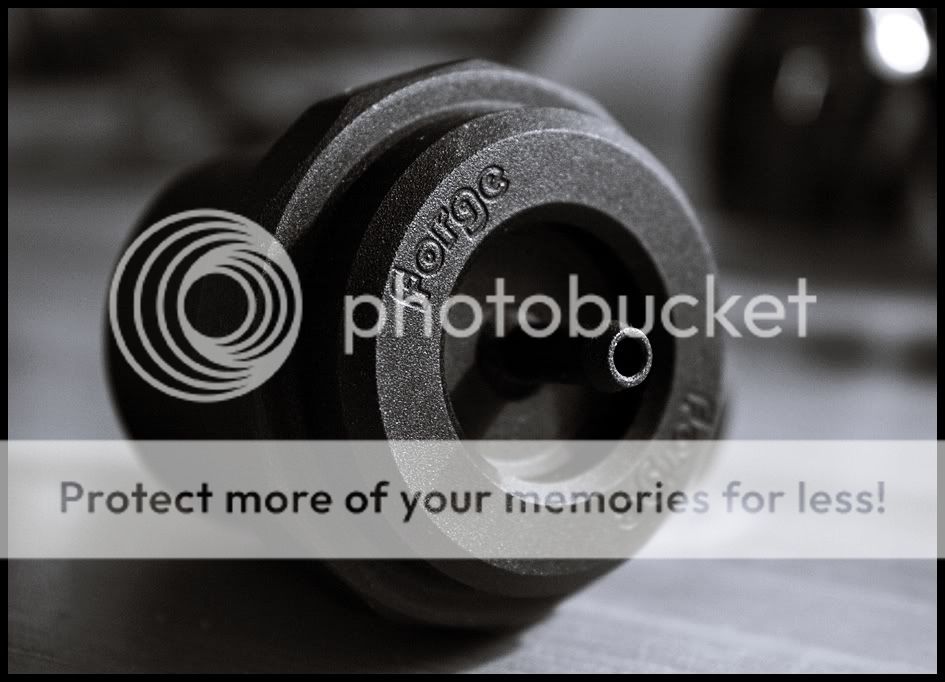
Forge Actuator
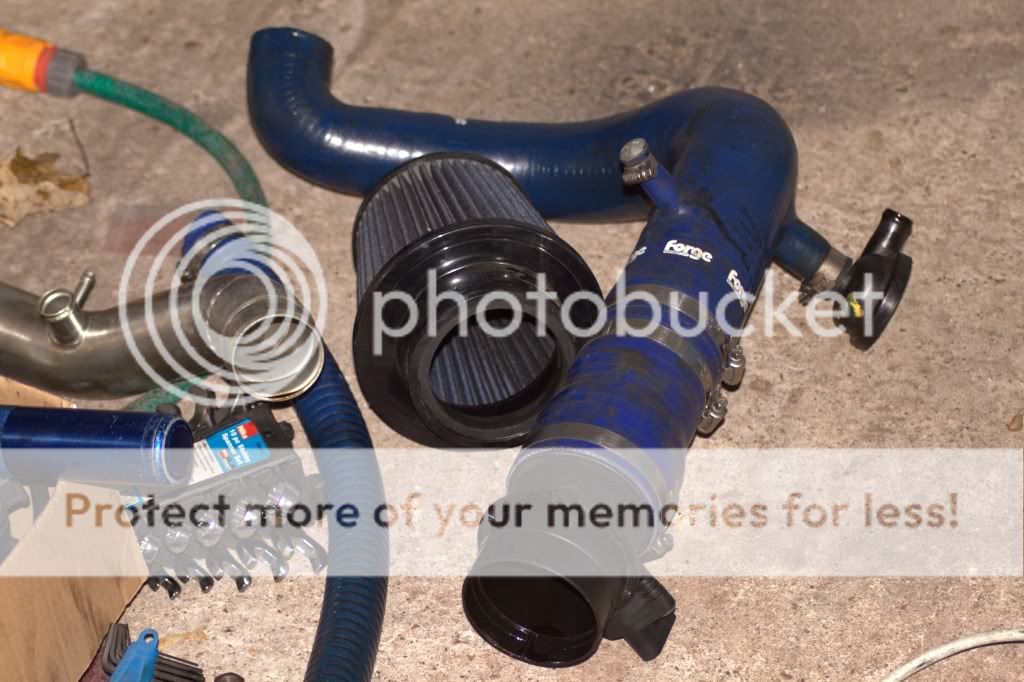
Forge TIP
Forge DV
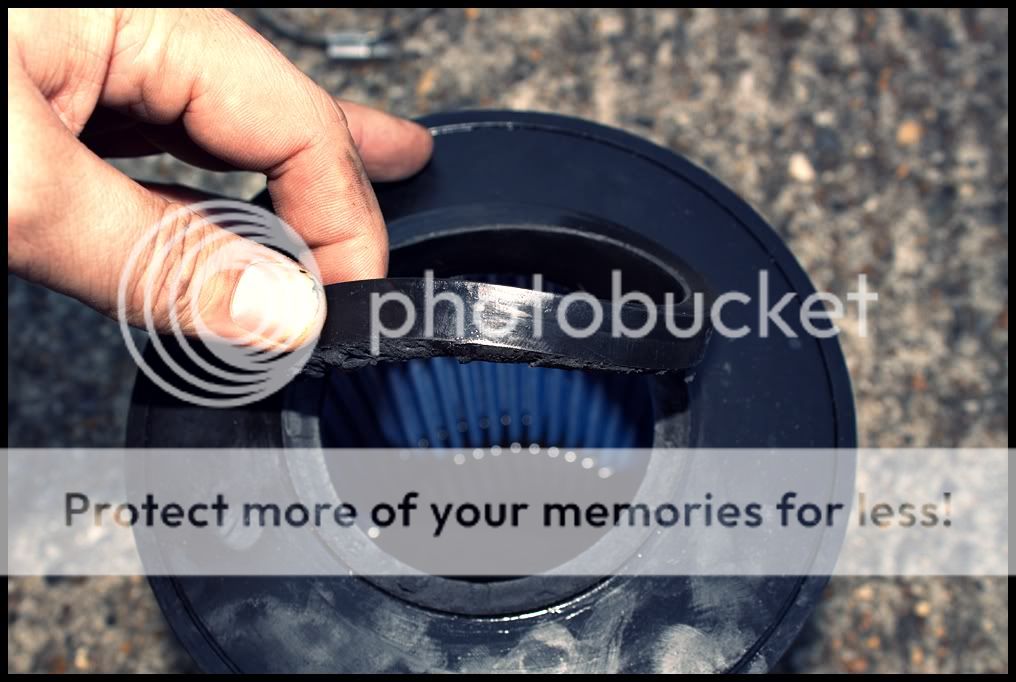
Green cone filter
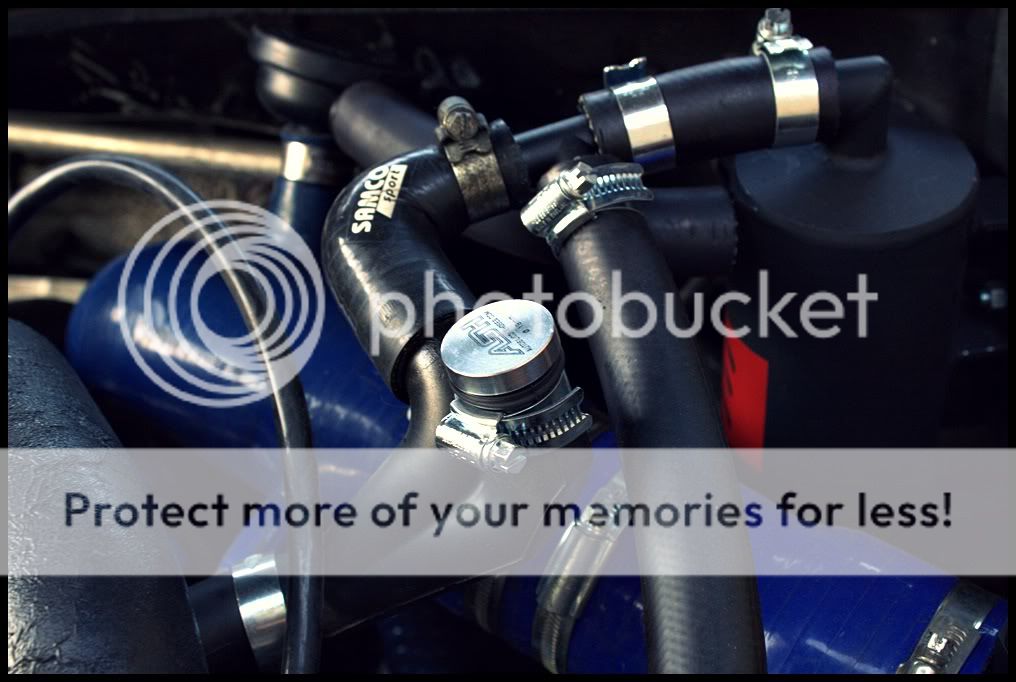
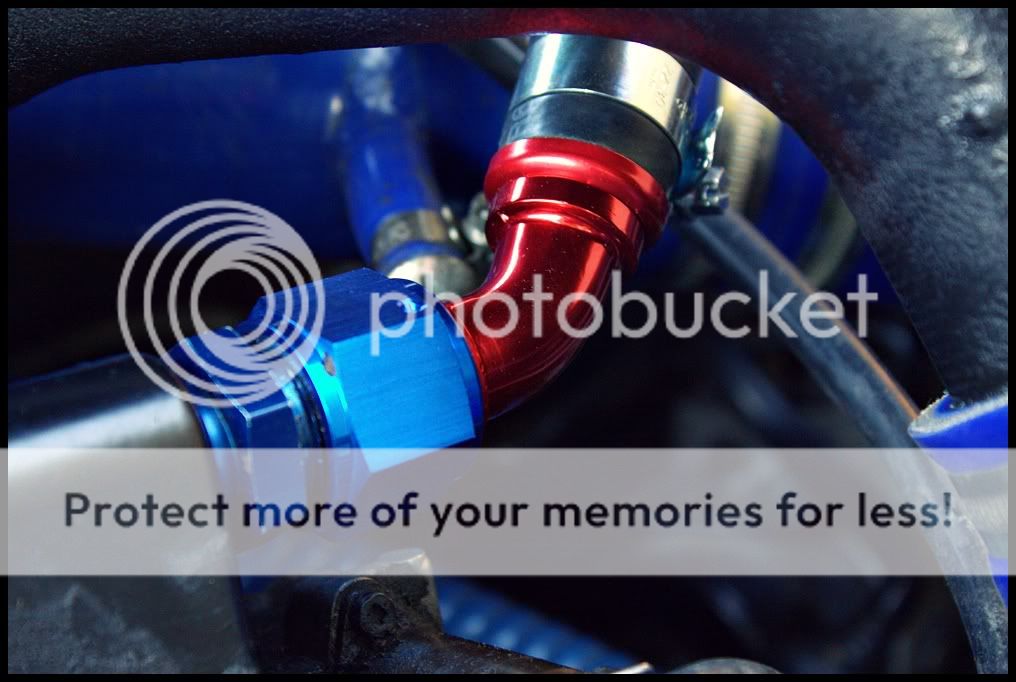
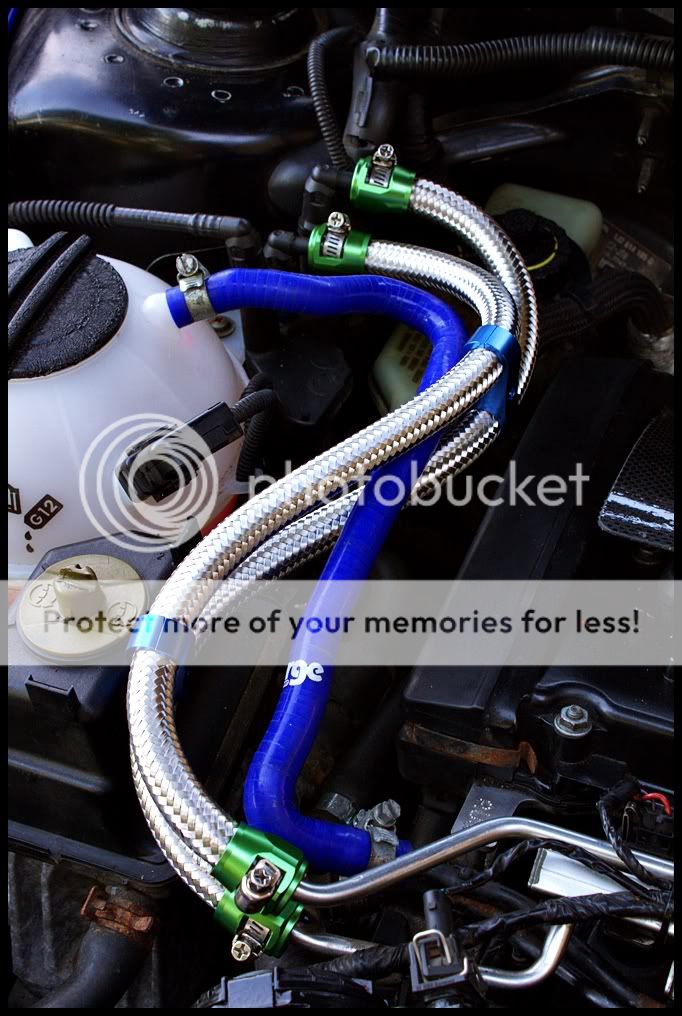
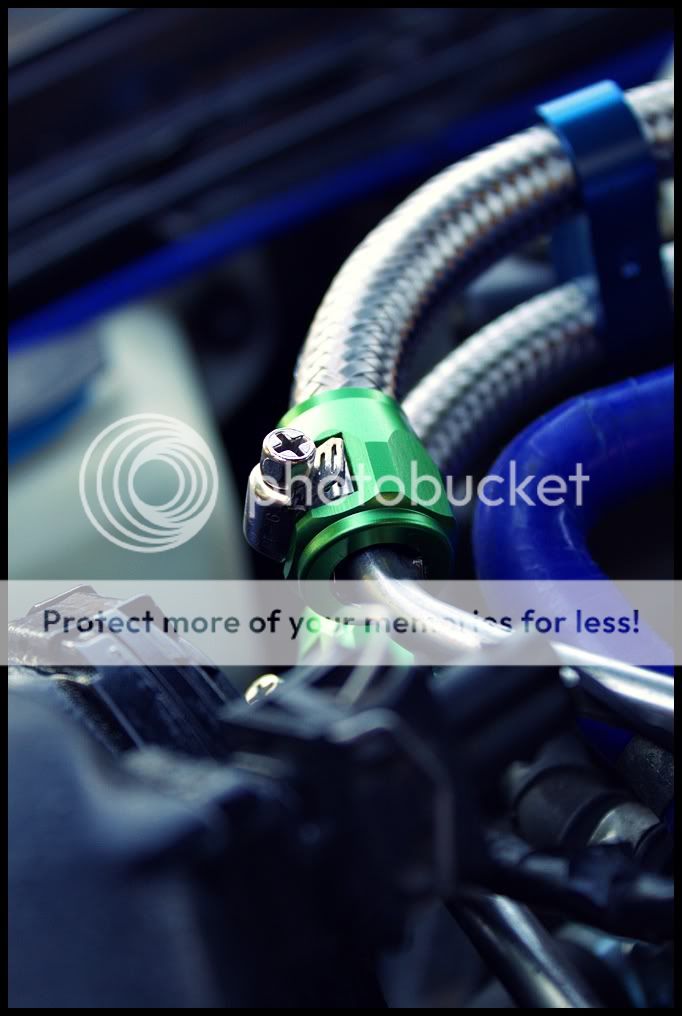
Braided fuel lines
Audi R8 petrol cap
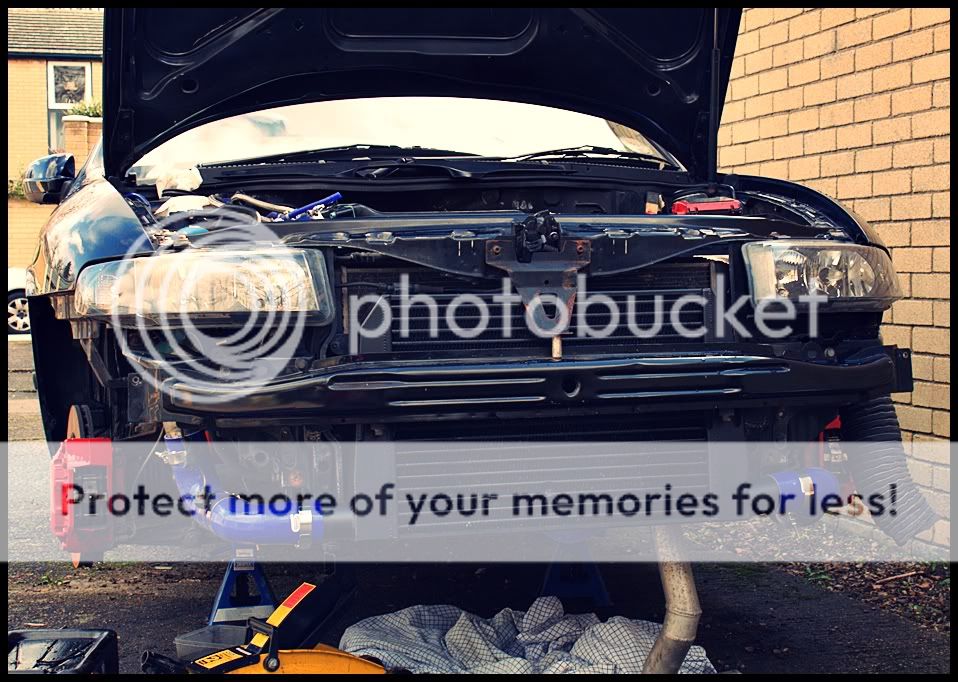
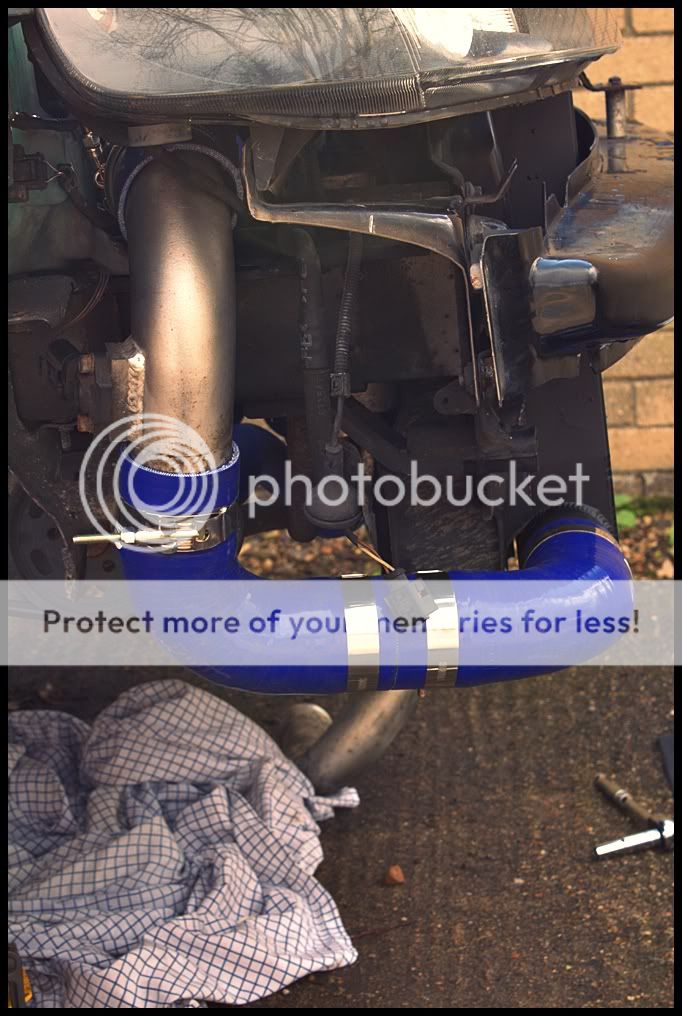
Pro Alloy FMIC
Blueflame oval turbo back exhaust
Decat
3" Downpipe
Stage 3 clutch
Carbon fibre coil pack cover
Hitachi bolt down coil packs
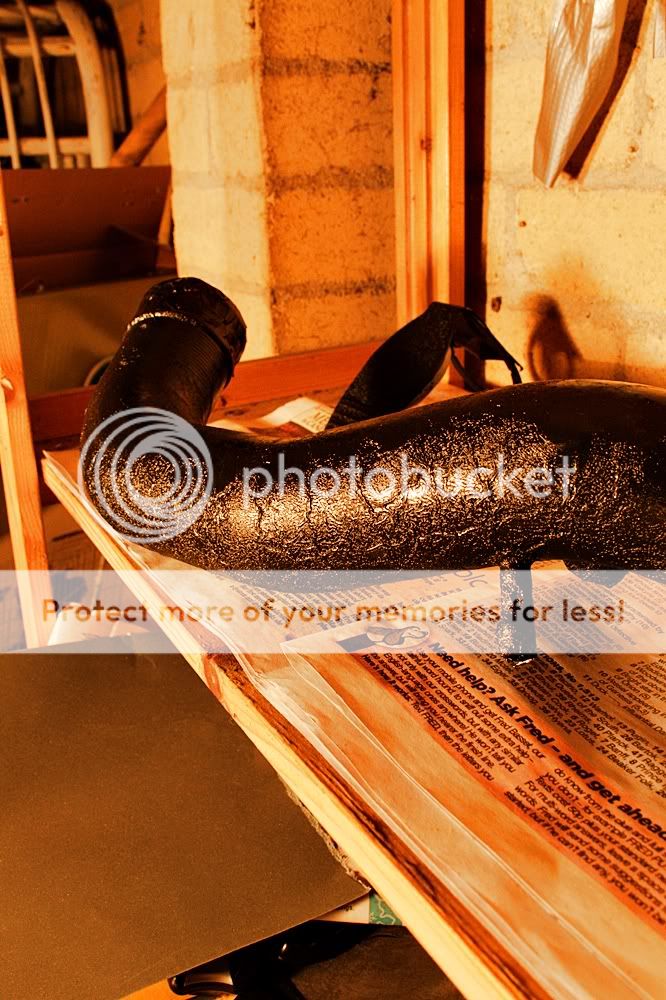
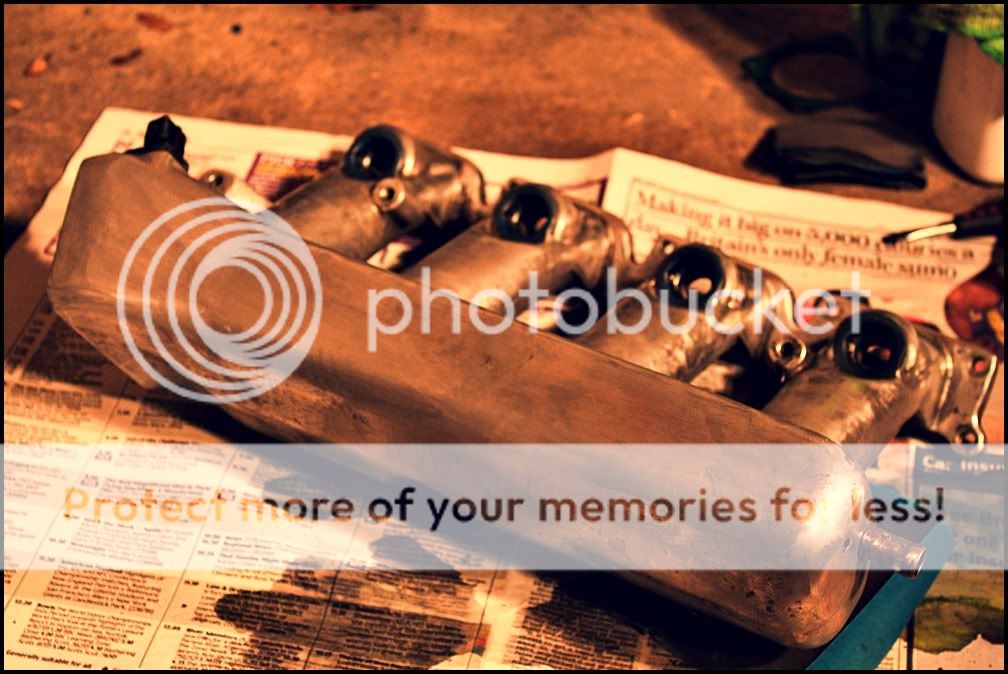
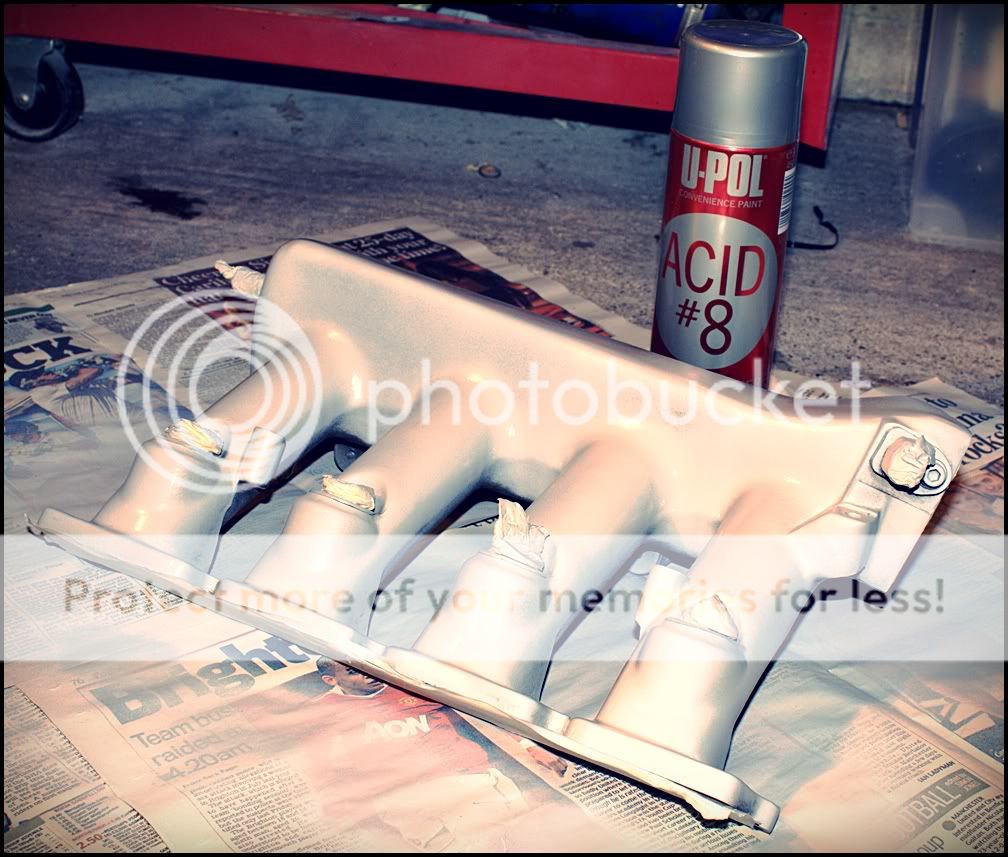
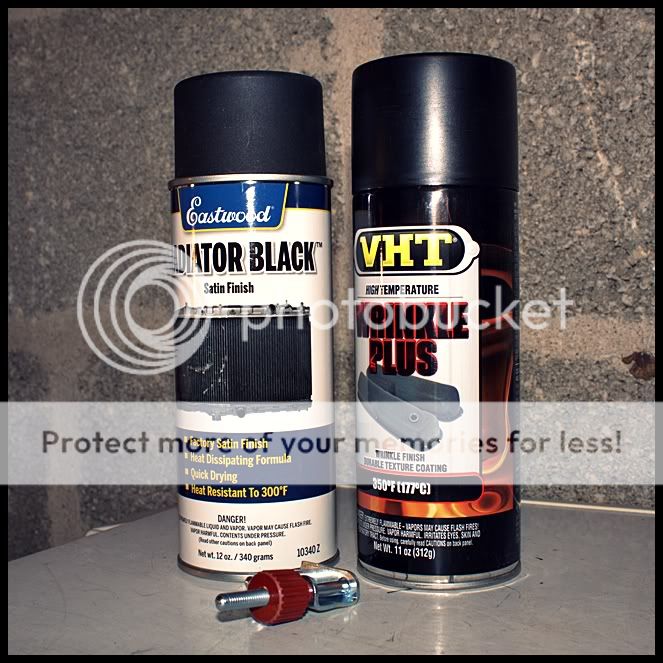
Crackle black intake manifold
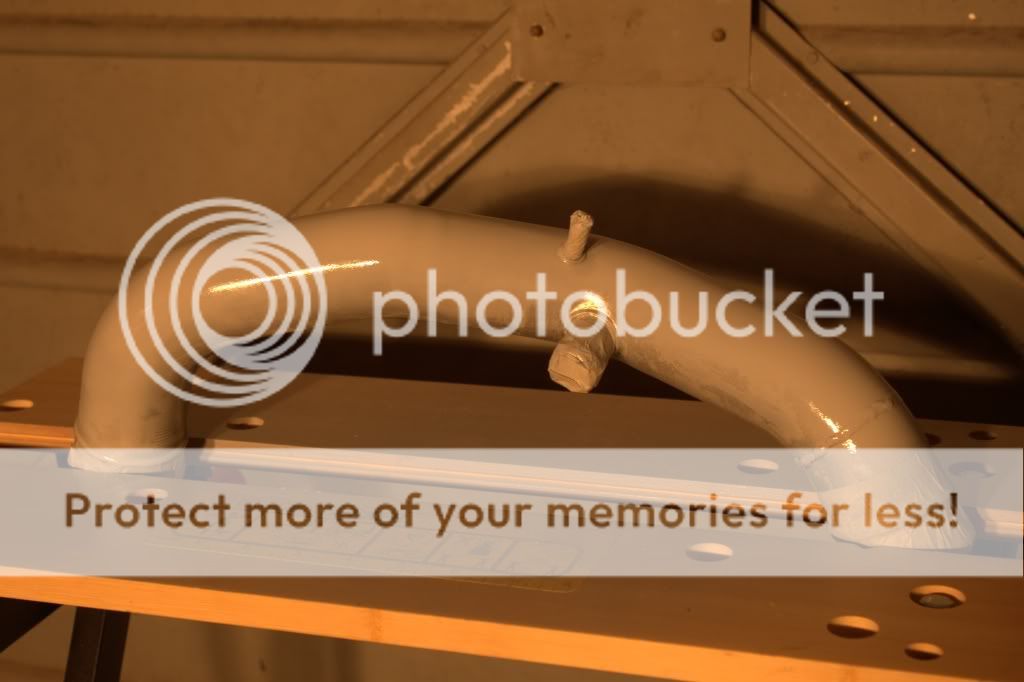
Crackle black charge pipe
Forge coolant pipes
Satin black cam cover
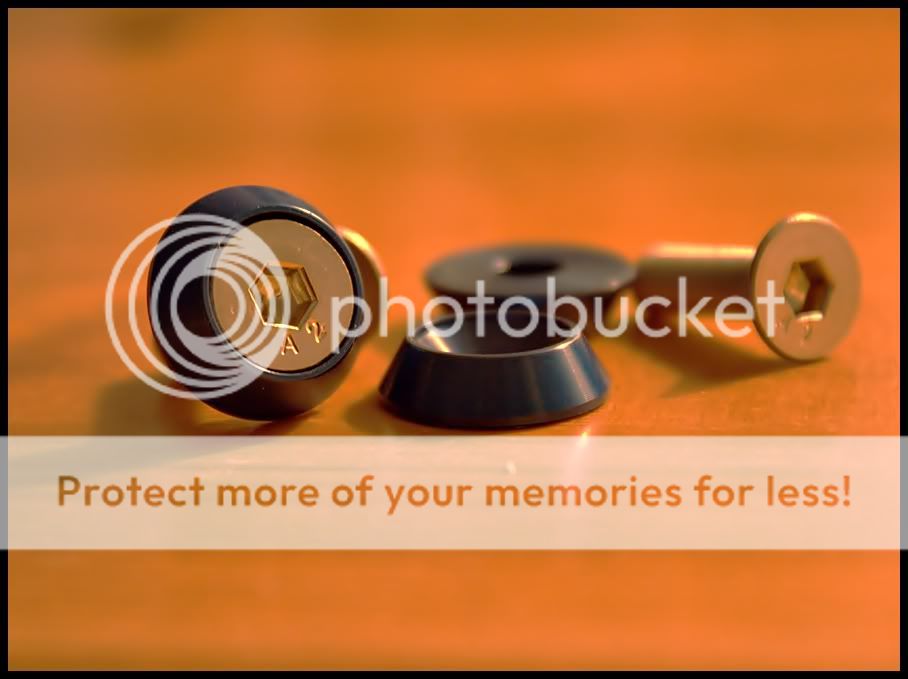
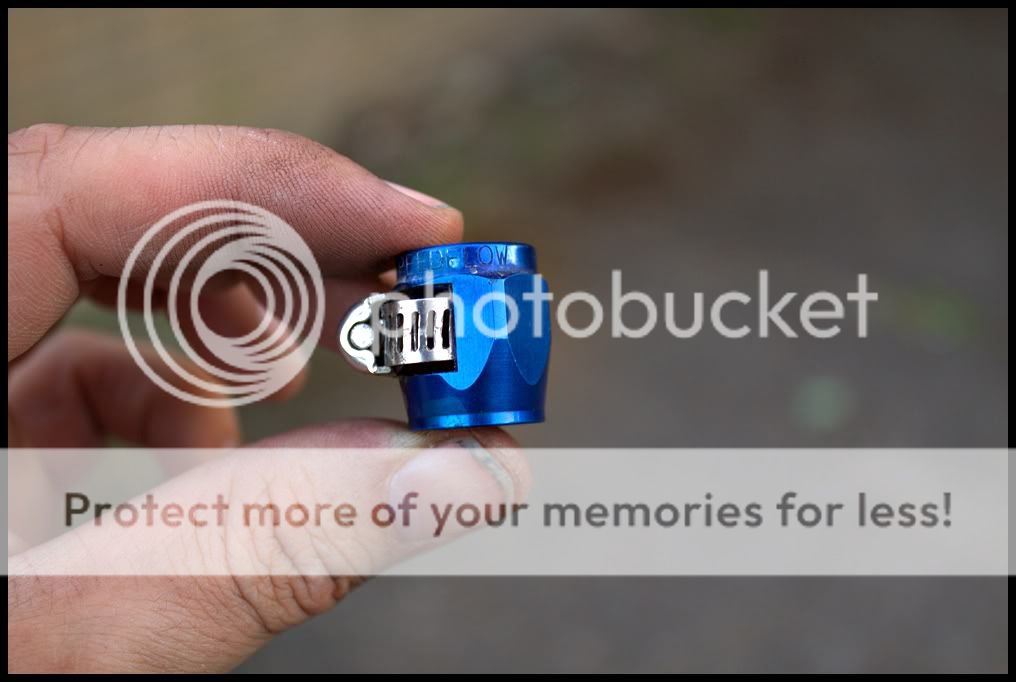
Various anodised connectors
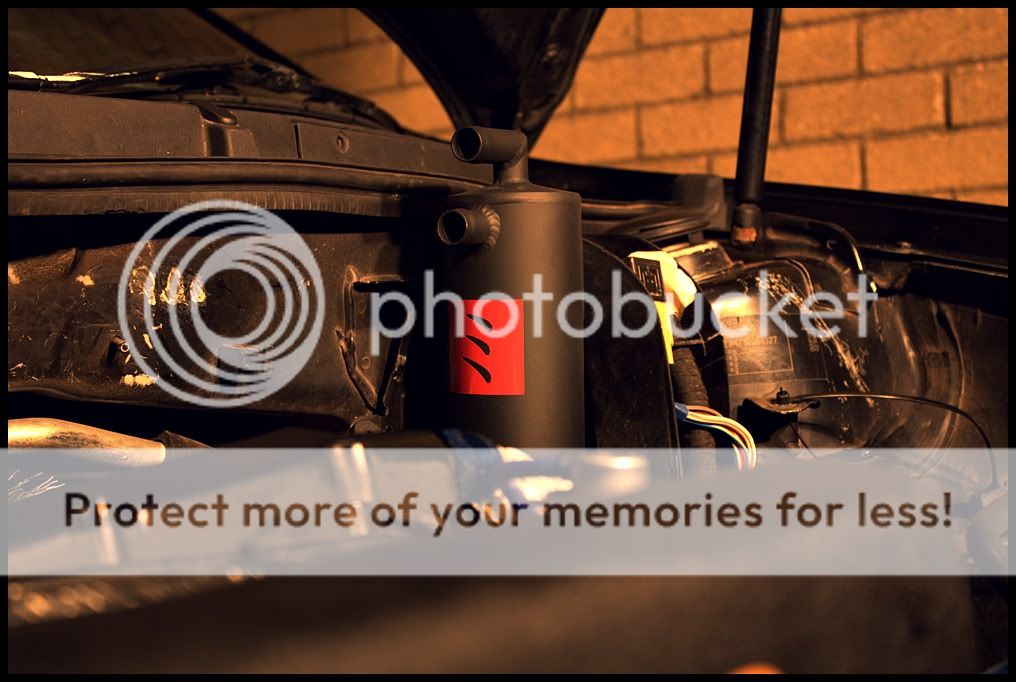
Saikou Catch Can
N249 removal
Forge SAI blanking plate and SAI system removed
Carbon canister removed
Braided fuel hoses
Custom one off cold air filter
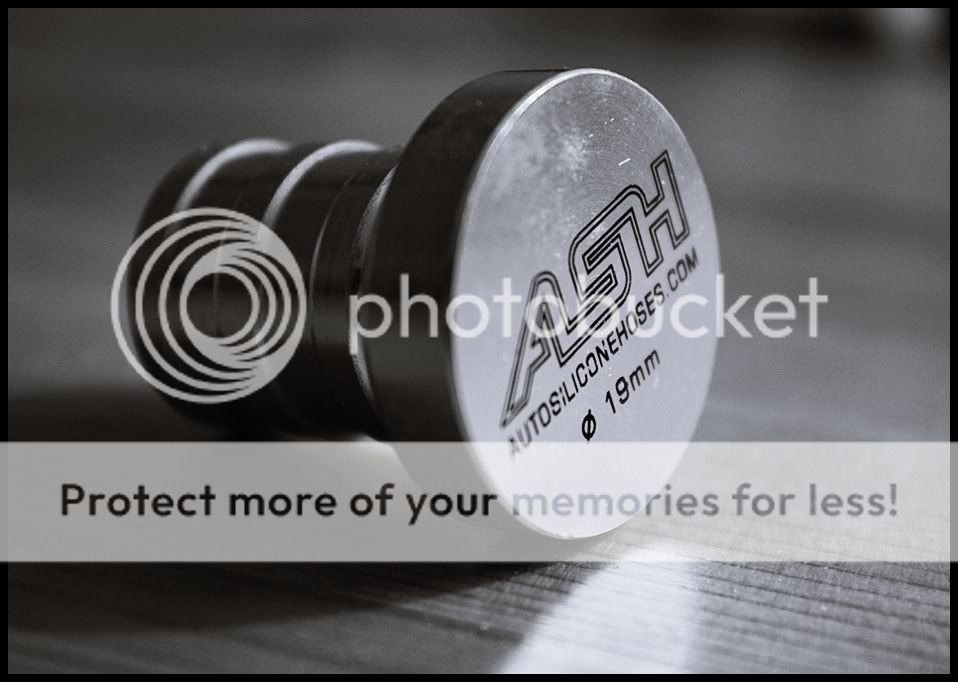
Supersize SFS TIP
Devils Own progressive water meth injection kit
Power
Mapped 291bhp & 287lbft
13.4 1/4 mile @ 108mph (GTI International at Shakespeare way 2013)
Handling
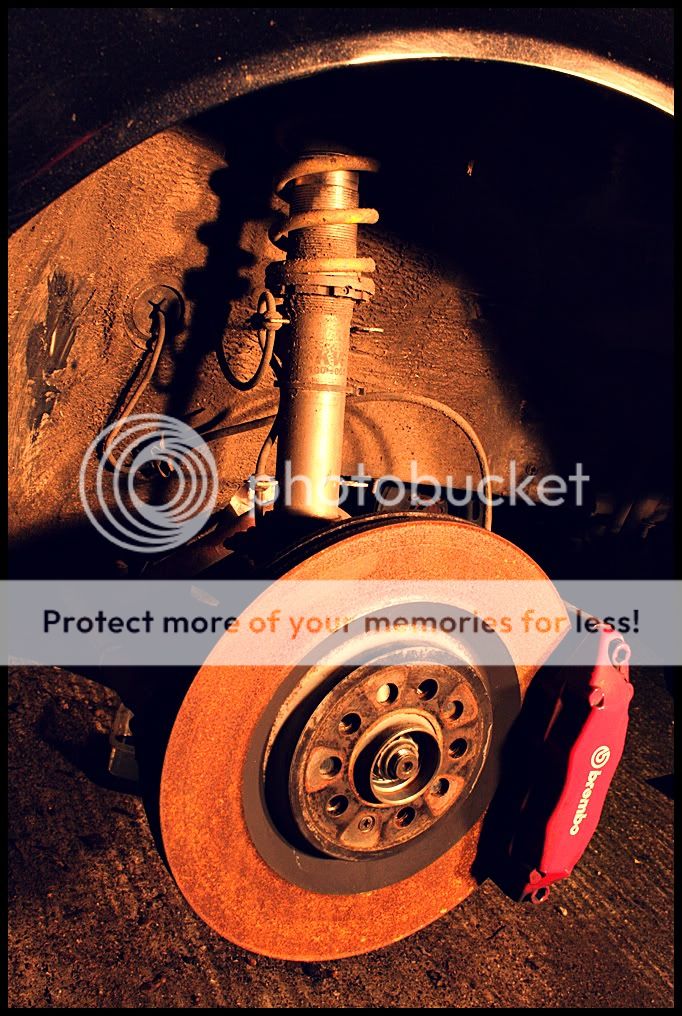
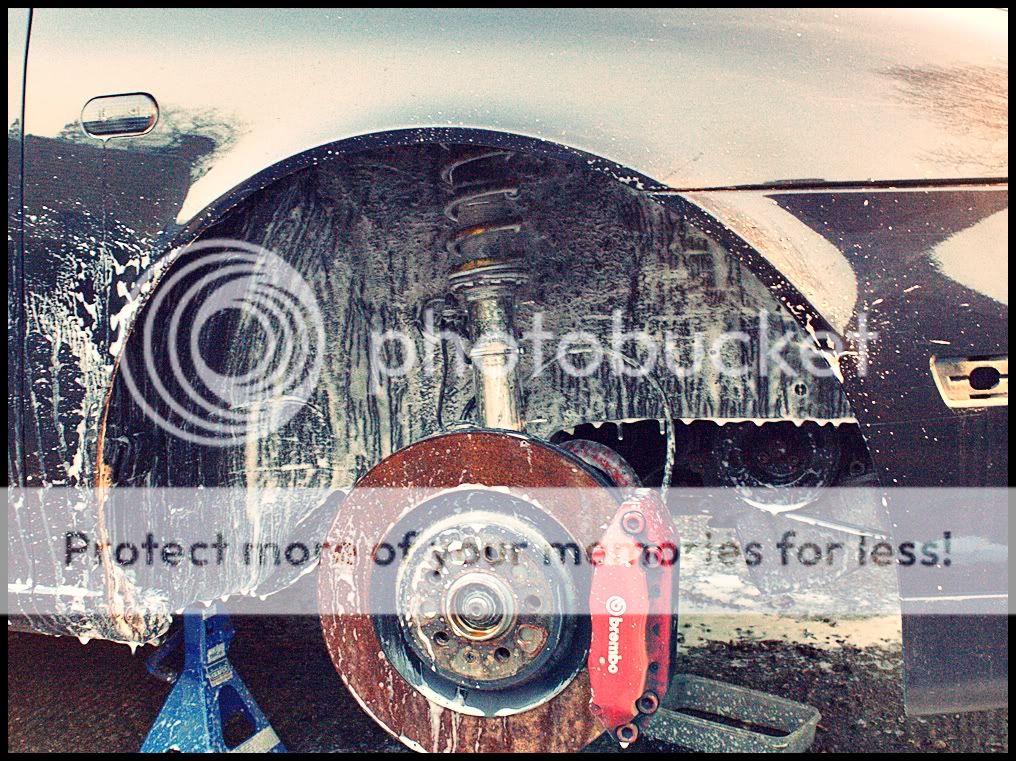
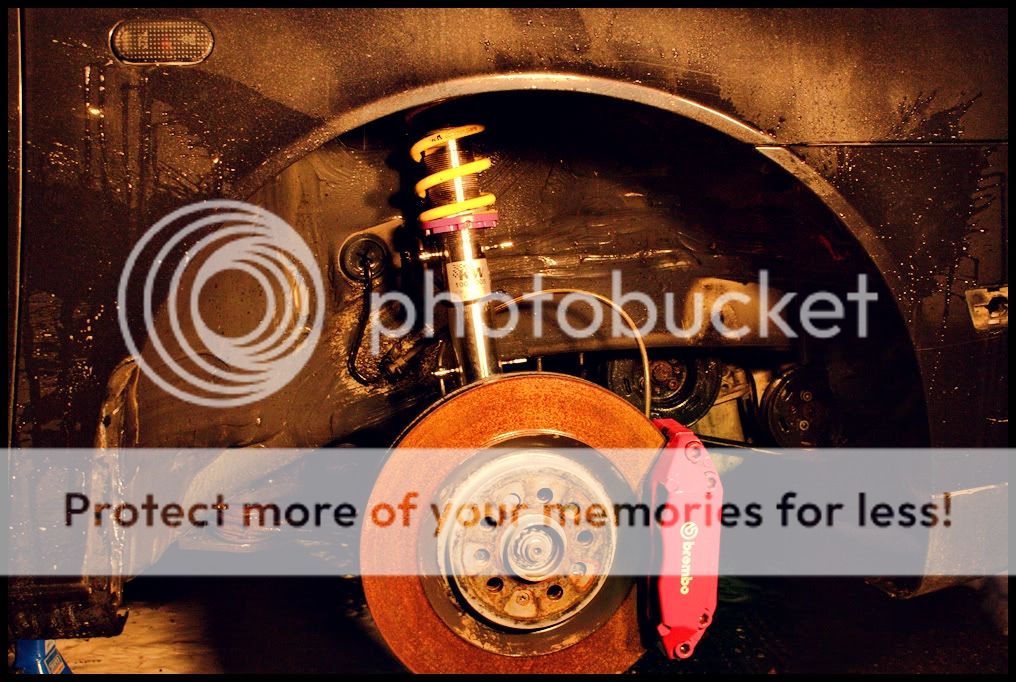
KW V1 coilovers
Neuspeed 25mm front ARB
Neuspeed 28mm rear ARB
330mm Brembo's
Raceland Chassis strut brace
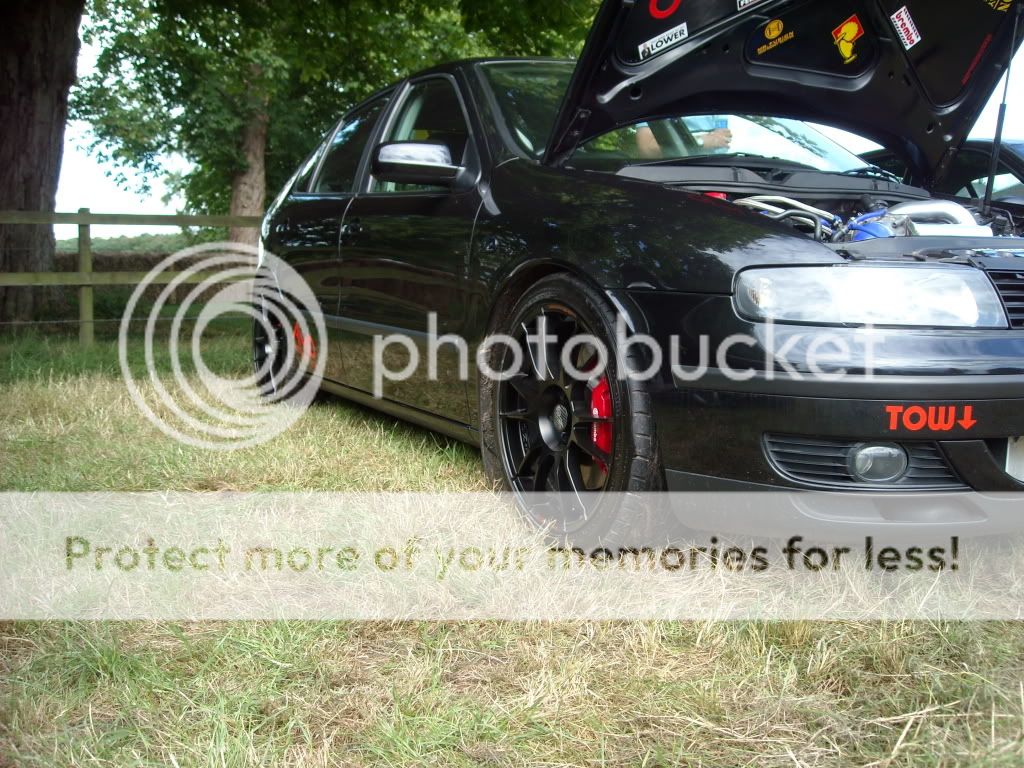
Styling
HID's 6000k
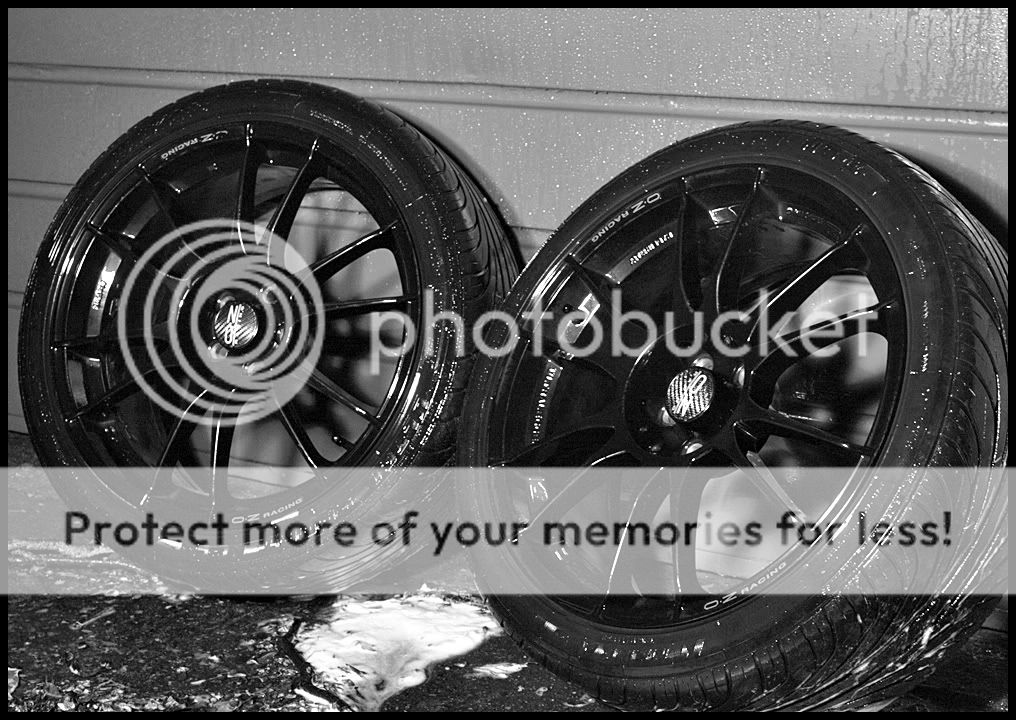
18" Oz Superleggera alloys
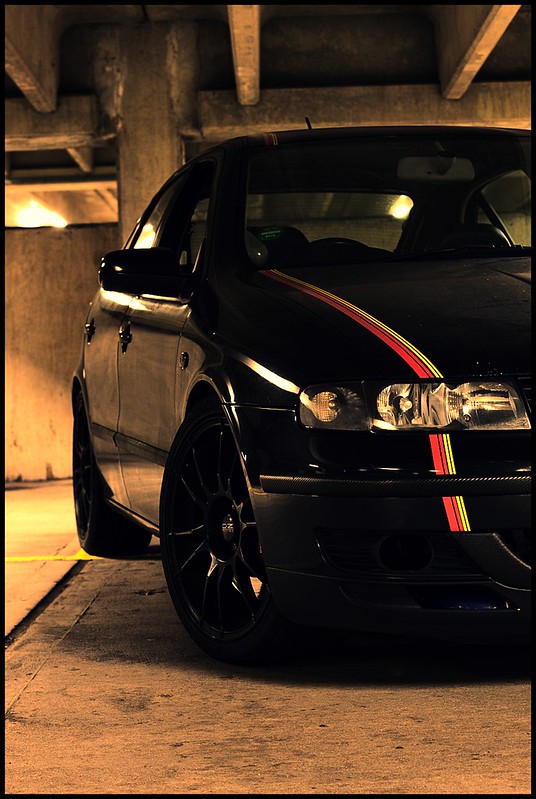
3m carbon wrapped bump strips
3m carbon wrapped spoiler
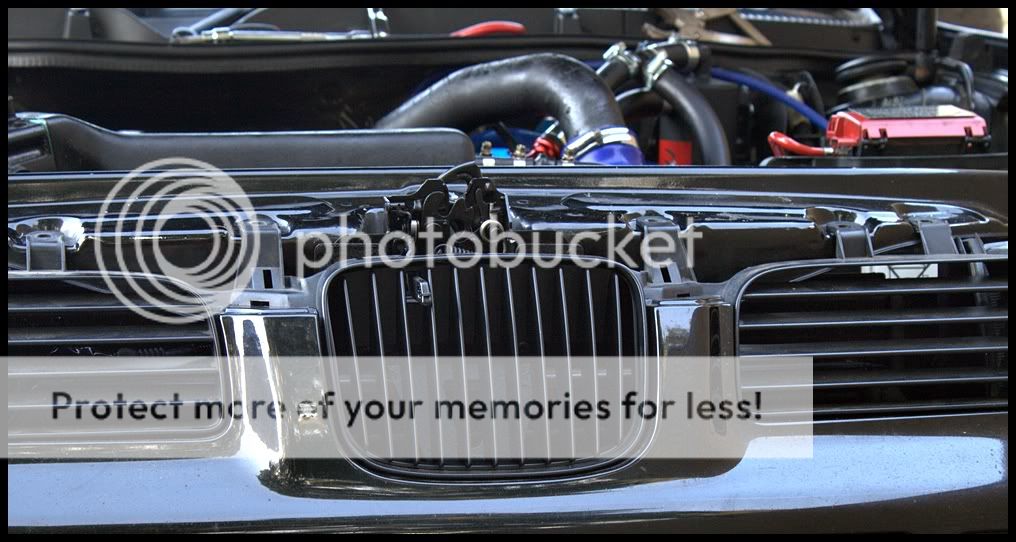
Front grill cut out to show the very large PA FMIC
One fog light removed for 100mm CAI
Front number plate cut out
Crash bar drilled
Leon Cupra R rear spoiler
Interior
Auto gauge black faced boost gauge
Nomad single pillar pod
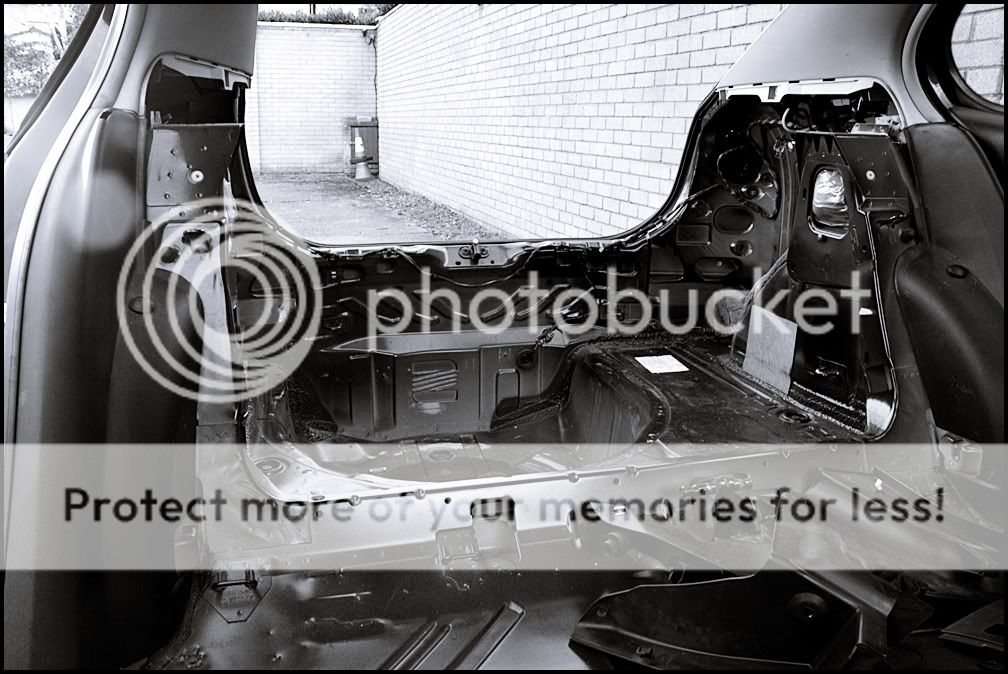
Fully stripped interior
Corbeau pro series fixed back bucket seat
3" 5 point harnesses
6 speed quick shift
Alloy racing battery tray
0 AWG battery wire
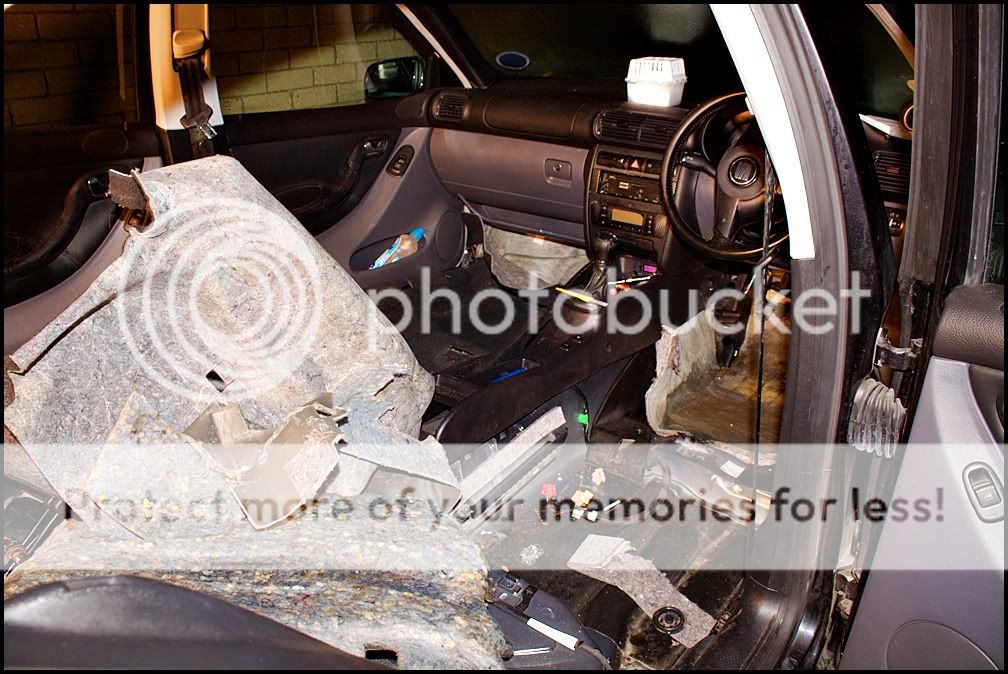
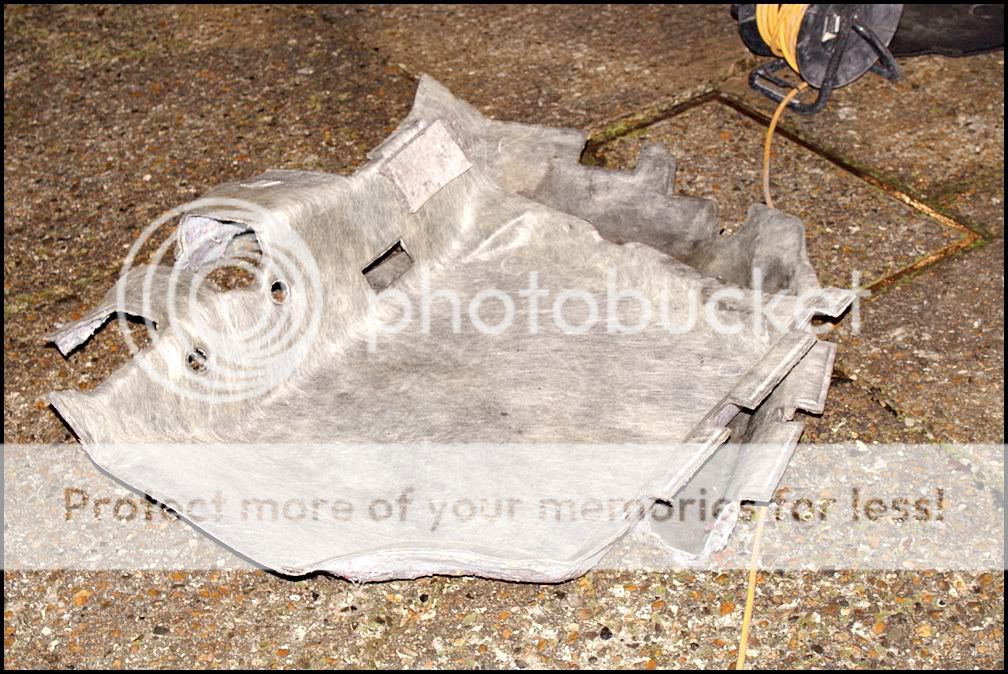
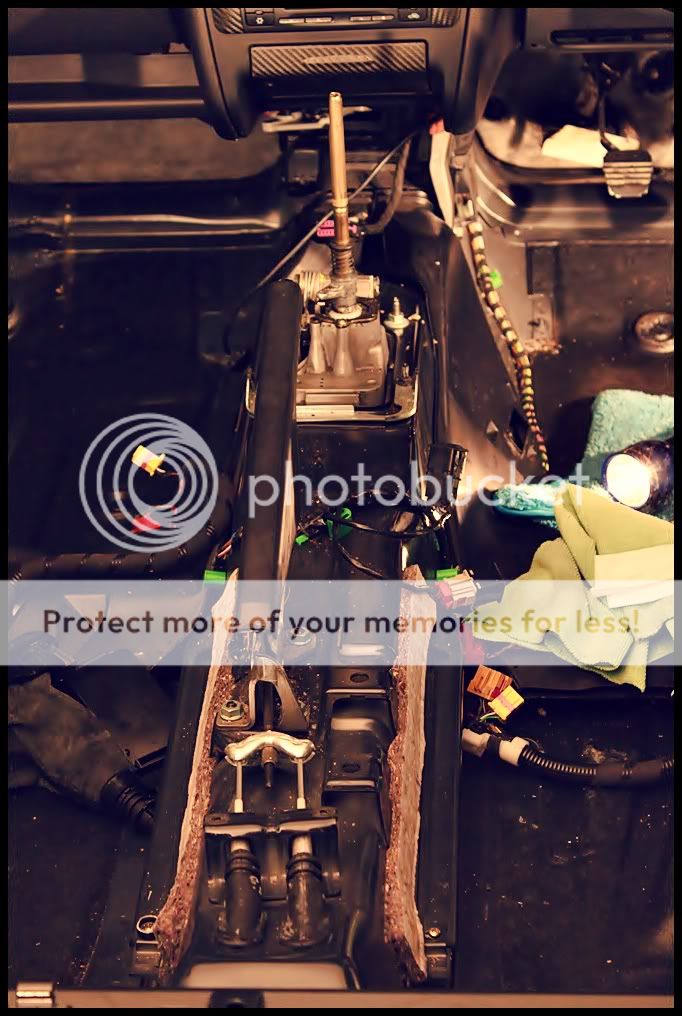
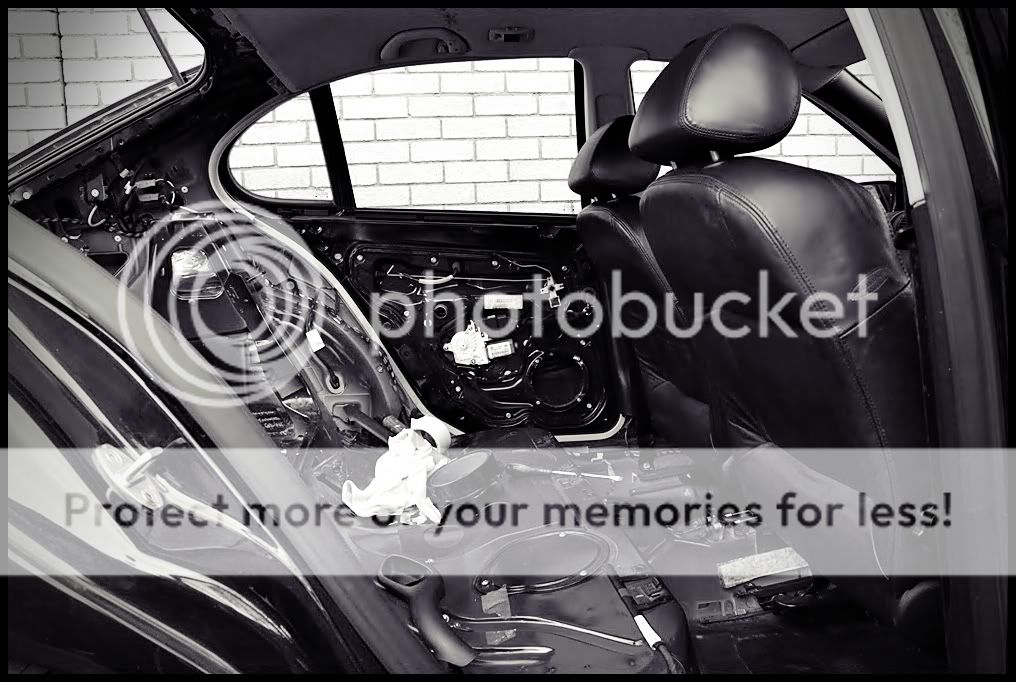
All sound deadening, carpets, plastics, roof lining, door cards and seats removed
The Story so far
There are a few issues....
The turbo was making a sound when I bought her, and I was aware of this when I bought her, almost a squeeling sound on boost around 4000rpm - This has now been fixed with a new turbo
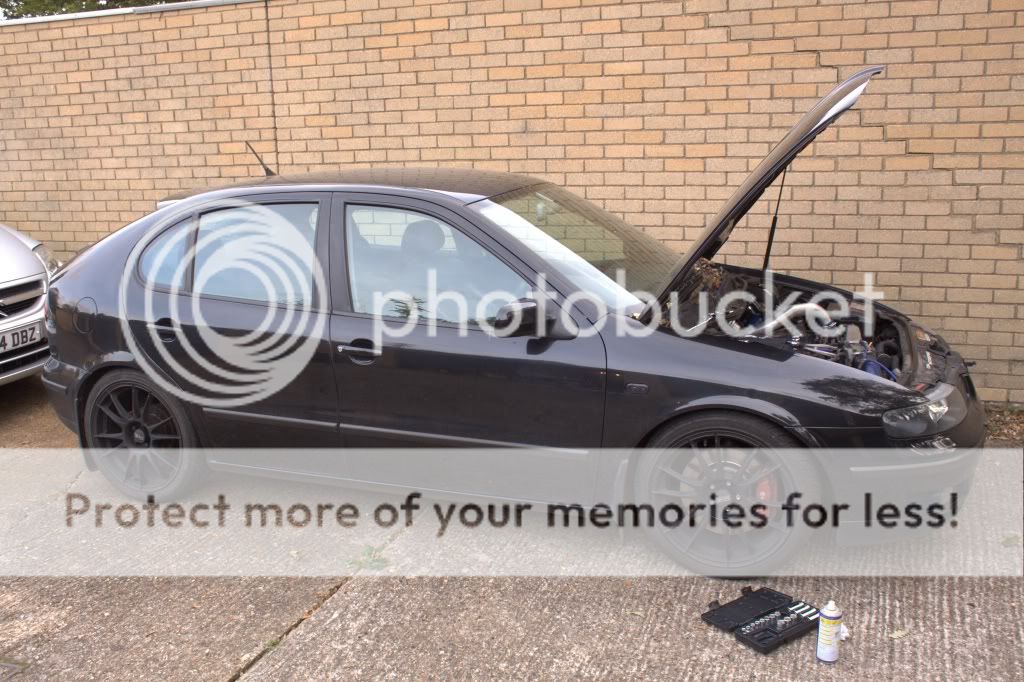
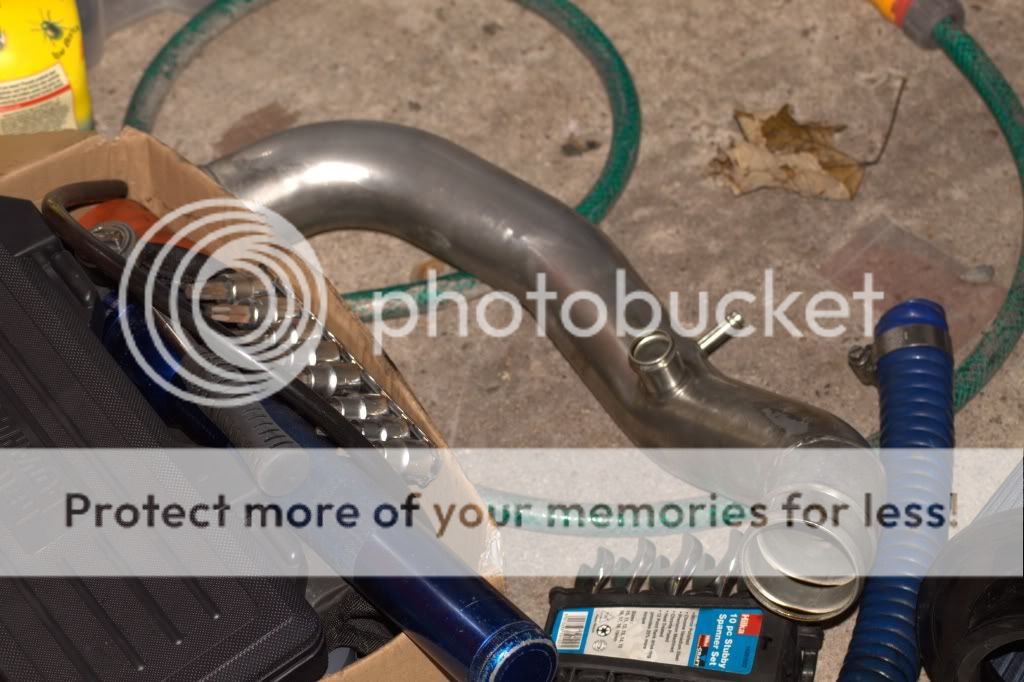
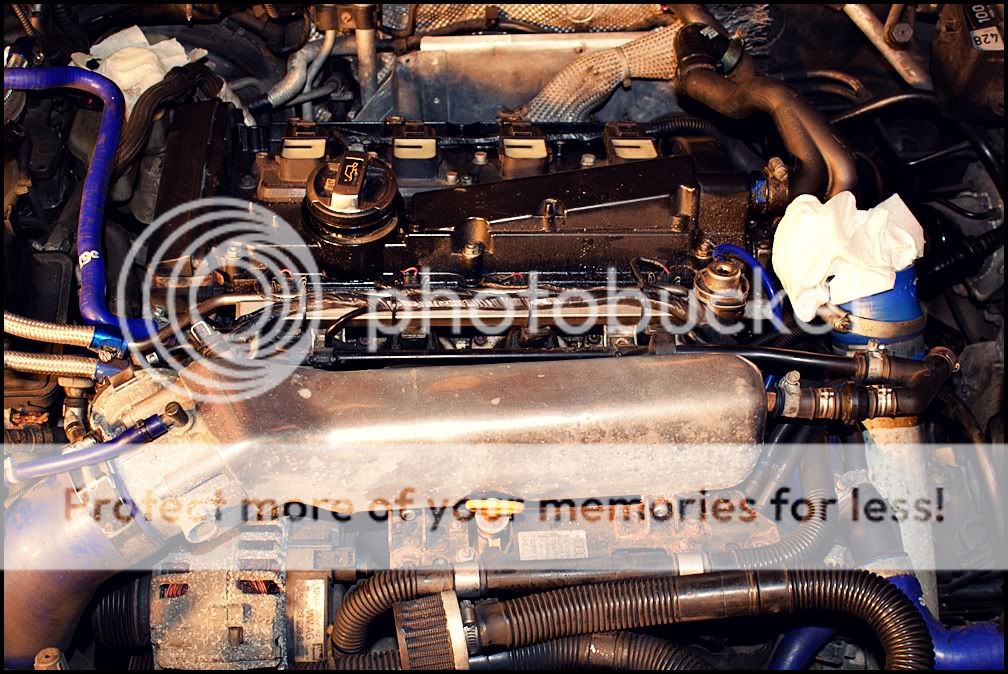
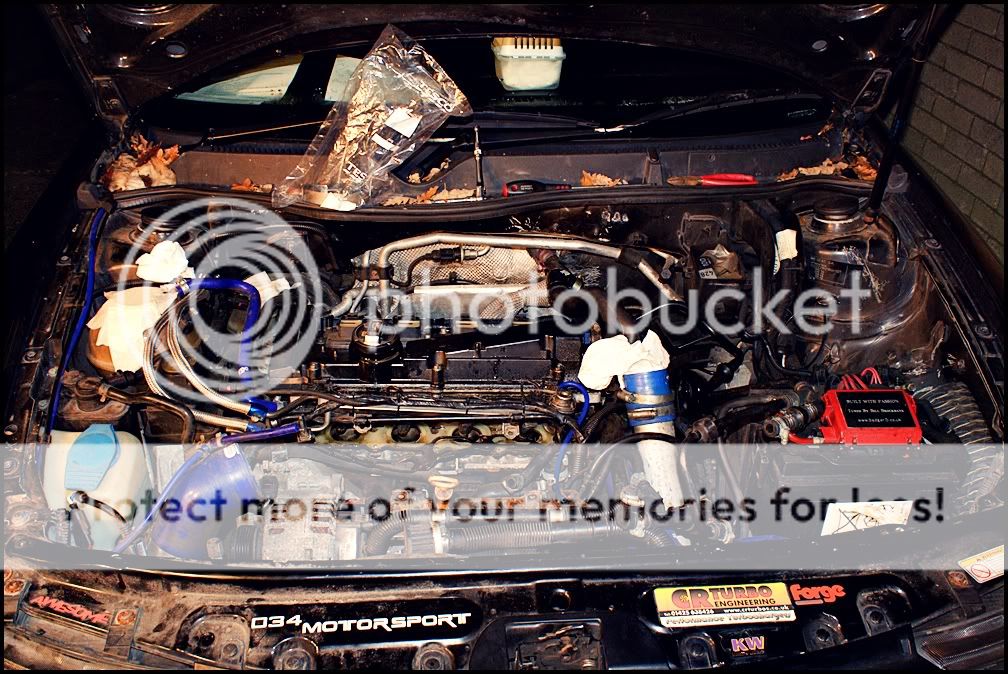
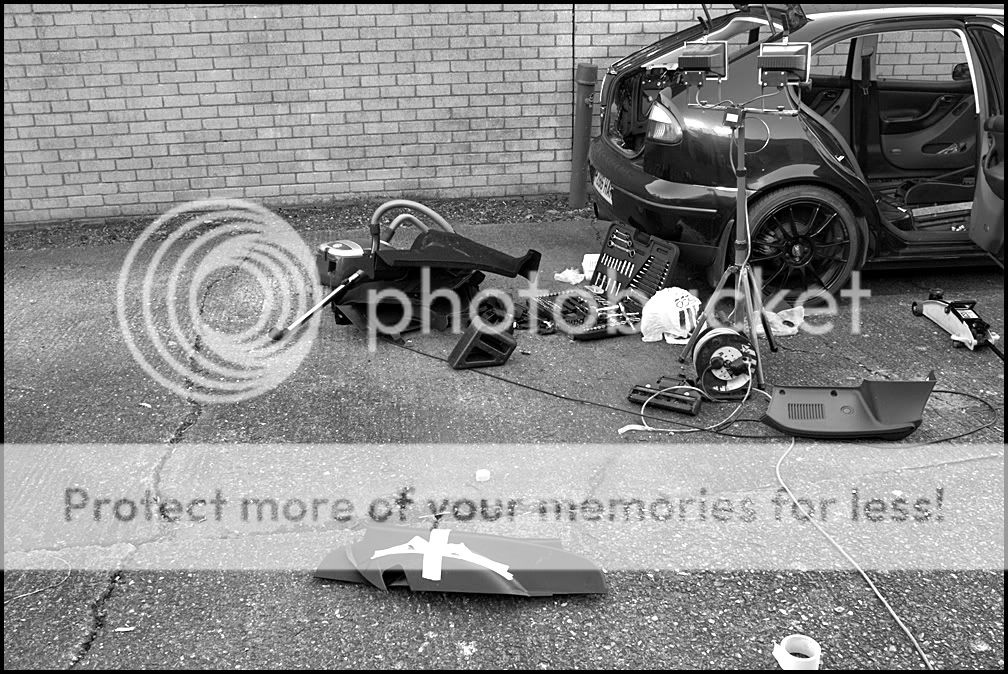
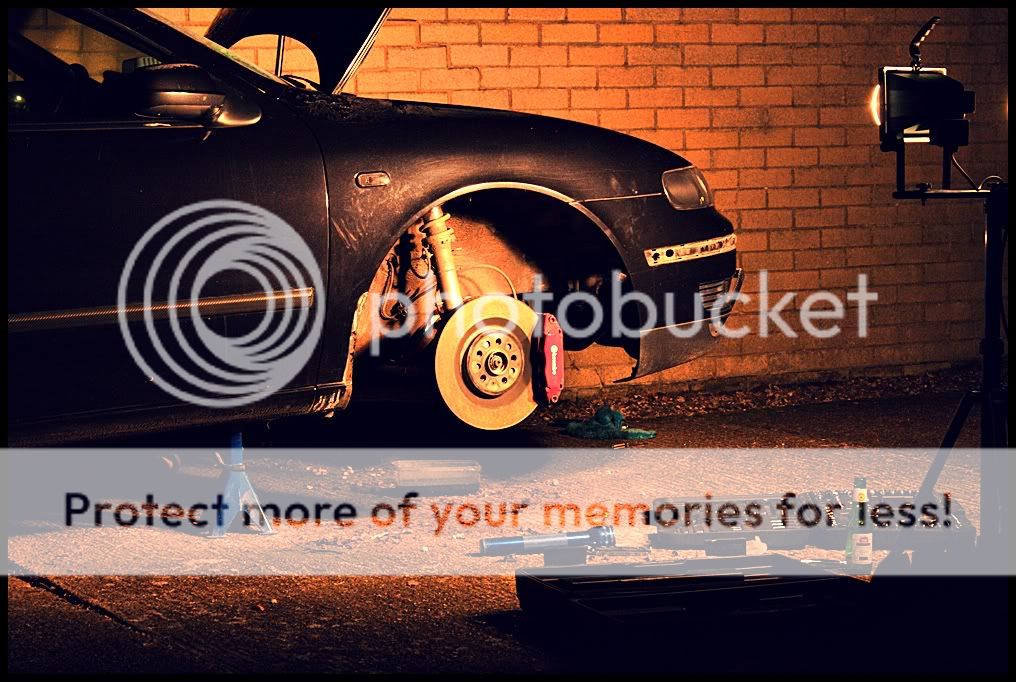
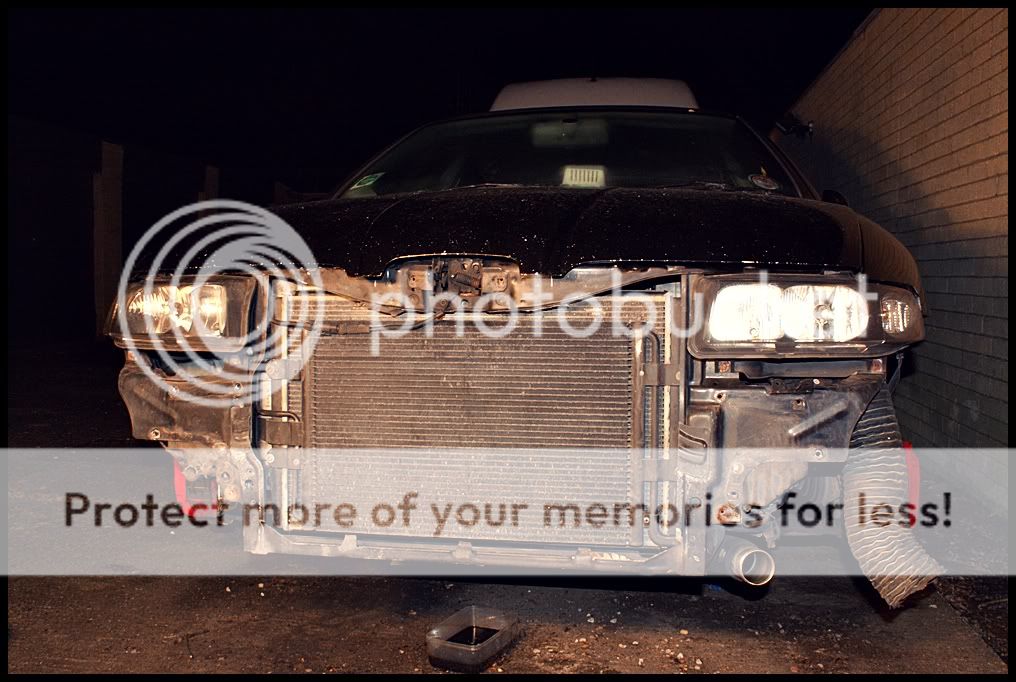
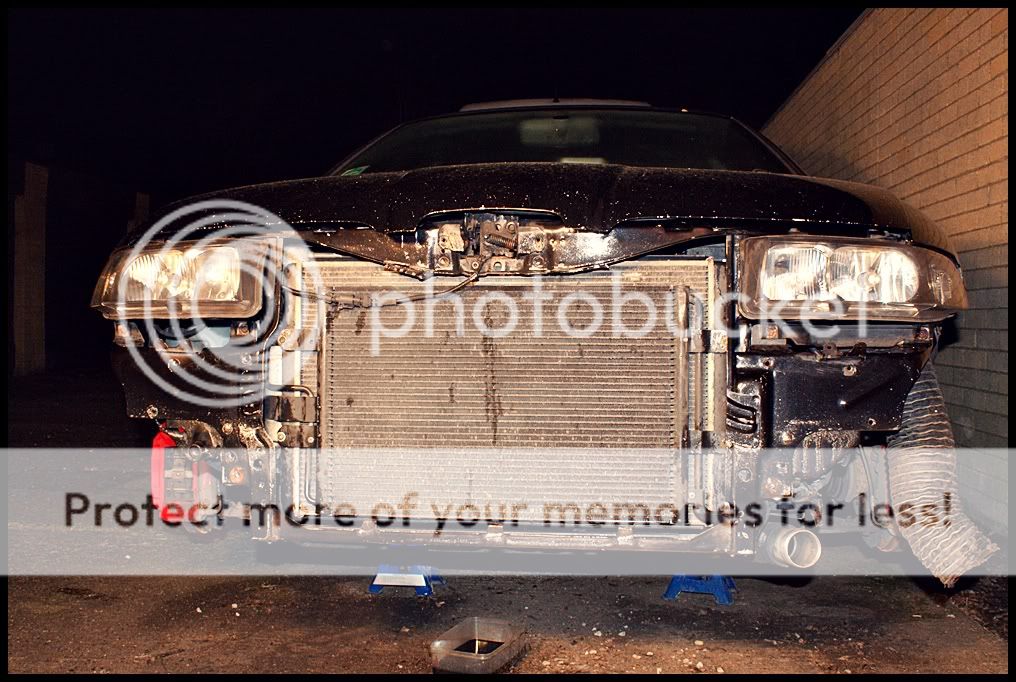
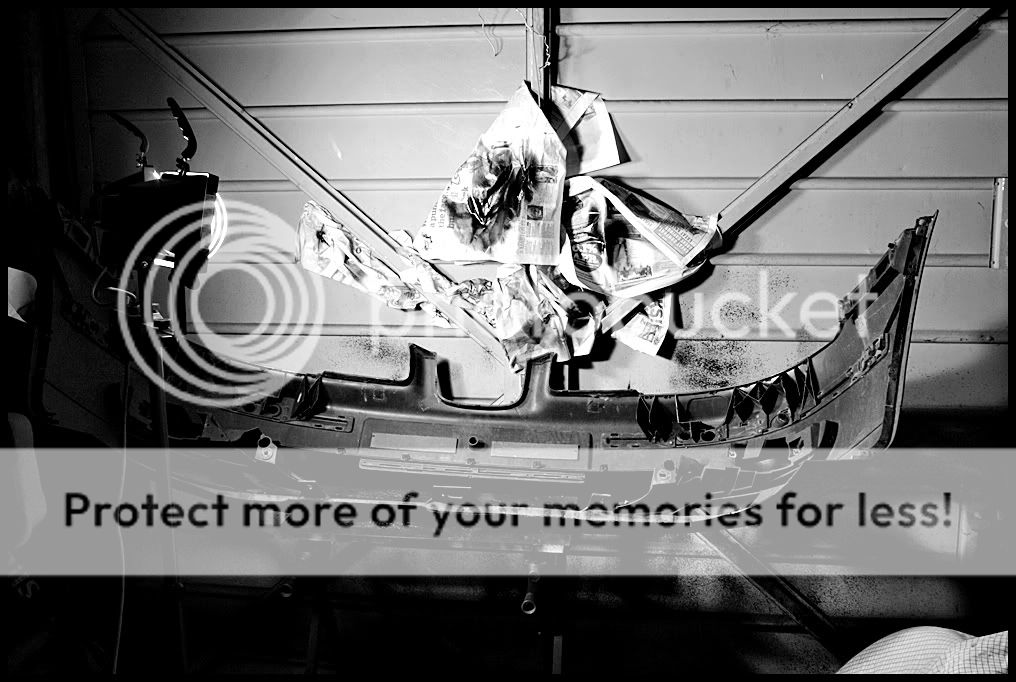
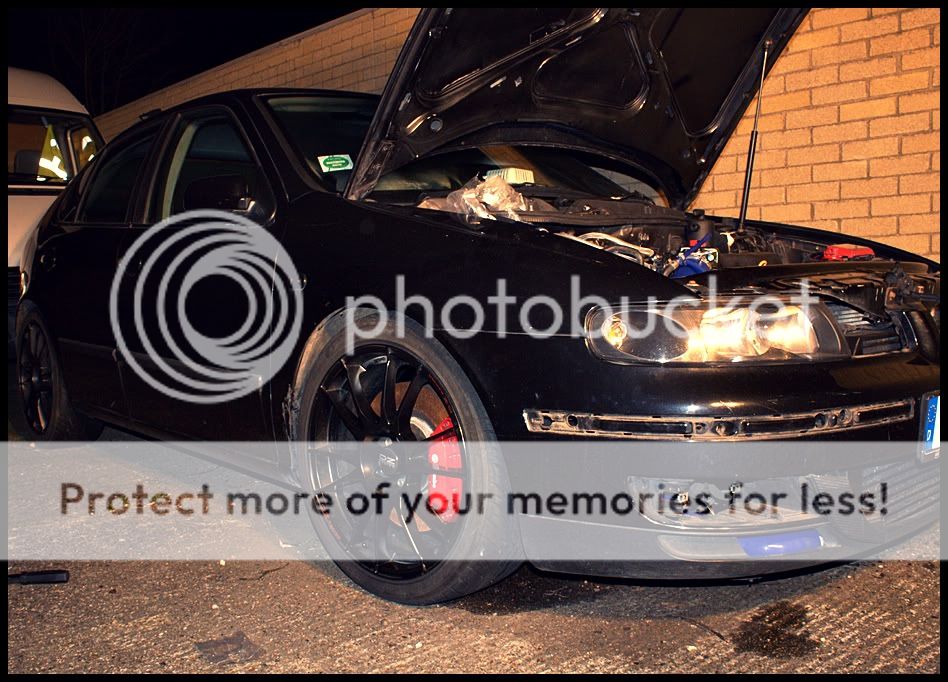
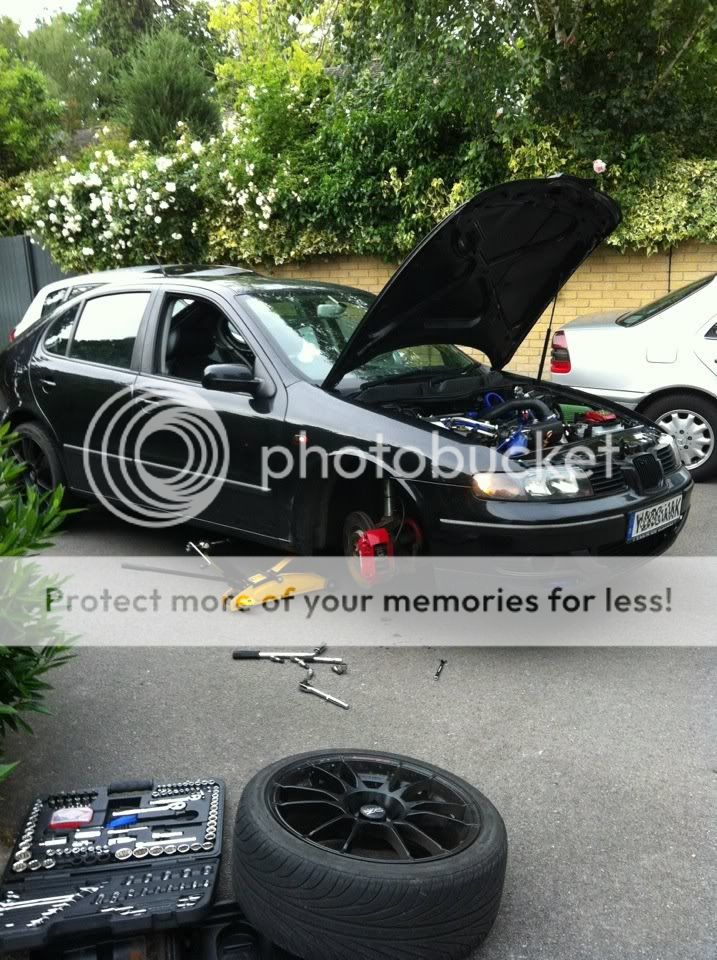
She is still in a bit of a mess at the mo,
Here is how she looked a while back


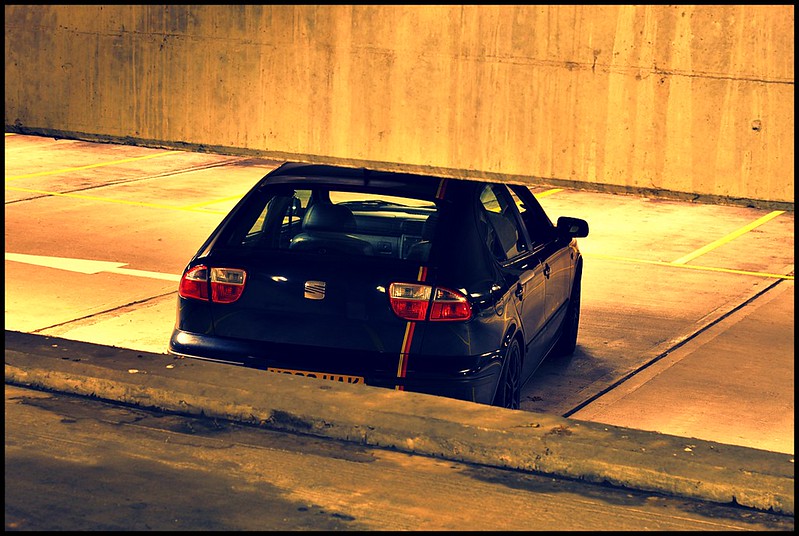

Standard spec:
2001 Black magic Seat Leon Cupra
Full black leather interior
Electric front seats
Electric folding mirrors
Electric windows all round
rain sensitive wipers
Auto dimming rear view mirror
Any other usual extra's
Modifications:
Engine
K03 hybrid turbo - Built by CR Turbo's (basically a ported K03 mated to a K04)
K04 MAF housing
Forge Actuator
Forge TIP
Forge DV
Green cone filter
Braided fuel lines
Audi R8 petrol cap
Pro Alloy FMIC
Blueflame oval turbo back exhaust
Decat
3" Downpipe
Stage 3 clutch
Carbon fibre coil pack cover
Hitachi bolt down coil packs
Crackle black intake manifold
Crackle black charge pipe
Forge coolant pipes
Satin black cam cover
Various anodised connectors
Saikou Catch Can
N249 removal
Forge SAI blanking plate and SAI system removed
Carbon canister removed
Braided fuel hoses
Custom one off cold air filter
Supersize SFS TIP
Devils Own progressive water meth injection kit
Power
Mapped 291bhp & 287lbft
13.4 1/4 mile @ 108mph (GTI International at Shakespeare way 2013)
Handling
KW V1 coilovers
Neuspeed 25mm front ARB
Neuspeed 28mm rear ARB
330mm Brembo's
Raceland Chassis strut brace
Styling
HID's 6000k
18" Oz Superleggera alloys
3m carbon wrapped bump strips
3m carbon wrapped spoiler
Front grill cut out to show the very large PA FMIC
One fog light removed for 100mm CAI
Front number plate cut out
Crash bar drilled
Leon Cupra R rear spoiler
Interior
Auto gauge black faced boost gauge
Nomad single pillar pod
Fully stripped interior
Corbeau pro series fixed back bucket seat
3" 5 point harnesses
6 speed quick shift
Alloy racing battery tray
0 AWG battery wire
All sound deadening, carpets, plastics, roof lining, door cards and seats removed
The Story so far
There are a few issues....
The turbo was making a sound when I bought her, and I was aware of this when I bought her, almost a squeeling sound on boost around 4000rpm - This has now been fixed with a new turbo
She is still in a bit of a mess at the mo,
Here is how she looked a while back
Last edited by a moderator: