- Joined
- Aug 22, 2011
- Messages
- 999
- Reaction score
- 39
- Points
- 48
- Location
- https://t.me/pump_upp
- Website
- t.me
firstly sorry if im in the wrong section but here goes
so not wanting to pay £80+ on a 3 pod mount from psi or apr i set out to make my own
when reading along please bear in mind this will be wrapped or end up having the same fabric matching the interior,so looks arnt important, as long as the surface is smooth and transition cleanly to the trim its self. i haven't looked for the correct material, but thinking of buying a roof lining and using the fabric from that,
this is on a a4 1999. b5.5 but can be done for any car really.
any how
bits i used/needed
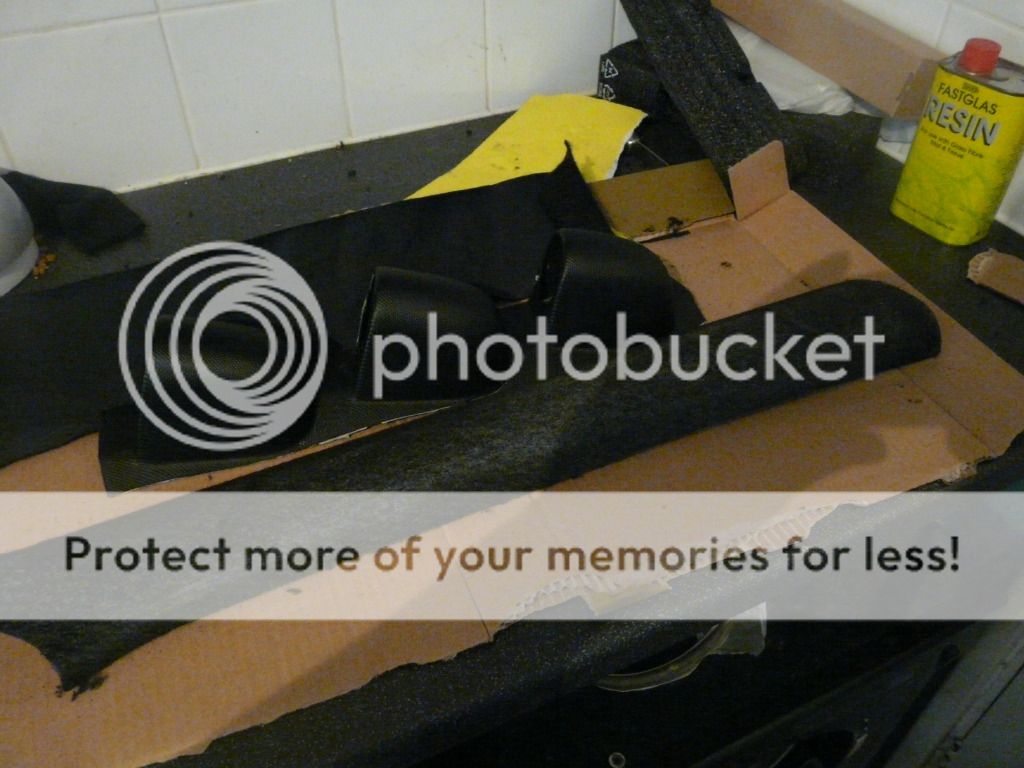
universal 3 pod a pillar mount was £13
resin kit and mesh was £10, although i then found my big tin of resin and hardner!
filler i had laying about but roughly £6 a tin
sand paper, again i had this laying about buy roughly £3 for 5 sheets
fabric, well not sure, but you could say the price of the roof lining from same car with same colour trim
so roughly £32 excluding fabric or wrap/plasticoat spray paint
starting with the a pillar its self, taken the fabric off, and cut down both sides to trim it up to the width of the a pillar trim
then (not pictured) went to the car and positioned the pods were i wanted them
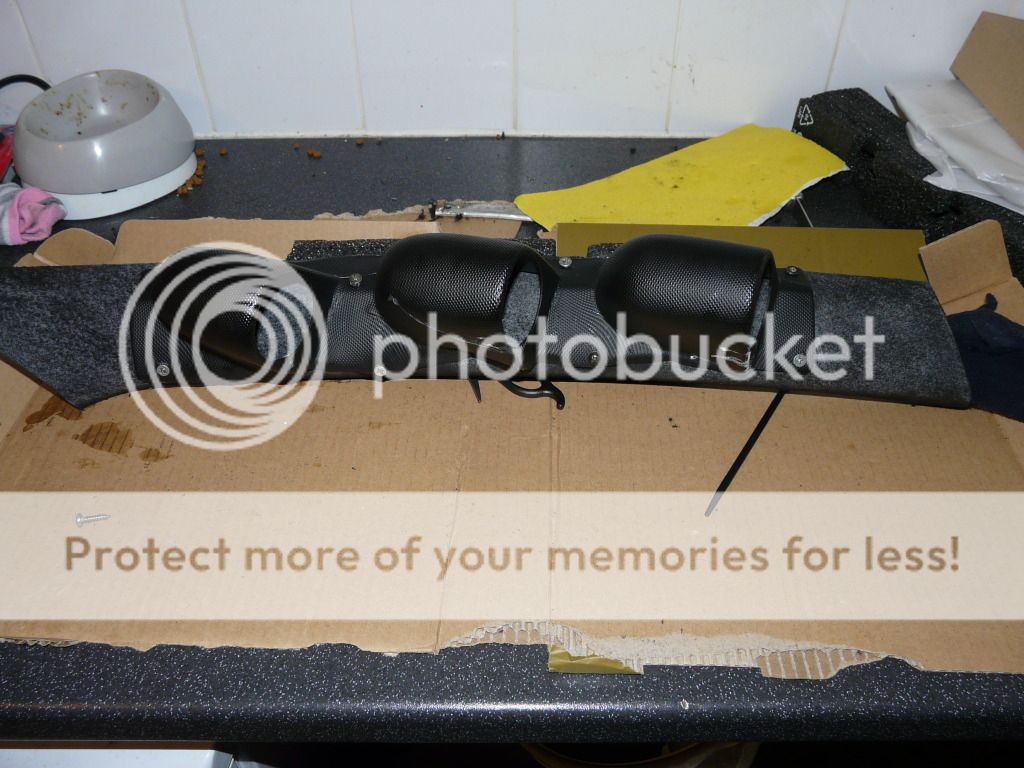
then i screwed it to the a pillar trim and went back out to the car to make sure its defently were i wanted it, also put my new oil pressure gauge and my old boost gauge in to show how itll look


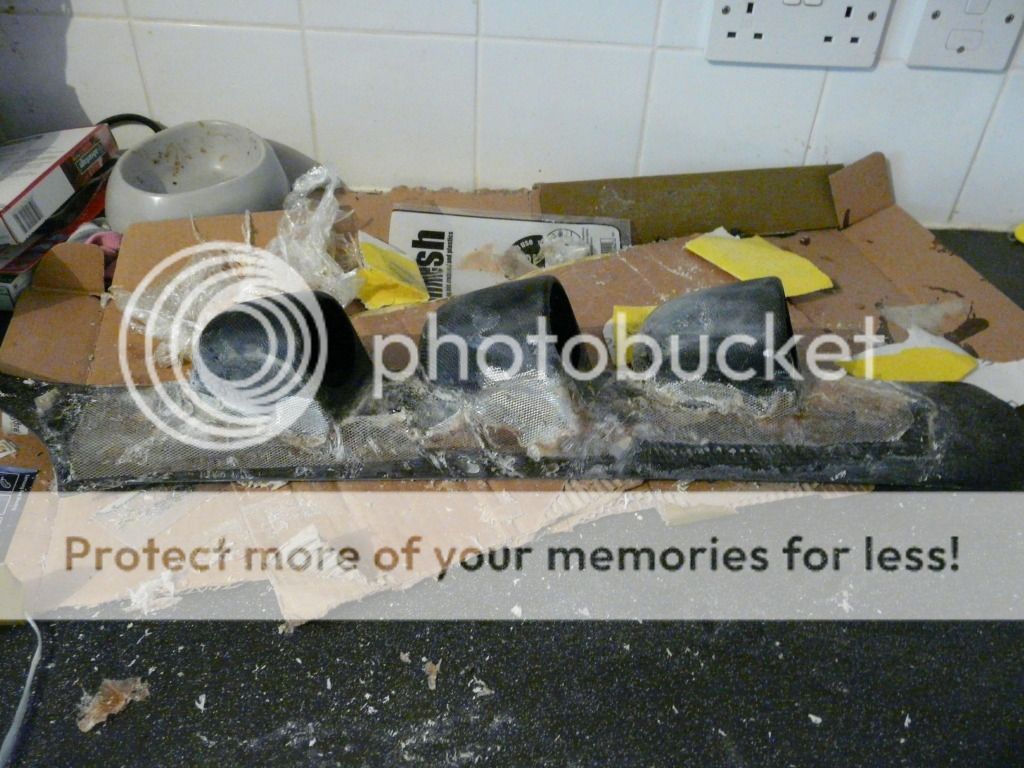
so then set about using mesh to reinforce the side, did the other side but forgot to photo
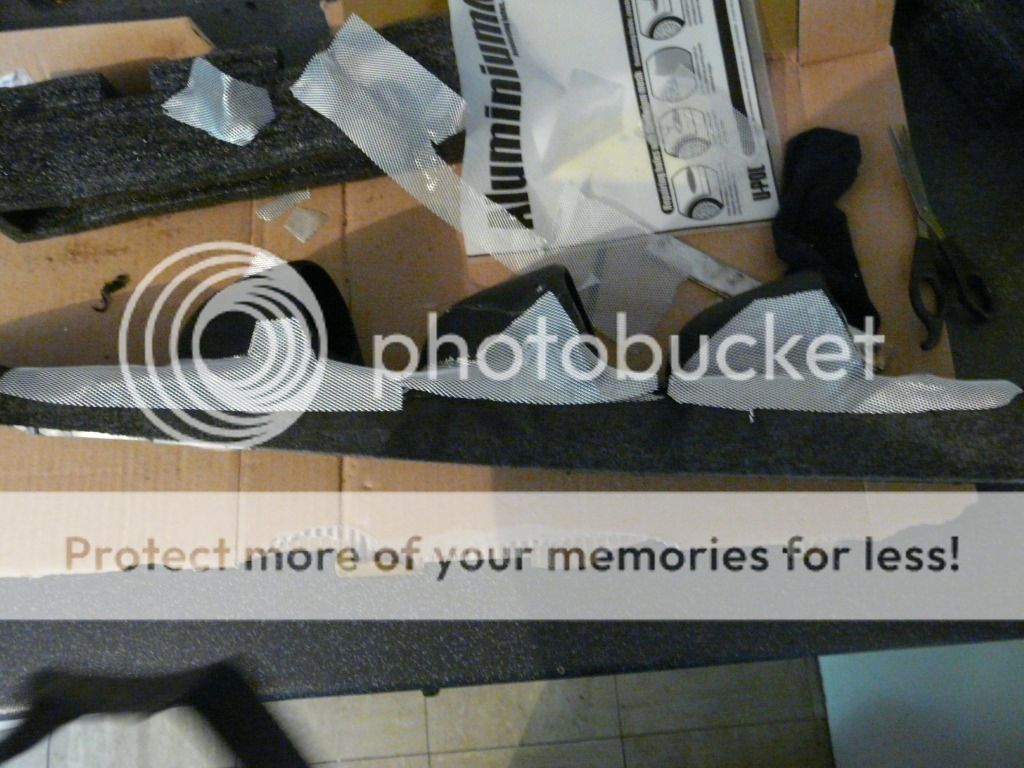
then using resin and matting and the mesh fixed that up. little sand down to give the filler some thing to grab. im crap at resining but the screws are to be left in so this is only to reinforce the joint so the filler dosnt crack.
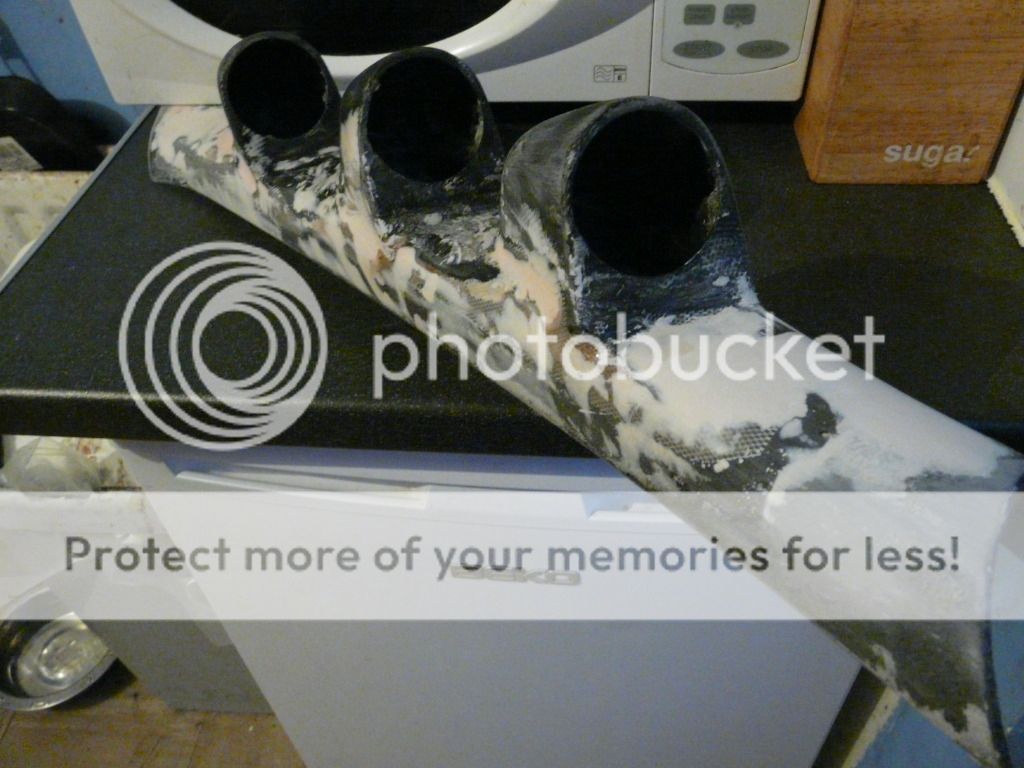
then on with filler, again im no artist so although it looks crap, its isopon easy sand so im not fussed

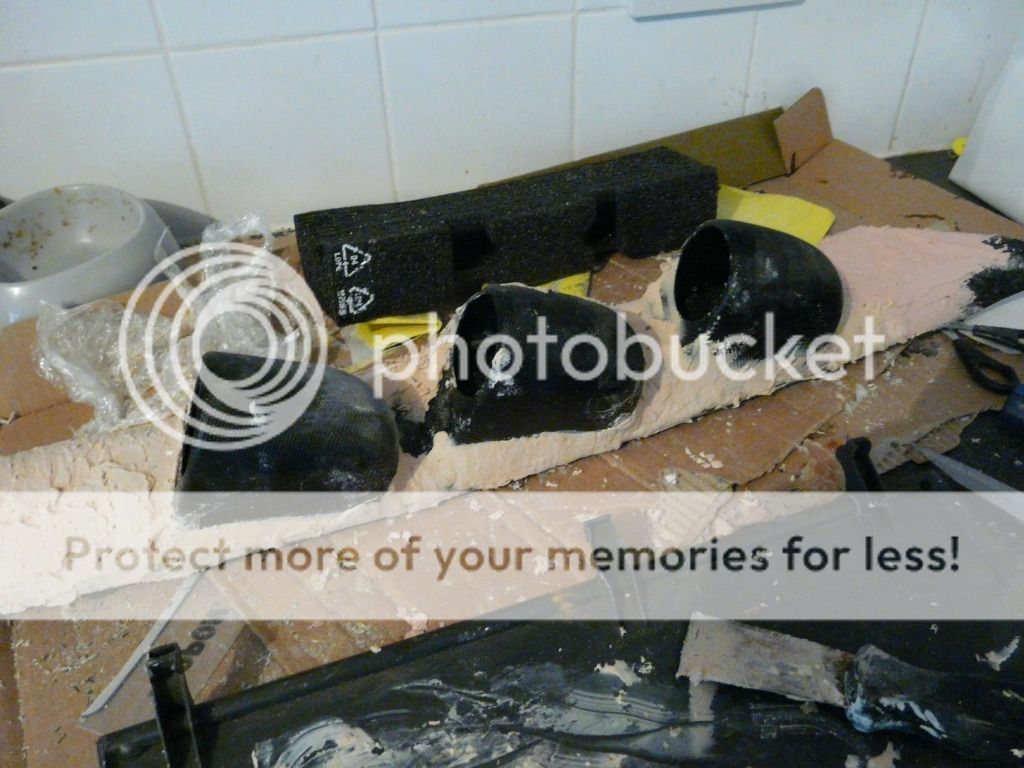
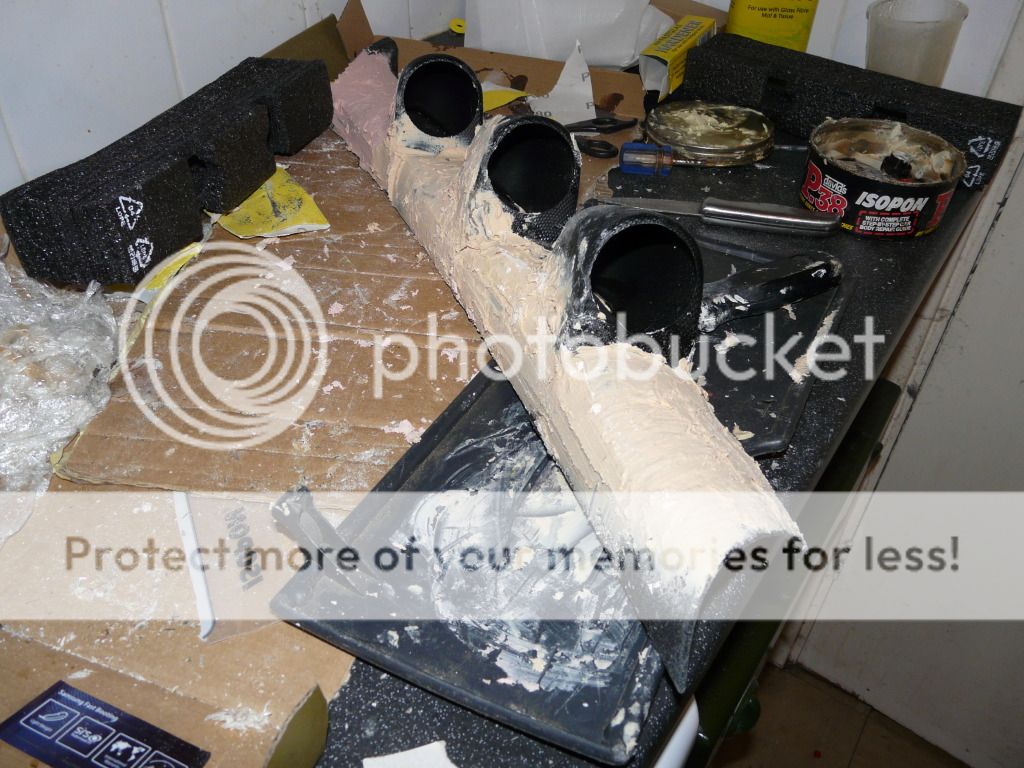
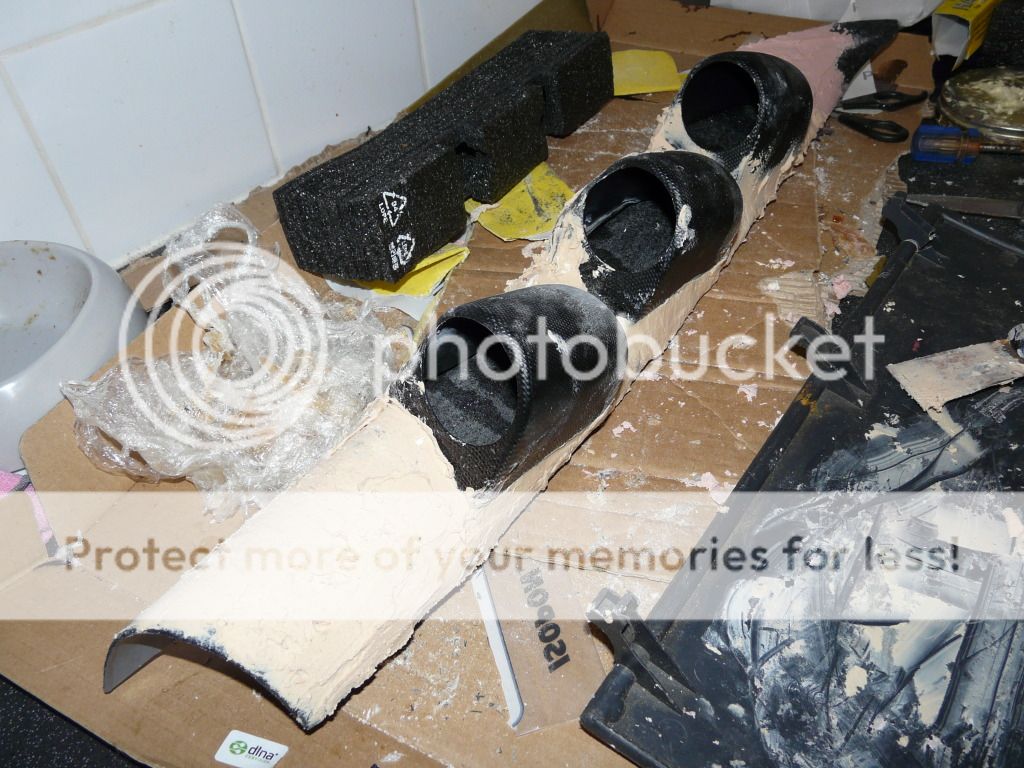
so thats it for the moment. want the resin and filler to cure fully so ill leave it a few hours. then sand down and see what we have,
so not wanting to pay £80+ on a 3 pod mount from psi or apr i set out to make my own
when reading along please bear in mind this will be wrapped or end up having the same fabric matching the interior,so looks arnt important, as long as the surface is smooth and transition cleanly to the trim its self. i haven't looked for the correct material, but thinking of buying a roof lining and using the fabric from that,
this is on a a4 1999. b5.5 but can be done for any car really.
any how
bits i used/needed
universal 3 pod a pillar mount was £13
resin kit and mesh was £10, although i then found my big tin of resin and hardner!
filler i had laying about but roughly £6 a tin
sand paper, again i had this laying about buy roughly £3 for 5 sheets
fabric, well not sure, but you could say the price of the roof lining from same car with same colour trim
so roughly £32 excluding fabric or wrap/plasticoat spray paint
starting with the a pillar its self, taken the fabric off, and cut down both sides to trim it up to the width of the a pillar trim
then (not pictured) went to the car and positioned the pods were i wanted them
then i screwed it to the a pillar trim and went back out to the car to make sure its defently were i wanted it, also put my new oil pressure gauge and my old boost gauge in to show how itll look
so then set about using mesh to reinforce the side, did the other side but forgot to photo
then using resin and matting and the mesh fixed that up. little sand down to give the filler some thing to grab. im crap at resining but the screws are to be left in so this is only to reinforce the joint so the filler dosnt crack.
then on with filler, again im no artist so although it looks crap, its isopon easy sand so im not fussed
so thats it for the moment. want the resin and filler to cure fully so ill leave it a few hours. then sand down and see what we have,

")