Jimmeh
Registered User
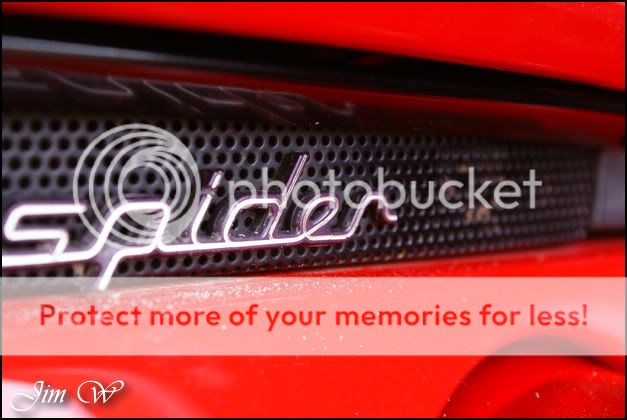
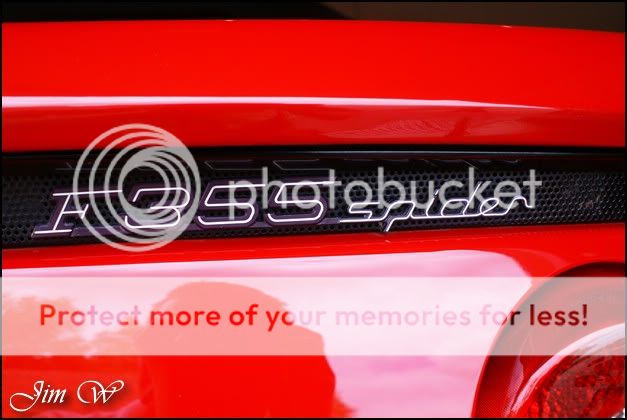
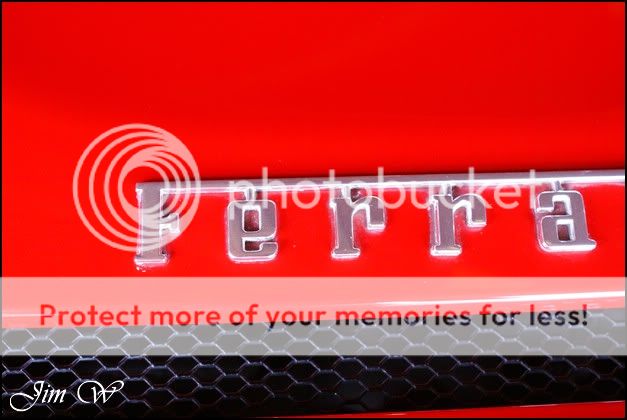
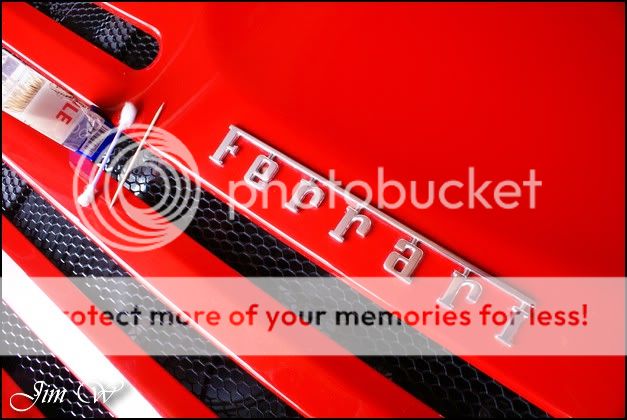
Ferrari 355 Spider
I was first introduced to the F355 back when I worked on the households family car, the Mercedes GL420:

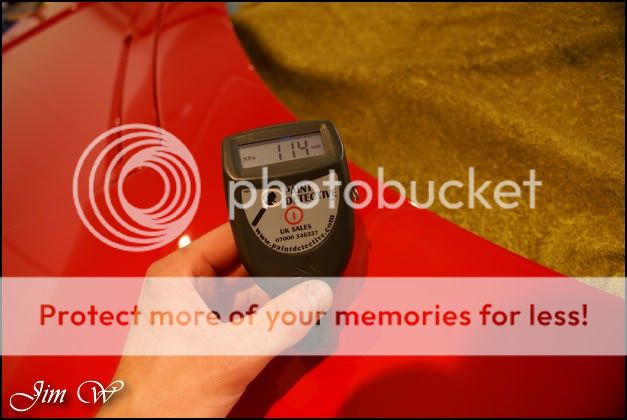
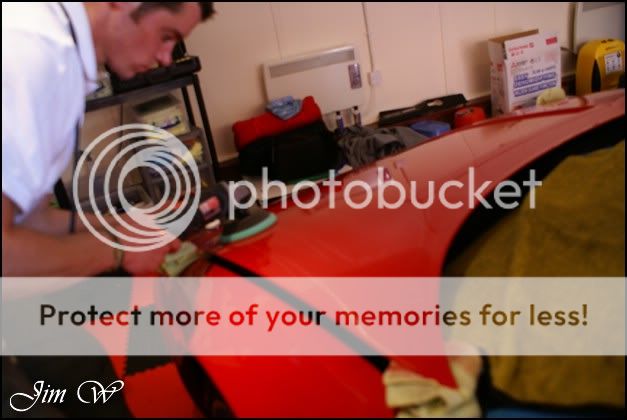
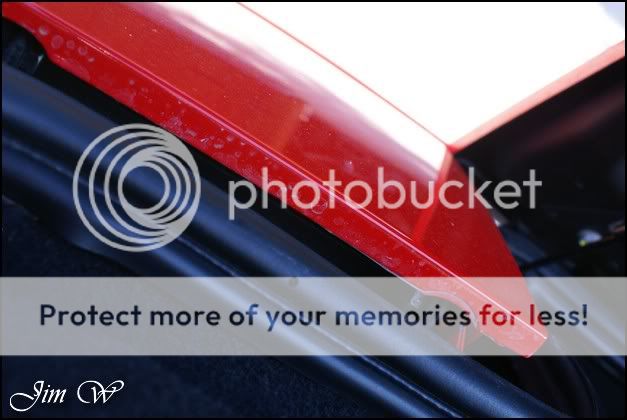
Taking a cheeky moment to check the paintwork on the Ferrari, I noticed some pretty wicked buffer-trails and swirls in the paint. The work of a previous detailer apparently.


The car had been worked on by an Authorised Detailer of one of the big players in the Detailing game Im not one to name drop, but, to say I was shocked was an understatement.
My job was to rectify the issues and tidy the edges, as it were..
Product
AutoSol
AutoSmart G101
AutoSmart Tardis
Chemical Guys JetSEAL109
Chemical Guys New Look Trim Gel
Clearkote Red Moose Glaze
Dodo Juice SuperNatural
Jeffs Werkstat Prime
LTT Auto Ultra Foam
LTT Auto Ultra Protect
Meguiars All Purpose Cleaner
Menzerna Final Finish 106FA
Menzerna Power Finish 203s
Optimal No Rinse (ONR)
Sonus Green Mild Clay
Zaino Z8 Grande Finale
Before:


After:


Inspection:


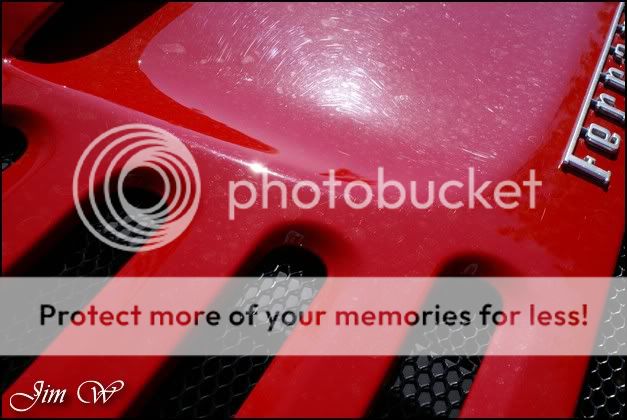


As seen above, the paintwork was well and truly butchered with its previous machine polish experience
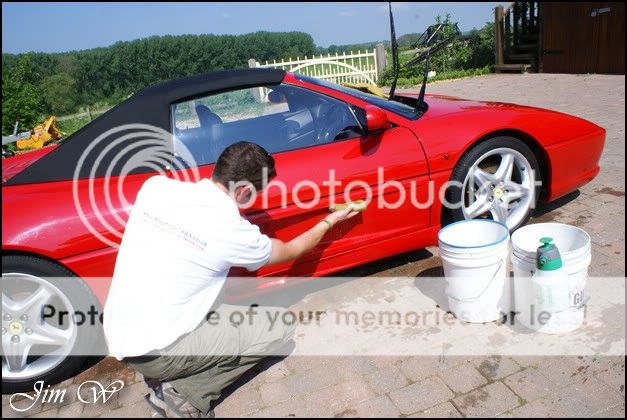
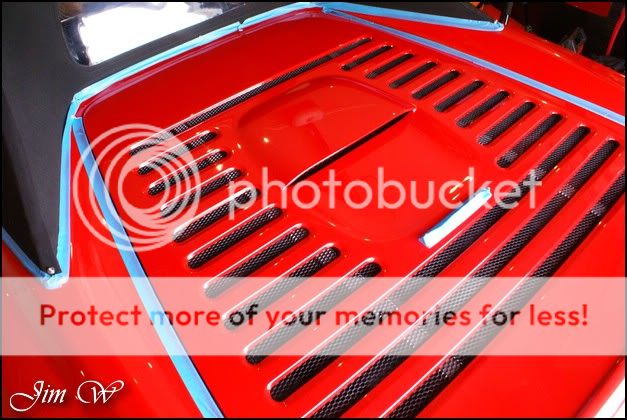
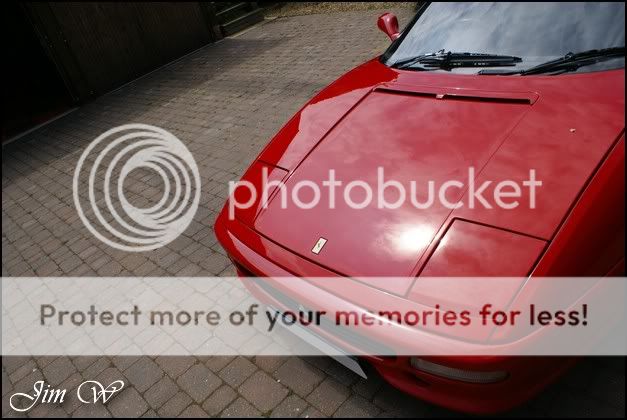
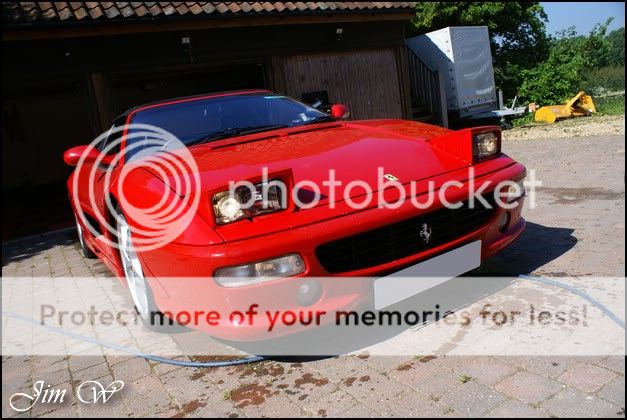
On the whole, the car is very clean. Until I appeared I on the scene, it lived happily tucked away in the garage where is remained spotless Whilst working on the Mercedes however, unfortunately, the F355 had to stay outside to allow for a decent work space within. Here, the mixture of rain, wind and dust left the car in the condition you see it in above ( .minus the buffer-trails!)
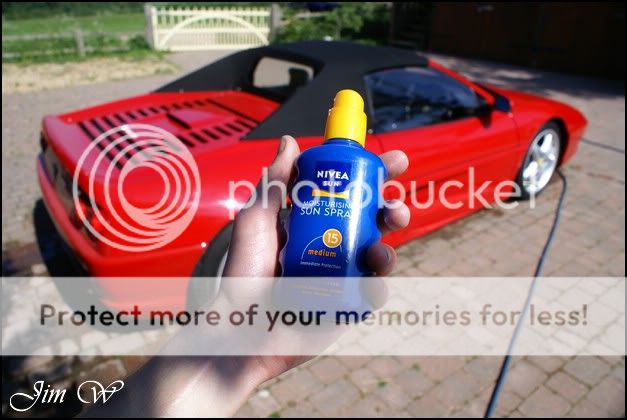
It was a scorcher today; pushing 28˚C by late morning. With that in mind, the sooner I could get undercover, the better.
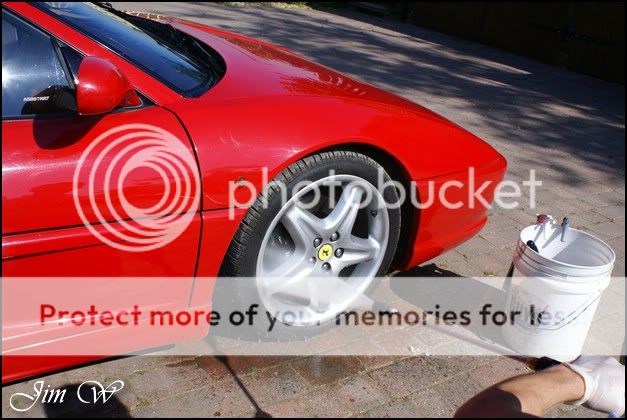

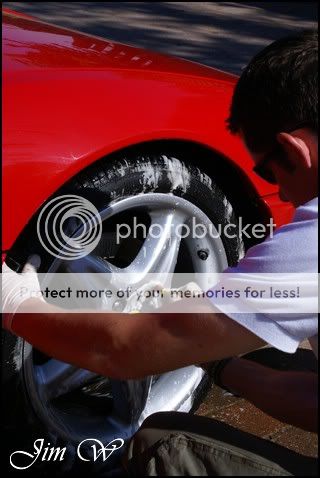
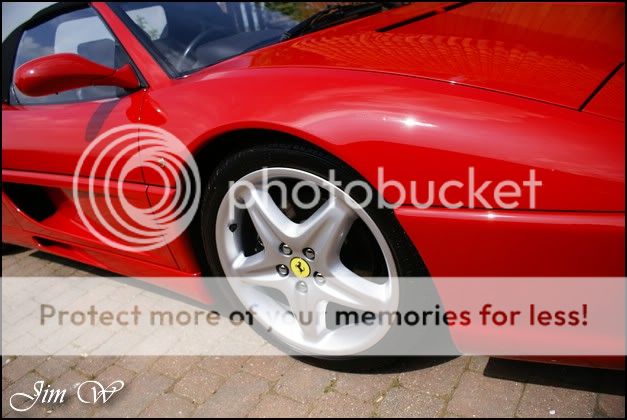
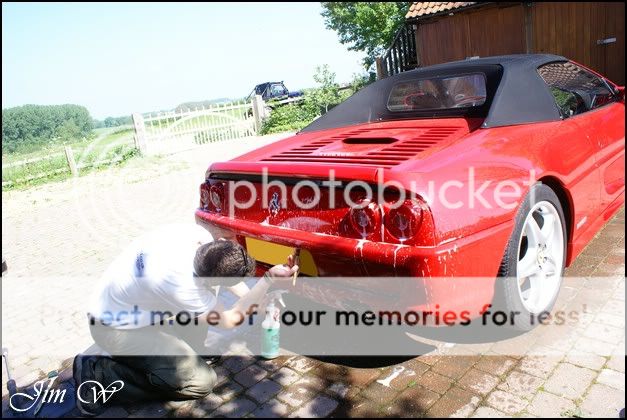
Wheels, tyres and arches cleaned with Megs APC and a mix of brushes and mitts. AutoSmart Tardis later used on the alloys to remove a few fine tar deposits.
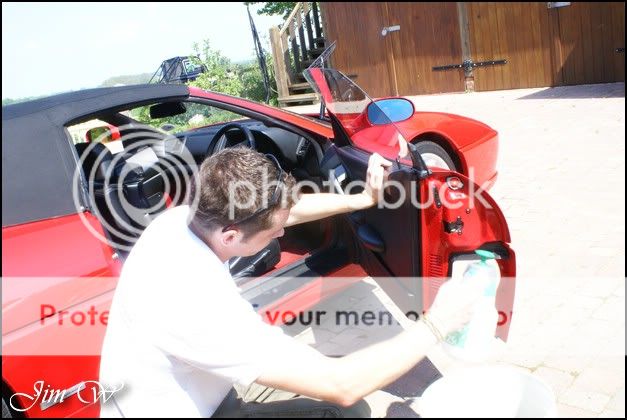
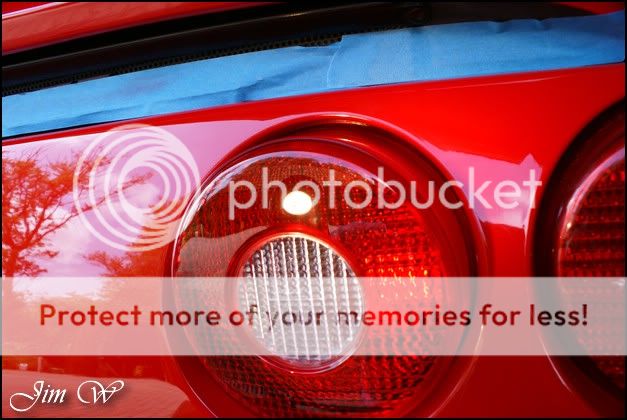
Bonnet sills wiped clean and headlights raised to allow cleaning here, too.

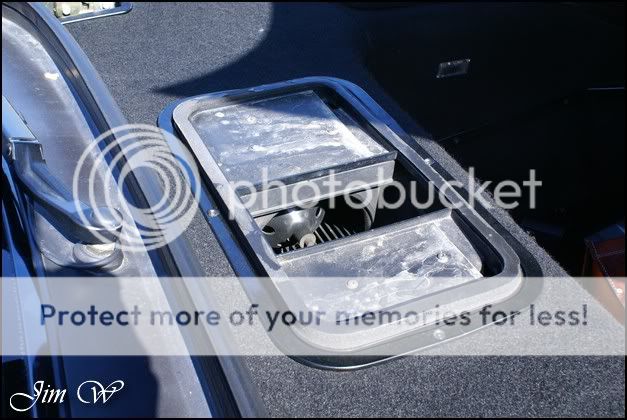
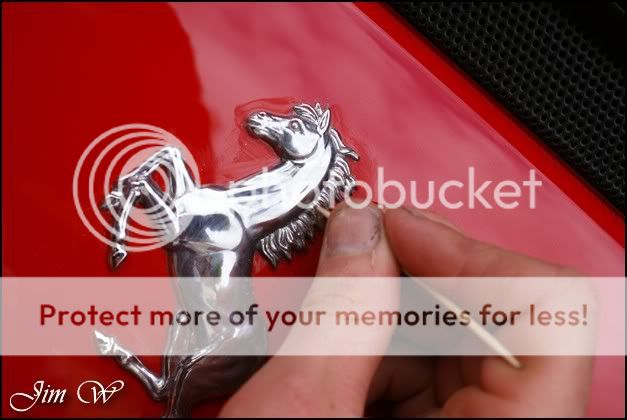
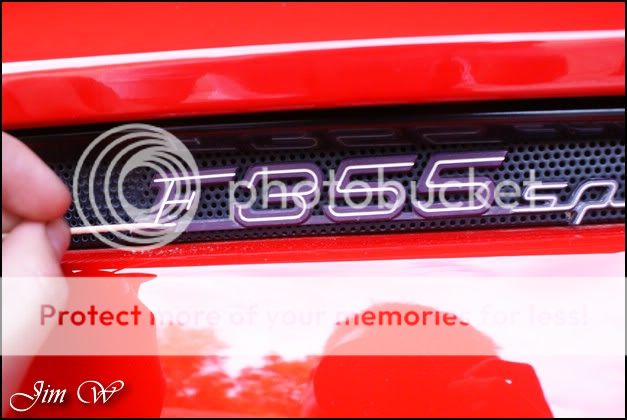
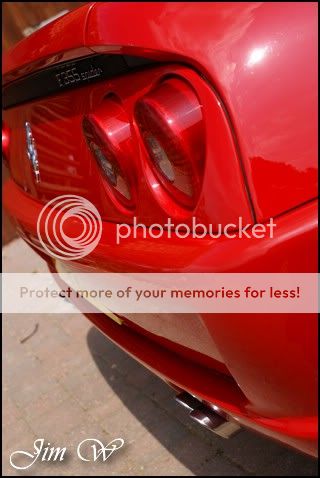
Other intricate areas cleaned in the same way:
weoooo-weoo weoo weoo. Whats that noise..?!

I was first introduced to the F355 back when I worked on the households family car, the Mercedes GL420:
Taking a cheeky moment to check the paintwork on the Ferrari, I noticed some pretty wicked buffer-trails and swirls in the paint. The work of a previous detailer apparently.
The car had been worked on by an Authorised Detailer of one of the big players in the Detailing game Im not one to name drop, but, to say I was shocked was an understatement.
My job was to rectify the issues and tidy the edges, as it were..
Product
AutoSol
AutoSmart G101
AutoSmart Tardis
Chemical Guys JetSEAL109
Chemical Guys New Look Trim Gel
Clearkote Red Moose Glaze
Dodo Juice SuperNatural
Jeffs Werkstat Prime
LTT Auto Ultra Foam
LTT Auto Ultra Protect
Meguiars All Purpose Cleaner
Menzerna Final Finish 106FA
Menzerna Power Finish 203s
Optimal No Rinse (ONR)
Sonus Green Mild Clay
Zaino Z8 Grande Finale
Before:
After:
Inspection:
As seen above, the paintwork was well and truly butchered with its previous machine polish experience
On the whole, the car is very clean. Until I appeared I on the scene, it lived happily tucked away in the garage where is remained spotless Whilst working on the Mercedes however, unfortunately, the F355 had to stay outside to allow for a decent work space within. Here, the mixture of rain, wind and dust left the car in the condition you see it in above ( .minus the buffer-trails!)
It was a scorcher today; pushing 28˚C by late morning. With that in mind, the sooner I could get undercover, the better.
Wheels, tyres and arches cleaned with Megs APC and a mix of brushes and mitts. AutoSmart Tardis later used on the alloys to remove a few fine tar deposits.
Bonnet sills wiped clean and headlights raised to allow cleaning here, too.
Other intricate areas cleaned in the same way:
weoooo-weoo weoo weoo. Whats that noise..?!

") )
)