Jimmeh
Registered User
Land Rover Discovery 3 Minor Correction
Work started on the Monday morning and was finalised late Wednesday afternoon. ~24 hours work time included here.
Product
AutoSmart Tardis
AutoSmart G101
AutoGlym Glass Polish
AutoGlym Fast Glass
Chemical Guys New Look Trim Gel
Chemical Guys JetSEAL109
Dental Floss (!)
Dodo Juice Born To Be Mild
Dodo Juice Limeprime
Dodo Juice SuperNatural
Dodo Juice Red Mist
LTT Auto Ultra Foam
LTT Auto Ultra Protect
Meguiars Last Touch
Meguiars All-Season Dressing
Meguiars Wheel Brightener
Menzerna 203s
PoorBoys Black Hole
Sonus Green Clay
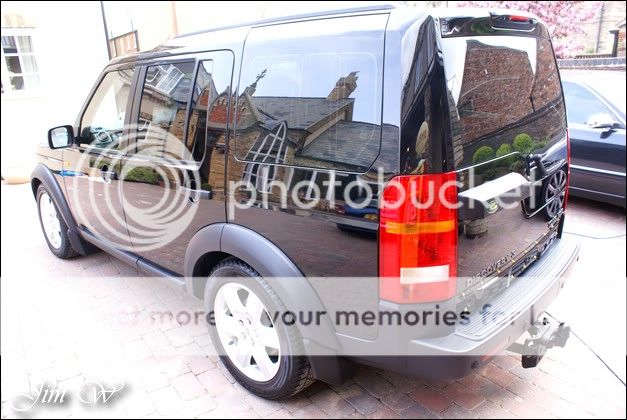
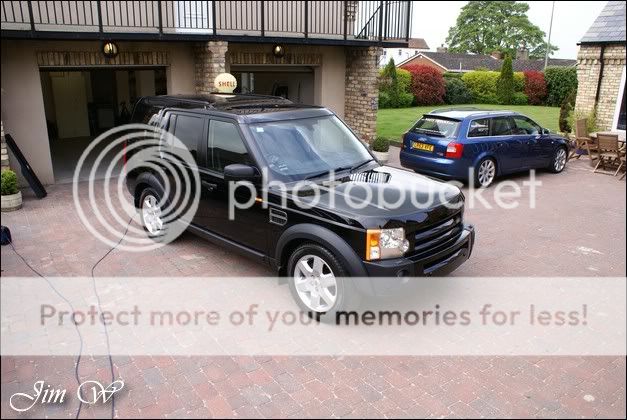
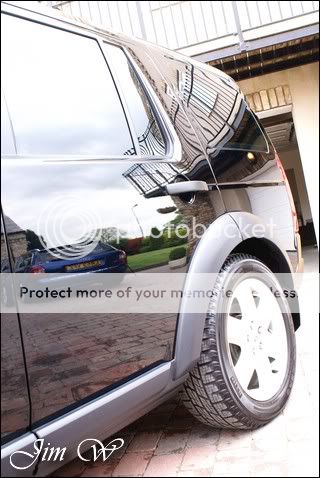
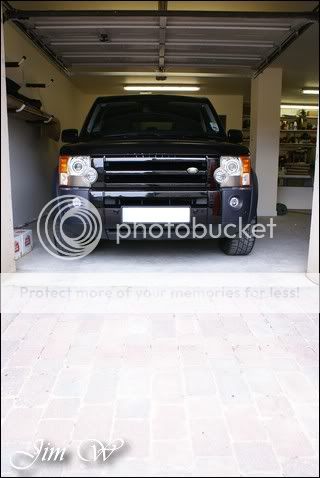
Before:

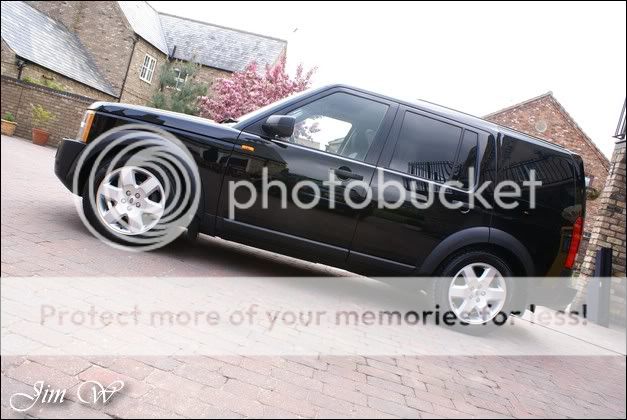
After

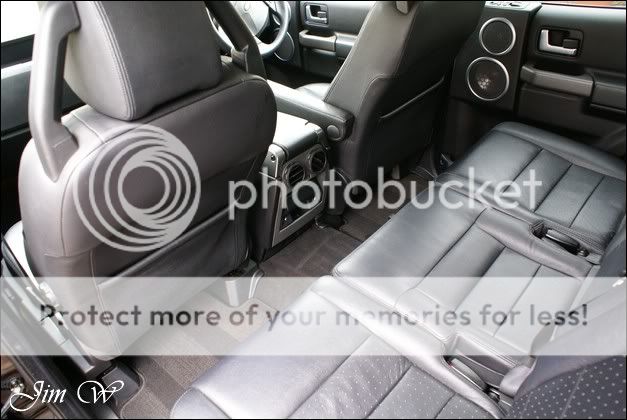
Inspection..

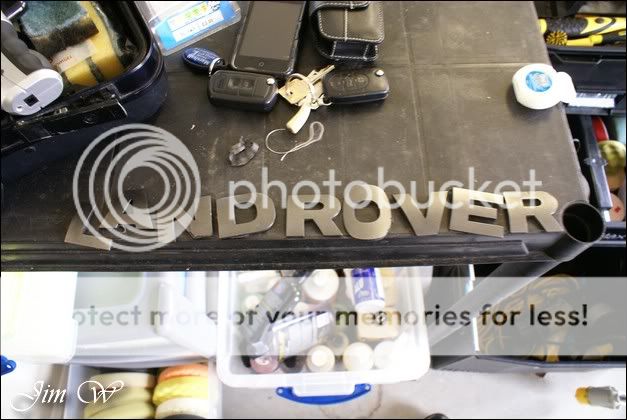
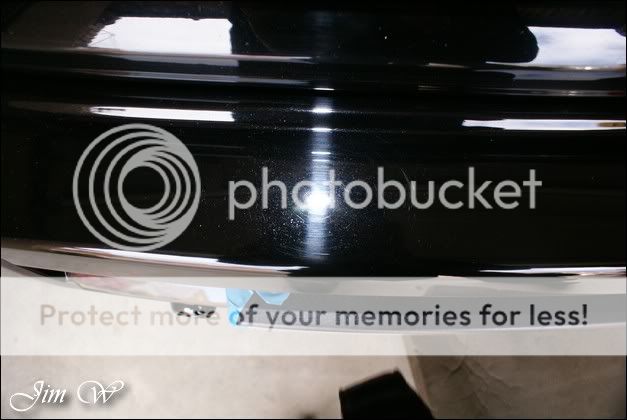
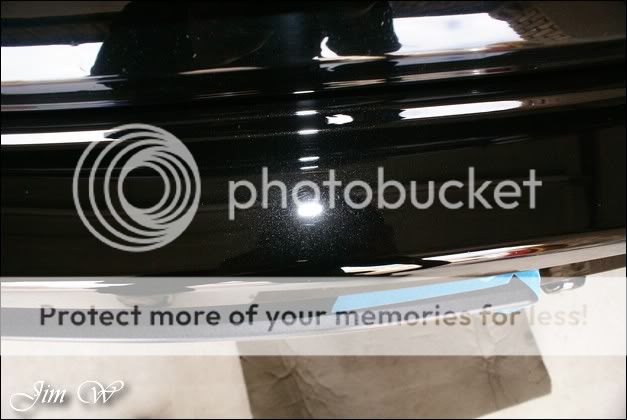
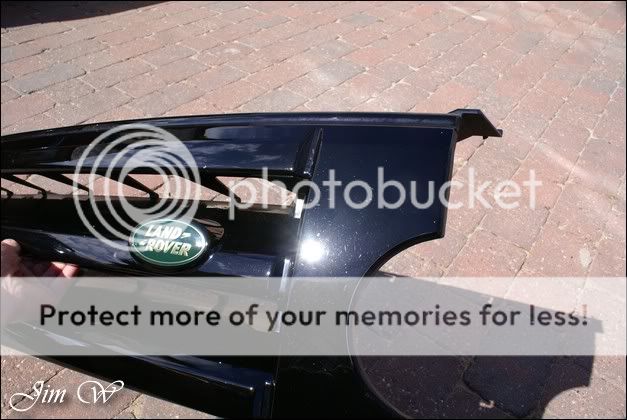
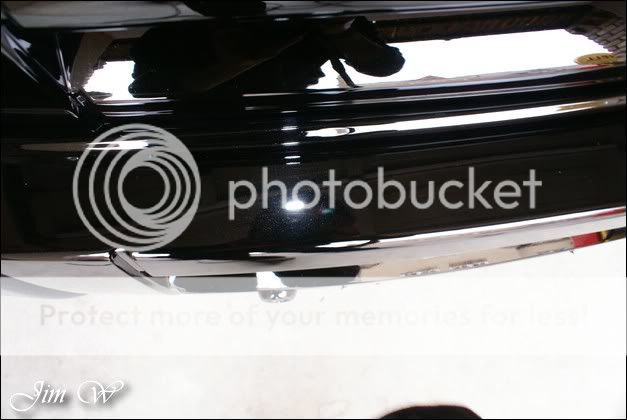
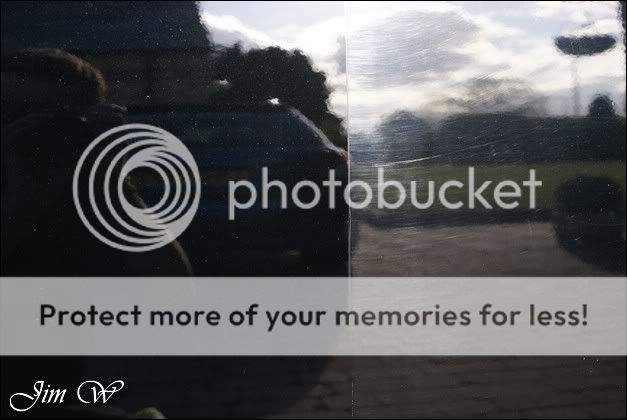
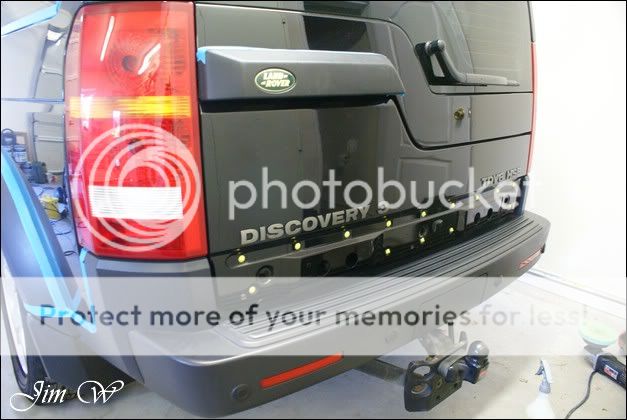
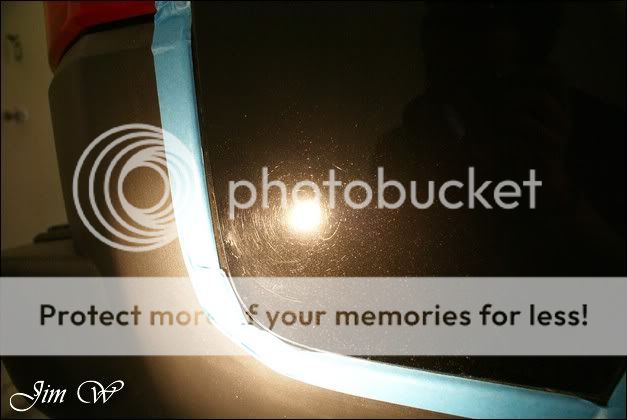
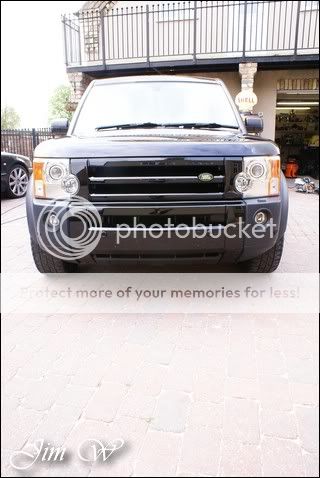
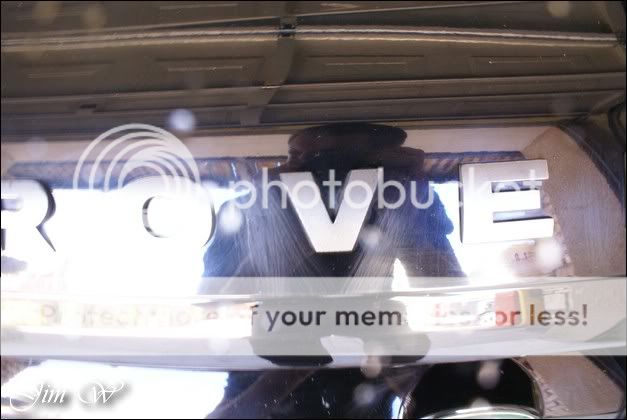
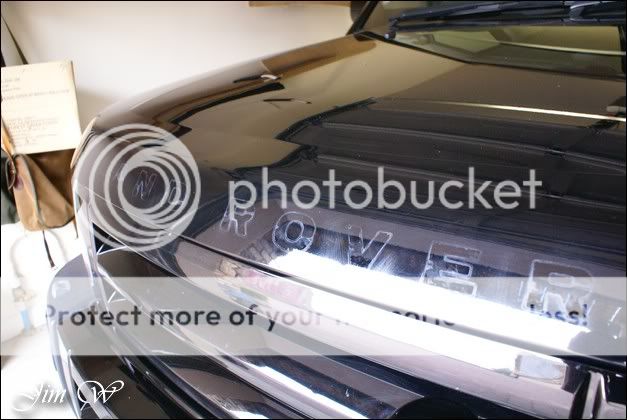
One of the keys areas to fix here was the bonnet-lip where LAND ROVER is sited. Why?
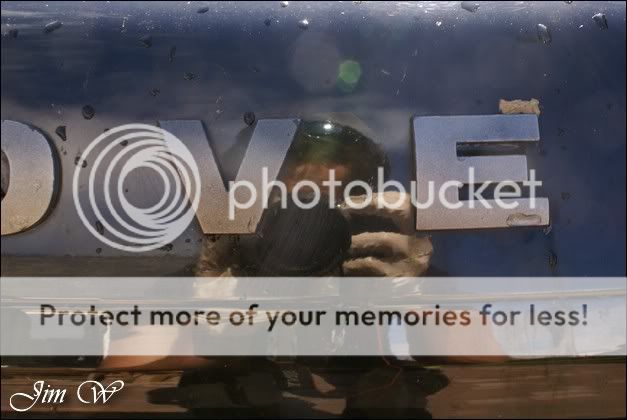
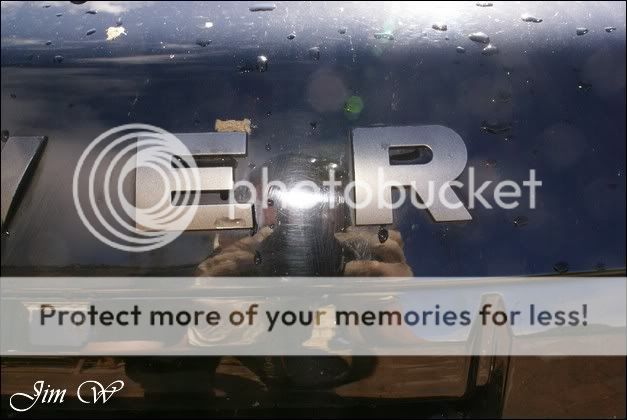
^this is why. Throughout its weekly wash (in someone elses hands) it appears to have gained some pretty serious scratches around the letters. To fix this the only solution was to strip the old letters off, polish, and replace with new ones. More on this later.
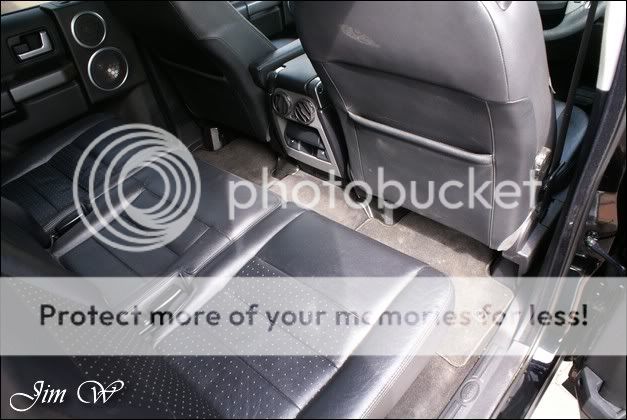
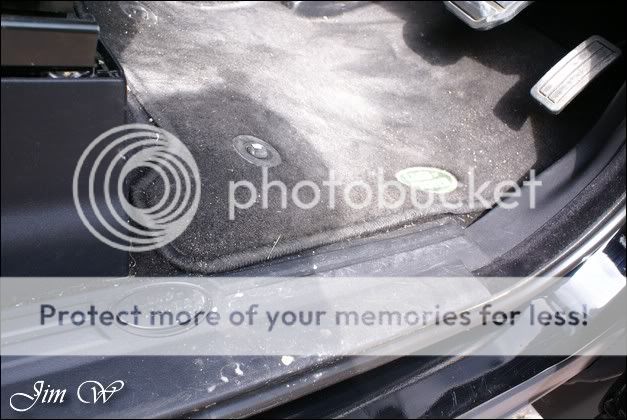
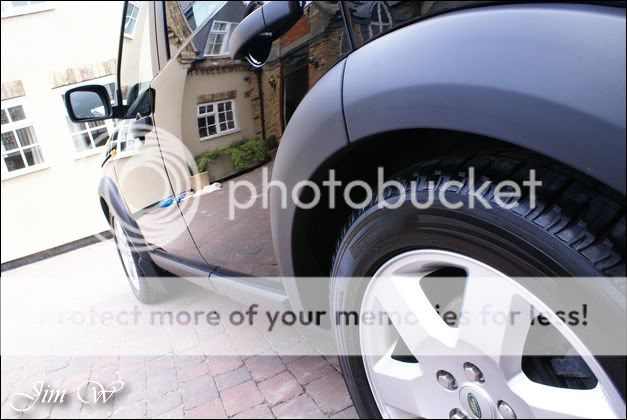
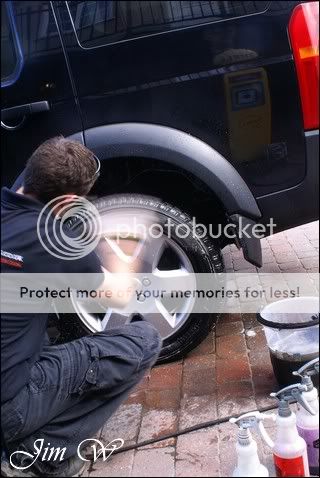
Usual wash process carried out - Wheels/arches and tyres first. Door shut & sills, petrol (diesel..) filler housing and other little niggely areas.

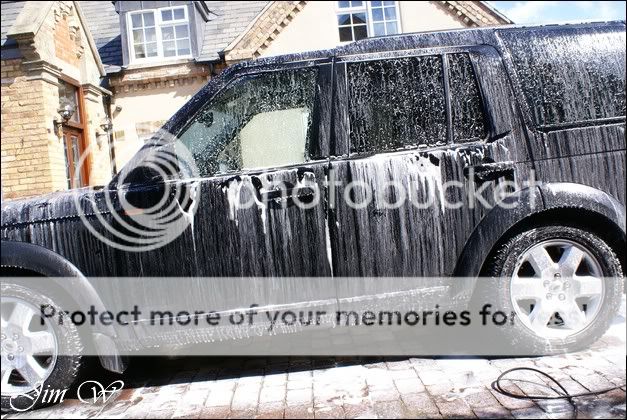
Monday was pretty much full-sun all day; glorious weather. With that in mind, I motored on.. (Hence lack of photos)
Mild contaminants lifted throughout the claying stages:

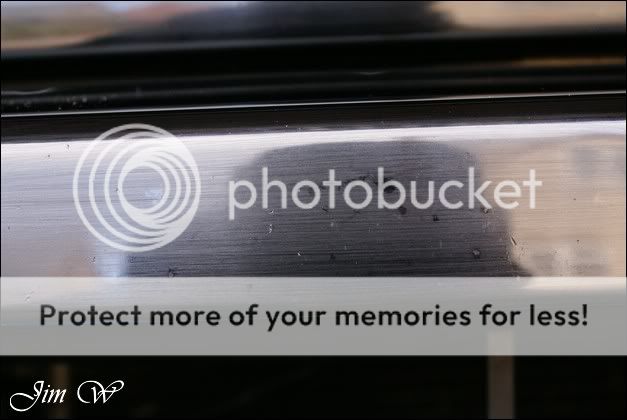
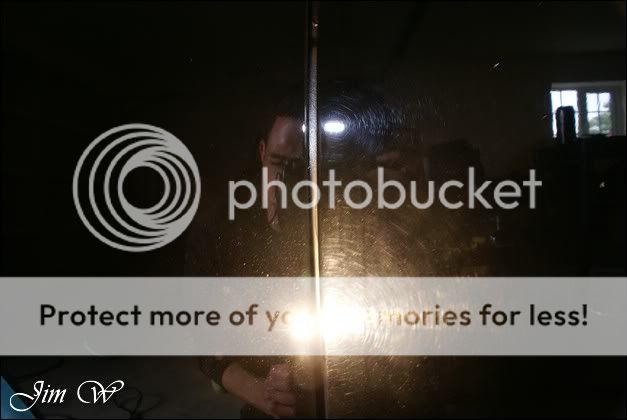
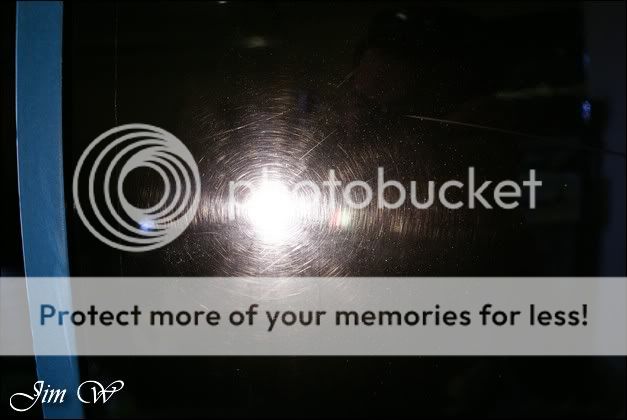
A proper inspection of the paintwork now its clean, clayed and dry.


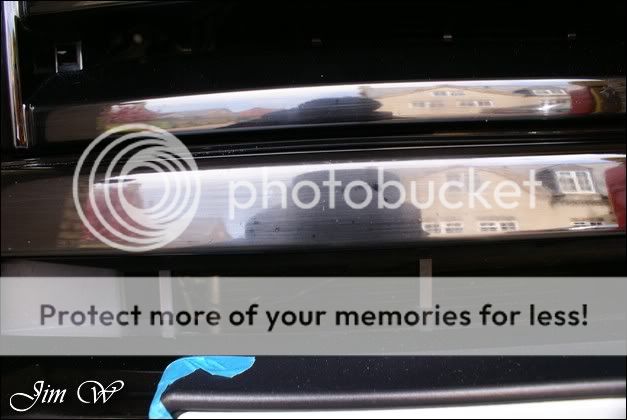
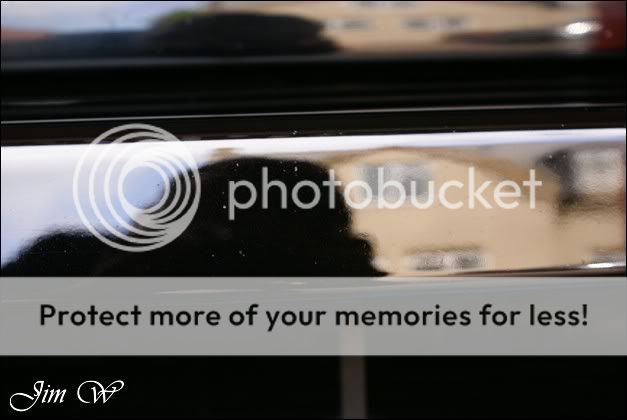
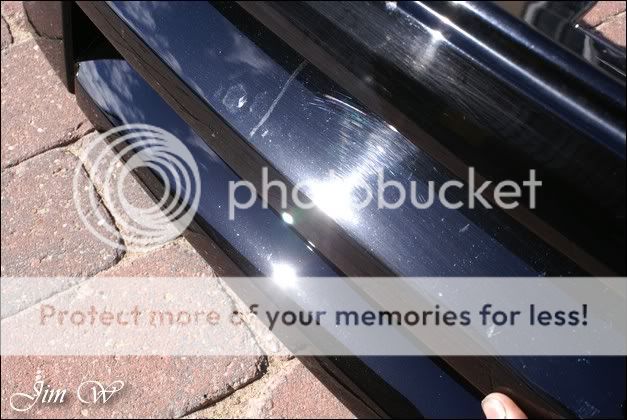
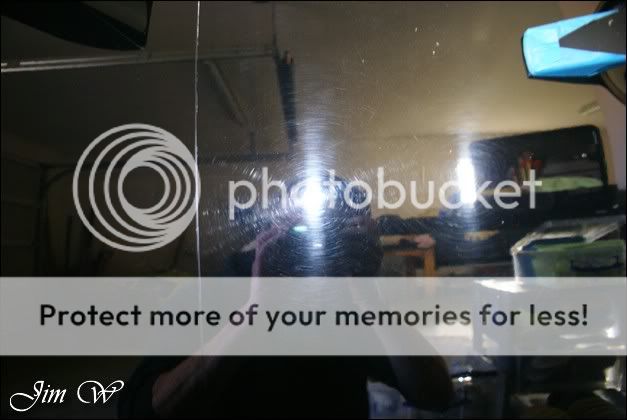
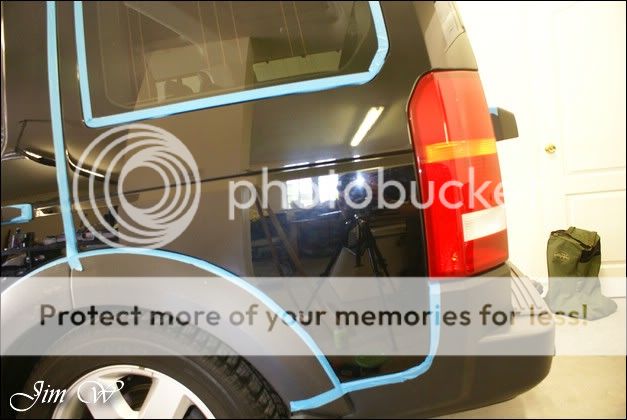
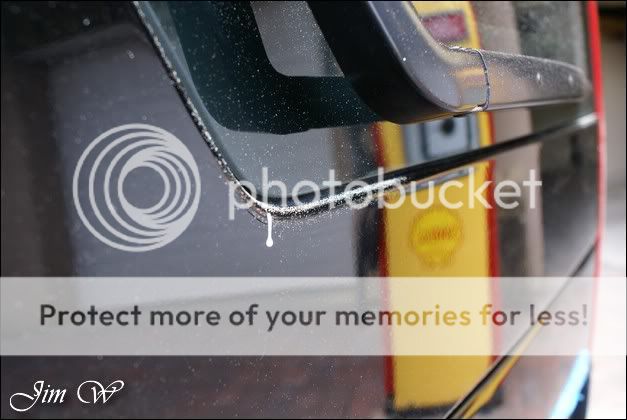
The O/S rear quarter was shocking. Itd been to Land Rover direct for some spray work and had been left in a poor state of affairs.

Upon later inspection sanding marks were still present, lots of overspray and gunk in the crevice between the panel and the light-cluster and whole areas that had been missed in the flatting processes were spotted.
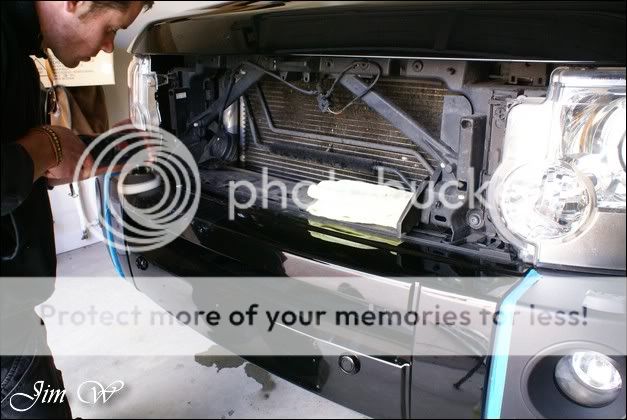
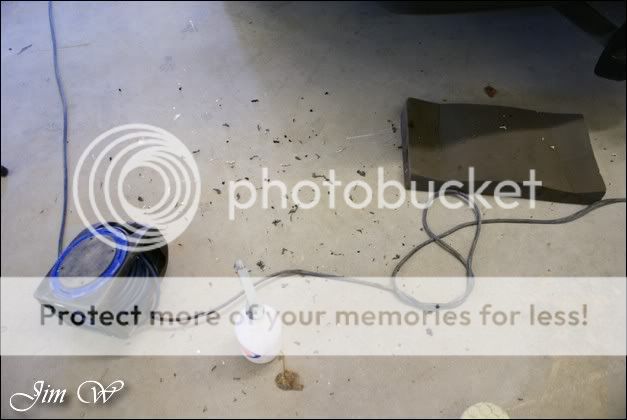
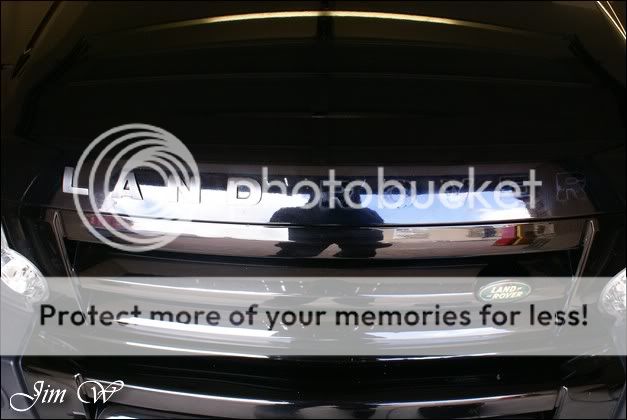
First things first, remove the badges on the front-end.


Work started on the Monday morning and was finalised late Wednesday afternoon. ~24 hours work time included here.
Product
AutoSmart Tardis
AutoSmart G101
AutoGlym Glass Polish
AutoGlym Fast Glass
Chemical Guys New Look Trim Gel
Chemical Guys JetSEAL109
Dental Floss (!)
Dodo Juice Born To Be Mild
Dodo Juice Limeprime
Dodo Juice SuperNatural
Dodo Juice Red Mist
LTT Auto Ultra Foam
LTT Auto Ultra Protect
Meguiars Last Touch
Meguiars All-Season Dressing
Meguiars Wheel Brightener
Menzerna 203s
PoorBoys Black Hole
Sonus Green Clay
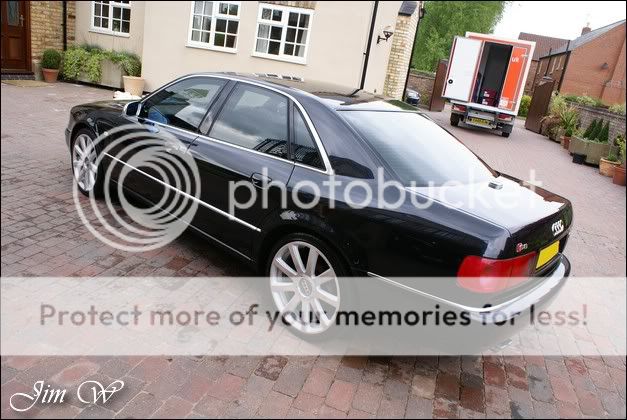
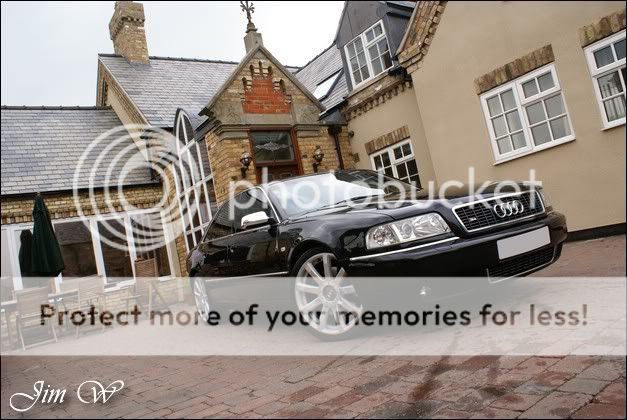
Before:
After
Inspection..
One of the keys areas to fix here was the bonnet-lip where LAND ROVER is sited. Why?
^this is why. Throughout its weekly wash (in someone elses hands) it appears to have gained some pretty serious scratches around the letters. To fix this the only solution was to strip the old letters off, polish, and replace with new ones. More on this later.
Usual wash process carried out - Wheels/arches and tyres first. Door shut & sills, petrol (diesel..) filler housing and other little niggely areas.
Monday was pretty much full-sun all day; glorious weather. With that in mind, I motored on.. (Hence lack of photos)
Mild contaminants lifted throughout the claying stages:
A proper inspection of the paintwork now its clean, clayed and dry.
The O/S rear quarter was shocking. Itd been to Land Rover direct for some spray work and had been left in a poor state of affairs.
Upon later inspection sanding marks were still present, lots of overspray and gunk in the crevice between the panel and the light-cluster and whole areas that had been missed in the flatting processes were spotted.
First things first, remove the badges on the front-end.