

Jimmeh
Registered User
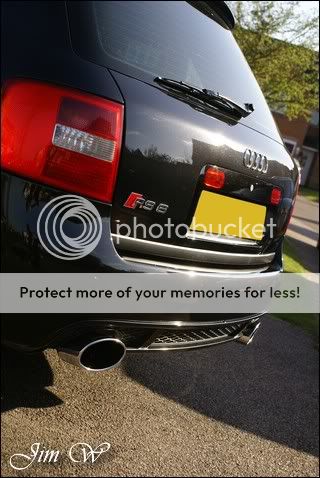
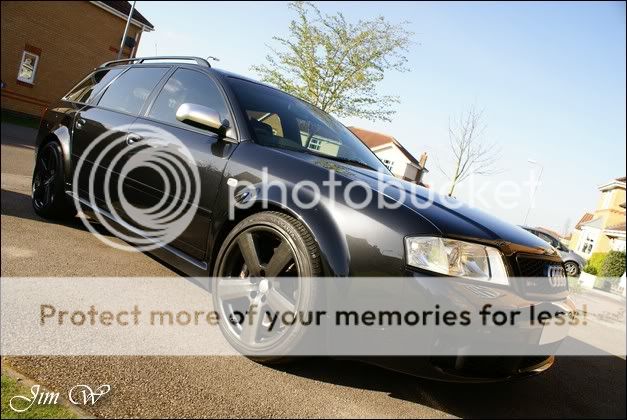
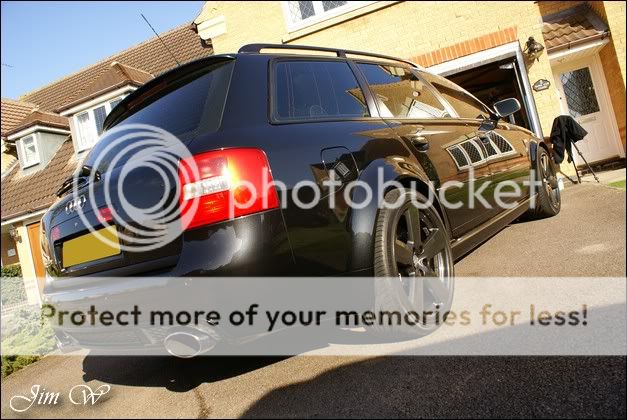
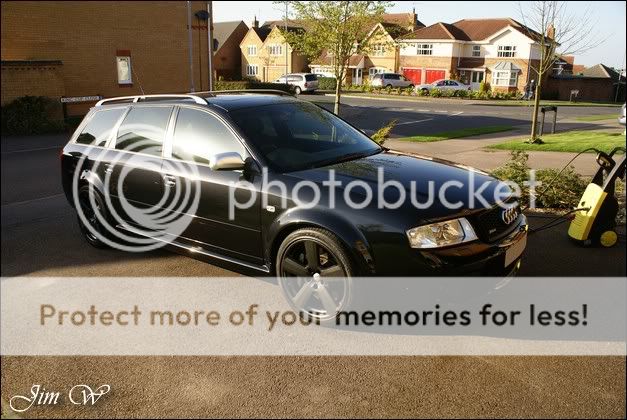
Audi RS6 Avant c5 Enhancement and Protection
Left home at 7am, unpacked and working by 8.30am. Finish around 8pm and get home at 11pm.
Nearly biting off more than I could chew with this one; it was a tough, long day. Thankfully, the weather played ball, the owner kept me well tanked up with coffee & snacks and the garage was of a decent size to allow the vehicle to be sheltered.
Product
AutoGlym Fast Glass
AutoSol
AutoSmart G101
AutoSmart Tardis
Chemical Guys JetSEAL901
Dodo Juice Born To Be Mild
Dodo Juice Lime Prime
Dodo Juice SuperNatural
Jeffs Werkstat Prime
Meguiars Last touch
Meguiars Endurance Tyre Gel
Sonus Green Mild Clay
Zaino Z8 Grande Finale
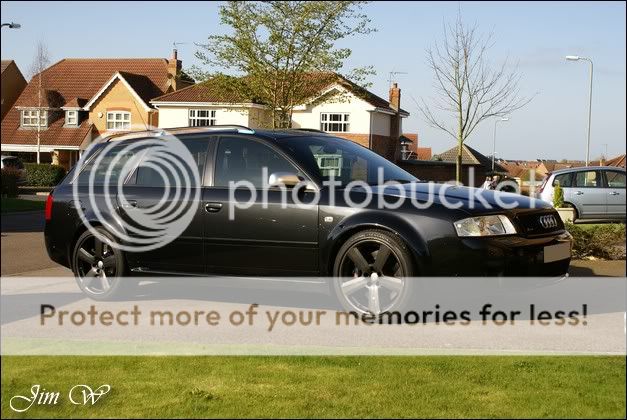
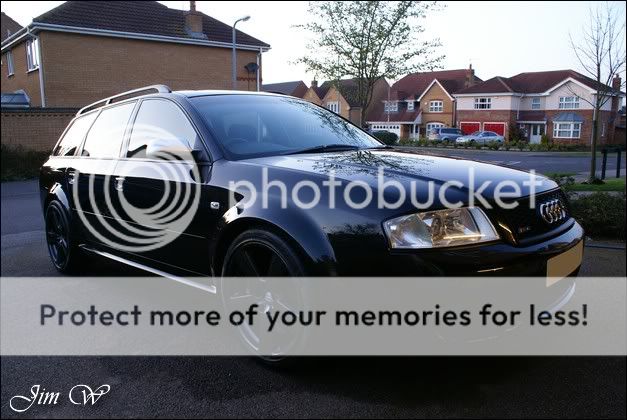
Before:

After:
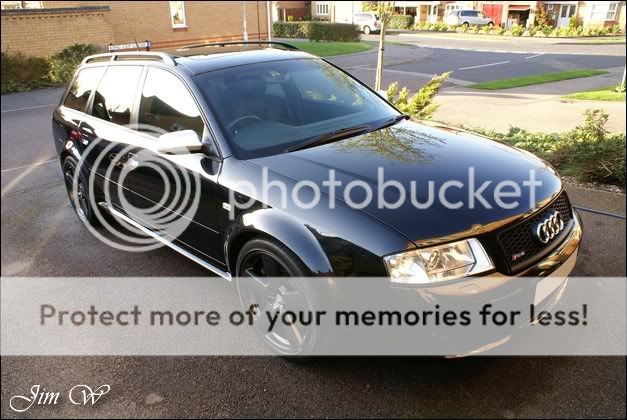
Upon arrival the Audi wasnt too bad covered in dew that had fallen in the early hours but generally, a very clean and tidy vehicle.


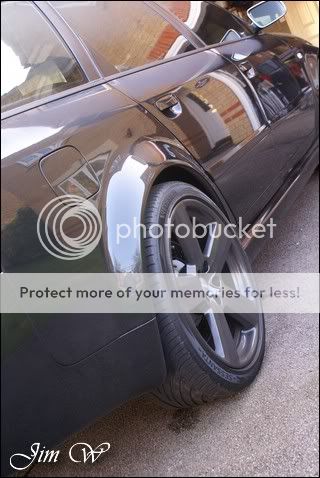
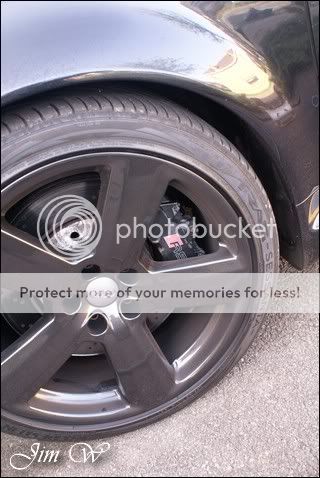
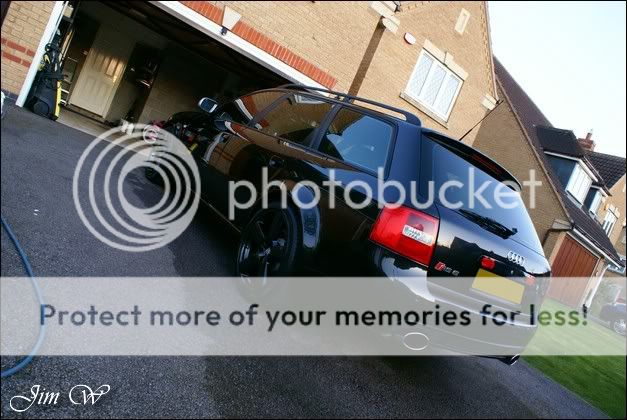
Wheels, shuts and sills cleaned first using a selection of tools and chemicals.
Fiddly bits attacked with AutoSmart G101 and a few brushes.
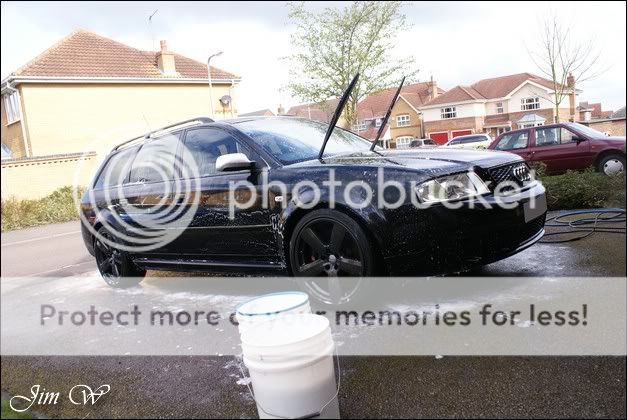
Snowfoam delivered and allowed to dwell.
Re-foamed and washed with the two-bucket method and Dodo Juice Born To Be Mild.
Megs Last Touch used to lubricate the Sonus Green clay bar to remove embedded contaminants.

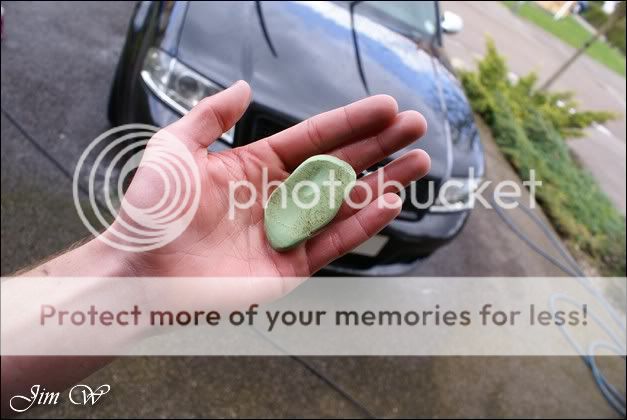
Not much pick up throughout obvious areas (tailgate, lower doors etc) were the worst.
Vehicle blasted throughout claying stages to rid Last Touch residues and finally water sheeted over the car to assist the drying steps.

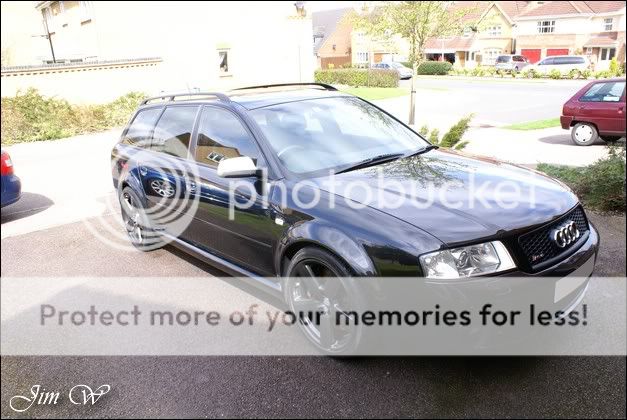
Remaining water on the car was collected with a deep pile luxury drying towel. Other areas were blown with the Black Baron to release trapped water from the petrol-filler housing, window jams, badges, lights, panel gaps etc.

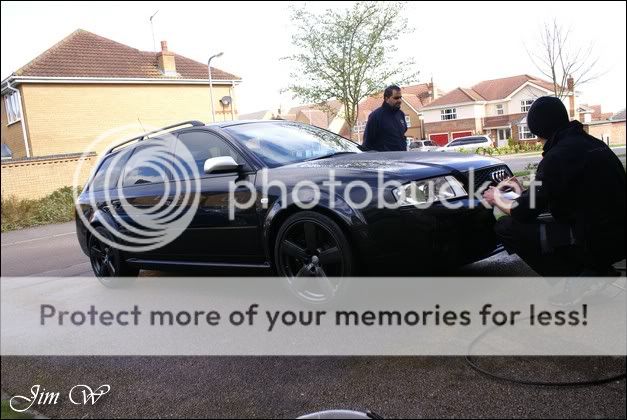
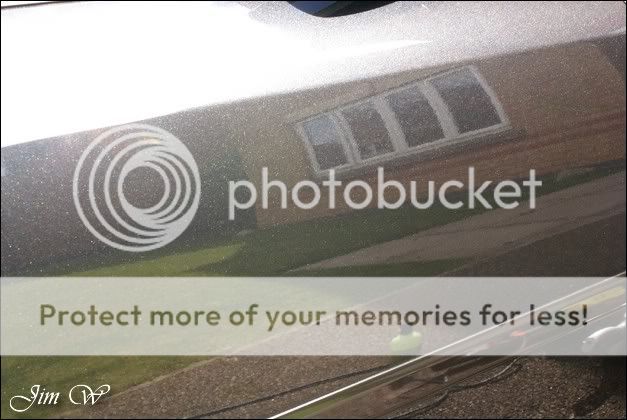
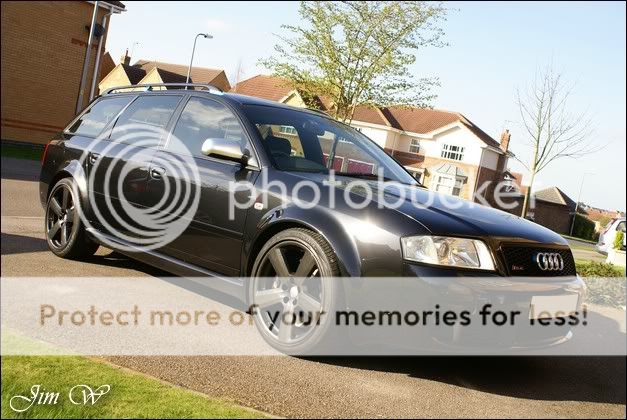
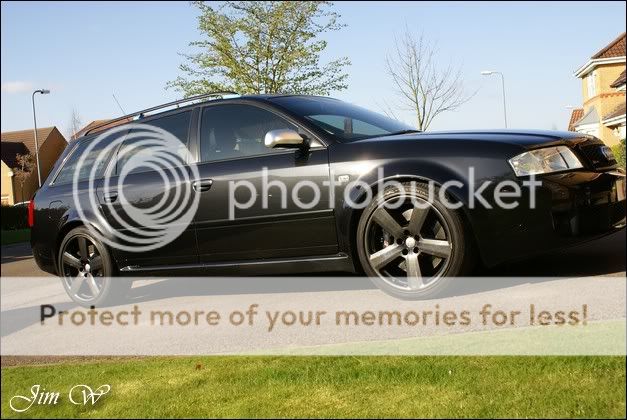
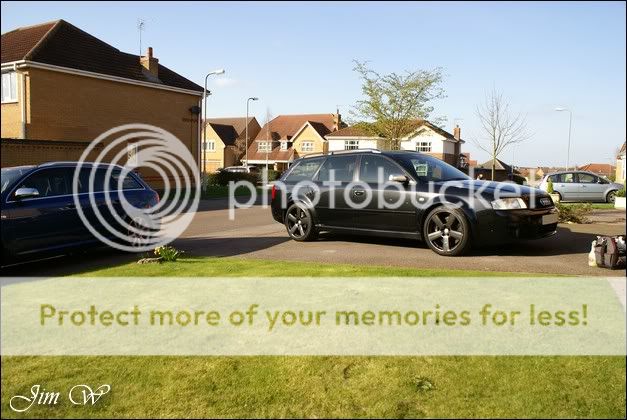
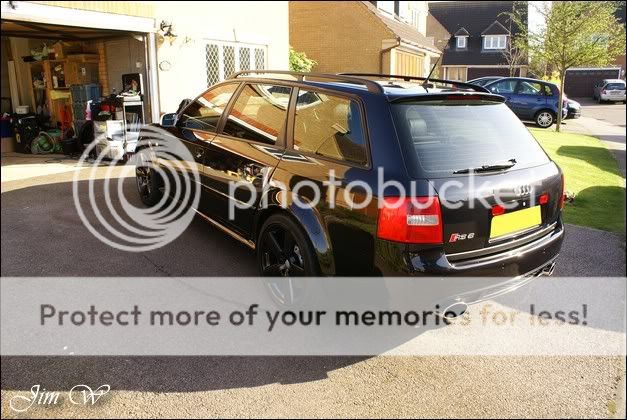
RS-6 left looking a little something like this:
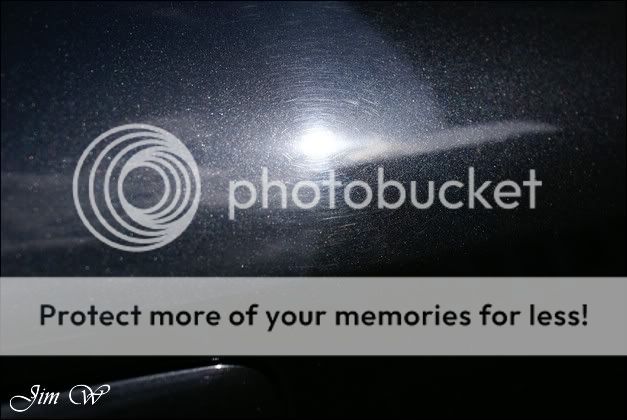
3M Yellow Polishing Pad hooked up to the rotary and Lime Prime applied. Very surprised at LPs correcting abilities today; gave more defect removal than I originally imagined.
To get started I completed a few panels in the direct sunlight.
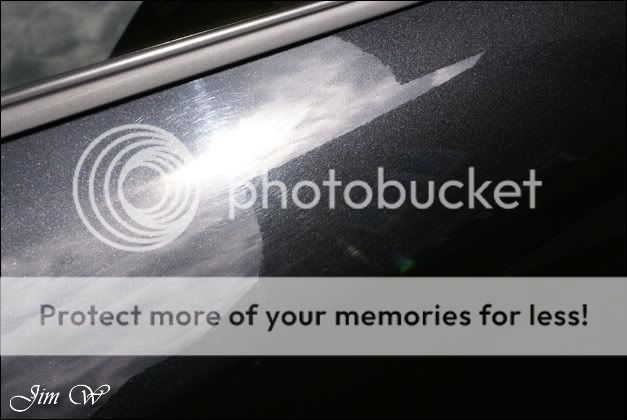
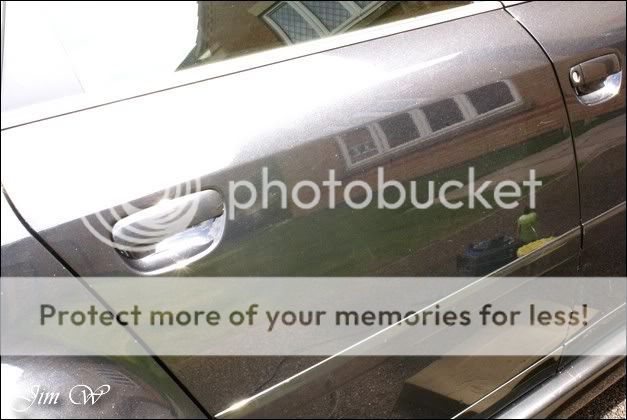
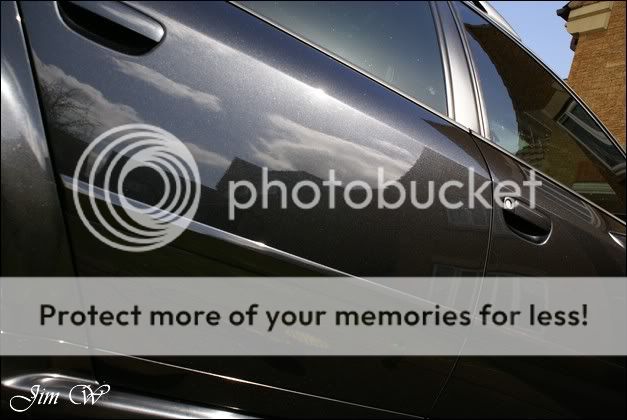
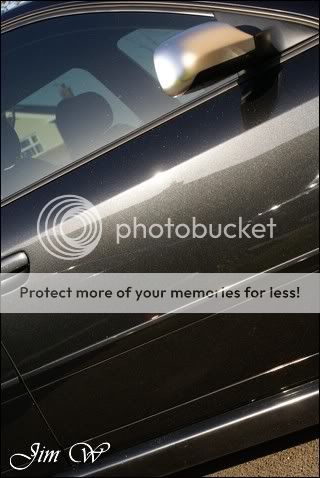
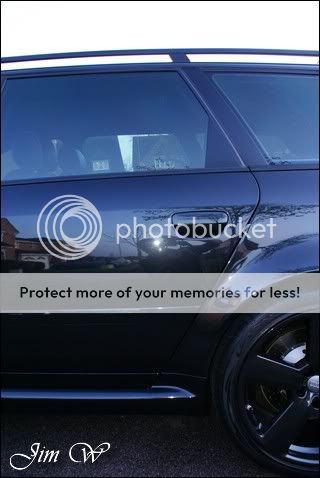
O/S rear door before:
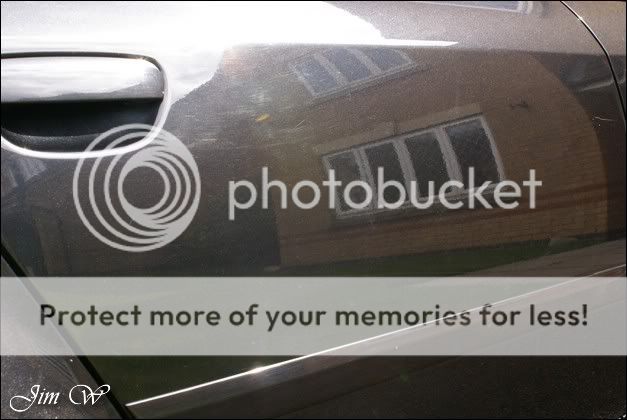
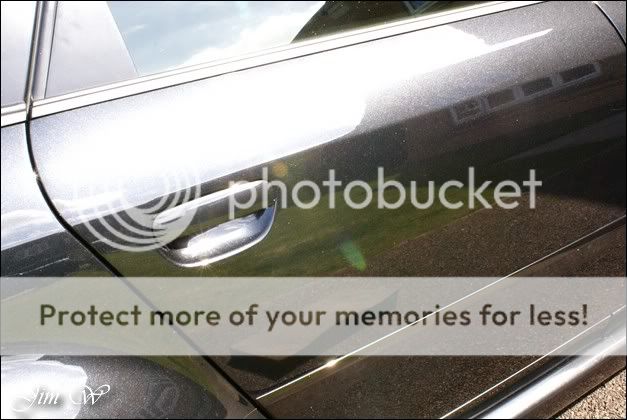
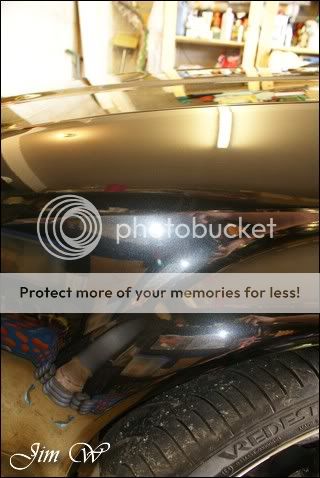
O/S rear door afterwards:

A very good effort for an enhancement with Lime Prime if I say so myself.
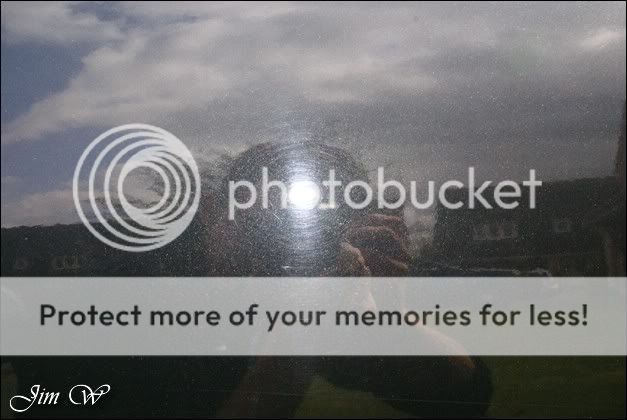
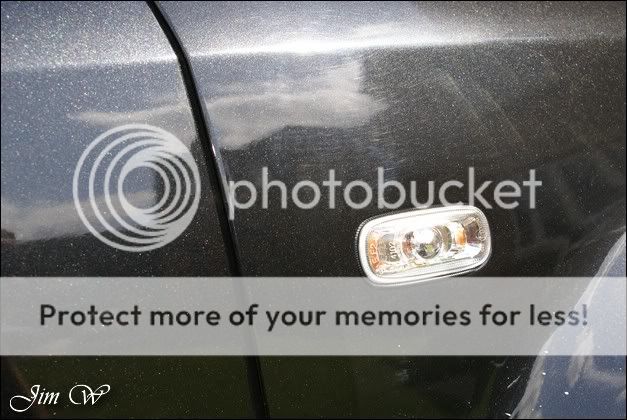
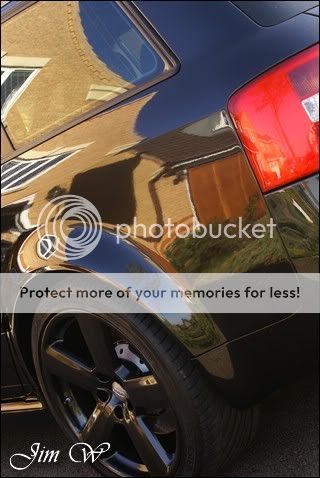
O/S rear door before (covered in a grey haze)
And after:
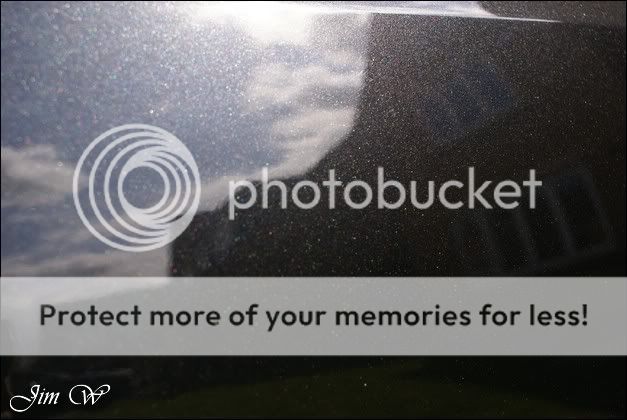
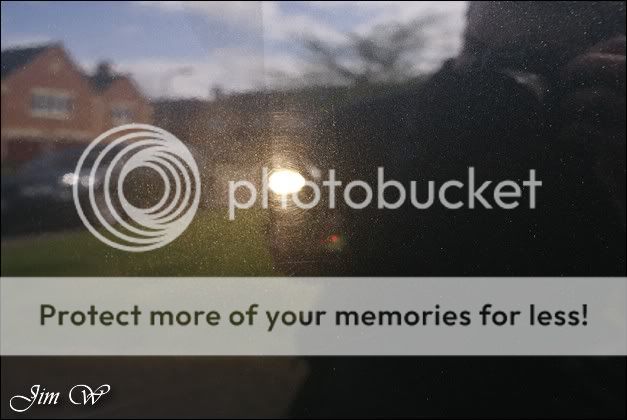
(C-pillar not complete in this next shot)
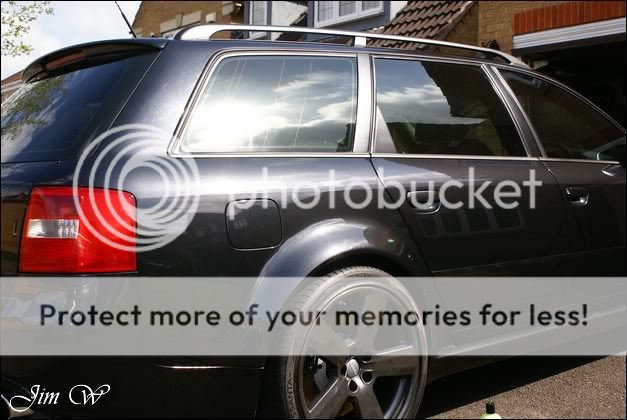

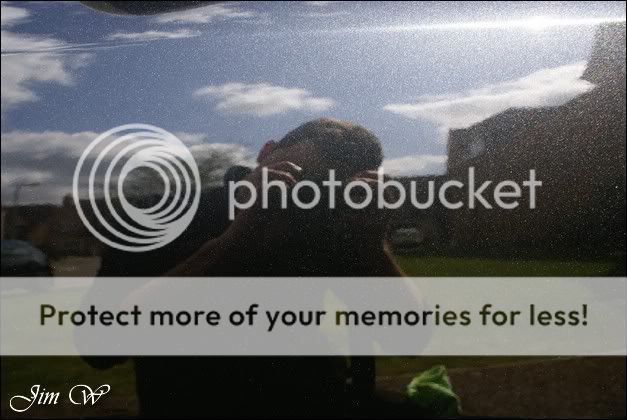
A bit of a 50/50 between the two panels on the O/S:
Left home at 7am, unpacked and working by 8.30am. Finish around 8pm and get home at 11pm.
Nearly biting off more than I could chew with this one; it was a tough, long day. Thankfully, the weather played ball, the owner kept me well tanked up with coffee & snacks and the garage was of a decent size to allow the vehicle to be sheltered.
Product
AutoGlym Fast Glass
AutoSol
AutoSmart G101
AutoSmart Tardis
Chemical Guys JetSEAL901
Dodo Juice Born To Be Mild
Dodo Juice Lime Prime
Dodo Juice SuperNatural
Jeffs Werkstat Prime
Meguiars Last touch
Meguiars Endurance Tyre Gel
Sonus Green Mild Clay
Zaino Z8 Grande Finale
Before:
After:
Upon arrival the Audi wasnt too bad covered in dew that had fallen in the early hours but generally, a very clean and tidy vehicle.
Wheels, shuts and sills cleaned first using a selection of tools and chemicals.
Fiddly bits attacked with AutoSmart G101 and a few brushes.
Snowfoam delivered and allowed to dwell.
Re-foamed and washed with the two-bucket method and Dodo Juice Born To Be Mild.
Megs Last Touch used to lubricate the Sonus Green clay bar to remove embedded contaminants.
Not much pick up throughout obvious areas (tailgate, lower doors etc) were the worst.
Vehicle blasted throughout claying stages to rid Last Touch residues and finally water sheeted over the car to assist the drying steps.
Remaining water on the car was collected with a deep pile luxury drying towel. Other areas were blown with the Black Baron to release trapped water from the petrol-filler housing, window jams, badges, lights, panel gaps etc.
RS-6 left looking a little something like this:
3M Yellow Polishing Pad hooked up to the rotary and Lime Prime applied. Very surprised at LPs correcting abilities today; gave more defect removal than I originally imagined.
To get started I completed a few panels in the direct sunlight.
O/S rear door before:
O/S rear door afterwards:
A very good effort for an enhancement with Lime Prime if I say so myself.
O/S rear door before (covered in a grey haze)
And after:
(C-pillar not complete in this next shot)
A bit of a 50/50 between the two panels on the O/S:


")
