

Jimmeh
Registered User
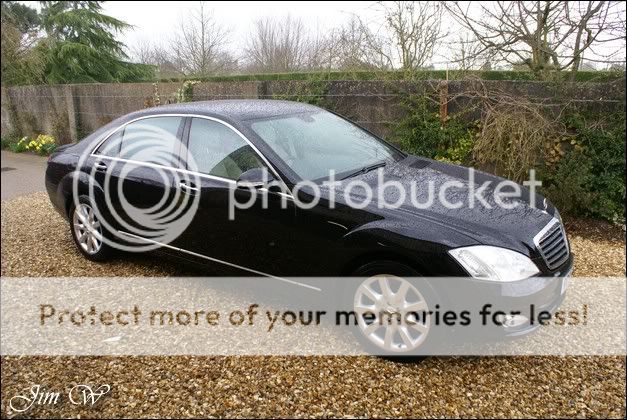
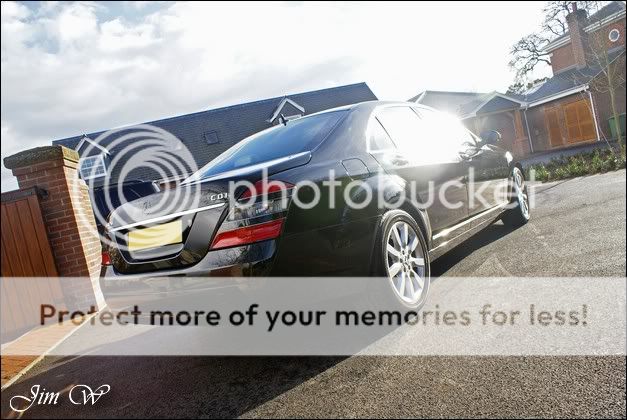
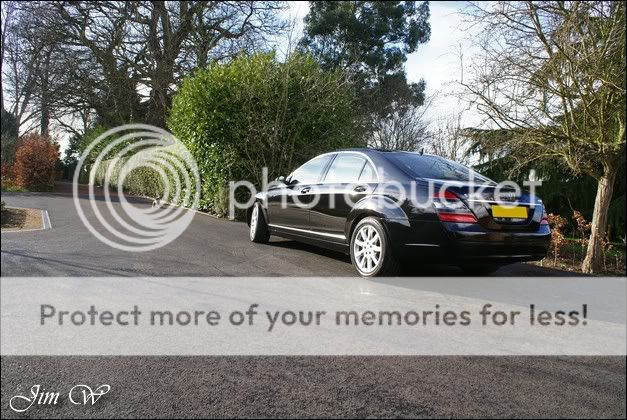
Mercedes-Benz S-320 CDi
After completing both the black 650i Cabriolet and the black GL420 CDi, the Father of the household wanted his (yes, you guessed it) BLACK S-Class doing. This time going through a single-stage machine correction..
Previous BMW and Mercedes reports found here:
http://www.audi-sport.net/vb/showthread.php?91148-Mercedes-Benz-GL420-CDi
http://www.audi-sport.net/vb/showthread.php?92263-BMW-650i-Cabriolet-Dodo-Enhancement
And two images:
650i cab:

GL series:

Product
AutoGlym Fast Glass
AutoSmart G101
AutoSmart Tardis
Chemical Guys New Look Trim Gel
Chemical Guys JetSEAL901
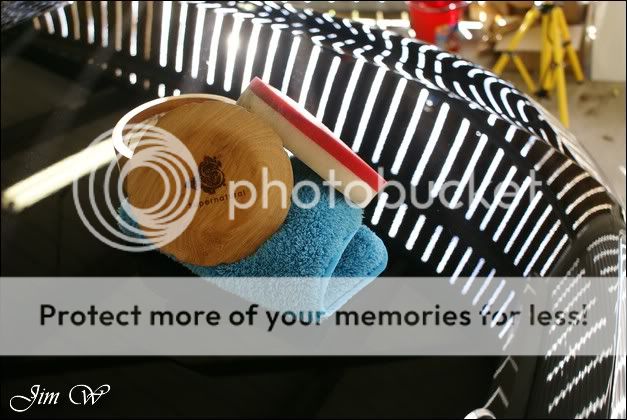
Dodo Juice Supernatural
Dodo Juice Born To Be Mild
IPA
Jeffs Werkstat Prime
LTT Auto Ultra Foam
LTT Auto Ultra Protect
Meguiars Last Touch
Meguiars Wheel Brightener
Meguiars Super-Degreaser
Menzerna 203s
Poorboys BlackHole
Sonus Green Mild Clay
Zaino Z8 Grand Finale
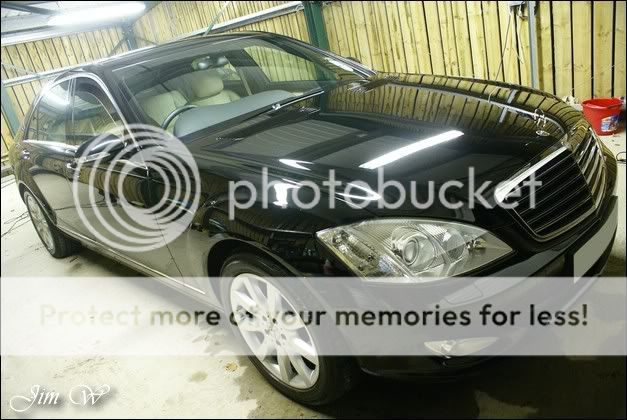
Before and After:
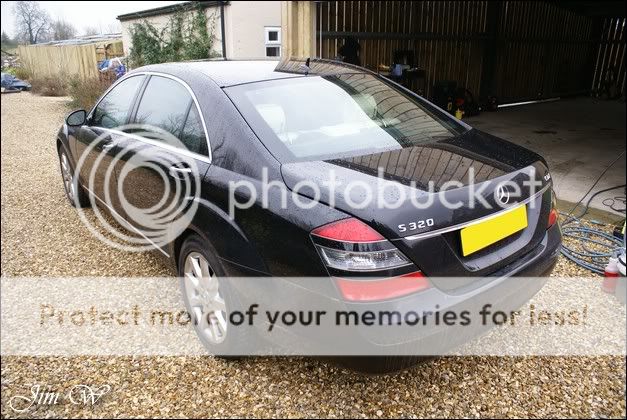

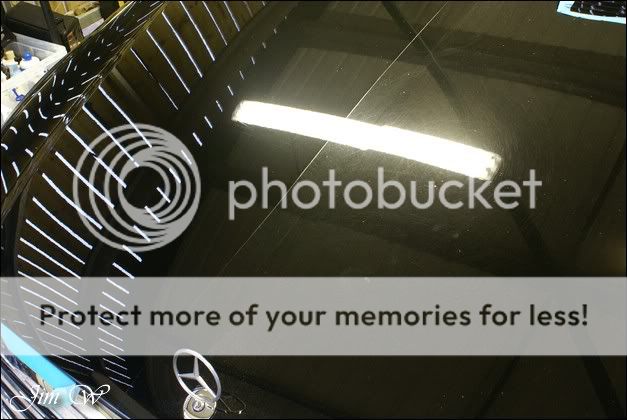
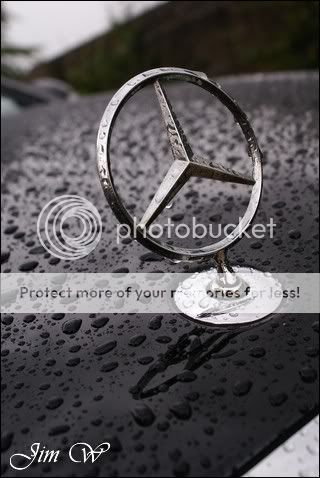
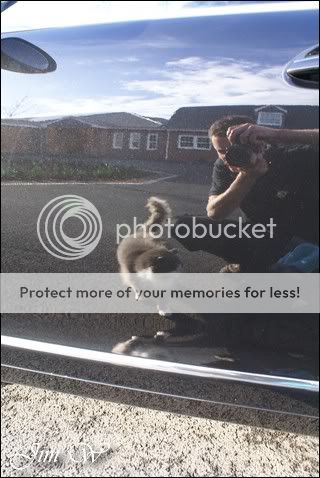
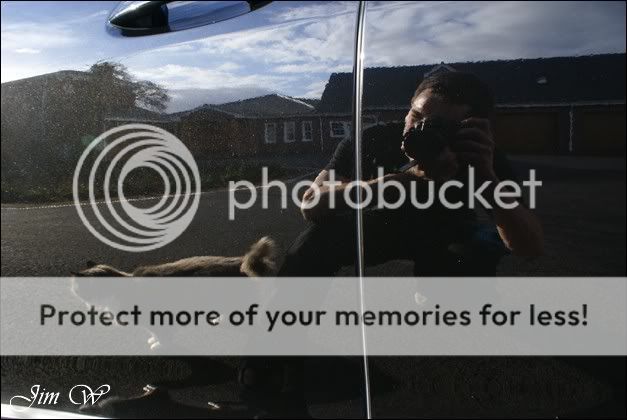
Inspection:
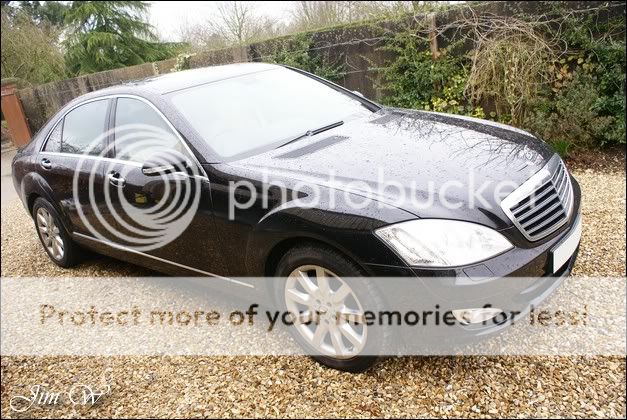


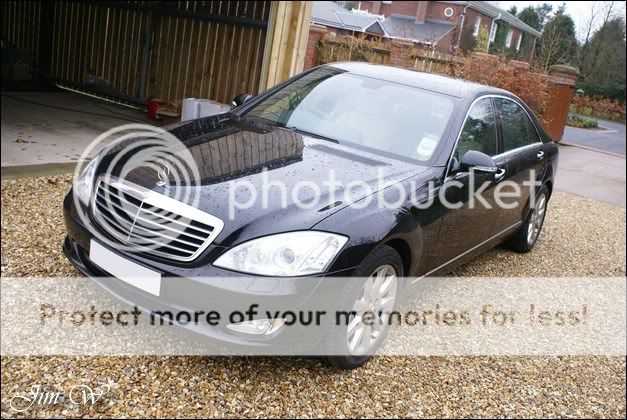
Hidden beneath the dirt, the paints looking a little flat.
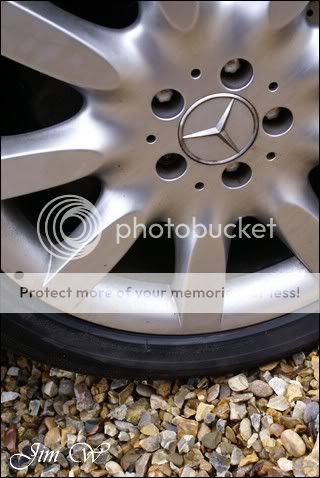
After setting up base, I always start with the wheels/shuts.
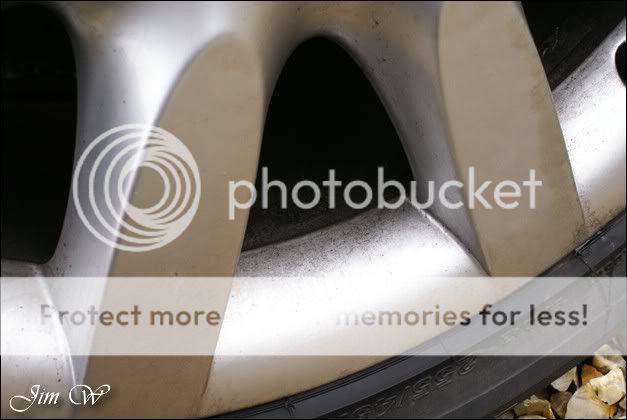
Wheels/Tyres/Arches Megs Wheel Brightener. AutoSmart G101. AutoSmart Tardis. Megs Super-Degreaser. EZ Wheel Brush. Wheel mitts. Vikan Long Reach brush. Envy Brushes. Sonus Green clay
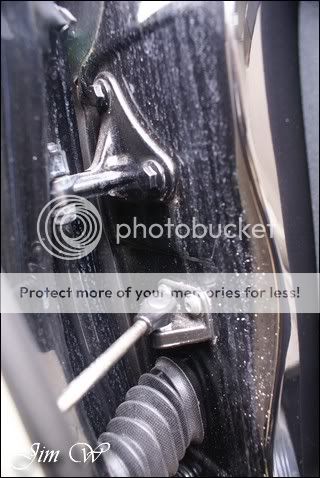
Shuts AutoSmart G101. AutoSmart Tardis.
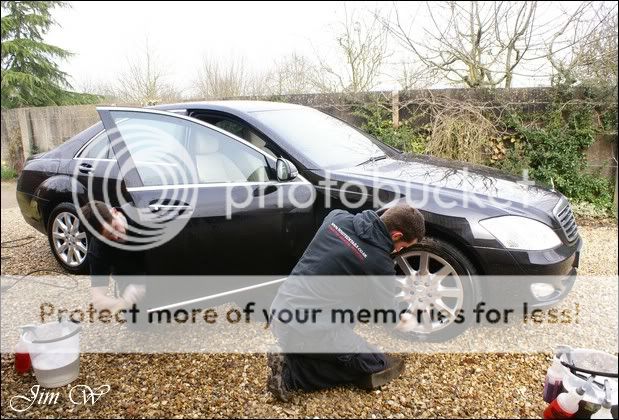
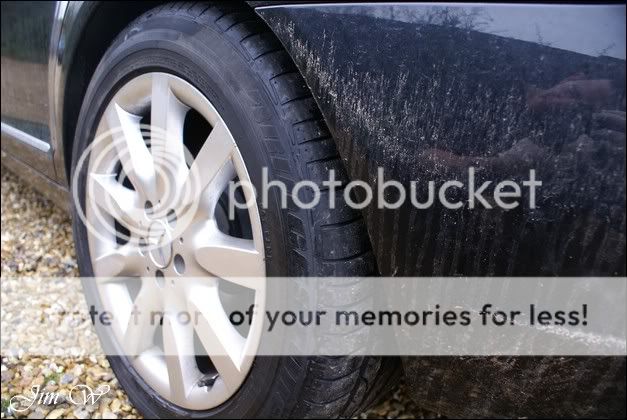
I spent close to an hour on the wheels alone; the inner rim was far gone. The facings suffered from pitting in the corners, Sonus Clay and Tardis were able to shift the most of.
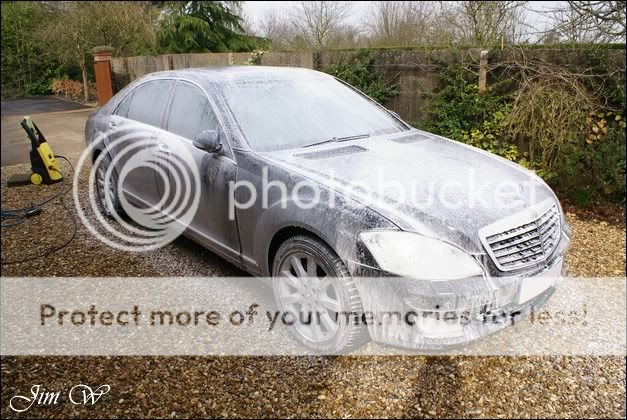
Snowfoamed > Washed > De-tar > De-contaminate (Clay!)
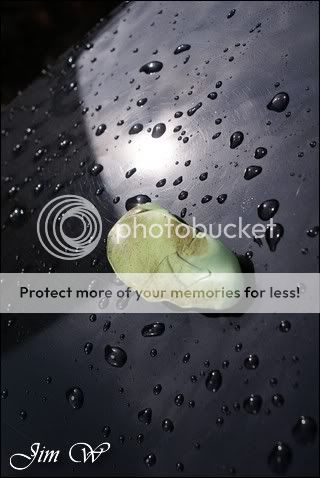
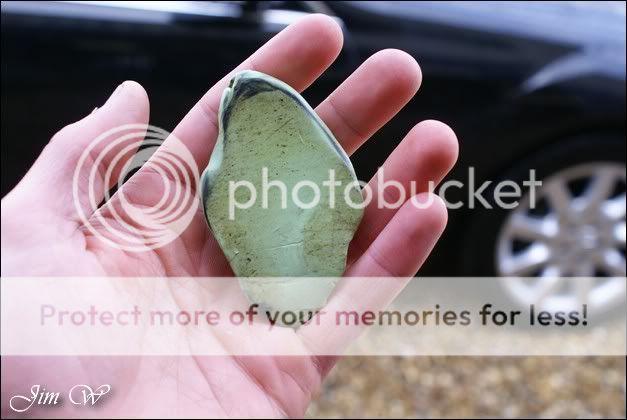
A selection of sap and tar being dissolved by Tardis:

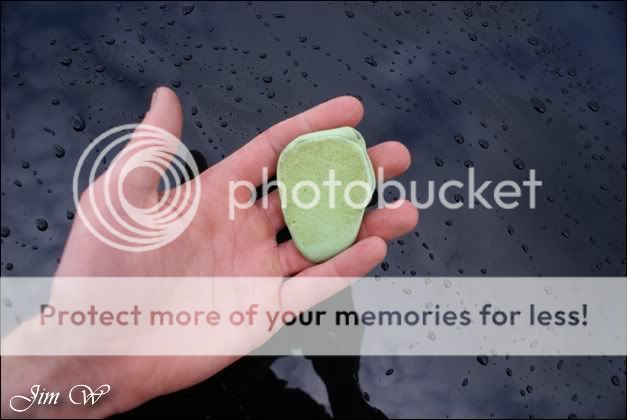
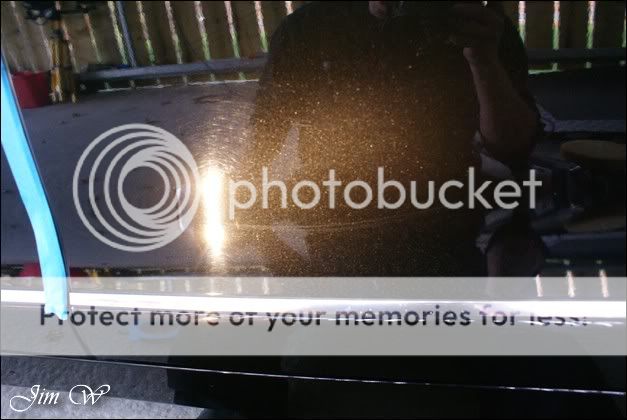
This car had LOTS of tree-sap on. Little yellow specs that were an absolute ****** to shift!
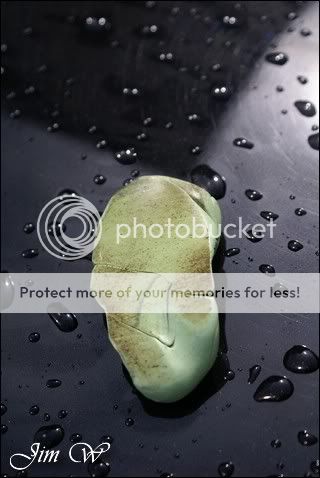
Claybar after half of the bonnet: (yellowing from sap build-up)
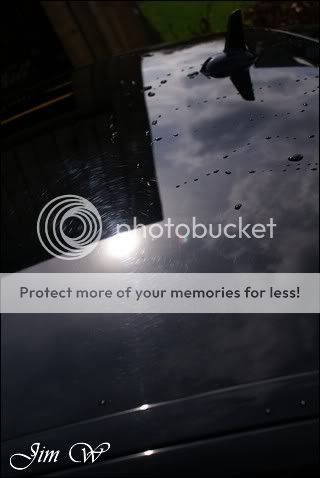
After bootlit:
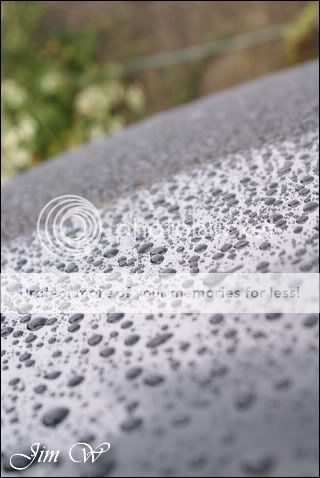
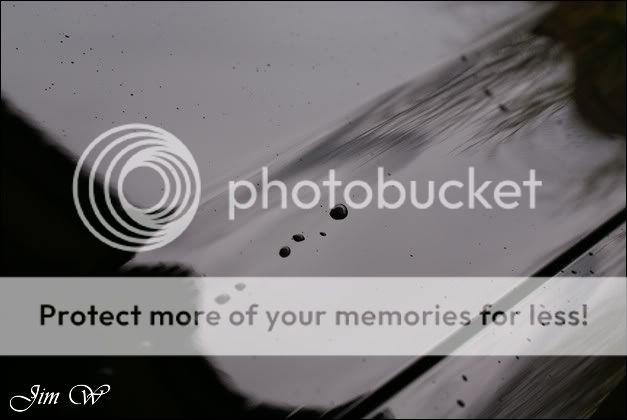
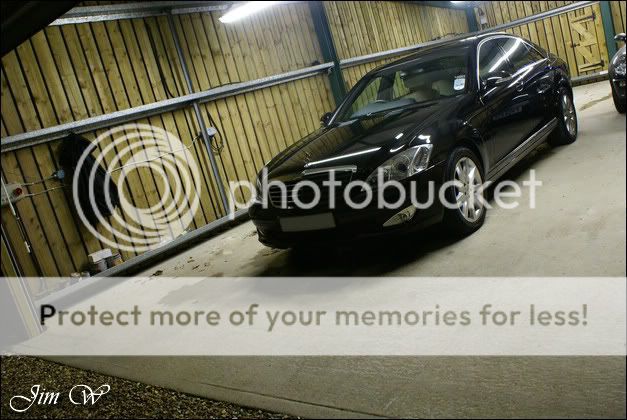
Car re-washed and water-sheeted over the panels to aid the drying stages.

Wash stage = 4 hours.
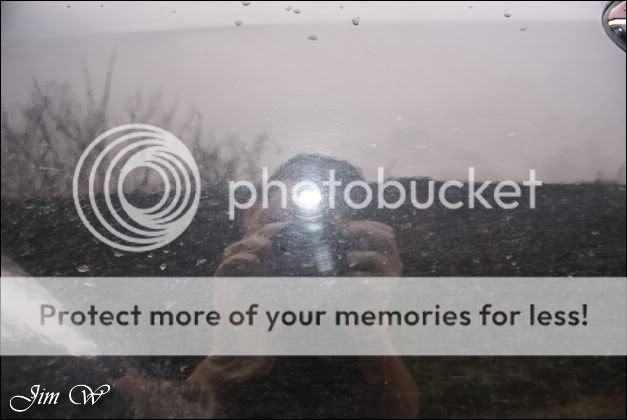
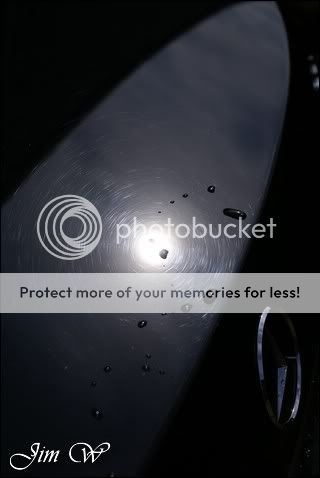
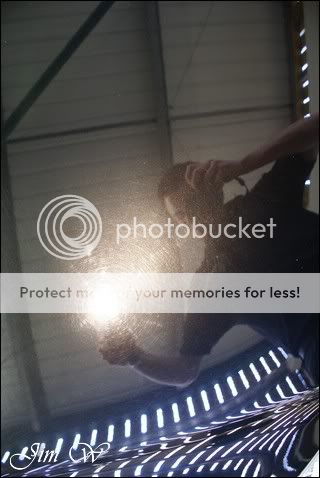
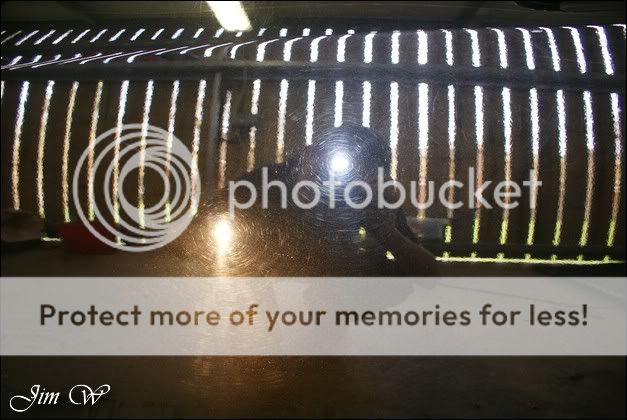
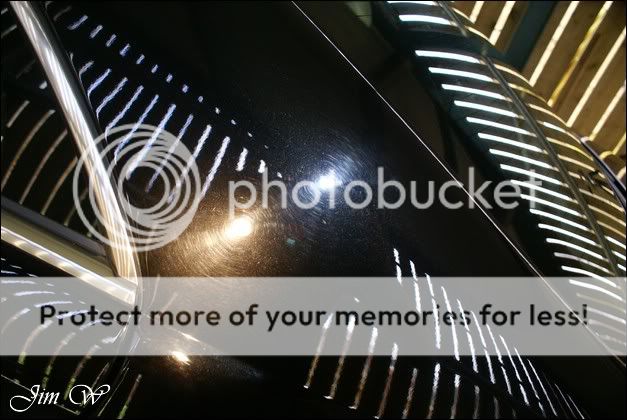
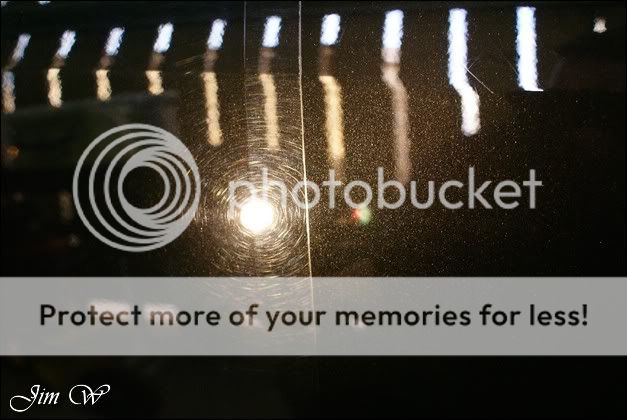
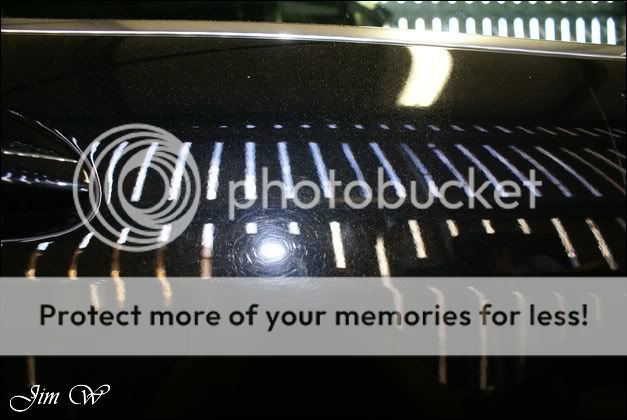
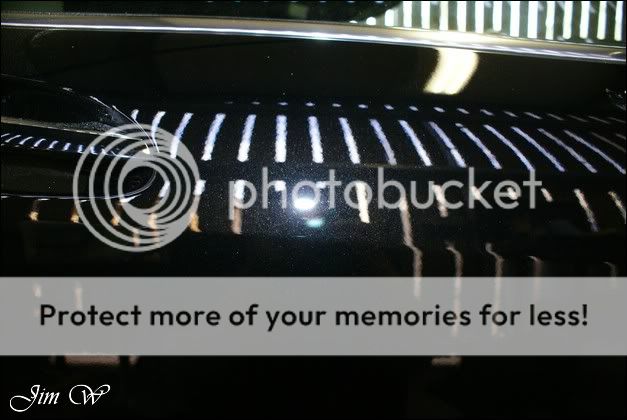
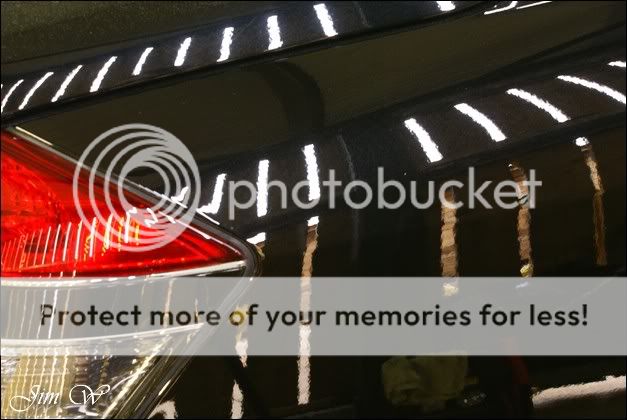
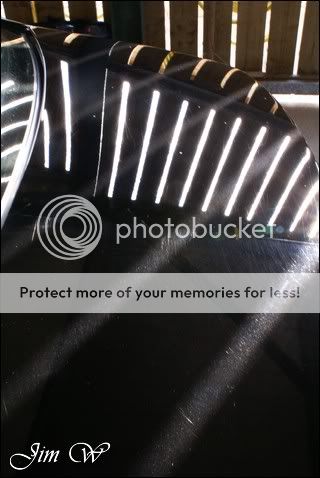
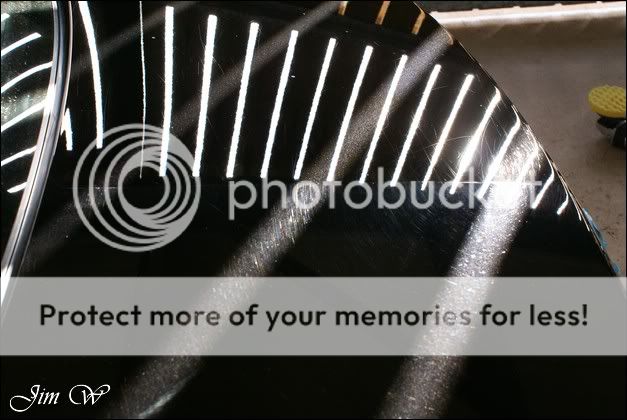
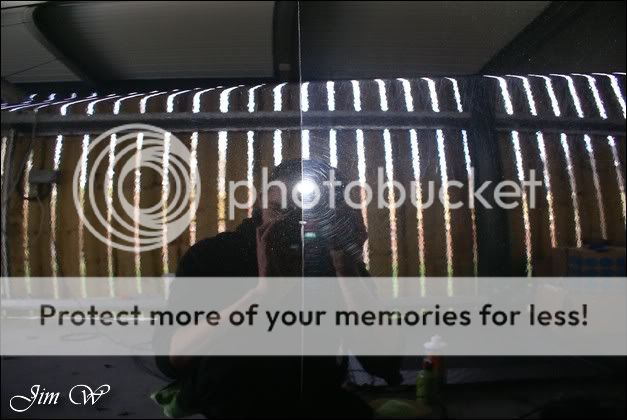
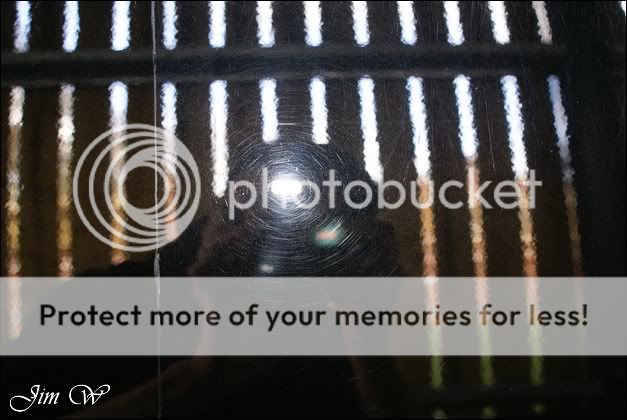
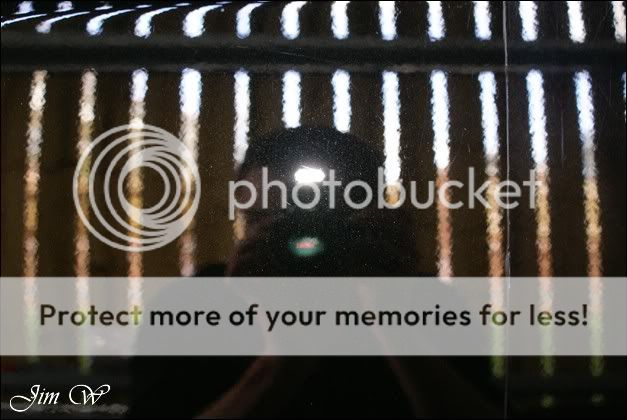
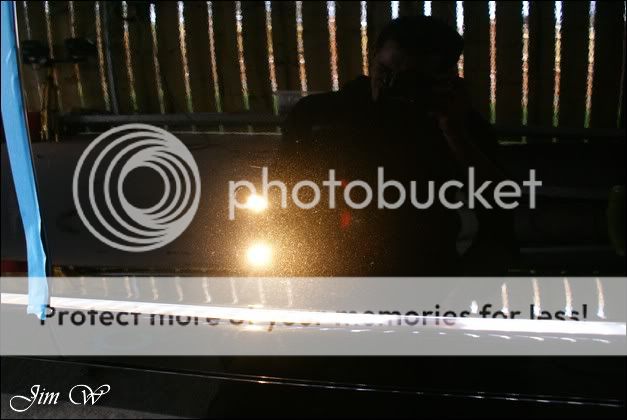
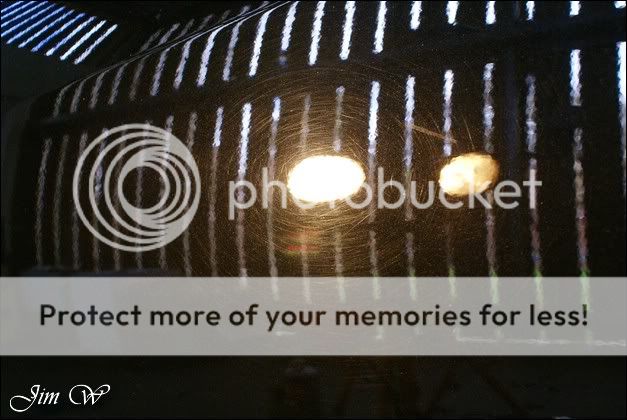
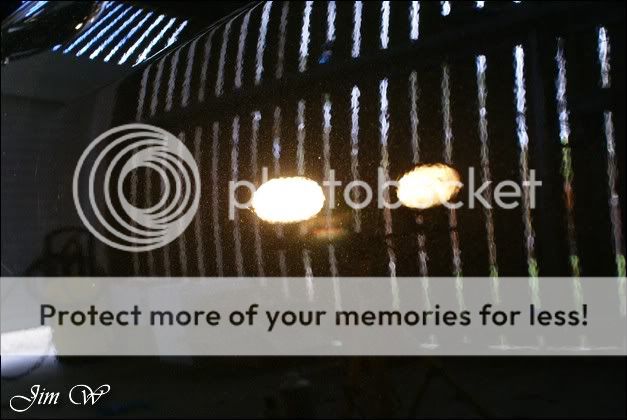
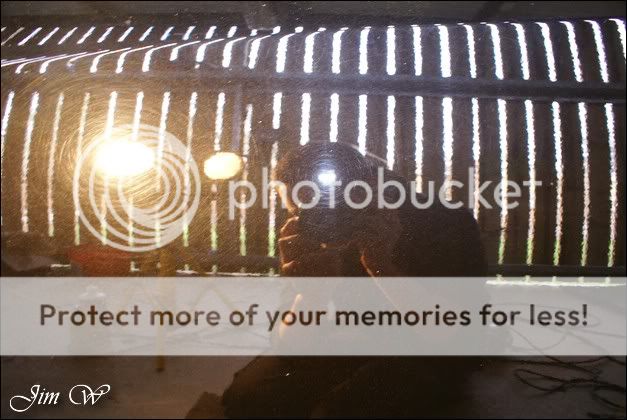
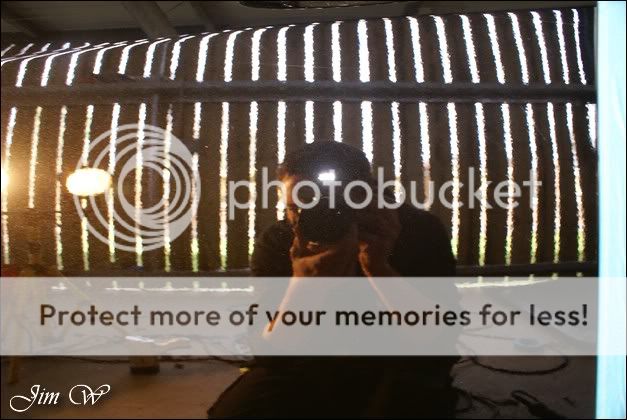
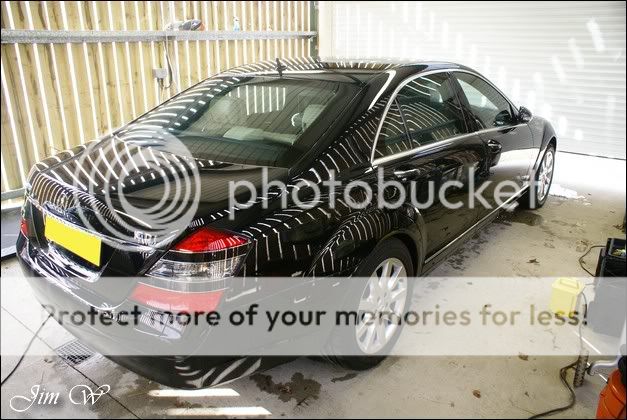
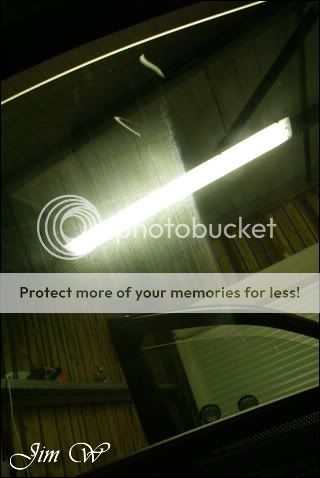
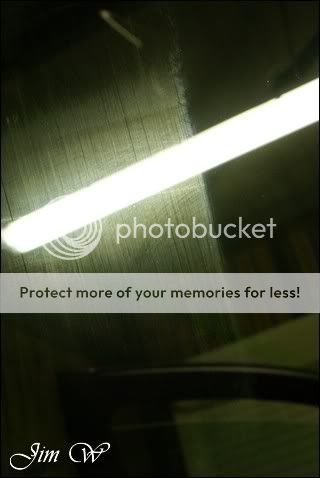
Once inside and garaged, the scale of the job became apparent.
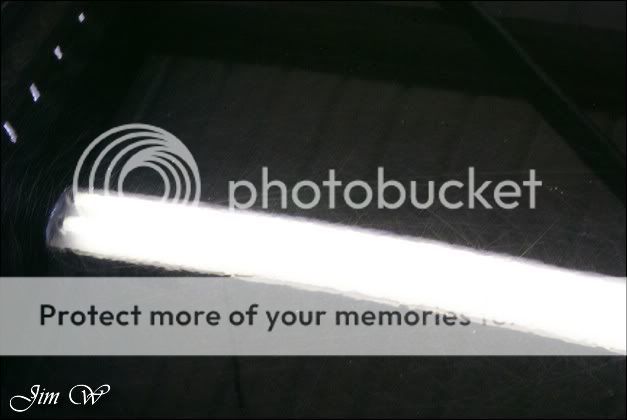
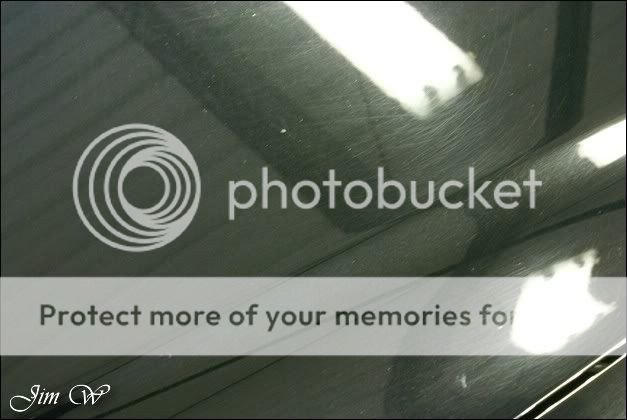
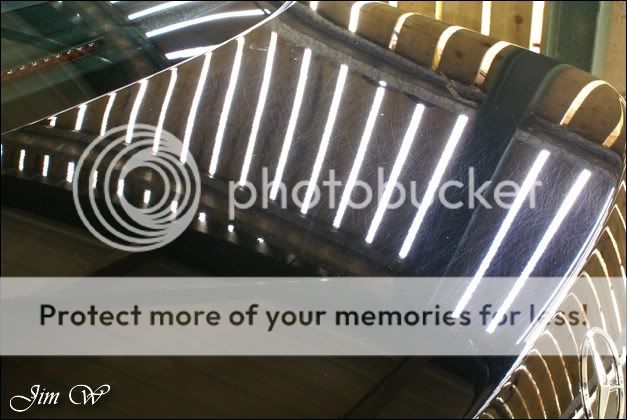
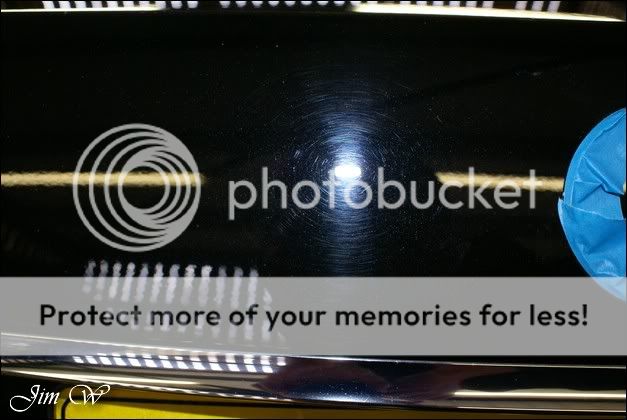
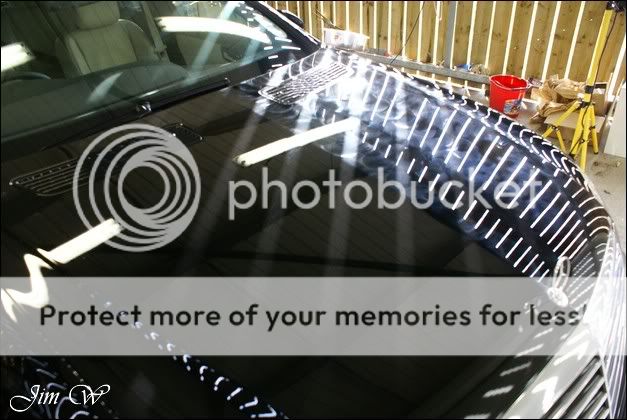
A grey haze caused by a sea of swirls. But check out the above photo on the bootlid, some awesomely deep scratches on there!
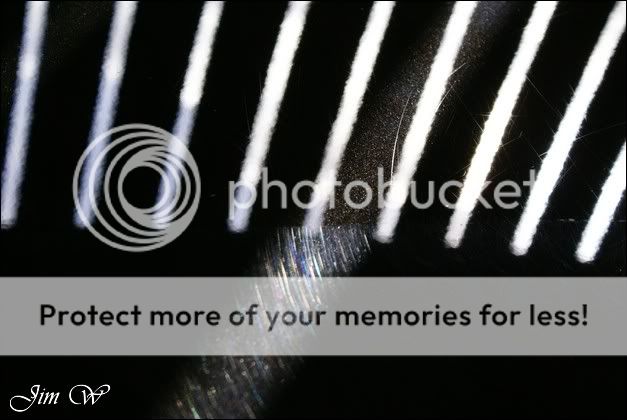
Under the Brinkmann:

After completing both the black 650i Cabriolet and the black GL420 CDi, the Father of the household wanted his (yes, you guessed it) BLACK S-Class doing. This time going through a single-stage machine correction..
Previous BMW and Mercedes reports found here:
http://www.audi-sport.net/vb/showthread.php?91148-Mercedes-Benz-GL420-CDi
http://www.audi-sport.net/vb/showthread.php?92263-BMW-650i-Cabriolet-Dodo-Enhancement
And two images:
650i cab:
GL series:
Product
AutoGlym Fast Glass
AutoSmart G101
AutoSmart Tardis
Chemical Guys New Look Trim Gel
Chemical Guys JetSEAL901
Dodo Juice Supernatural
Dodo Juice Born To Be Mild
IPA
Jeffs Werkstat Prime
LTT Auto Ultra Foam
LTT Auto Ultra Protect
Meguiars Last Touch
Meguiars Wheel Brightener
Meguiars Super-Degreaser
Menzerna 203s
Poorboys BlackHole
Sonus Green Mild Clay
Zaino Z8 Grand Finale
Before and After:
Inspection:
Hidden beneath the dirt, the paints looking a little flat.
After setting up base, I always start with the wheels/shuts.
Wheels/Tyres/Arches Megs Wheel Brightener. AutoSmart G101. AutoSmart Tardis. Megs Super-Degreaser. EZ Wheel Brush. Wheel mitts. Vikan Long Reach brush. Envy Brushes. Sonus Green clay
Shuts AutoSmart G101. AutoSmart Tardis.
I spent close to an hour on the wheels alone; the inner rim was far gone. The facings suffered from pitting in the corners, Sonus Clay and Tardis were able to shift the most of.
Snowfoamed > Washed > De-tar > De-contaminate (Clay!)
A selection of sap and tar being dissolved by Tardis:
This car had LOTS of tree-sap on. Little yellow specs that were an absolute ****** to shift!
Claybar after half of the bonnet: (yellowing from sap build-up)
After bootlit:
Car re-washed and water-sheeted over the panels to aid the drying stages.
Wash stage = 4 hours.
Once inside and garaged, the scale of the job became apparent.
A grey haze caused by a sea of swirls. But check out the above photo on the bootlid, some awesomely deep scratches on there!
Under the Brinkmann:


")
