Jimmeh
Registered User
Hi all - all big black bus for you to check out. I'd grab a brew if I were you, it's a fairly long one!
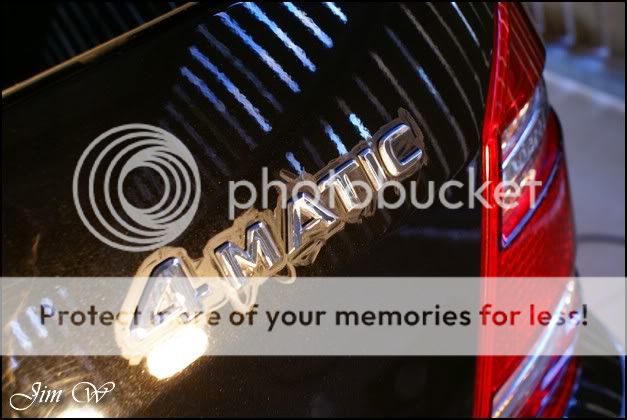
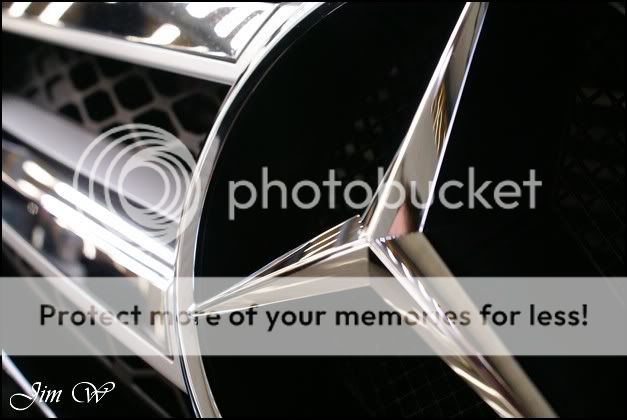
Mercedes-Benz GL 420 CDi. 4MATIC Enhance and Protect with Interior and LTT leather care
Oh my! What a vehicle. This is about the size of my house.. Its ginormous! With that in mind though, I was fortunate to have an excellent environment to work from; it makes SUCH a difference if youre able to keep warm(ish) clean, dry and out of the sun/wind.
Product
303 Aerospace Protectant
AutoGlym FastGlass
AutoSmart G101
AutoSmart Bio-Brisk
AutoSmart Tardis
AutoSol
BelGOM Alu
Chemical Guys JetSEAL901
Dodo Juice Born To Be Mild
Dodo Juice Limeprime
Dodo Juice Supernatural
Jeffs Werkstat Prime
Meguiars Last Touch
Meguiars All-Season Dressing
Meguiars Super-Degreaser
Meguiars Wheel Brightener
Sonus Green Mild Clay
Zaino Z8 Grand Finale
Before:

After:

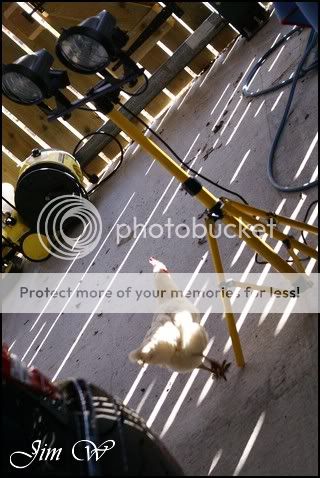
Upon arrival and after greetings, the first thing I like to do is setup base! Five hours in, there is nothing worse than having kit all over the place

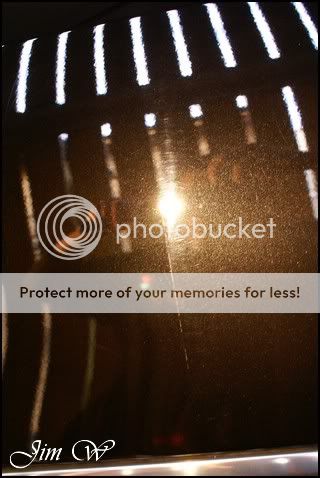
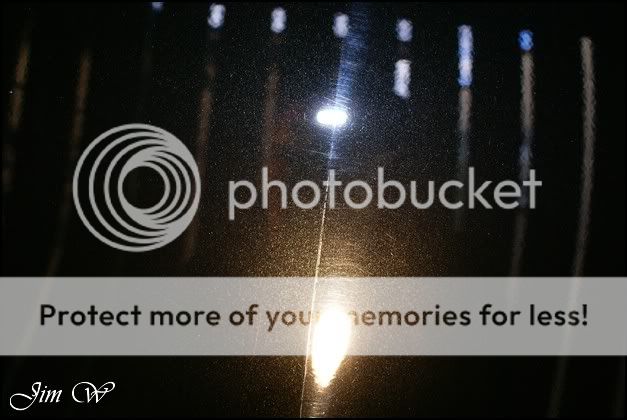
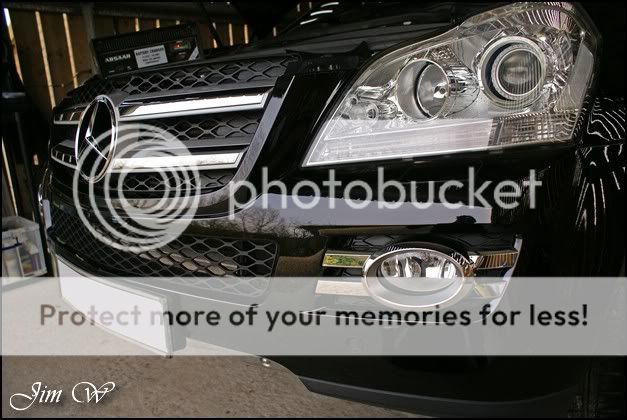
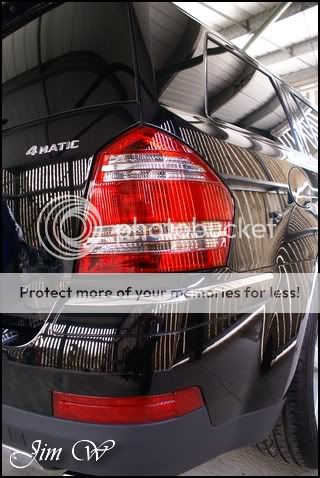
Inspection shots:


Not looking forward to having to work on these:


Interior not too bad; leather just needs a gentle clean and protecting.


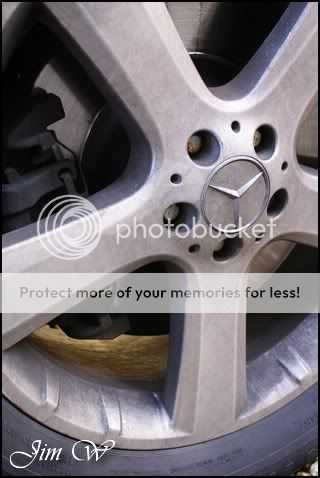
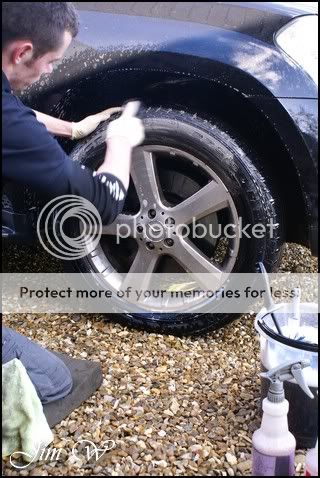
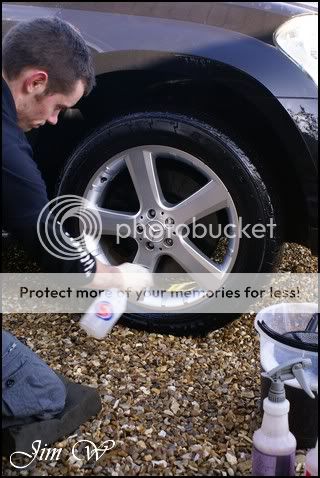
Wheels first-up;
Megs Super-Degreaser on the tyres, APC up into the arches and Wheel Brightener allowed to dwell on the alloy. Tyres scrubbed with a stiff brush, arches cleaned with a Vikan long-reach brush and alloys attacked with various mitts/tools. Last but not least, I went at them with Tardis to try and remove some pretty bad staining on the inner rim (Was unable top full remove; wheels would require coming off for a proper deep clean)


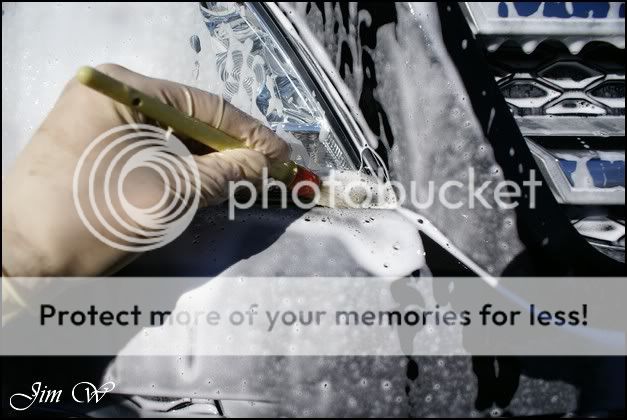
I thought Id try something new today (..big mistake). Snowfoam the car and then run round the doorshuts and sills with APC and a few brushes whilst the foam was dwelling... This just doesnt allow enough time to thoroughly clean the shuts. I will definitely stick to my usual method which is wheels > shuts > foam.

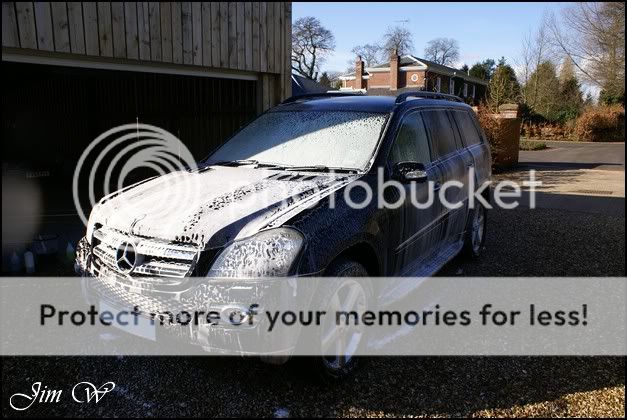
Suns out, heh, whod of thought!
Vehicle washed with Dodo Juice Born To Be Mild shampoo and the two buckets.
TWO buckets.. Why two?!
For those of you who are unfamiliar with this approach, read on:
Logic: Dirt is picked up off your car when the washmit moves over the paints surface. Usually, this will go straight back to the single bucket for more suds and immediately back onto the paintwork, grit/dirt included. Introducing a second rinse bucket allows these foreign particles to be freed prior to touching your paintwork (thus, reducing the chance of inflicting damage).
If washing a relatively dirty car, the difference in the rinse/solution water can be quite something!

And the grit that was released in doing-so..
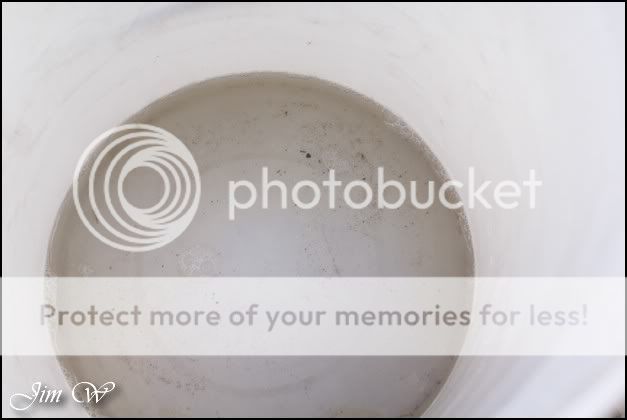
( .remember, this would otherwise be on your paintwork (scratchy scratchy!)
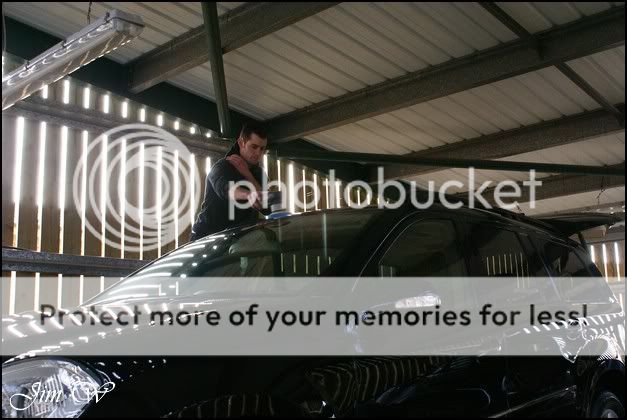
Mercedes was pulled into the garage for claying stages (sun was beaming down by now)

Now, I recently learnt that the last time this car was clayed/cleansed, was April 2007. (By me!)
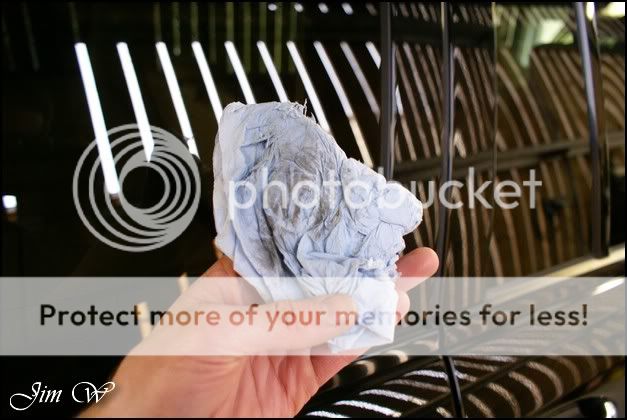
General pick-up from the front end and bonnet:


O/S rear wing:


Rear window:

Rear bumper/Tailgate:

Mercedes-Benz GL 420 CDi. 4MATIC Enhance and Protect with Interior and LTT leather care
Oh my! What a vehicle. This is about the size of my house.. Its ginormous! With that in mind though, I was fortunate to have an excellent environment to work from; it makes SUCH a difference if youre able to keep warm(ish) clean, dry and out of the sun/wind.
Product
303 Aerospace Protectant
AutoGlym FastGlass
AutoSmart G101
AutoSmart Bio-Brisk
AutoSmart Tardis
AutoSol
BelGOM Alu
Chemical Guys JetSEAL901
Dodo Juice Born To Be Mild
Dodo Juice Limeprime
Dodo Juice Supernatural
Jeffs Werkstat Prime
Meguiars Last Touch
Meguiars All-Season Dressing
Meguiars Super-Degreaser
Meguiars Wheel Brightener
Sonus Green Mild Clay
Zaino Z8 Grand Finale
Before:
After:
Upon arrival and after greetings, the first thing I like to do is setup base! Five hours in, there is nothing worse than having kit all over the place
Inspection shots:
Not looking forward to having to work on these:
Interior not too bad; leather just needs a gentle clean and protecting.
Wheels first-up;
Megs Super-Degreaser on the tyres, APC up into the arches and Wheel Brightener allowed to dwell on the alloy. Tyres scrubbed with a stiff brush, arches cleaned with a Vikan long-reach brush and alloys attacked with various mitts/tools. Last but not least, I went at them with Tardis to try and remove some pretty bad staining on the inner rim (Was unable top full remove; wheels would require coming off for a proper deep clean)
I thought Id try something new today (..big mistake). Snowfoam the car and then run round the doorshuts and sills with APC and a few brushes whilst the foam was dwelling... This just doesnt allow enough time to thoroughly clean the shuts. I will definitely stick to my usual method which is wheels > shuts > foam.
Suns out, heh, whod of thought!
Vehicle washed with Dodo Juice Born To Be Mild shampoo and the two buckets.
TWO buckets.. Why two?!
For those of you who are unfamiliar with this approach, read on:
Logic: Dirt is picked up off your car when the washmit moves over the paints surface. Usually, this will go straight back to the single bucket for more suds and immediately back onto the paintwork, grit/dirt included. Introducing a second rinse bucket allows these foreign particles to be freed prior to touching your paintwork (thus, reducing the chance of inflicting damage).
If washing a relatively dirty car, the difference in the rinse/solution water can be quite something!
And the grit that was released in doing-so..
( .remember, this would otherwise be on your paintwork (scratchy scratchy!)
Mercedes was pulled into the garage for claying stages (sun was beaming down by now)
Now, I recently learnt that the last time this car was clayed/cleansed, was April 2007. (By me!)
General pick-up from the front end and bonnet:
O/S rear wing:
Rear window:
Rear bumper/Tailgate:
")