

Jimmeh
Registered User
Hi all,
Maybe Lusso RC isn't all that great after all!!? Read on.
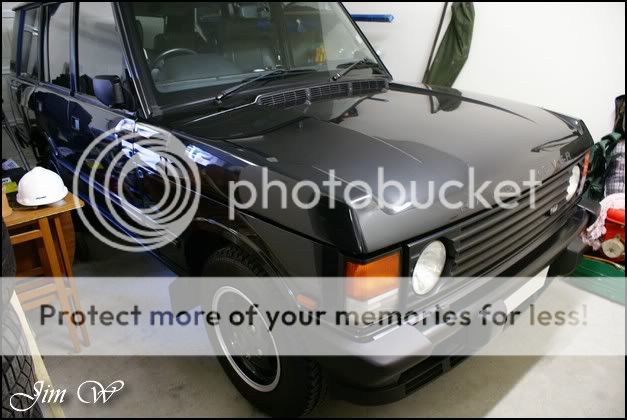
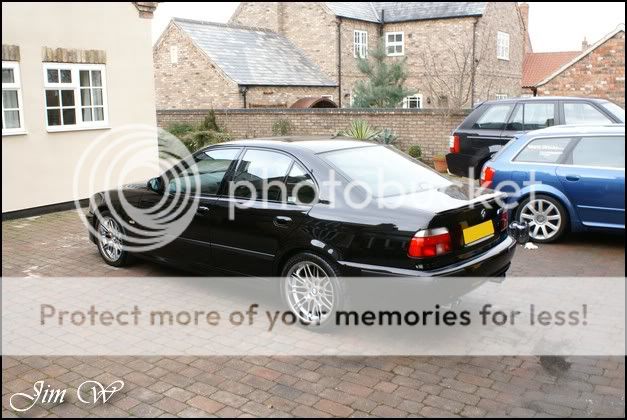
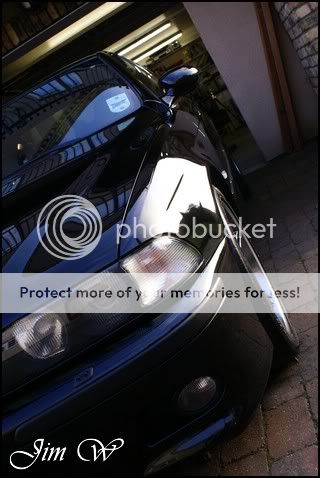
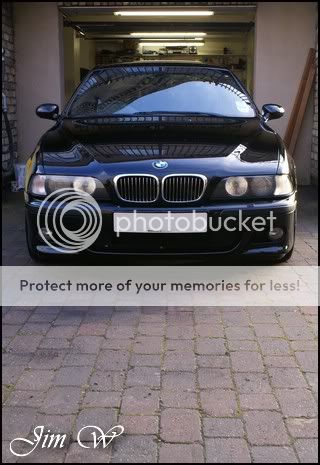
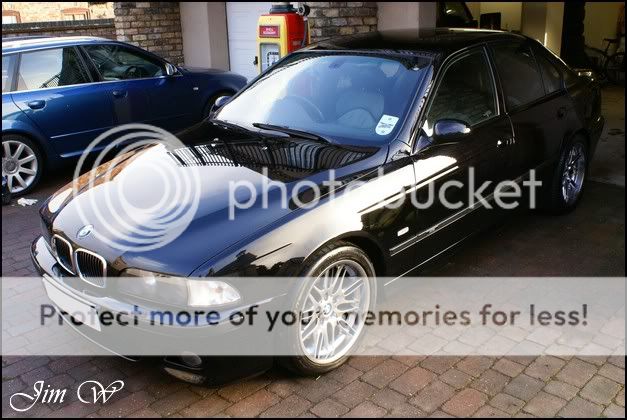
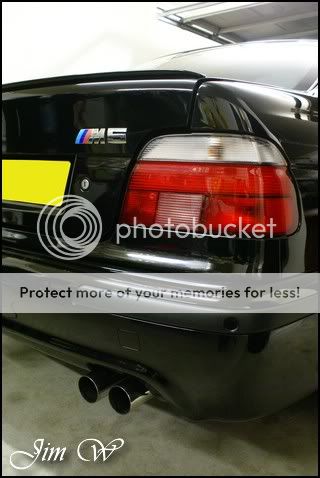
e39 BMW M5 Solid Black Cleanse and Protect
Such a meaty vehicle! Even on tickover the engine sounded fierce! Beast!
Product
AutoGlym Fast Glass
AutoSmart G101
AutoSmart Tardis
Autosol
ChemicalGuys JetSEAL901
ClearKote Red Moose Machine Glaze
Dodo Juice Limeprime
Dodo Juice Born To Be Mild
Dodo Juice SuperNatural
Jeffs Werkstat Prime
LTT Auto Ultra Foam
LTT Auto Ultra Protect
Lusso Revitalizing Cream
Meguiars Super-Degreaser
Meguiars Last Touch
Meguiars Endurance Tyre Gel
PoorBoys Black Hole
Sonus Green Mild Clay
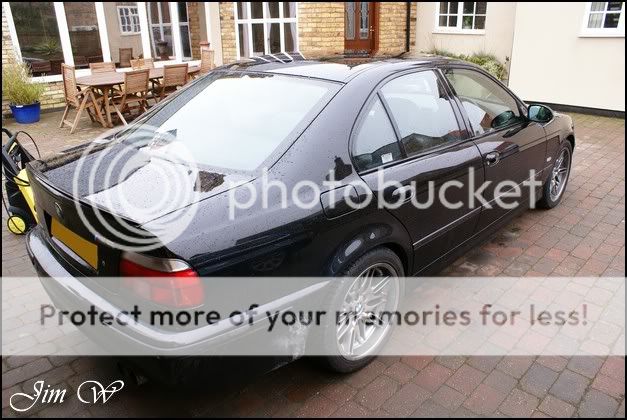
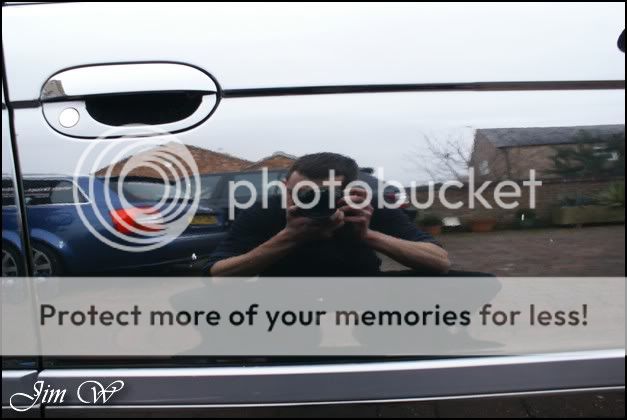
Before:
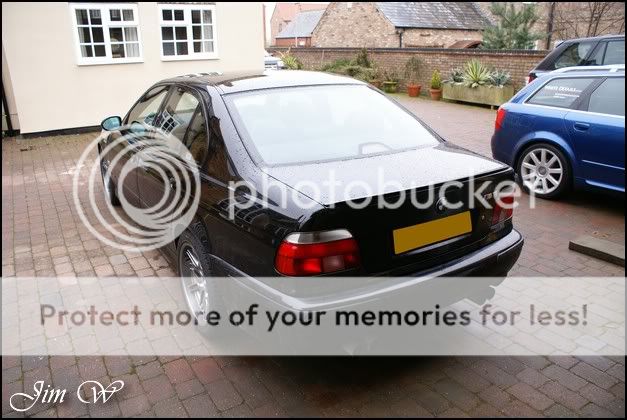
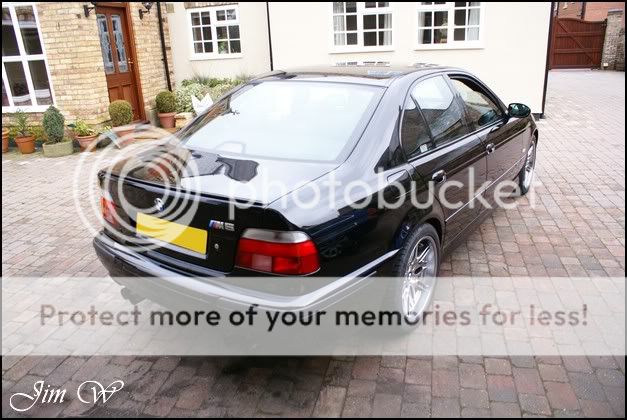
After:

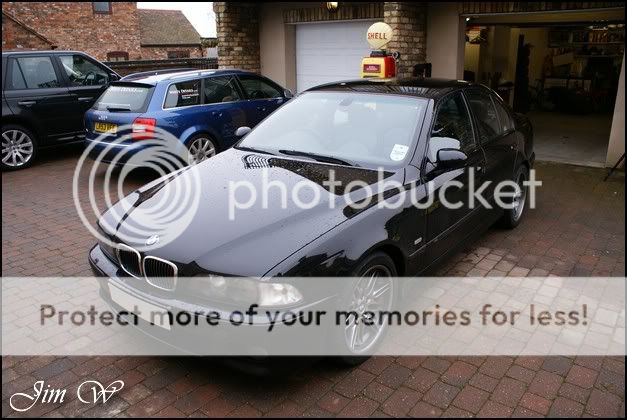
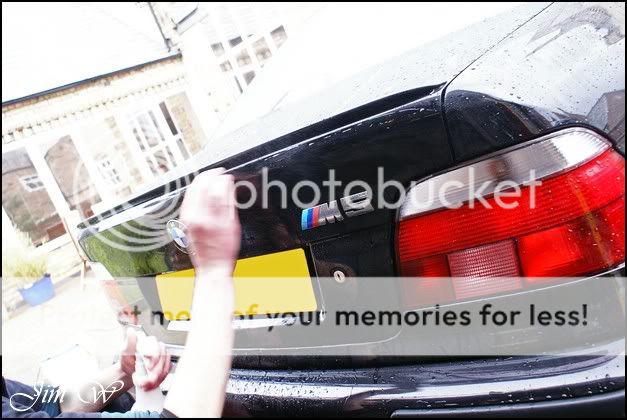
Inspection shots..

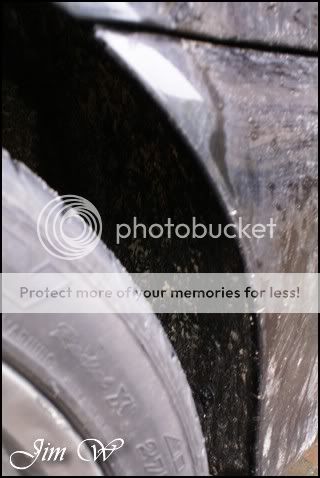


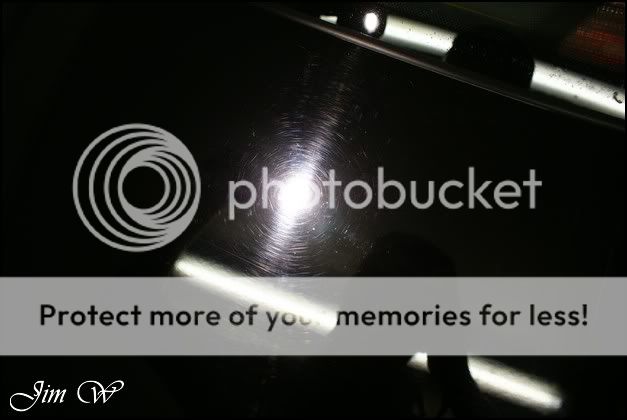
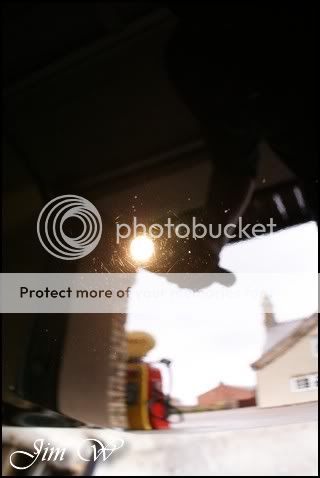
Paint condition doesnt look too good through the film of dirt..
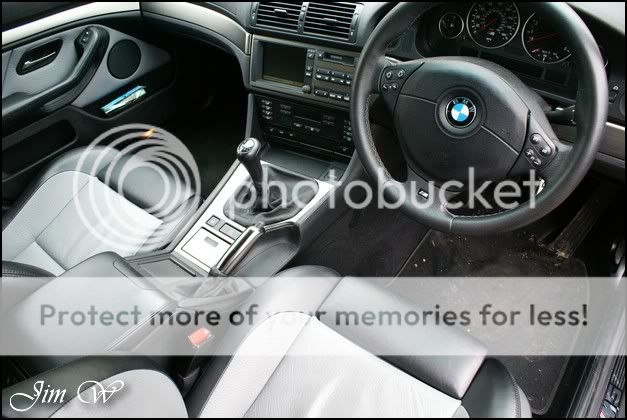
Still, at least the interior is in a pretty decent shape!


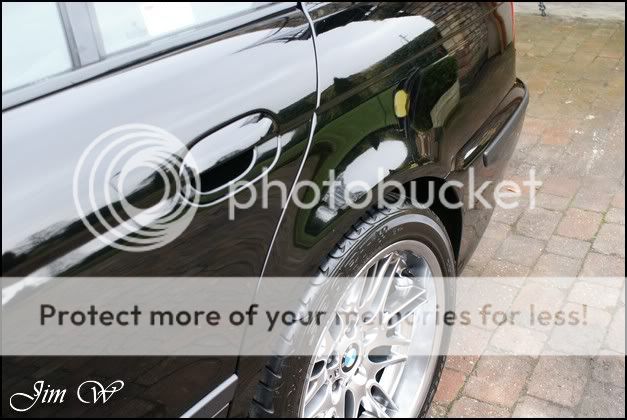
Random marks/scuffs dotted around..

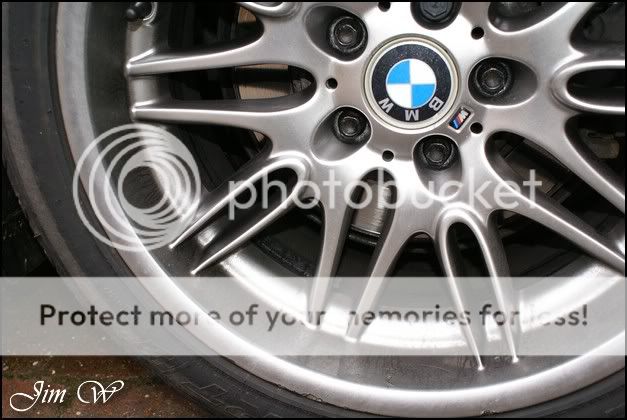
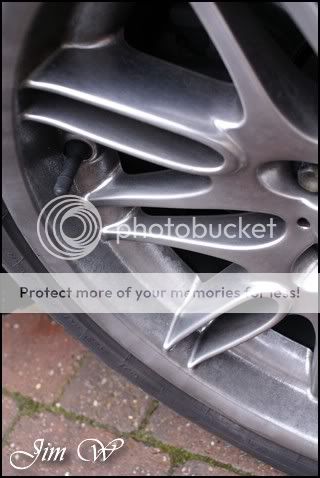
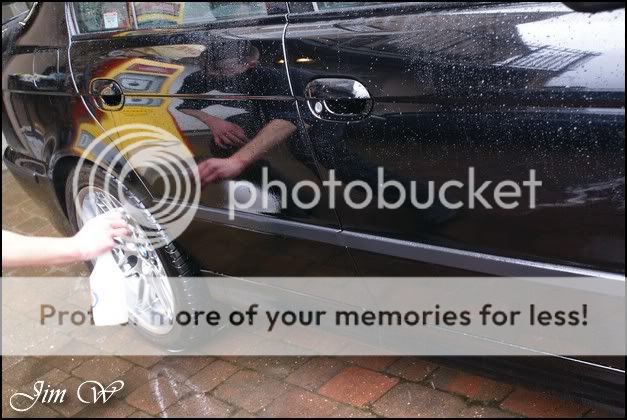
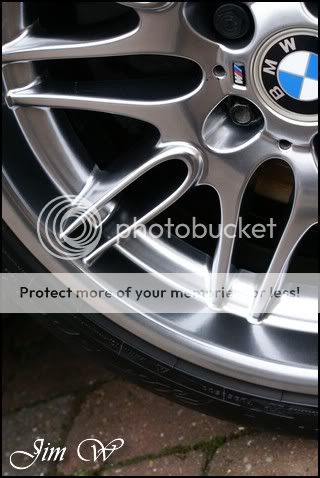
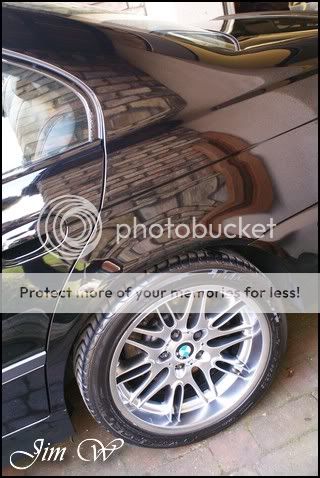
First up? Wheels!
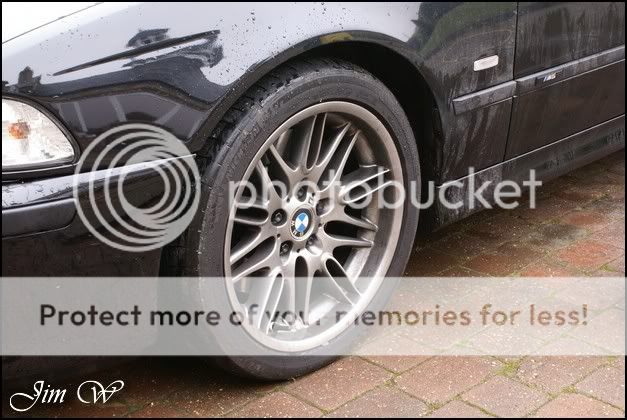


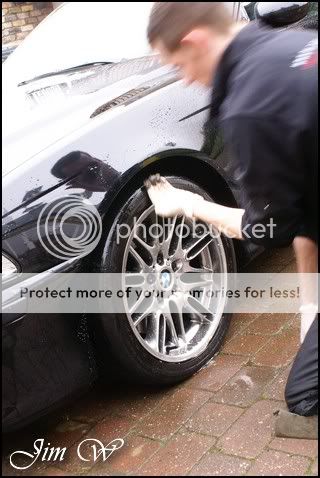

Because of their dark chrome finish, I opted against Megs Wheel Brightener this time! G101 and Megs Super-Degreaser did the trick. (Using my finger-tips to scrape out the inch thick layer of muck just inside the arch lip)
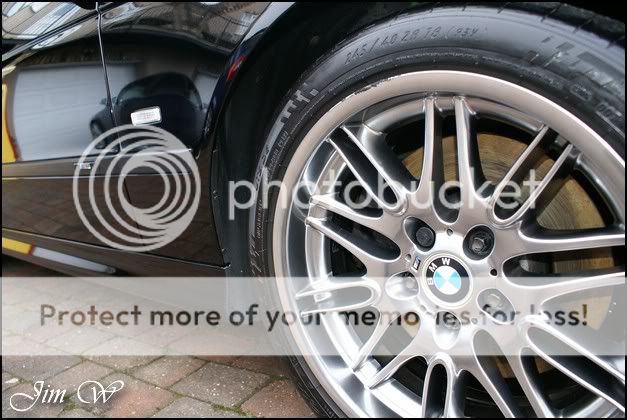
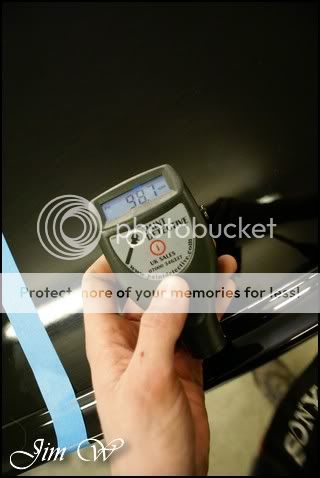
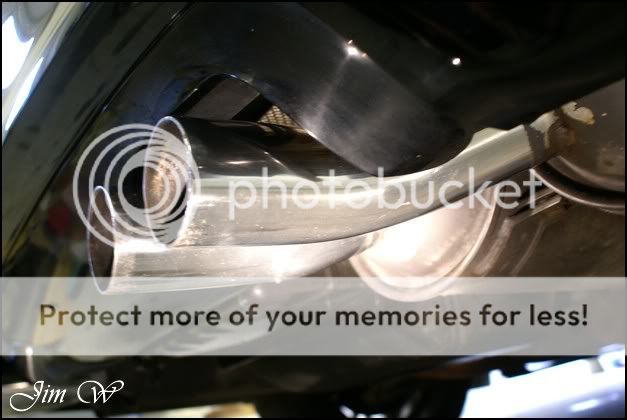
Wheels were later sealed with JetSEAL901 and, looked very well indeed (minus the odd curb mark..)
Sills and shuts cleaned with G101.
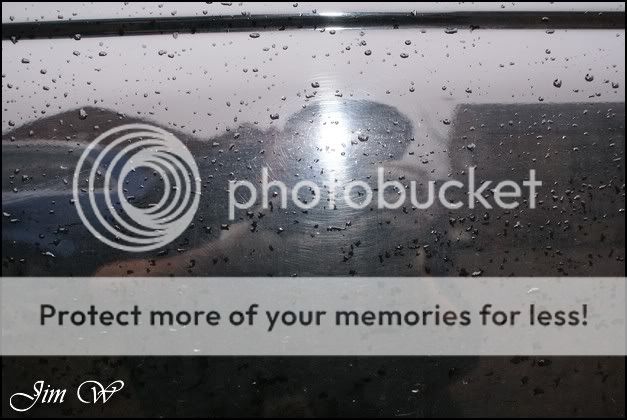
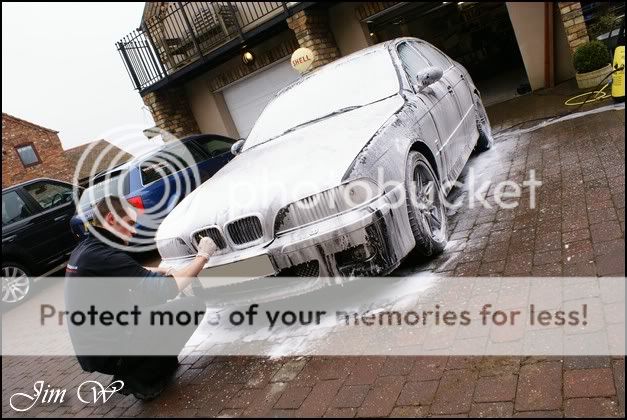
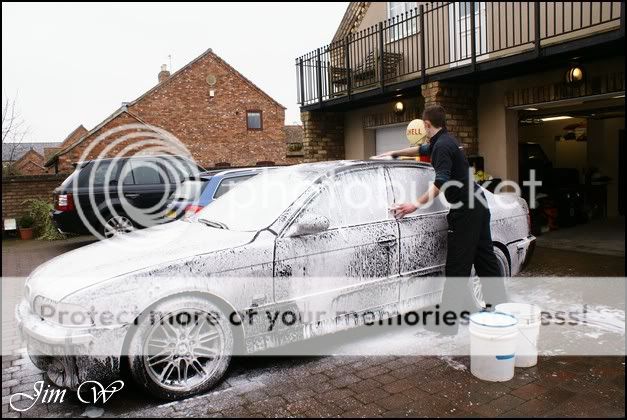
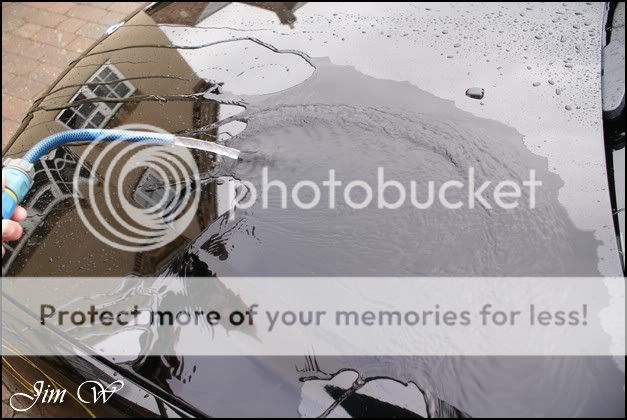
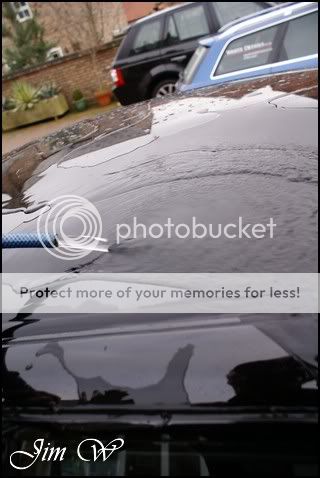
Snowfoam delivered after a wetting down..
Badges, petrol-filler housing, panel gaps etc cleaned with a fine brush.
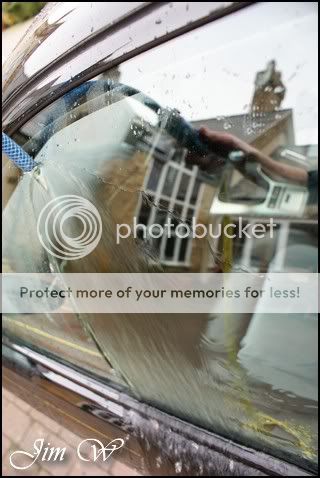
I had to spend a good ten minutes rinsing this car to ensure all trapped grit was released.
After this, re-foamed and washed with Born To Be Mild two bucket combo..
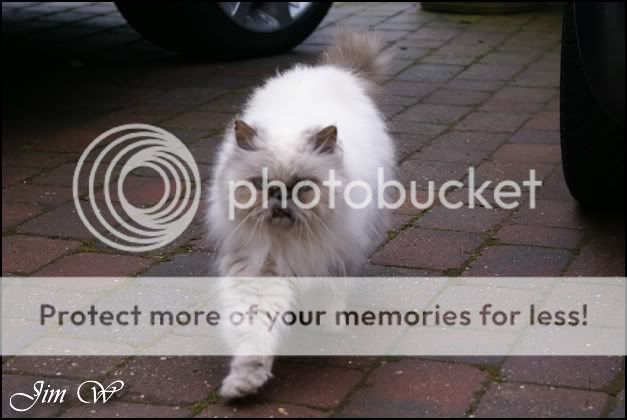
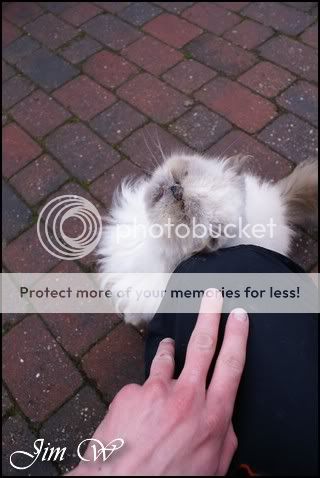
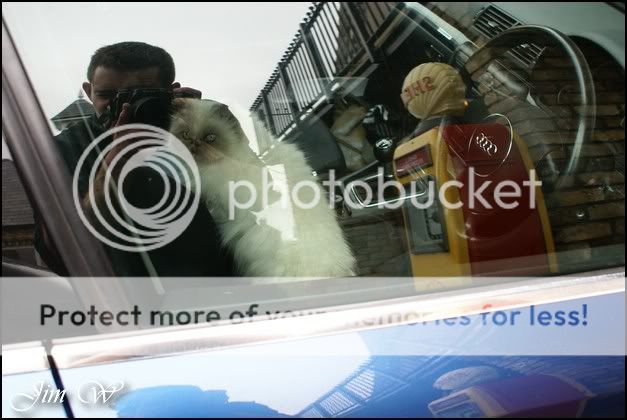
Ah, I found me a friend! (I think it must have been hungry ALL day; there wasnt five minutes that went by that it didnt meow (I found myself doing it back?! Huh?!))
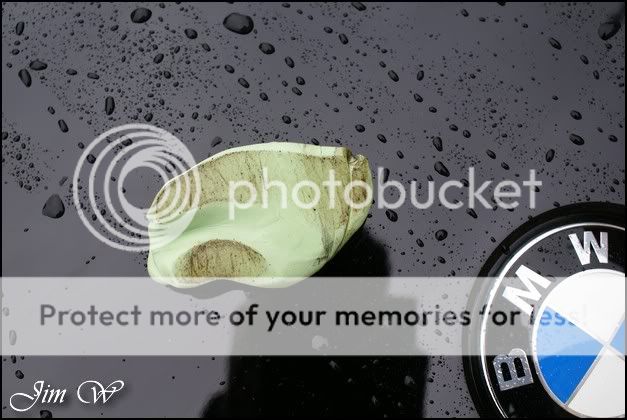
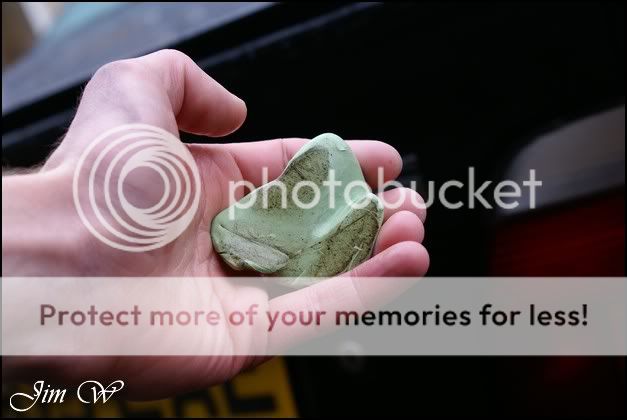
Time to clay. Sonus Green before and after:


Maybe Lusso RC isn't all that great after all!!? Read on.
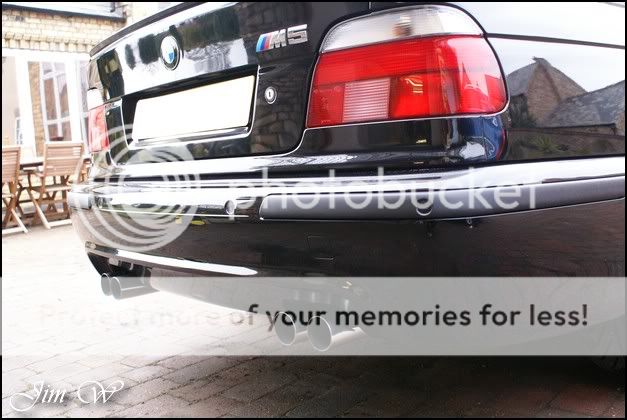
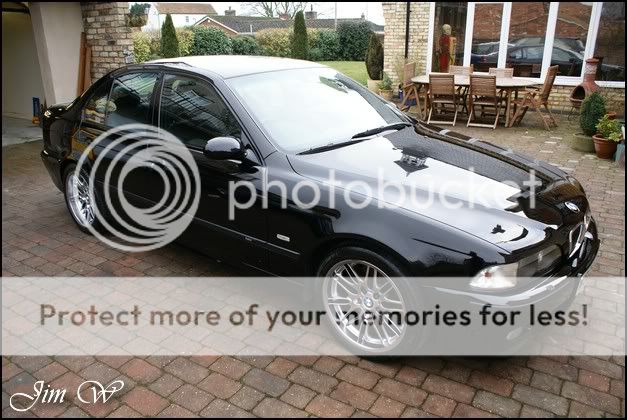
e39 BMW M5 Solid Black Cleanse and Protect
Such a meaty vehicle! Even on tickover the engine sounded fierce! Beast!
Product
AutoGlym Fast Glass
AutoSmart G101
AutoSmart Tardis
Autosol
ChemicalGuys JetSEAL901
ClearKote Red Moose Machine Glaze
Dodo Juice Limeprime
Dodo Juice Born To Be Mild
Dodo Juice SuperNatural
Jeffs Werkstat Prime
LTT Auto Ultra Foam
LTT Auto Ultra Protect
Lusso Revitalizing Cream
Meguiars Super-Degreaser
Meguiars Last Touch
Meguiars Endurance Tyre Gel
PoorBoys Black Hole
Sonus Green Mild Clay
Before:
After:
Inspection shots..
Paint condition doesnt look too good through the film of dirt..
Still, at least the interior is in a pretty decent shape!
Random marks/scuffs dotted around..
First up? Wheels!
Because of their dark chrome finish, I opted against Megs Wheel Brightener this time! G101 and Megs Super-Degreaser did the trick. (Using my finger-tips to scrape out the inch thick layer of muck just inside the arch lip)
Wheels were later sealed with JetSEAL901 and, looked very well indeed (minus the odd curb mark..)
Sills and shuts cleaned with G101.
Snowfoam delivered after a wetting down..
Badges, petrol-filler housing, panel gaps etc cleaned with a fine brush.
I had to spend a good ten minutes rinsing this car to ensure all trapped grit was released.
After this, re-foamed and washed with Born To Be Mild two bucket combo..
Ah, I found me a friend! (I think it must have been hungry ALL day; there wasnt five minutes that went by that it didnt meow (I found myself doing it back?! Huh?!))
Time to clay. Sonus Green before and after:


")