Jimmeh
Registered User
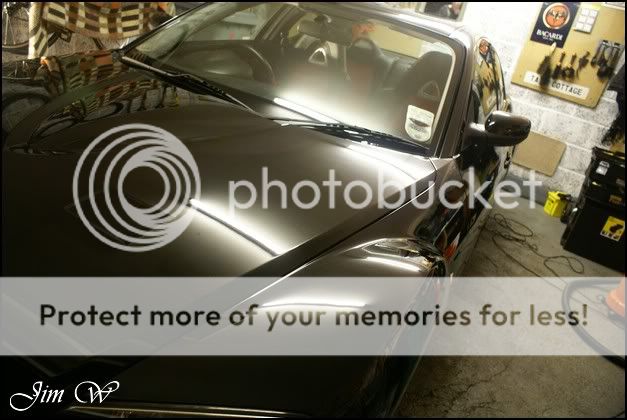
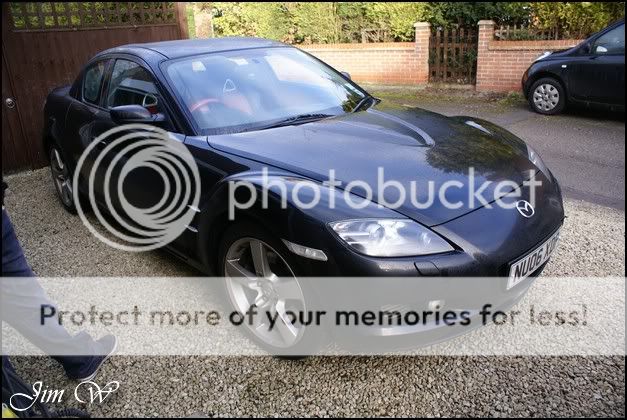
Mazda RX-8 Enhancement and Protection Detail
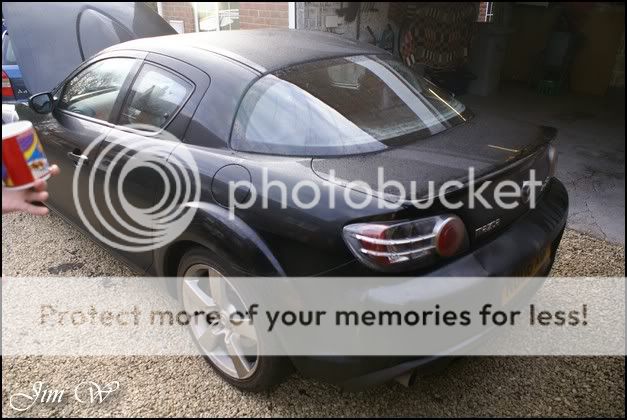
Take one Mazda RX8 and give it to a valeter to buff to a shine.
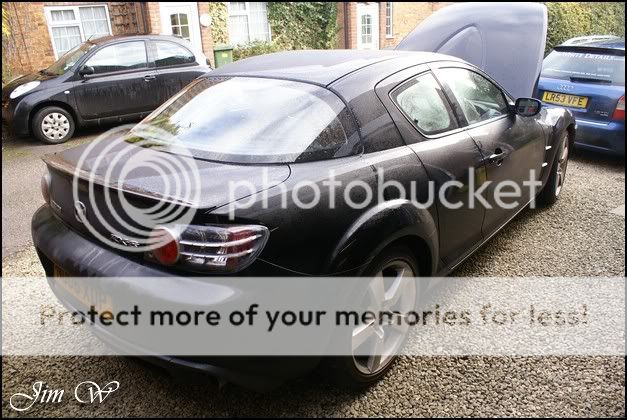
Unfortunately, this one had been butchered to an inch of its life. The last person to put polish to the paintwork left us in a situation... RX8s have notoriously soft, thin paint. So, give it to a valeter who will push his mop around it in less than an hour, and, this is what youre left with..
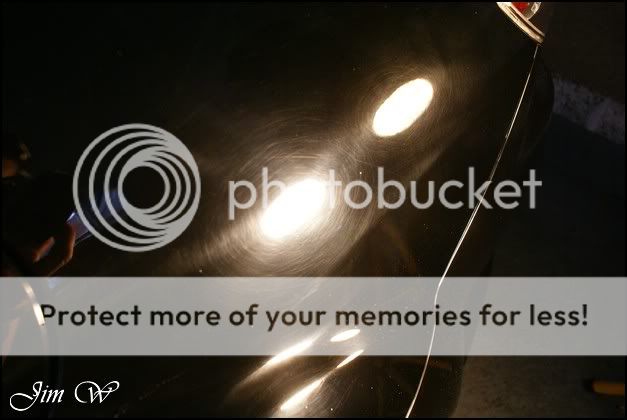
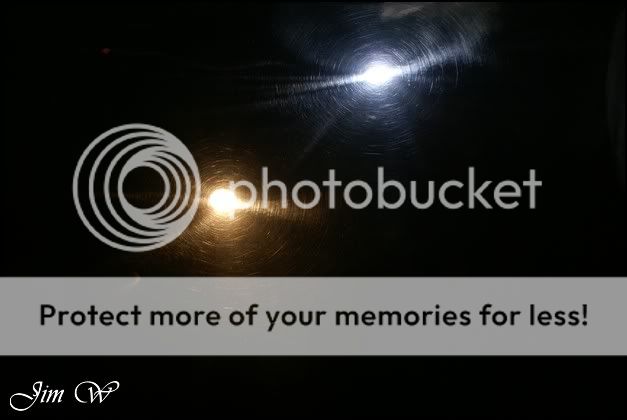
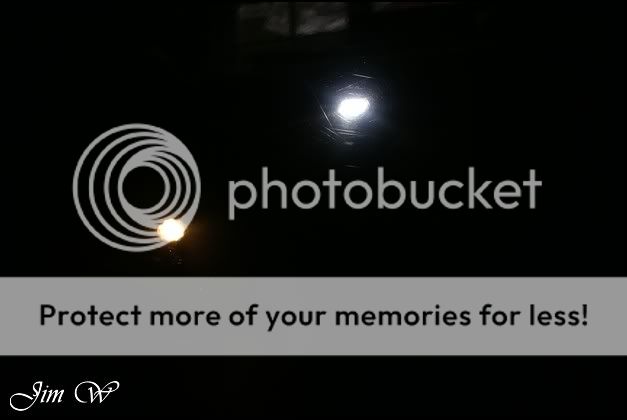
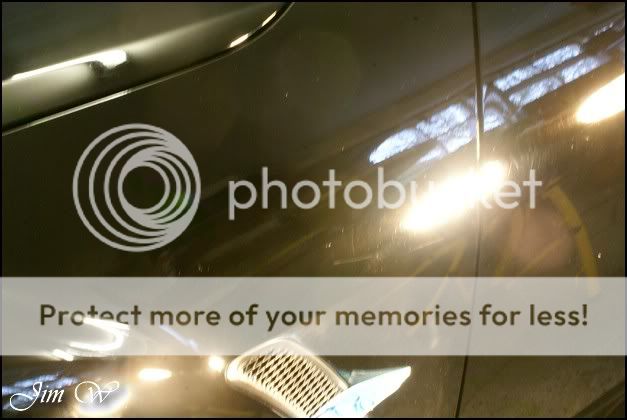
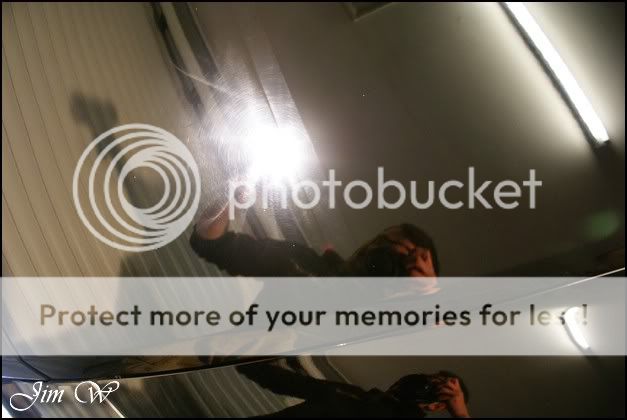
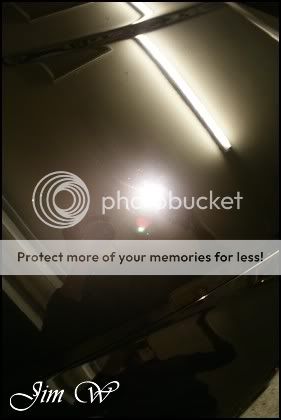
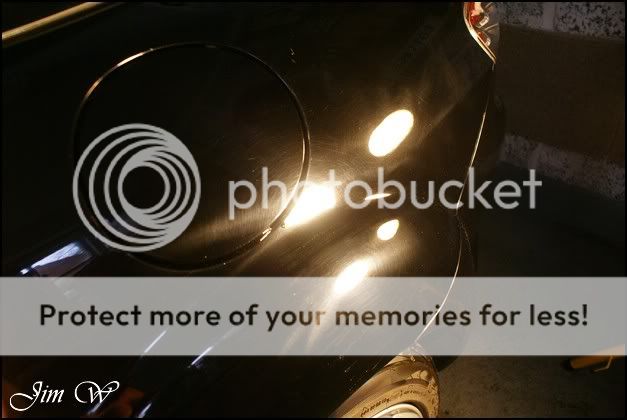
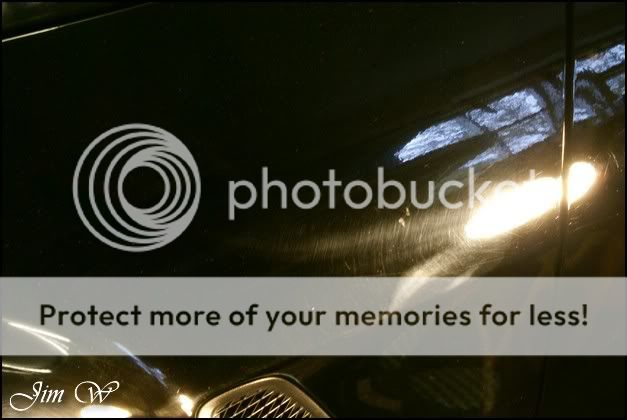
Heavily swirled and hologramed paint that is on the dangerous side of thin. This is down to the intense compounding that had been done previously which hasnt been broken down, thus, doing more harm than good!
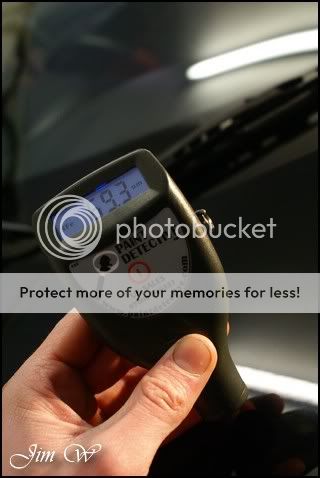
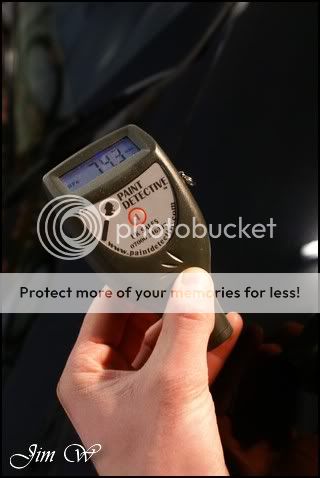
The paint thickness stood around 80um across the car... Some sections pushed 100um and some parts were touching mid 60s. Far too thin for me to comfortably return this car to its former glory!
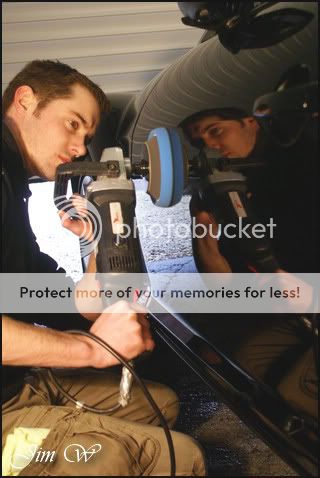
11.5 hours spent transforming the car in the safest way possible.
Product
AutoGlym FastGlass
AutoGlym Vinyl And Rubber Care
Autosol
AutoSmart G101
AutoSmart Tardis
Belgom ALU
Chemical Guys JetSEAL901
Dodo Juice Born To Be Mild
Dodo Juice Limeprime
Dodo Juice SuperNatural
Jeffs Werkstat Prime AIO
LTT Auto Ultra Foam
LTT Auto Ultra Protect
Meguiars Super-Degreaser
Meguiars Last Touch
Meguiars Wheel-Brightener
Poorboys Black Hole
Sonus Green clay
ValetPRO Snowfoam
Zaino Z8
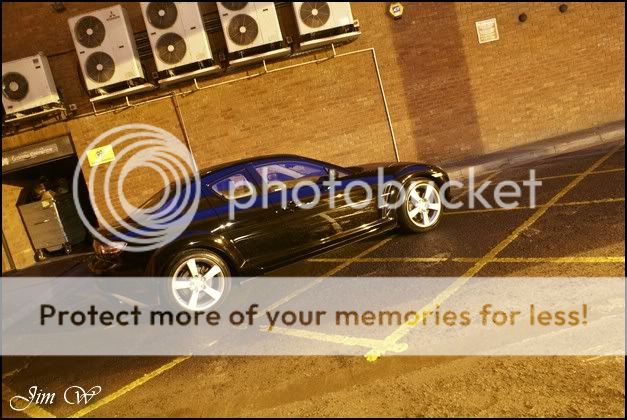
Before:
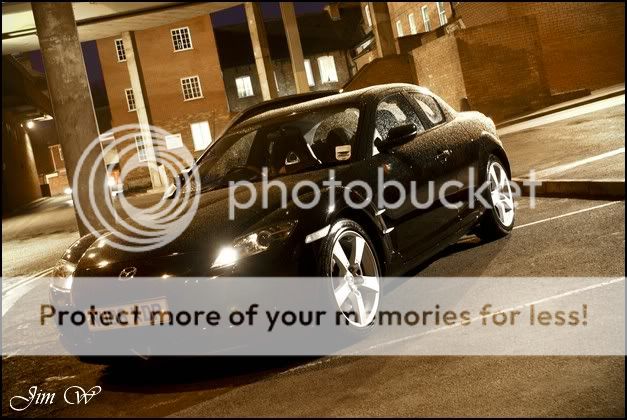
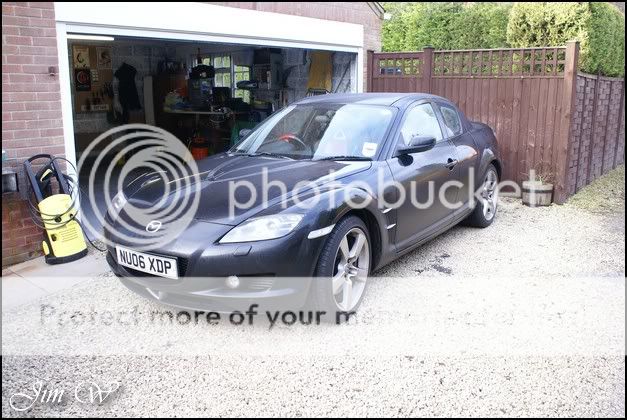
After:
Inspection.
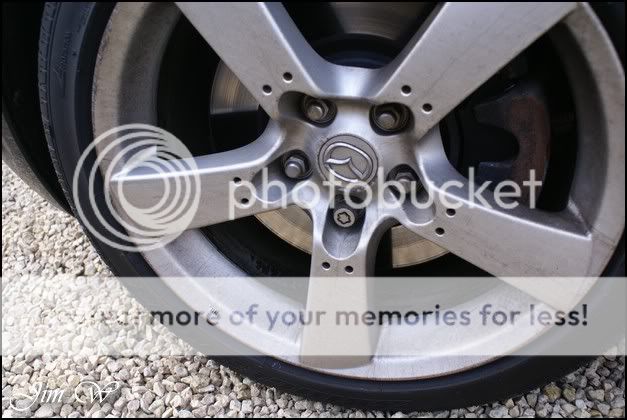
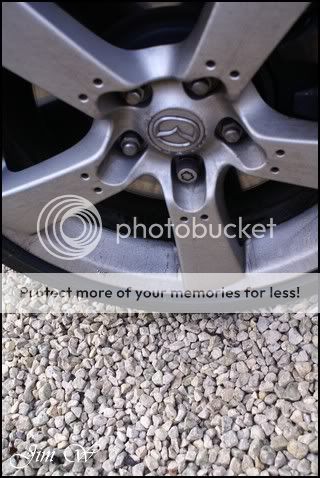
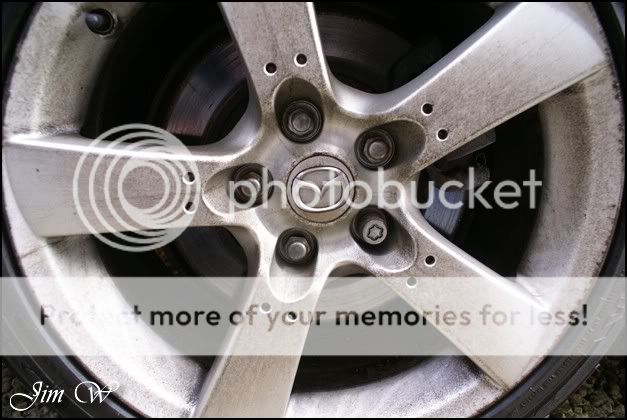
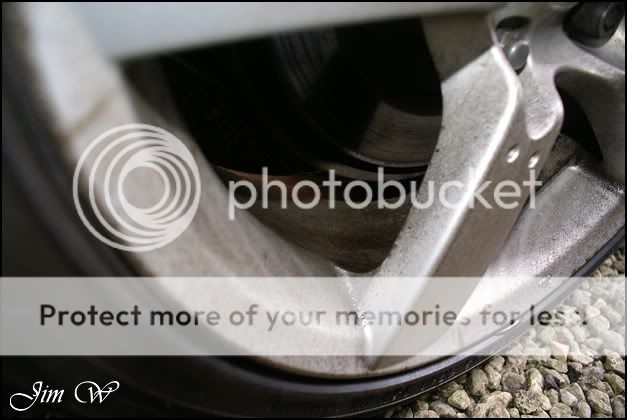
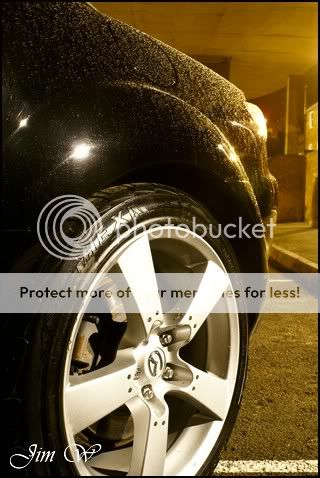
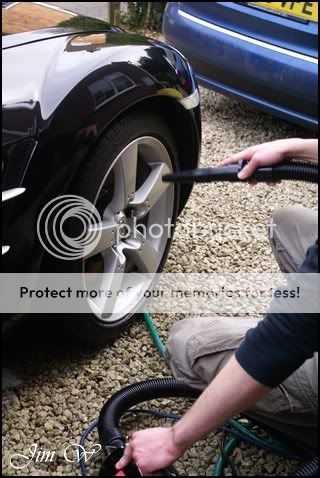
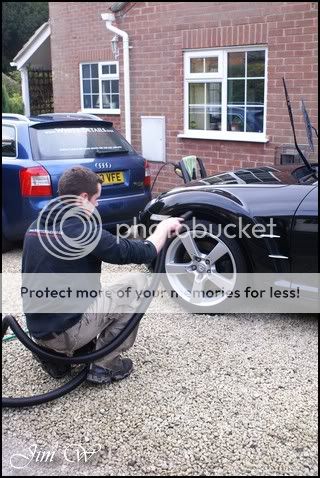
After kitting up, the first job was to attack the wheels and arches. AutoSmart G101, Meguiars Super-Degreaser and Meguiars Wheel-Brightener used here. Unfortunately the inner rim of the alloys had seen better days.. Maybe taking the whole wheel off and a full clay/cleanse session would improve things, but, I believe the owner is having them replaced/refurbed soon anyway.
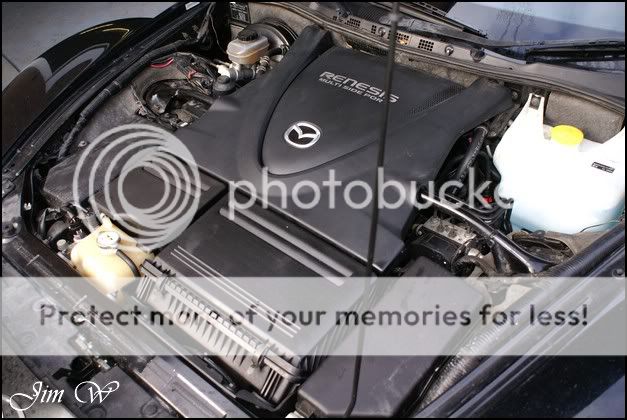
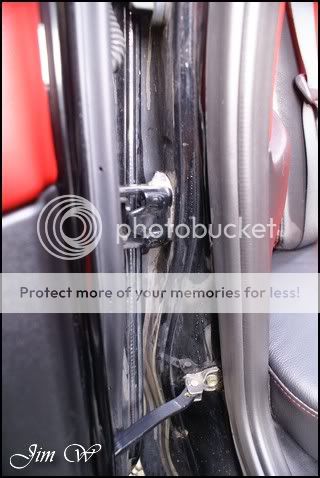
After this, the door shuts and engine bay were hit with a mix of G101 and Degreaser.
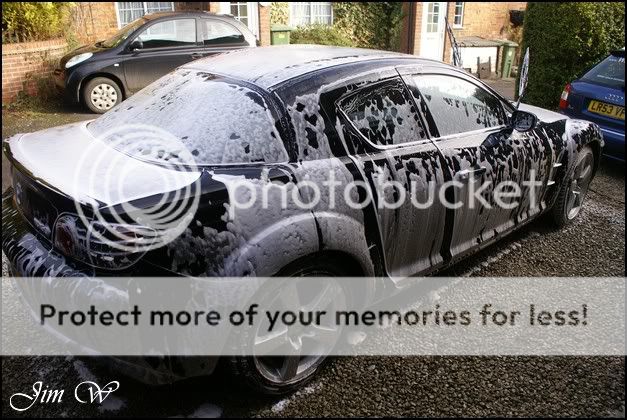
Snowfoam delivered after a thorough jet down..
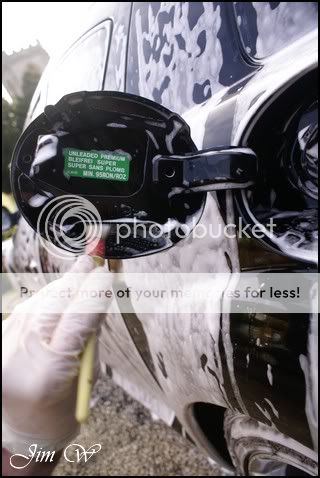
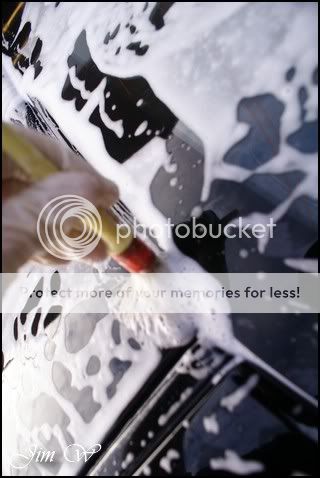
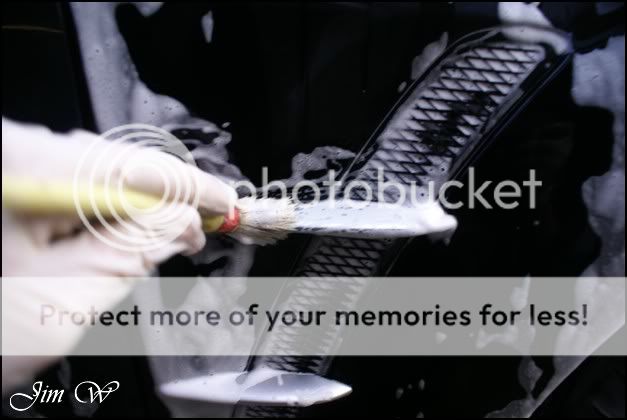
And intricate areas worked with a detail brush.
Washed with a lambswool washmit, Dodo Juice Born To Be Mild and the two bucket set up with grit-guards.
Then clayed with Sonus Green and Megs Last Touch used as a lube..
The car wasnt too badly contaminated; only a few rough sections on the flats and lower quarters.
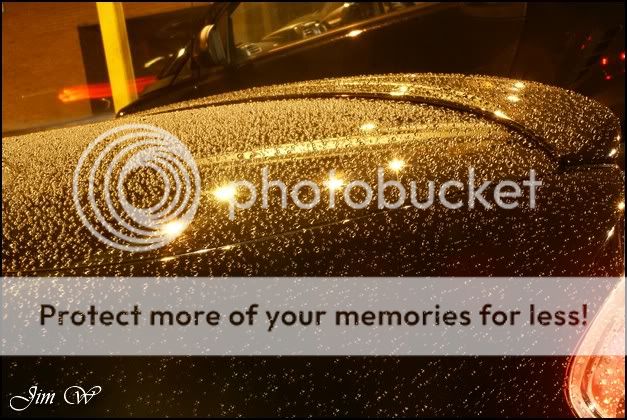
Lubrication residues were rinsed as I worked, and, a final water-sheet was made with an open hose prior to drying.
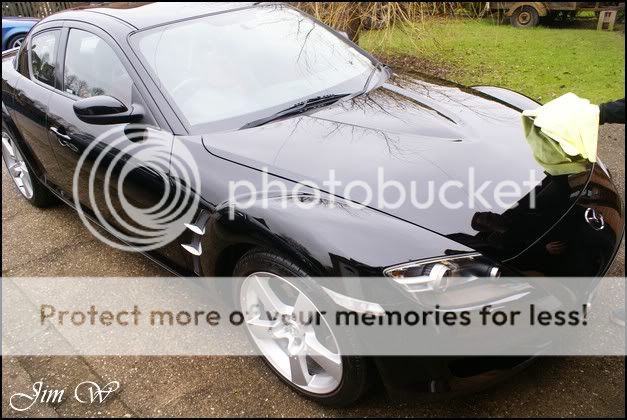
Drying was carried out with a plush mf drying towel and my new toy; the Black Baron Vehicle Dryer. ( basically a 300mph hairdryer!)
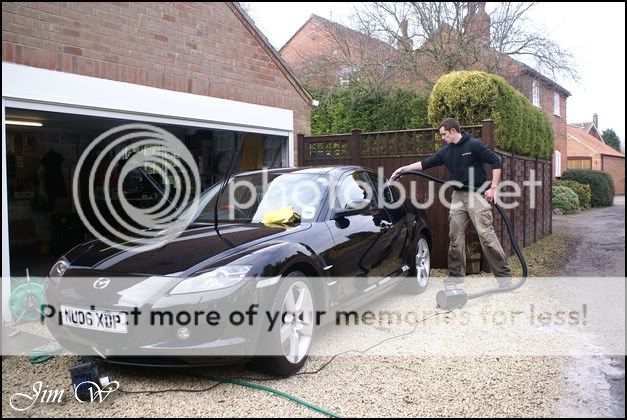
A great bit of kit! Great for removing puddles of water from underneath the wing-mirrors, water trapped in the window joins and door sills. All of which can later affect the polishing stages.
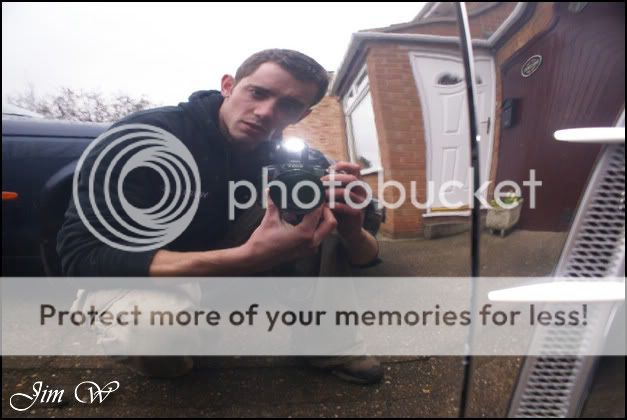
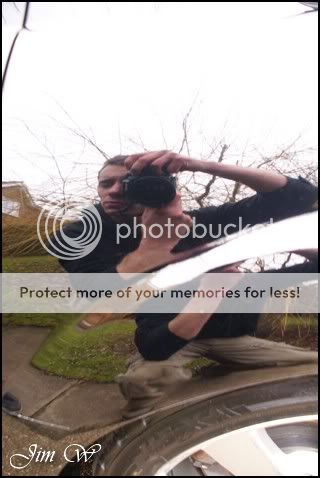
The next photo was taken for demonstration purposes only. Do not try this at home, kids.
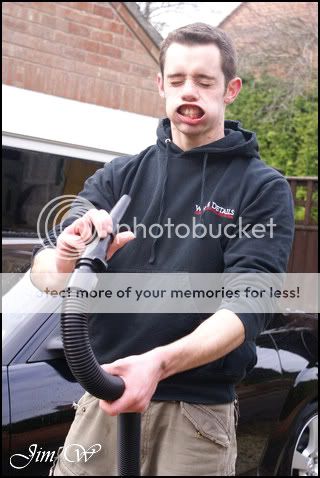
^as you can see, quite powerful!")
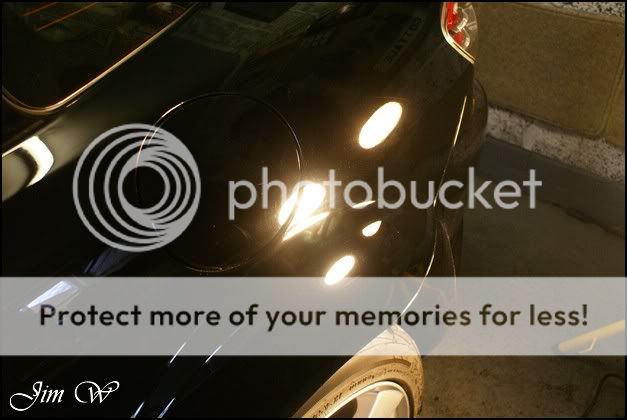
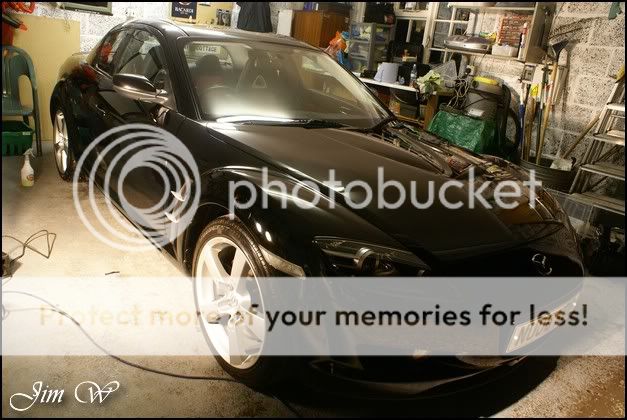
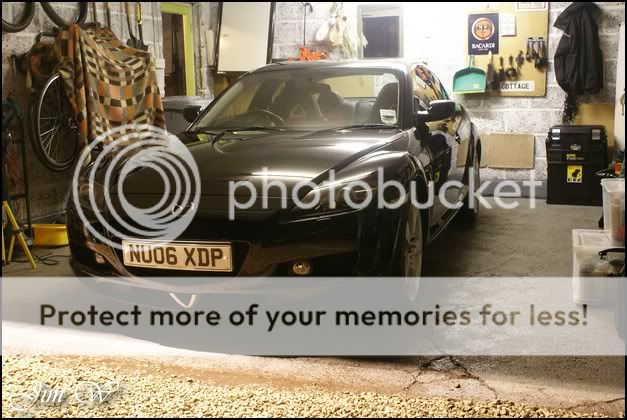
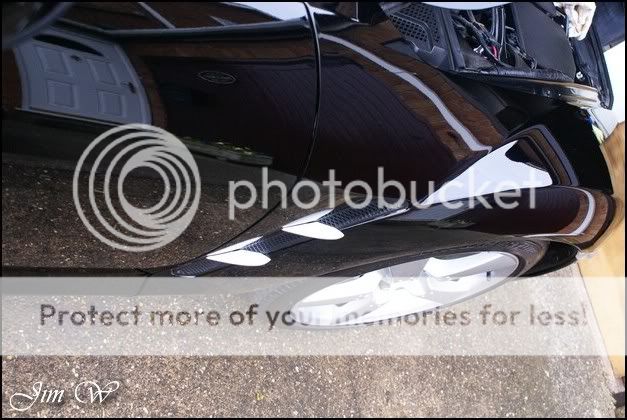
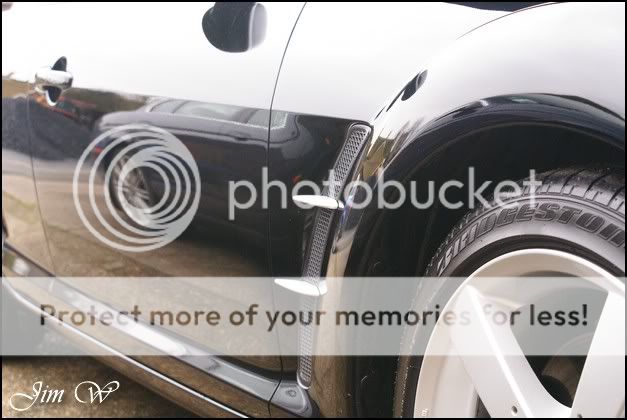
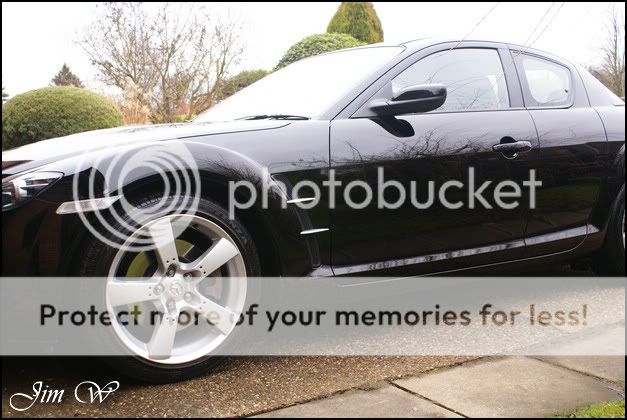
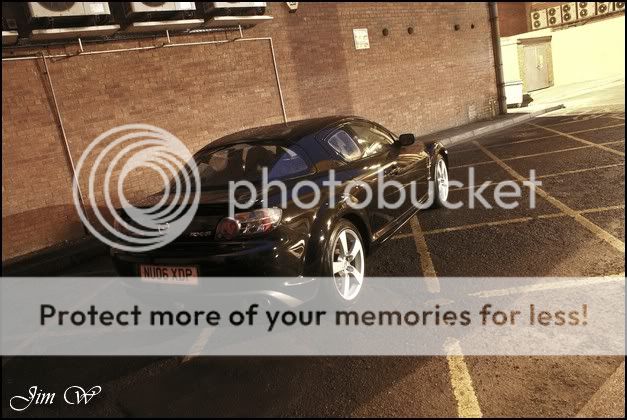
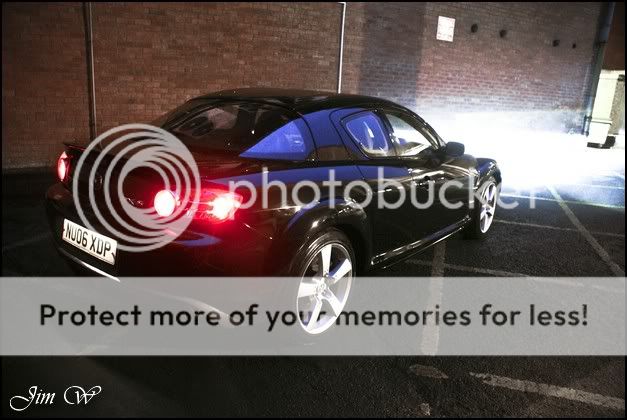
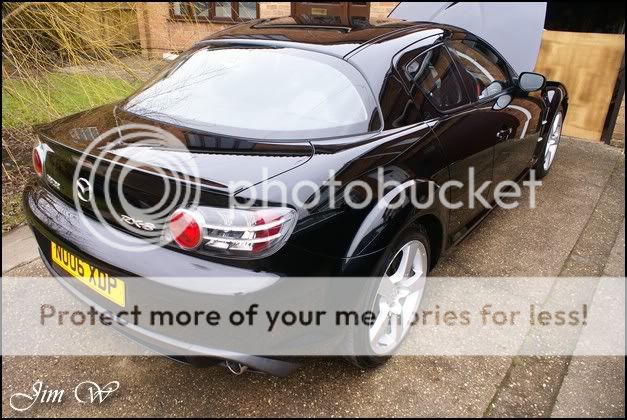
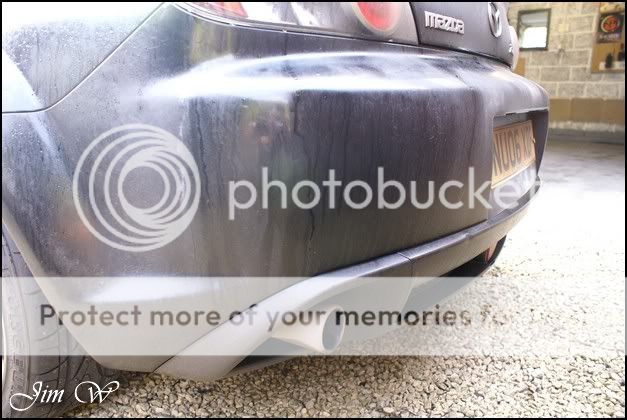
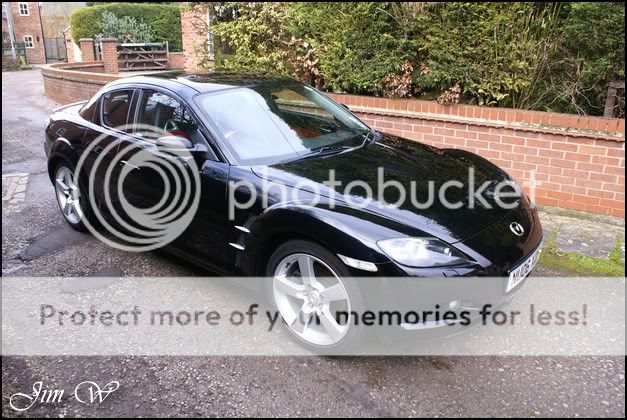
Once dry, from a distance, the car looked pretty presentable already:
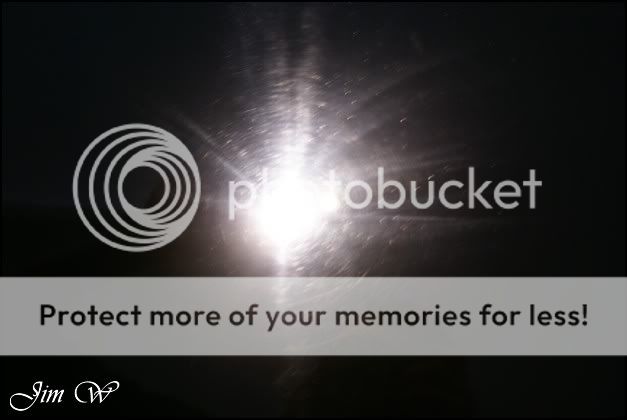
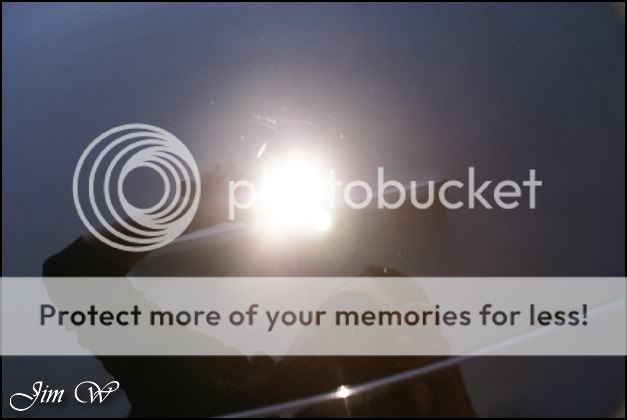
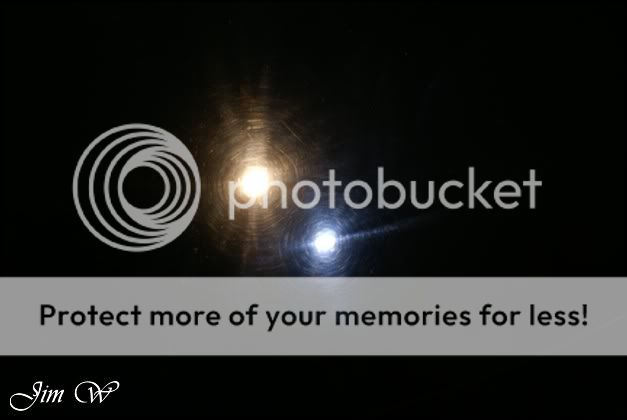
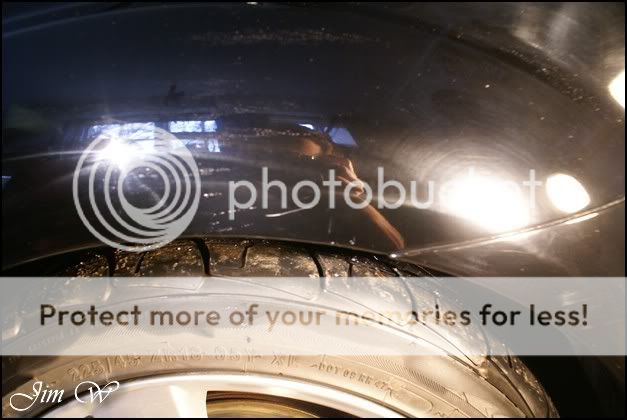
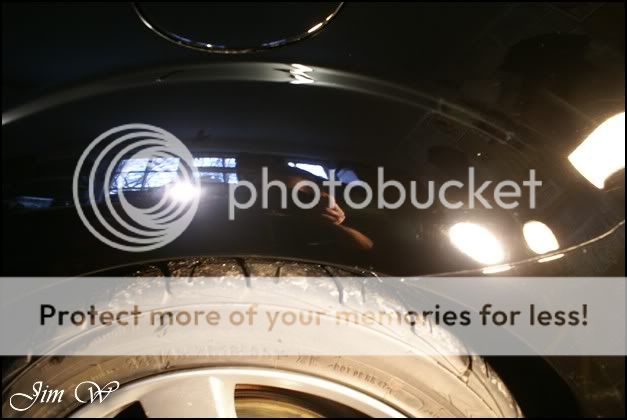
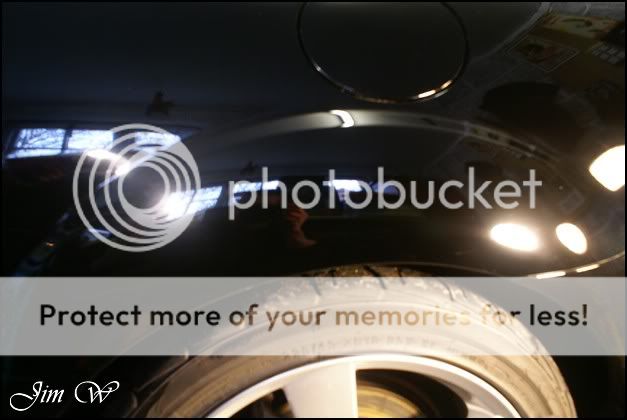
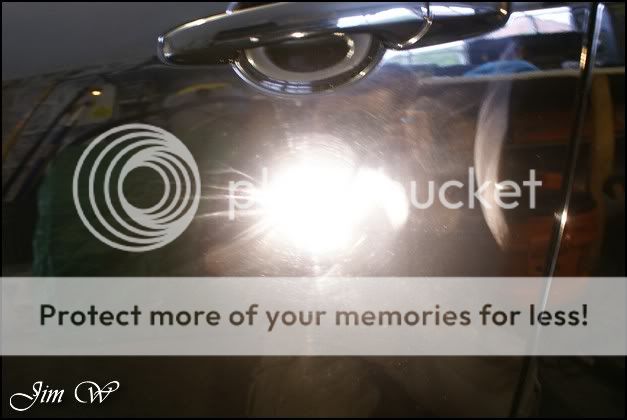
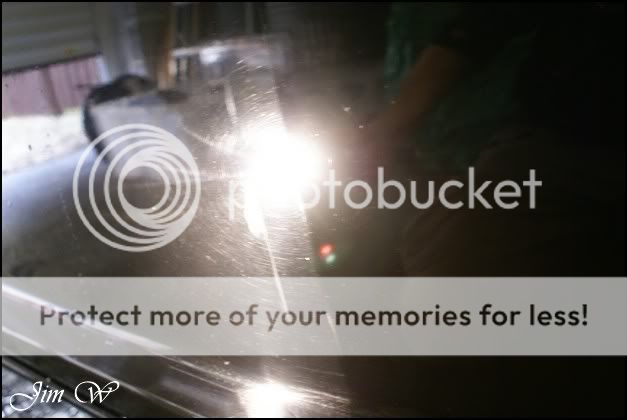
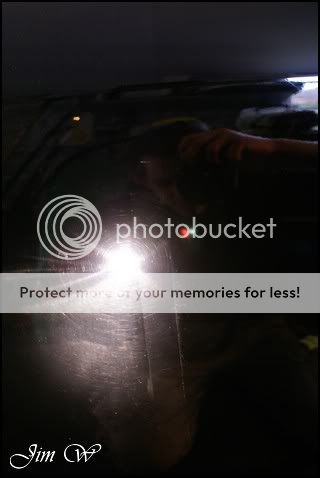
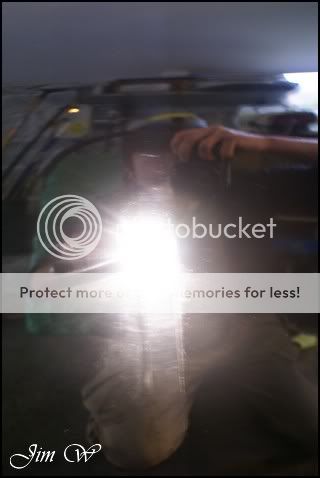
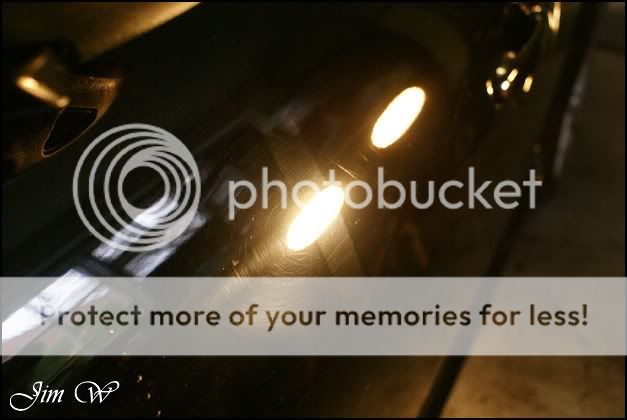
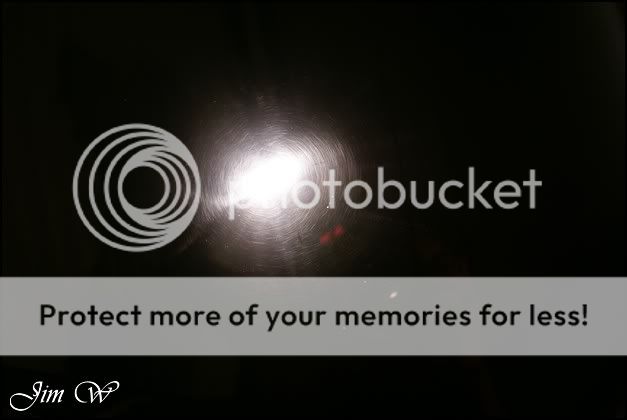
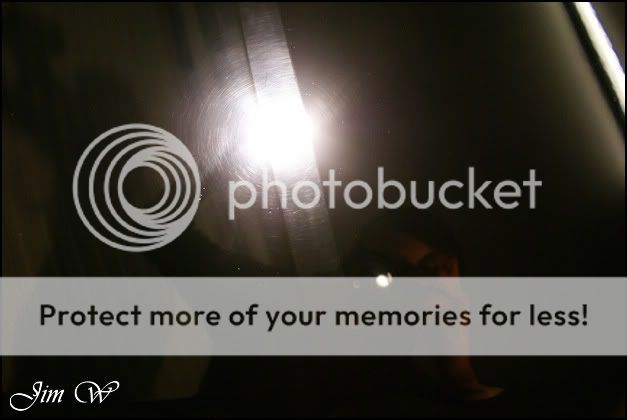
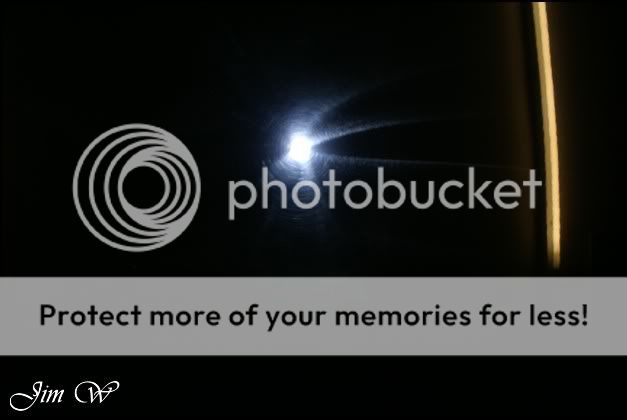
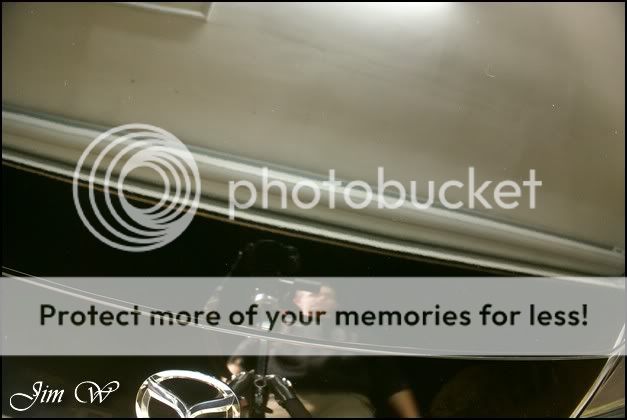
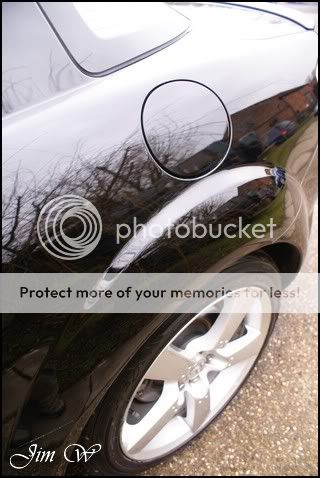
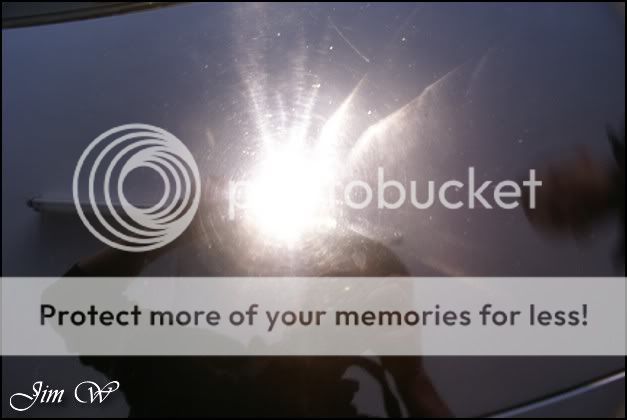
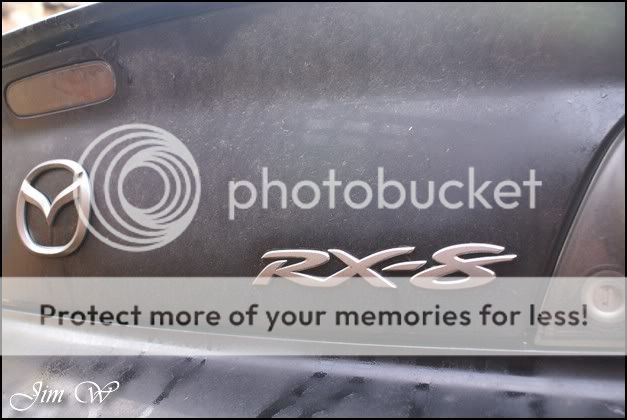
However, push it under forced halogen light and youre left with a whole array on imperfection and defects in the paint.
Take one Mazda RX8 and give it to a valeter to buff to a shine.
Unfortunately, this one had been butchered to an inch of its life. The last person to put polish to the paintwork left us in a situation... RX8s have notoriously soft, thin paint. So, give it to a valeter who will push his mop around it in less than an hour, and, this is what youre left with..
Heavily swirled and hologramed paint that is on the dangerous side of thin. This is down to the intense compounding that had been done previously which hasnt been broken down, thus, doing more harm than good!
The paint thickness stood around 80um across the car... Some sections pushed 100um and some parts were touching mid 60s. Far too thin for me to comfortably return this car to its former glory!
11.5 hours spent transforming the car in the safest way possible.
Product
AutoGlym FastGlass
AutoGlym Vinyl And Rubber Care
Autosol
AutoSmart G101
AutoSmart Tardis
Belgom ALU
Chemical Guys JetSEAL901
Dodo Juice Born To Be Mild
Dodo Juice Limeprime
Dodo Juice SuperNatural
Jeffs Werkstat Prime AIO
LTT Auto Ultra Foam
LTT Auto Ultra Protect
Meguiars Super-Degreaser
Meguiars Last Touch
Meguiars Wheel-Brightener
Poorboys Black Hole
Sonus Green clay
ValetPRO Snowfoam
Zaino Z8
Before:
After:
Inspection.
After kitting up, the first job was to attack the wheels and arches. AutoSmart G101, Meguiars Super-Degreaser and Meguiars Wheel-Brightener used here. Unfortunately the inner rim of the alloys had seen better days.. Maybe taking the whole wheel off and a full clay/cleanse session would improve things, but, I believe the owner is having them replaced/refurbed soon anyway.
After this, the door shuts and engine bay were hit with a mix of G101 and Degreaser.
Snowfoam delivered after a thorough jet down..
And intricate areas worked with a detail brush.
Washed with a lambswool washmit, Dodo Juice Born To Be Mild and the two bucket set up with grit-guards.
Then clayed with Sonus Green and Megs Last Touch used as a lube..
The car wasnt too badly contaminated; only a few rough sections on the flats and lower quarters.
Lubrication residues were rinsed as I worked, and, a final water-sheet was made with an open hose prior to drying.
Drying was carried out with a plush mf drying towel and my new toy; the Black Baron Vehicle Dryer. ( basically a 300mph hairdryer!)
A great bit of kit! Great for removing puddles of water from underneath the wing-mirrors, water trapped in the window joins and door sills. All of which can later affect the polishing stages.
The next photo was taken for demonstration purposes only. Do not try this at home, kids.
^as you can see, quite powerful!
Once dry, from a distance, the car looked pretty presentable already:
However, push it under forced halogen light and youre left with a whole array on imperfection and defects in the paint.