Jimmeh
Registered User
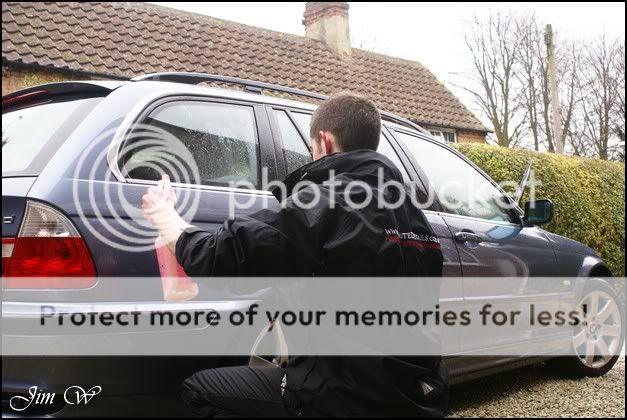
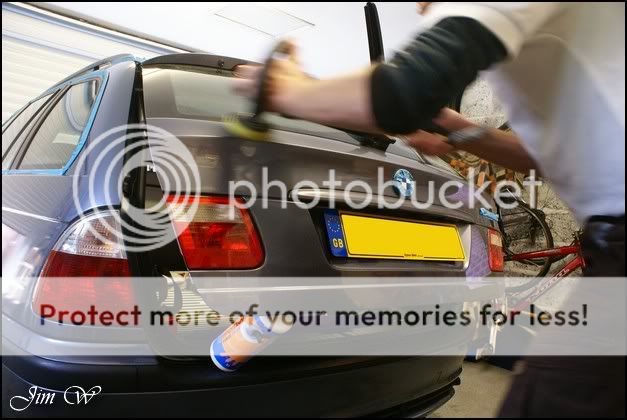
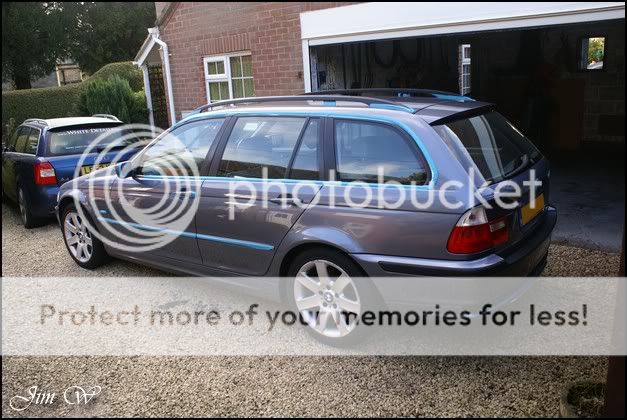
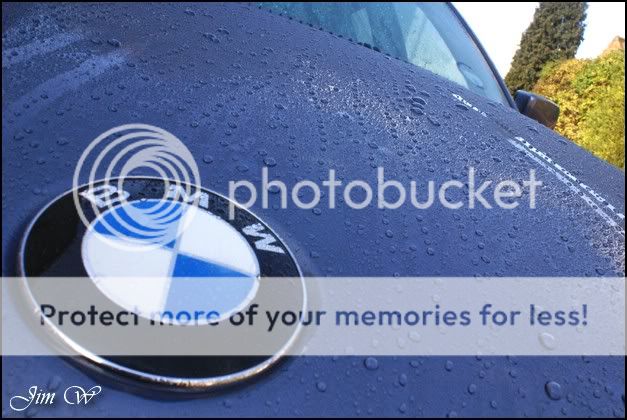
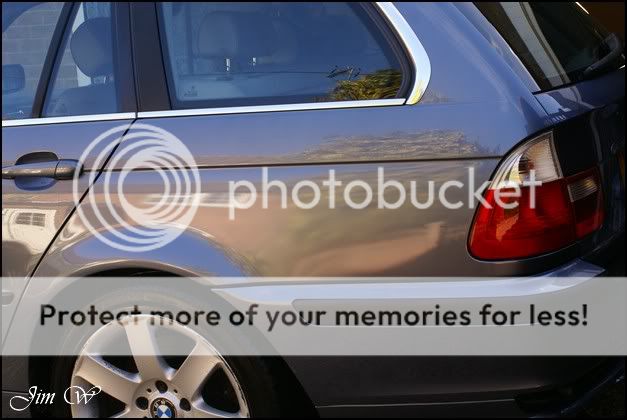
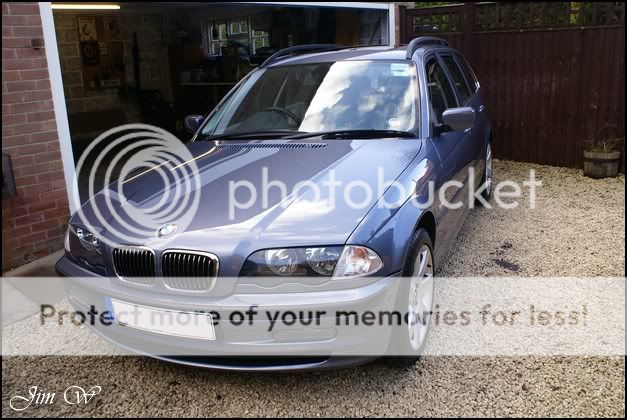
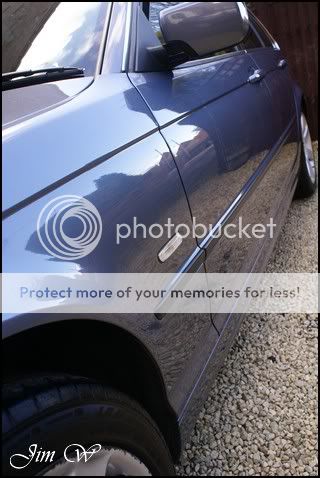
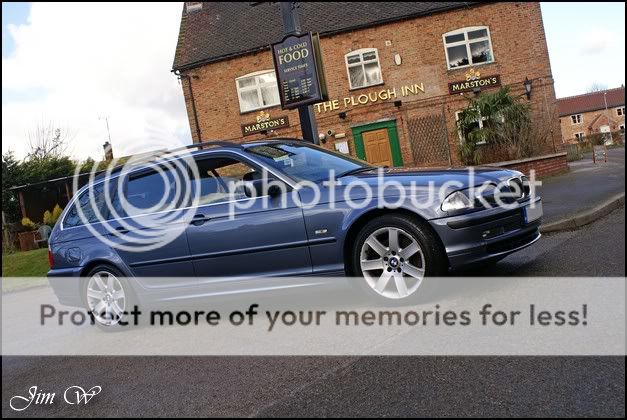
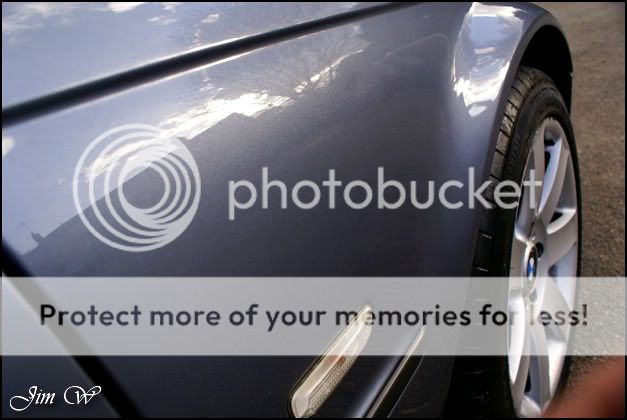
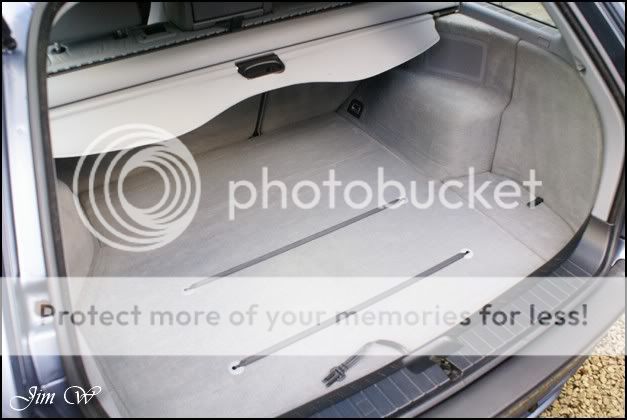
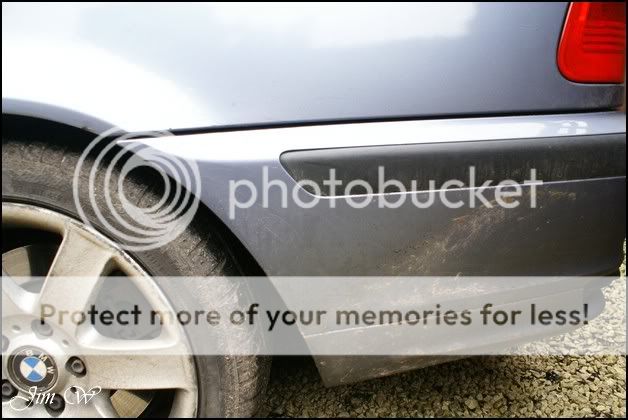
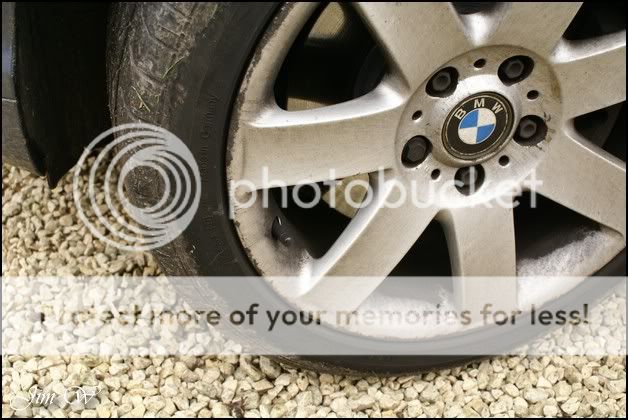
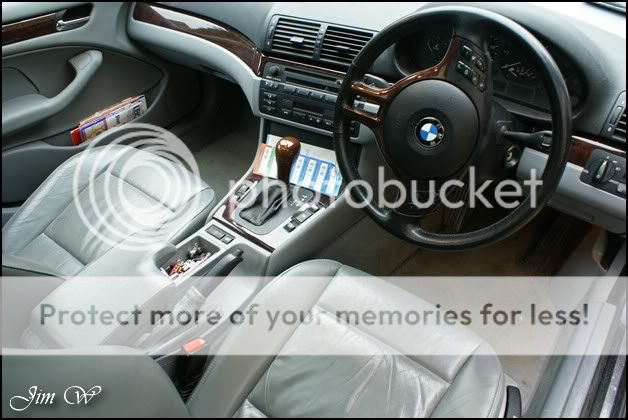
BMW E46 330d Tourer Minor Correction with full Interior Detail and Leather Care.
23 hours put into this one a fine turnaround Im sure youll agree..
Product
AutoSmart G101
AutoSmart Bio-Brisk
AutoSmart Tardis
AutoGlym Glass Polish
AutoGlym Vinyl and Rubber Care
Dodo Juice Supernatural
Dodo Juice LimePrime
Dodo Juice Born To Be Mild
LTT Auto Ultra Foam
LTT Auto Ultra Protect
Meguiars Last Touch
Meguiars Super-Degreaser
Menzerna 203s
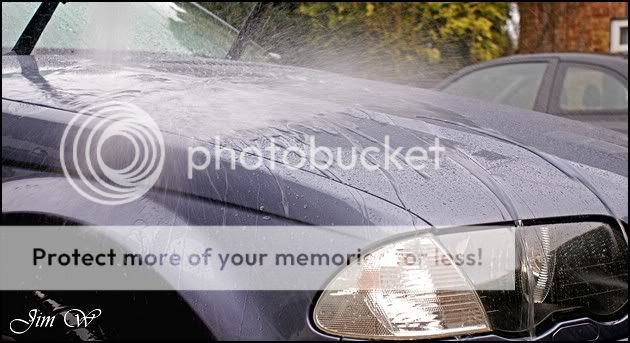
Super Snowfoam
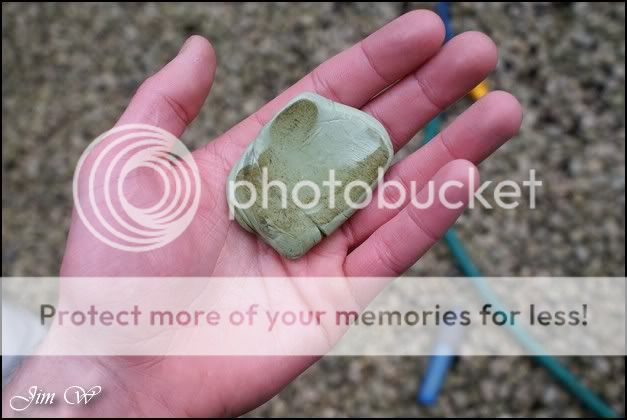
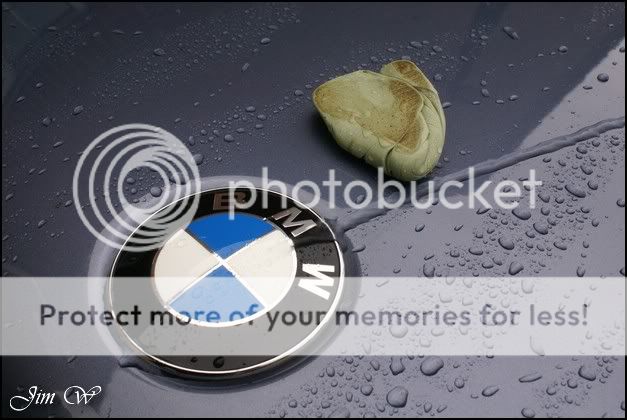
Sonus Green Mild Clay
Zaino Z8
Inspection Photos.
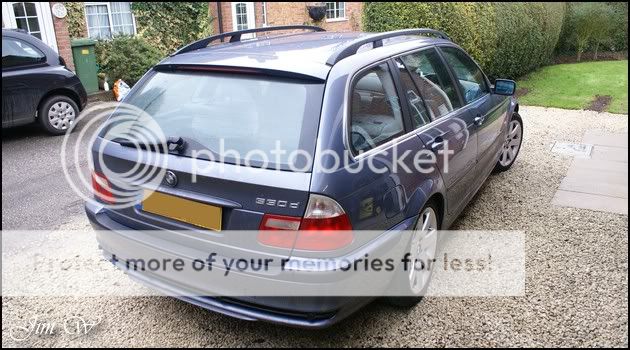
Exterior


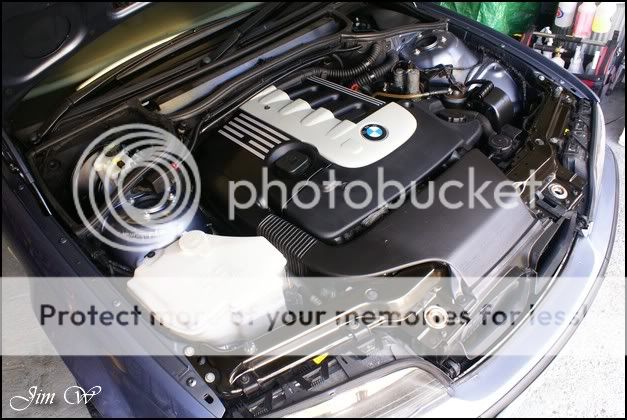
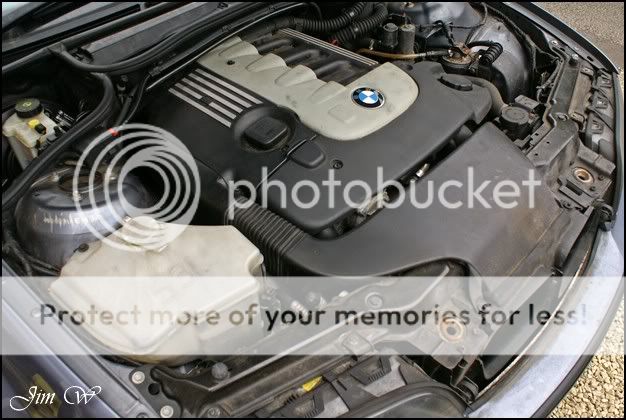
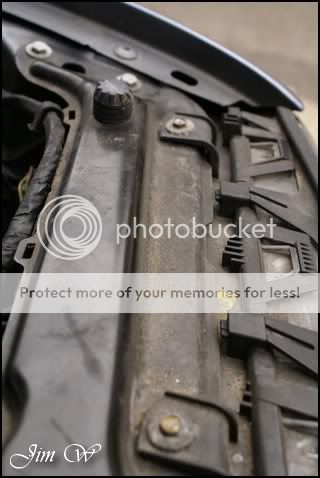
Engine


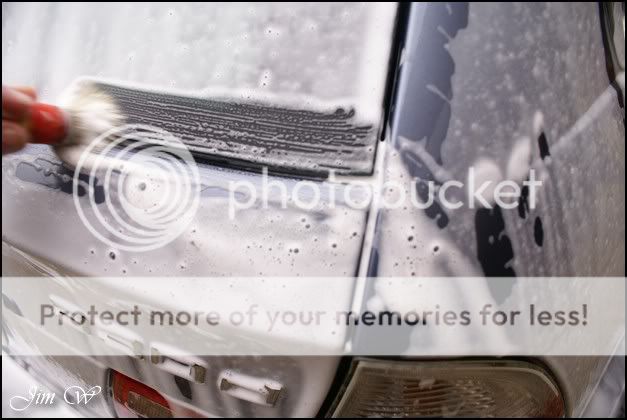
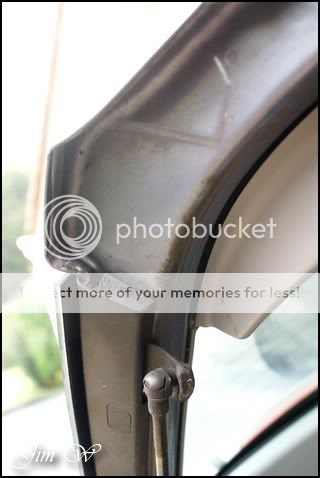
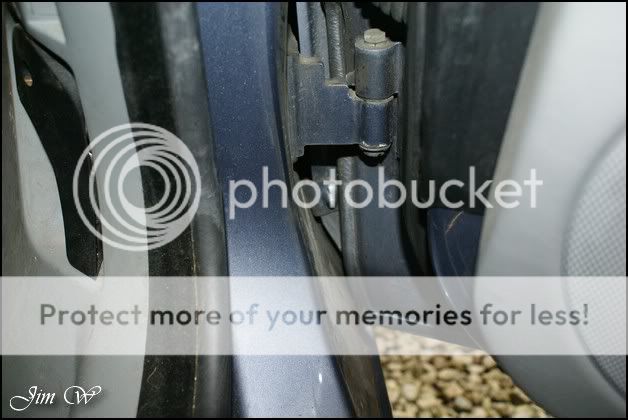
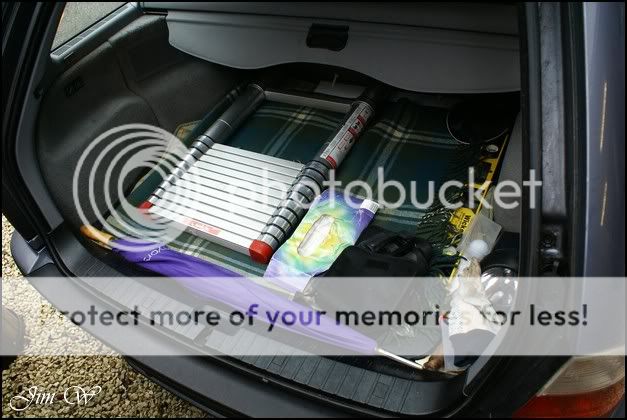
Misc exterior


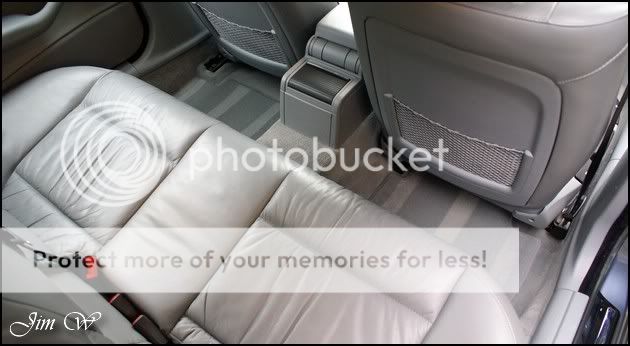
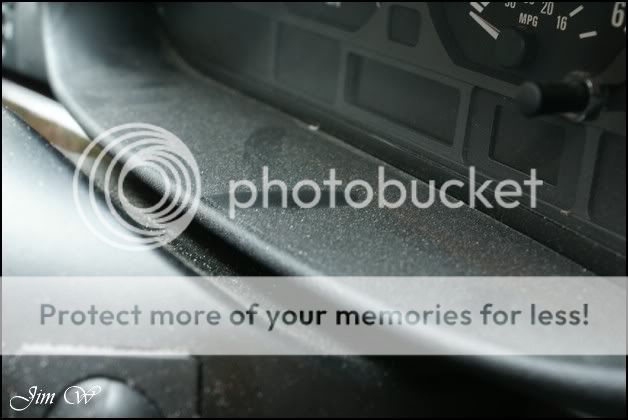
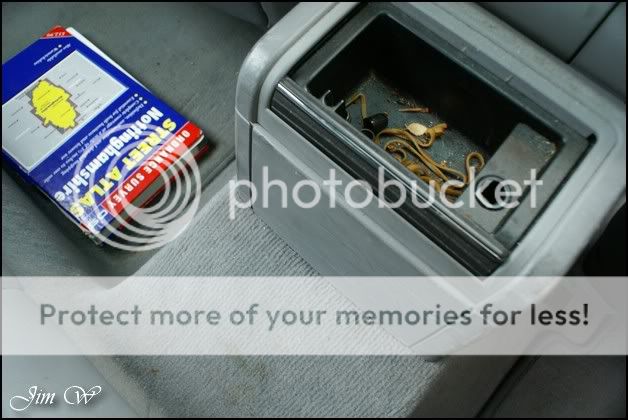
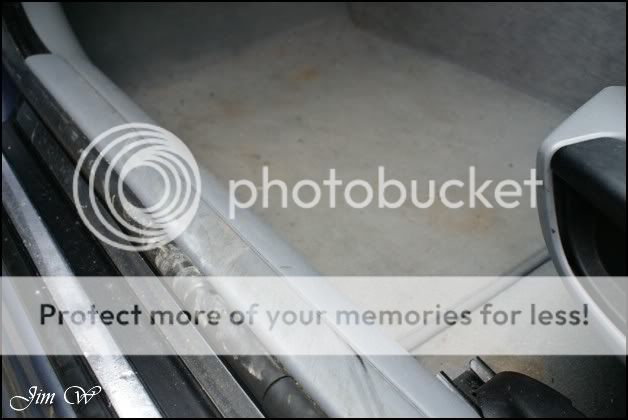
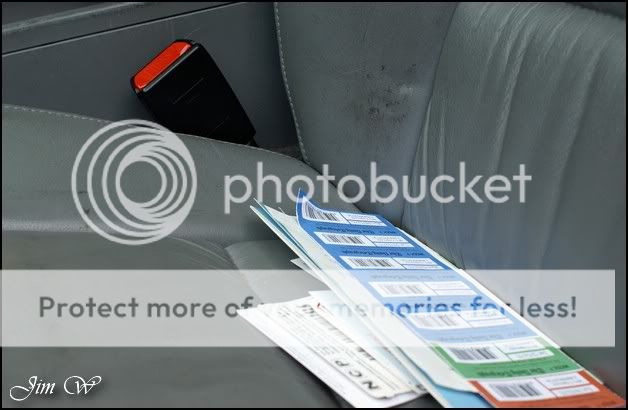
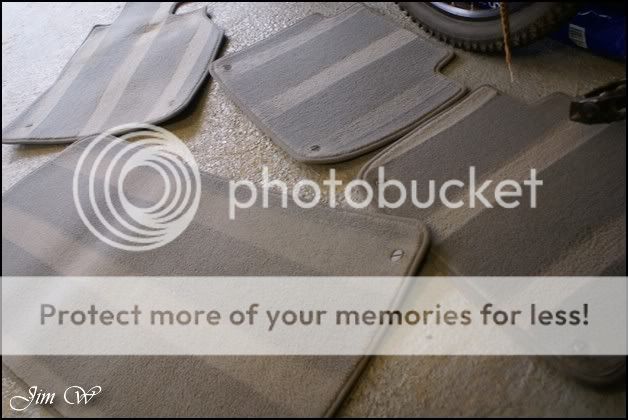
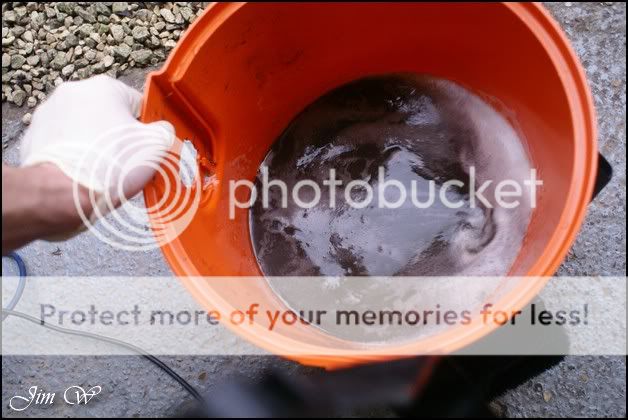
Interior


23 hours put into this one a fine turnaround Im sure youll agree..
Product
AutoSmart G101
AutoSmart Bio-Brisk
AutoSmart Tardis
AutoGlym Glass Polish
AutoGlym Vinyl and Rubber Care
Dodo Juice Supernatural
Dodo Juice LimePrime
Dodo Juice Born To Be Mild
LTT Auto Ultra Foam
LTT Auto Ultra Protect
Meguiars Last Touch
Meguiars Super-Degreaser
Menzerna 203s
Super Snowfoam
Sonus Green Mild Clay
Zaino Z8
Inspection Photos.
Exterior
Engine
Misc exterior
Interior


")