Clark@Polishedbliss
Professional Detailer
- Joined
- Feb 4, 2007
- Messages
- 226
- Reaction score
- 0
- Points
- 16
- Location
- Aberdeen
- Website
- www.polishedbliss.co.uk
Having put it off for what seems far too long now, I have finally got round to putting all the pics for this together so now I can finally post the second part of the Ne Plus Ultra detail we did on the LP560 back in the summer.
For those that haven't seen it, the first part (HD video) can be seen here:
http://www.polishedbliss.co.uk/blog/2009/11/lamborghini-gallardo-lp560-4-ne-plus-ultra/
http://<a href="http://www.polished...mborghini-gallardo-lp560-4-ne-plus-ultra/</a>
So now, for the full write up:
The car belongs to the owner of the previous Balloon White Gallardo we did our first Ne Plus Ultra on and after trading it in to the dealership this was it's replacement. The dealership used the DW write up as a selling point for the old car when they took it in and the new owner actually contacted me a short time after to say he'd purchased the car unseen but had full confidence due to the in depth write up he was able to view on DW - pretty cool!
The LP560 was brand spanking new and the owner wanted the same level of detail as his previous Gallardo. Unfortunately we had to put the big detail on hold until we could get a clear 10 days to do it. The car is one of 5 cars the owner has on monthly contracts with us so I was able to do a couple of protection details on it in between which also gave me a good space of time to decide how long we would need the car for. The reason we needed 10 days will become obvious shortly but first we'll get on to the process:
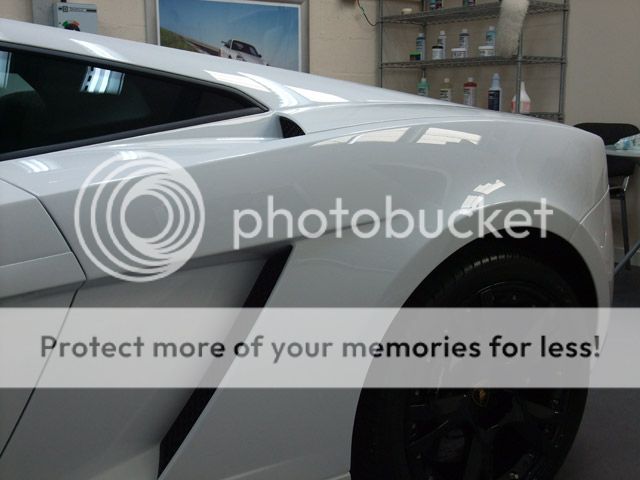
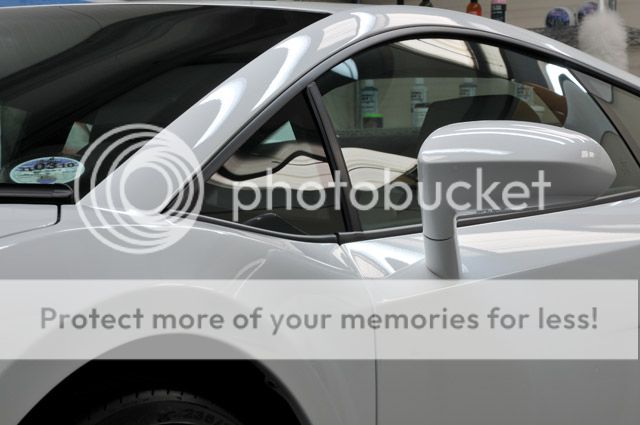
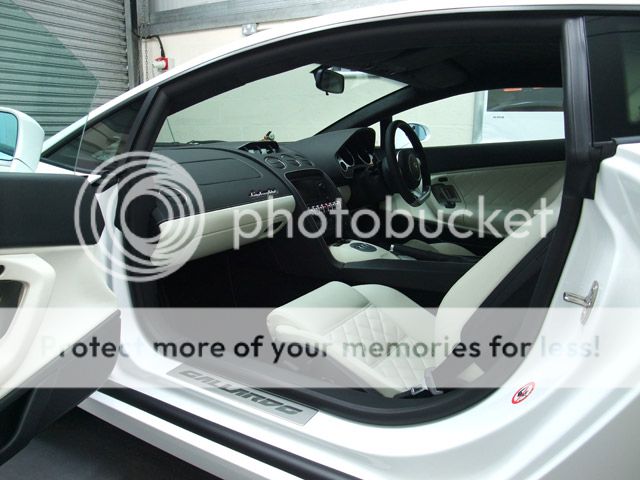
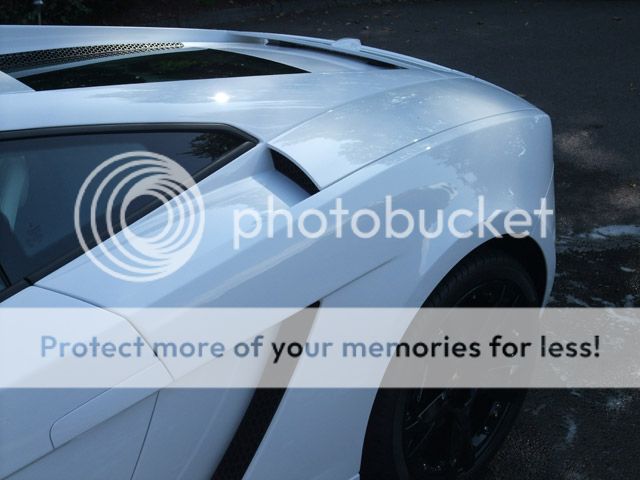
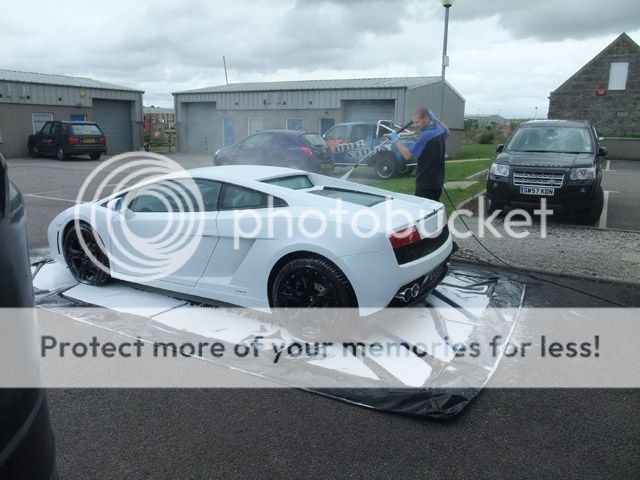
The car hadnt moved much since the last protection detail I'd given it a week or two previous so after collecting it from the owners house (I know - it's a hard life sometimes!) this was how it looked with approx 500 miles on the clock from memory:


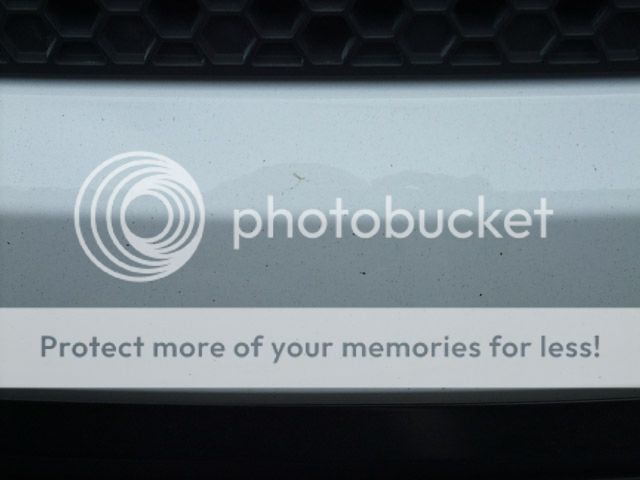
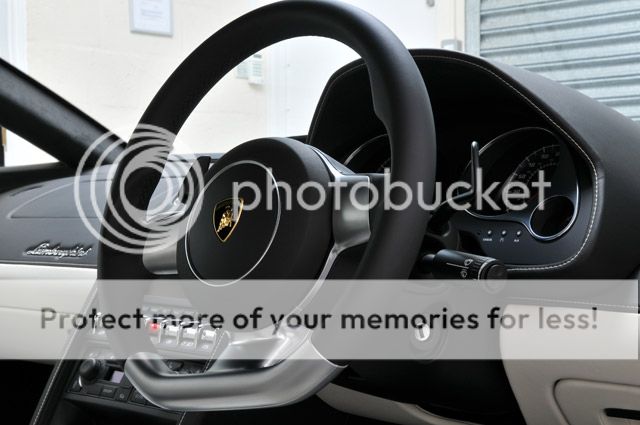
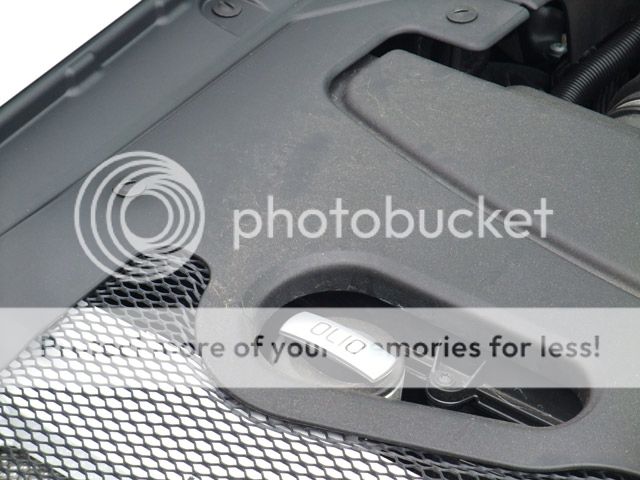
Onto the wheels and arches first, but after a quick press of this button...

...which helps give a bit more access to the fronts:

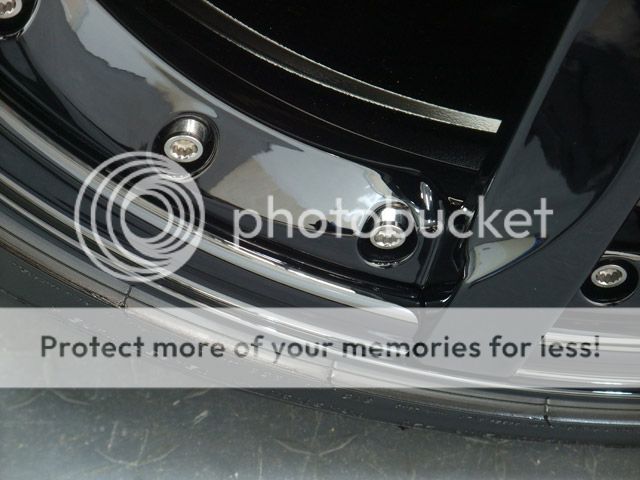
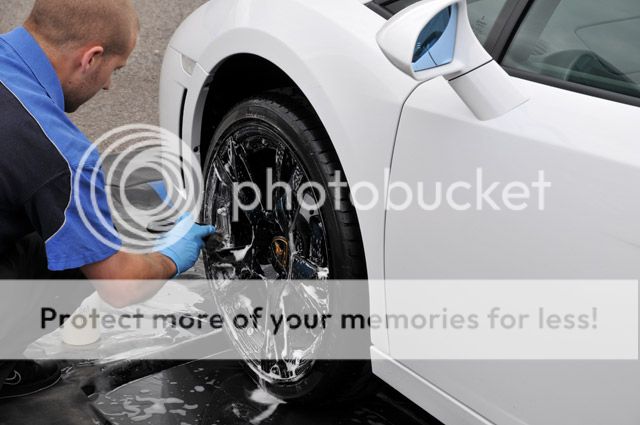
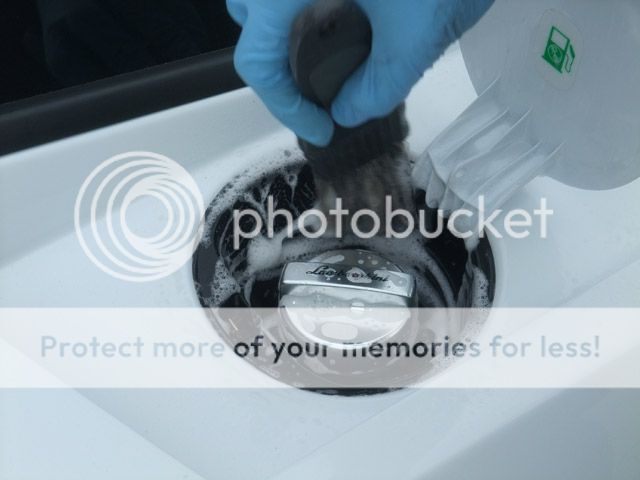
The wheels were given a good rinse off with the pressure washer before cleaning - the Blackfire Metal Sealant applied a few weeks previous was still doing its job well:

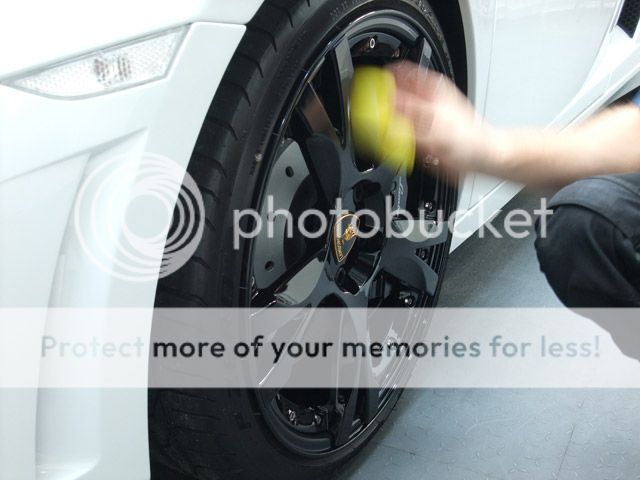
Gloss-It Wheel Gel (4:1) was applied...

...Then agitated...

They were then rinsed off before I applied Meguiars Super Degreaser to the arches and tyres:
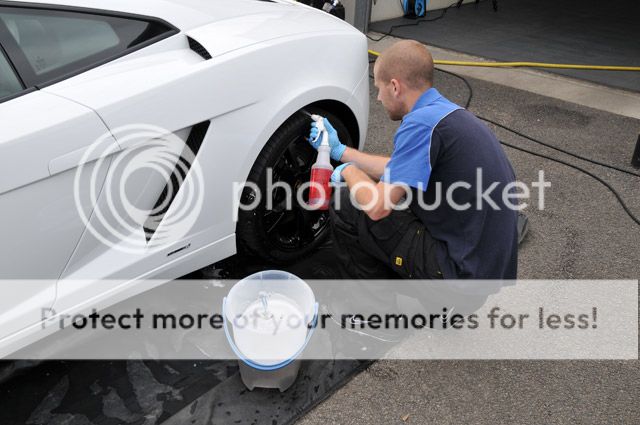
Agitated again:

Then rinsed:

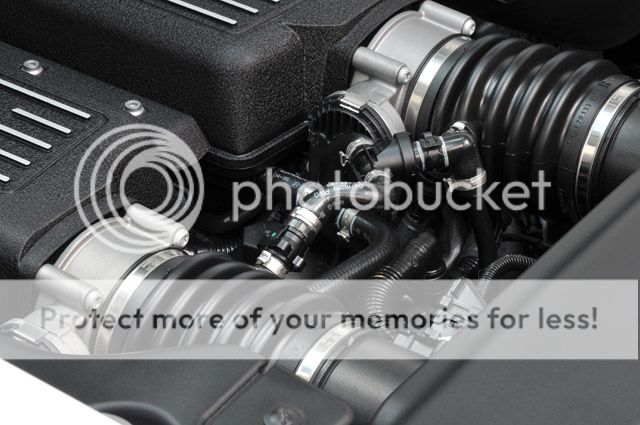
The engine bay was no more than a bit dusty as I had previously attended to this too:
One of the covers was removed to gain access underneath:

Then Meguiars APC (4:1) was applied, agitated then rinsed:

All exterior trim/shuts etc were then done in the same way:


The car was then foamed with R222 @ 60 degrees:

Left to dwell for a few minutes:

Then rinsed off:
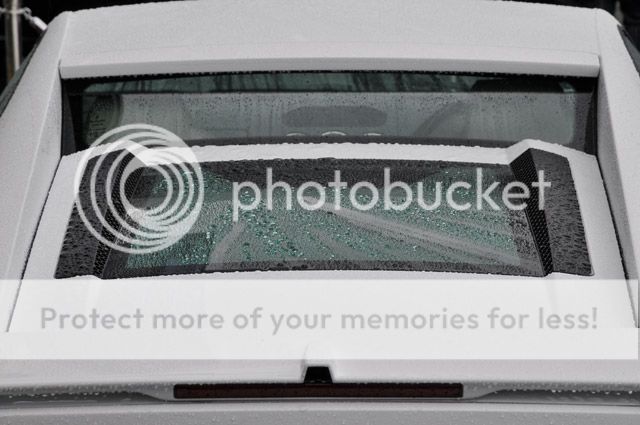
Zymol Vintage beading away nicely:

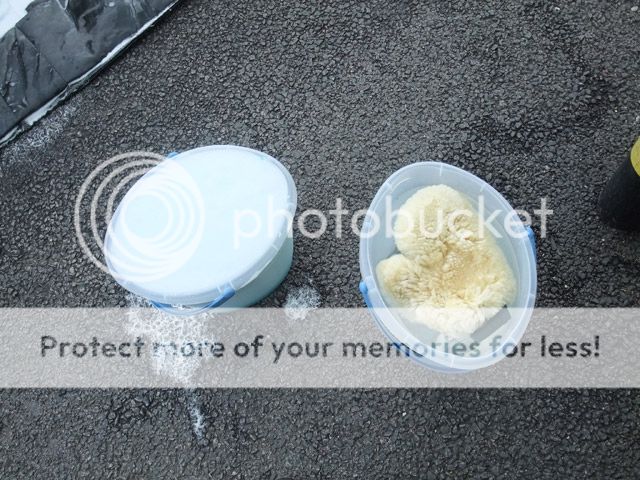
Meguiars Shampoo Plus and the 2 Bucket Method with Lambswool Mitt was then used to wash the car:

For those that haven't seen it, the first part (HD video) can be seen here:
http://www.polishedbliss.co.uk/blog/2009/11/lamborghini-gallardo-lp560-4-ne-plus-ultra/
http://<a href="http://www.polished...mborghini-gallardo-lp560-4-ne-plus-ultra/</a>
So now, for the full write up:
The car belongs to the owner of the previous Balloon White Gallardo we did our first Ne Plus Ultra on and after trading it in to the dealership this was it's replacement. The dealership used the DW write up as a selling point for the old car when they took it in and the new owner actually contacted me a short time after to say he'd purchased the car unseen but had full confidence due to the in depth write up he was able to view on DW - pretty cool!
The LP560 was brand spanking new and the owner wanted the same level of detail as his previous Gallardo. Unfortunately we had to put the big detail on hold until we could get a clear 10 days to do it. The car is one of 5 cars the owner has on monthly contracts with us so I was able to do a couple of protection details on it in between which also gave me a good space of time to decide how long we would need the car for. The reason we needed 10 days will become obvious shortly but first we'll get on to the process:
The car hadnt moved much since the last protection detail I'd given it a week or two previous so after collecting it from the owners house (I know - it's a hard life sometimes!) this was how it looked with approx 500 miles on the clock from memory:
Onto the wheels and arches first, but after a quick press of this button...
...which helps give a bit more access to the fronts:
The wheels were given a good rinse off with the pressure washer before cleaning - the Blackfire Metal Sealant applied a few weeks previous was still doing its job well:
Gloss-It Wheel Gel (4:1) was applied...
...Then agitated...
They were then rinsed off before I applied Meguiars Super Degreaser to the arches and tyres:
Agitated again:
Then rinsed:
The engine bay was no more than a bit dusty as I had previously attended to this too:
One of the covers was removed to gain access underneath:
Then Meguiars APC (4:1) was applied, agitated then rinsed:
All exterior trim/shuts etc were then done in the same way:
The car was then foamed with R222 @ 60 degrees:
Left to dwell for a few minutes:
Then rinsed off:
Zymol Vintage beading away nicely:
Meguiars Shampoo Plus and the 2 Bucket Method with Lambswool Mitt was then used to wash the car:
Last edited: