Jimmeh
Registered User
Mercedes-Benz S-Class 320
Id previously worked on this one around June time last year... It was in for another Protection Detail plus an Interior bolt-on.
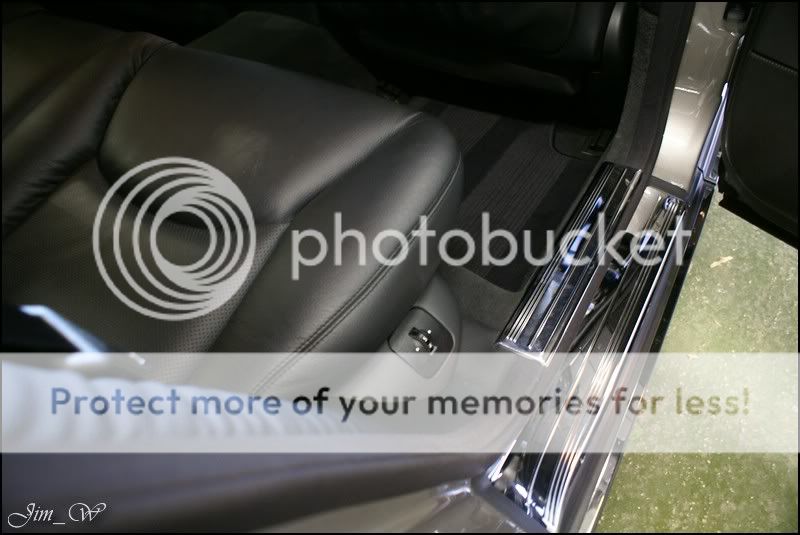
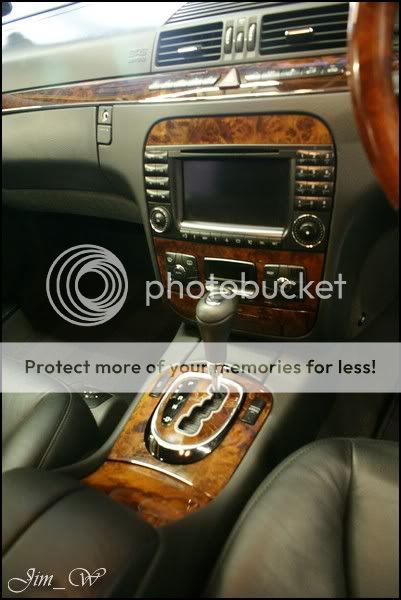
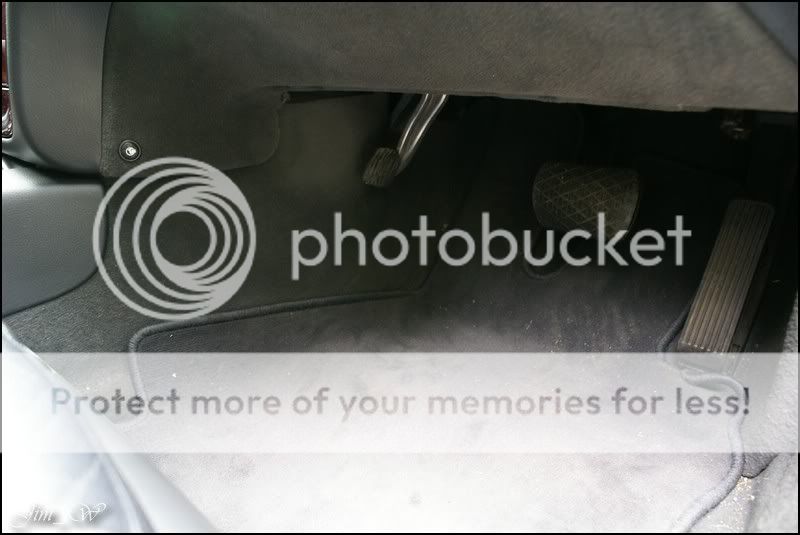
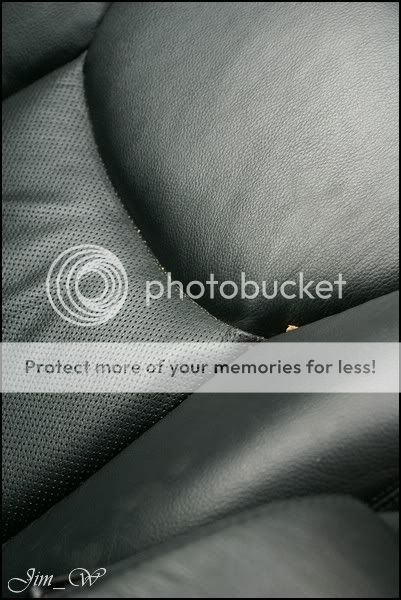
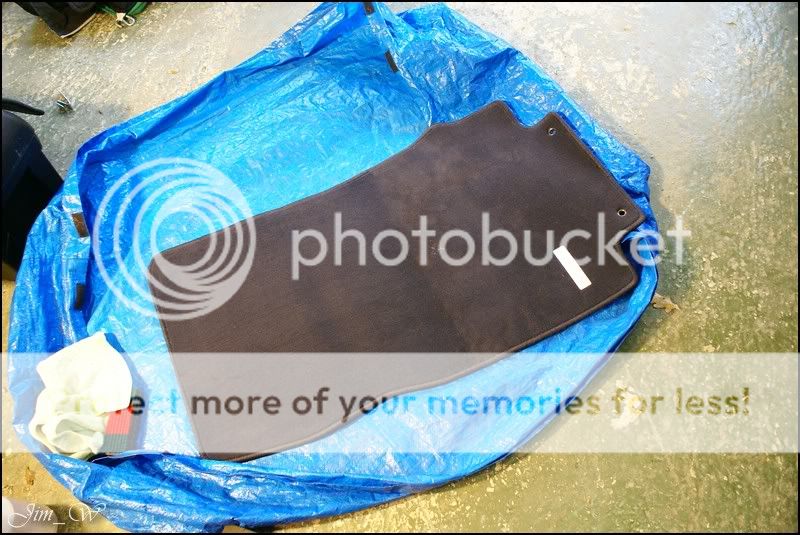
Condition wise, it wasnt bad - fairly contaminated in terms of fall-out and tar deposits. Interior, well, the leather needed a good clean and there was lots of dog hair to lift..
Product
Autoglym FastGlass
AutoSmart Bio Brisk
AutoSmart Tardis
AutoSmart G101
Belgom ALU
Chemical Guys JetSEAL109
Dodo Juice Born To Be Mild
Gliptone leather twins
Jeffs Werkstat Acrylic PRIME
Meguiars Super-Degreaser
Meguiars Endurance Tyre Gel
Sonus Green Clay
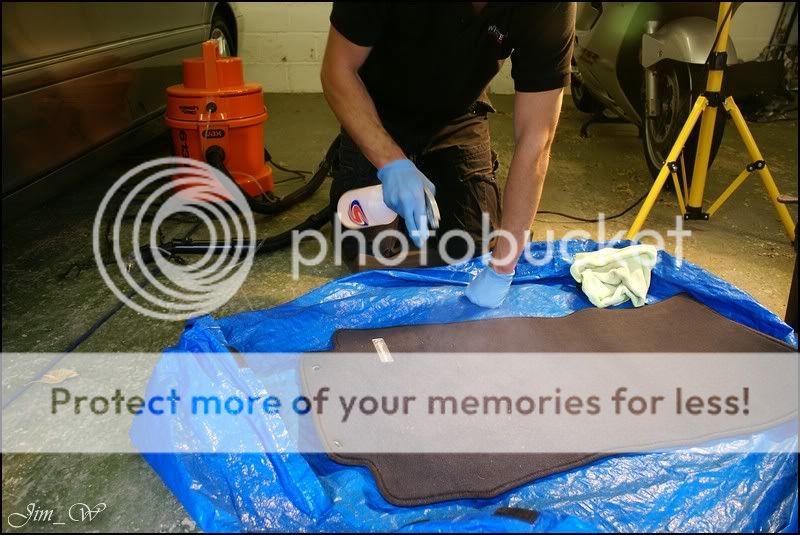
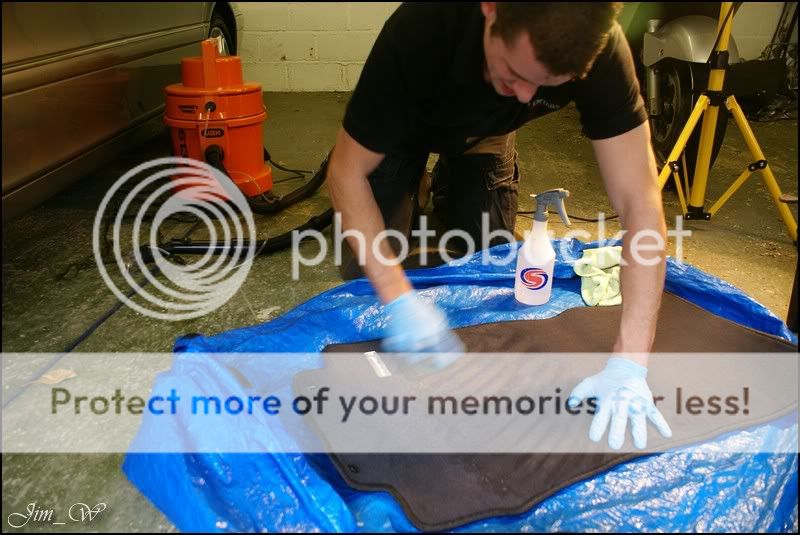
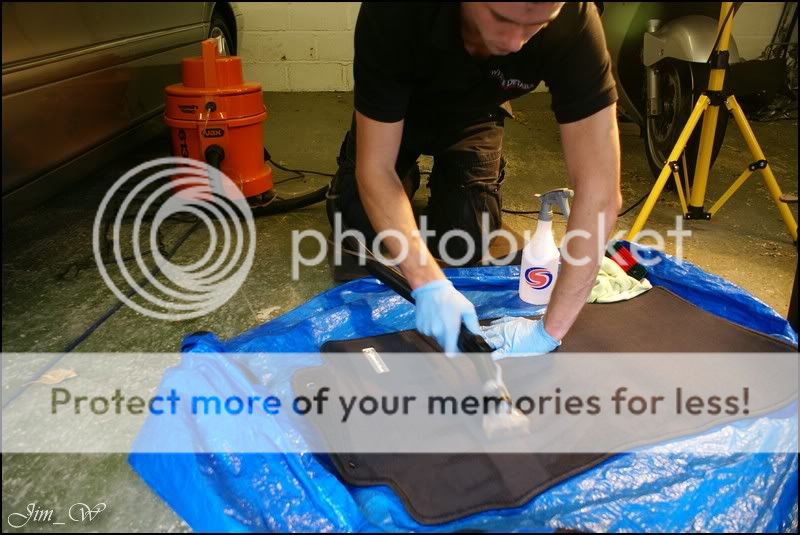
Tools PorterCable 7424 and the VAX6131 extraction system.
Upon inspection:

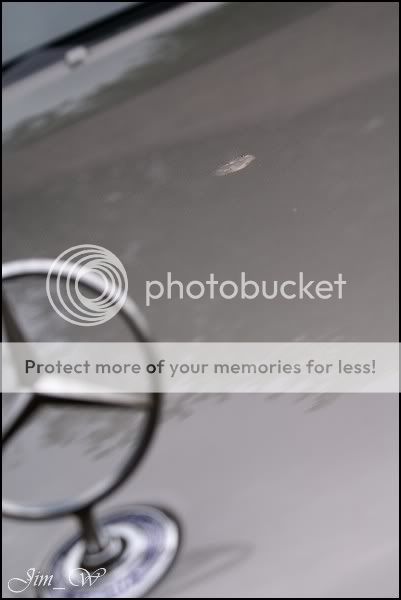


As said, the lower halves of the car were the worst with the tar/sap build-ups.
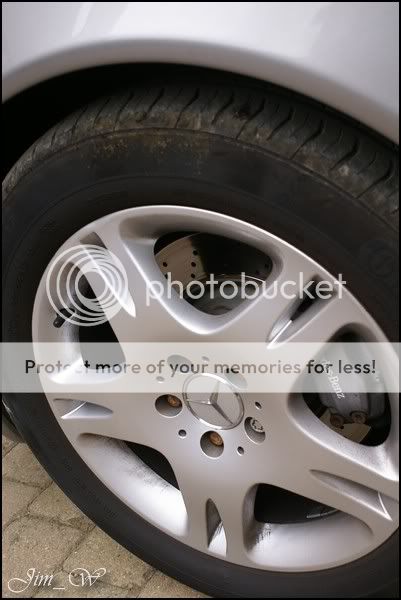
I started, as usual, with the alloys. Inner rim, tyres, behind the spokes and hub-point cleaned with a mix of product, brushes and mitts.
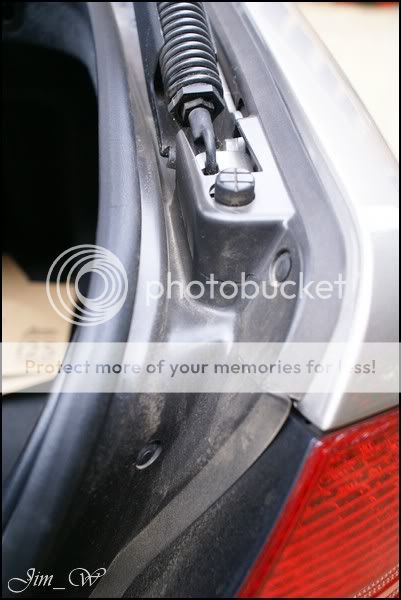
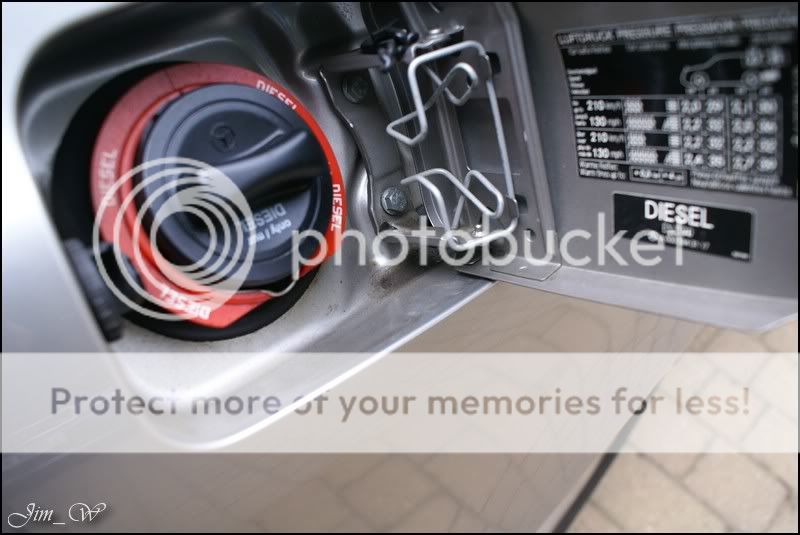
Next was the lightly dusted door shuts and boot sill:

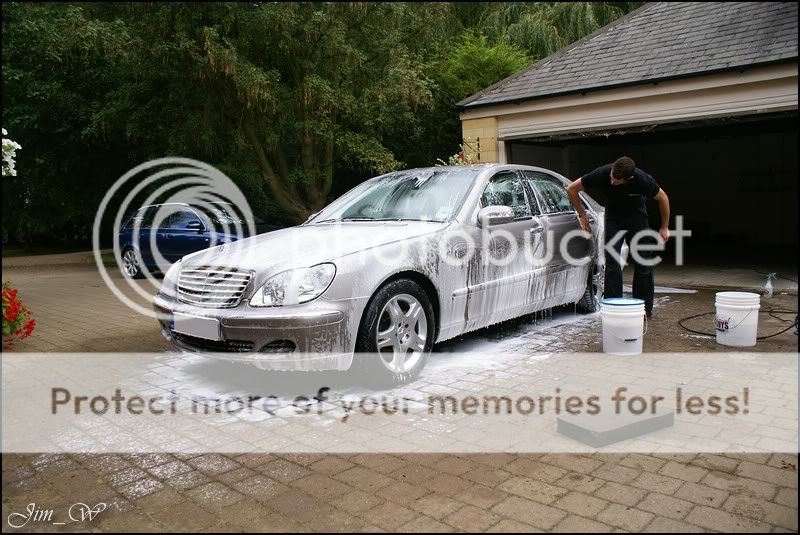
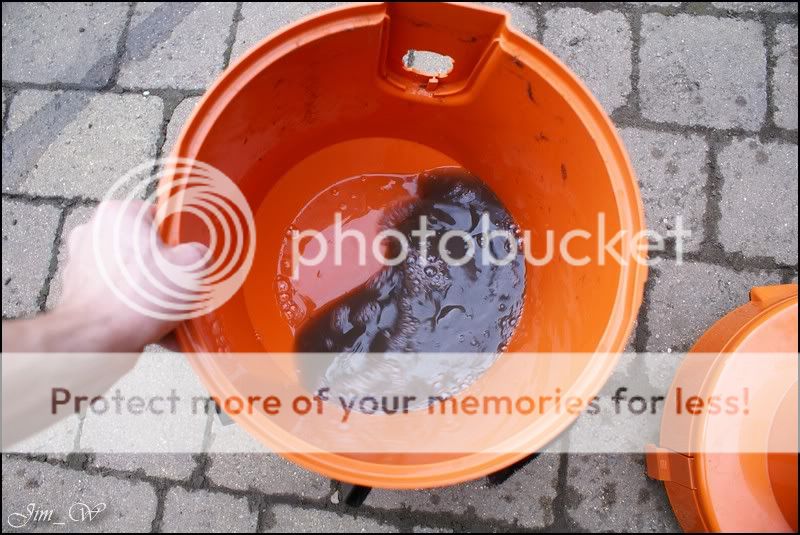
Vehicle rinsed. Vehicle foamed and then rinsed again.

After all free material had been shifted, a second foam layer went down to aid the wash stages.
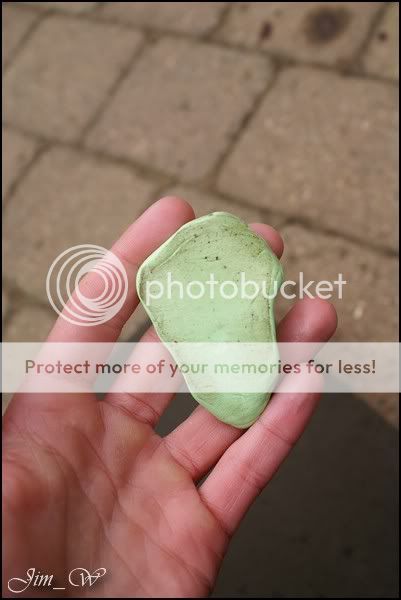
Sonus green once again proving the importance of the decontamination stage..
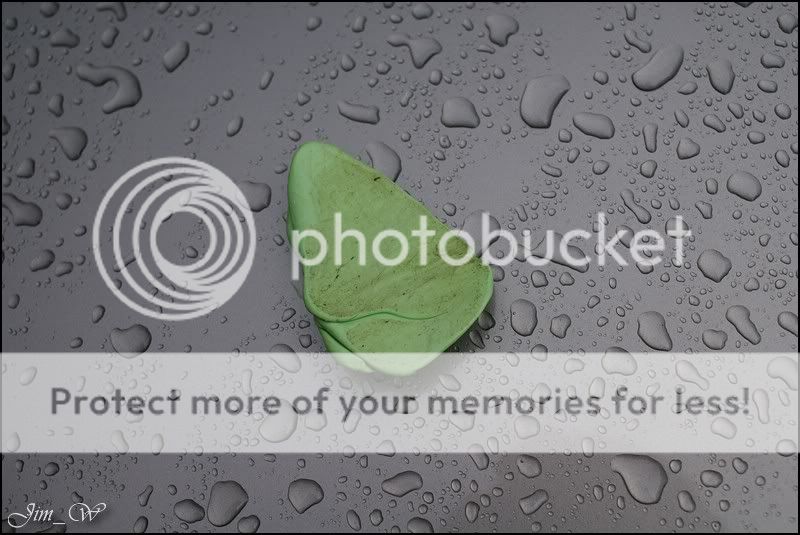
Varying sized tar deposits found in the usual places. All traces removed with AutoSmart Tardis and a clean microfibre.


Audi workhorse sitting nicely..

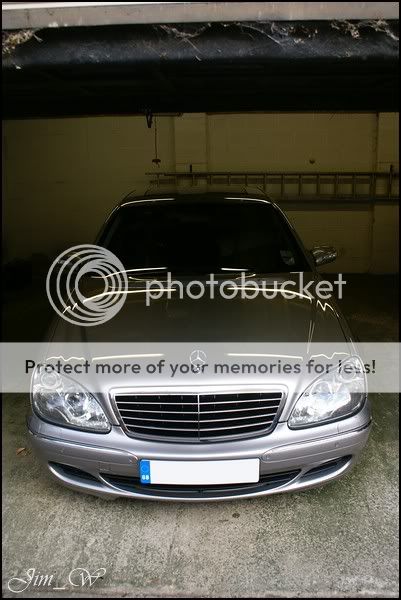
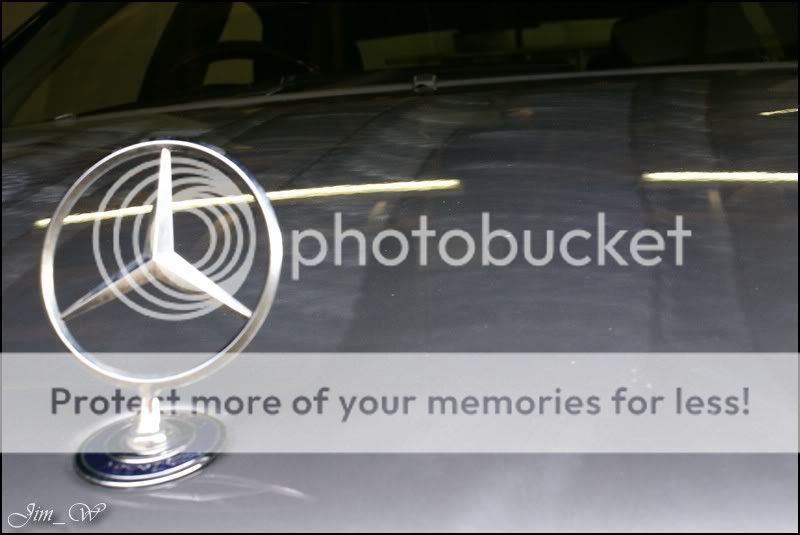
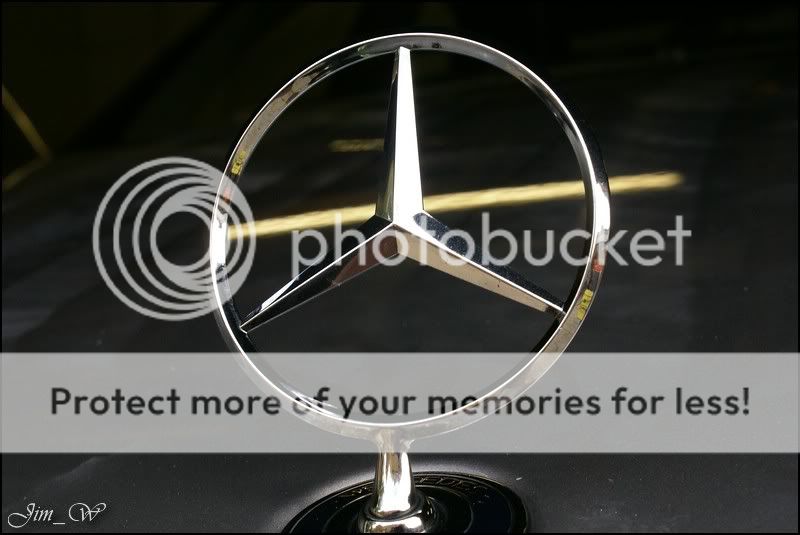
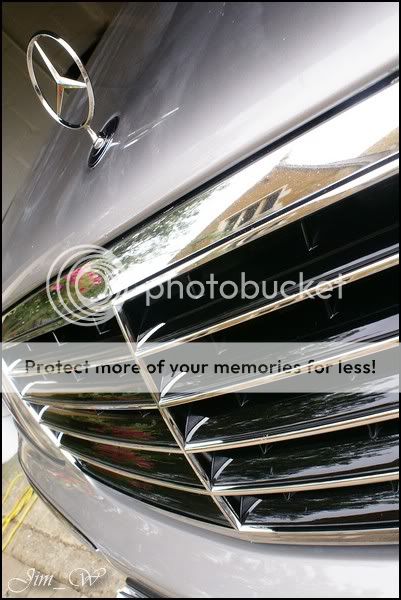
OK, so, a clean Mercedes:


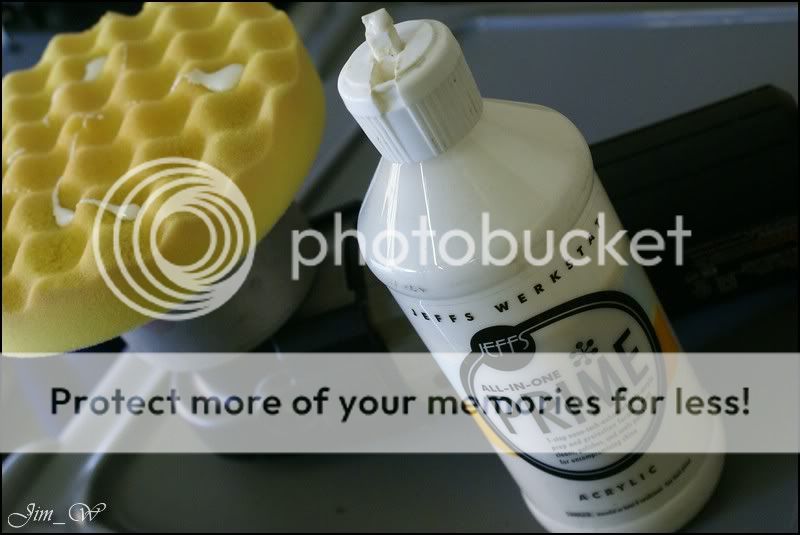
Cleanser of choice this time round was Jeffs Acrylic PRIME Strong. (Why? Offers a small amount of cut and cleans well in readiness for wax.)
Applied via the PC7424 and a 3M yellow polishing pad:
Although the correctional abilities of PRIME are low, for a quick once over to clean the surface, I was pleasantly surprised with the results at hand..
Before:

After:
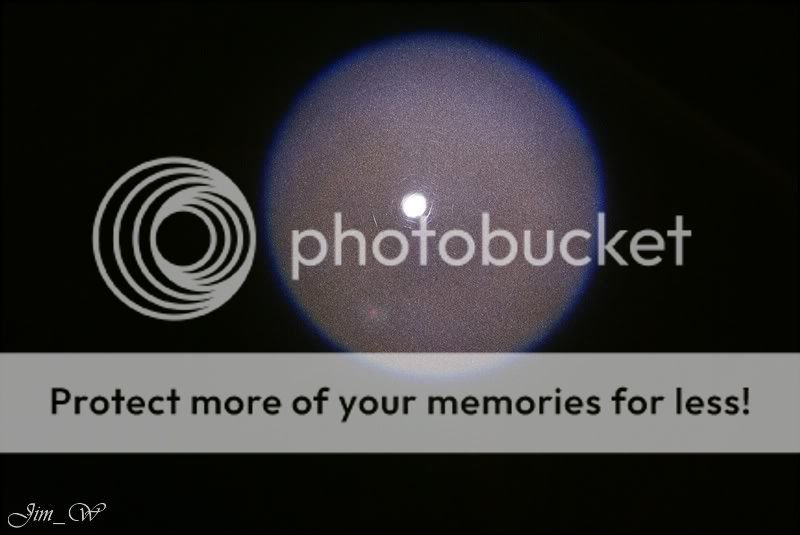
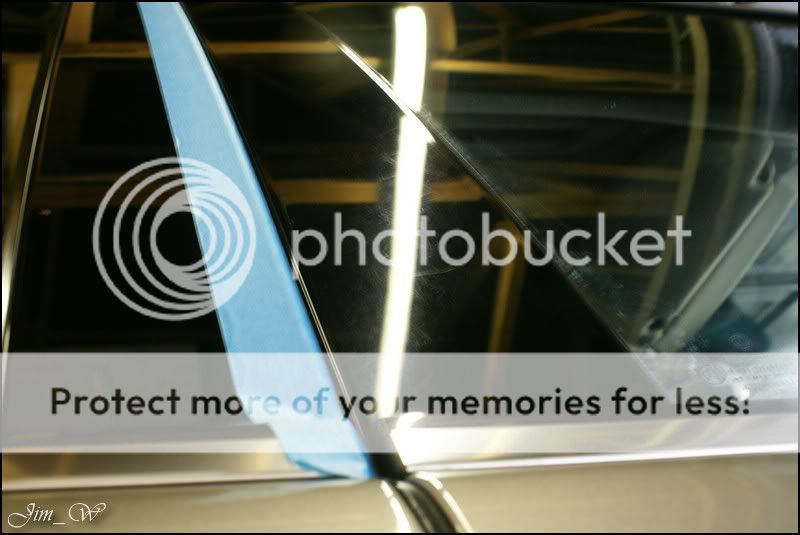
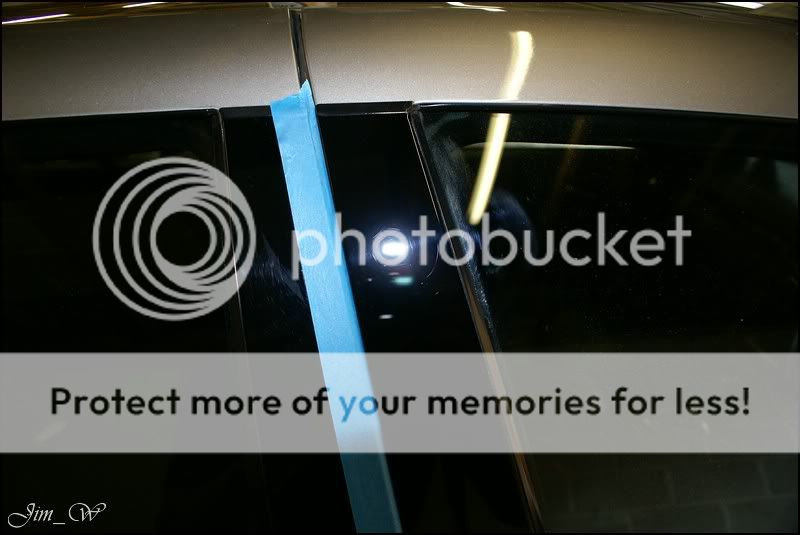
As I was making good time/progress, I thought Id go out my way a little and take a look at the cloudy/swirled B-pillars.

Jeffs PRIME works wonders on the shiny window surrounds, but, would it be up to clearing this mess up?
PRIME was applied and worked by hand with a microfibre applicator. Results?

AVERAGE.
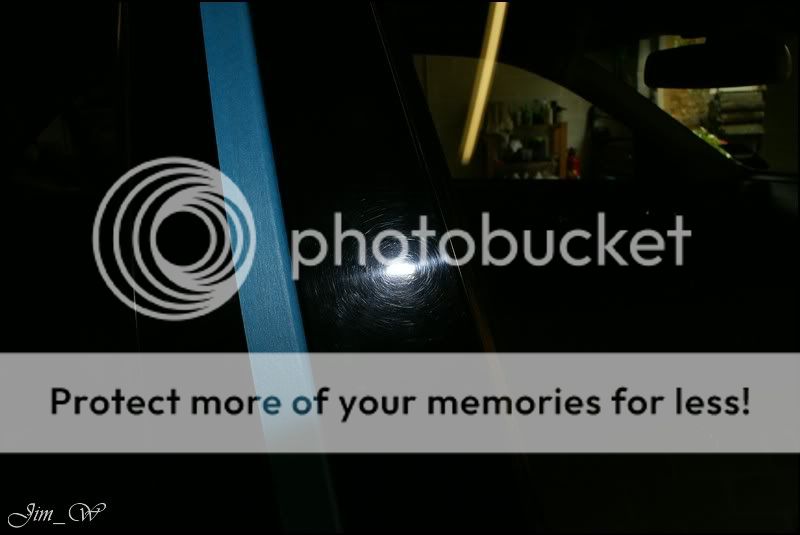
Still quite messy:
So, a quick change of the backing plates on the DA and install a finishing pad..
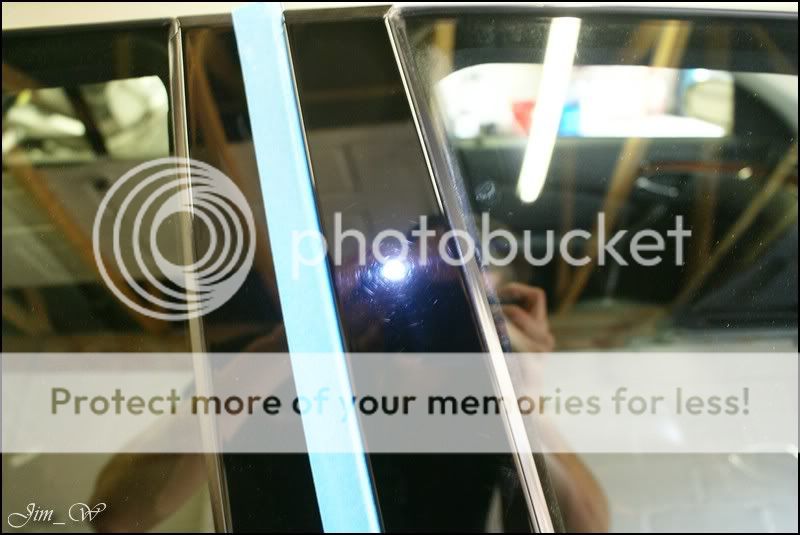
Nope, still not much better.
Id previously worked on this one around June time last year... It was in for another Protection Detail plus an Interior bolt-on.
Condition wise, it wasnt bad - fairly contaminated in terms of fall-out and tar deposits. Interior, well, the leather needed a good clean and there was lots of dog hair to lift..
Product
Autoglym FastGlass
AutoSmart Bio Brisk
AutoSmart Tardis
AutoSmart G101
Belgom ALU
Chemical Guys JetSEAL109
Dodo Juice Born To Be Mild
Gliptone leather twins
Jeffs Werkstat Acrylic PRIME
Meguiars Super-Degreaser
Meguiars Endurance Tyre Gel
Sonus Green Clay
Tools PorterCable 7424 and the VAX6131 extraction system.
Upon inspection:
As said, the lower halves of the car were the worst with the tar/sap build-ups.
I started, as usual, with the alloys. Inner rim, tyres, behind the spokes and hub-point cleaned with a mix of product, brushes and mitts.
Next was the lightly dusted door shuts and boot sill:
Vehicle rinsed. Vehicle foamed and then rinsed again.
After all free material had been shifted, a second foam layer went down to aid the wash stages.
Sonus green once again proving the importance of the decontamination stage..
Varying sized tar deposits found in the usual places. All traces removed with AutoSmart Tardis and a clean microfibre.
Audi workhorse sitting nicely..
OK, so, a clean Mercedes:
Cleanser of choice this time round was Jeffs Acrylic PRIME Strong. (Why? Offers a small amount of cut and cleans well in readiness for wax.)
Applied via the PC7424 and a 3M yellow polishing pad:
Although the correctional abilities of PRIME are low, for a quick once over to clean the surface, I was pleasantly surprised with the results at hand..
Before:
After:
As I was making good time/progress, I thought Id go out my way a little and take a look at the cloudy/swirled B-pillars.
Jeffs PRIME works wonders on the shiny window surrounds, but, would it be up to clearing this mess up?
PRIME was applied and worked by hand with a microfibre applicator. Results?
AVERAGE.
Still quite messy:
So, a quick change of the backing plates on the DA and install a finishing pad..
Nope, still not much better.


")