

WX51TXR
Polished Bliss
- Joined
- Mar 6, 2005
- Messages
- 1,452
- Reaction score
- 16
- Points
- 36
- Location
- AB51 0TH
- Website
- www.polishedbliss.co.uk
Done by Clark, posted by me as hes busy detailing a rack of precious metal...
---
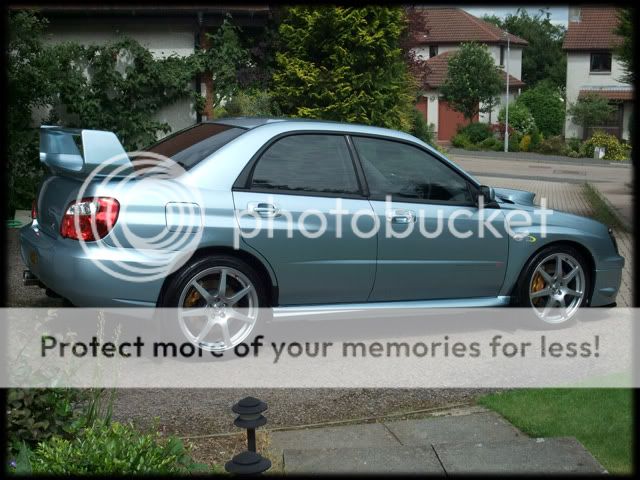
I finally got the time to spend a few days on my own car recently to get it looking its best for the summer. Here it is looking about as dirty as it ever gets in all honesty:

Usually the next pic you see is the pre-foam but first of all it was reversed onto a set of ramps...

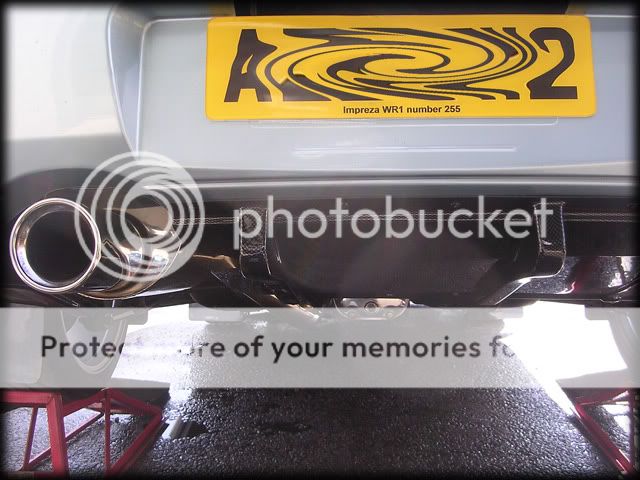
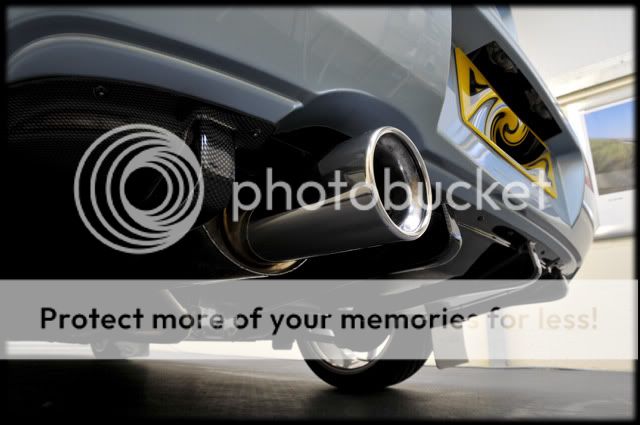
Over the winter I'd spent a couple of weeks cleaning the underside and polishing up the exhaust and rear diff casing etc. I was meant to post pics of the full thing but I've completely lost them on my computer, I can only assume I deleted them by mistake or something! The only pic I have is a before one of the exhaust/diff:
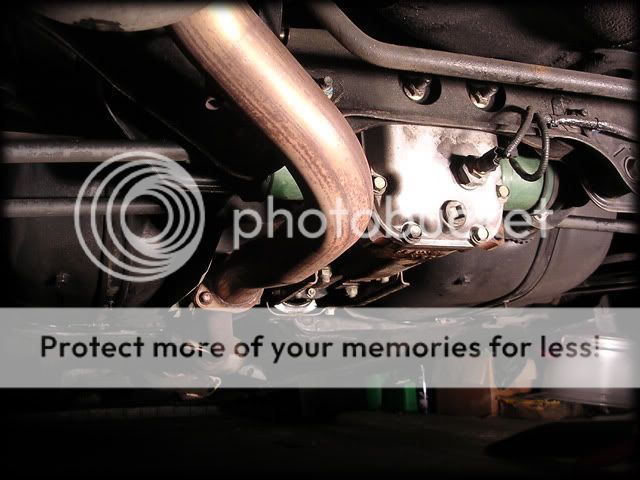
And here it is after I'd used a combination of sandpaper, Blackfire Wool Metal Pads and polishes and the Rotary/Dremel:
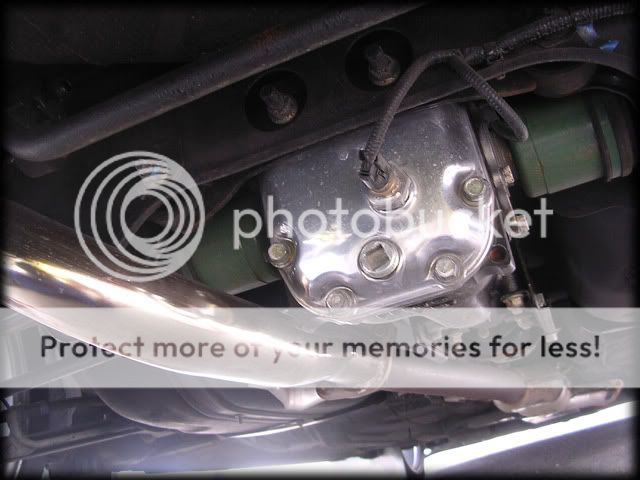
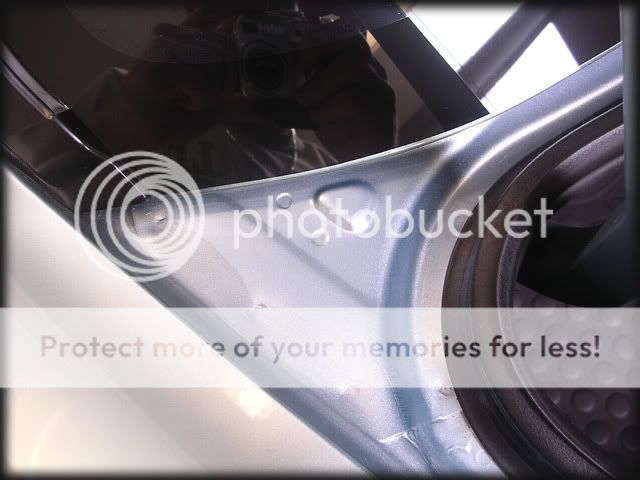
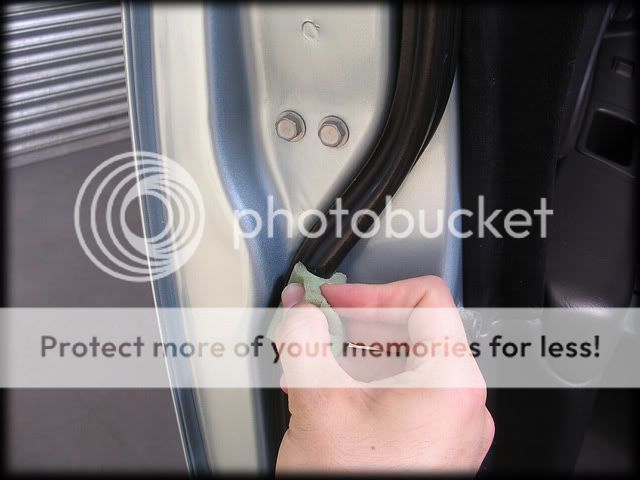
Still pretty clean but occasionally the car does get driven in the rain (it's pampered but not THAT pampered!) so it had a small level of dirt that I wanted to remove in order to keep everything nice and clean. So everything was soaked with R222 and left for 5 mins:

Then steam cleaned with the Karcher at 60/70 degrees:

Due to all the black underseal it's never going to look "bling" like a lot of your RS owners, etc, but it looks nice and clean anyways, these are a few pics after a quick blast off with the Black Baron drier:


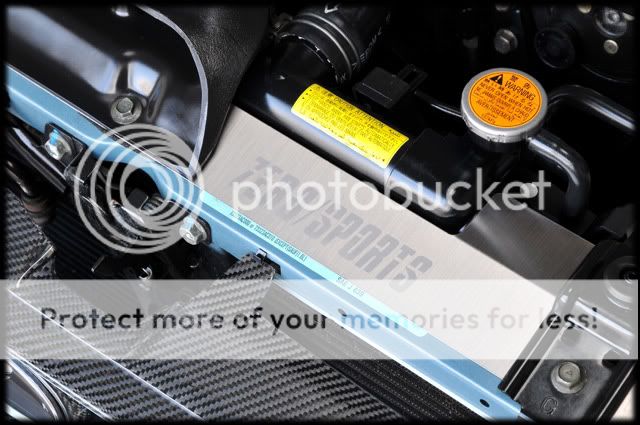
I then gave the metal work a quick going over with Brilliant Show Metal Polish before taking the car off the ramps:


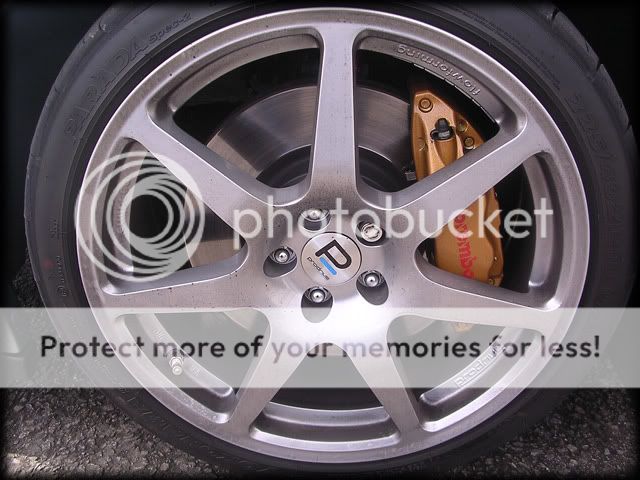
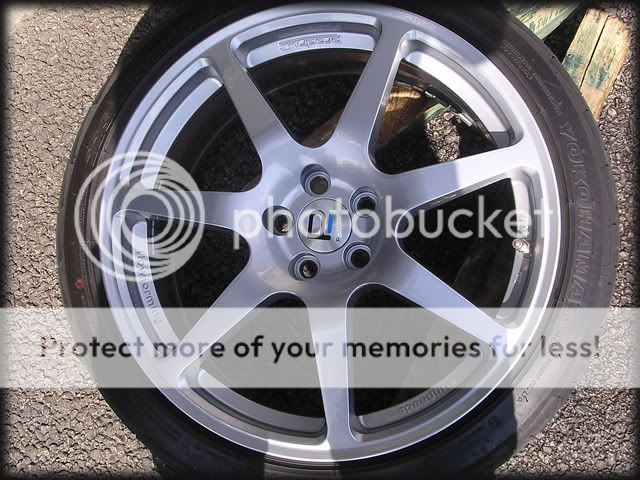
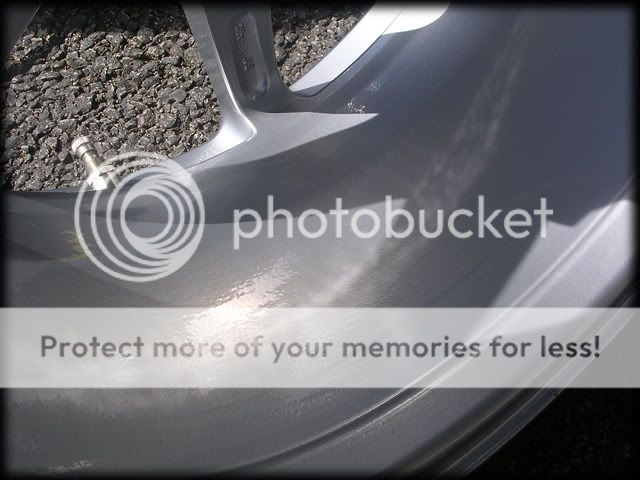
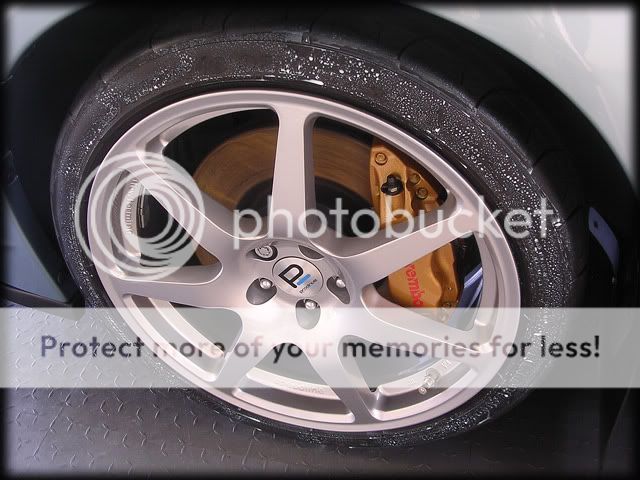
Next up was to remove and then clean/seal all 4 wheels. They were given a quick spray with APC then washed with a MF mitt, clayed and then sealed with Blackfire Metal Sealant:
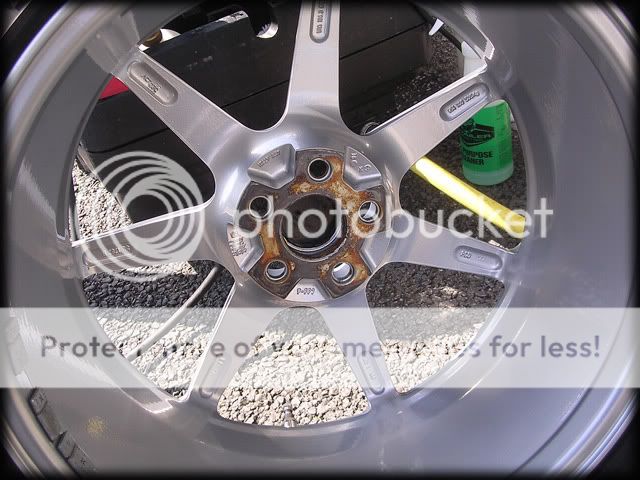
I also polished up my nuts!


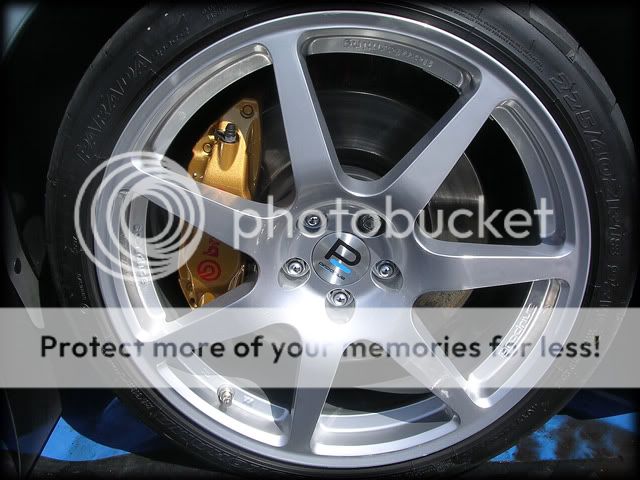
I had already given the arches a thorough clean before I put the car away for winter and they were still clean so no point with pics of those. The calipers were sealed with Blackfire Metal Sealant aswell though:

1 down, 3 to go..
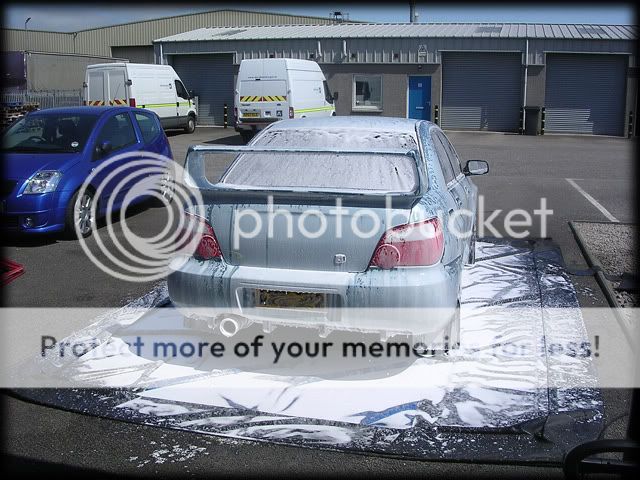
With all the wheels finally done I pre-foamed the car with APC:
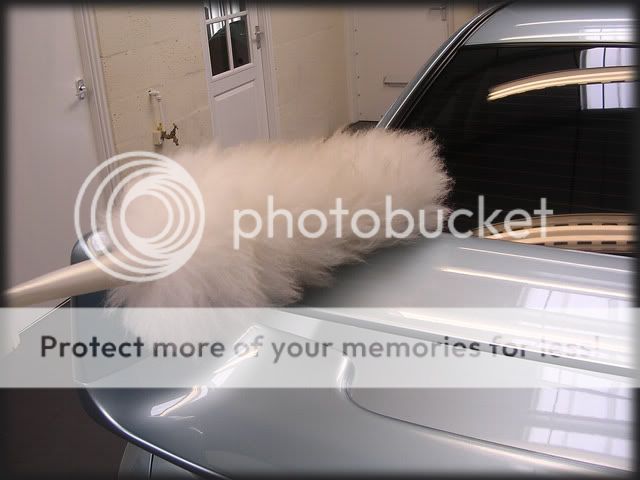
The usual wash routine followed so I wont bother with pics. Following a quick clay with Gloss-It Mild then a re-wash I dried the car off with the new drier:

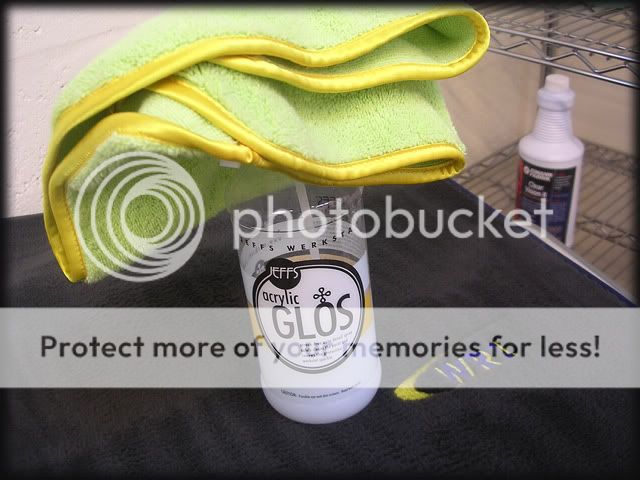
Then the 1st of 3 coats of Gloss-It Signature Tyre Dressing was applied:
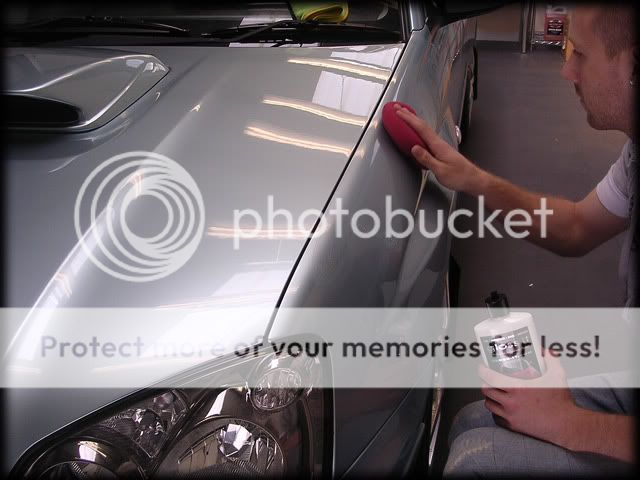
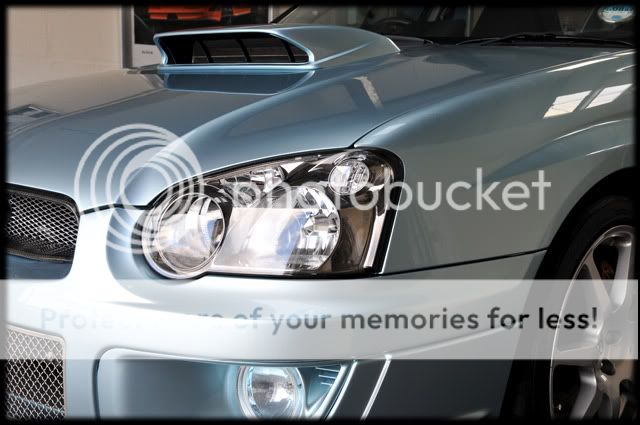
Paint wise - the car was 99% swirl free but as it had been into the bodyshop for its front end respray a few months back it had picked up the expected bit of marring and odd light scratch or two, nothing major so Meguiars 205 and Gloss-It polishing pads were used with the G220:

On cars with very little correction needed I regularly find that it's quicker to work by DA than the Rotary, especially on the likes of Imprezas/Evo's where you have to break up a lot of panels into smaller sections. As expected, the 205 produced a crystal clear finish for all to see...
---
I finally got the time to spend a few days on my own car recently to get it looking its best for the summer. Here it is looking about as dirty as it ever gets in all honesty:
Usually the next pic you see is the pre-foam but first of all it was reversed onto a set of ramps...
Over the winter I'd spent a couple of weeks cleaning the underside and polishing up the exhaust and rear diff casing etc. I was meant to post pics of the full thing but I've completely lost them on my computer, I can only assume I deleted them by mistake or something! The only pic I have is a before one of the exhaust/diff:
And here it is after I'd used a combination of sandpaper, Blackfire Wool Metal Pads and polishes and the Rotary/Dremel:
Still pretty clean but occasionally the car does get driven in the rain (it's pampered but not THAT pampered!) so it had a small level of dirt that I wanted to remove in order to keep everything nice and clean. So everything was soaked with R222 and left for 5 mins:
Then steam cleaned with the Karcher at 60/70 degrees:
Due to all the black underseal it's never going to look "bling" like a lot of your RS owners, etc, but it looks nice and clean anyways, these are a few pics after a quick blast off with the Black Baron drier:
I then gave the metal work a quick going over with Brilliant Show Metal Polish before taking the car off the ramps:
Next up was to remove and then clean/seal all 4 wheels. They were given a quick spray with APC then washed with a MF mitt, clayed and then sealed with Blackfire Metal Sealant:
I also polished up my nuts!
I had already given the arches a thorough clean before I put the car away for winter and they were still clean so no point with pics of those. The calipers were sealed with Blackfire Metal Sealant aswell though:
1 down, 3 to go..
With all the wheels finally done I pre-foamed the car with APC:
The usual wash routine followed so I wont bother with pics. Following a quick clay with Gloss-It Mild then a re-wash I dried the car off with the new drier:
Then the 1st of 3 coats of Gloss-It Signature Tyre Dressing was applied:
Paint wise - the car was 99% swirl free but as it had been into the bodyshop for its front end respray a few months back it had picked up the expected bit of marring and odd light scratch or two, nothing major so Meguiars 205 and Gloss-It polishing pads were used with the G220:
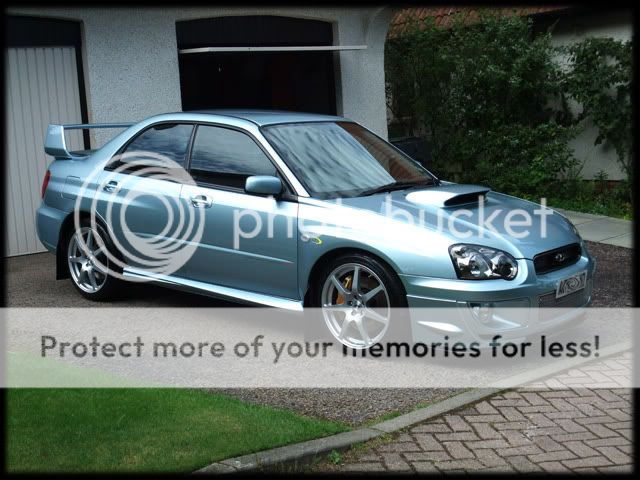
On cars with very little correction needed I regularly find that it's quicker to work by DA than the Rotary, especially on the likes of Imprezas/Evo's where you have to break up a lot of panels into smaller sections. As expected, the 205 produced a crystal clear finish for all to see...


")
