

WX51TXR
Polished Bliss
- Joined
- Mar 6, 2005
- Messages
- 1,452
- Reaction score
- 16
- Points
- 36
- Location
- AB51 0TH
- Website
- www.polishedbliss.co.uk
This one was recently done by Clark, here is his report...
---
This was one done during the middle of last week and I'd looked forward to it for a while but at the same time I was dreading it due to the amount of paint on it and the fact that I already knew what the paintwork was like!
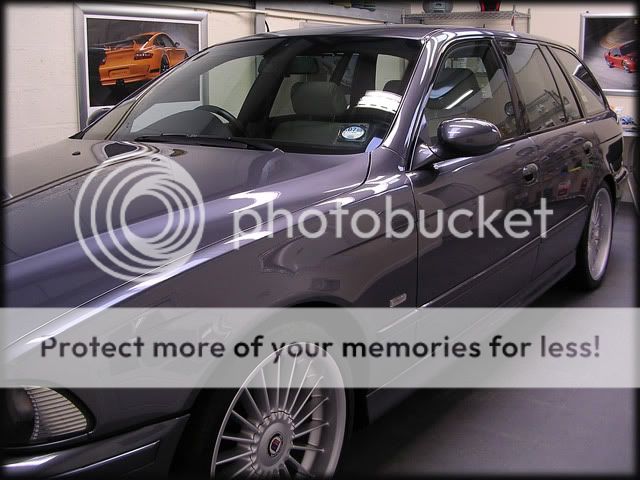
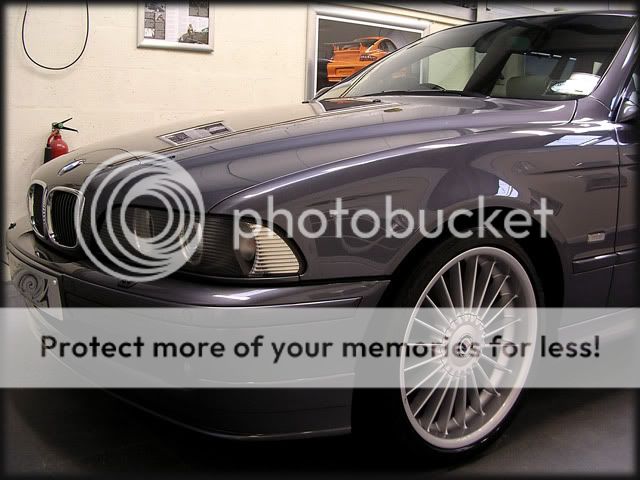
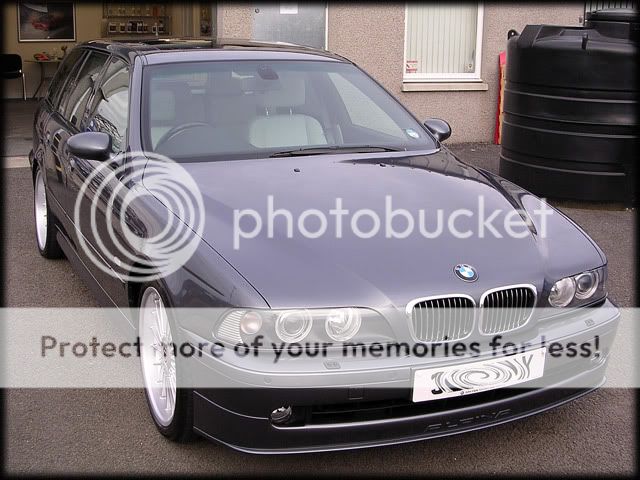
The car itself is pretty rare here - only 11 were brought to the UK as far as I'm aware and this one with the spec it has was worth nearly £75,000 when new! Nearly 8 years on and it still drives like a new car (I've had the pleasure of releasing those 350 horses several times now, much to the encouragement of the owner!)
This car is on a maintenance plan and has already been in once before but that was to get the interior fully detailed in order for me to spend as long as possible on the exterior when it came in for its 3 day correction detail.
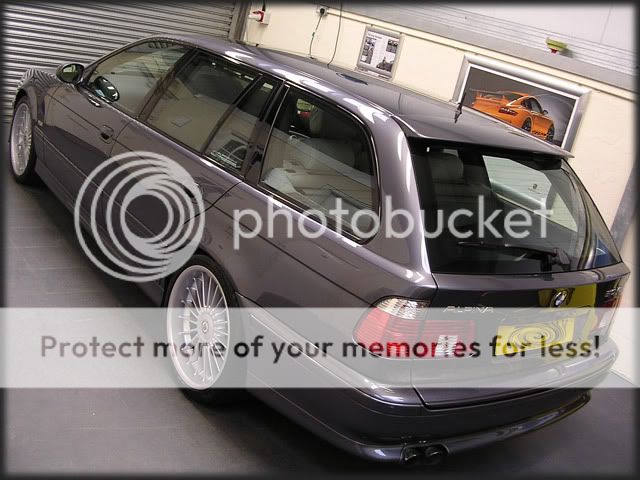
So here it is 3 months on (the car is on a quarterly plan) from its last visit when I'd just thrown on a coat of Vintage for durability whilst I'd concentrated mainly on the interior:
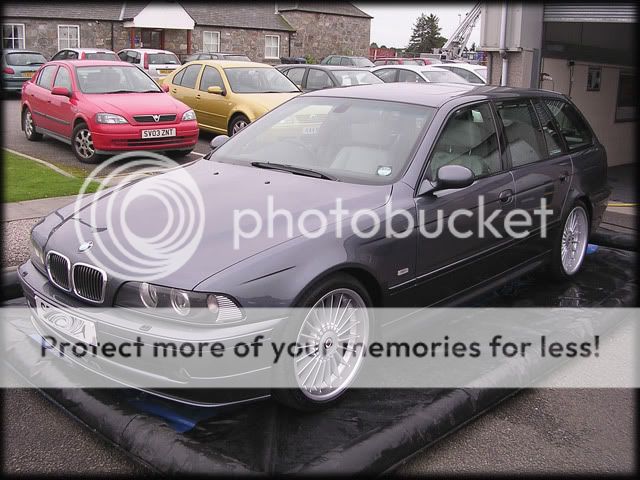
As you can see, the owner doesnt really ever let it get dirty!


So on with the detail - first up was Hyperwash @ 60 degrees:

This was left for 5 minutes to dwell...

...then it was rinsed off at high pressure - the Vintage still beading like it was applied yesterday and that's not even on a nicely machined surface yet:


The wheels were done with Menzerna Gel 7.5:

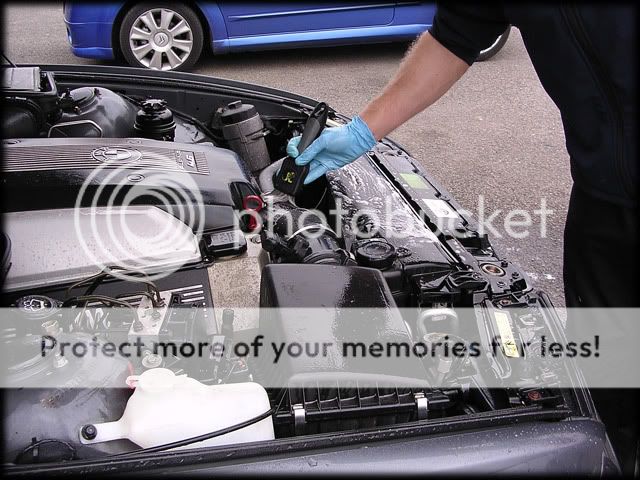
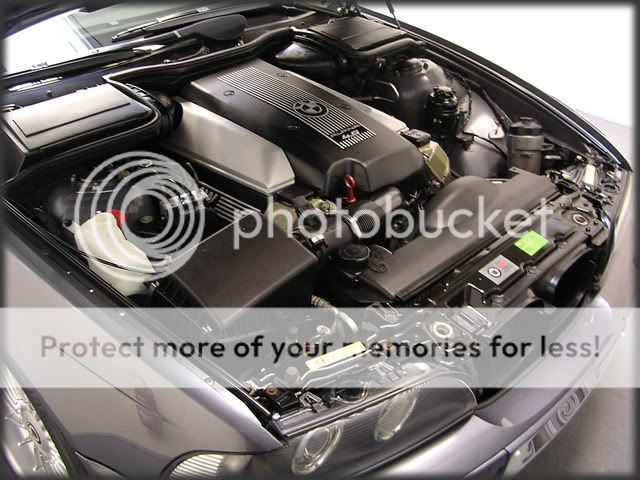
Arches/tyres/shuts/fuel cap were done with Megs SD cut 10:1, as was the engine bay:
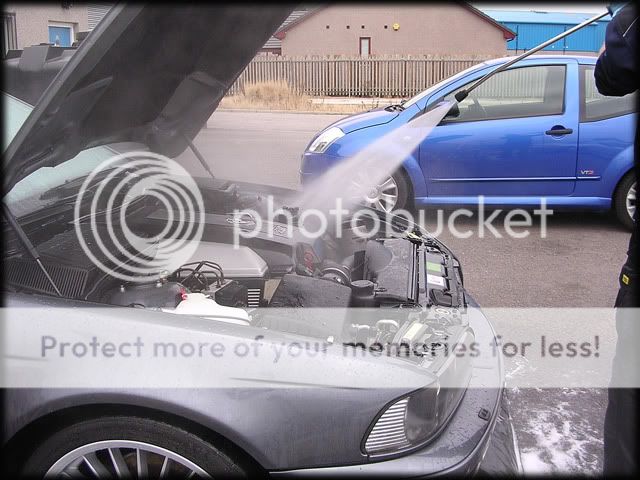
I then washed the car with the 2BM and then rinsed off, followed by Tardis to remove some of the recently collected tar spots:

A final rinse followed and the car was then put inside for a mild claying session to remove any small contaminants that may have bonded since its last visit and also to ensure all the wax was removed prior to polishing.
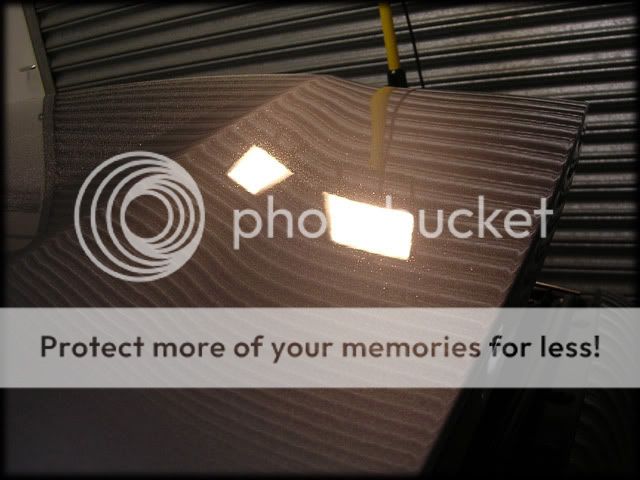
I didnt go daft with pictures at this point as I really wanted to crack on and get machining. I've done one of these B10's in the same colour before (although it was a saloon) and the paint was ridiculously hard and needed a lot of effort to remove minimal swirling - one of the hardest I've ever polished and whilst the paint wasnt really that swirly on this one, it was full of RIDS:

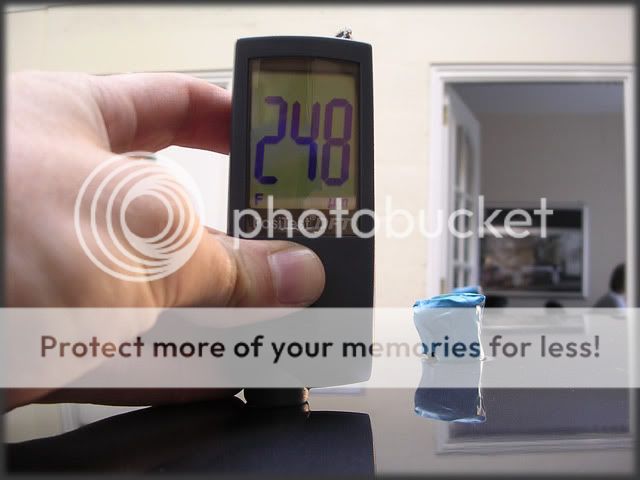
Luckily, the car was showing healthy paint levels all round with everything being original except for the front bumper which was just recently painted.
Alpina's tend to be around the 200 micron mark:
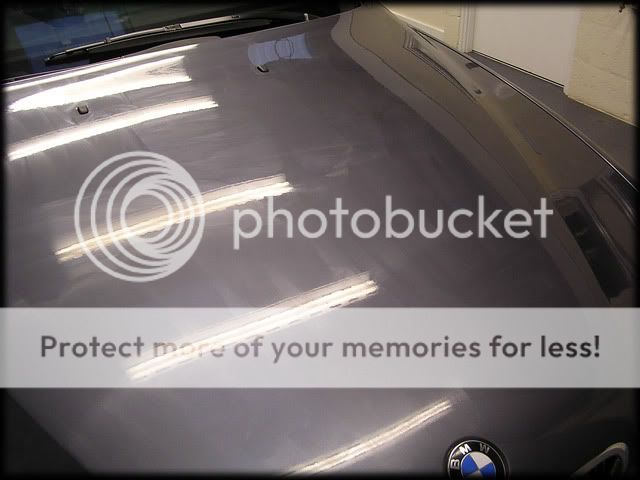
Polish of choice was 3M Fast Cut Plus and a 3M Compounding Pad @ 1500-2000rpm's:

Results after 2 hits:


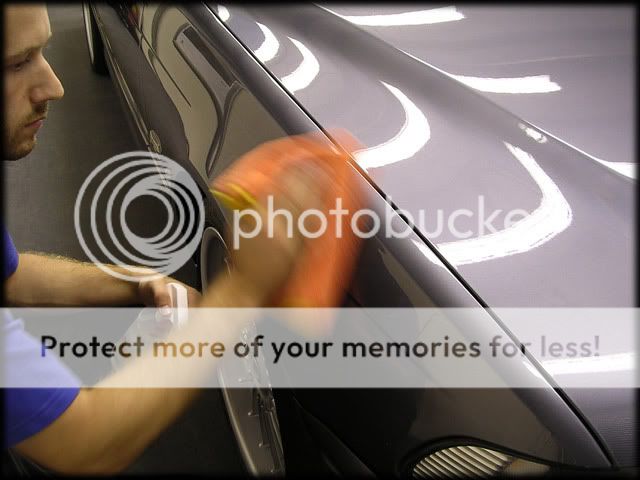
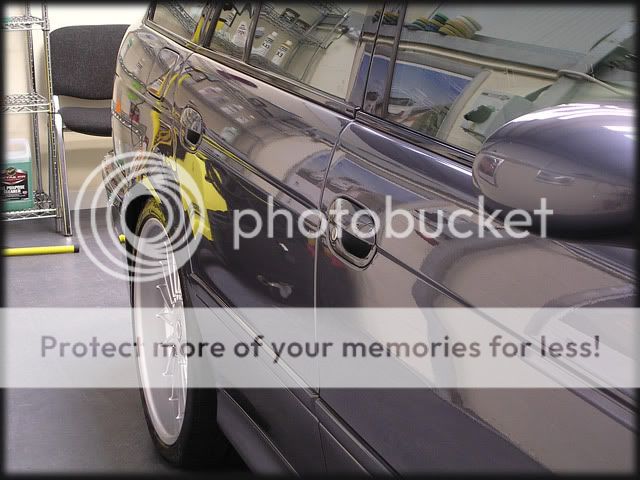
Rear 1/4 before:

After:

This is where the correction shots stop as I didnt take any more pics during that stage, I was just too aware of the size of the car and the severity of the defects in some places. We have a new range of polishes on test at the moment and these were used (a) for when I needed a bit more cut than the Fast Cut Plus and (b) Rich played about with them on the rear end of the car with the G220 to see how they stood up. Two solid days were needed for the correction before I could move onto the finishing polish - this was Menzerna 106FA on a 3M Polishing pad:
The above is how much you typically need after initially "priming" the pad:
Once all the machine work was done, out came the duster:

---
This was one done during the middle of last week and I'd looked forward to it for a while but at the same time I was dreading it due to the amount of paint on it and the fact that I already knew what the paintwork was like!
The car itself is pretty rare here - only 11 were brought to the UK as far as I'm aware and this one with the spec it has was worth nearly £75,000 when new! Nearly 8 years on and it still drives like a new car (I've had the pleasure of releasing those 350 horses several times now, much to the encouragement of the owner!)
This car is on a maintenance plan and has already been in once before but that was to get the interior fully detailed in order for me to spend as long as possible on the exterior when it came in for its 3 day correction detail.
So here it is 3 months on (the car is on a quarterly plan) from its last visit when I'd just thrown on a coat of Vintage for durability whilst I'd concentrated mainly on the interior:
As you can see, the owner doesnt really ever let it get dirty!
So on with the detail - first up was Hyperwash @ 60 degrees:
This was left for 5 minutes to dwell...
...then it was rinsed off at high pressure - the Vintage still beading like it was applied yesterday and that's not even on a nicely machined surface yet:
The wheels were done with Menzerna Gel 7.5:
Arches/tyres/shuts/fuel cap were done with Megs SD cut 10:1, as was the engine bay:
I then washed the car with the 2BM and then rinsed off, followed by Tardis to remove some of the recently collected tar spots:
A final rinse followed and the car was then put inside for a mild claying session to remove any small contaminants that may have bonded since its last visit and also to ensure all the wax was removed prior to polishing.
I didnt go daft with pictures at this point as I really wanted to crack on and get machining. I've done one of these B10's in the same colour before (although it was a saloon) and the paint was ridiculously hard and needed a lot of effort to remove minimal swirling - one of the hardest I've ever polished and whilst the paint wasnt really that swirly on this one, it was full of RIDS:
Luckily, the car was showing healthy paint levels all round with everything being original except for the front bumper which was just recently painted.
Alpina's tend to be around the 200 micron mark:
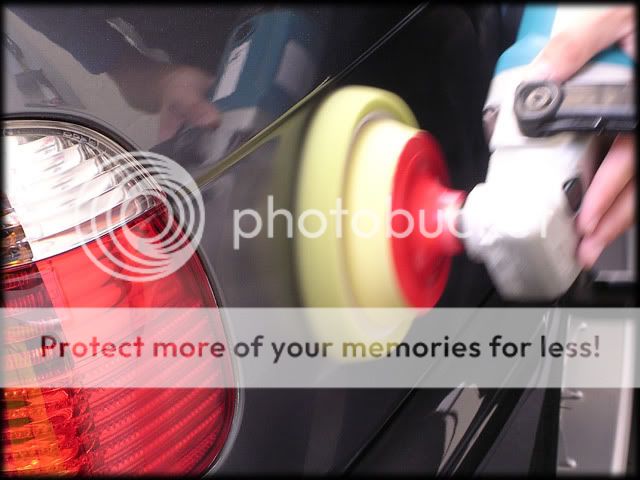
Polish of choice was 3M Fast Cut Plus and a 3M Compounding Pad @ 1500-2000rpm's:
Results after 2 hits:
Rear 1/4 before:
After:
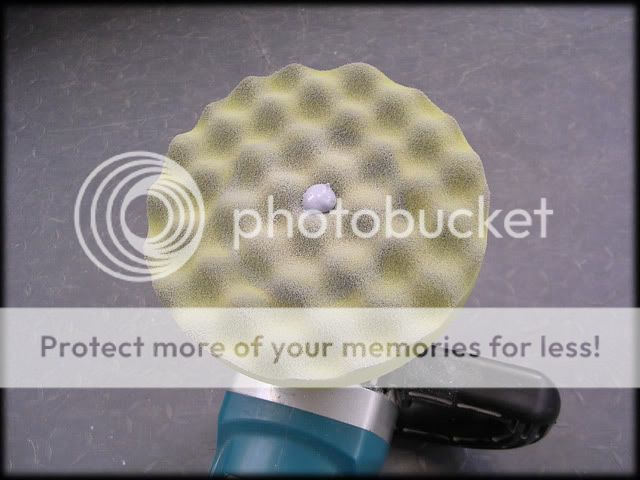
This is where the correction shots stop as I didnt take any more pics during that stage, I was just too aware of the size of the car and the severity of the defects in some places. We have a new range of polishes on test at the moment and these were used (a) for when I needed a bit more cut than the Fast Cut Plus and (b) Rich played about with them on the rear end of the car with the G220 to see how they stood up. Two solid days were needed for the correction before I could move onto the finishing polish - this was Menzerna 106FA on a 3M Polishing pad:
The above is how much you typically need after initially "priming" the pad:
Once all the machine work was done, out came the duster:


")