Polished Bliss: a rack from Germany!

WX51TXR

Polished Bliss
Joined
Mar 6, 2005
Messages
1,452
Reaction score
16
Points
36
Location
AB51 0TH
Website
www.polishedbliss.co.uk
Done and written up by Clark, posted by me...

---

Thought I better post something in here again seeings as it's been a while! This is a multiple car post consisting of a few cars I've done over the last month or so.

So, a nice easy one to start off with, a regular customer's new toy:

C1.jpg


C2.jpg


C3.jpg


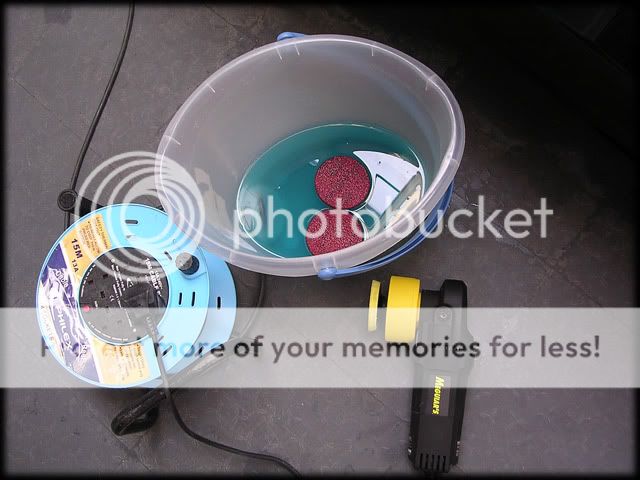
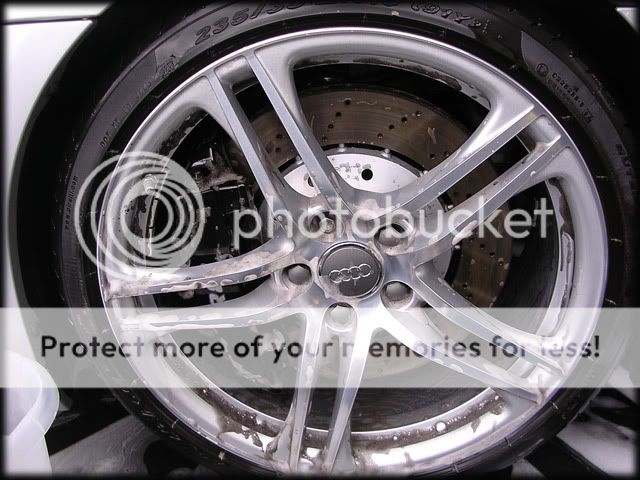
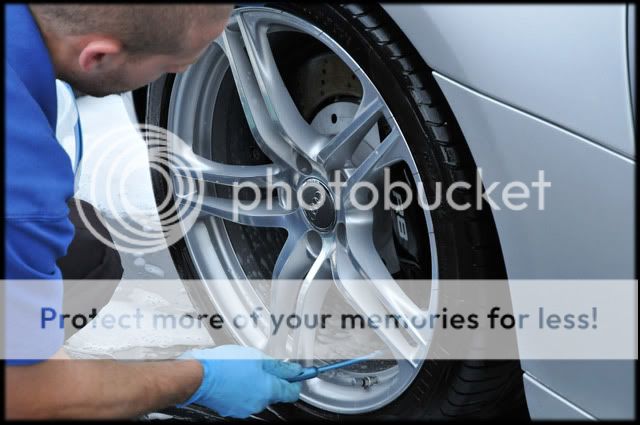
The paintwork on the R8 was pretty good as the car has done very little miles so this was just a 1 day protection detail for now. The wheels were cleaned with Menz 7.5 Tyre and Wheel Gel:

C4.jpg


C5.jpg


Arches/shuts etc were done with P21S. Hyperwash was used as the pre-wash foam:

C6.jpg


This was left to dwell for 5 mins and then pressure washed off:

C7.jpg


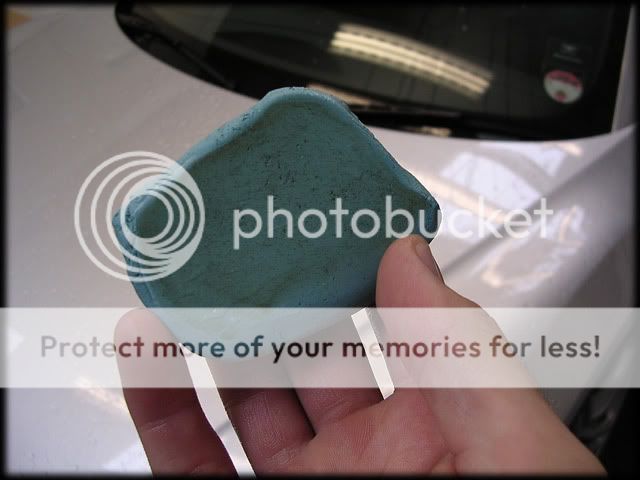
The usual 2BM was used and the car was then put inside for claying, using Meguiars Mild Detailing Clay and Last Touch:

C8.jpg


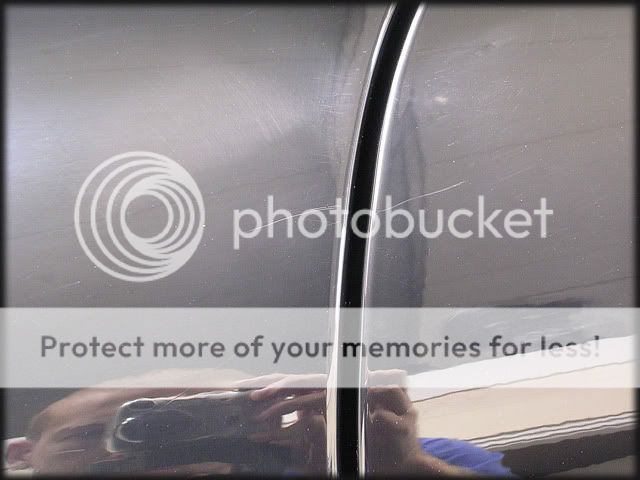
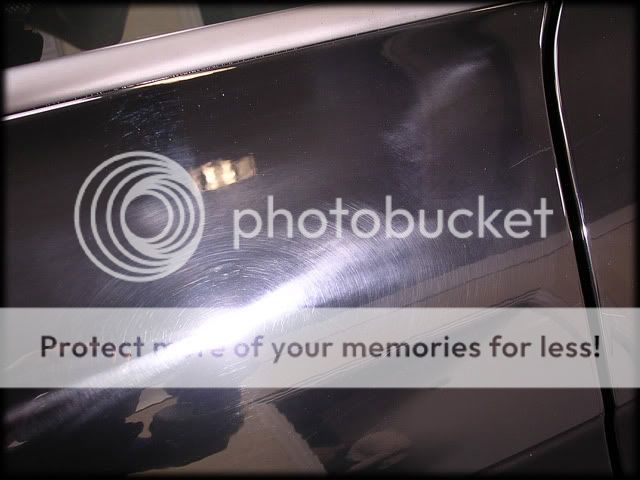
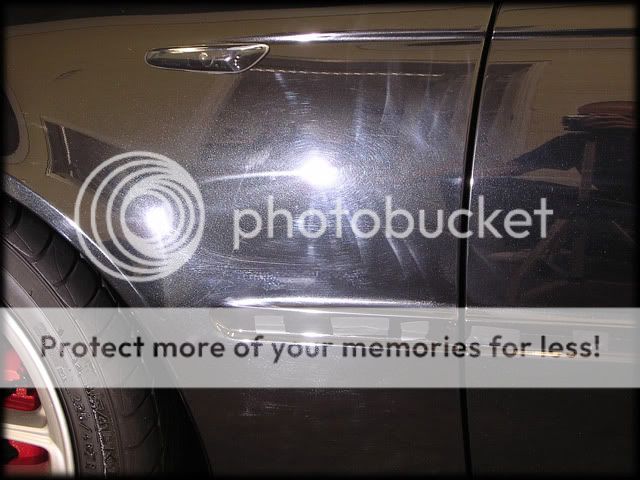
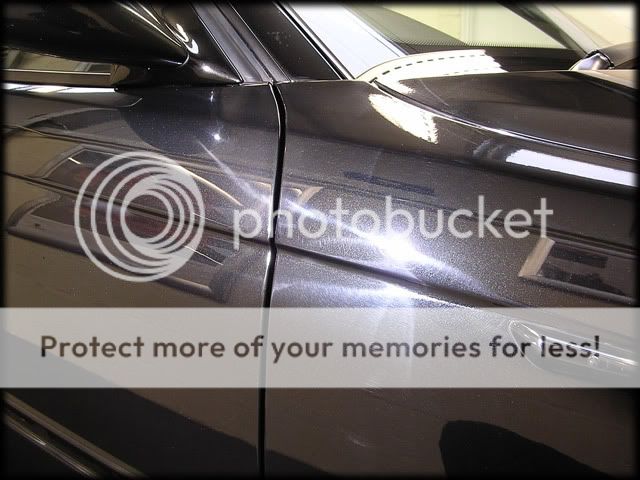
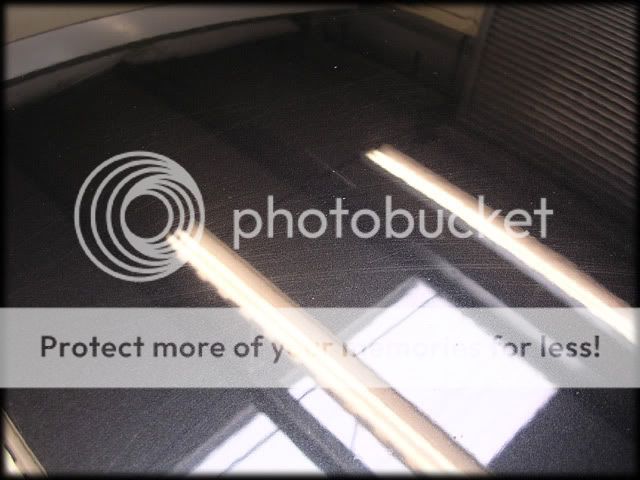
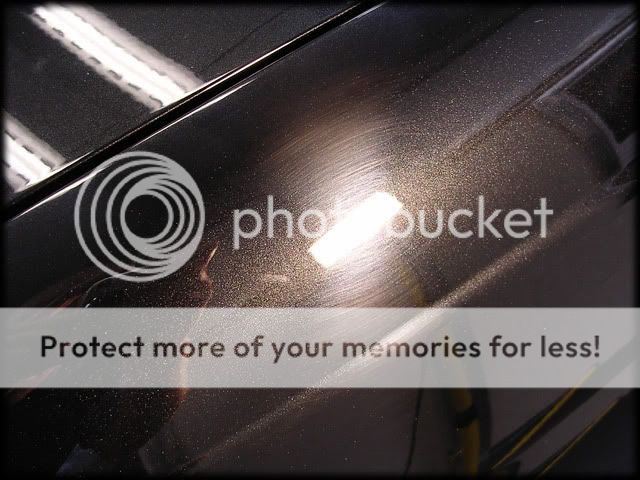
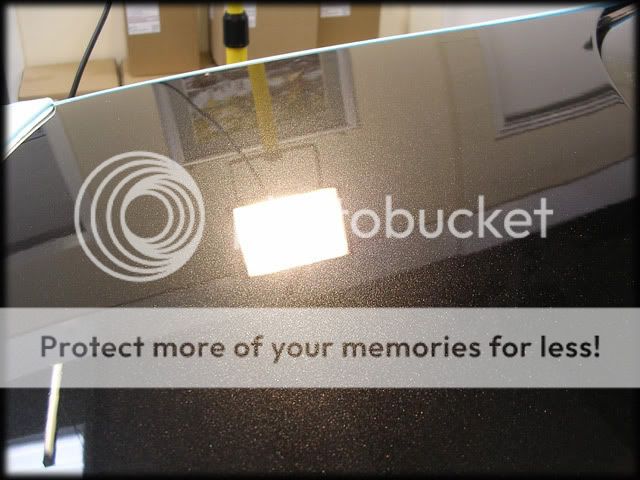
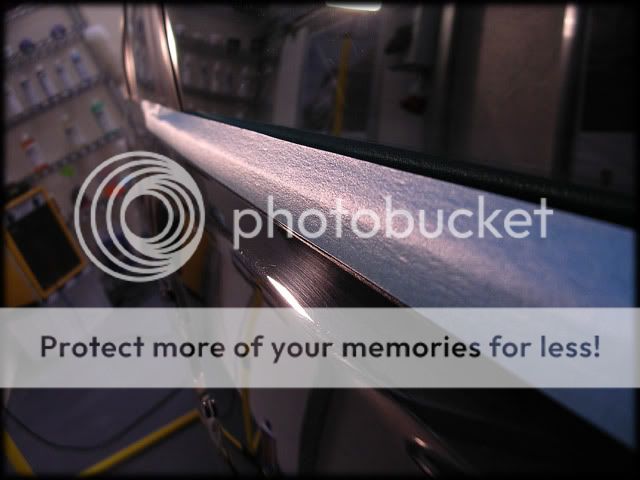
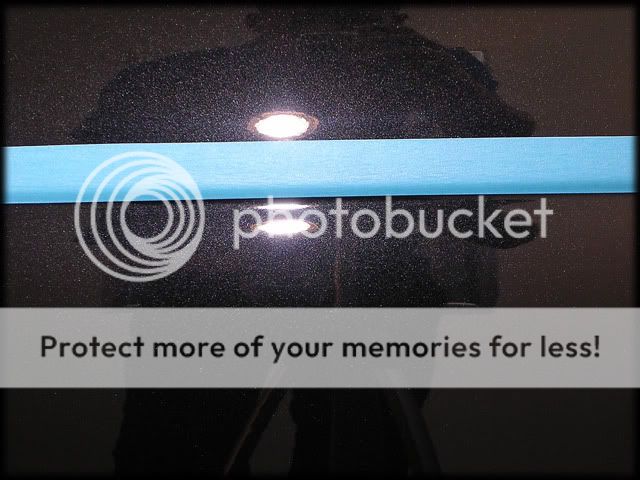
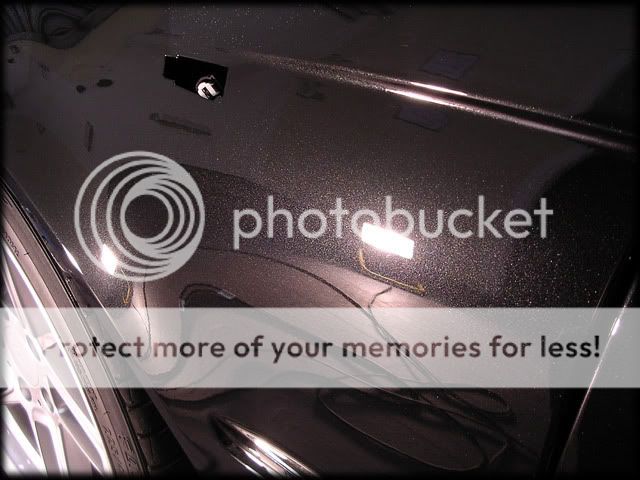
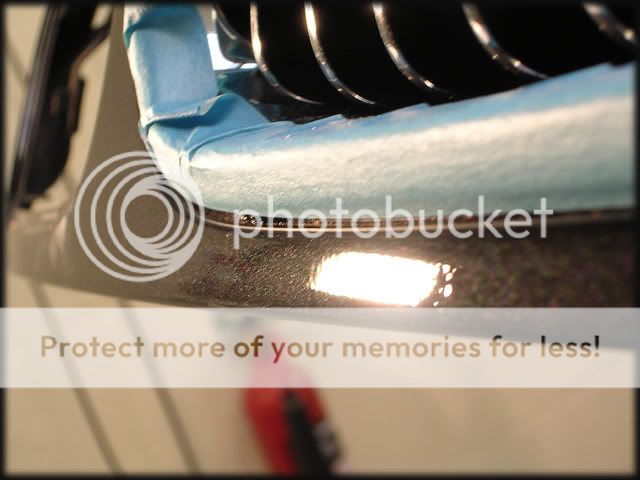
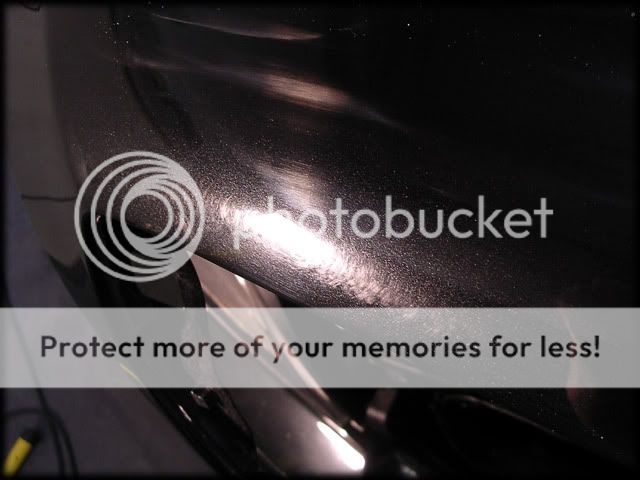
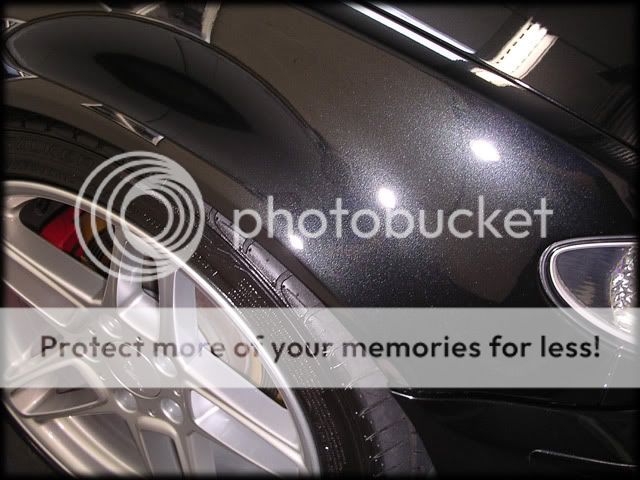
The top half of the car was loaded with various contaminants:

C9.jpg


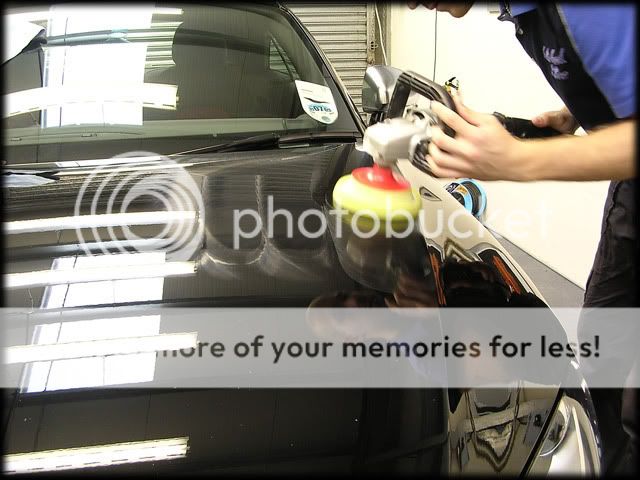
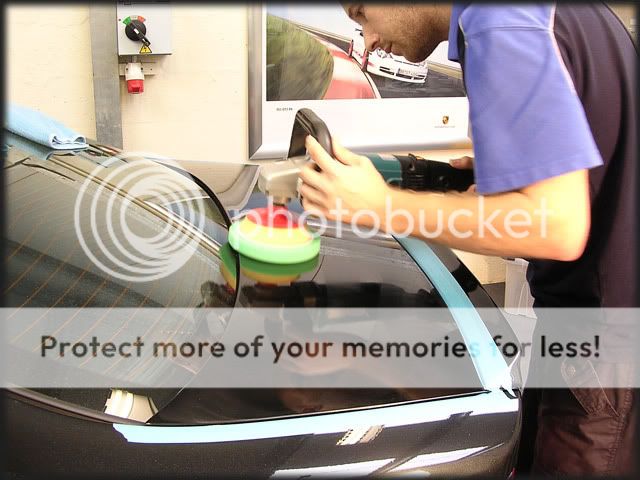
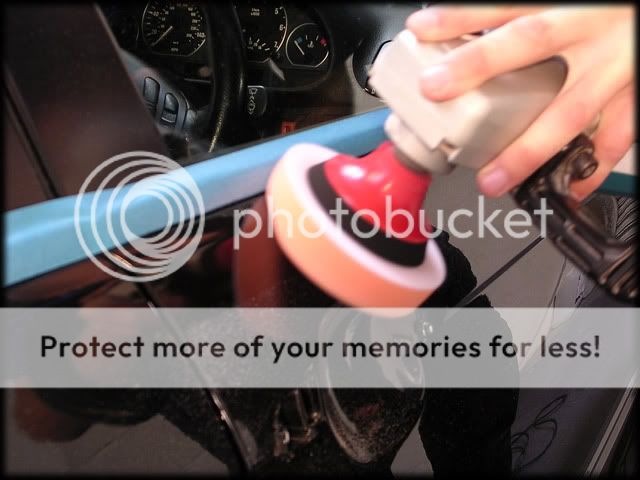
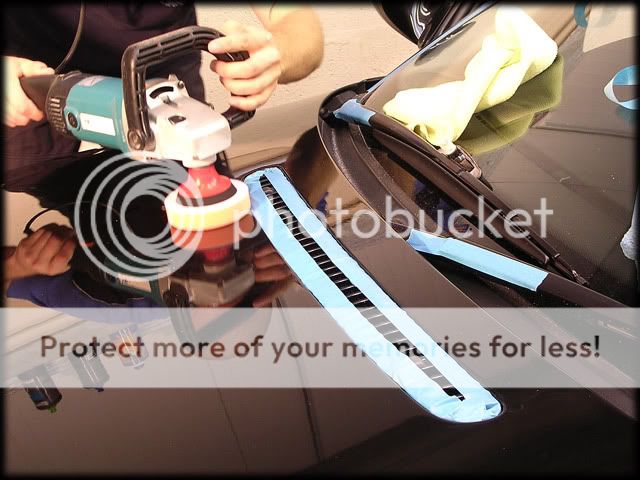
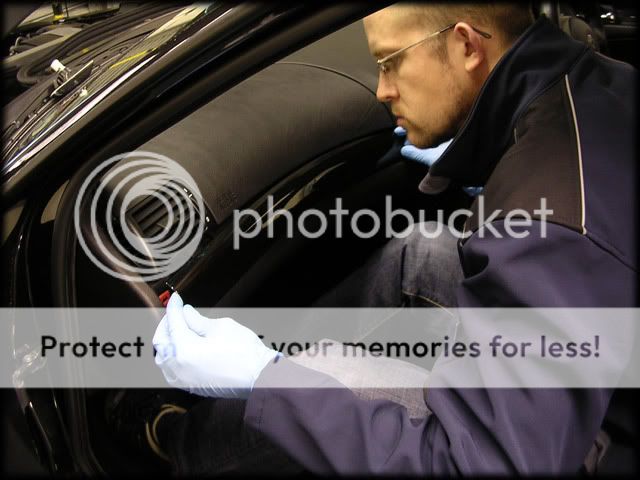
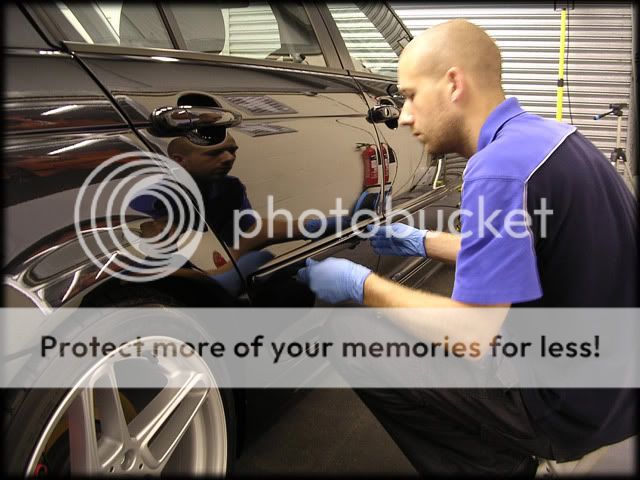
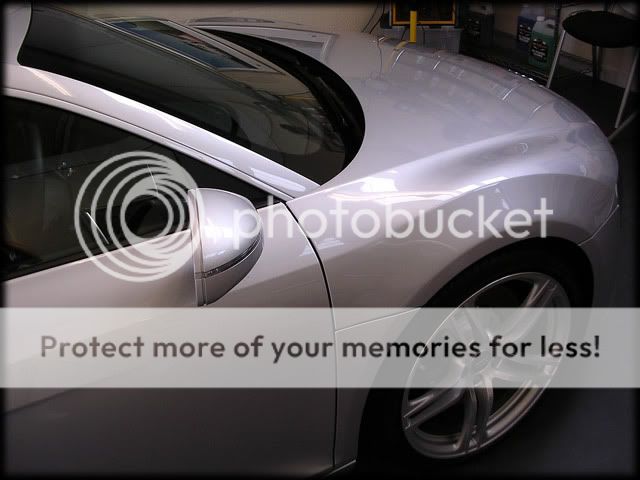
I then dried the car off with a waffle weave towel and the leaf blower and then set about cleansing/protecting the paint. Only really one choice for a silver car:

C10.jpg


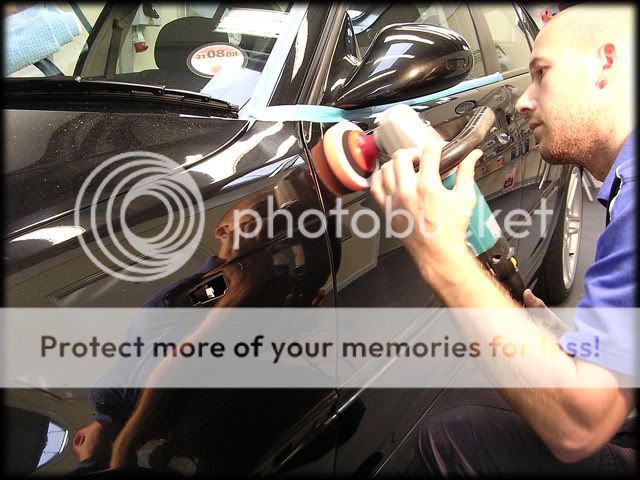
This was applied to a damp MF applicator...

C11.jpg


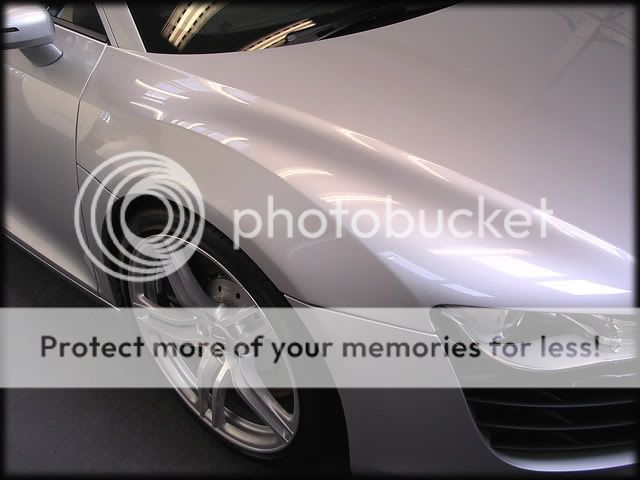
...then worked into the paint:

C12.jpg


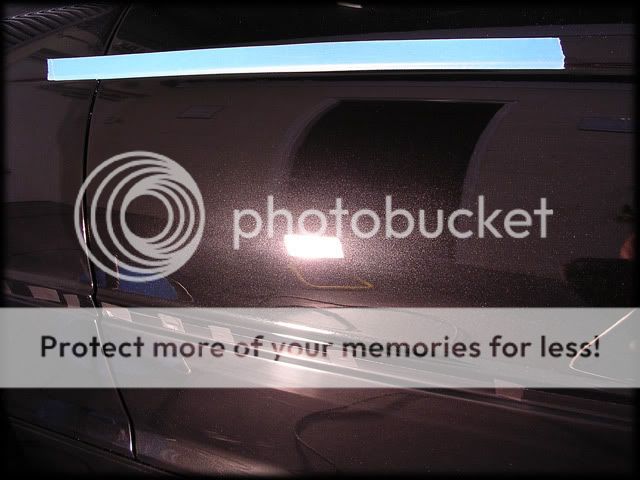
This was applied to the whole car and then removed using a Poorboys DMT.

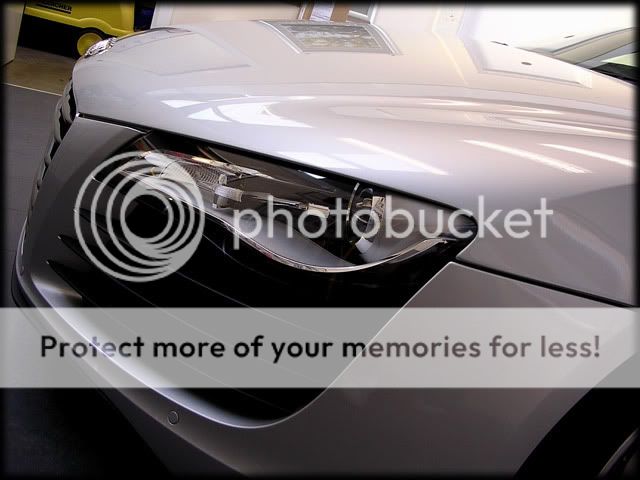
The next stage in the Werkstat Acrylic System is the spray sealant:

C13.jpg


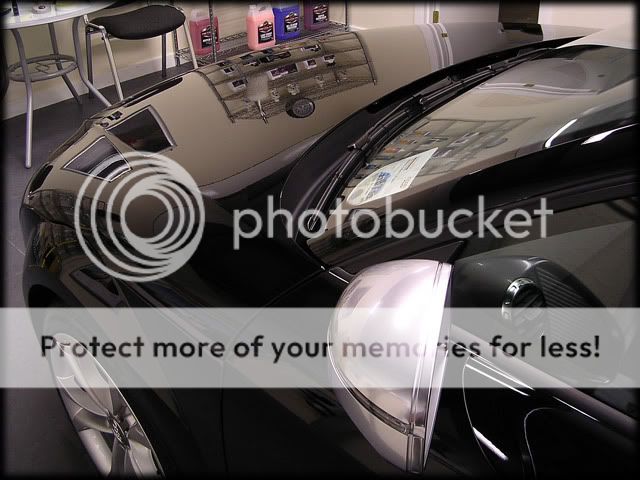
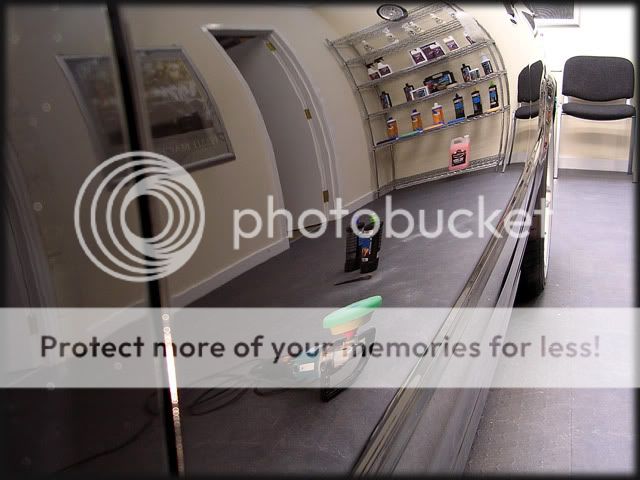
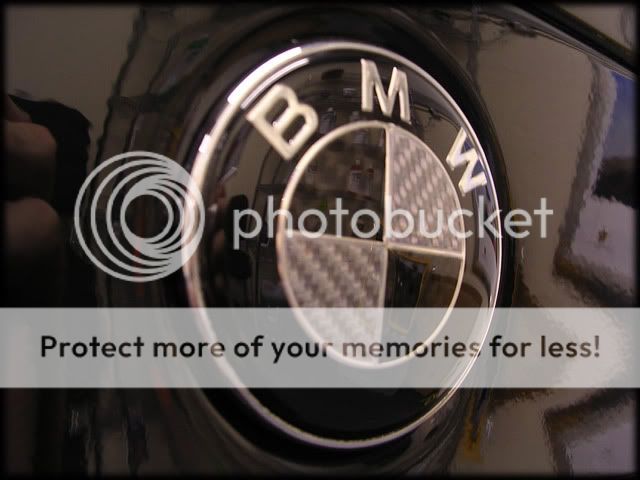
This is sprayed onto a MF and buffed over the paintwork:

C14.jpg


I applied 4 coats in total, leaving 30 mins between each coat and then gave the car a complete wipe down with Acrylic Glos. Wheels sealed with PB Wheel Sealant, tyres dressed with Blackfire's Polycharged Tyre Gel:

C15.jpg


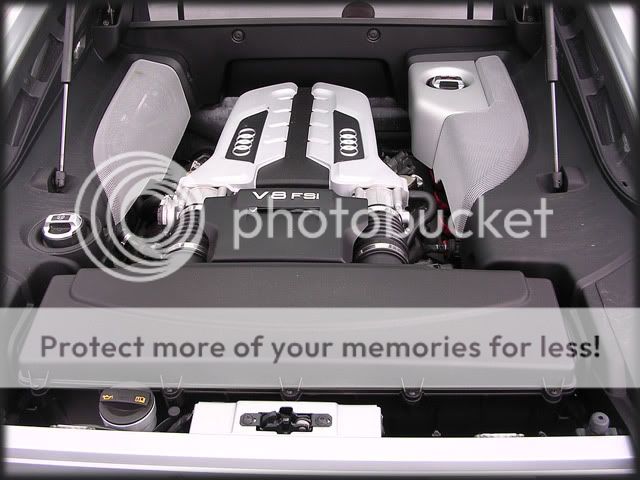
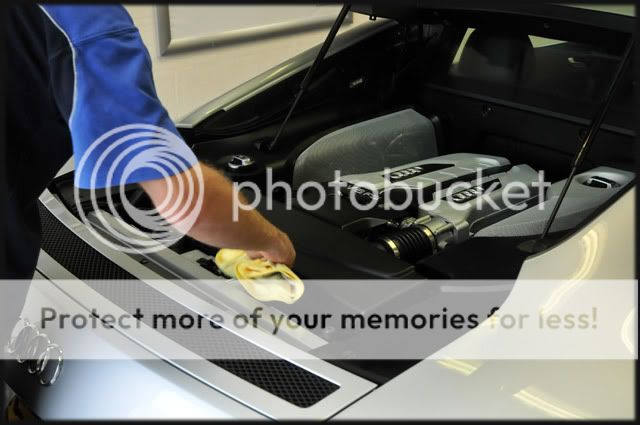
The engine was given an APC wipe down and dressed with 303 Aerospace Protectant:

C16.jpg


C17.jpg


C18.jpg


Tailpipes were polished with Megs NXT and sealed with Blackfire Metal sealant, the interior was fully detailed too but muggins here forgot to take any pics!
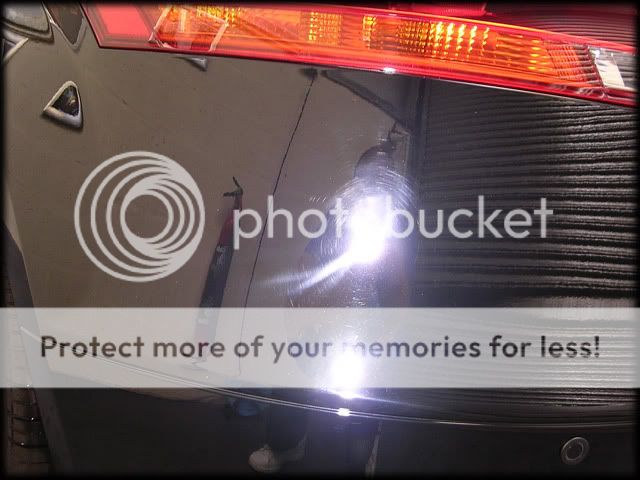
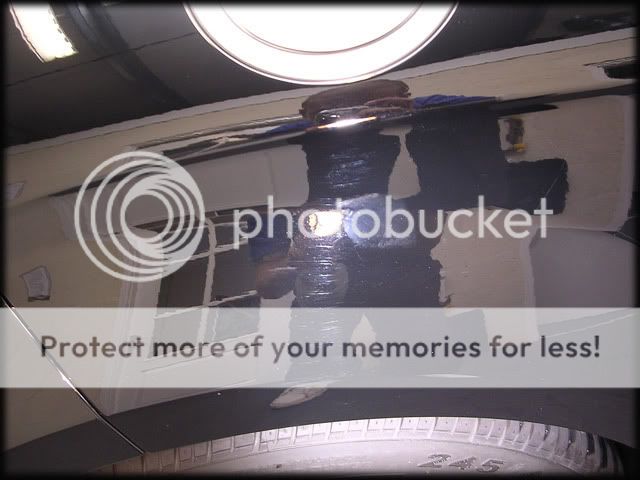
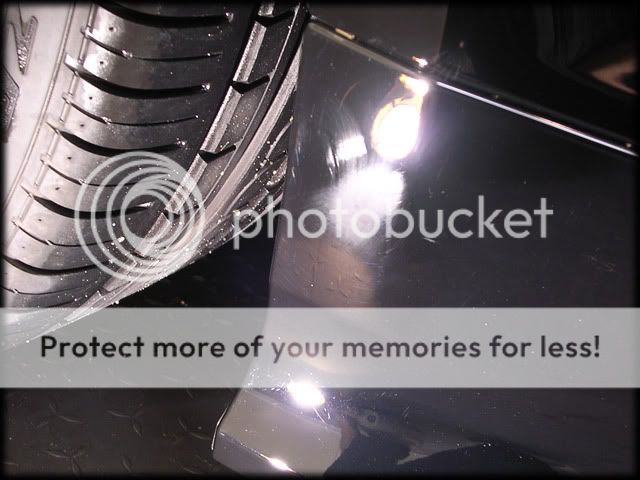
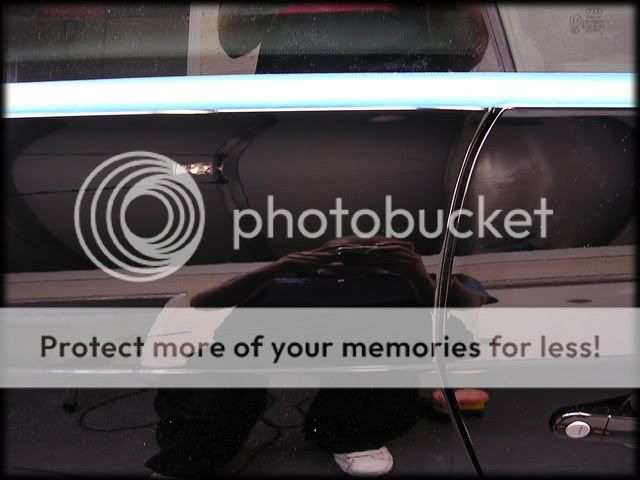
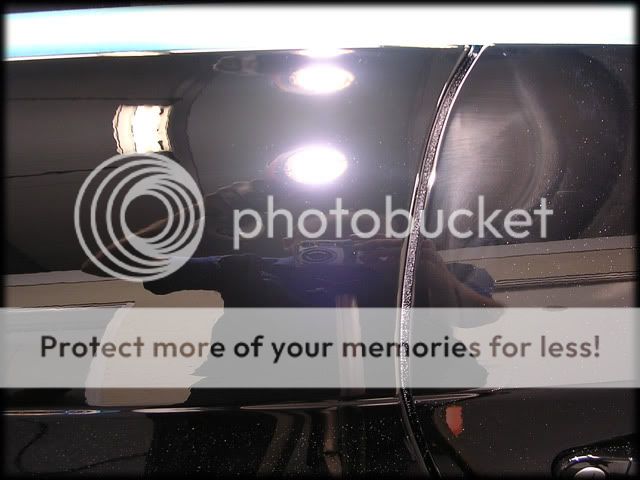
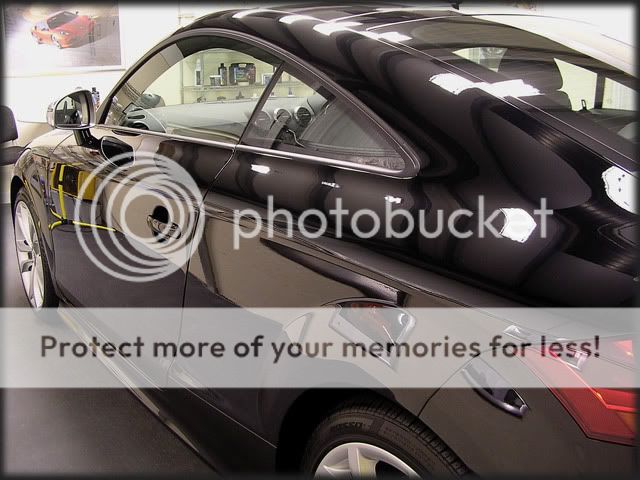
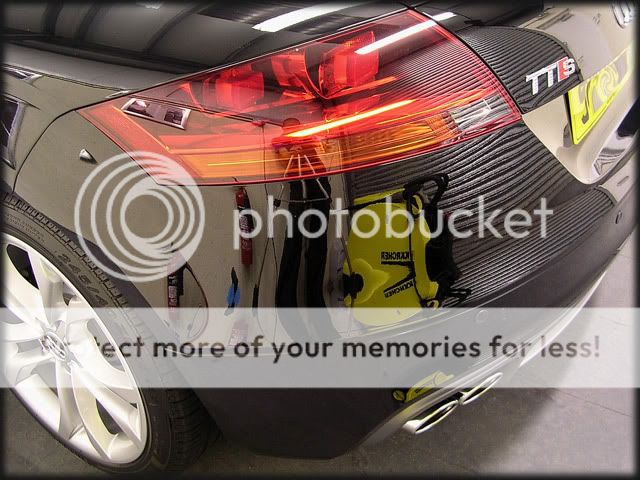
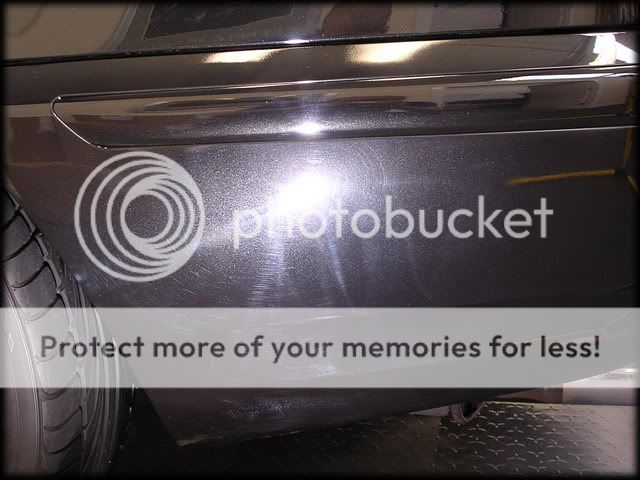
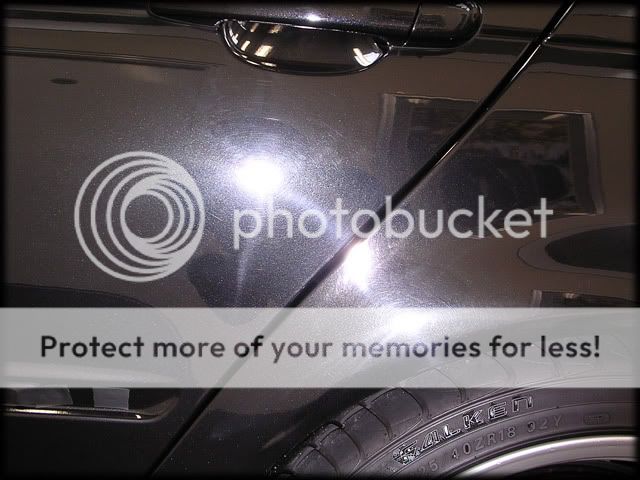
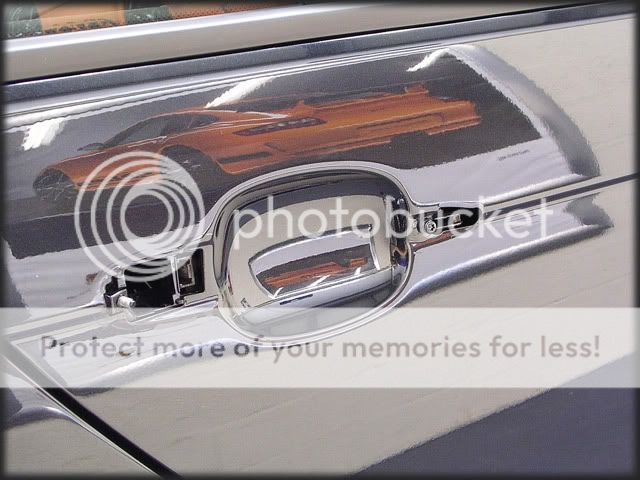
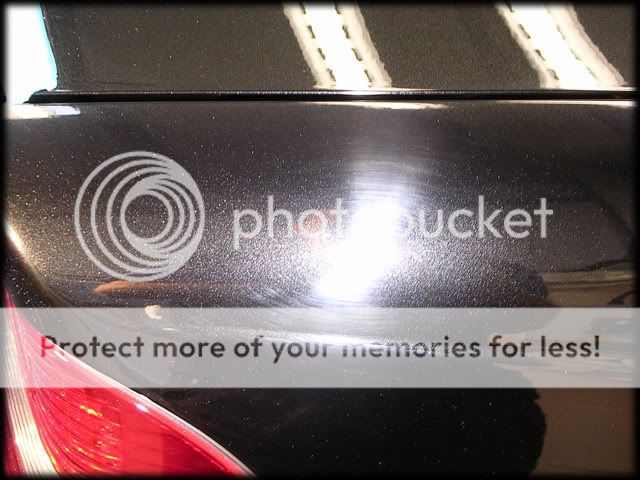
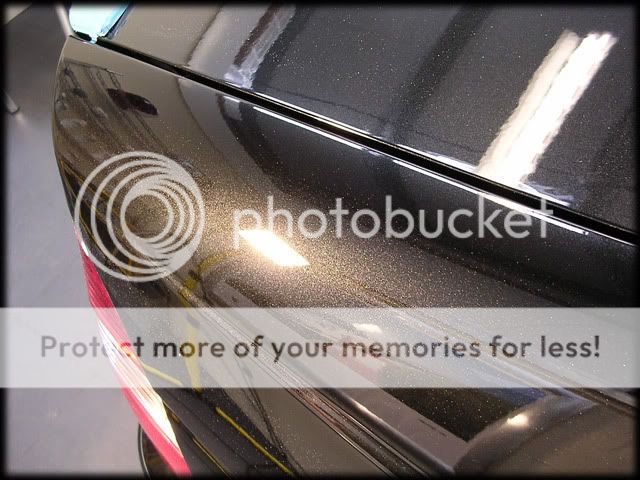
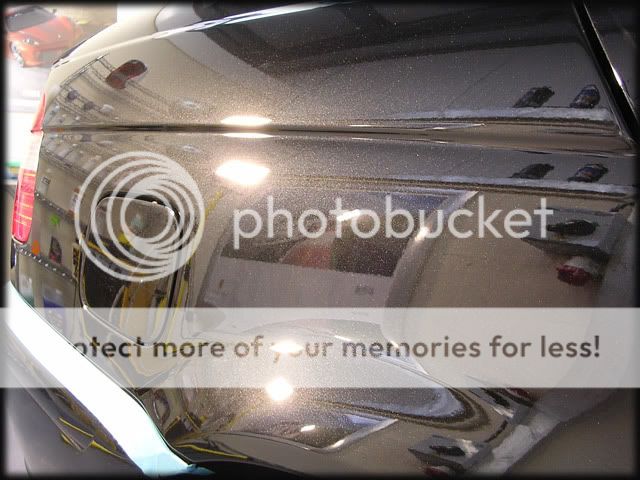
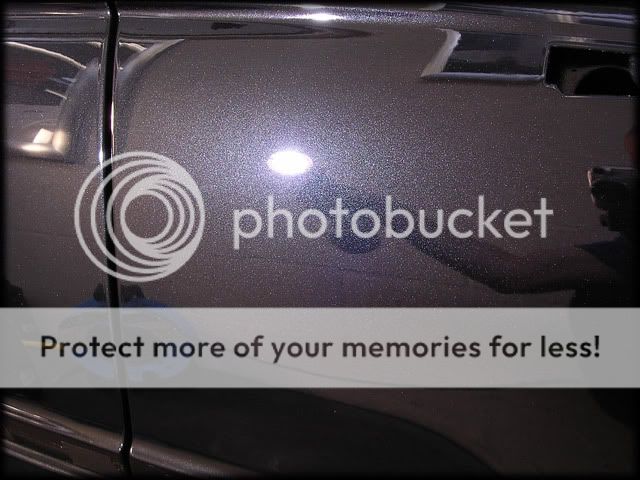
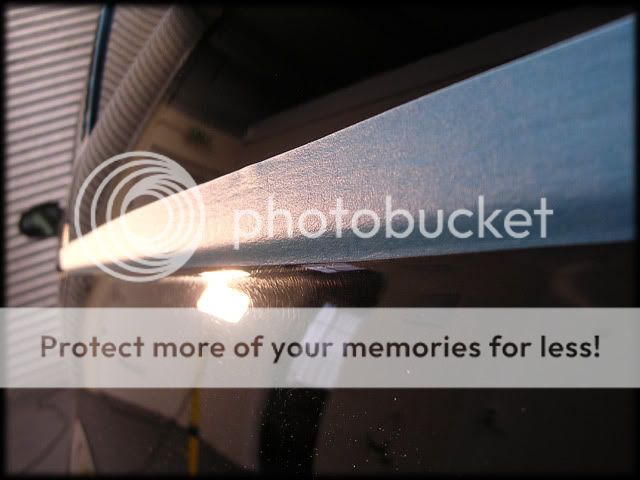
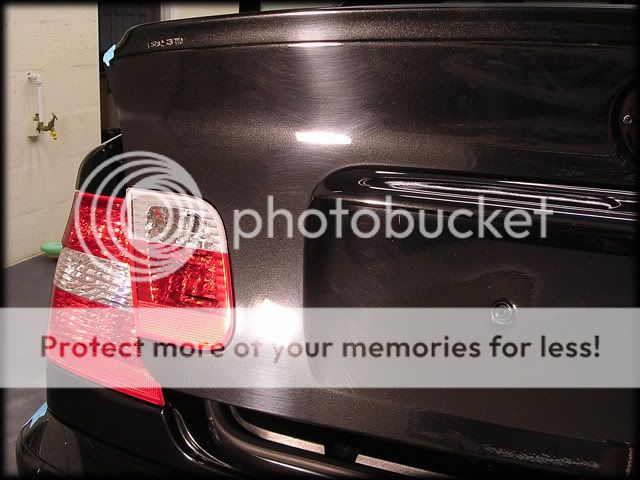
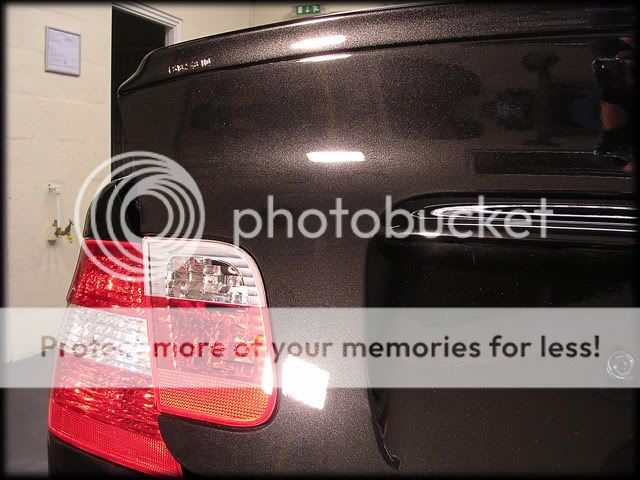
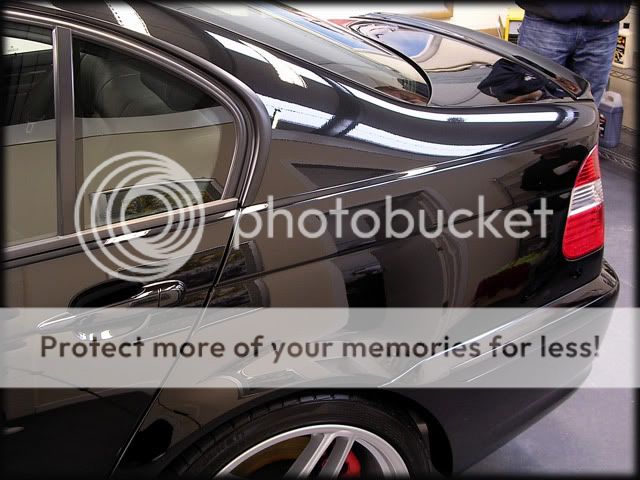
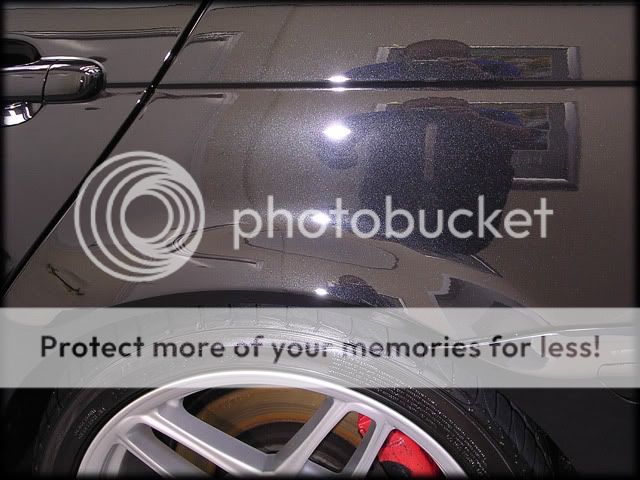
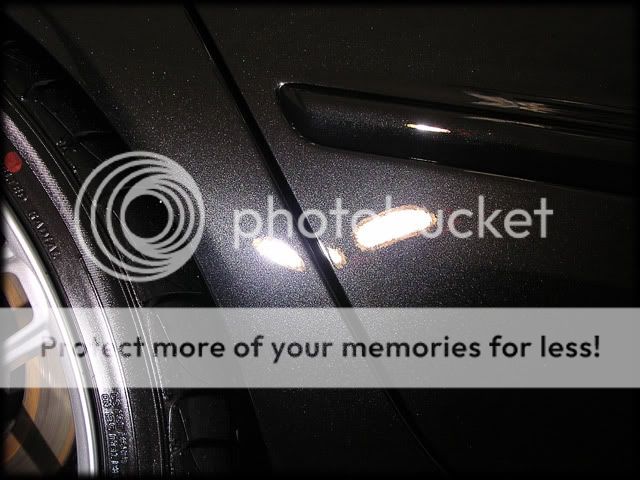
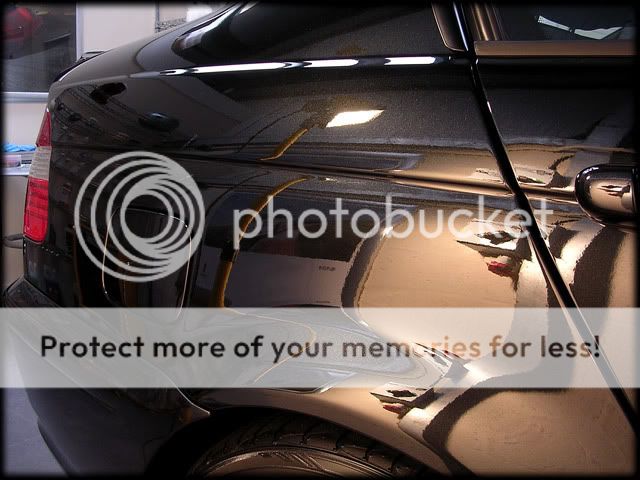
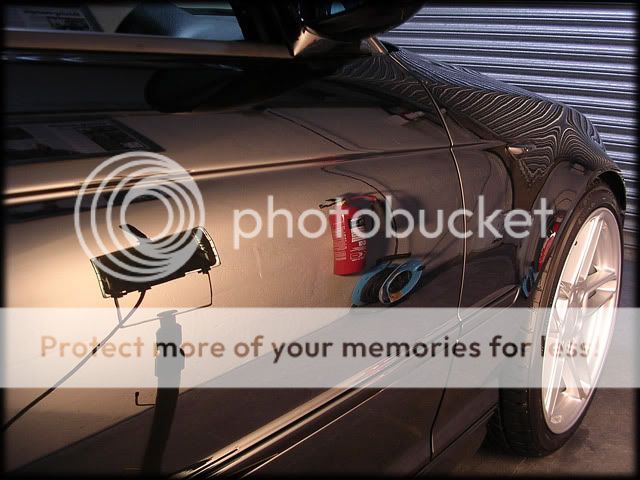
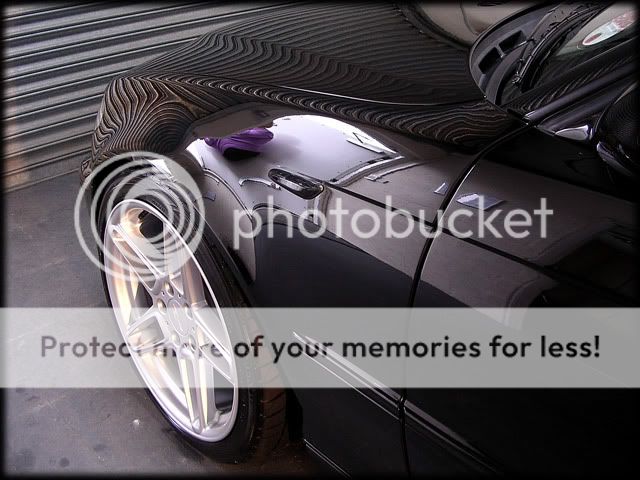
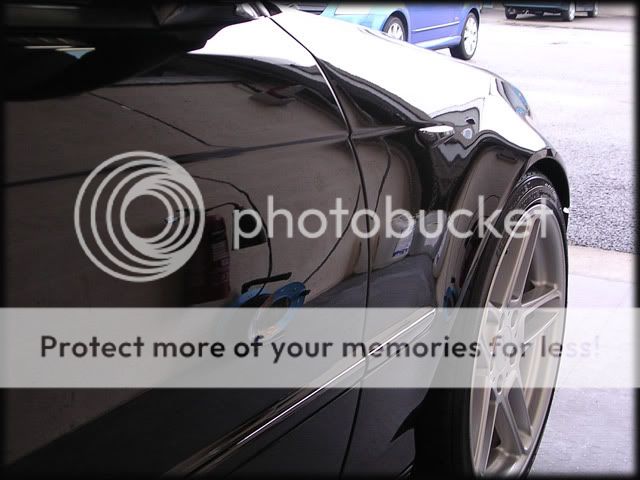
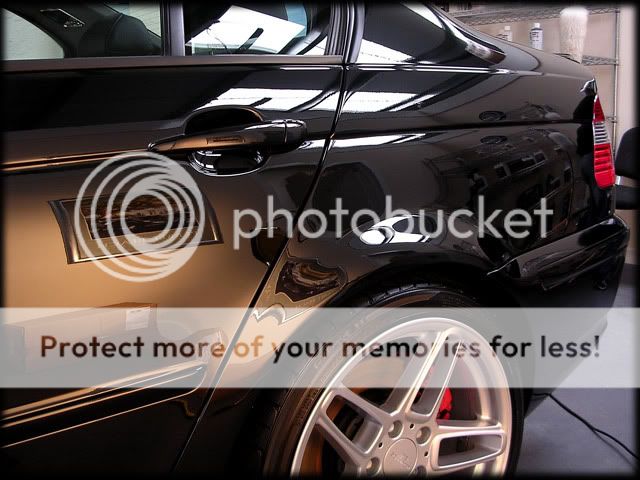
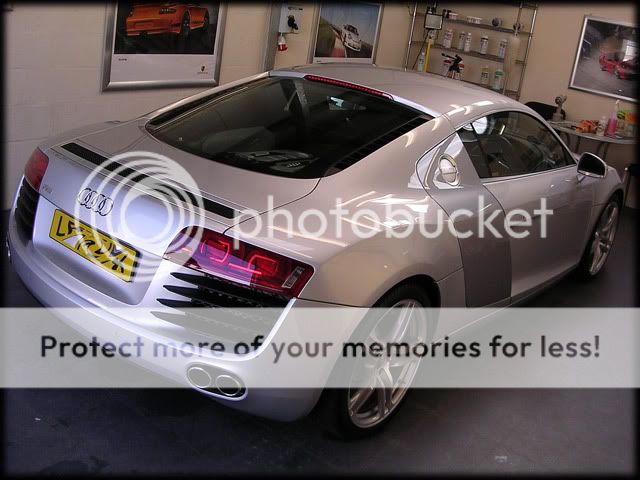
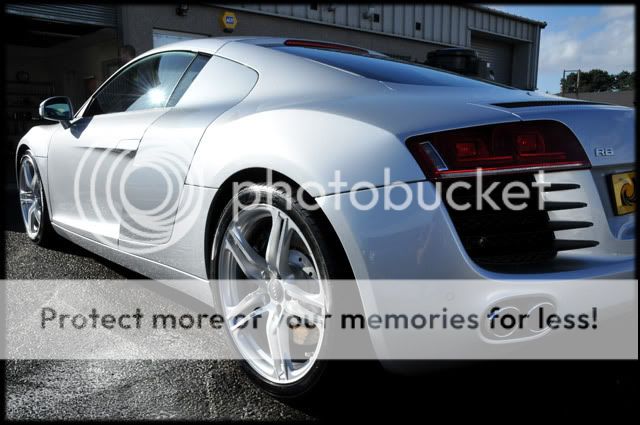
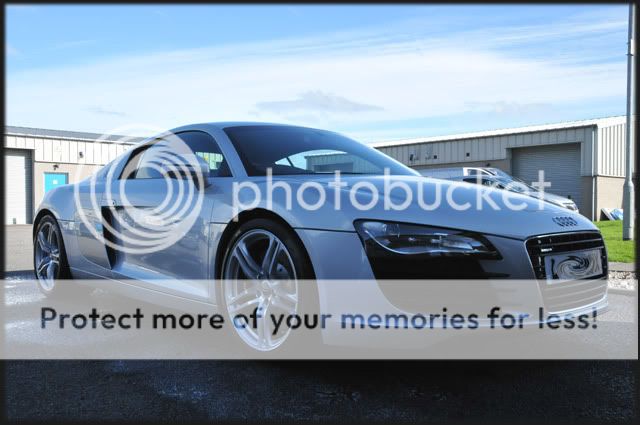
After pics:

C19.jpg


C20.jpg


C23.jpg


C24.jpg


C27.jpg


C29.jpg


C28.jpg


C26.jpg


C25.jpg


C22.jpg


C21.jpg
 
---

Next up was a brand new Audi TTS with little more than delivery mileage.

To cut a long story short - the owner brought the car out to us the morning after Audi had handed it over to her in the showroom and we were completely shocked at the state of the paintwork. We've had to deal with some shockers that have come out of the local Audi Dealership here in Aberdeen but this one took the pi$$ to be honest. Fortunately, the Dealership agreed to pay us to fix it.

The usual wash routine was carried out so i wont bore you with that but instead we'll start with the defects. This is what they thought was an acceptable level to hand over a brand new car to a customer (the car hadnt been washed other than by Audi themselves untill it came to us):

C1.jpg


C2.jpg


C3.jpg


C4.jpg


C5.jpg


This was the worst bit though...

C8.jpg


They'd manage to inflict a pretty deep scratch in the drivers door/rear 1/4:

C7.jpg


C6.jpg


The owner told Audi not to try and fix it, but I think they maybe did, what do you think?

C9.jpg


C10.jpg


Disgraceful. No other word for it. :mad:

Knowing that the majority of the car would be easy enough to correct, i set about the scratch on the drivers door - using the tools below:

C11.jpg


2000 and 4000 sanding dics were used to remove approx 10 microns of paint:

C12.jpg


The sanding haze was then polished out:

C13.jpg


But wait! Put the light on it and it doesnt look so good:

C14.jpg


C15.jpg
 
This seems to be a common thing when wet sanding. Alot of people polish the sanding marks out, or at least they think they do because the gloss comes back incredibly easily, but as you can see the sun gun highlights alot of pigtailing that still remain in the paint.

A further 5 microns of paint were removed whilst i polished out the remaining sanding marks with 3M Fast Cut Plus @ 1500rpm's to achieve 100% correction:

C16.jpg


Scratch gone too:

C17.jpg


C18.jpg


A few more random areas were attended to before i corrected the rest of the car with Menzerna 106FF and a 3M Polishing Pad @1500rpm's:

C19.jpg


C20.jpg


LSP was Blackfire Polycharged Wet Diamond which helped give the folowing results, the car now back to how it should have been when handed over:

C21.jpg


C22.jpg


C23.jpg


C24.jpg


C25.jpg


C26.jpg


C27.jpg


C28.jpg


C29.jpg


C30.jpg


C31.jpg


C32.jpg


C33.jpg


C35.jpg


C34.jpg


I've found myself having to stop myself from going into a rant about the local Audi Dealership as we're sick to the back teeth of their **** ups on our customers cars, but i'm sure the above pics do more than enough talking!
 
I saved the biggest detail for last and this one required a fair bit of work! The car in question (booked in for a 3 day correction) - a pretty rare AC Schnitzer pushing 300bhp! :norty:

C1.jpg


I'd got to know the car pretty well as the owner is a good customer of ours and regularly attends our breakfast club meets and open days so I knew what lay ahead. Luckily, the owner had done 99% of the prep work himself to allow me as much time on the paint as possible, so all that was required was a wash and a quick going over of the wheels:

C2.jpg


You may or may not have noticed that the side trims were missing. Well, so was quite alot of the interior trim too!

C3.jpg


C4.jpg


This was because they (along with various other bits and bobs) were in the boot ready to be corrected along with the exterior:

C5.jpg


The majority of the car has seen paintwork to rectify a couple of small issues so whilst this was done the owner had the bodyshop paint the interior trim the same colour of the car, hence why they were left off. You were probably thinking that the car already looked pretty good in the before pic and you would be right, well from 10 feet away it did anyways. Up close it was a bit of a mess...

Buffer trails? Check!

C6.jpg


C7.jpg


C8.jpg


C9.jpg


C10.jpg


Pig Tailing? Check!

C11.jpg


Loads of sanding haze and micro marring? Ooooooh yes!

C12.jpg


C13.jpg


C14.jpg


C15.jpg


C16.jpg


C17.jpg


You'll now see why the side trims were removed in order for me to cut right in to the edge of the mouldings and fully remove the sanding marks

The bonnet was the worst though, purely because it looked like it had been machined with a pad that had been laid face down on the workshop floor - although it's hard to fully put across in the pics cos the buffer trails just hid everything underneath!

Bit more pig tailing:

C21.jpg


C19.jpg


C18.jpg


C20.jpg


As an added bonus - the original paint wasnt exactly swirl or scratch free either:

C23.jpg


C22.jpg


Even with 3 days I knew I was going to have my work cut out on this one!

As well as the side trims being removed, I took off all 4 door handles:

C24.jpg
 
The correction work was done with a 3M Compounding Pad and a mix of Ultrafina and Fast Cut Plus @ 1800-2000rpm's:

C25.jpg


I started on the bootlid which was original paint:

C26.jpg


C27.jpg


Then onto the drivers side first:

Before:

C28.jpg


After:

C29.jpg


Fully corrected:

C30.jpg


I used 4" Compounding pads alot on this detail, mainly to cut in tight to the areas the larger pads couldnt reach as the pig tailing was everywhere.

C-Pillar:

C31.jpg


The sanding marks were right up to the window rubbers:

C32.jpg


This required a couple of hits to fully correct:

C33.jpg


C34.jpg


The worst affected panels needed at least 2-3 hits to get spot on. Anyone who has had to polish out these kind of defects will know how much of a ball ache it can be at times!

Now down onto the Drivers door - 50/50:

C35.jpg


A small section left just to show the difference in clarity:

C37.jpg


Fully corrected:

C38.jpg


C39.jpg


The frustrating thing was that the actual paint job was excellent, considerably better than BMW's in fact with next to no orange peel at all in most places:

C36.jpg


Fair enough, the aggressive polishing combination was helping to knock back some of the OP but overall I was very impressed with the paint job, which just made it even more crazy that the bodyshop obviously couldnt be bothered to finish the job off properly :confused:

Anyways, back to the polishing:

Lower half (side skirt isnt polished at this stage yet):

C40.jpg


Drivers side wing before:

C41.jpg


After:

C42.jpg


Here's a good example of how close to the swage lines and contours of the car the pig tailing and micromarring was:

C43.jpg


I applied a couple of layers of tape as i had to slightly angle the pad and apply quite alot of pressure to get enough bite to remove the defects. Doing it without tape would almost certainly result in striking through the clear coat and more than likely through to the primer too!

After:

C44.jpg


Passenger door before:

C45.jpg


After:

C46.jpg


C47.jpg


C48.jpg
 
The Passenger door was probably the worst affected by the micromarring:

C49.jpg


A 50/50 shows what kind of colour it should be:

C50.jpg


Even with the light facing the other way you can see the difference in clarity:

C51.jpg


Fully Corrected:

C52.jpg


C53.jpg


N/S wing fully corrected:

C54.jpg


Onto the rear end...

Before:

C55.jpg


After:

C56.jpg


Rear bumper 50/50:

C57.jpg


Before:

C58.jpg


After:

C59.jpg


And onto the bonnet:

C60.jpg


No messing around here - i went for a Menzerna Compounding Pad. This thing is like concrete and will do serious defect removal when spinning fast enough! :D

C61.jpg


During correction:

C62.jpg


C63.jpg


Not too hard to see the difference here really!

C64.jpg


I cut in to the edges with the 4" pad again:

C65.jpg


C66.jpg
 
The bonnet initially looked like it had been machined with gravel such was the depth of some of the defects and it was the one panel on the car I still wasnt happy with at the end. A full wet sand would rectify this and that was explained to the owner that it is an option if he so wishes in future but obviously there just wasnt enough time to do it properly. This was me being picky as it looked 100 times better as the pics show but you could still see some defects under the sun gun or in direct sunlight.

Onto the front of the bonnet now:

There was a paint run in between the grills:

C67.jpg


This was sanded flat with Megs 3000 Unigrit and polished up with 3.02:

C68.jpg


C69.jpg


(that right hand side grill refused to come out so it stayed put for fear of snapping bits :D)

C70.jpg


Before:

C71.jpg


After:

C72.jpg


While the door handles were off, I machined the recesses with the G220 and a polishing pad/Menz 3.02:

C73.jpg


The whole car was then machined again with Menzerna 106FF and a 3M Polishing pad to further refine the finish.

The last night on the car was a late one so Rich helped out too:

C74.jpg


Rich also corrected all the various bits and pieces that were in the boot and these were then re-fitted after he'd detailed the interior:

C75.jpg


C76.jpg


C77.jpg


After a thorough dust down I applied the LSP. The owner is a Raceglaze user so the number 55 wax was applied and buffed off after a couple of minutes:

C78.jpg


As per usual,after a final wipe down, all that remained was to take some pics to show what over 45 man hours looked like:

C81.jpg


C82.jpg


C80.jpg


C83.jpg


C84.jpg


C85.jpg
 
C86.jpg


C102.jpg


C105.jpg


C87.jpg


C88.jpg


C89.jpg


C90.jpg


C91.jpg


C92.jpg


C93.jpg


C94.jpg


C95.jpg


C96.jpg


C97.jpg


C98.jpg


C99.jpg


C100.jpg


C101.jpg


C103.jpg


C106.jpg


C104.jpg


Thanks for looking! This was yet another write up that seems to have taken about as long to put together as it did to actually do the cars lol! :D

Clark
 
Very nice indeed Clark.

Going to steal this pic for my wallpaper to replace the SLK55 AMG.

Really don't care if it's copyrighted, I'M HAVING IT AND THAT'S IT!!


C25.jpg


Might need to pay yooz a visit again in the next few months.

Keep up the good work up there and give my regards to the team.:icon_thumright:
 
Having never bought a brand new car, how did the TT with only delivery mileage arrive in such a state?
 
What a job on the Schnitzer - awesome attention to detail as always guys!

The state of that TT-S was criminal.... damn dealers!
 
All incredible, but the black of the TTS and the Schnitzer especially so :anbet:
 
C22.jpg


C26.jpg


These have got to be two of the most utterly shameless car porn pics on the web.

Glad you've taken time out to share them. CLassy work as usual.

Thank you.
 

Similar threads