Clark@Polishedbliss
Professional Detailer
- Joined
- Feb 4, 2007
- Messages
- 226
- Reaction score
- 0
- Points
- 16
- Location
- Aberdeen
- Website
- www.polishedbliss.co.uk
This write up is a bit different to all the others in the sense that its almost like a beginners guide to detailing. Reason being that the guys on the WR1 forum asked to see loads of pics of the process etc and they wont all know our "detailing talk" yet, so you'll just have to bare with me if it's all a bit obvious ")
So, onto the detail:
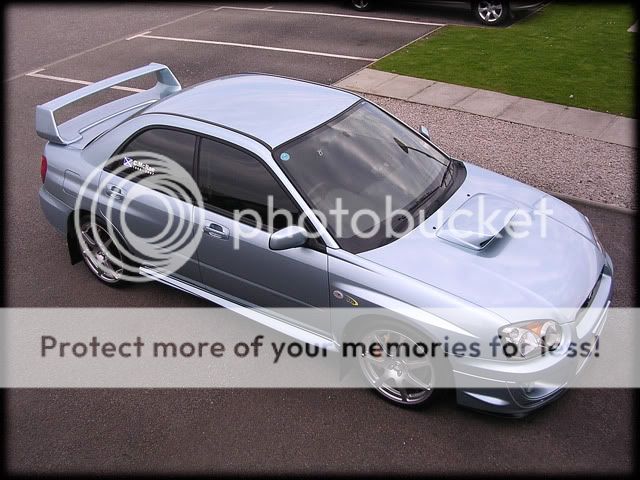
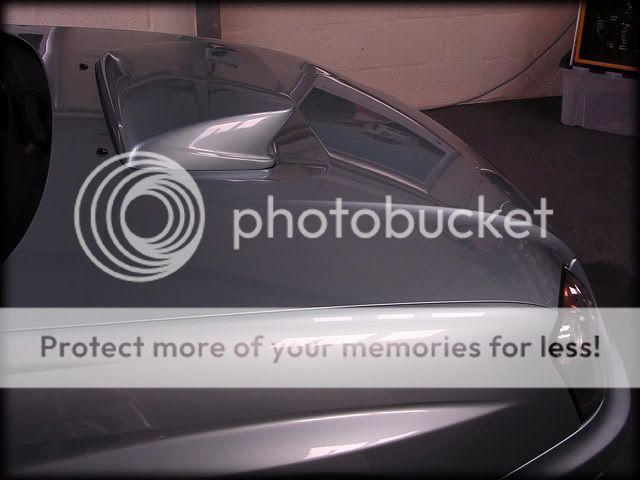
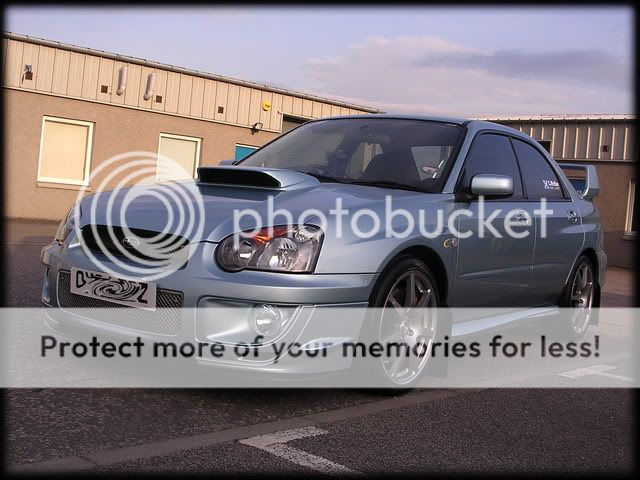
Here is the car at 8am this morning after my drive to the unit, not much dirt on it at all to be honest:

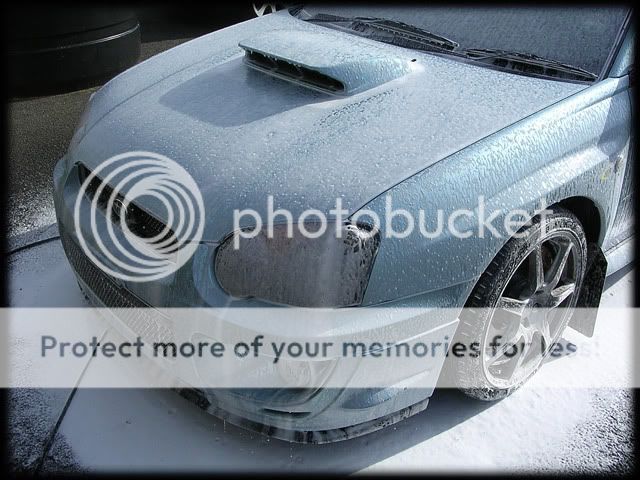
The first thing to do was to pre-foam the car with Meguiars Hyper Wash through the lance @60 degrees:
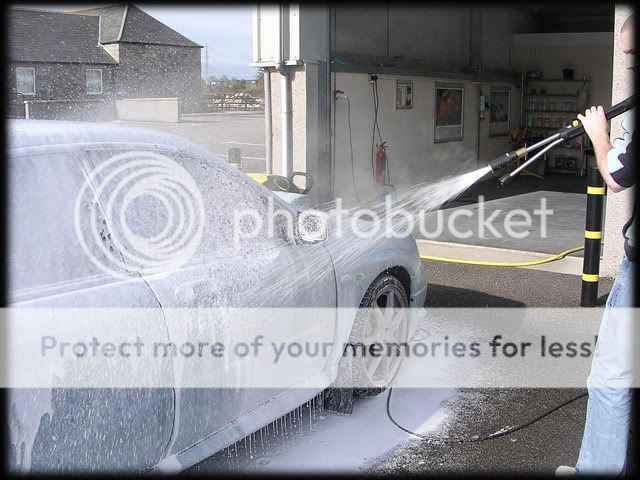
This helps to pull any loose dirt/grime off the paintwork and is left to dwell for 5 minutes:
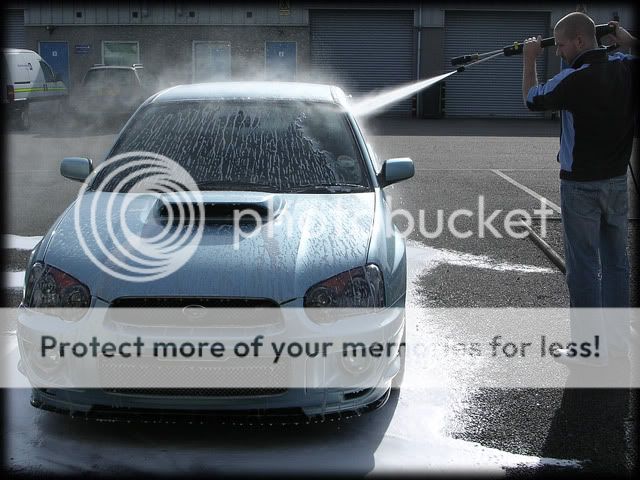
The car was then rinsed at high pressure @ 60 degrees:
I then moved onto the wheels. I do these before washing the car as if you do it the other way around you can end up with streaks and water spots before you manage to get the wheels completely done, so this makes more sense - especially when some cars can take up to a couple of hours to get the wheels spot on!
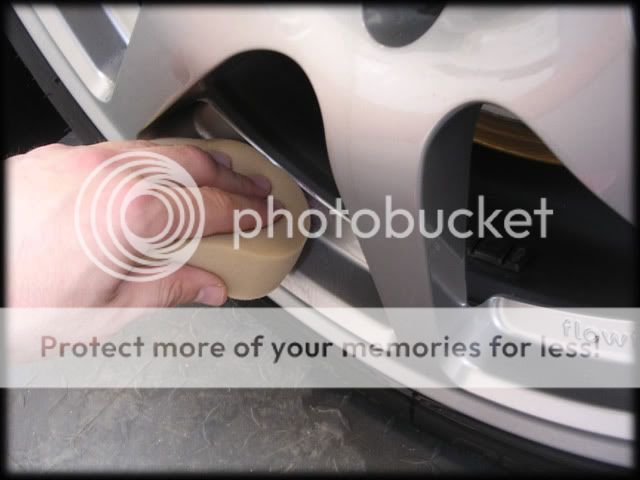
Luckily mine are ok, so all i needed was normal shampoo and warm water with a Meguiars MF wash mitt:
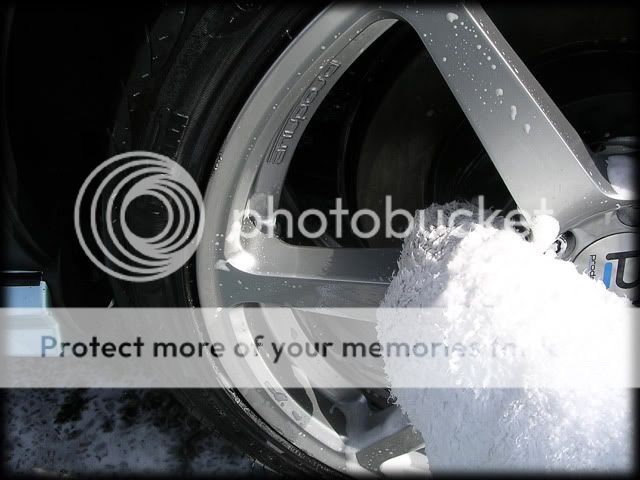
One of our wheel back brushes was used for the innner rims and calipers:

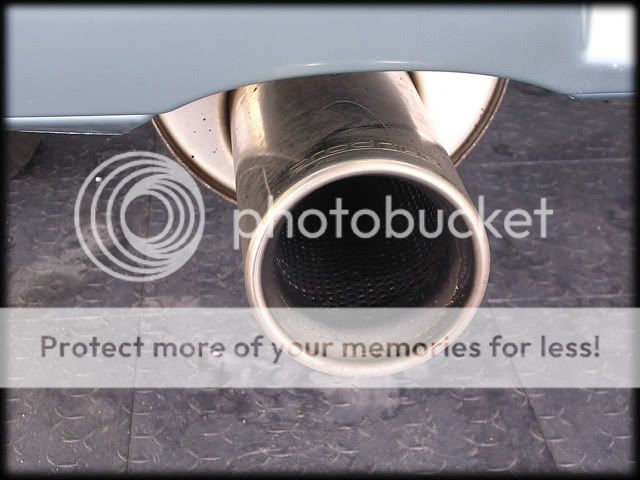
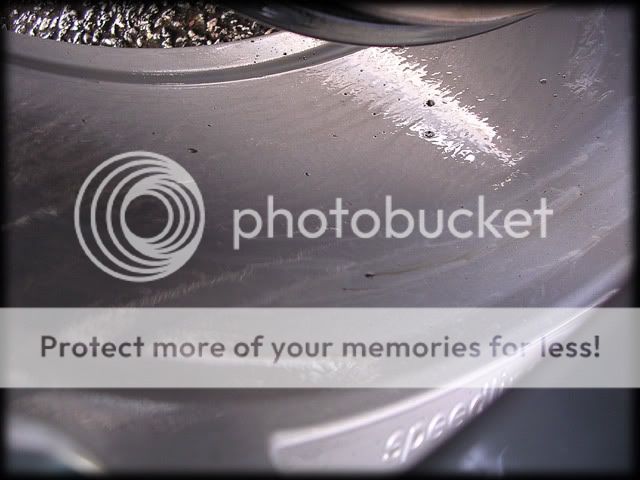
The wheels were now 95% clean but still needed a bit more attention as there were a few tar spots, so i gave them a quick spray with some Autosmart Tardis - which after a minute or two starts to disolve the tar as can be seen in the pic below:
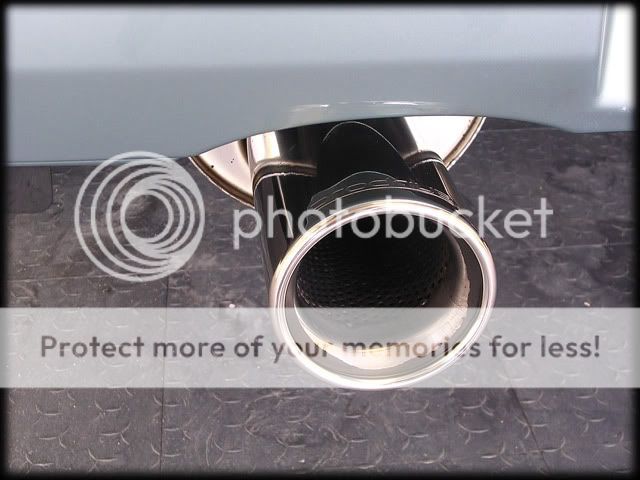
A quick wipe with a MF cloth easily removes the tar:
I then soaked the arches and tyres with Meguiars Superdegreaser and used a soft brush to agitate them before rinsing off again:

It's important to give your tyres a good clean if you want any dressings to stay on them for any decent length of time, plus it keeps them in better condition and prevents them from turning brown
I gave the car a quick rinse again as the sun had pretty much completely dried it and then washed it with the two bucket method, using Meguiars Shampoo Plus and a lambswool mitt.
Pictured below are the two buckets after the car had been washed (left is the rinse bucket and right is the suds) and you can see why this method is so effective. My car wasnt even that dirty but you can still see in the left hand bucket that there is still a fair bit of dirt that would have gone back into your "clean" water if you were to only use one bucket:

The car still wasnt completely clean yet though, so back out with the tar remover which was sprayed onto the lower halfs of the car:
This was left for around a minute untill i could see the tar beginning to disolve:

I then wiped it off with a soft MF cloth and gave the car another quick rinse with hot water.
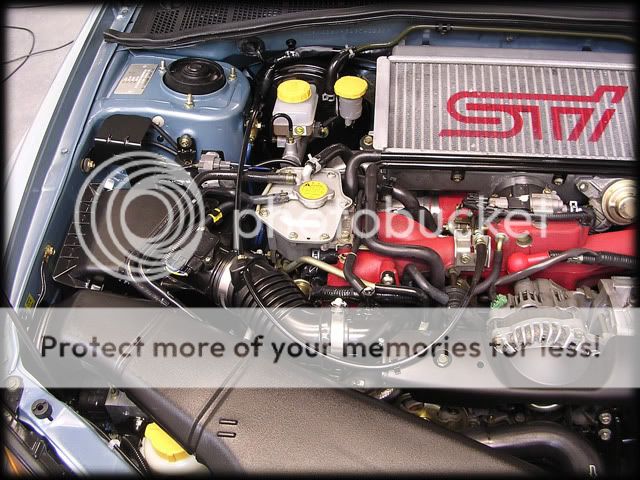
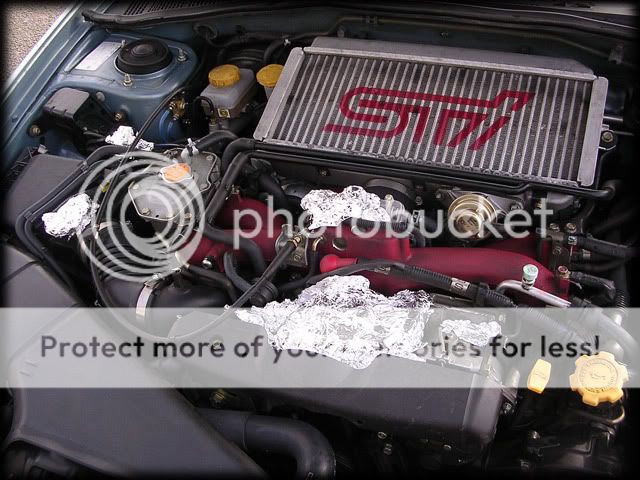
The last job i had to do before putting the car inside was to do the engine, which to be fair wasnt that bad - just grubby and dusty more than anything:
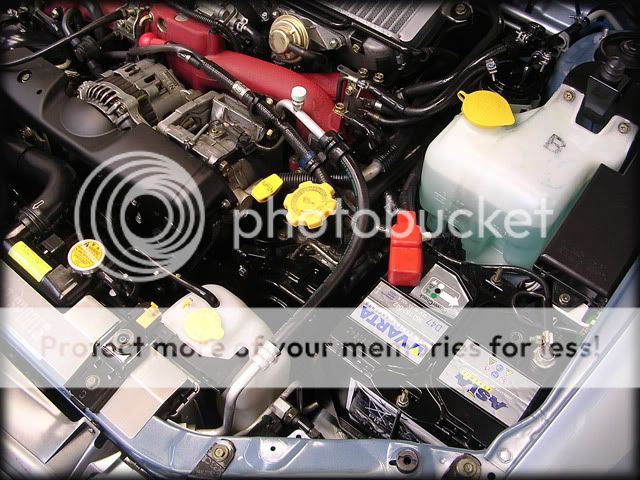
Before i could begine to clean it i had to cover up any exposed electrical parts such as the alternator, battery terminals etc...
Once that was done i soaked the bay and under the bonnet with Meguiars Superdegreaser:
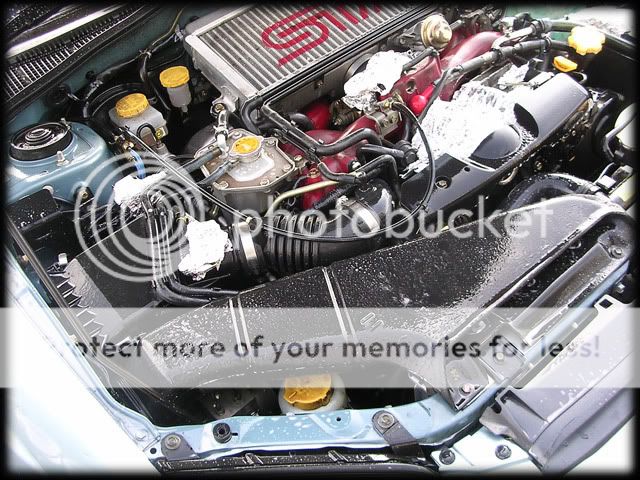
I agitated the worst bits with a brush and then pressure washed at medium pressure @ 50 degrees. This left everything squeaky clean:

I then moved the car inside to clay the paintwork.
For those who dont know what a clay bar is - it is just as it sounds. A bar of clay:
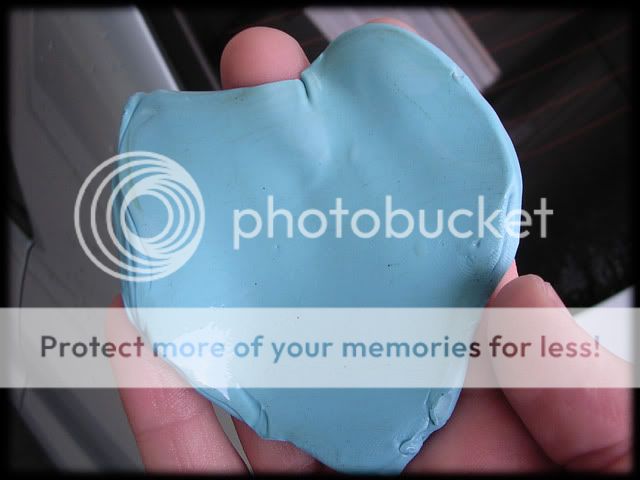
It is essentially an abrasive product (different grades are available such as "mild" or "aggressive") which uses the clay as a carrier and we use this to remove bonded contaminants such as tree sap,minor tar spots, paint overspray, metal filings etc etc. It works by firstly spraying a lubricant such as water or quick detailer onto the paintwork and then using fingertip pressure, you glide the clay back and forward over the paintwork untill it is as smooth as glass. The clay will aqua-plane over the areas of paint that has no contaminants and shear off any that are there, hence leaving you with a lovely smooth base to go from when it comes to polishing/waxing etc.
As you can see in the pic of the clay above, my car had next to no contaminants on the paintwork at all so the clay stage didnt take too long, which made a fine change
Now that the paintwork was completely clean and ready to polish, i dried the car off with a waffle weave towel. These are much softer than a chamois and are kinder to your paint as they have a pile that allows any dust particles etc to escape to, instead of being dragged across your paint as a chamois would do. You also dont get any streaking with a waffle weave and they dont need to be wrung out so often either
A leaf blower was also used to get rid of any little water traces in the panel gaps and wheels.
Total work time up to this point was around 4 hours (I wasnt keeping a mega close eye on the clock but i think it was around that time scale).
Next up was the polishing stage, but before i could begin that i had to take paint thickness readings to give me an indication of whether there were any low spots or areas with high readings which would suggest signs of a re-spray. Fortunately all the paint on the car is original and the majority of it was a healthy enough level:

111 microns.
There were a few low spots though, which is not an unusual trend for a japanese car:

76 microns.
For those who may not quite know how thick these kind of readings are, the first picture below is of a calibration shim that is 129 microns thick:

120-130 microns is generally quite a good average reading on most cars (certainly on BMW's/AUDI's etc) but this is usually made up of the basecoat,pigment (colour) and clear coat. So if you have a reading of 129 microns, this doesnt necessarily mean you have that level of clear coat to play with.
You can see just how thin this is when looking at the shim side on:

This is usually the average level of clear coat on an original painted car (27 microns):

And looking at it side on:

This is what we have to play with on most cars when machine polishing/wet sanding. Quite scary when you look at it like that huh? :lol:
This is why paint thickness gauges are so important in order to let you
safely polish a car :thumb:
Anyways, enough rambling!
Now i knew what paint levels i was working with i removed the side repeaters...

So, onto the detail:
Here is the car at 8am this morning after my drive to the unit, not much dirt on it at all to be honest:
The first thing to do was to pre-foam the car with Meguiars Hyper Wash through the lance @60 degrees:
This helps to pull any loose dirt/grime off the paintwork and is left to dwell for 5 minutes:
The car was then rinsed at high pressure @ 60 degrees:
I then moved onto the wheels. I do these before washing the car as if you do it the other way around you can end up with streaks and water spots before you manage to get the wheels completely done, so this makes more sense - especially when some cars can take up to a couple of hours to get the wheels spot on!
Luckily mine are ok, so all i needed was normal shampoo and warm water with a Meguiars MF wash mitt:
One of our wheel back brushes was used for the innner rims and calipers:
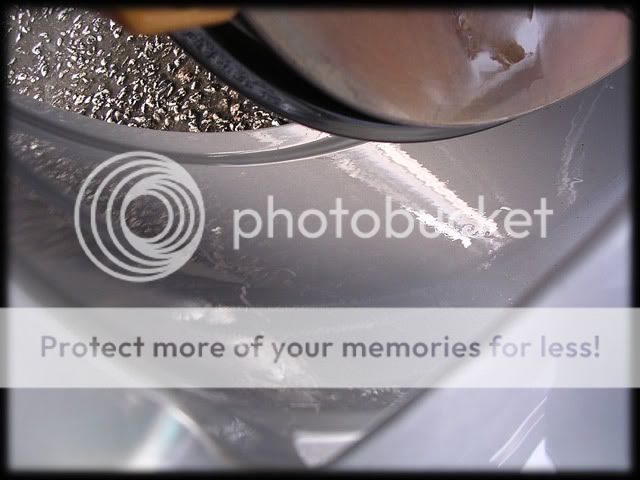
The wheels were now 95% clean but still needed a bit more attention as there were a few tar spots, so i gave them a quick spray with some Autosmart Tardis - which after a minute or two starts to disolve the tar as can be seen in the pic below:
A quick wipe with a MF cloth easily removes the tar:
I then soaked the arches and tyres with Meguiars Superdegreaser and used a soft brush to agitate them before rinsing off again:
It's important to give your tyres a good clean if you want any dressings to stay on them for any decent length of time, plus it keeps them in better condition and prevents them from turning brown
I gave the car a quick rinse again as the sun had pretty much completely dried it and then washed it with the two bucket method, using Meguiars Shampoo Plus and a lambswool mitt.
Pictured below are the two buckets after the car had been washed (left is the rinse bucket and right is the suds) and you can see why this method is so effective. My car wasnt even that dirty but you can still see in the left hand bucket that there is still a fair bit of dirt that would have gone back into your "clean" water if you were to only use one bucket:
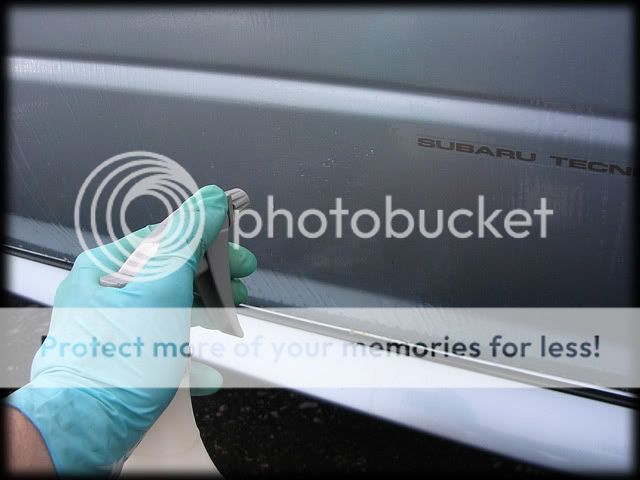
The car still wasnt completely clean yet though, so back out with the tar remover which was sprayed onto the lower halfs of the car:
This was left for around a minute untill i could see the tar beginning to disolve:
I then wiped it off with a soft MF cloth and gave the car another quick rinse with hot water.
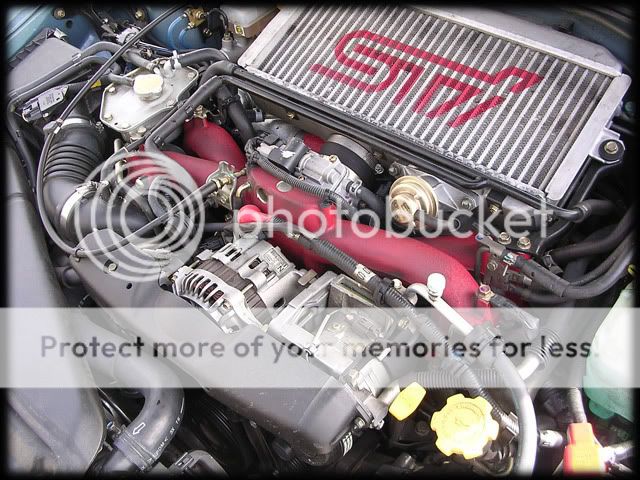
The last job i had to do before putting the car inside was to do the engine, which to be fair wasnt that bad - just grubby and dusty more than anything:
Before i could begine to clean it i had to cover up any exposed electrical parts such as the alternator, battery terminals etc...
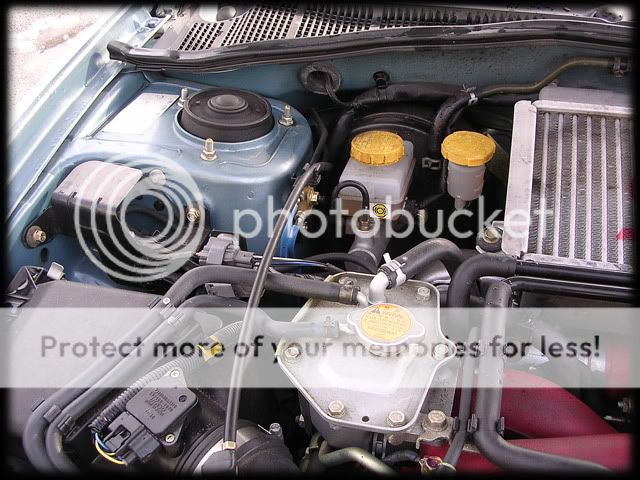
Once that was done i soaked the bay and under the bonnet with Meguiars Superdegreaser:
I agitated the worst bits with a brush and then pressure washed at medium pressure @ 50 degrees. This left everything squeaky clean:
I then moved the car inside to clay the paintwork.
For those who dont know what a clay bar is - it is just as it sounds. A bar of clay:
It is essentially an abrasive product (different grades are available such as "mild" or "aggressive") which uses the clay as a carrier and we use this to remove bonded contaminants such as tree sap,minor tar spots, paint overspray, metal filings etc etc. It works by firstly spraying a lubricant such as water or quick detailer onto the paintwork and then using fingertip pressure, you glide the clay back and forward over the paintwork untill it is as smooth as glass. The clay will aqua-plane over the areas of paint that has no contaminants and shear off any that are there, hence leaving you with a lovely smooth base to go from when it comes to polishing/waxing etc.
As you can see in the pic of the clay above, my car had next to no contaminants on the paintwork at all so the clay stage didnt take too long, which made a fine change
Now that the paintwork was completely clean and ready to polish, i dried the car off with a waffle weave towel. These are much softer than a chamois and are kinder to your paint as they have a pile that allows any dust particles etc to escape to, instead of being dragged across your paint as a chamois would do. You also dont get any streaking with a waffle weave and they dont need to be wrung out so often either
A leaf blower was also used to get rid of any little water traces in the panel gaps and wheels.
Total work time up to this point was around 4 hours (I wasnt keeping a mega close eye on the clock but i think it was around that time scale).
Next up was the polishing stage, but before i could begin that i had to take paint thickness readings to give me an indication of whether there were any low spots or areas with high readings which would suggest signs of a re-spray. Fortunately all the paint on the car is original and the majority of it was a healthy enough level:
111 microns.
There were a few low spots though, which is not an unusual trend for a japanese car:
76 microns.
For those who may not quite know how thick these kind of readings are, the first picture below is of a calibration shim that is 129 microns thick:
120-130 microns is generally quite a good average reading on most cars (certainly on BMW's/AUDI's etc) but this is usually made up of the basecoat,pigment (colour) and clear coat. So if you have a reading of 129 microns, this doesnt necessarily mean you have that level of clear coat to play with.
You can see just how thin this is when looking at the shim side on:
This is usually the average level of clear coat on an original painted car (27 microns):
And looking at it side on:
This is what we have to play with on most cars when machine polishing/wet sanding. Quite scary when you look at it like that huh? :lol:
This is why paint thickness gauges are so important in order to let you
safely polish a car :thumb:
Anyways, enough rambling!
Now i knew what paint levels i was working with i removed the side repeaters...