

jr001
Registered User
Background
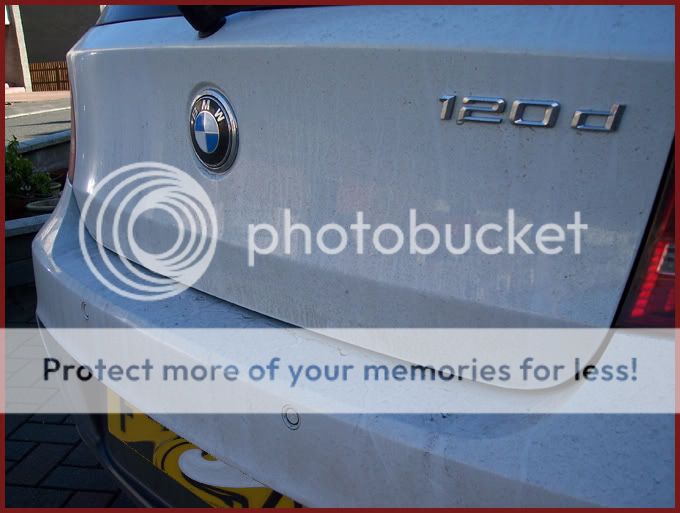
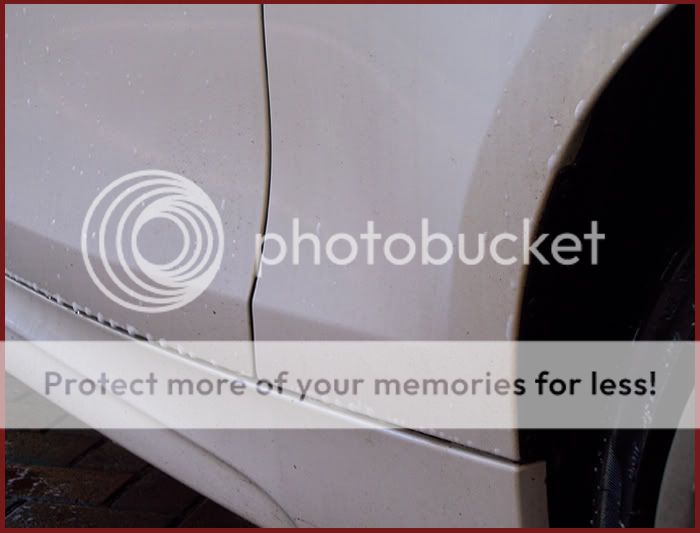
Alan from Detailing World got in touch and asked if I could give his BMW 120d Msport a protection detail. Over the last few months it had developed staining from tar spots and other general grime. Particularly along the lower parts of the car, there remained brown/orange stains that could not be removed by normal washing.
Alan also lives in my neighbourhood and so was able to drop the car off nice and early at 9am. The car was not going to be rushed and I had it until 5pm ish.
The priority in this detail was to be very careful in the wash stage as there was a lot of firmly bonded grime that needed to be removed without the introduction of new swirls. That will always be a challenge, therefore time can only be your friend and you should never rush the job.
These few pics capture a little of what the car was like on arrival.


Wash
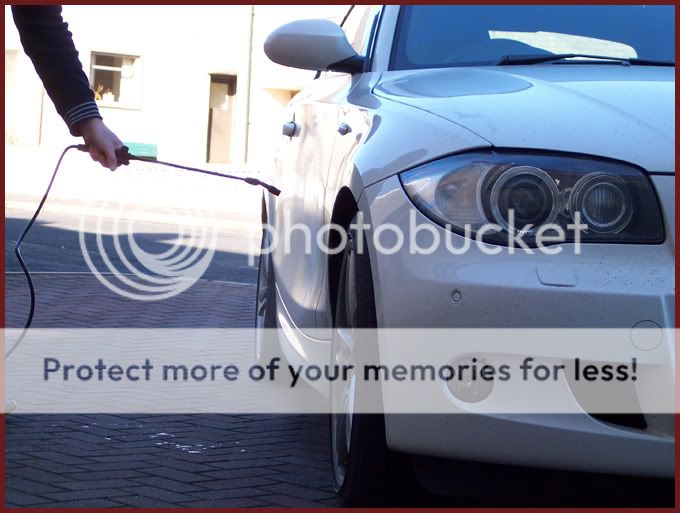
The first step was to give the car a Citrus pre-soak with a dilution of Chemical Guys Citrus Wash. This was the first time I have used this in any routine and I have to say it fairly dissolves some of the outermost crud on a cars surface.
I applied this to the whole car through a 4.5 litre spray bottle.
The car was then pressure rinsed, prior to foaming.
HD Lance with a mix of SSF and CG Maxi Suds was then applied.

Car pressure rinsed again.
Mitt washed with Meguiars Shampoo Plus and Safe Degreaser mix in the suds bucket. The car proved to be extremely rough at this stage and I cant remember feeling a cars paint as rough as this.
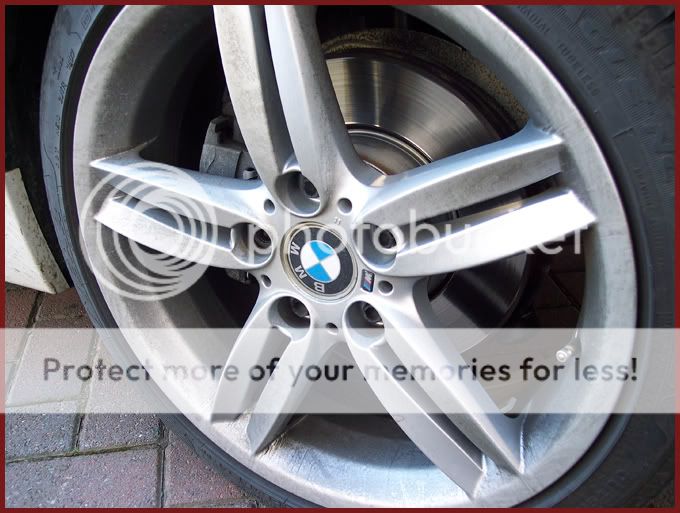
Wheels taken care of with the EZ detail brush and an MF wheel mitt. Tar and Glue remover on the wheels to dissolve the tar spots on them.
Car pressure rinsed again, followed by an open hose rinse to allow maximum sheeting of dirt with the rinse water. There was not much protection left on it, if any and so there was very little free-running of water and loose contaminants.
The car was pat-dried with a waffle weave towel in readiness for claying.
Claying
Carried out with CG grey polyclay and Megs Last Touch as lube.
This was able to remove some further grim and tar spots. But it did not do the whole job.
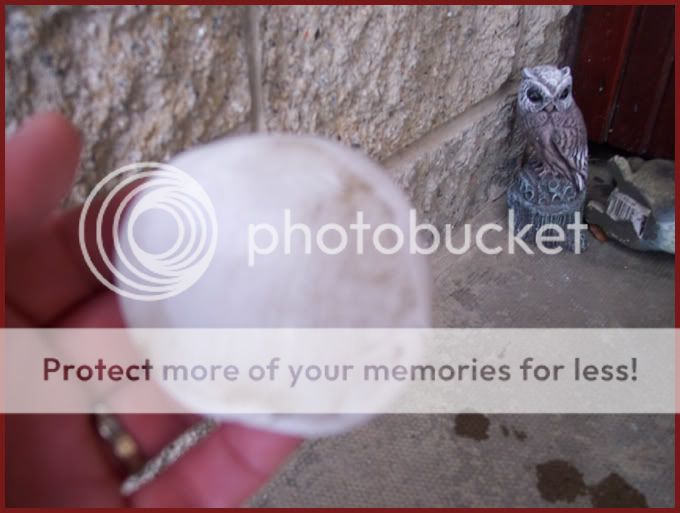
The clay looked like this after the top half of the drivers door. Sorry for it being blurred.
So, I was left with some really stubborn deposits even after these initial cleaning stages. Every panel with the exception of the roof had to be given a total wash with Tar and Glue remover.

Panels then wiped with a clean MF cloth. The TGR had to be really worked on some of the remaining contamination but I was happy with the outcome.
Again, Ive never had to go to these lengths before. Perhaps the white colour was just showing up more than other colours.
The car was now ready for pre-wax cleansing.
Pre-Wax Cleansing
Dodo Juice Lime Prime used here. I decided to apply this to the entire car using a 3M polishing/finishing pad on the Mak. This would help take care of any residues left behind from the TGR. I prefer to apply cleanser by machine as it really ensures a truly even coverage over the paint. Sadly though, not all details allow for this. Spread at 600rpm, follwed by a couple of passes at 1200rpm, at which point I was noticing the residue going clear. Residue buffed with plush MFs.

Even at this stage, there was dirt appearing on the finishing pad!
Protection Stage
The cars surface was now very smooth indeed and was ready for the application of Zym0l Carbon wax, applied with a spritzed Megs foam pad. Residues buffed clear with mega plush MFs.
Wheels deep cleansed with the usual Werkstatt Prime Acrylic. Topped with further protection in the form of Collinite 476 wax. Arches dressed with CG Bare Bones.
All external trim was given a coating of Carbon also.
Tyres dressed with 303 Aerospace Protectant.
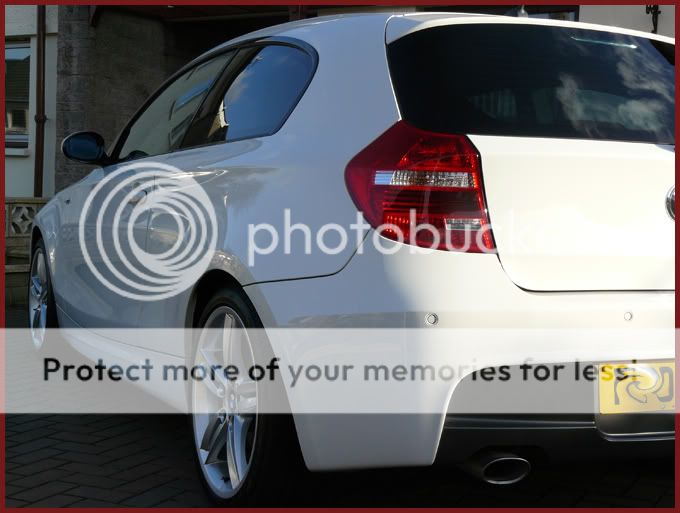
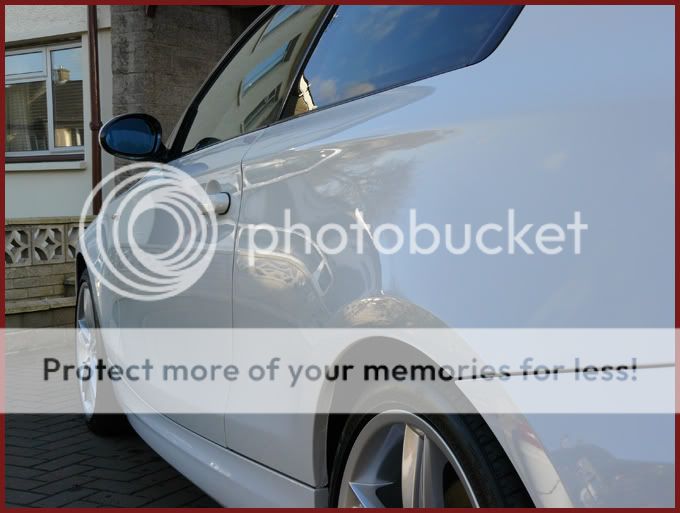
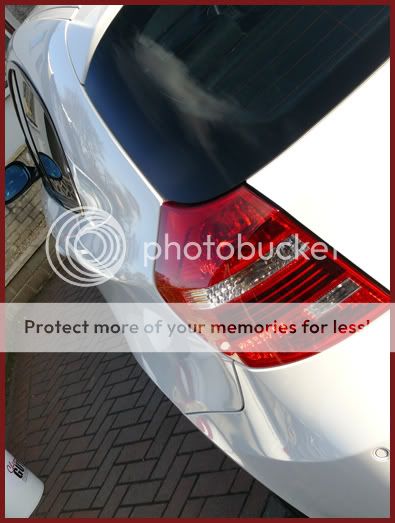
So, after approx 6 hours work, the car ended up like this:


A big Thanks to Alan for bringing his camera round at the end. The high winds had brought down my tripod and has broken my camera! So, do I get my car serviced or get a new camera instead?
Cheers.
Alan from Detailing World got in touch and asked if I could give his BMW 120d Msport a protection detail. Over the last few months it had developed staining from tar spots and other general grime. Particularly along the lower parts of the car, there remained brown/orange stains that could not be removed by normal washing.
Alan also lives in my neighbourhood and so was able to drop the car off nice and early at 9am. The car was not going to be rushed and I had it until 5pm ish.
The priority in this detail was to be very careful in the wash stage as there was a lot of firmly bonded grime that needed to be removed without the introduction of new swirls. That will always be a challenge, therefore time can only be your friend and you should never rush the job.
These few pics capture a little of what the car was like on arrival.
Wash
The first step was to give the car a Citrus pre-soak with a dilution of Chemical Guys Citrus Wash. This was the first time I have used this in any routine and I have to say it fairly dissolves some of the outermost crud on a cars surface.
I applied this to the whole car through a 4.5 litre spray bottle.
This is the result with no rinsing involved yet:
The car was then pressure rinsed, prior to foaming.
HD Lance with a mix of SSF and CG Maxi Suds was then applied.
Car pressure rinsed again.
Mitt washed with Meguiars Shampoo Plus and Safe Degreaser mix in the suds bucket. The car proved to be extremely rough at this stage and I cant remember feeling a cars paint as rough as this.
Wheels taken care of with the EZ detail brush and an MF wheel mitt. Tar and Glue remover on the wheels to dissolve the tar spots on them.
Car pressure rinsed again, followed by an open hose rinse to allow maximum sheeting of dirt with the rinse water. There was not much protection left on it, if any and so there was very little free-running of water and loose contaminants.
The car was pat-dried with a waffle weave towel in readiness for claying.
Claying
Carried out with CG grey polyclay and Megs Last Touch as lube.
This was able to remove some further grim and tar spots. But it did not do the whole job.
The clay looked like this after the top half of the drivers door. Sorry for it being blurred.
So, I was left with some really stubborn deposits even after these initial cleaning stages. Every panel with the exception of the roof had to be given a total wash with Tar and Glue remover.
Panels then wiped with a clean MF cloth. The TGR had to be really worked on some of the remaining contamination but I was happy with the outcome.
Again, Ive never had to go to these lengths before. Perhaps the white colour was just showing up more than other colours.
The car was now ready for pre-wax cleansing.
Pre-Wax Cleansing
Dodo Juice Lime Prime used here. I decided to apply this to the entire car using a 3M polishing/finishing pad on the Mak. This would help take care of any residues left behind from the TGR. I prefer to apply cleanser by machine as it really ensures a truly even coverage over the paint. Sadly though, not all details allow for this. Spread at 600rpm, follwed by a couple of passes at 1200rpm, at which point I was noticing the residue going clear. Residue buffed with plush MFs.
Even at this stage, there was dirt appearing on the finishing pad!
Protection Stage
The cars surface was now very smooth indeed and was ready for the application of Zym0l Carbon wax, applied with a spritzed Megs foam pad. Residues buffed clear with mega plush MFs.
Wheels deep cleansed with the usual Werkstatt Prime Acrylic. Topped with further protection in the form of Collinite 476 wax. Arches dressed with CG Bare Bones.
All external trim was given a coating of Carbon also.
Tyres dressed with 303 Aerospace Protectant.
So, after approx 6 hours work, the car ended up like this:
A big Thanks to Alan for bringing his camera round at the end. The high winds had brought down my tripod and has broken my camera! So, do I get my car serviced or get a new camera instead?
Cheers.
