Clark@Polishedbliss
Professional Detailer
- Joined
- Feb 4, 2007
- Messages
- 226
- Reaction score
- 0
- Points
- 16
- Location
- Aberdeen
- Website
- www.polishedbliss.co.uk
It seems like i'm saying this more and more nowadays, but this really was a gruelling detail and a major test of patience (and perhaps sanity?!)
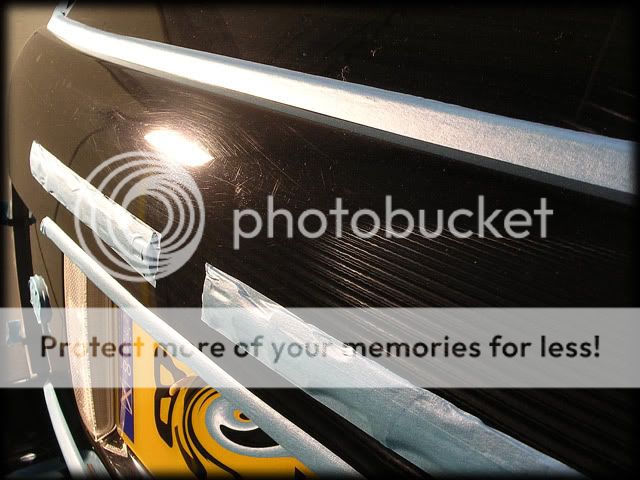
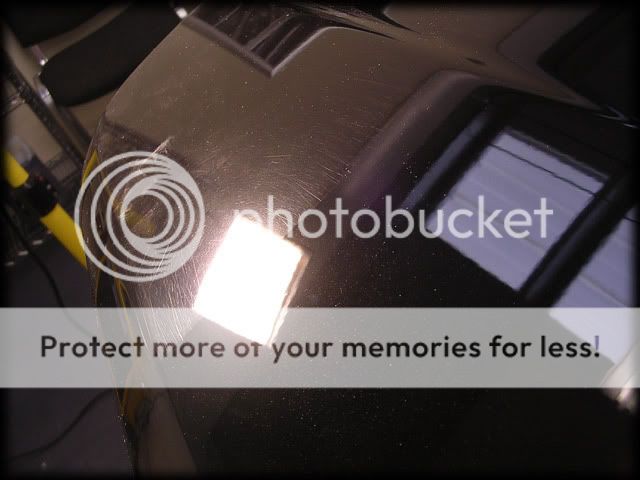
The car in question was a black Range Rover, which arrived on Sunday afternoon while i was doing the White Evo FQ. My camera batteries were charging on Monday morning so this prevented me from taking any wash pics etc so here's a few pics i took on Sunday of the defects in the sun:


Whilst it looked good from a distance, the car was covered in RIDS and little "nicks" in the paint which were typical signs of regular automatic car wash visits
As i said, no wash pics so i'll just list the process for that stage:
- Pre-rinse at high pressure and hot water (50 degrees)
- Engine and shuts soaked with Megs Superdegreaser and pressure washed
- Wheels cleaned with Megs WB (4:1) x2
- Arches cleaned and scrubbed with Megs Superdegreaser and a brush
- Washed with 2BM & Megs Shampoo Plus
- Autosmart Tardis on lower halfs and wheels
- Rinsed
- Clayed with Megs Aggressive Detailing Clay
- Dried with Waffle Weave and Leaf Blower
Total Wash Time: 6 hours.
Polish:
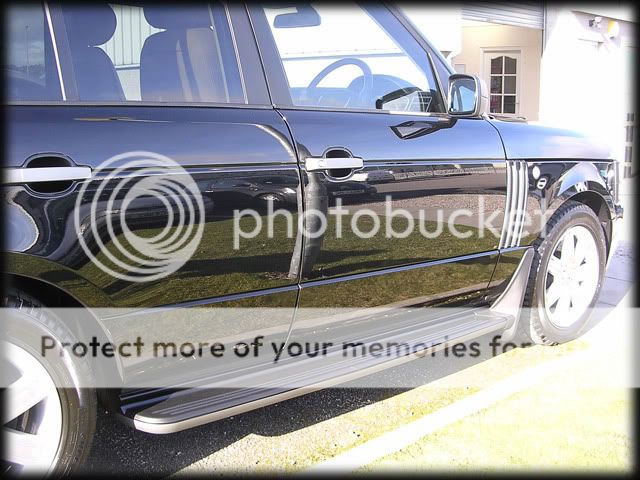
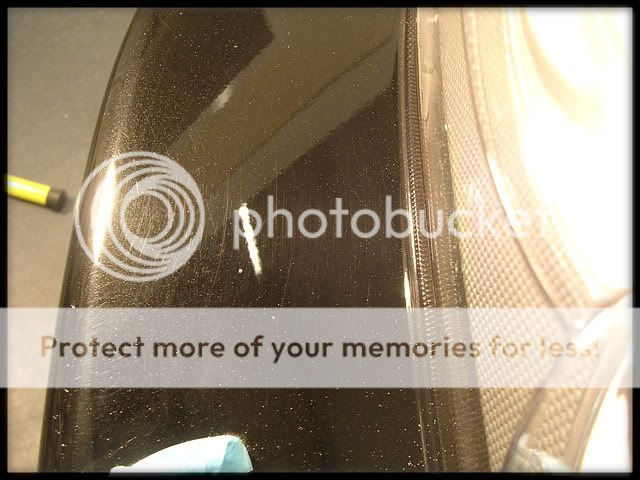
Defects under the Halogens, a nice helping of RIDS,scuffs and nicks all round!:

Paint readings were taken next and this is what the gauge read on the first panel (bonnet):

Obviously i knew this wasnt right otherwise there would be a big cloudy patch where there would be no clear coat so i got out the other metals gauge and tested it against the calibration shims:
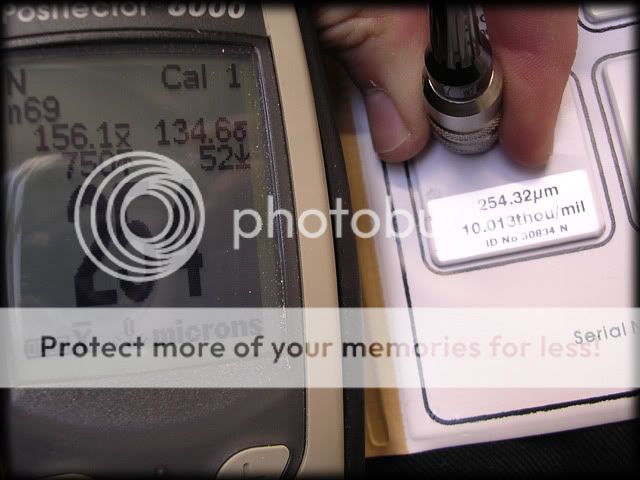
Spot on
The other gauge was re-set and checked later on and all seemed fine with it again but i continued with the other one for the time being, this was a reminder that i should be checking the gauges before every detail and not just now and again so a slap on the wrists for me! Obviously it had told me that there was less paint than there actually was but it could have landed me in trouble if it had been the other way round!
The car was showing readings from 80-120-ish microns all round with no signs of re-spray work, so all was good on that front
It was then taped up ready for polishing:

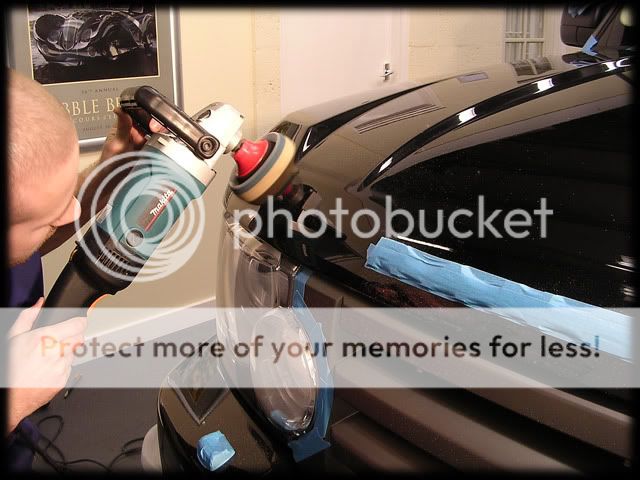
I played about with a few pad and polish combinations, but Range Rover paint is another one of those "fussy" kinds when it comes to certain polishes (certainly in my experiences anyways) so i eventually settled on 3M's range for this car after the others failed to work properly (even Megs #83 dusted more than normal), using a Megs Cutting Pad on one rotary and a Lake Country CCS 4" Polishing pad on the other:
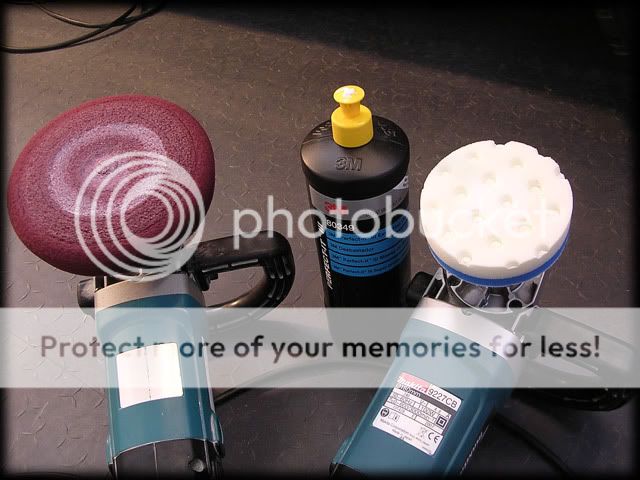
I was using a new backing plate for the 4" pads that Rich wanted me to try:

This one is better than most others as it offers more clearance between the edge of the plate and the pad, as you can see below compared to a standard sized one:

This makes it alot easier to control as i found the rotary was very twitchy with the larger one.
Using some Ultrafina to help prime the pad along with the Fine Cut Compound, this was how my test section looked after 2 hits:
The paint on this one wasnt hard but it wasnt soft either - kind of in the middle and it took a bit of effort at times to remove all the defects with some areas needing a couple of hits @1800rpm's, but as you can see the correction was pretty much perfect
I worked my way round the car using the 2 machines, the 4" pad being used for the smaller areas...
...And also the bumpers, but for these i used 3M Fast Cut Plus asi find it cuts very well without having to cause too much heat, which is always a good thing on plastics! :thumb:
Top of bumper before:

After:

Before:
After:

Another correction shot on the lower half of the front bumper:

7pm - I called it a day as i prepared myself for a long 2 days to folllow!
Tuesday - Day 2
Correction resumed, and i had it planned out in my head that i wanted the whole car corrected by the end of the day - ready for final polishing on the Wednesday.
Lower half before:
After:

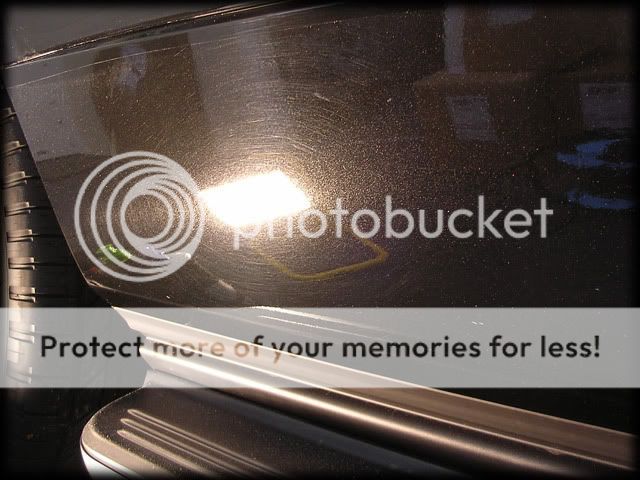
50/50 on the door:
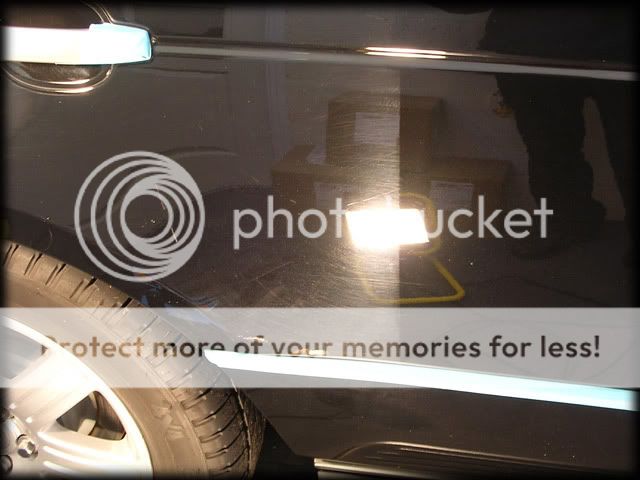
The car in question was a black Range Rover, which arrived on Sunday afternoon while i was doing the White Evo FQ. My camera batteries were charging on Monday morning so this prevented me from taking any wash pics etc so here's a few pics i took on Sunday of the defects in the sun:
Whilst it looked good from a distance, the car was covered in RIDS and little "nicks" in the paint which were typical signs of regular automatic car wash visits
As i said, no wash pics so i'll just list the process for that stage:
- Pre-rinse at high pressure and hot water (50 degrees)
- Engine and shuts soaked with Megs Superdegreaser and pressure washed
- Wheels cleaned with Megs WB (4:1) x2
- Arches cleaned and scrubbed with Megs Superdegreaser and a brush
- Washed with 2BM & Megs Shampoo Plus
- Autosmart Tardis on lower halfs and wheels
- Rinsed
- Clayed with Megs Aggressive Detailing Clay
- Dried with Waffle Weave and Leaf Blower
Total Wash Time: 6 hours.
Polish:
Defects under the Halogens, a nice helping of RIDS,scuffs and nicks all round!:
Paint readings were taken next and this is what the gauge read on the first panel (bonnet):
Obviously i knew this wasnt right otherwise there would be a big cloudy patch where there would be no clear coat so i got out the other metals gauge and tested it against the calibration shims:
Spot on
The other gauge was re-set and checked later on and all seemed fine with it again but i continued with the other one for the time being, this was a reminder that i should be checking the gauges before every detail and not just now and again so a slap on the wrists for me! Obviously it had told me that there was less paint than there actually was but it could have landed me in trouble if it had been the other way round!
The car was showing readings from 80-120-ish microns all round with no signs of re-spray work, so all was good on that front
It was then taped up ready for polishing:
I played about with a few pad and polish combinations, but Range Rover paint is another one of those "fussy" kinds when it comes to certain polishes (certainly in my experiences anyways) so i eventually settled on 3M's range for this car after the others failed to work properly (even Megs #83 dusted more than normal), using a Megs Cutting Pad on one rotary and a Lake Country CCS 4" Polishing pad on the other:
I was using a new backing plate for the 4" pads that Rich wanted me to try:
This one is better than most others as it offers more clearance between the edge of the plate and the pad, as you can see below compared to a standard sized one:
This makes it alot easier to control as i found the rotary was very twitchy with the larger one.
Using some Ultrafina to help prime the pad along with the Fine Cut Compound, this was how my test section looked after 2 hits:
The paint on this one wasnt hard but it wasnt soft either - kind of in the middle and it took a bit of effort at times to remove all the defects with some areas needing a couple of hits @1800rpm's, but as you can see the correction was pretty much perfect
I worked my way round the car using the 2 machines, the 4" pad being used for the smaller areas...
...And also the bumpers, but for these i used 3M Fast Cut Plus asi find it cuts very well without having to cause too much heat, which is always a good thing on plastics! :thumb:
Top of bumper before:
After:
Before:
After:
Another correction shot on the lower half of the front bumper:
7pm - I called it a day as i prepared myself for a long 2 days to folllow!
Tuesday - Day 2
Correction resumed, and i had it planned out in my head that i wanted the whole car corrected by the end of the day - ready for final polishing on the Wednesday.
Lower half before:
After:
50/50 on the door: