Clark@Polishedbliss
Professional Detailer
- Joined
- Feb 4, 2007
- Messages
- 226
- Reaction score
- 0
- Points
- 16
- Location
- Aberdeen
- Website
- www.polishedbliss.co.uk
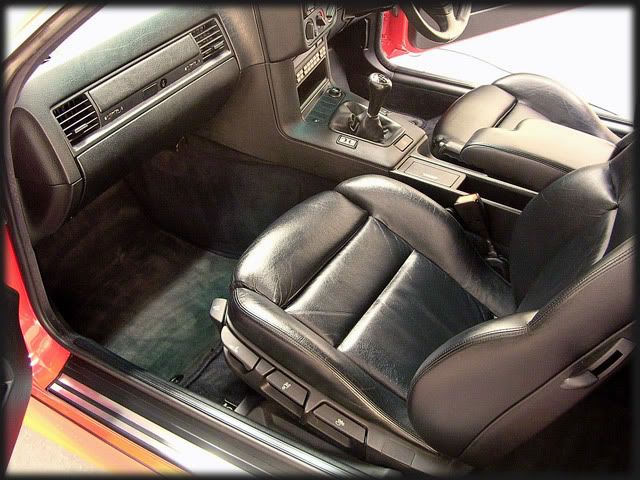
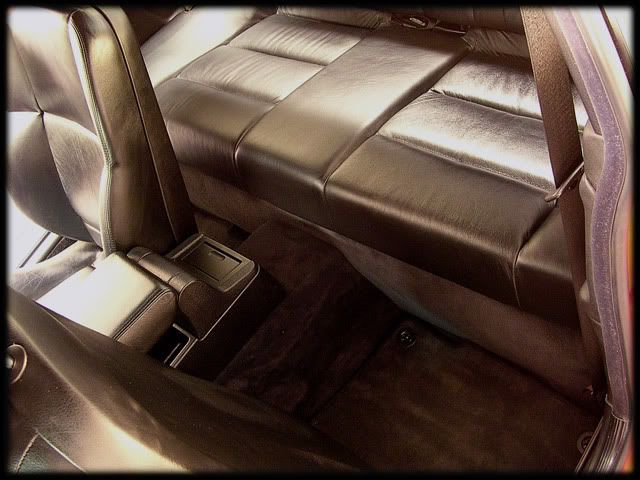
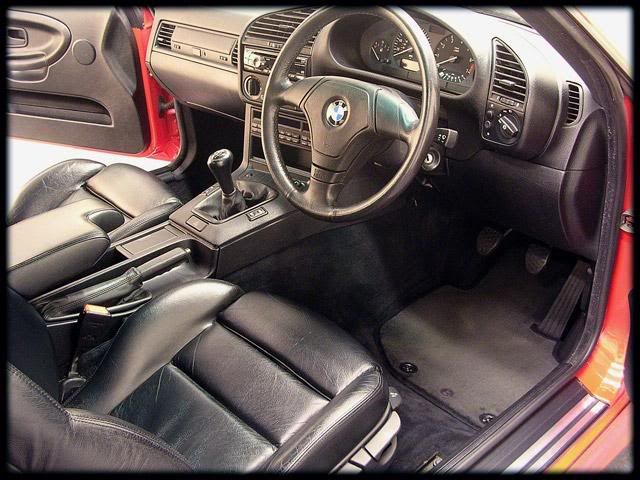
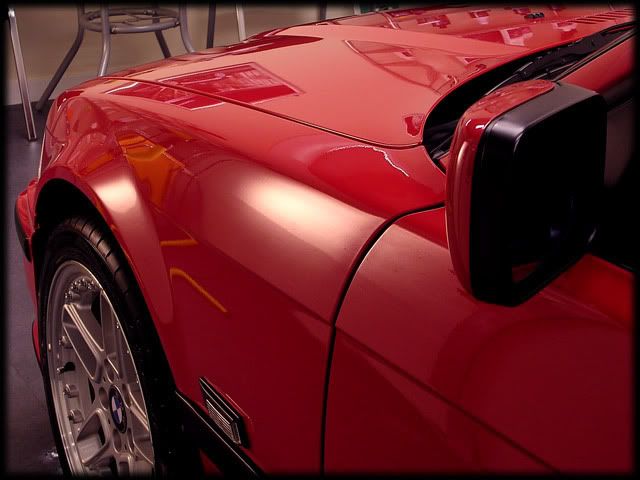
This was the start of another new maintenance contract and was meant to be for an M3, however Alex decided to get rid of it as he couldnt justify a car of that value sitting about in his garage half the time. So instead, he picked up this minted E36 328 with only 46k on the clock:

As you can see, the car was pretty clean already, all be it slightly pink looking")
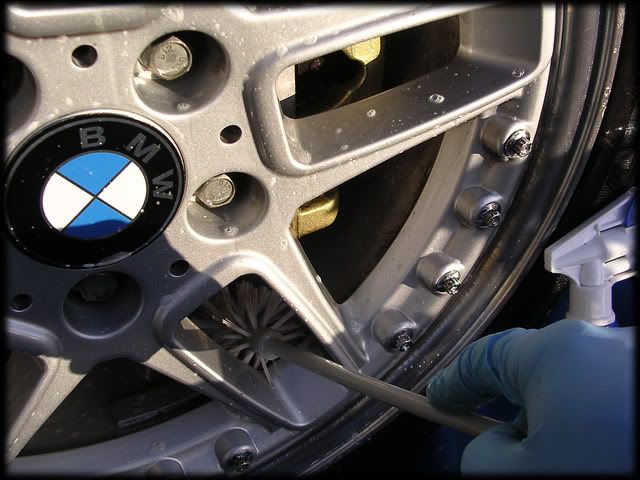
So after a quick pre rinse with hot water (50 degrees) at high pressure i started on the wheels. Like the car in general, these were hardly dirty and even clean all the way to the back so all that was needed was Menz 7.5 to remove the light grime and brake dust. The gel was sprayed on and agitated with a MF mitt and brush:

The arches were soaked with Meguiars Super Degreaser and rinsed at the same time as the wheels.
The car was then washed with the 2BM and lambswool mitt, including the shuts etc - again, these were pretty spotless already so no need for any APC's or degreasers
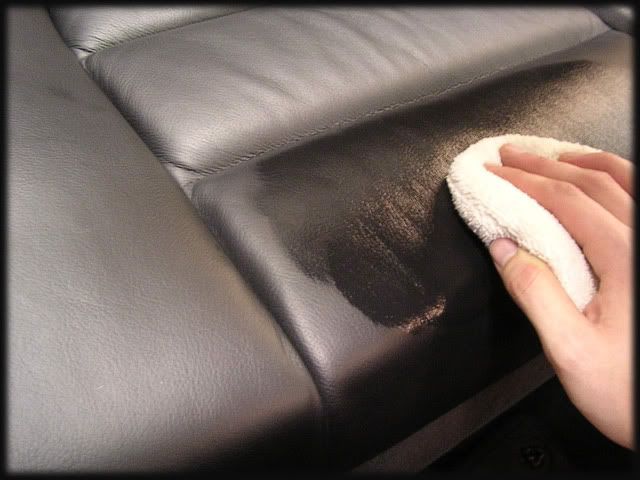
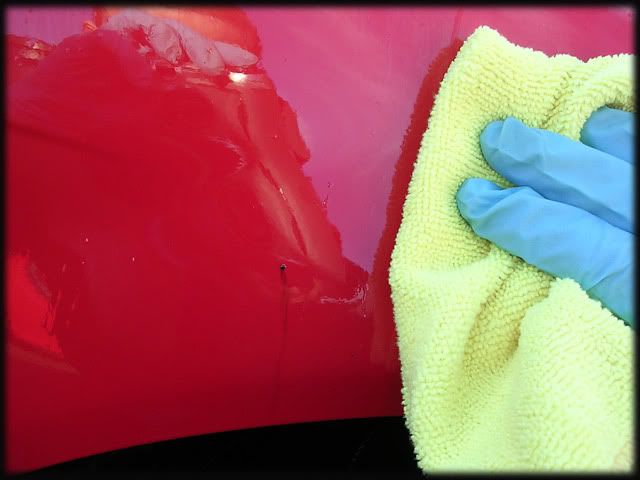
After a rinse, Autosmart Tardis was applied to the lower half of the car and wheels, then wiped off with a MF:

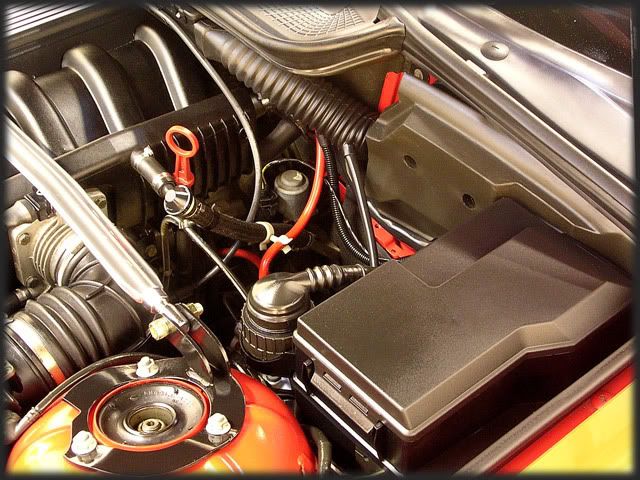
I then soaked the engine bay with Meguiars Super Degreaser and rinsed at medium pressure.
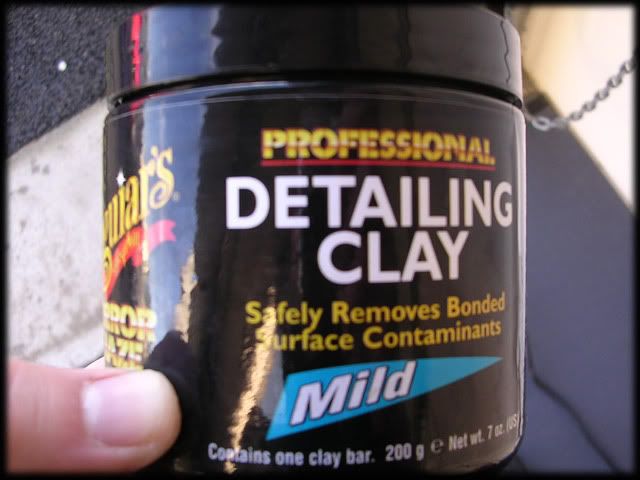
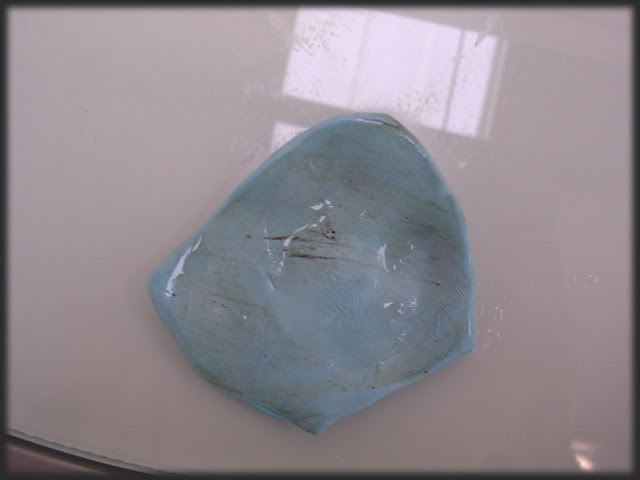
The car was then rinsed again before i moved onto the clay stage. Meguiars Mild Detailing Clay was used this time:

This removed a medium amount of contamination:

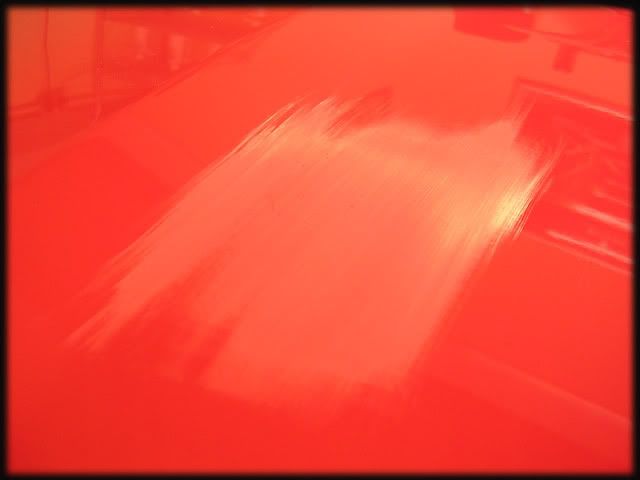
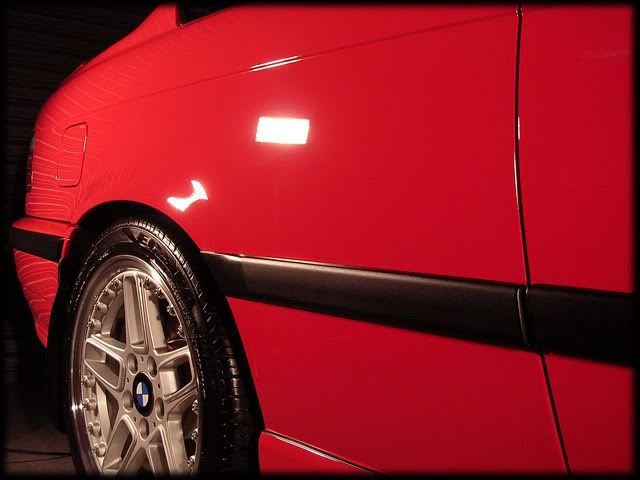
Now nice and clean, the swirls started to become visible in the morning sun:


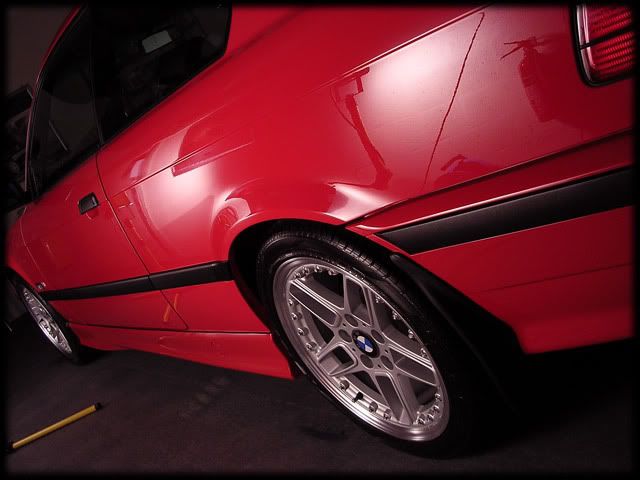
The car had initially looked pretty good before i had washed it but it was alot swirlier once clayed and dried. Turns out the car had been given a quick going over with Autoglym SRP so the fillers had obviously been removed - showing the true condition of the paint
I dried the car off with a waffle weave and then blasted all the excess water out the panel gaps with the leaf blower before putting it inside.
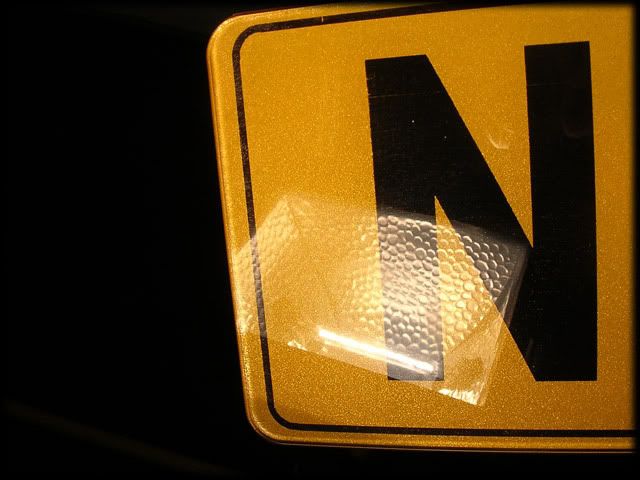
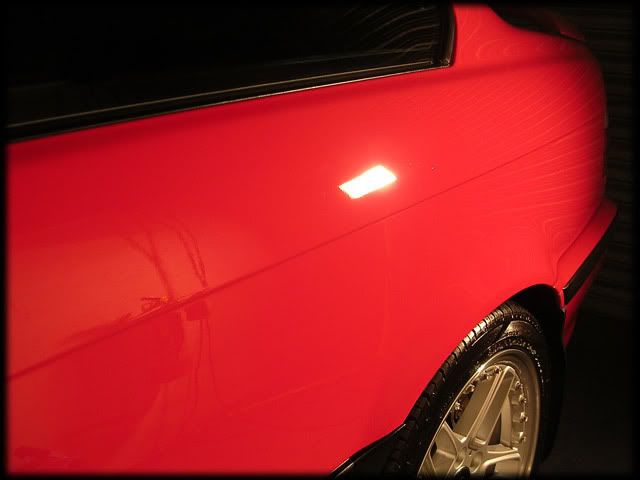
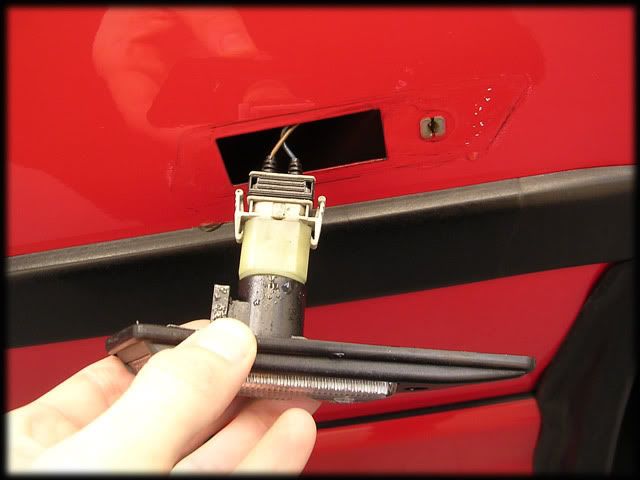
Side repeaters were removed:

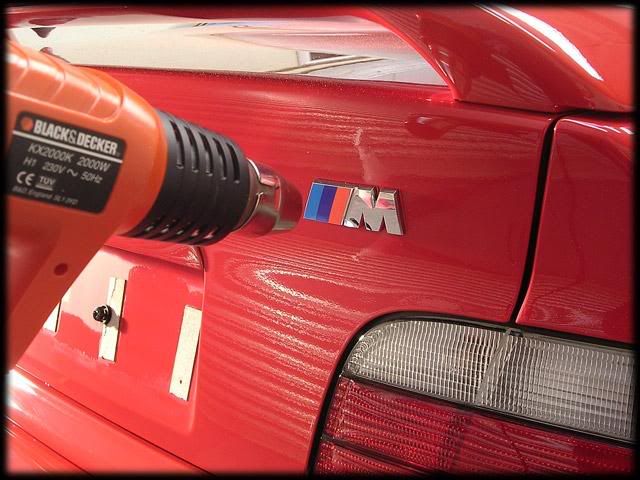
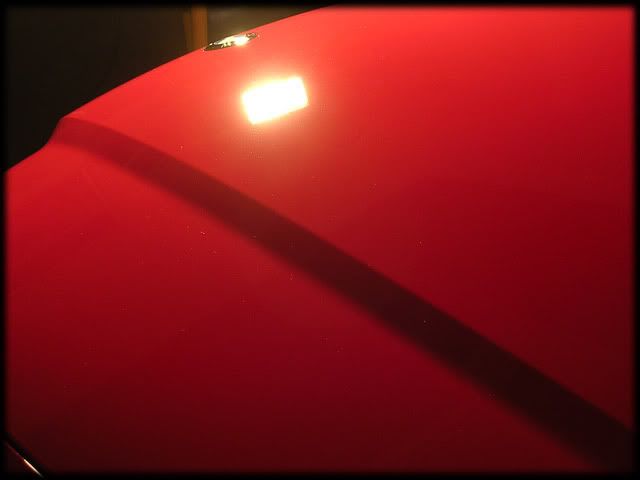
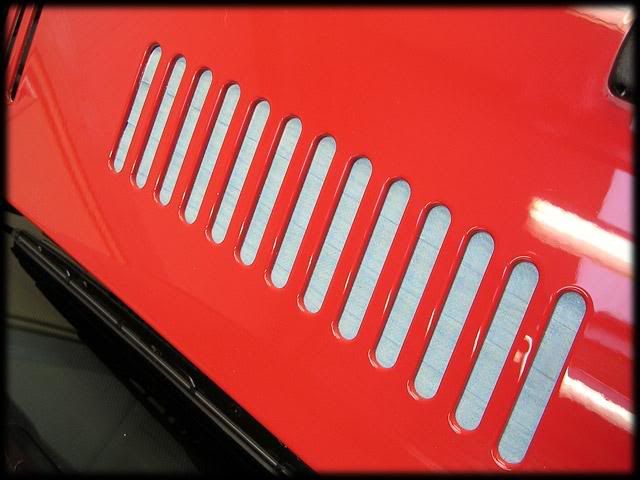
I then taped everything up ready for polishing, including the bonnet vents to stop any dust from getting inside the engine bay:

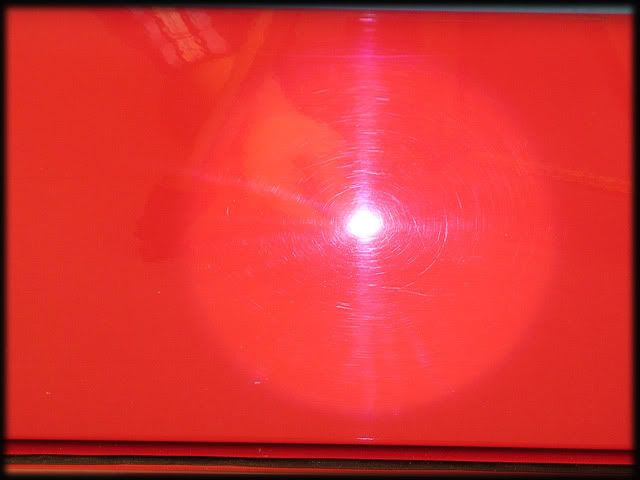
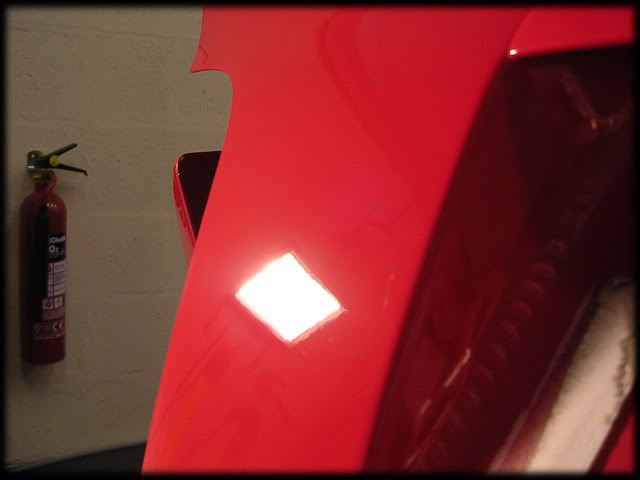
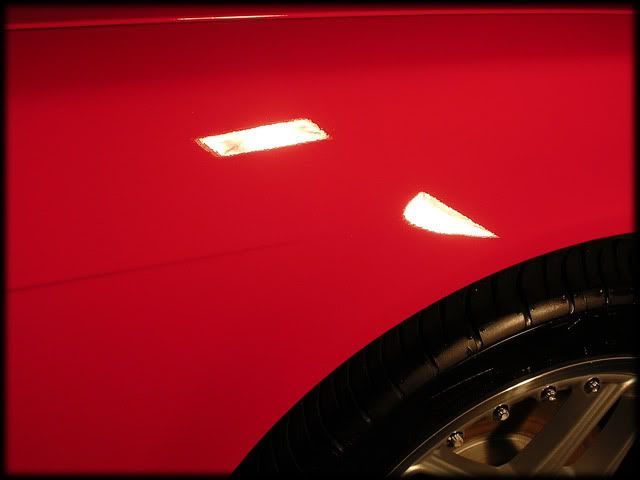
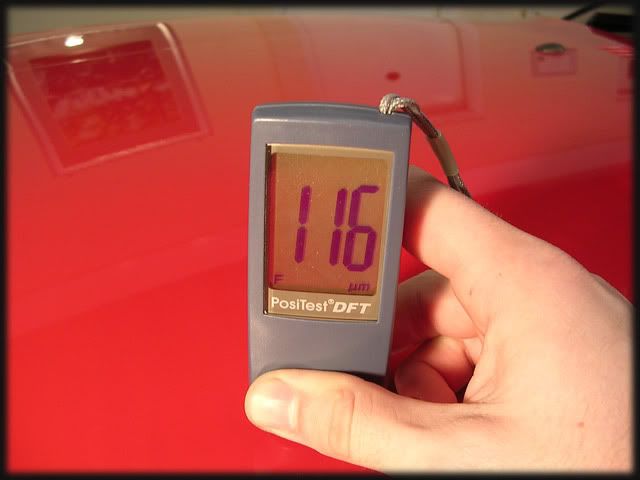
Paint thickness readings were taken next, with the car generally quite healthy:

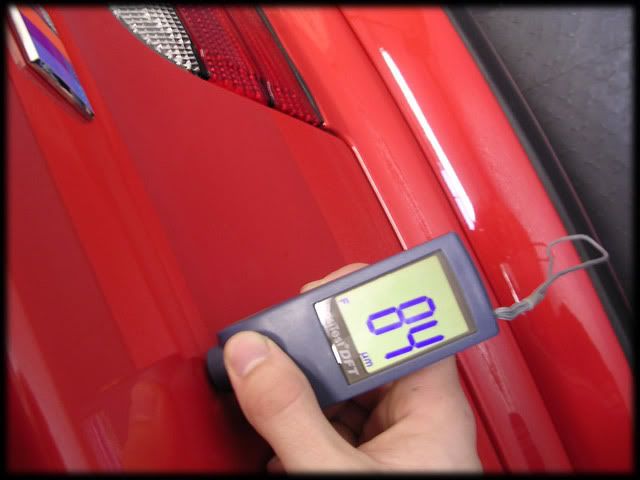
The rear end was a bit thin in places though:

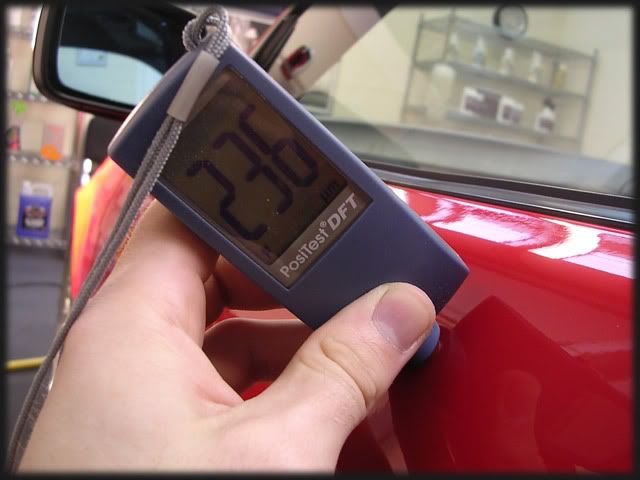
High readings on the n/s rear quarter and door showed signs of respray work, although it was a very high quality:

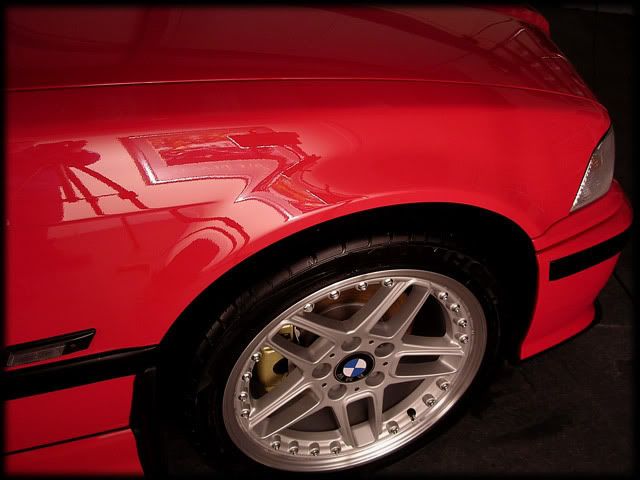
Aside from these areas and the front bumper, the rest of the car was original
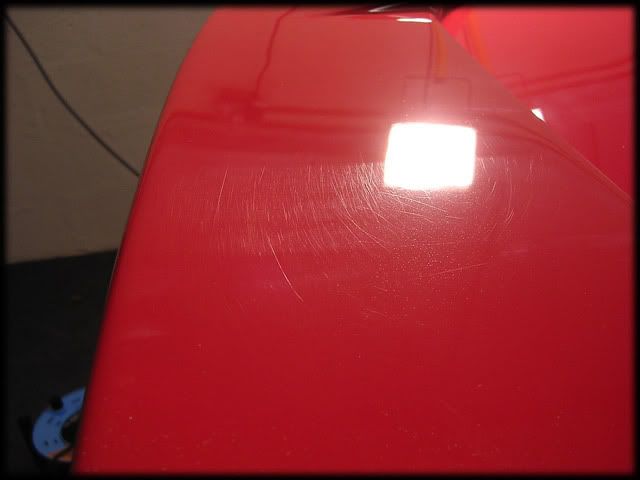
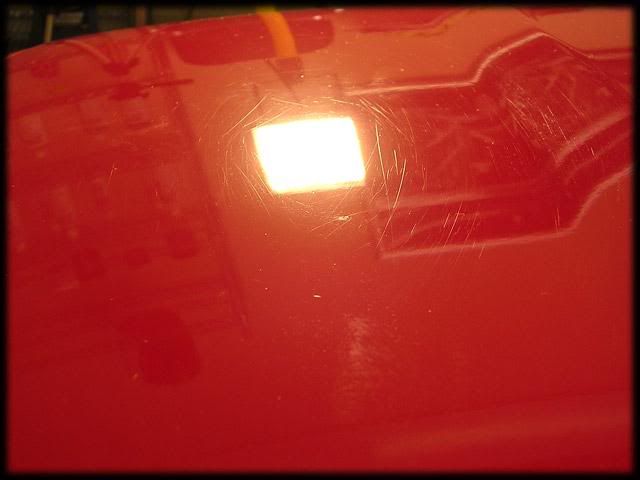
Defects were medium, with alot of RIDS - however for a 12 year old car it wasnt as bad as some 2-3 year old cars i've done!:


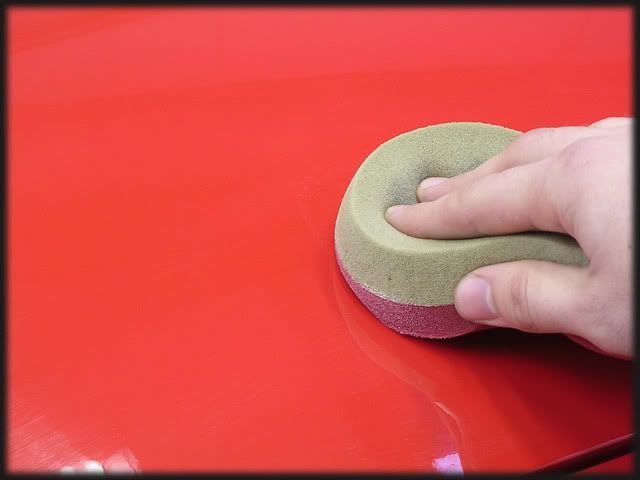
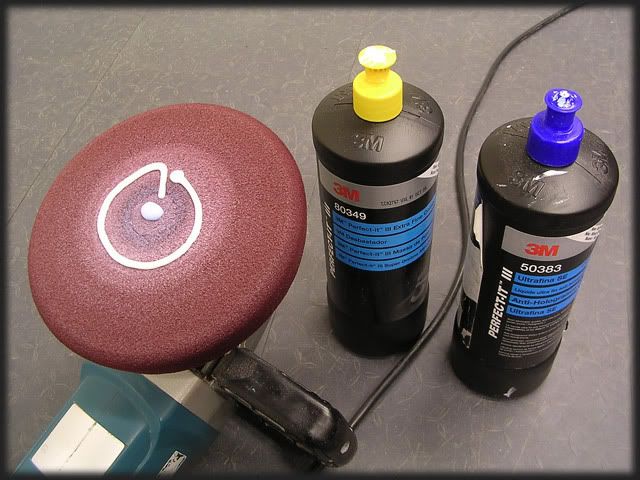
After much playing about with polish and pad combinations, i settled on 3M Fine Cut Compound (3.02 equivalant, however i found it cut better on this particular car) with a drop of Ultrafina which seems to make it that bit nicer to work with. I used this with a Meguiars Cutting Pad @ 1800-2000rpm's, this older paint was a good bit harder than the newer ceramiclear paints and needed 2 hits per panel, some needing 3.

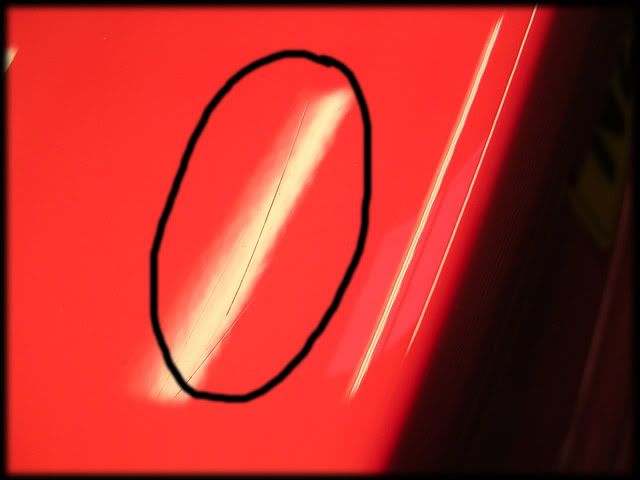
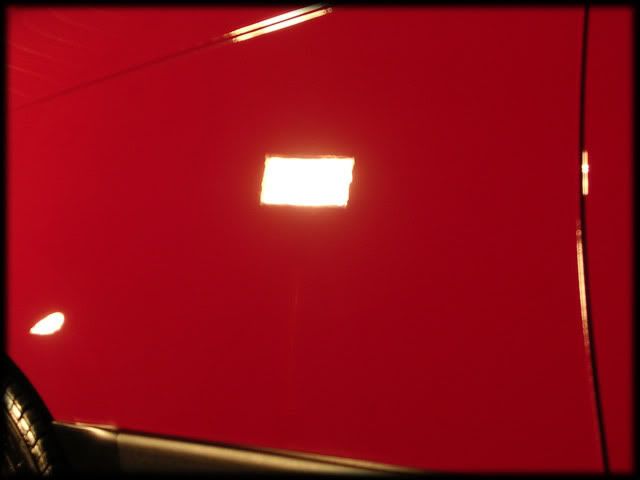
Here's a 50/50 shot on the back 1/4:

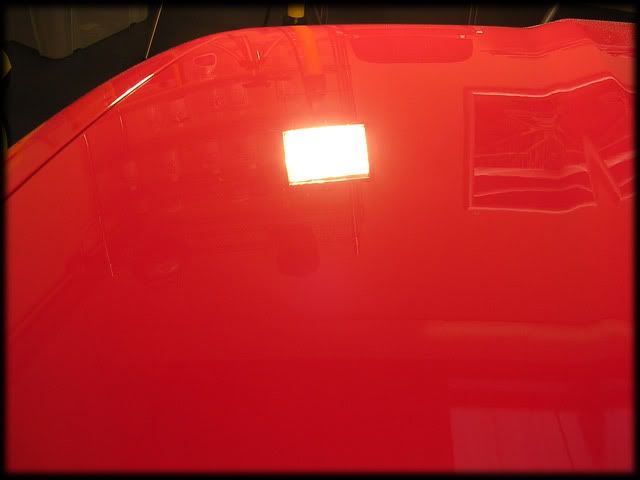
And a couple of fully corrected shots:


I continued to work my way around the car wth this pad and polish combination, slowing down to 1500rpm's for the smaller areas to keep heat down a bit:
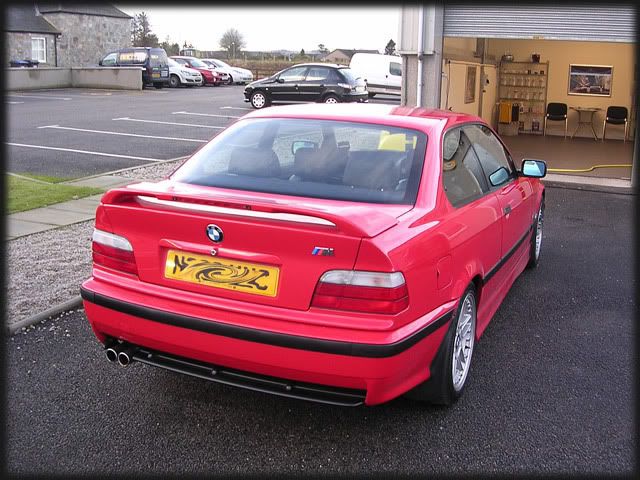
As you can see, the car was pretty clean already, all be it slightly pink looking
So after a quick pre rinse with hot water (50 degrees) at high pressure i started on the wheels. Like the car in general, these were hardly dirty and even clean all the way to the back so all that was needed was Menz 7.5 to remove the light grime and brake dust. The gel was sprayed on and agitated with a MF mitt and brush:
The arches were soaked with Meguiars Super Degreaser and rinsed at the same time as the wheels.
The car was then washed with the 2BM and lambswool mitt, including the shuts etc - again, these were pretty spotless already so no need for any APC's or degreasers
After a rinse, Autosmart Tardis was applied to the lower half of the car and wheels, then wiped off with a MF:
I then soaked the engine bay with Meguiars Super Degreaser and rinsed at medium pressure.
The car was then rinsed again before i moved onto the clay stage. Meguiars Mild Detailing Clay was used this time:
This removed a medium amount of contamination:
Now nice and clean, the swirls started to become visible in the morning sun:
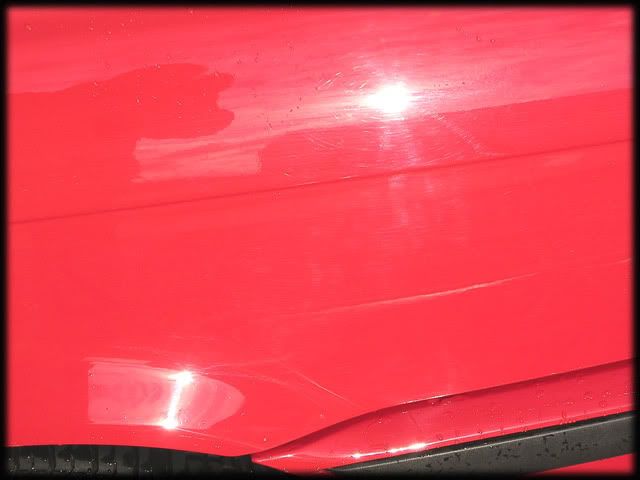

The car had initially looked pretty good before i had washed it but it was alot swirlier once clayed and dried. Turns out the car had been given a quick going over with Autoglym SRP so the fillers had obviously been removed - showing the true condition of the paint
I dried the car off with a waffle weave and then blasted all the excess water out the panel gaps with the leaf blower before putting it inside.
Side repeaters were removed:
I then taped everything up ready for polishing, including the bonnet vents to stop any dust from getting inside the engine bay:
Paint thickness readings were taken next, with the car generally quite healthy:
The rear end was a bit thin in places though:
High readings on the n/s rear quarter and door showed signs of respray work, although it was a very high quality:
Aside from these areas and the front bumper, the rest of the car was original
Defects were medium, with alot of RIDS - however for a 12 year old car it wasnt as bad as some 2-3 year old cars i've done!:

After much playing about with polish and pad combinations, i settled on 3M Fine Cut Compound (3.02 equivalant, however i found it cut better on this particular car) with a drop of Ultrafina which seems to make it that bit nicer to work with. I used this with a Meguiars Cutting Pad @ 1800-2000rpm's, this older paint was a good bit harder than the newer ceramiclear paints and needed 2 hits per panel, some needing 3.
Here's a 50/50 shot on the back 1/4:
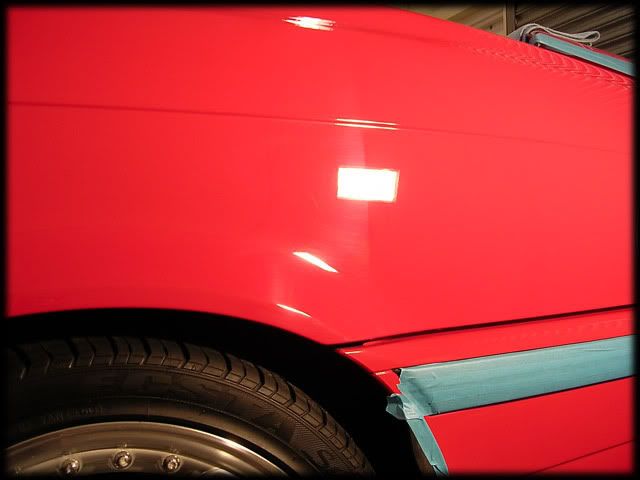
And a couple of fully corrected shots:
I continued to work my way around the car wth this pad and polish combination, slowing down to 1500rpm's for the smaller areas to keep heat down a bit: