

Clark@Polishedbliss
Professional Detailer
- Joined
- Feb 4, 2007
- Messages
- 226
- Reaction score
- 0
- Points
- 16
- Location
- Aberdeen
- Website
- www.polishedbliss.co.uk
This was the 6th month of a 12 month maintainance plan for Chris' S3, but the last one before the plan gets switched over to his new car which arrives on the 1st of September (jammy git!).
I'm sure many will recognise the car as its been posted a couple of times since its major correction detail back in February, here it is looking dirtier than usual:


The car at this point was currently sporting its 5th coat of Vintage but chris wanted the car machined again, as some minimal swirling had re-appeared and some random scratches due to a dent removal guy, nothing major though")
It almost felt a crime stripping the Vintage off as the car looks stupidly wet and glossy when clean but you gotta do what you gotta do!
The car was washed in the usual way, but foamed with degreaser instead of regular shampoo and insted of Zymöl Clear in the bucket i used a fairly strong citrus degreaser to dry and remove as much of the wax as possible. Even after this, the Vintage was obviously putting up a fight as the car still had decent beading!
The wheels were cleaned with a non-acidic tyre and wheel gel.
I then spot clayed a few areas to remove any tar spots but other than that the car was still silky smooth :thumb:
The car was driven inside after being dried with the leaf blower and then taped up for the polishing stage.
Despite mimimal swirling and marring, i used the stronger of the 2 finishing polishes with a polishing pad @1500rpm's as the paint is very hard on this car:

After each panel was polished out, i inspected my work with my VW Touareg Torch as usual, just as good as a brinkmann in my eyes, but cheaper, i've used mine for the last year or two and its great :

The polishing was done in just over 4 and a half hours, mainly due to the fact i could polish larger areas than usual due to the defects being minor. Once this was done i then dusted the car down with the Zymöl duster to remove the polishing dust:

Next step was the HD Cleanse. I use a MF pad for this, spritzed with 3 or 4 sprays of QD to dampen it first. 4 Drops to begin with, then just the 1 after that....
The HD Cleanse is worked into the paint with moderate pressure in straight lines....

...Then lightly spritzed with QD:

This makes removal of the HDC dead easy, 3 or 4 passes with the MF and its completely gone, if you find it difficult to remove the HDC then there's something wrong - as it should be a nice easy step :thumb:
The HD Cleanse stage was followed up with the re-application of the Vintage wax, applied by the red side of a German Pad:
As we keep our pot in the fridge, its quite easy to get a nice even coverage on the pad:

The amount of wax seen on the pad in the pic above is enough to do the bonnet, wings, roof and at least one side of the car before going back to the pot for more:

The wax curing, its such a thin coat that you can barely see it:
This was then left on the entire car for a good hour while i touched in a few stone chips on the rear wheels and went to the post office to send out some parcels
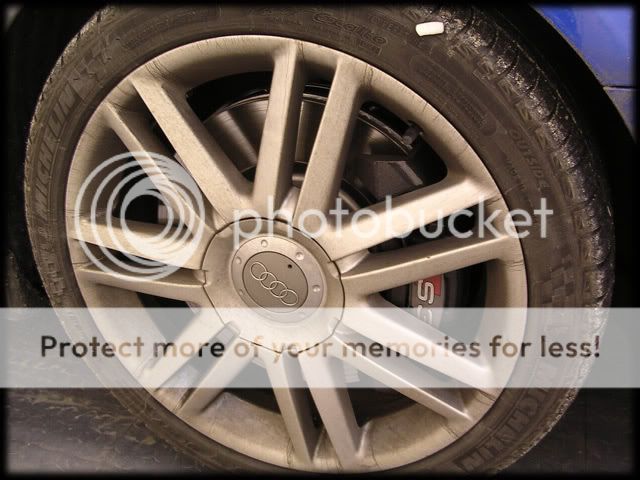
When i returned i buffed off the wax, which came off with ease despite the unit being farely warm today. I then sealed the wheels...

...and dressed the tyres:

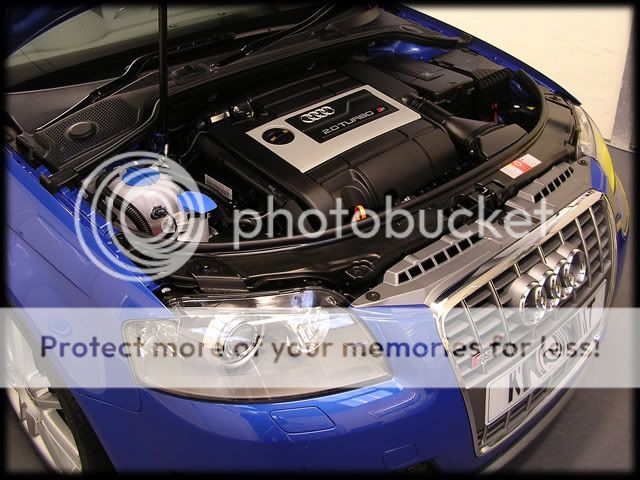
The glass was also cleaned and the tail pipes polished up, before giving the car a final wipe down with Field Glaze.
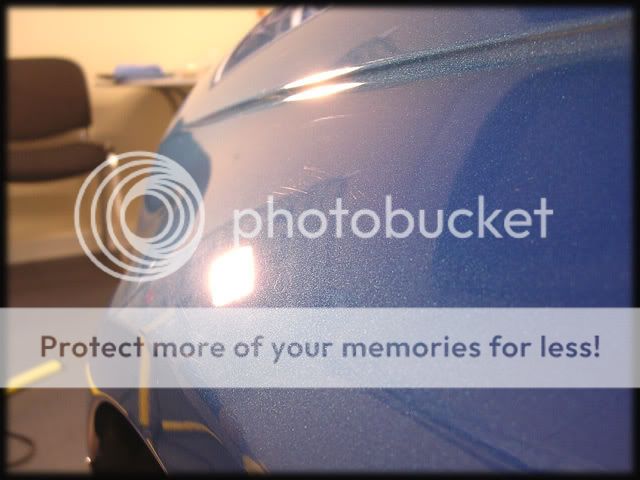
after pics:


Despite the car now only having one coat of Vintage on now it came up great and Chris was chuffed to bits - the S3 is soon to be more of a show car or something else to have fun in when he gets bored of his new toy (doubt that will ever happen!), all i can say is i cant wait till we get our hands on it and get 4 or 5 coats on that one! :thumb:
Thanks for looking as always
I'm sure many will recognise the car as its been posted a couple of times since its major correction detail back in February, here it is looking dirtier than usual:
The car at this point was currently sporting its 5th coat of Vintage but chris wanted the car machined again, as some minimal swirling had re-appeared and some random scratches due to a dent removal guy, nothing major though
It almost felt a crime stripping the Vintage off as the car looks stupidly wet and glossy when clean but you gotta do what you gotta do!
The car was washed in the usual way, but foamed with degreaser instead of regular shampoo and insted of Zymöl Clear in the bucket i used a fairly strong citrus degreaser to dry and remove as much of the wax as possible. Even after this, the Vintage was obviously putting up a fight as the car still had decent beading!
The wheels were cleaned with a non-acidic tyre and wheel gel.
I then spot clayed a few areas to remove any tar spots but other than that the car was still silky smooth :thumb:
The car was driven inside after being dried with the leaf blower and then taped up for the polishing stage.
Despite mimimal swirling and marring, i used the stronger of the 2 finishing polishes with a polishing pad @1500rpm's as the paint is very hard on this car:
After each panel was polished out, i inspected my work with my VW Touareg Torch as usual, just as good as a brinkmann in my eyes, but cheaper, i've used mine for the last year or two and its great
:
The polishing was done in just over 4 and a half hours, mainly due to the fact i could polish larger areas than usual due to the defects being minor. Once this was done i then dusted the car down with the Zymöl duster to remove the polishing dust:
Next step was the HD Cleanse. I use a MF pad for this, spritzed with 3 or 4 sprays of QD to dampen it first. 4 Drops to begin with, then just the 1 after that....
The HD Cleanse is worked into the paint with moderate pressure in straight lines....
...Then lightly spritzed with QD:
This makes removal of the HDC dead easy, 3 or 4 passes with the MF and its completely gone, if you find it difficult to remove the HDC then there's something wrong - as it should be a nice easy step :thumb:
The HD Cleanse stage was followed up with the re-application of the Vintage wax, applied by the red side of a German Pad:
As we keep our pot in the fridge, its quite easy to get a nice even coverage on the pad:
The amount of wax seen on the pad in the pic above is enough to do the bonnet, wings, roof and at least one side of the car before going back to the pot for more:
The wax curing, its such a thin coat that you can barely see it:
This was then left on the entire car for a good hour while i touched in a few stone chips on the rear wheels and went to the post office to send out some parcels
When i returned i buffed off the wax, which came off with ease despite the unit being farely warm today. I then sealed the wheels...
...and dressed the tyres:
The glass was also cleaned and the tail pipes polished up, before giving the car a final wipe down with Field Glaze.
after pics:
Despite the car now only having one coat of Vintage on now it came up great and Chris was chuffed to bits - the S3 is soon to be more of a show car or something else to have fun in when he gets bored of his new toy (doubt that will ever happen!), all i can say is i cant wait till we get our hands on it and get 4 or 5 coats on that one! :thumb:
Thanks for looking as always


 Keeps the scoobies tryin eh?
 And no i aint been up against a properly modded Golf in a froc, but i sure as hell aint concerned either.