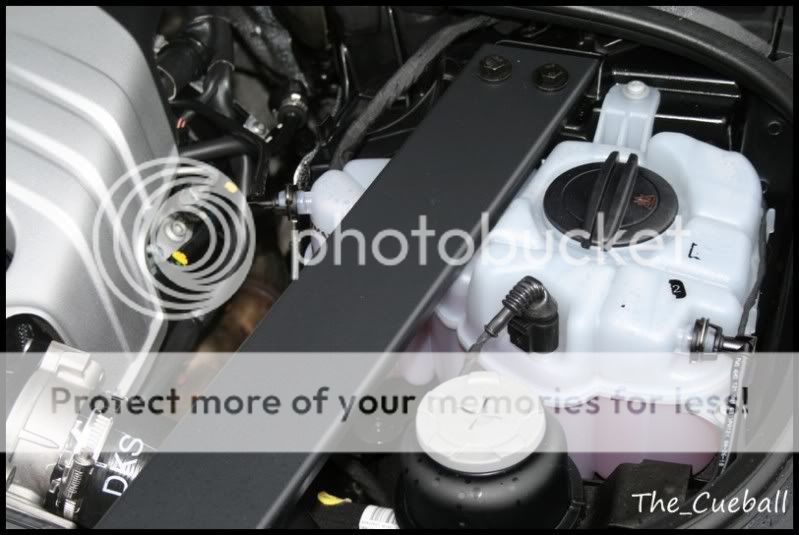
Some pictures to start with, just general dirt and grime really... the owner has had it for a couple of months and hasnât washed it to âhelp me outâ :lol: 


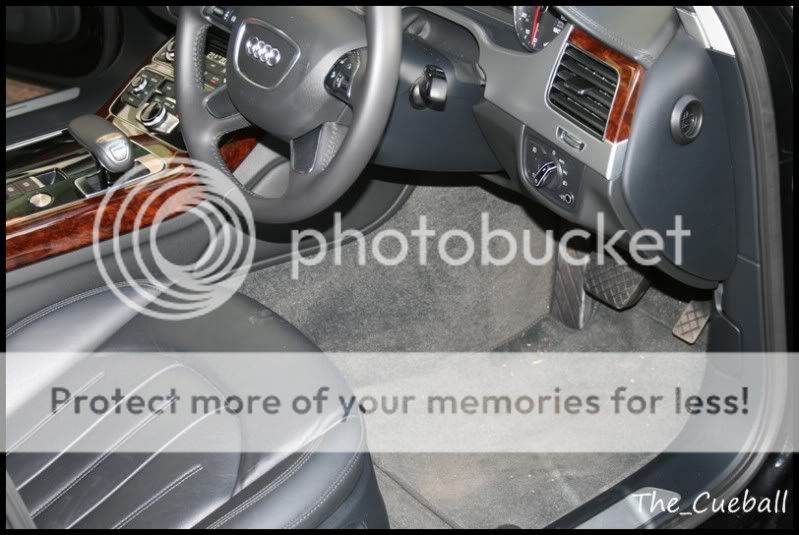
And the very spacious interior, as usual for him, all black too!


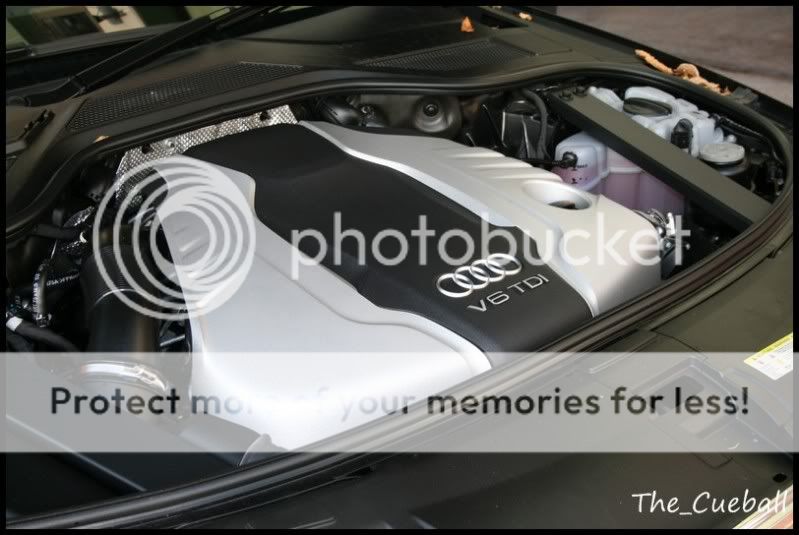
Finally, the TDi powerplant...

After giving the car a good hose down, it was out with the snow foam â still using CG No touch, gratuitous SN shots... :lol:


I went round the car with G101 in all the nooks and crannies, door hinges etc, then washed the car using the 2BM and concours shampoo...
While I was down in the CG unit on Friday, I picked up some of their new iron dissolver... canât remember the name of it, and, as usual for me, the bottle has no label! Same as my snow foam! :lol:
Anyway, I sprayed onto the wheels as normal, and left for 10 minutes to work away...

At this stage it was just taken off with the PW...
After the car was cleaned with the shampoo, I went onto my usual 3 stage decon routine â any tar was dealt with via Tardis, then onto the 2nd chemical stage with the new CG stuff, and finally I clayed the whole car, including the windows with Zaino clay and ONR as the lube...
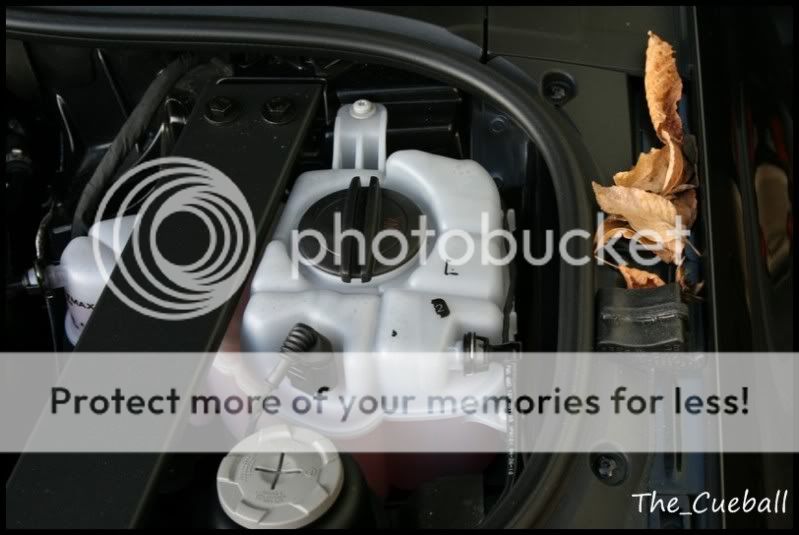
The engine was cleaned, and sprayed with 303 and left...
Check out my âactionâ shot... :lol:

It was then snowfoamed again, rinsed and dried with the help of AS tango... leaving this to start the polishing!


I had noticed 1 paint chip that had been filled in on the rear passenger door... it was raised a little bit, as you can see here with the paint readings...

The paint reading just beside it (115um)

And right on the paint chip (260um)
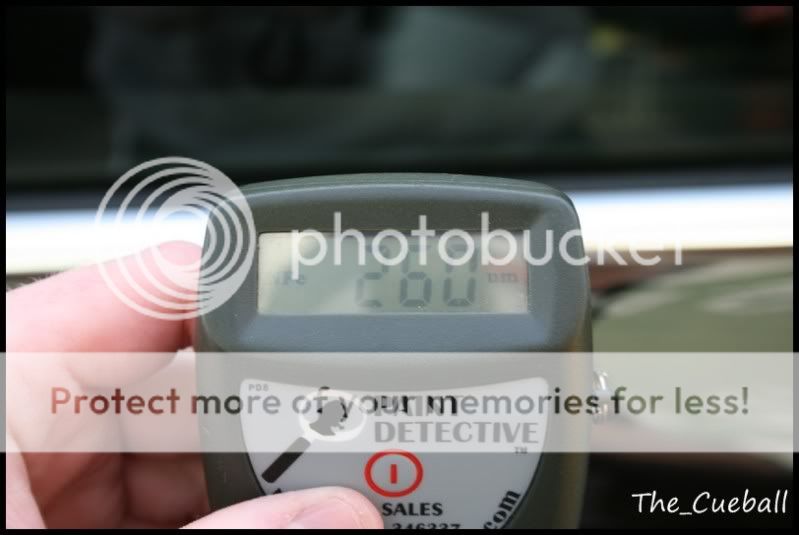
So, a bit of a difference, and Iâll come back to that later on...
And the very spacious interior, as usual for him, all black too!
Finally, the TDi powerplant...
After giving the car a good hose down, it was out with the snow foam â still using CG No touch, gratuitous SN shots... :lol:
I went round the car with G101 in all the nooks and crannies, door hinges etc, then washed the car using the 2BM and concours shampoo...
While I was down in the CG unit on Friday, I picked up some of their new iron dissolver... canât remember the name of it, and, as usual for me, the bottle has no label! Same as my snow foam! :lol:
Anyway, I sprayed onto the wheels as normal, and left for 10 minutes to work away...
At this stage it was just taken off with the PW...
After the car was cleaned with the shampoo, I went onto my usual 3 stage decon routine â any tar was dealt with via Tardis, then onto the 2nd chemical stage with the new CG stuff, and finally I clayed the whole car, including the windows with Zaino clay and ONR as the lube...
The engine was cleaned, and sprayed with 303 and left...
Check out my âactionâ shot...
:lol:
It was then snowfoamed again, rinsed and dried with the help of AS tango... leaving this to start the polishing!
I had noticed 1 paint chip that had been filled in on the rear passenger door... it was raised a little bit, as you can see here with the paint readings...
The paint reading just beside it (115um)
And right on the paint chip (260um)
So, a bit of a difference, and Iâll come back to that later on...