- Joined
- Mar 5, 2011
- Messages
- 8
- Reaction score
- 0
- Points
- 1
- Location
- Elgin, Moray, North Scotland
- Website
- www.amdetails.co.uk
Hello guys,
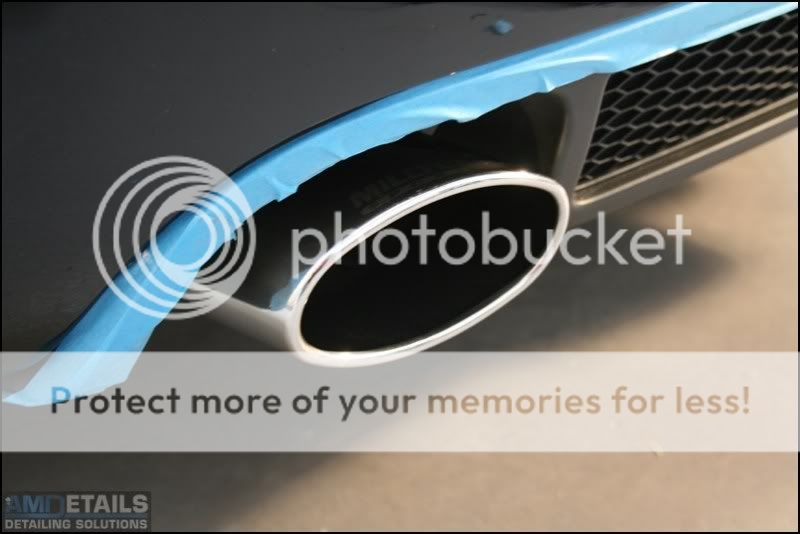
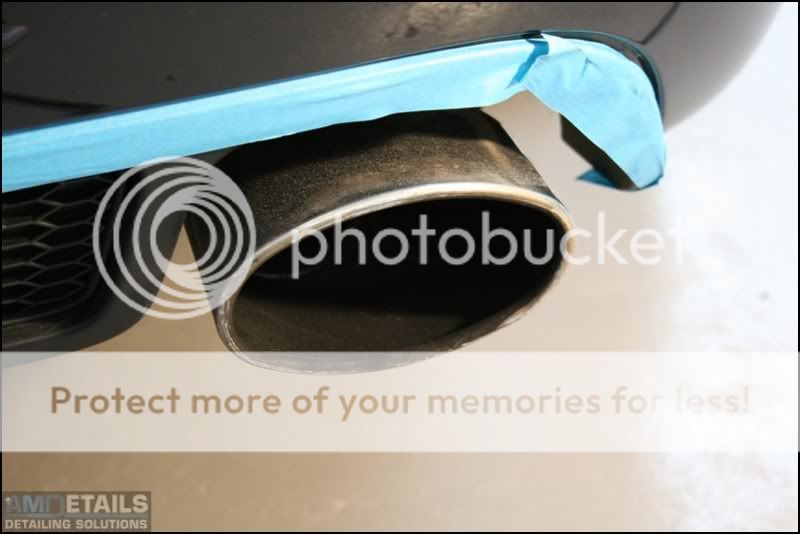
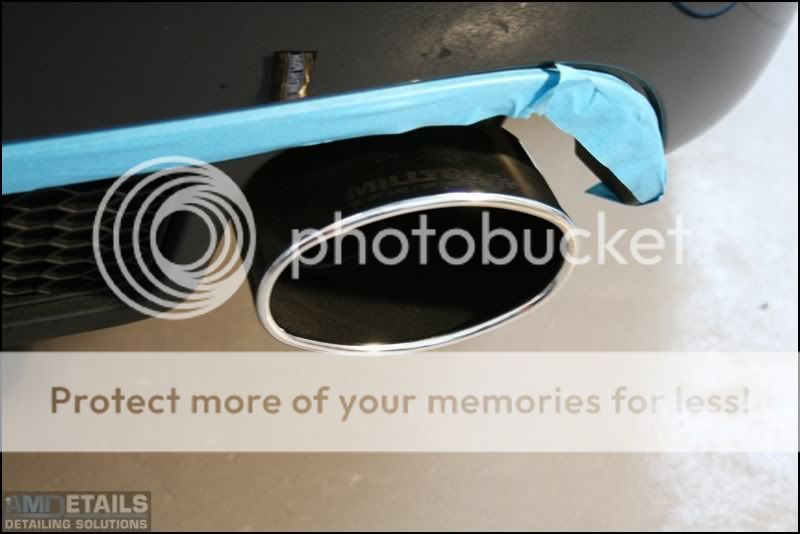
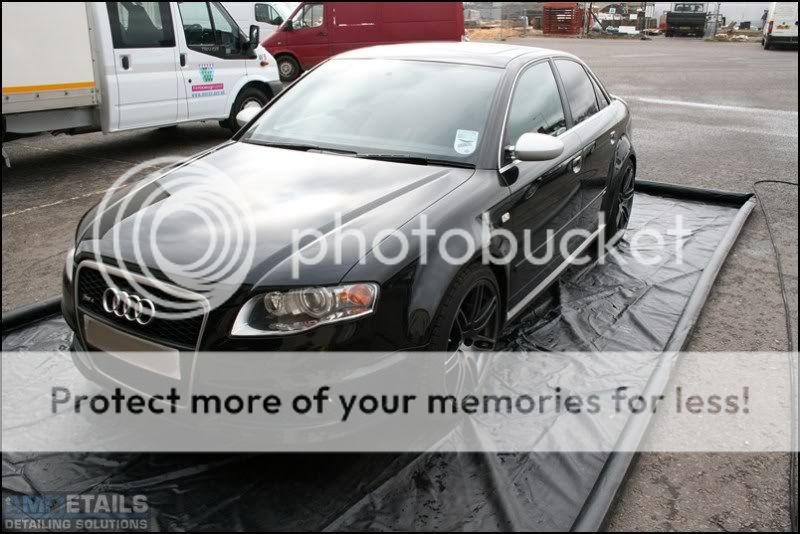
So todayâs write up is of a gorgeous Phantom Black Audi RS4. This particular vehicle has had some very subtle mods Milltek exhaust and I believe itâs on its 3rd remap of tweaking. So with the stance and power sorted, all the customer needed was the paint work looking at. So we went for a 2 stage correction detail to remove the swirls and paying particular attention to some of the customers chosen areas.
On arrival the usual Moray road grim due to our 4 seasons in one day weather.

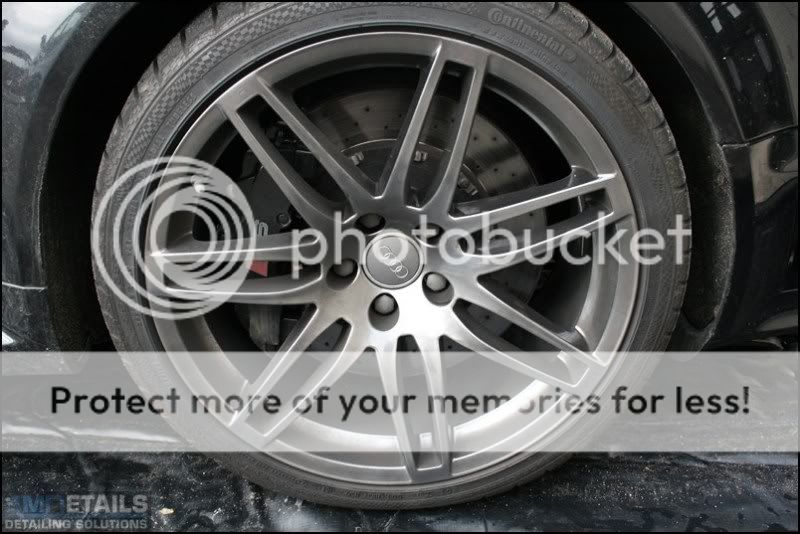


So after an initial vehicle rinse it was on to the wheels. With Acid free wheel cleaner and a 1â detailing brush. Megs and vikan brushes used for the inner wheel.

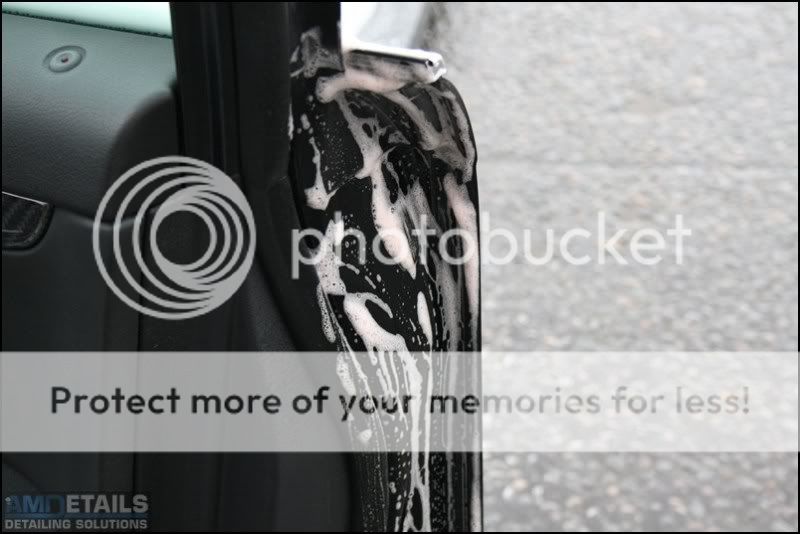
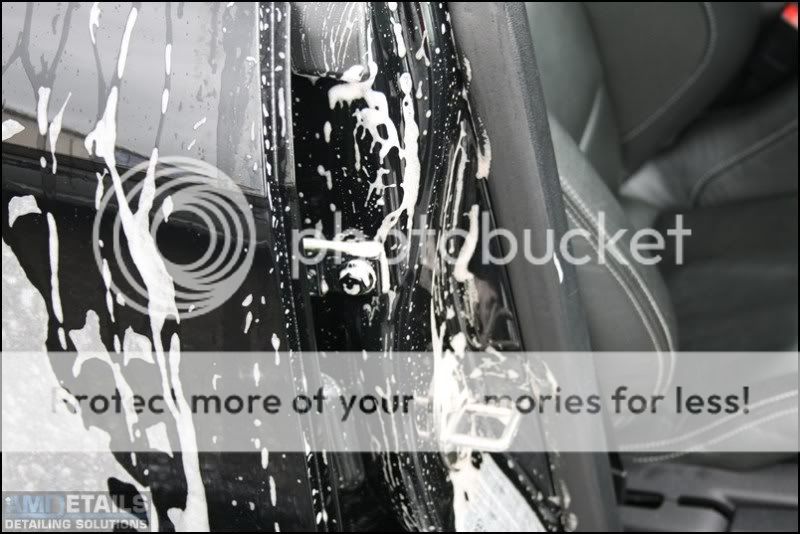
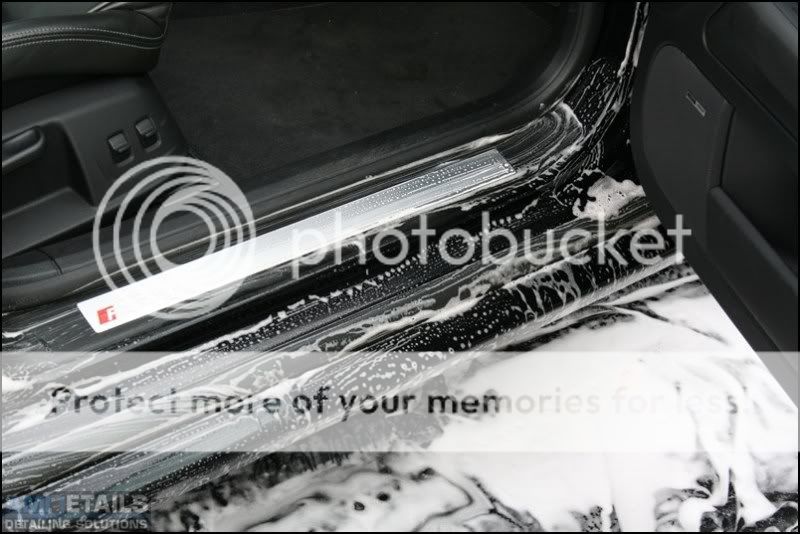
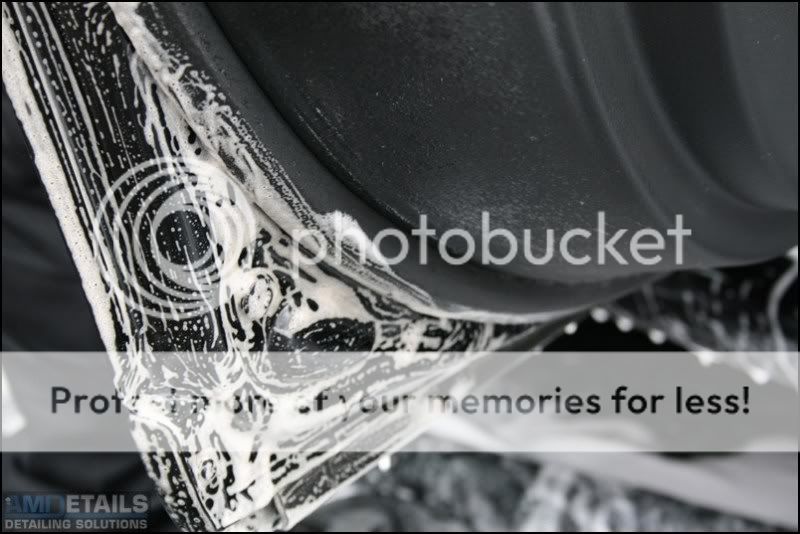
Then a nice layering of foam and to tackle the door shuts.


All this was then rinsed down. I think the good old Moray rain must have then come on from that overcast cloud as there is now only Paint work images on the SLR.
The usual De Tarr with Tardis, De iron with Iron X and then clay bared with a mild Claybar.
The majority of panels were tackled using 1-2 cycles of Scholl S17+ on 3M wool pads. Then after they were refined with S40 on 3M yellow pads. Bumpers and more intricate areas 3M Green 75mm and yellow 75mm pads were used.


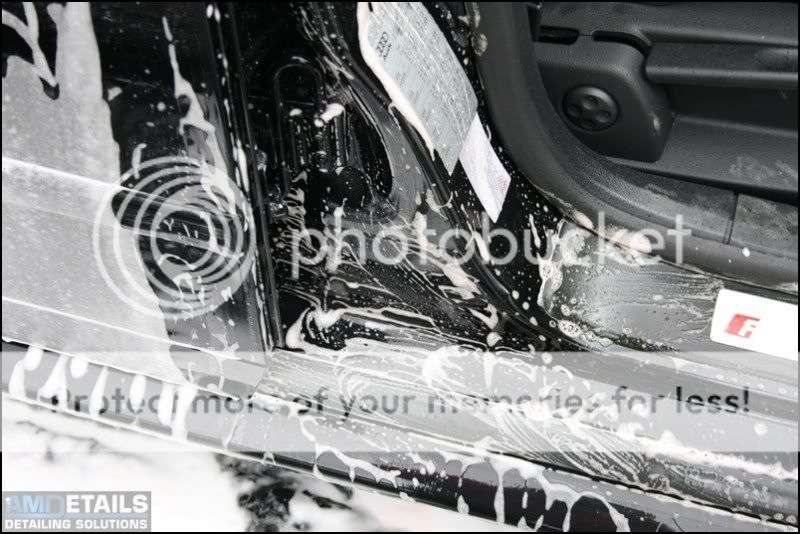
Door Sills


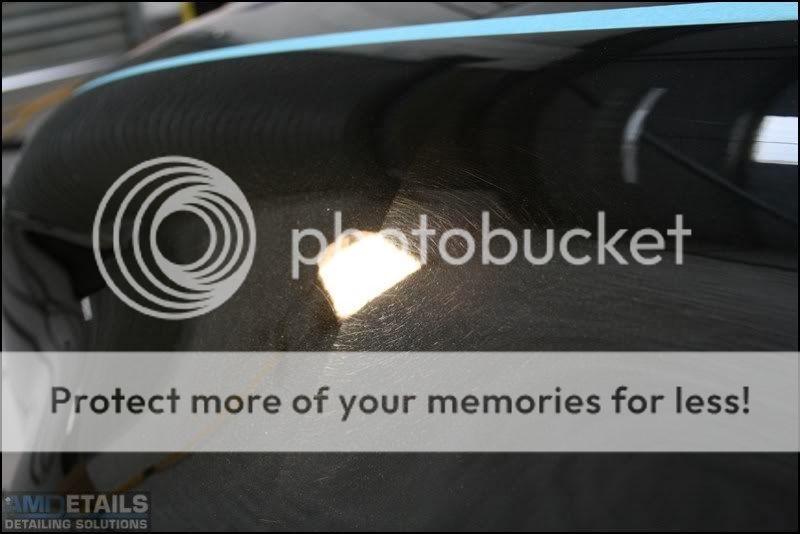
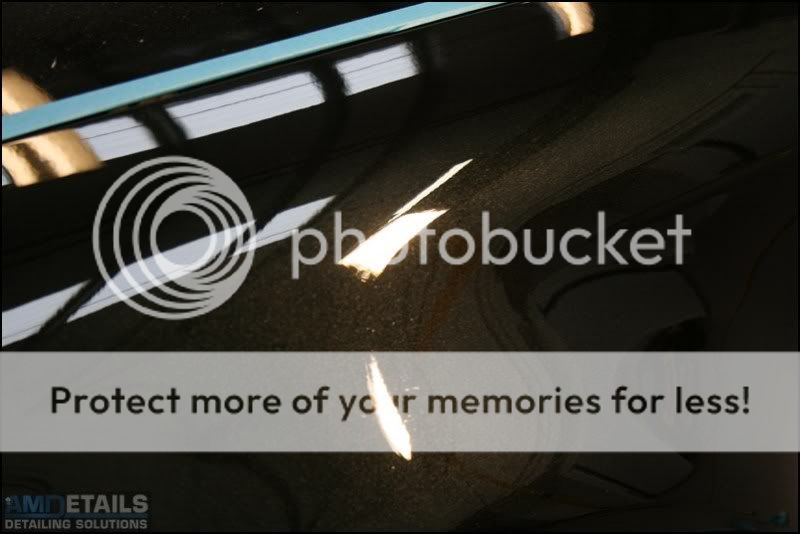
Some more 50/50s


So todayâs write up is of a gorgeous Phantom Black Audi RS4. This particular vehicle has had some very subtle mods Milltek exhaust and I believe itâs on its 3rd remap of tweaking. So with the stance and power sorted, all the customer needed was the paint work looking at. So we went for a 2 stage correction detail to remove the swirls and paying particular attention to some of the customers chosen areas.
On arrival the usual Moray road grim due to our 4 seasons in one day weather.
So after an initial vehicle rinse it was on to the wheels. With Acid free wheel cleaner and a 1â detailing brush. Megs and vikan brushes used for the inner wheel.
Then a nice layering of foam and to tackle the door shuts.
All this was then rinsed down. I think the good old Moray rain must have then come on from that overcast cloud as there is now only Paint work images on the SLR.
The usual De Tarr with Tardis, De iron with Iron X and then clay bared with a mild Claybar.
The majority of panels were tackled using 1-2 cycles of Scholl S17+ on 3M wool pads. Then after they were refined with S40 on 3M yellow pads. Bumpers and more intricate areas 3M Green 75mm and yellow 75mm pads were used.
Door Sills
Some more 50/50s