butler2.8i
Registered User
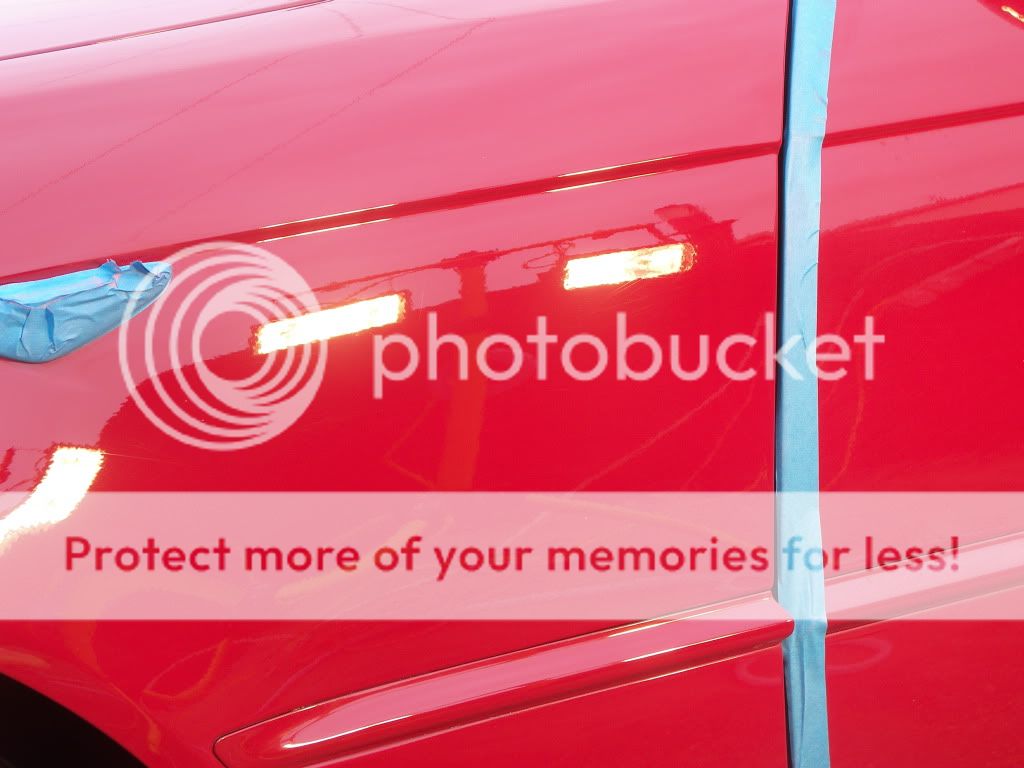
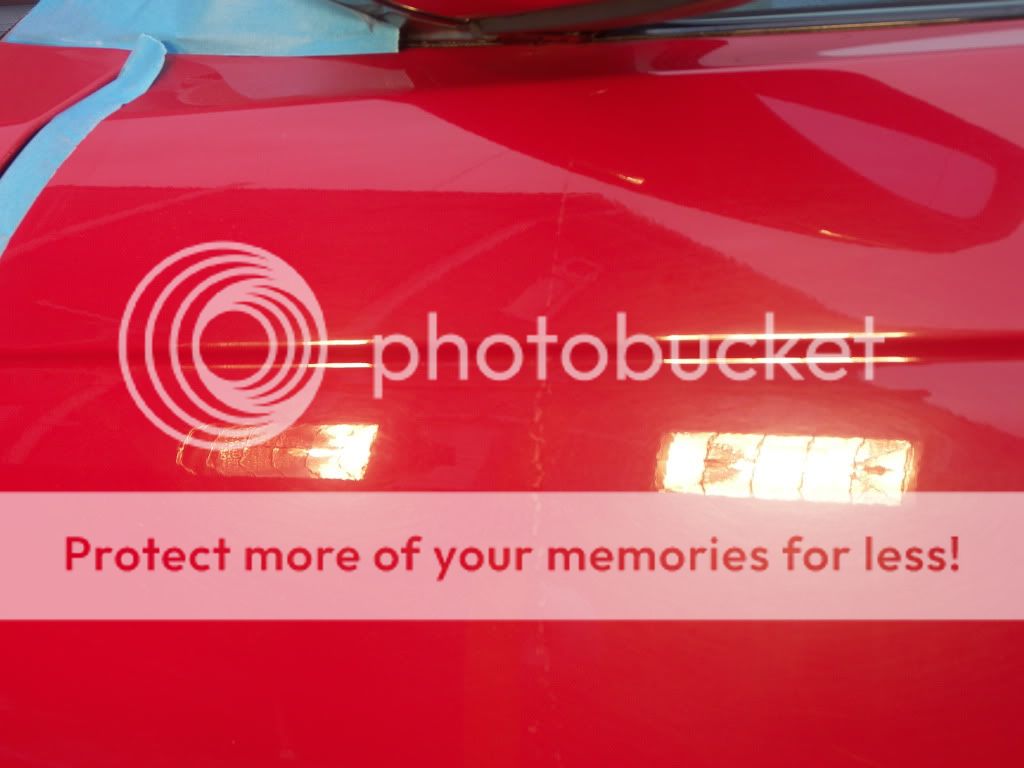
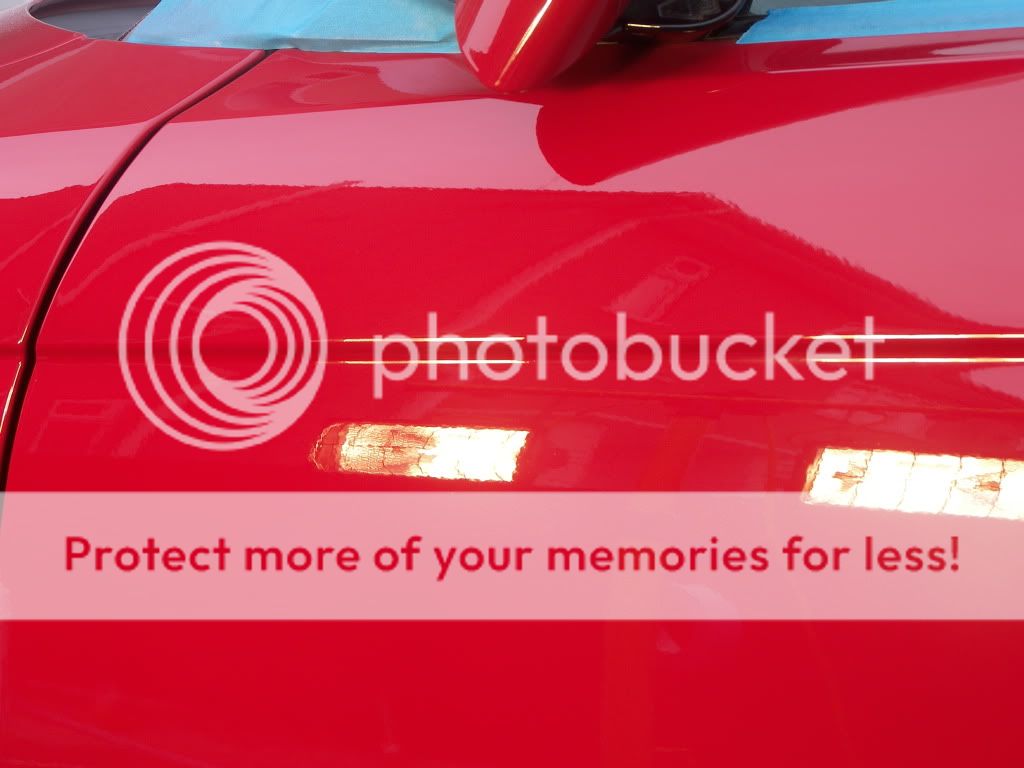
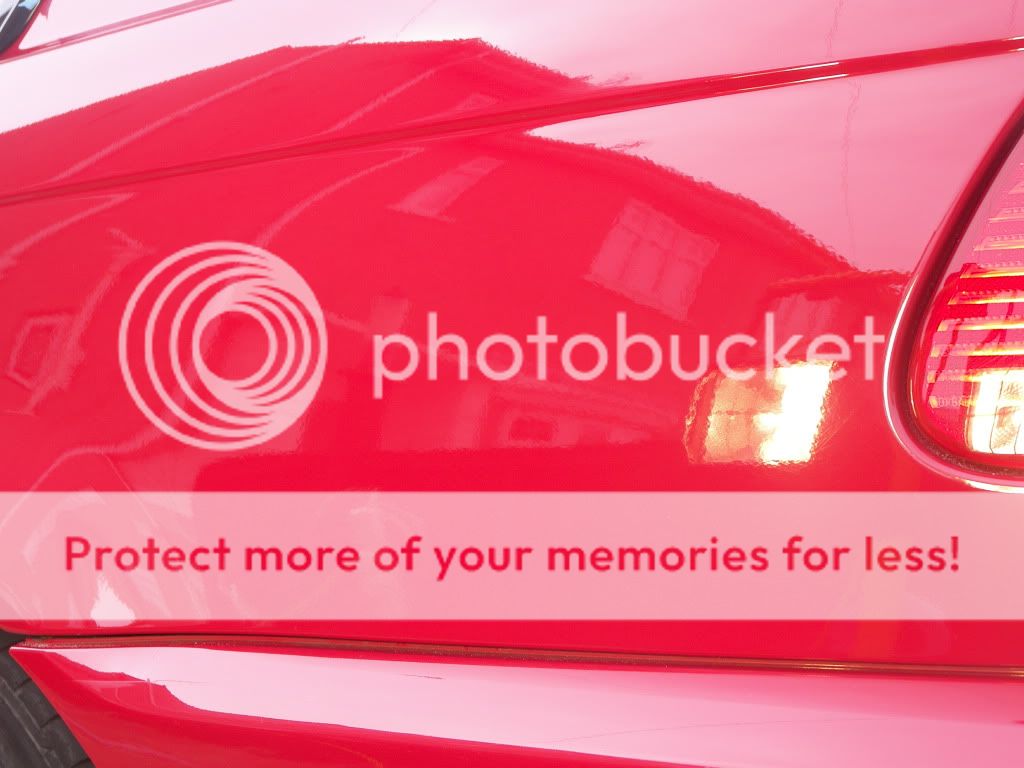
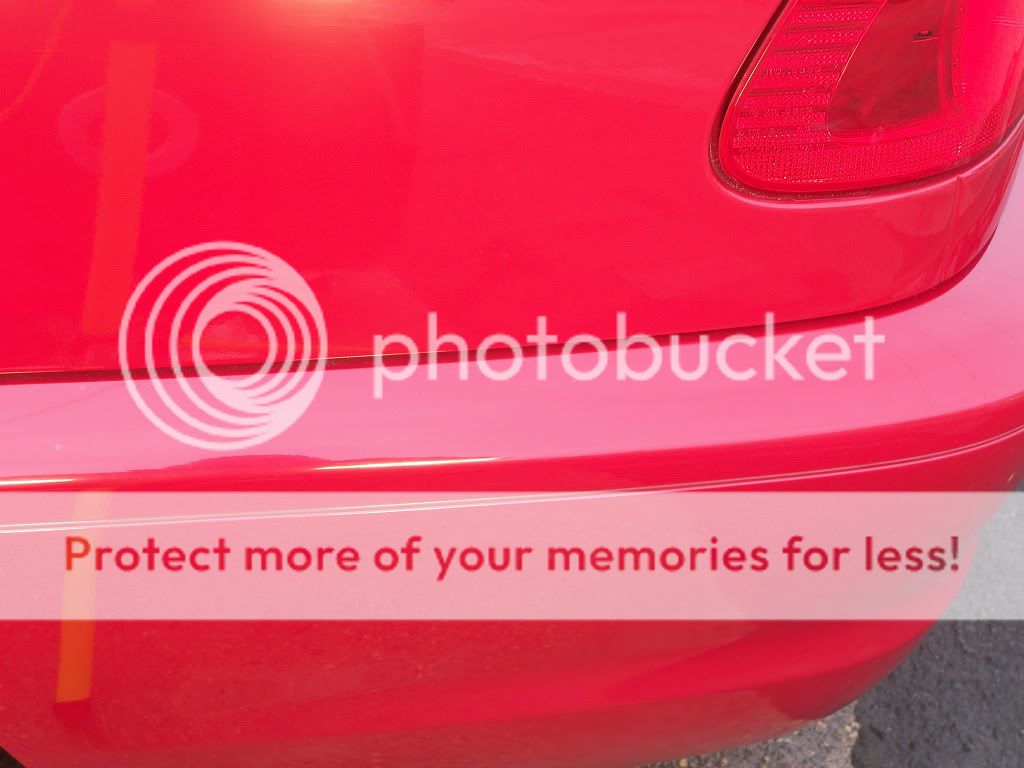
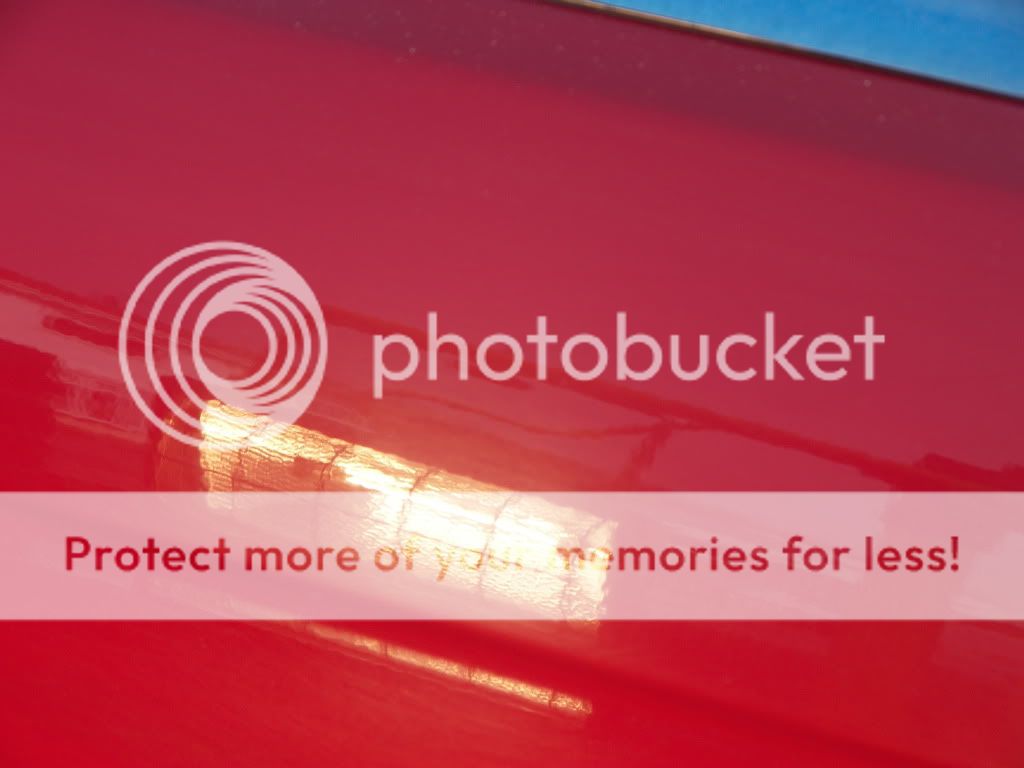
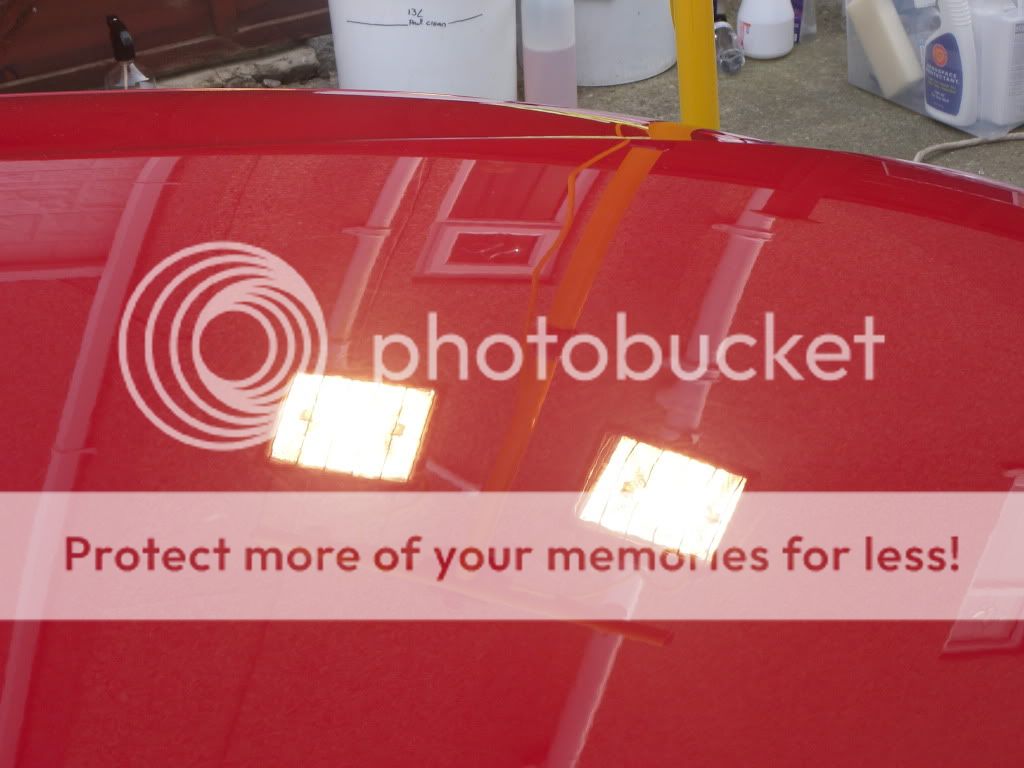
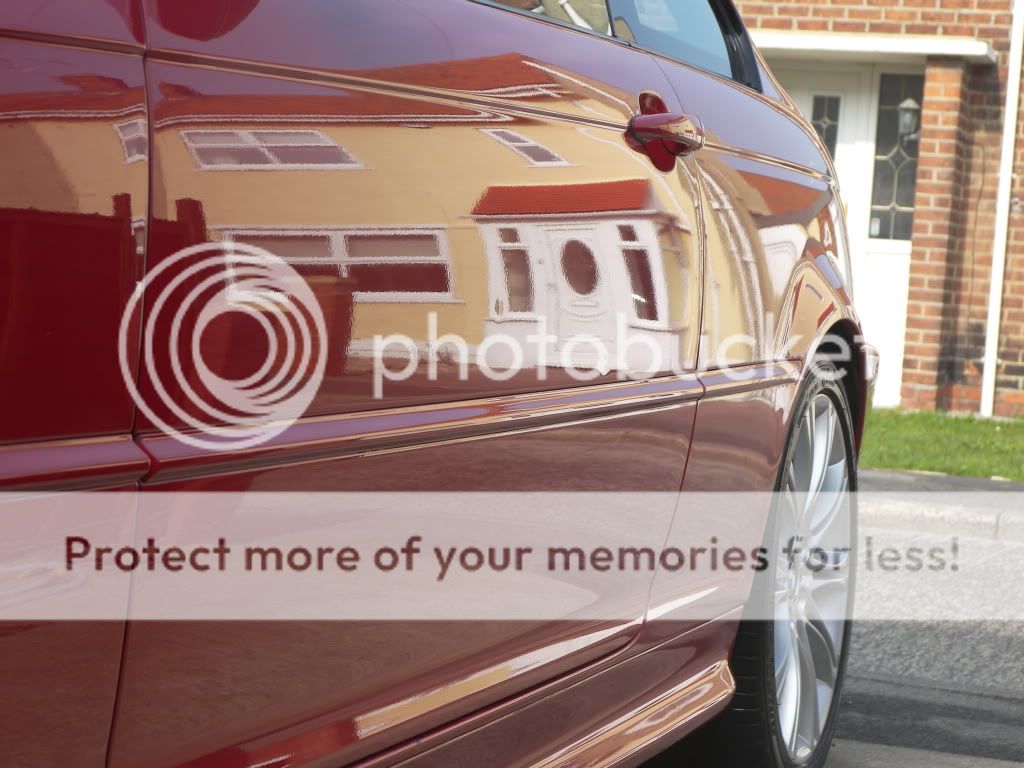
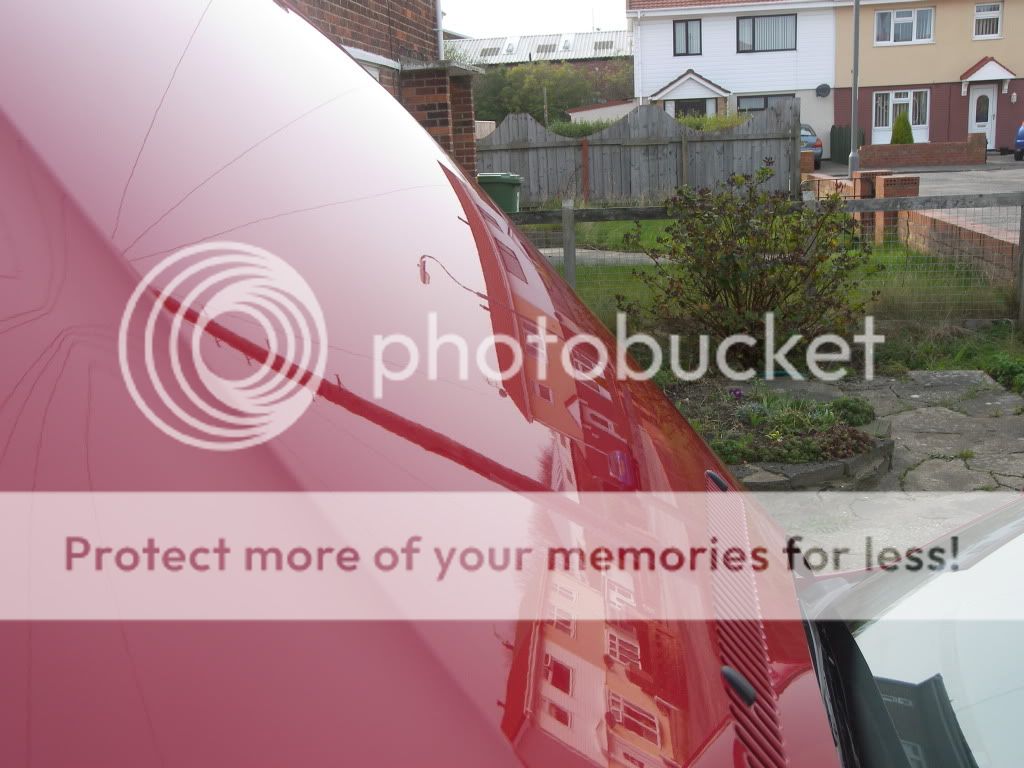
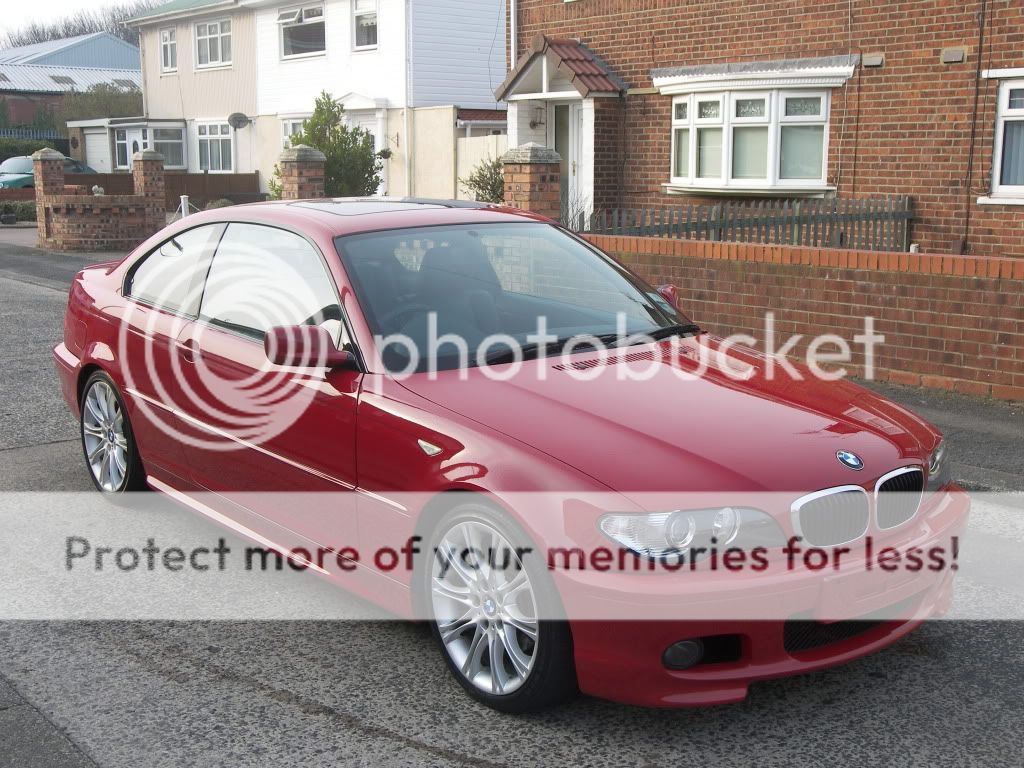
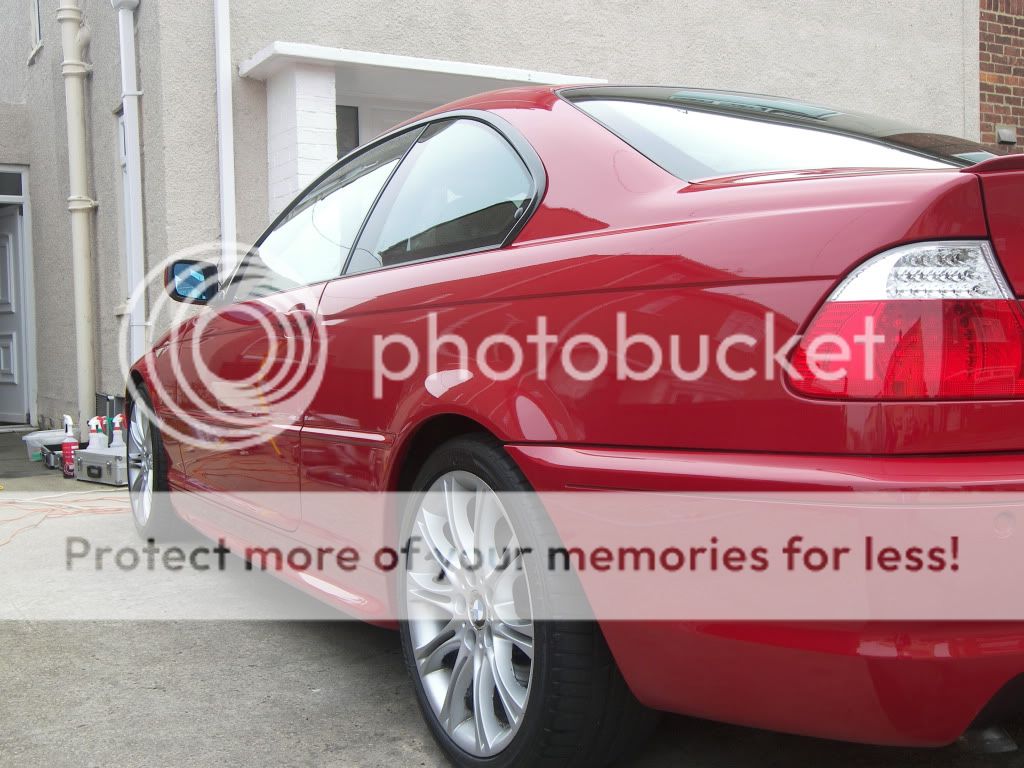
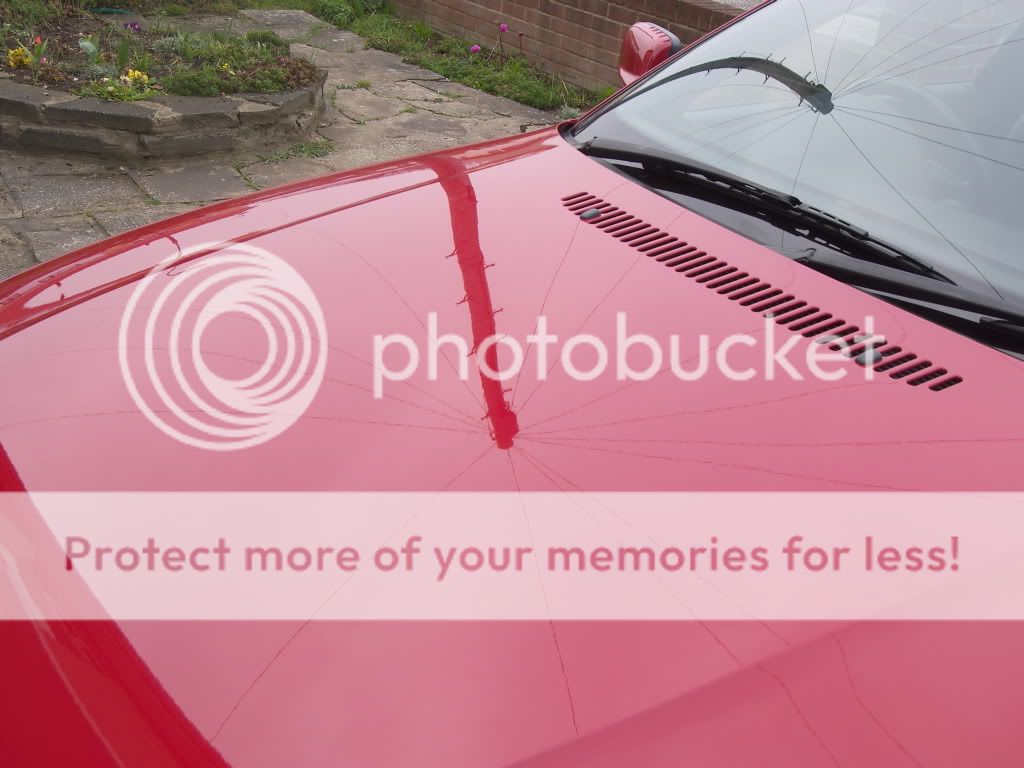
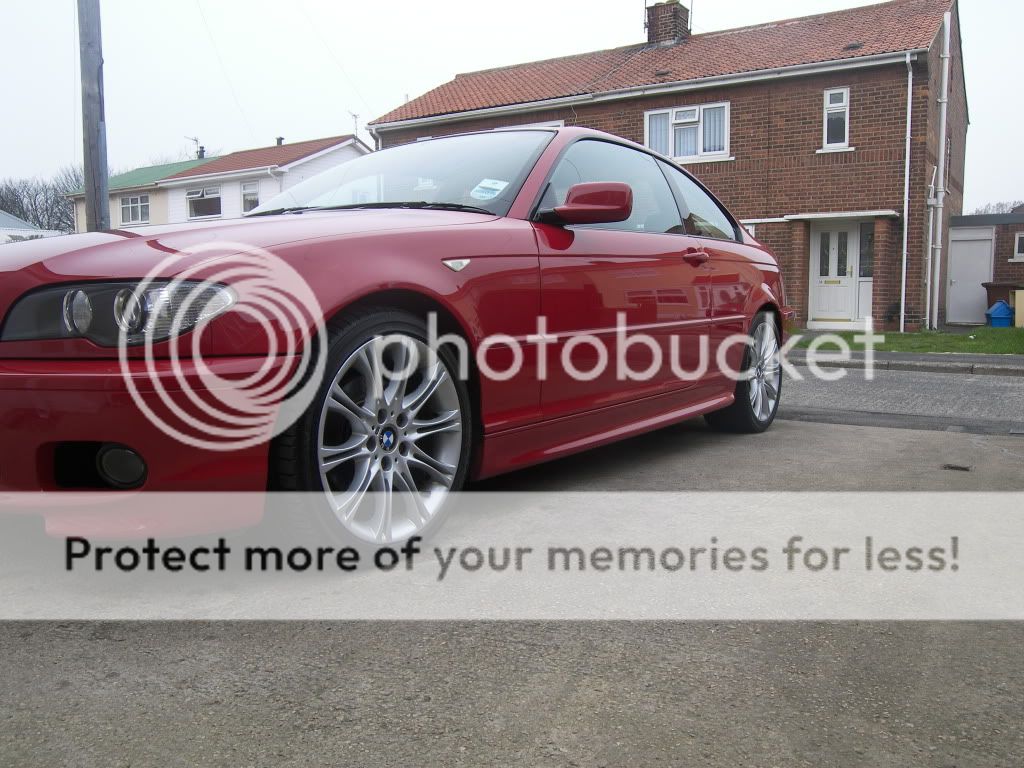
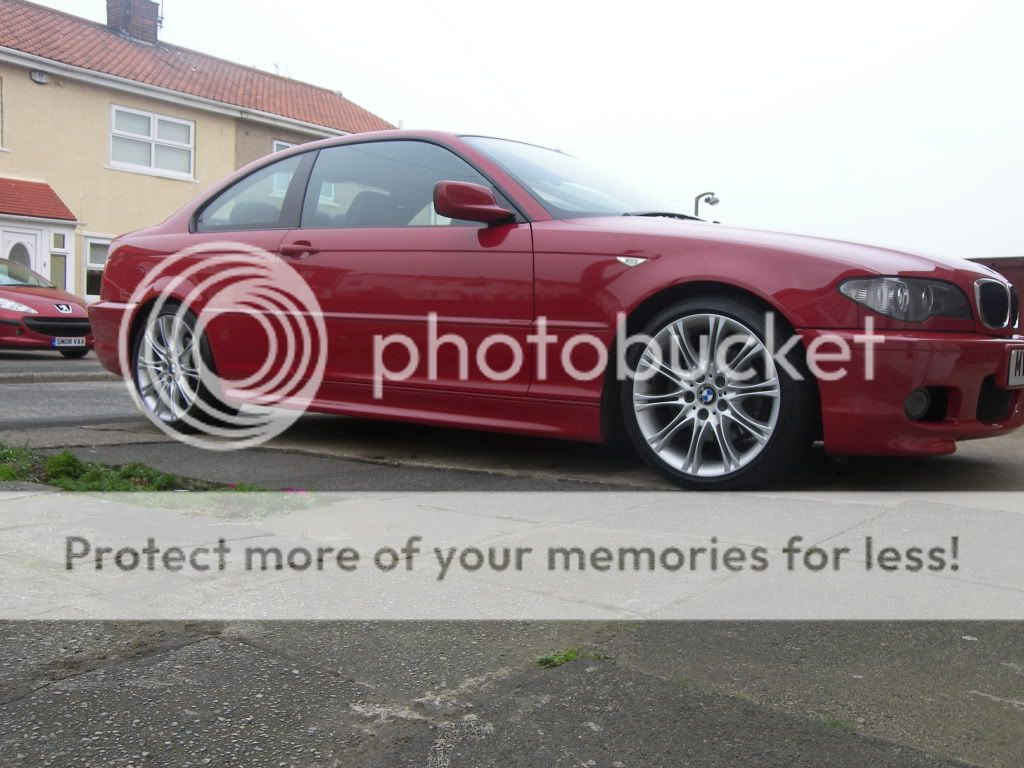
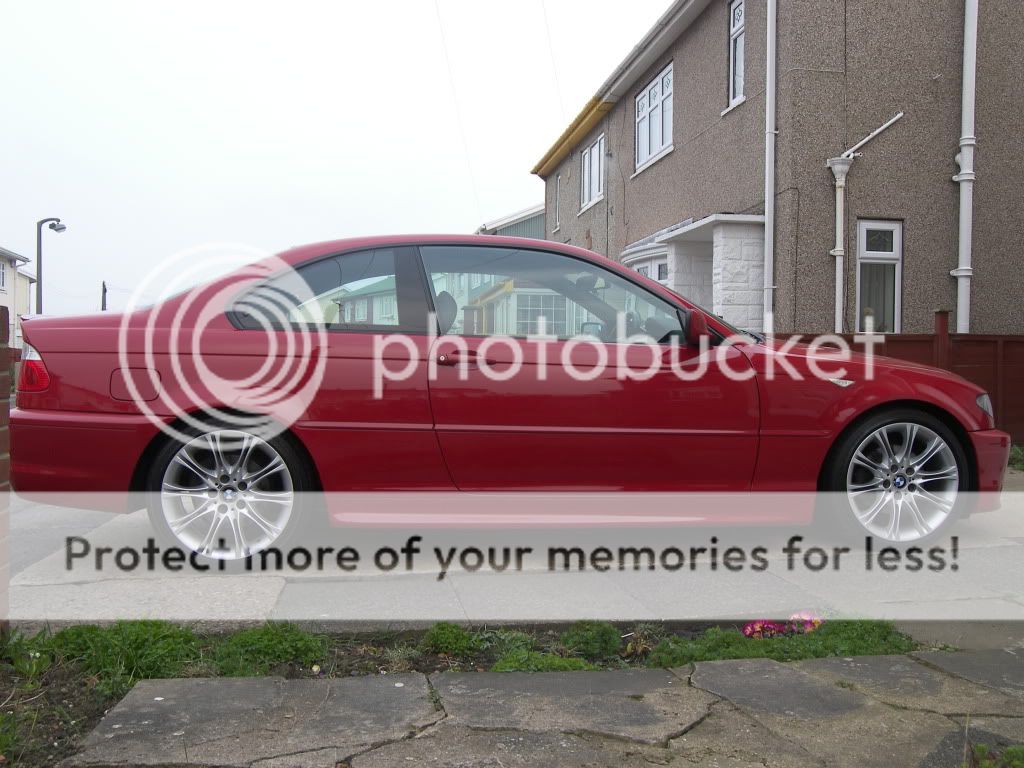
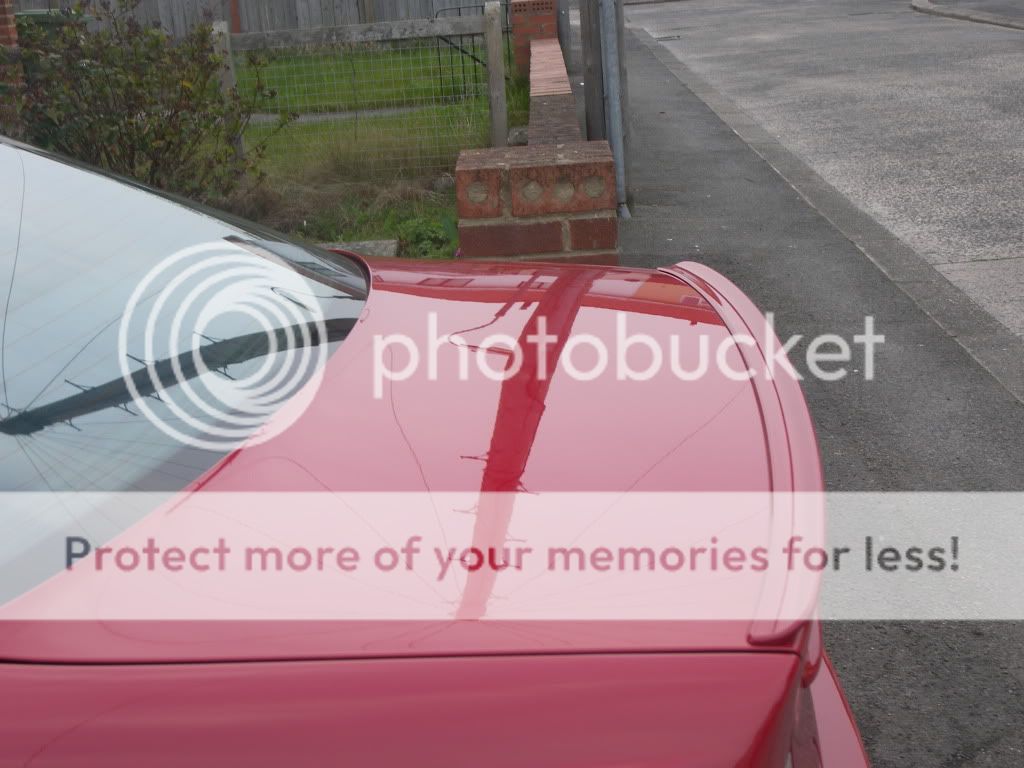
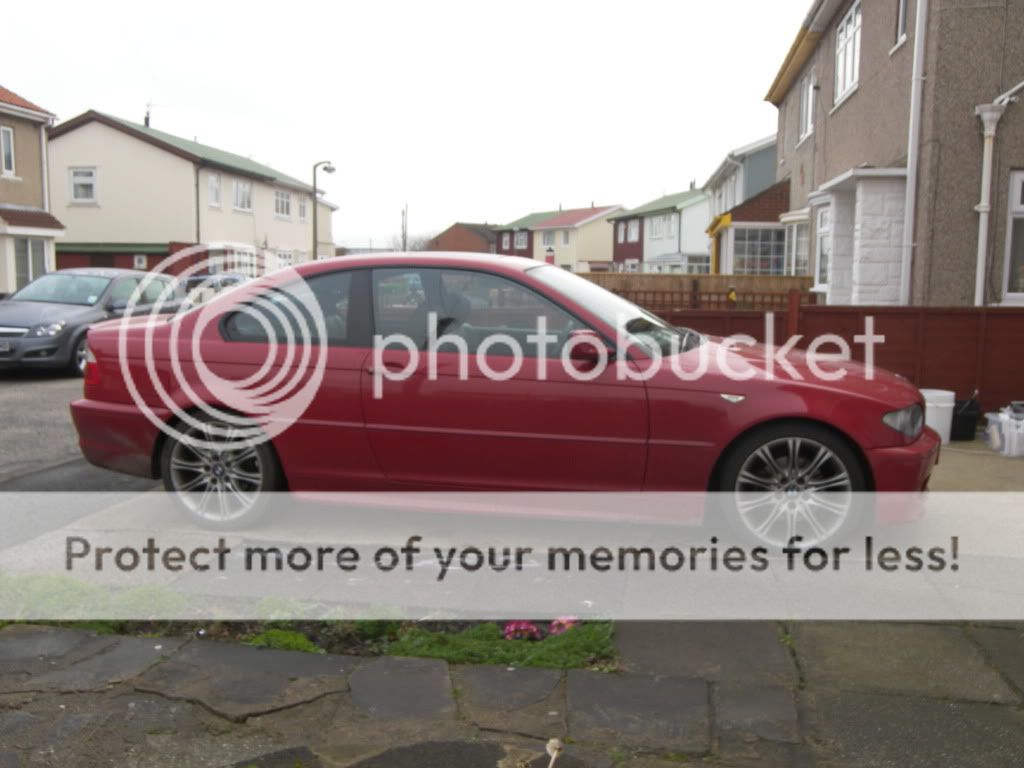
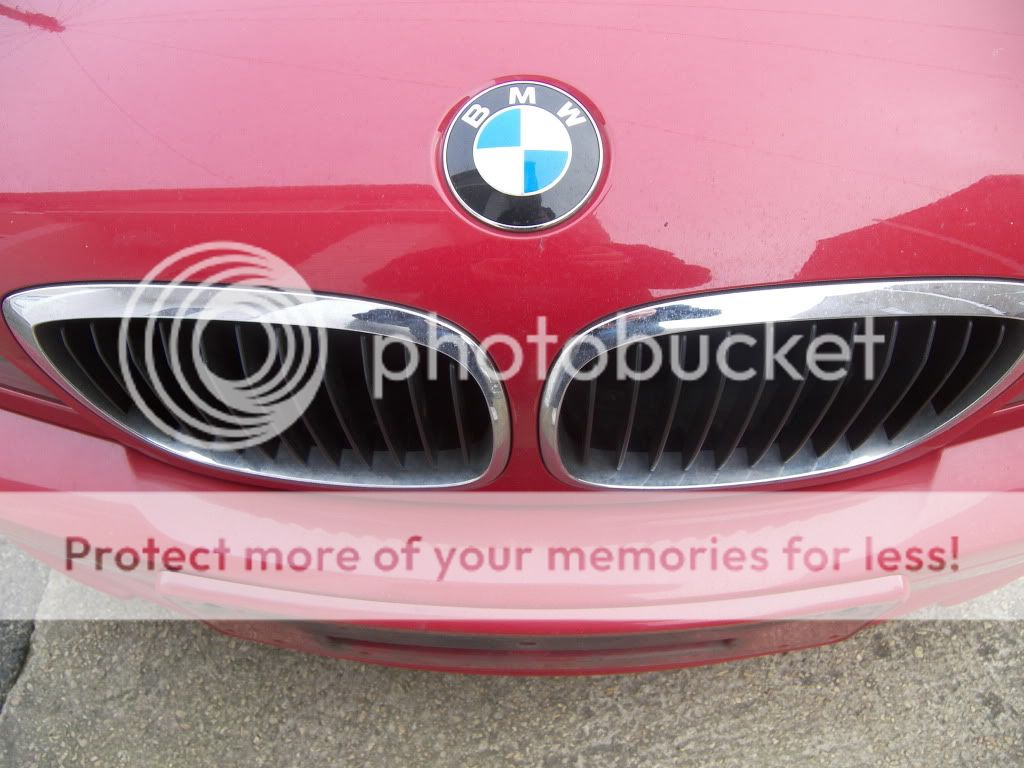
I did an enhancement detail on a friends imola red BMW which due to the amount of swirls robbing the paint of any depth or reflection it looked more of a pink colour to be honest. Which stands out even more under the halogen spot light when doing the 50/50 shots
Products and equipment used
Uber microfiber towels
Chemical guyâs woolly mammoth drying towel
3m yellow pads 150mm 75 mm
140 mm Constant Pressure Glazing Pad
Halogen site lights
Makita rotary polisher
DA Polisher
Scholl s17+
Red moose machine glaze
3m masking tape
Meguiars APC
Costco microfibre towels
Maxolen Blue star A-Z dressing
Valet pro citrus bling
AMDetails AM Wheels
AMDetails AM Foam
AMDetails AMbubbles
AMDetails clay bar
Autosmart Tardis
Various brushes
Karcher pressure washer
Noodle wash mitt
Lambs wool wash mitt
Poorboys microfibre clothes
Uber buffing clothes
Snow foam gun
Chemical guyâs 50/50 wax
Chemical guys Jetseal 109
Rainx
Autosol metal polish
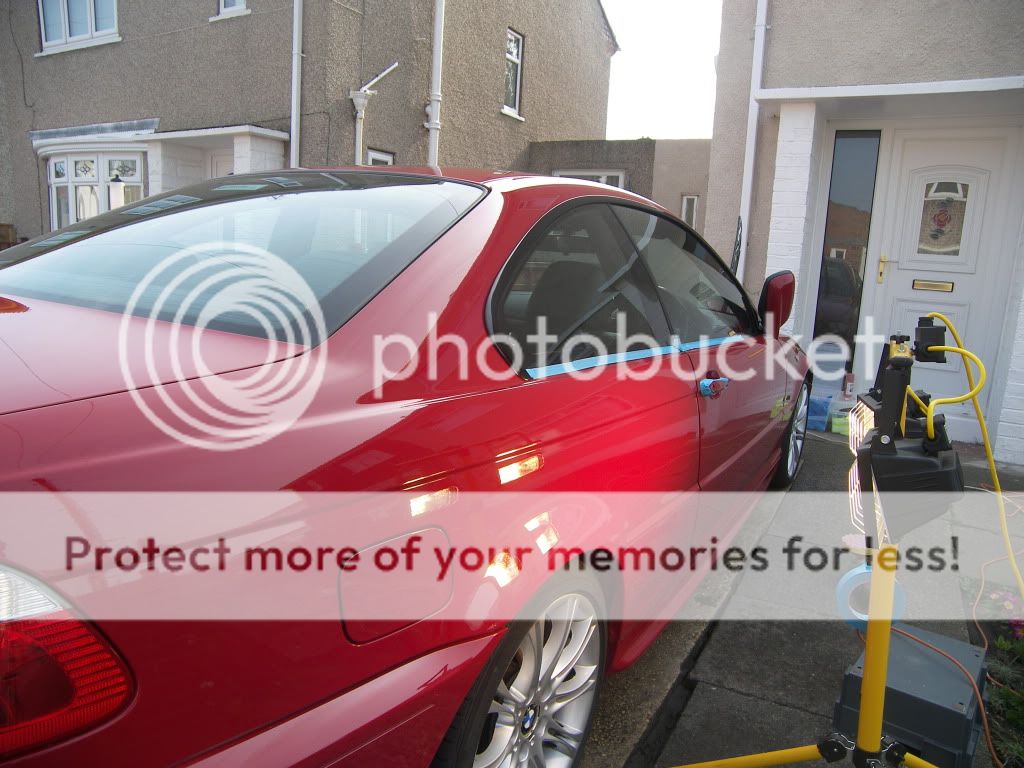
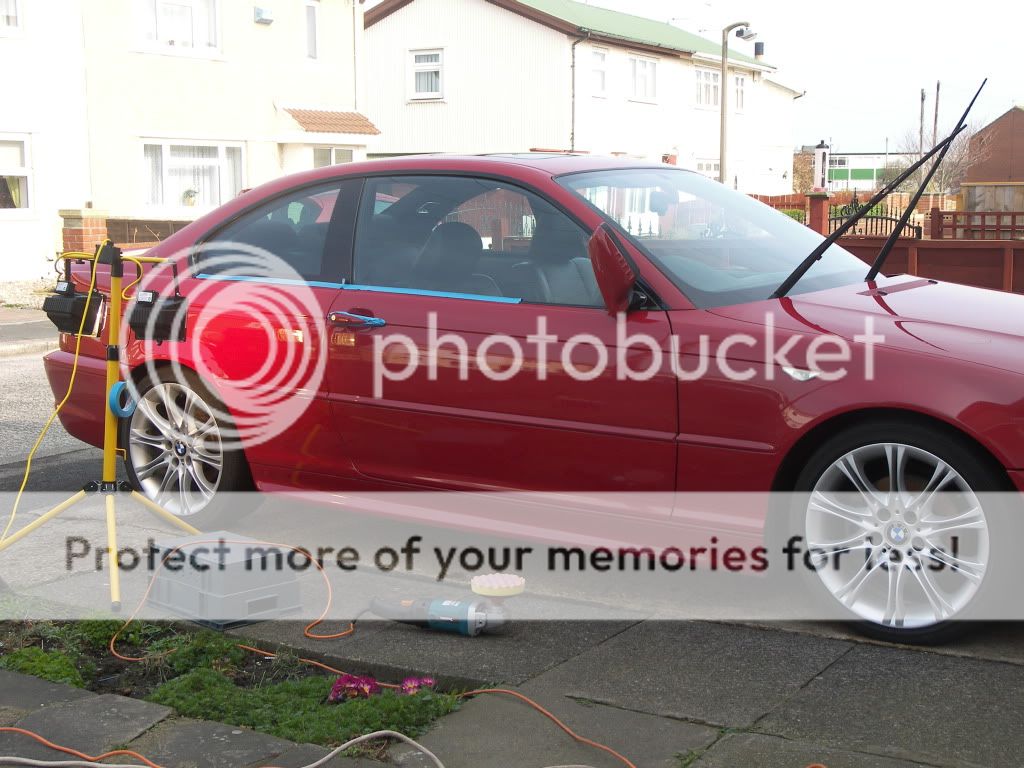
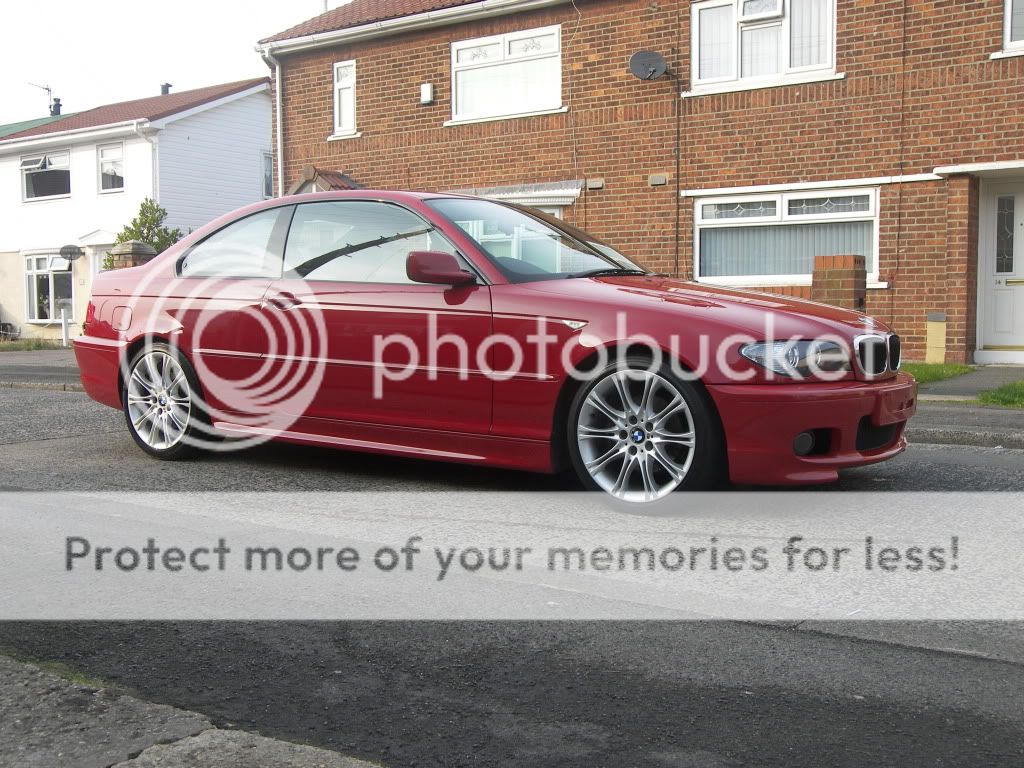
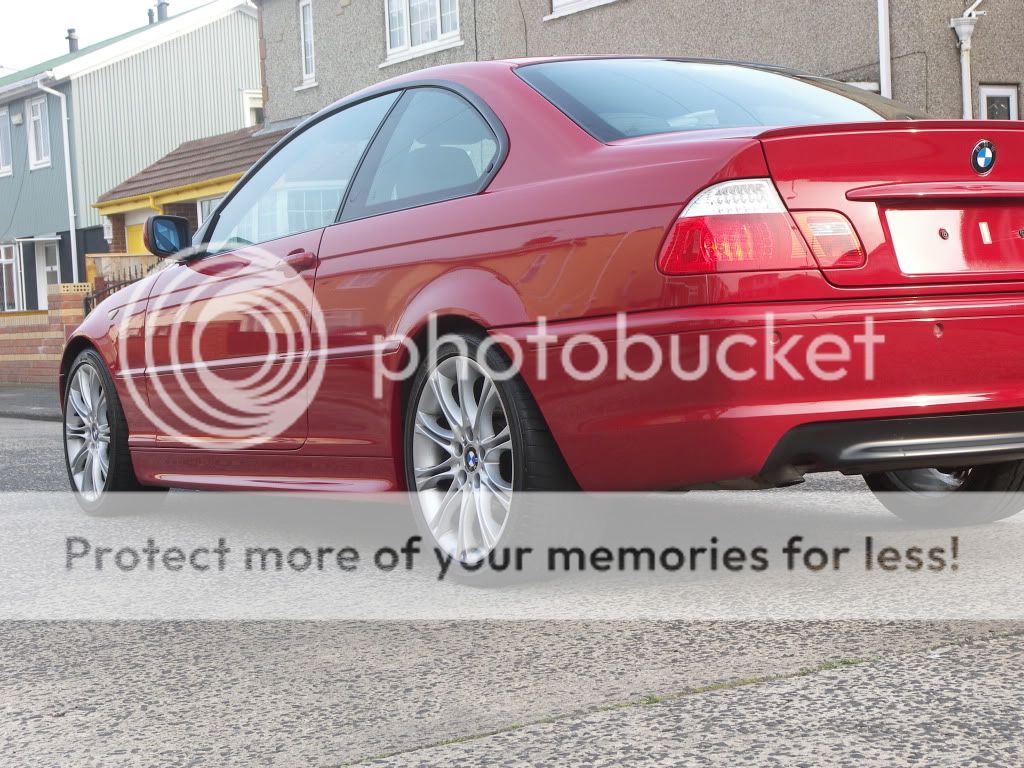
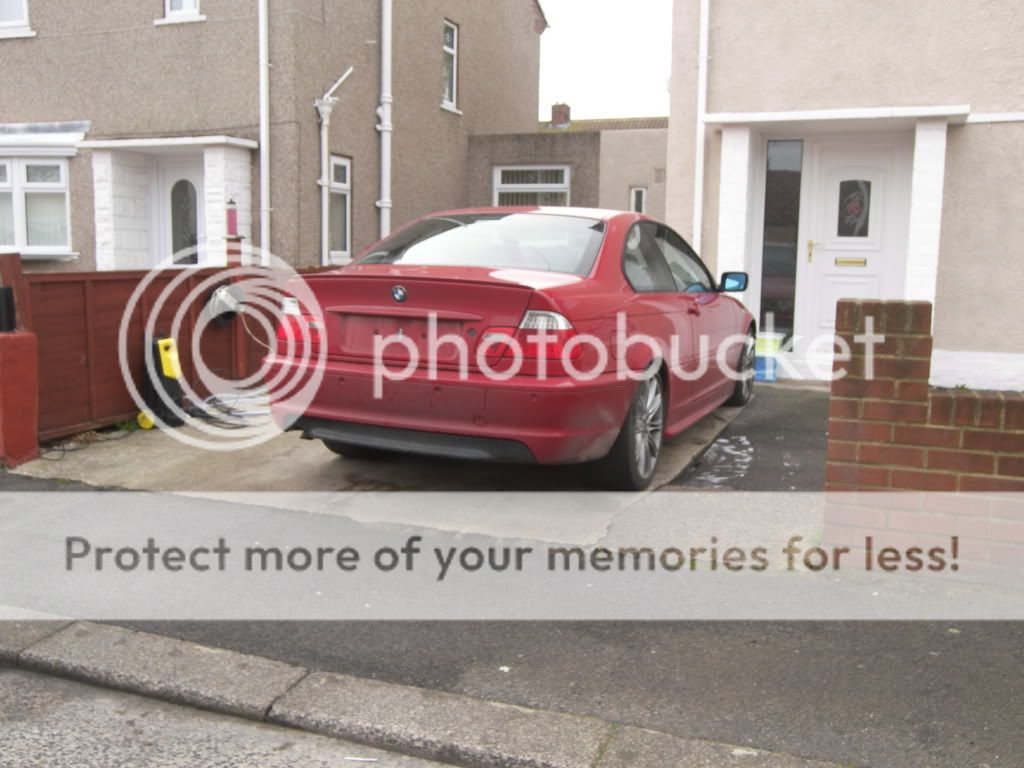
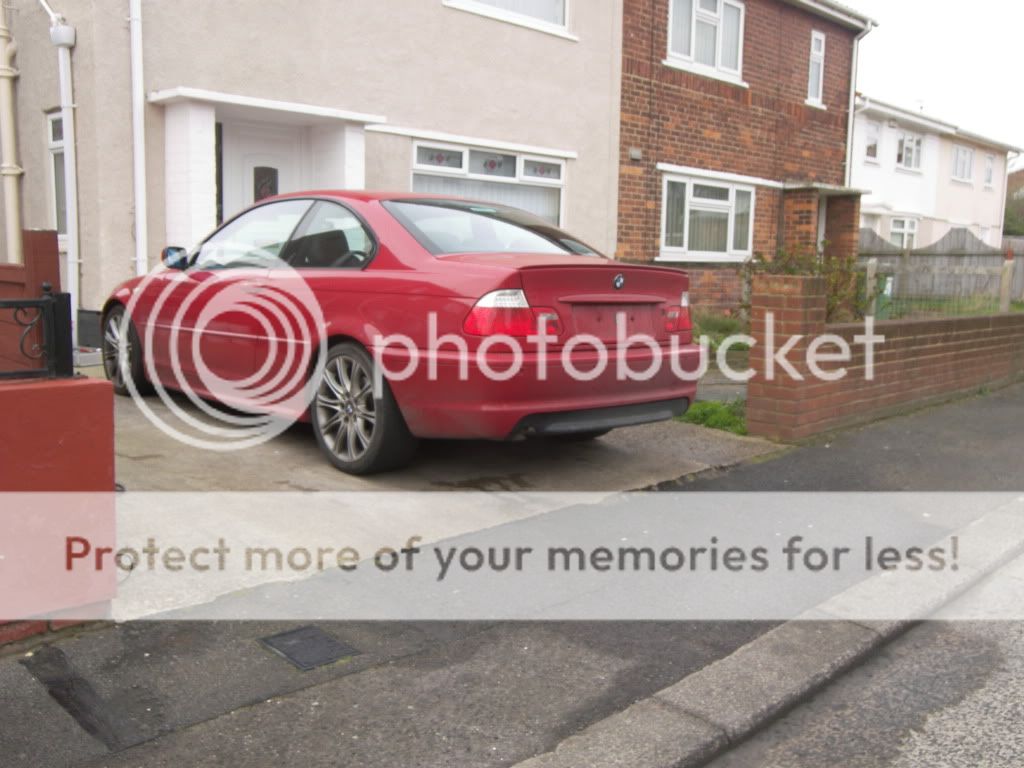
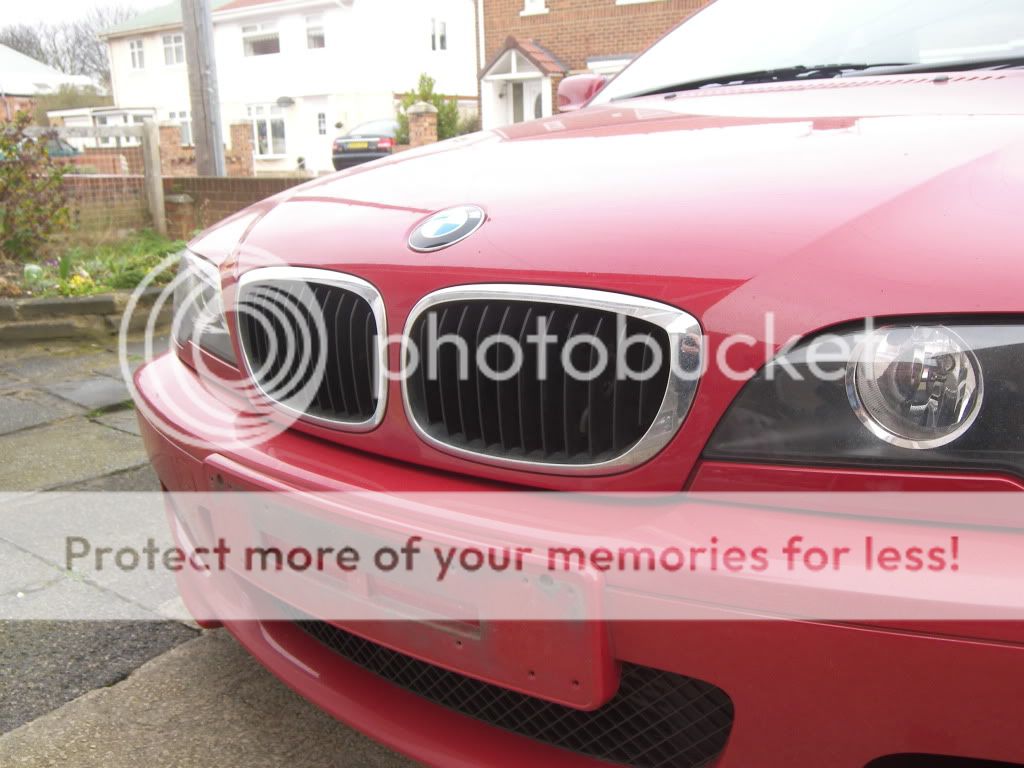
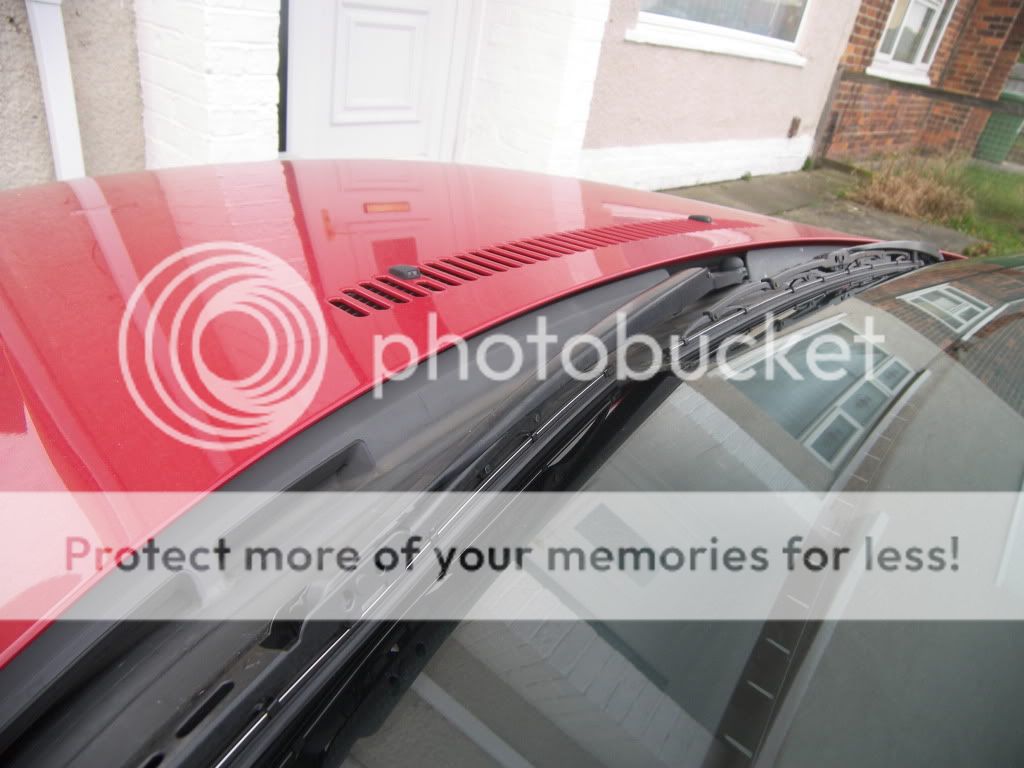
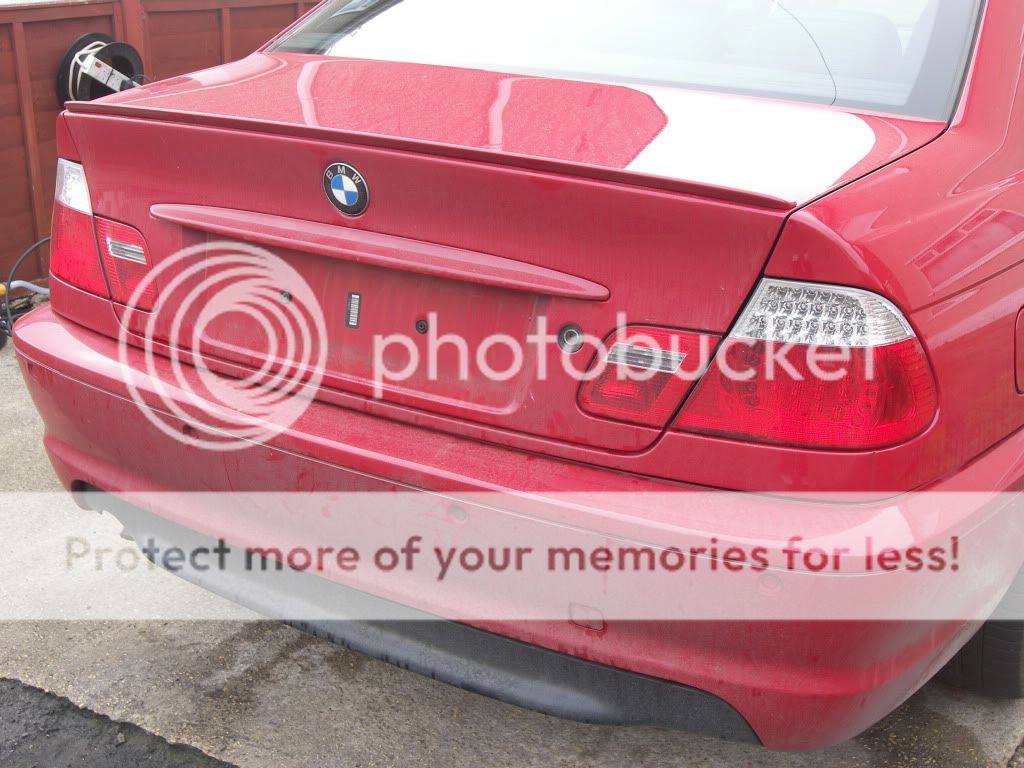
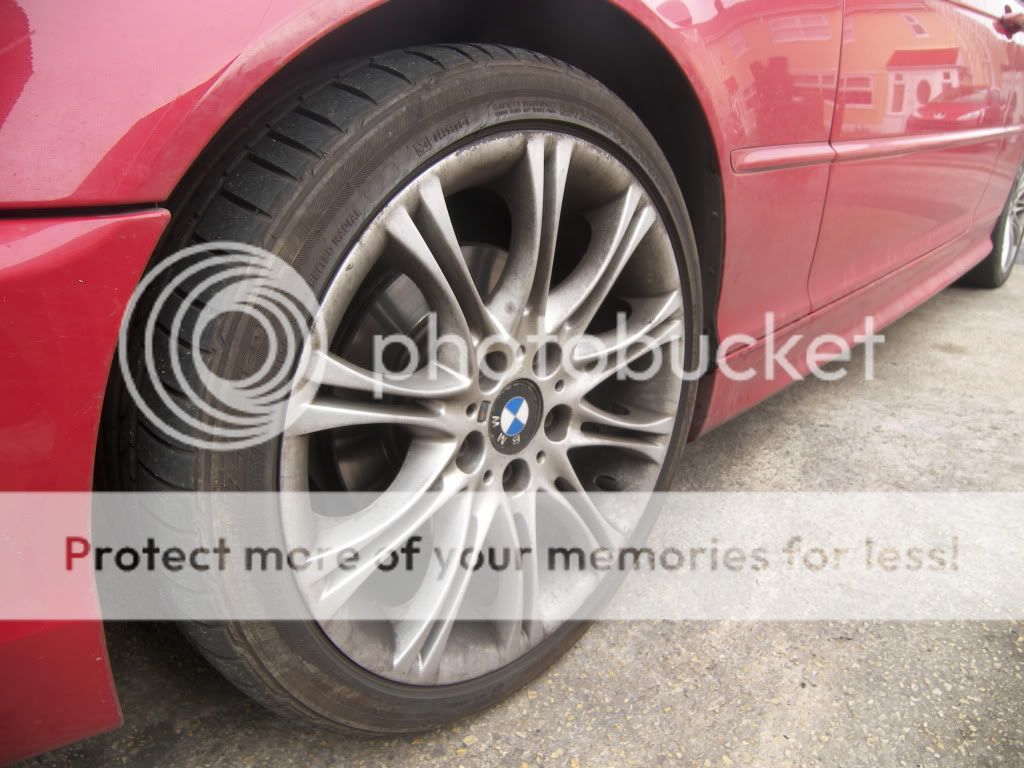
Some photos of the car before I start

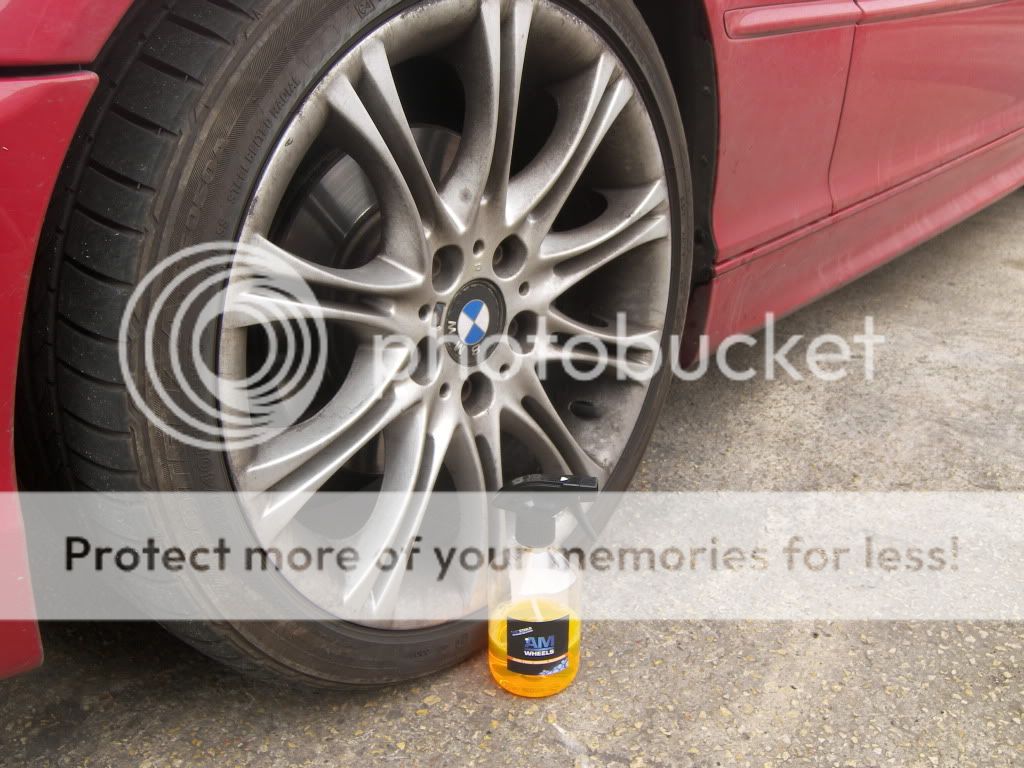
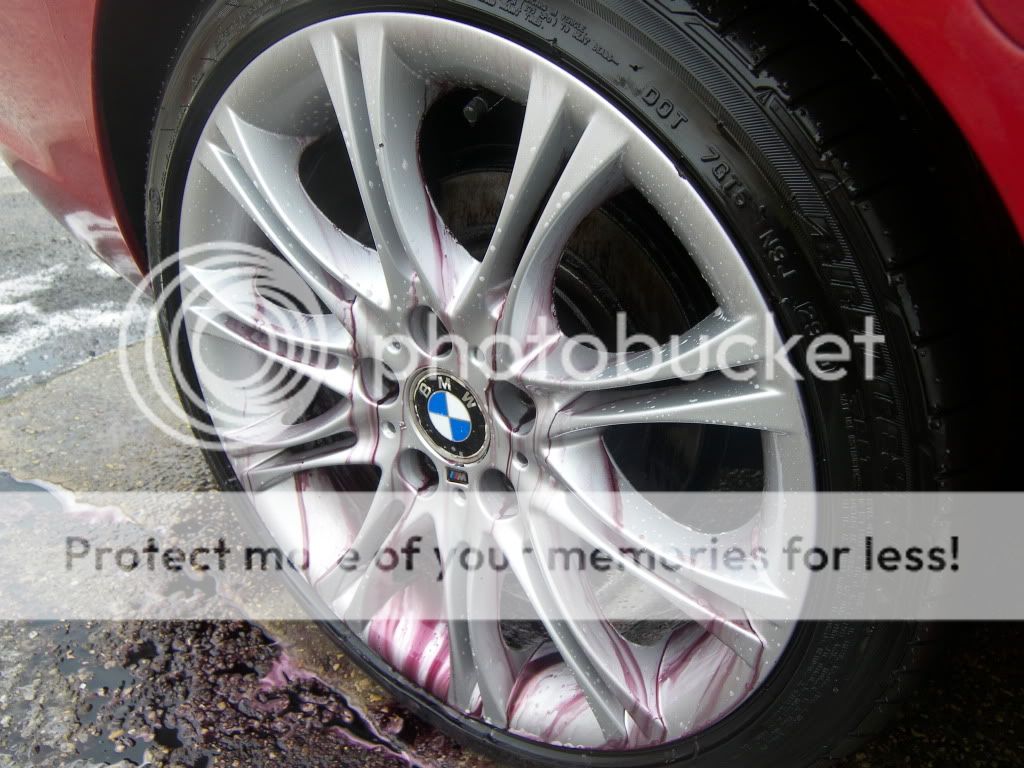
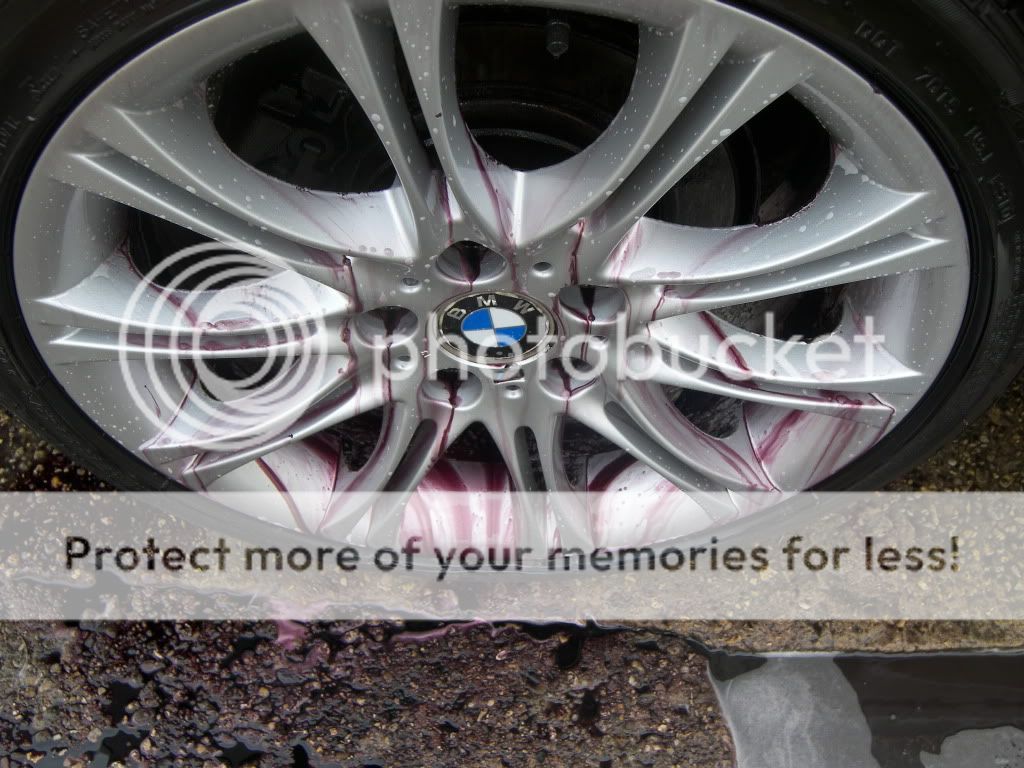
I first got on with the wheels and also so the arches. The wheels where cleaned using AM Wheels which is another new product to me which i`m really impressed with as fronts of the wheels was just given a coat of this and then left to dwell for a couple of minutes then removed using the pressure washer, the inner face`s of the wheels are in a very poor state so I think ken is looking at getting them powdercoated in the original silver finish as the really let the final look of the car down. Next the wheels where given a coat of ironx which again was left to dwell before being removed with the pressure washer. The arches where next and they where sprayed with APC and cleaned using various brushes and a noodle wash mitt. They where then sprayed with Tardis which was left do its stuff whilst I moved onto the next arch before going back and being wiped down with a microfibre cloth.


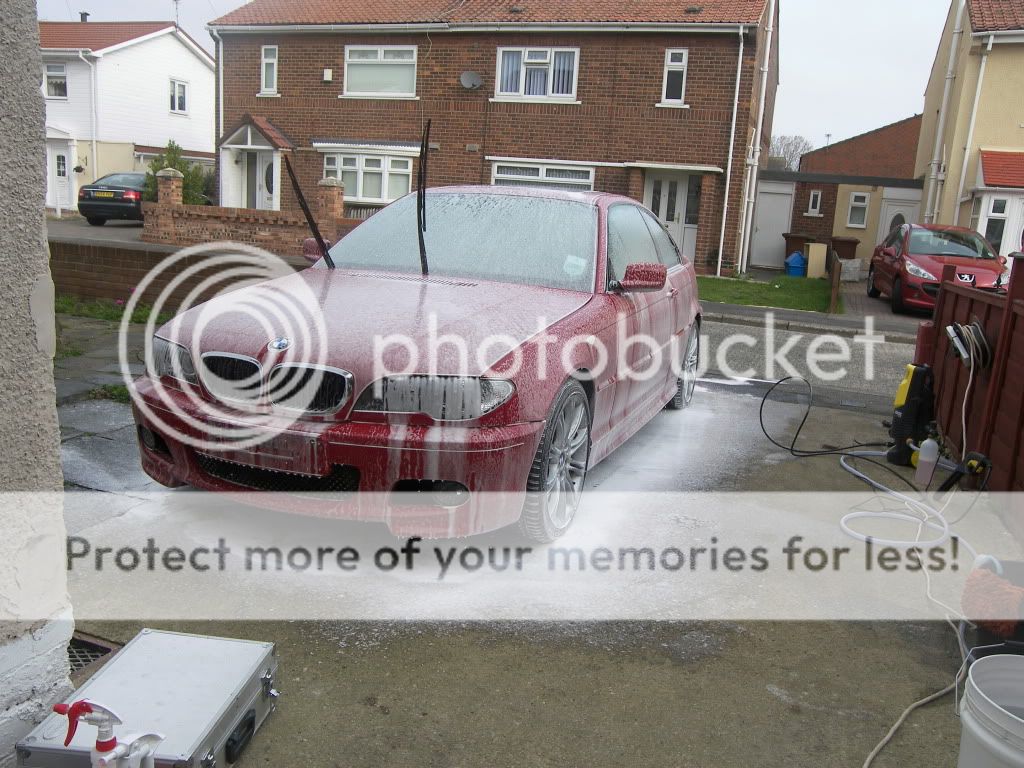
The car was then given its first coat of snow foam
Whilst this was dwelling I went round the car using APC in a foaming head bottle cleaning the fuel filler area and various gaps and grills. The snowfoam was then blasted off with the pressure washer, and then the car was given another coat of the same mix snowfoam and whilst this was still on the car I washed it using AM bubbles which is a new product to me and must say I am really impressed as it gives the water a really slick feel to it which seems to help the mitt just glide across the car and has a cracking fruity smell which is slightly addictive. The car was washed using the 2 bucket method with grit guards in both buckets and a lambswool wash mitt.
The car was then rinsed off using an open ended hose and I then went round the car with tardis which was left to go to work before being wiped down with microfibre clothes. The car was then given a coat of Ironx again left to do its stuff before the car was washed doing using the pressure washer.
The car was clayed using citrus bling and water mix (10 to 1) and a AMDetail soft clay bar which helped to pull more contaminates from the paint work it was then rewashed using the same method and dried using the woolly mammoth.
Before I started polishing the car I decided to go round and dress the arches using a new product to me which is Maxolen Blue star A-Z dressing, Iâm loving the finish this gives and a little seems to go a long way
Products and equipment used
Uber microfiber towels
Chemical guyâs woolly mammoth drying towel
3m yellow pads 150mm 75 mm
140 mm Constant Pressure Glazing Pad
Halogen site lights
Makita rotary polisher
DA Polisher
Scholl s17+
Red moose machine glaze
3m masking tape
Meguiars APC
Costco microfibre towels
Maxolen Blue star A-Z dressing
Valet pro citrus bling
AMDetails AM Wheels
AMDetails AM Foam
AMDetails AMbubbles
AMDetails clay bar
Autosmart Tardis
Various brushes
Karcher pressure washer
Noodle wash mitt
Lambs wool wash mitt
Poorboys microfibre clothes
Uber buffing clothes
Snow foam gun
Chemical guyâs 50/50 wax
Chemical guys Jetseal 109
Rainx
Autosol metal polish
Some photos of the car before I start
I first got on with the wheels and also so the arches. The wheels where cleaned using AM Wheels which is another new product to me which i`m really impressed with as fronts of the wheels was just given a coat of this and then left to dwell for a couple of minutes then removed using the pressure washer, the inner face`s of the wheels are in a very poor state so I think ken is looking at getting them powdercoated in the original silver finish as the really let the final look of the car down. Next the wheels where given a coat of ironx which again was left to dwell before being removed with the pressure washer. The arches where next and they where sprayed with APC and cleaned using various brushes and a noodle wash mitt. They where then sprayed with Tardis which was left do its stuff whilst I moved onto the next arch before going back and being wiped down with a microfibre cloth.
The car was then given its first coat of snow foam
Whilst this was dwelling I went round the car using APC in a foaming head bottle cleaning the fuel filler area and various gaps and grills. The snowfoam was then blasted off with the pressure washer, and then the car was given another coat of the same mix snowfoam and whilst this was still on the car I washed it using AM bubbles which is a new product to me and must say I am really impressed as it gives the water a really slick feel to it which seems to help the mitt just glide across the car and has a cracking fruity smell which is slightly addictive. The car was washed using the 2 bucket method with grit guards in both buckets and a lambswool wash mitt.
The car was then rinsed off using an open ended hose and I then went round the car with tardis which was left to go to work before being wiped down with microfibre clothes. The car was then given a coat of Ironx again left to do its stuff before the car was washed doing using the pressure washer.
The car was clayed using citrus bling and water mix (10 to 1) and a AMDetail soft clay bar which helped to pull more contaminates from the paint work it was then rewashed using the same method and dried using the woolly mammoth.
Before I started polishing the car I decided to go round and dress the arches using a new product to me which is Maxolen Blue star A-Z dressing, Iâm loving the finish this gives and a little seems to go a long way