Audi RS4 - b7 Mugello Blue

Jimmeh

Registered User
Joined
Mar 7, 2006
Messages
1,438
Reaction score
18
Points
38
Location
East Midlands
Awesome awesome car. I want so much!

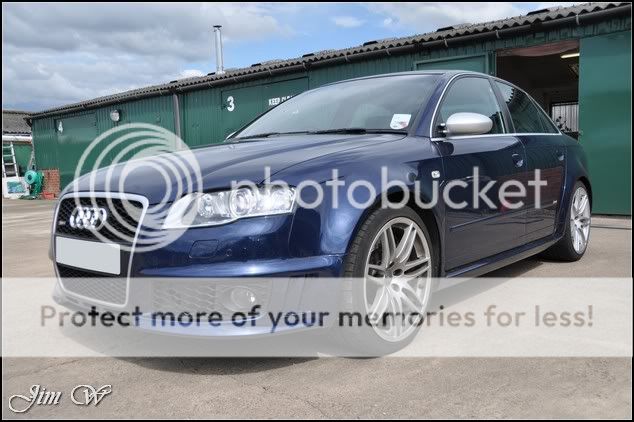
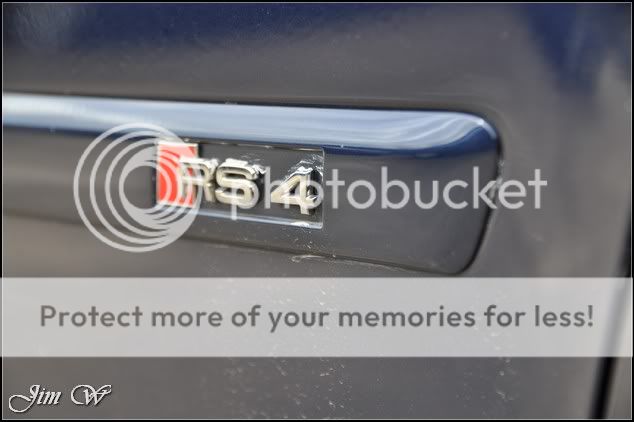
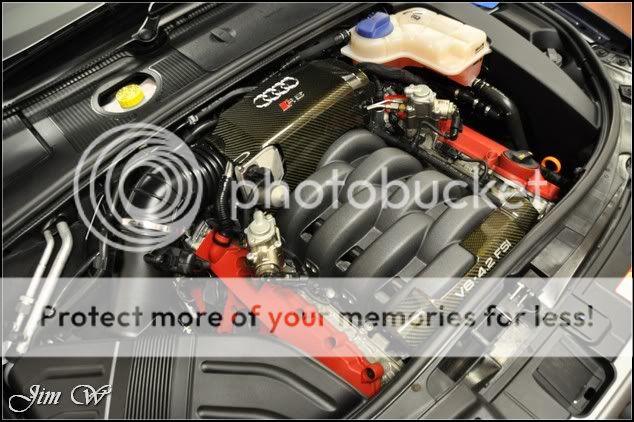
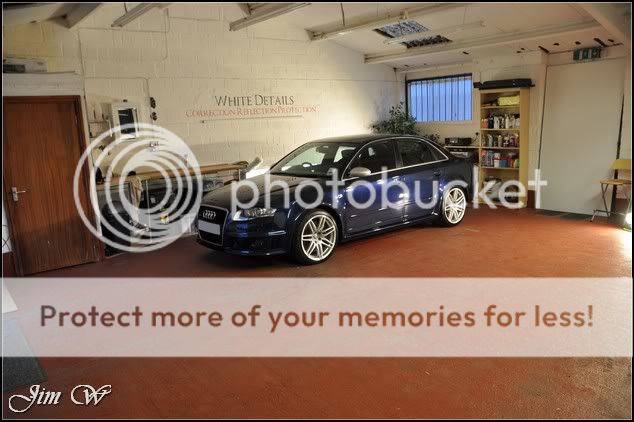
Audi RS4 b7 saloon in Mugello Blue

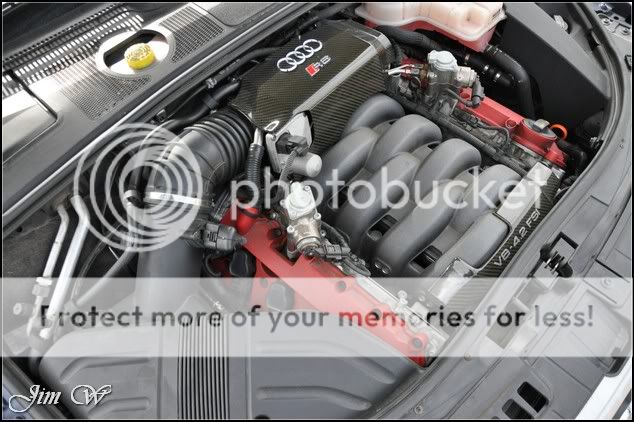
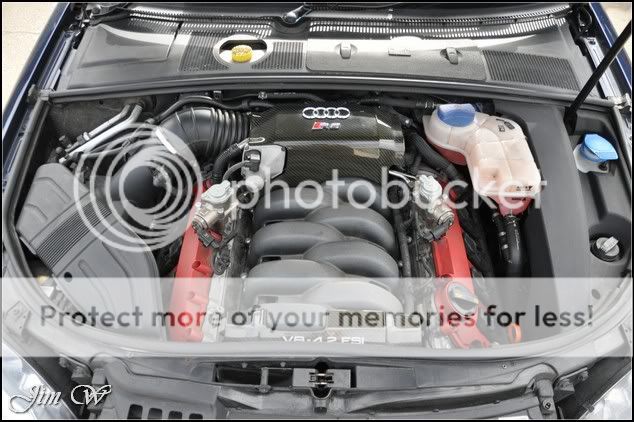
Major Paint Correction, engine-bay and interior.

Vehicle booked on the back of the Bentley Continental GTC that had Minor Paint Correction work over two days in March.

DSC_0616.jpg


Product

• 3M Glass Cleaner
• 3M Extra Fine (yellow)
• 3M Ultra Fina (blue)
• AutoSmart Hazsafe
• AutoSmart G101
• AutoSmart Tardis
• AutoGlym Vinyl & Rubber Care
• Belgom ALU
• CarPro IronX
• California Scents – New Car Smell
• Chemical Guys New Look Trim Gel
• Chemical Guys JetSEAL109
• Dodo Juice Born To Be Mild (BTBM)
• Dodo Juice Supernatural wax
• Elite Mild grade clay bar
• Jeffs Werkstat Acrylic Prime
• Menzerna 203s
• Menzerna 85RD 3.02
• Meguiars Last Touch
• Meguiars Super Degreaser
• Meguiars Wheel Brightener
• Meguiars 105 ultra cut compound
• Zaino Z6


Inspection.

DSC_0073.jpg


DSC_0064.jpg


DSC_0069.jpg


DSC_0074.jpg


DSC_0075.jpg


DSC_0079.jpg


DSC_0082.jpg


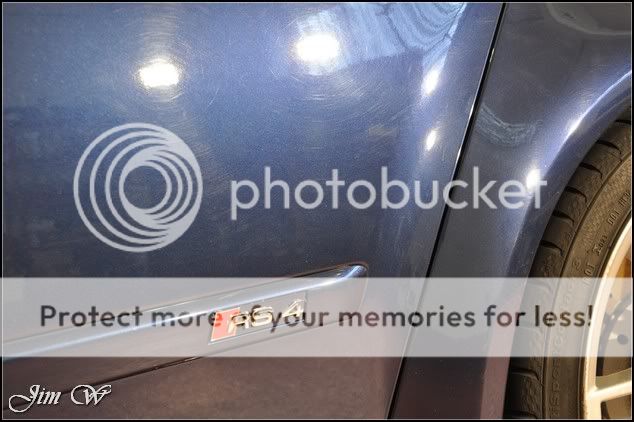
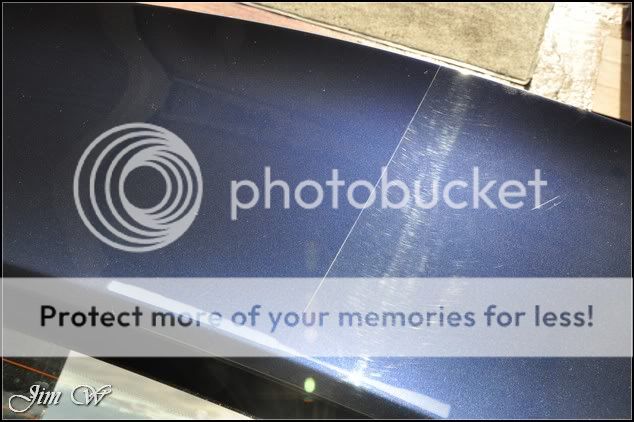
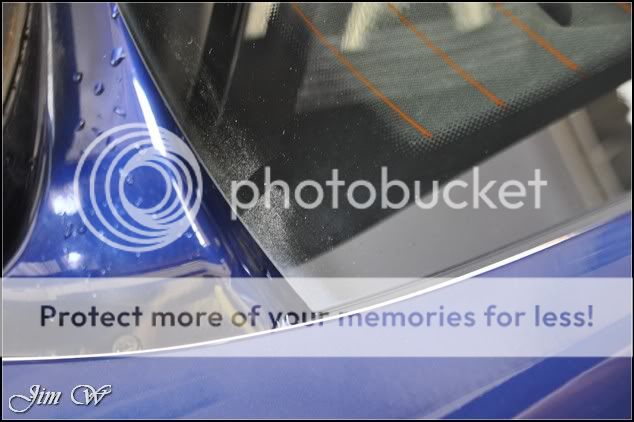
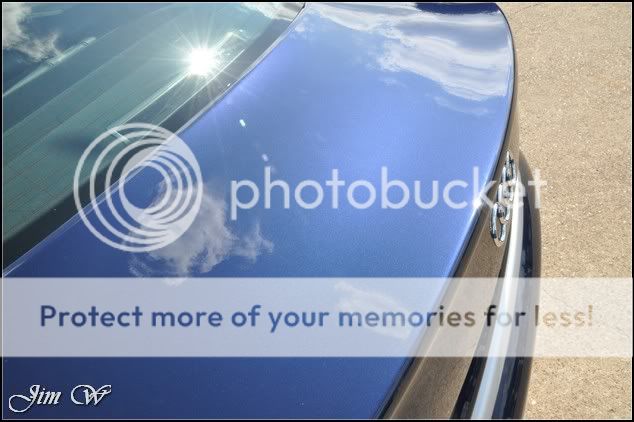
Nice etchings (possibly bird-bomb) present on the bootlid:

DSC_0065.jpg


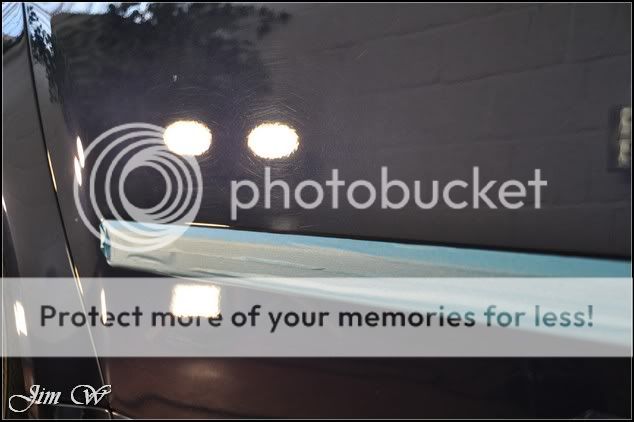
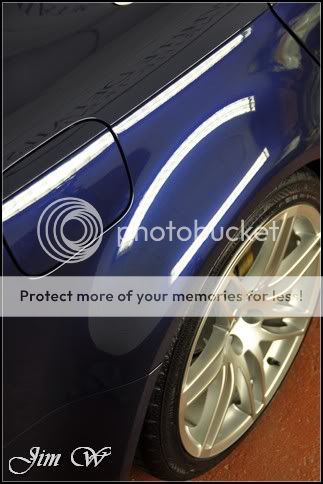
Polish residues from previous sessions:

DSC_0066.jpg


DSC_0067.jpg


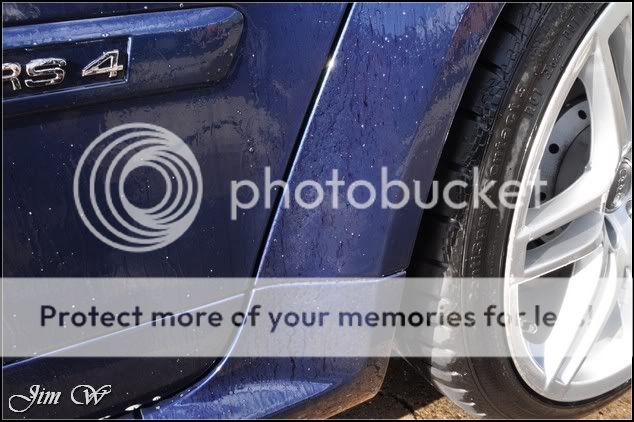
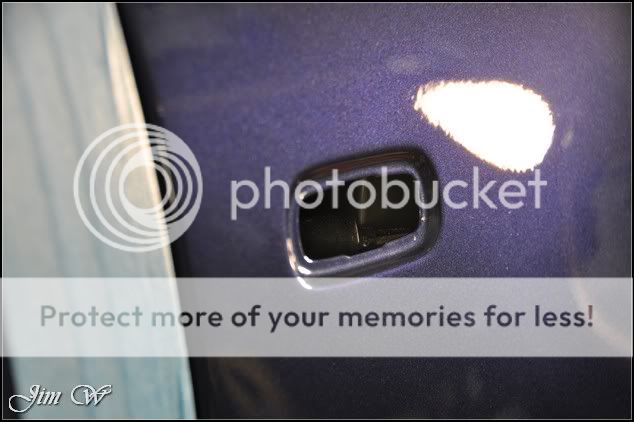
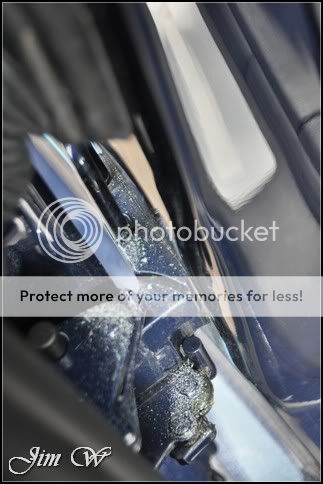
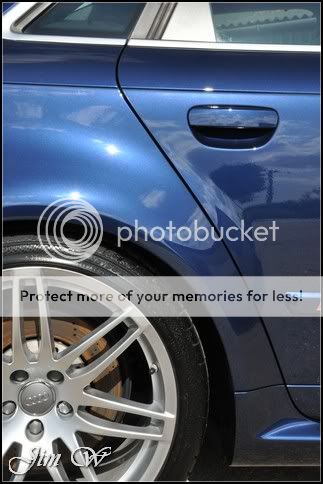
A nasty spotted N/S/R lower door:

DSC_0068.jpg


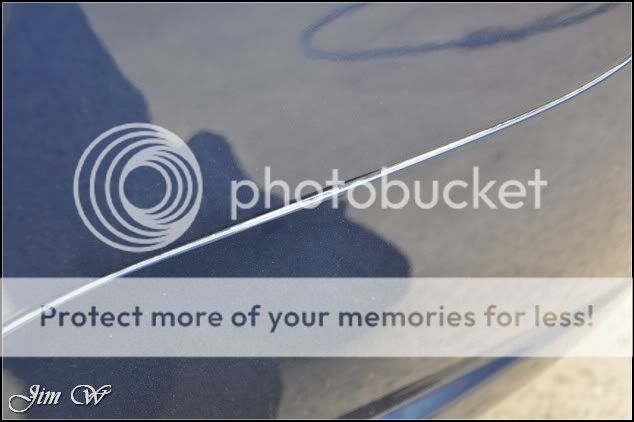
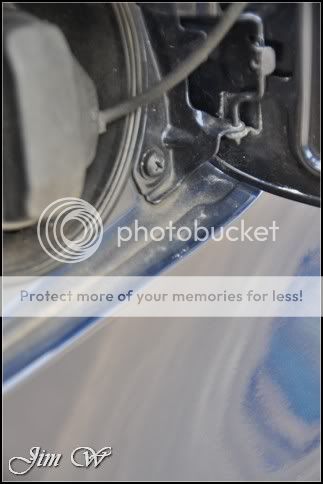
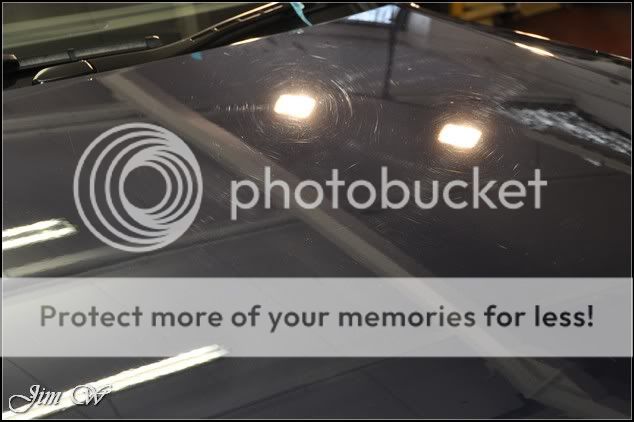
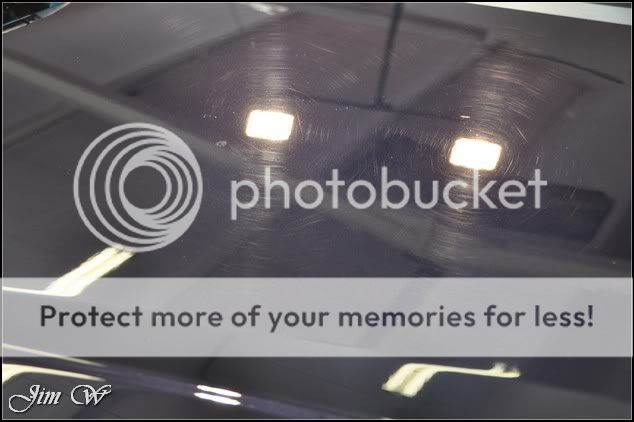
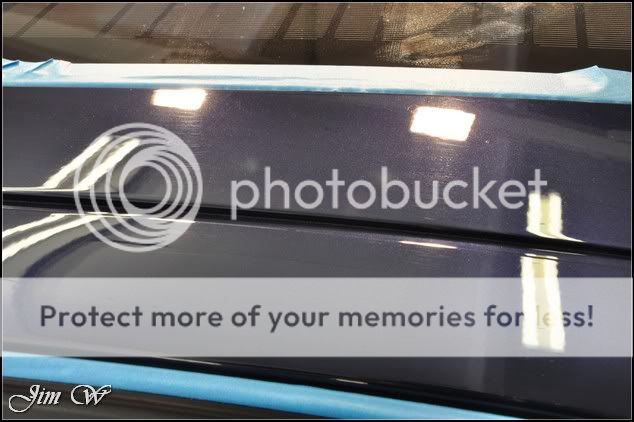
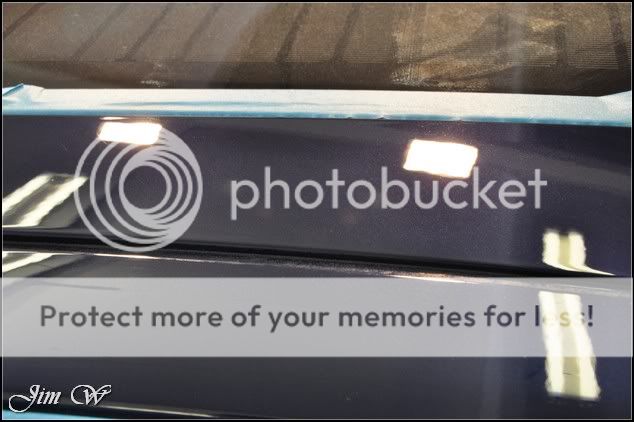
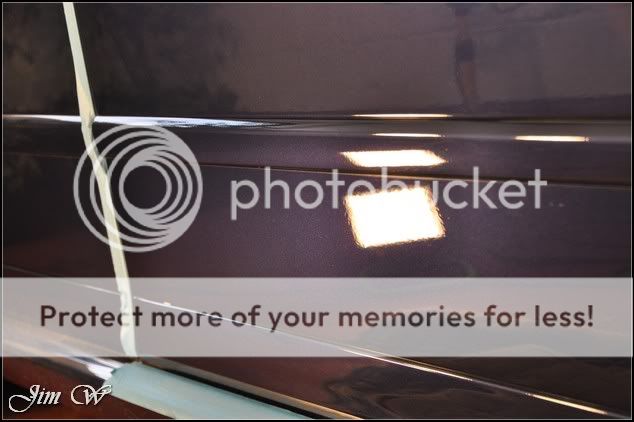
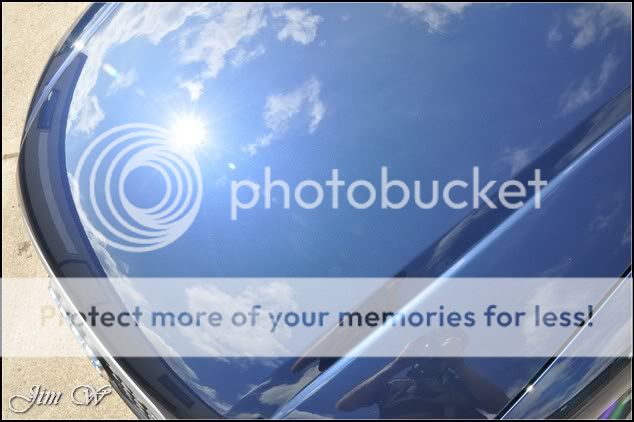
General swirling on the bonnet:

DSC_0078.jpg


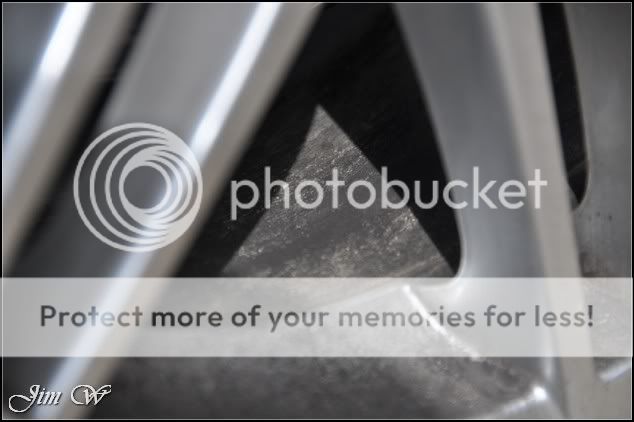
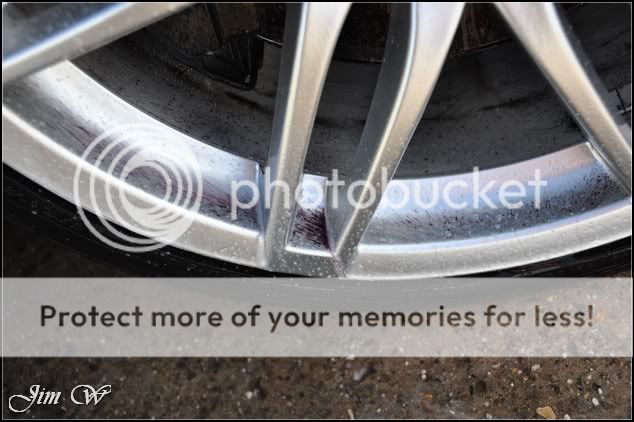
The wheels were caked!

DSC_0070.jpg


DSC_0072.jpg
DSC_0086.jpg


DSC_0083.jpg


With the wheels ‘clean’, the tyres degreased and arches flushed, it was time to tackle the brake dust.

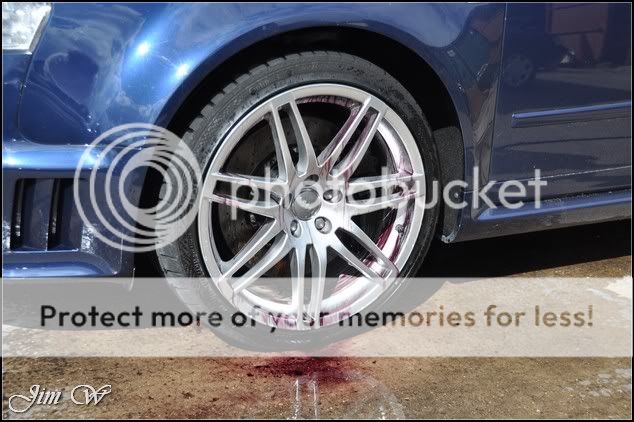
Step up CarPro IronX.

Before:

DSC_0094.jpg


After 10 seconds:

DSC_0095.jpg


After a minute:

DSC_0098.jpg


Word of warning, if you use this product, do so in a well ventilated area! (Although the formulation has recently been changed, and, a new fragrance added, it still stinks and will haunt you for the best part of the day!)
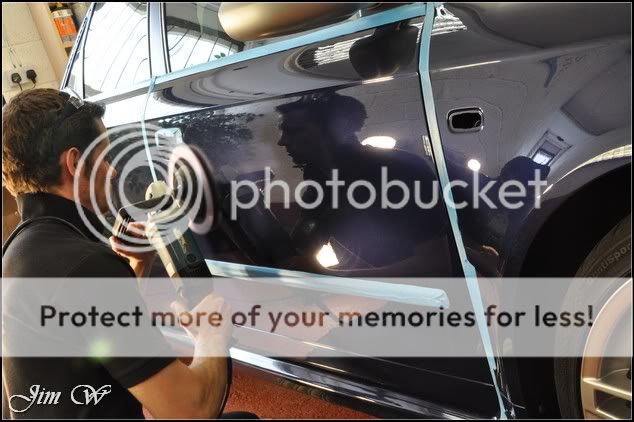
DSC_0093.jpg


The rest of the vehicle was washed – pre-wash, pre-rinse, foam, two bucket system etc.

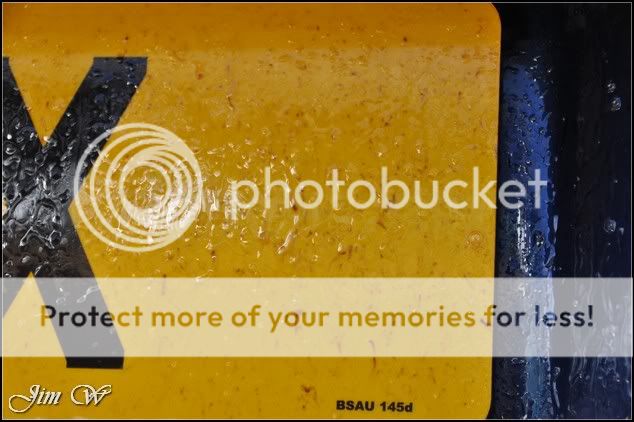
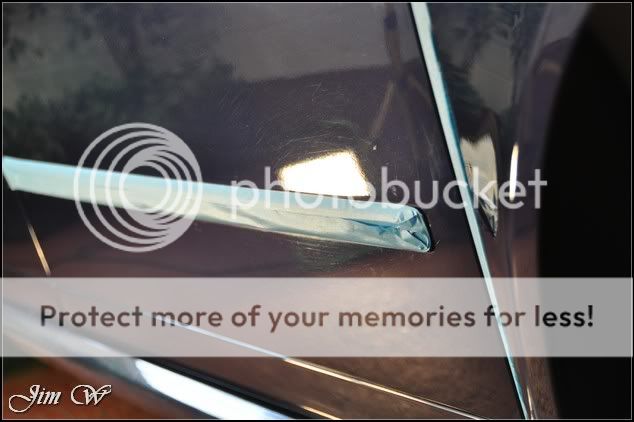
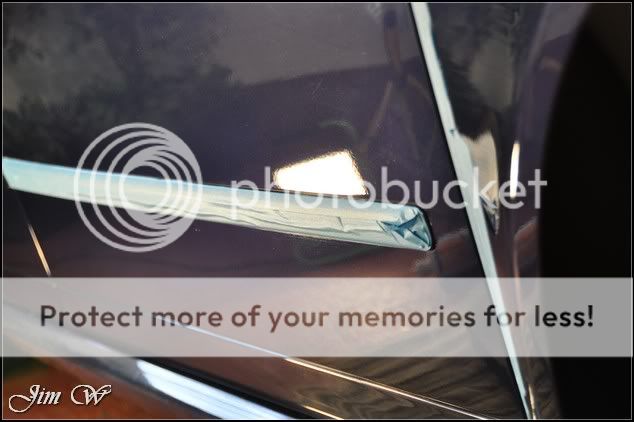
The start of the decontamination process: tar removal with AutoSmart Tardis.

Shortly after, IronX used to remove embedded filings and other inorganic contaminants.

DSC_0101.jpg


DSC_0103.jpg


DSC_0104.jpg


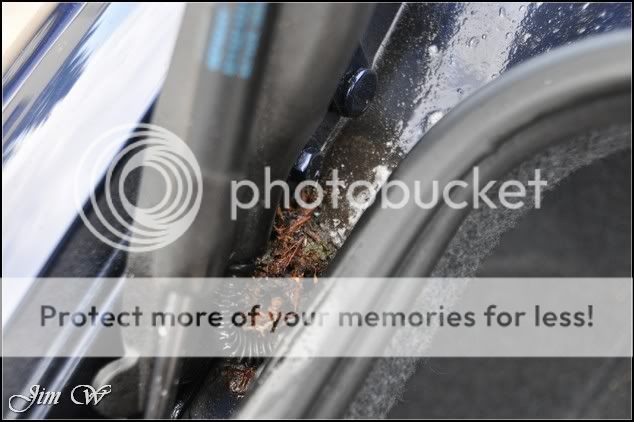
The RS4 was quite heavily contaminated. At the time of drop-off, the owner did mention how the car is (unfortunately) parked under two large trees and cannot escape in doing so…

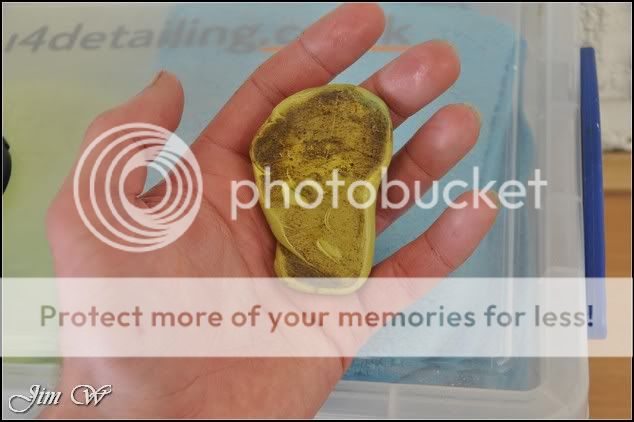
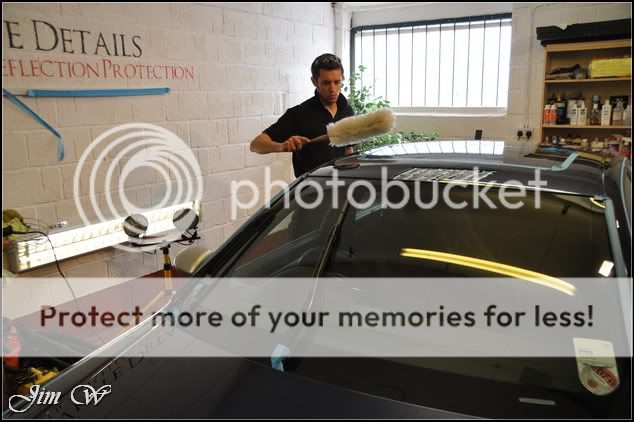
Clay bar after half the roof and N/S glass:

DSC_0106.jpg


The N/S doors and bonnet:

DSC_0107.jpg


Finally, after the rear-end (bumper, boot and rear window)

DSC_0111.jpg


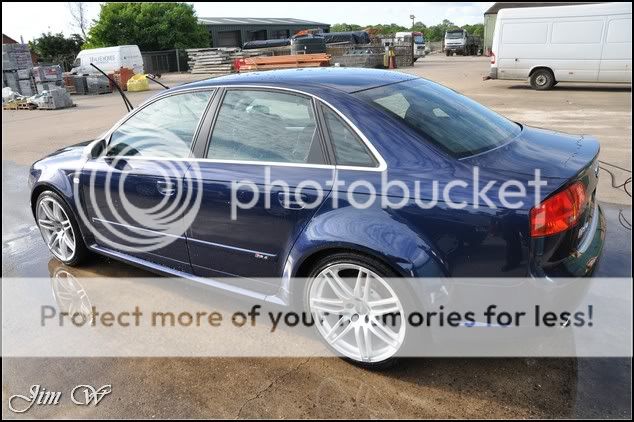
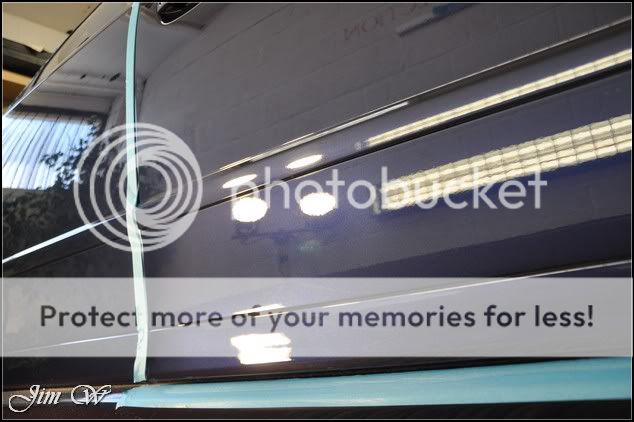
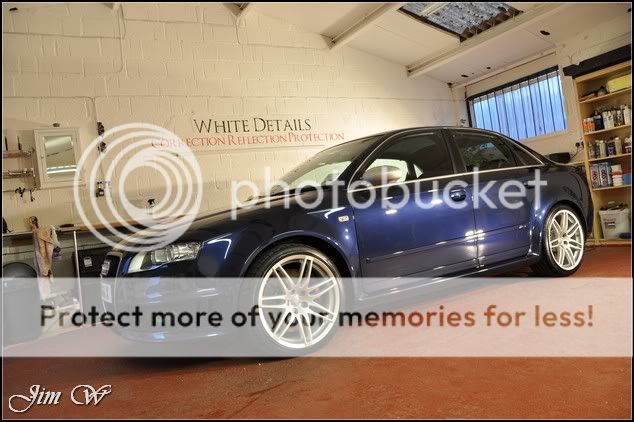
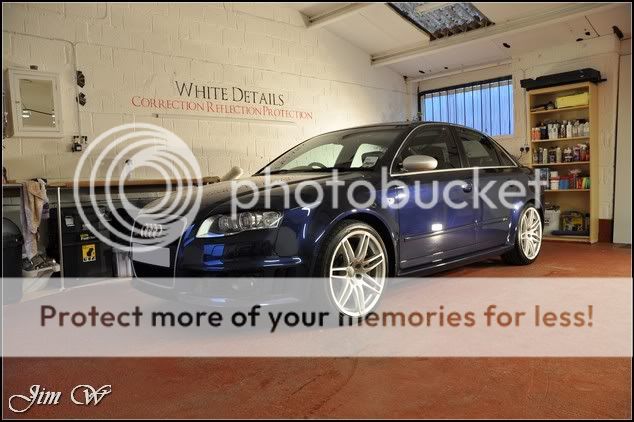
Car looking much smarter already:

DSC_0110.jpg


Once rinsed, inside and blown dry, it was time to check what we were up against…

DSC_0113.jpg
 
DSC_0117.jpg


DSC_0119.jpg


DSC_0120.jpg
DSC_0122.jpg


DSC_0125.jpg


These aren’t just light ‘wash swirls’, these are deep scratches!

DSC_0123.jpg


The owner admitted that the car has been through the odd handwash station from time to time… (Much like the Bentley seen above)

Starting my polishing set on the bonnet, to show the difference between a Minor Paint Correction detail and a Major Correction (benefit of the owner at this point), here’s two shots of the bonnet with the defects:

DSC_0127.jpg


DSC_0128.jpg


Going on my usual VAG paint approach with a single hit (Minor), these were the results:

DSC_0129.jpg


As you can see, the combination of random deep scratches and rock hard paint left lots of room for improvement.

Bumping things up a notch, Megs 105 ultra cut compound on a Lake Country foamed wool pad, 50/50:

DSC_0132.jpg


DSC_0133.jpg


Kind of expected, but, this paint was solid! Minimum of two hits in each section required to give the results we were after…

Panel worked on at a time. X2 cutting followed by a long drawn out polishing set to refine.

Refined on a 3M yellow polishing pad and Menz 85RD 3.02:

Before/After:

DSC_0137.jpg


DSC_0136.jpg


O/S/F wing before:

DSC_0138.jpg


O/S/F wing after:

DSC_0139.jpg


Mugello blue really shining through now…

Before working my way down the sides, I aimed high and ticked off the roofline/A-C pillars.

Before/After:

DSC_0141.jpg


DSC_0142.jpg


(Did you spot the solar-panelled sunroof??!)

Refined with Menz 3.02 and the yellow 3m polishing pad:

DSC_0145.jpg


Now, you may have already spotted it the background on previous reports but that tickle-stick (duster…) you see doesn’t half come in handy; a vital bit of kit for heavy correction work.

DSC_0146.jpg


There isn’t a single pass that I make with the machine polisher where I don’t follow with a quick wipe to remove debris… Picking up tiny pieces of the brittle pad or clumped polish with your microfibre cloth will lead to tough times ahead; marring the finish or even reintroducing some scratches.

With the O/S roofline complete, I worked from the ‘C’ to the ‘A’ Pillar. Correction with a 3M green spot pad and polished back with the white Hexlogic self-centred jobbie.

DSC_0163.jpg


DSC_0147.jpg


O/S/F door.

Those bump-strips can prove a tad annoying (difficult/time consuming)

The majority of the correction done on the door (minus the door handle area) would be done with a large pad of some kind… With said large pad though, you’re never going to be able to get in close to the bump-strips.. An inch or so above and below the strip would be left a little ‘unfinished’. In my eyes, the only way to get around this is by correcting the surrounding area beforehand with a spot pad (and then moving on to the big pad work)

Example.

Before:

DSC_0193.jpg


And after: (correction nice and tight to the bump-strip)

DSC_0194.jpg


The foamed wool pad then taking over for the rest of the work:

DSC_0231.jpg


O/S/F door finished:

DSC_0234.jpg


A slight fail on my behalf though; going back to the bump-strip, that was still swirled and hazy. I should have fixed this prior to taping up and moving on to the surrounding paintwork.

DSC_0235.jpg


A bit of a nuisance and lesson learnt - after:

DSC_0237.jpg


With the O/S/R door, the strip was corrected and THEN taped up... Eh, eh. See what I did there?

Before/After:

DSC_0238.jpg


DSC_0240.jpg


50/50 on the boot lid:

DSC_0244.jpg
 
Before/After:

DSC_0248.jpg
DSC_0247.jpg


Had to leave a few RDS behind (random deep scratches); losing count of how many cutting passes I was making to chase 90%+ correction.

Boot facing dealt with:

DSC_0284.jpg


DSC_0285.jpg


Light clusters – before/after:

DSC_0290.jpg


DSC_0292.jpg


(Spot the clumped polish on the after photo – some ‘toothpickery’ work for later!)

Rear bumper had been quite badly caught (as with most cars to be honest)

Going steady, it was corrected as safely as possible and then refined down:

DSC_0295.jpg


DSC_0298.jpg


DSC_0299.jpg


Catching some sun whilst spinning the car round:

DSC_0309.jpg


DSC_0310.jpg
DSC_0311.jpg


The 50/50 on the bootlid once in the right light…

DSC_0319.jpg


And then artificial lighting:

DSC_0321.jpg
DSC_0324.jpg


N/S/F door before/after:

DSC_0329.jpg


DSC_0336.jpg


DSC_0338.jpg


DSC_0340.jpg


N/S/F wing after refining – again, Mugello Blue really starting to come to life:

DSC_0341.jpg


Exhausts tidied at this point. Cleaned and polished as far back as possible (Belgom ALU)

Before/After:

DSC_0345.jpg


DSC_0347.jpg


With the machine work complete (~20 hours over the first two days) it was time to dust the car down.

DSC_0349.jpg


DSC_0350.jpg


DSC_0351.jpg
DSC_0352.jpg


Doors shuts and engine bay attended to at this point.

Boot shut:

DSC_0357.jpg


DSC_0358.jpg


Engine before:

DSC_0353.jpg


DSC_0354.jpg
 
DSC_0356.jpg


DSC_0355.jpg


Jetted down, water sheeted to aid the drying and then blown/patted dry fully.

DSC_0360.jpg


DSC_0362.jpg


Engine dressing - AG Vinyl & Rubber Care and Jeffs Prime on the metalwork/carbon-fibre

DSC_0371.jpg


DSC_0372.jpg


DSC_0373.jpg


DSC_0374.jpg


DSC_0369.jpg


Thorough IPA (isopropyl alcohol) wipedown given to remove any remaining polishing oils.

With the wax curing (Dodo Juice Supernatural), the glass was cleaned inside and out.

Windows dropped to access that ‘top bit’:

DSC_0380.jpg


Boot also lifted as an inch or so of the rear screen is tucked under the lid when closed:

DSC_0381.jpg


A quick fix to the interior - Hoovered, leather wiped down, plastics and console cleansed.

Toothpickery work:

DSC_0391.jpg


DSC_0392.jpg


Pedals cleansed with G101:

DSC_0393.jpg


DSC_0395.jpg


Muck lifted off of the steering wheel:

DSC_0396.jpg


DSC_0440.jpg


Outside into the sun:

DSC_0399.jpg


DSC_0400.jpg
DSC_0401.jpg


Remember this?

DSC_0123.jpg


DSC_0402.jpg


DSC_0405.jpg


DSC_0406.jpg


DSC_0407.jpg


DSC_0409.jpg


DSC_0410.jpg


DSC_0422.jpg
 
A few final touches…

DSC_0382.jpg


DSC_0386.jpg


DSC_0389.jpg


DSC_0390.jpg


50/50, heh…

DSC_0376.jpg


Before/After:

DSC_0377.jpg


DSC_0379.jpg


Fini. 27 hours over three days.

DSC_0432.jpg


DSC_0453-1.jpg
DSC_0247.jpg


DSC_0435.jpg


DSC_0434.jpg


Partnering up with an e60 BMW… (Watch this space)

DSC_0447.jpg


Thanks for reading – still love the RS4.

Jim.
 
jim jim jim, im always impressed at the work you do mate, top stuff and yes my dream car also. stunning colour. really came up well.

whats your thoughts on megs 105 ultra cut on vag paint? love my lake country wool pad it does wonders on some serious paint.
 
amazing work, when you are removing scratches like on the boot lid what do you use? a mix of rubbing compound and polish?
 
great work as always mate. think i like this colour more then sprint blue.
 
"B-E-A-utiful"! It always seems that it's these high-end cars that get neglected. Fantastic job though. That bootlid before & after is just mega!
 
Many thanks guys.


jim jim jim, im always impressed at the work you do mate, top stuff and yes my dream car also. stunning colour. really came up well.

whats your thoughts on megs 105 ultra cut on vag paint? love my lake country wool pad it does wonders on some serious paint.

Cheers mate. Hopefully got a few more Audi RS' booked in off the back of this one!

To be honest, I've not yet used Megs 105 enough to be able to comment. I had to reach for the foamed wool on the RS, but, for reasons unknown, heat was picking up far too quickly and caused a few issues! (even with the 'run cooler' wool) Was a bit of a drawn out process but we got there in the end.


amazing work, when you are removing scratches like on the boot lid what do you use? a mix of rubbing compound and polish?


I think it says about what I used for the correction? Not all of the scratches could be removed in this instance. Detailings a funny game; expectations of 100% defect correction is a little optimistic on a daily driven vehicle of so many years old and 50 odd thousand miles. But typically, yes... Starting with a mild polish/pad approach, if the marks remain in the paint, you need to start thinking about upping the aggressiveness of your approach. Working your way up until you can (safely) start to make a difference without sacrificing too much clear. Log on to DetailingWorld for LOADS more examples and info RE paint correction, product, tips, technique etc. It's all there, you just gotta find it!
 
Ridiculous tbh, quite astounding the difference its made to the paintwork, colours changed allot, great work.

Will be getting mine detailed or sure at some point.
 
Stunning mate... good job well done if you ask me.