

Jimmeh
Registered User
Ford Focus ST3 Performance blue
Hello and welcome! Although the format of this report is the same, there is a slight twist!
Offering a mobile service is all well and good until you get caught out in the rain and/or dusty/dark/cramp environments. Many times I have had to cancel a job or continue to struggle on against the elements and battle on regardless Not ideal! Like other professionals in related sectors, a decent working environment is paramount.
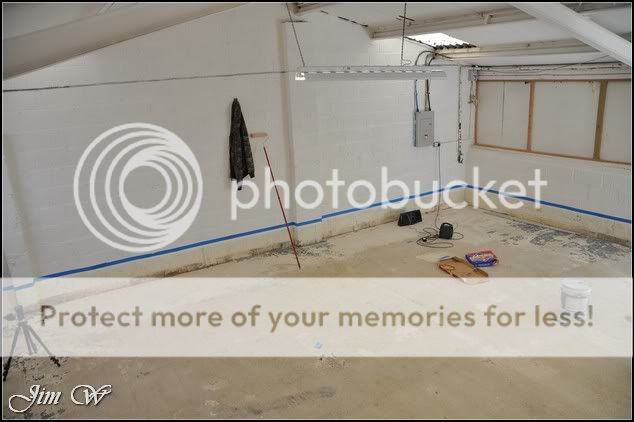
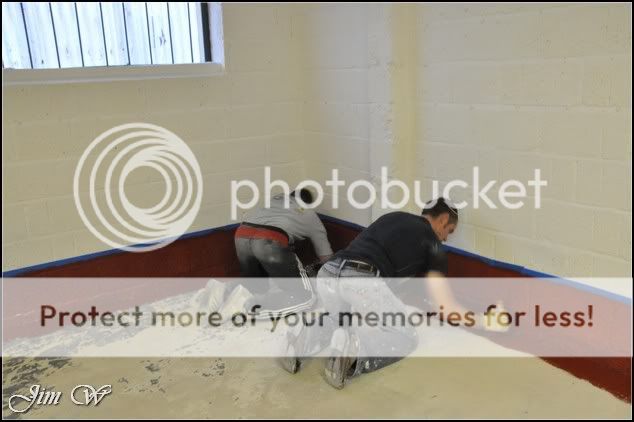
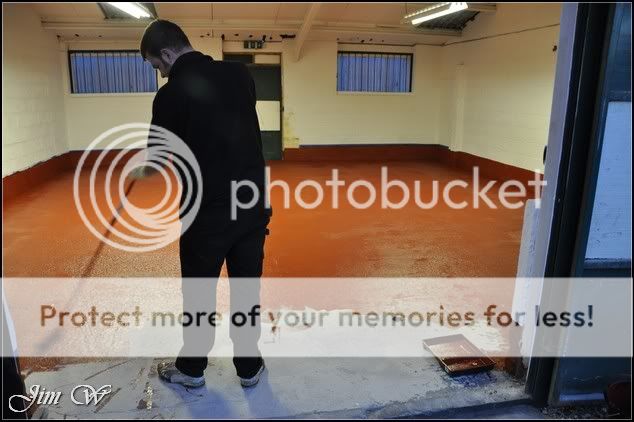
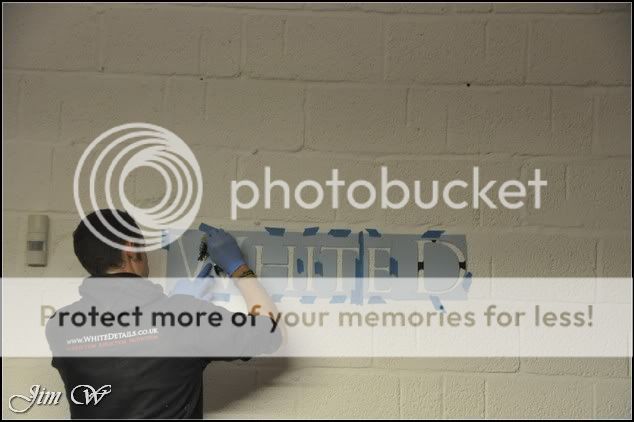
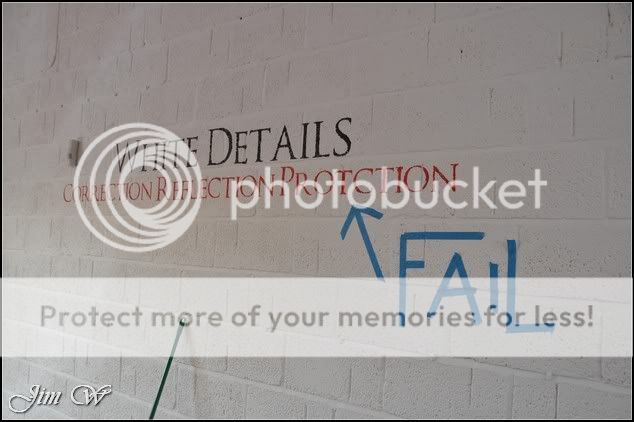
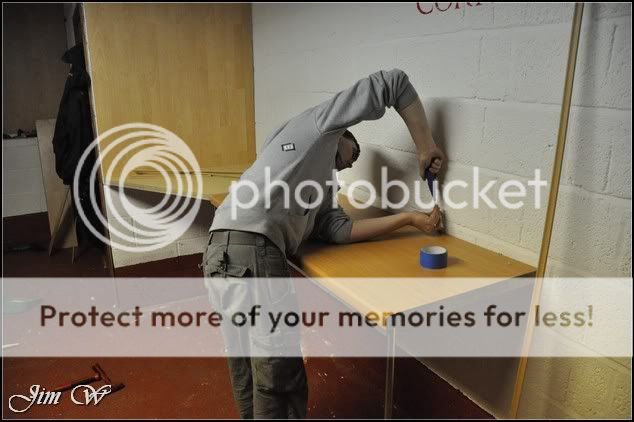
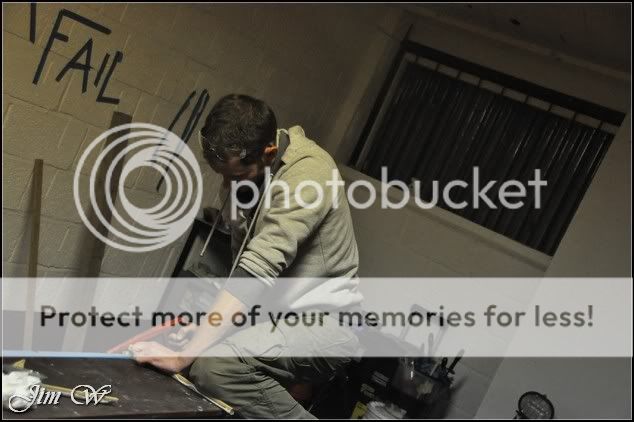
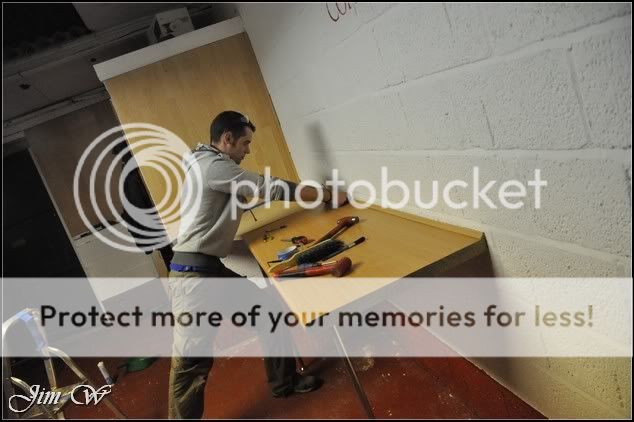
In teaming up with 66 Motorsport, WhiteDetails is now able open the doors to our new studio. Work in progress still, but on a whole, a massive leap forward for both companies. Exciting times indeed.
Product
3M Fast Cut Plus
3M Glass Cleaner
Autosol
AutoGlym Vinyl & Rubber Care
AutoSmart G101
AutoSmart Tardis
Chemical Guys New Look Trim Gel
Elite Fine Grade Clay
Dodo Juice Born To Be Mild
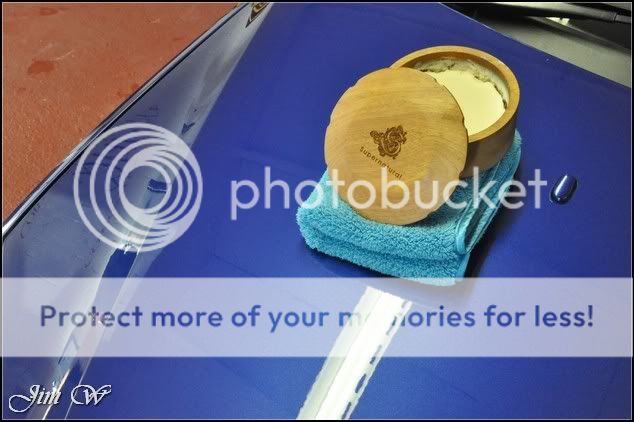
Dodo Juice SuperNatural
Meguiars Last Touch
Meguiars Wheel Brightener
Menzerna 85RD 3.02
Menzerna 203s Power Finish
Menzerna 106FA
Job was split over two days. The first day was a Wednesday and then all was finalised the following Tuesday! (For why? All will be revealed)
The Focus is currently SORN. Its been off the road since March and hasnt been washed since. Having been transported here by 66 Motorsport, it was left with us until the work was complete.
Inspection:


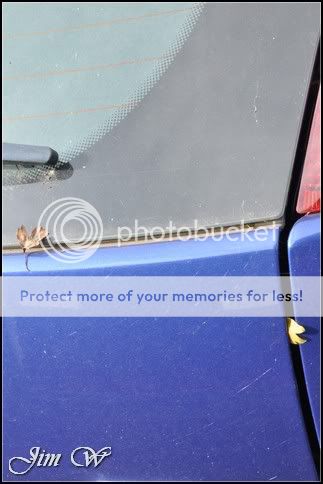
Bird etchings which look like theyve been stood for a while (could be interesting later on!)


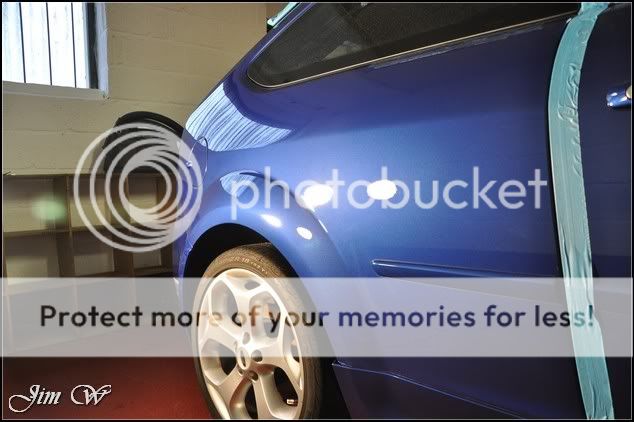
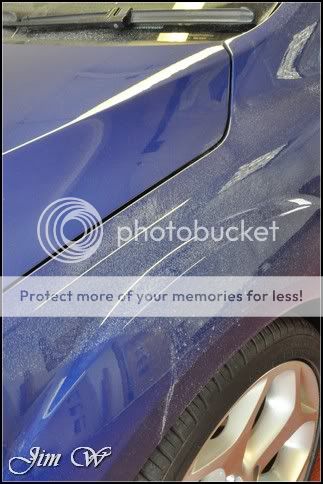
With the owner not realising, a fence panel with a protruding nail had dropped against the side of the car whilst parked. When the car was next moved, a scratch from the N/S door all the way back to the edge of the rear quarter was formed. Brilliant.

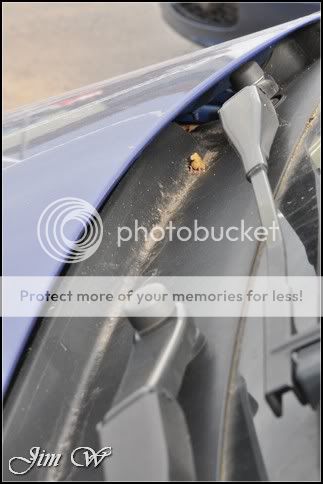
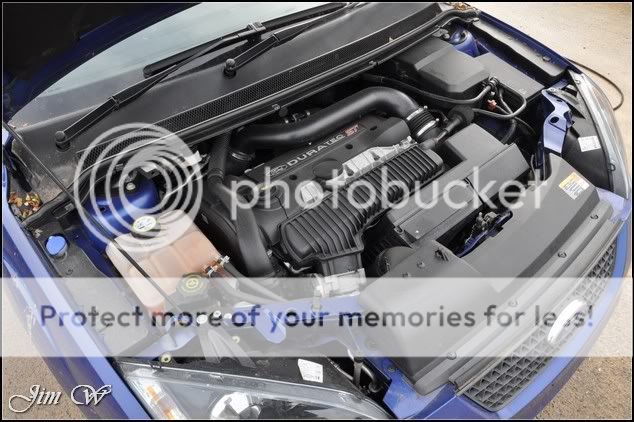
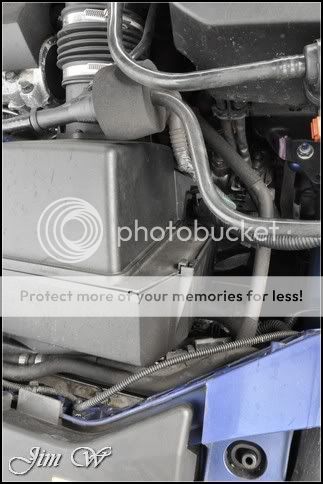
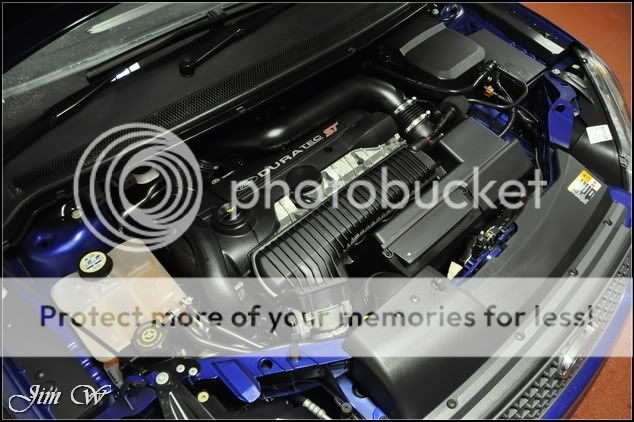
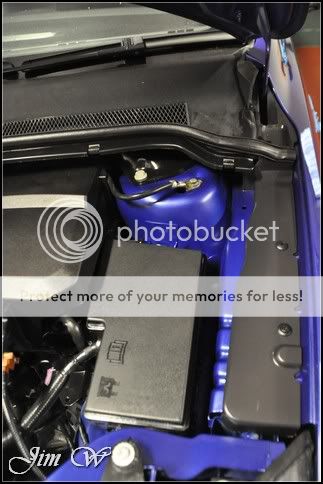
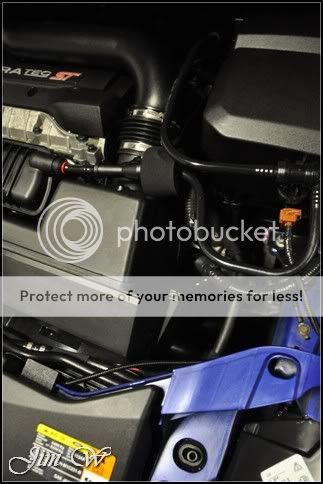
Engine bay just needing a quick tickle.
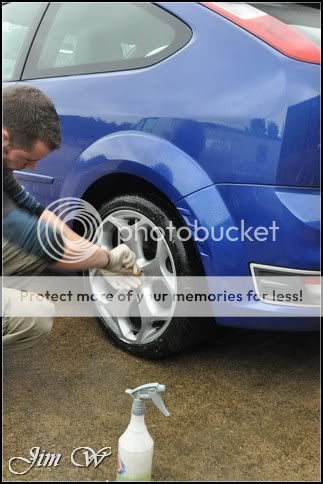
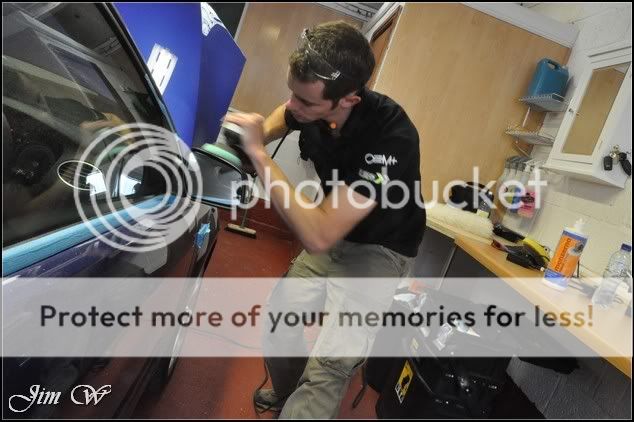
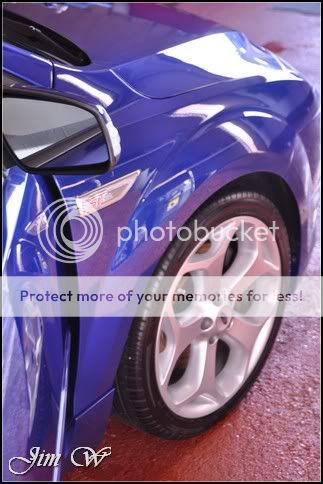
Kitting up for the first time at the new unit, I started with the Focus wheels.
AutoSmart G101 up into the arches and tyres. Megs Wheel Brightener to alloy facing and deeper into the rim.


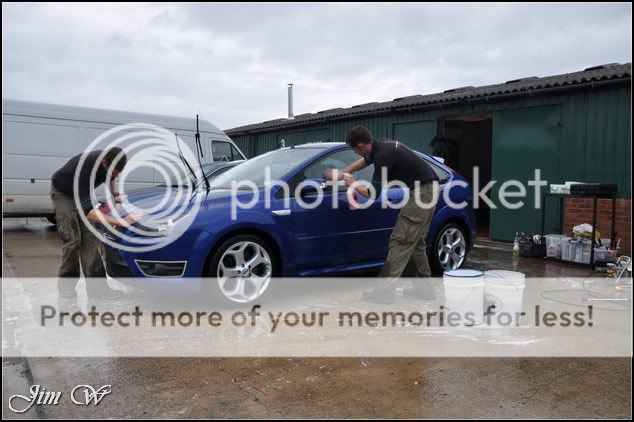
Door shuts and sills then attacked. Megs Hyper Wash used to foam the car and lift the surface dirt.
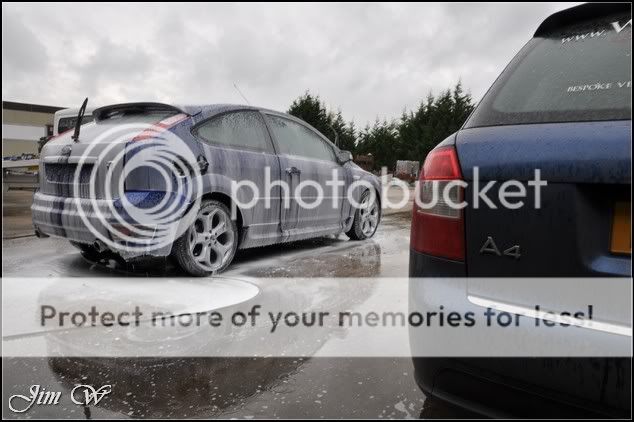
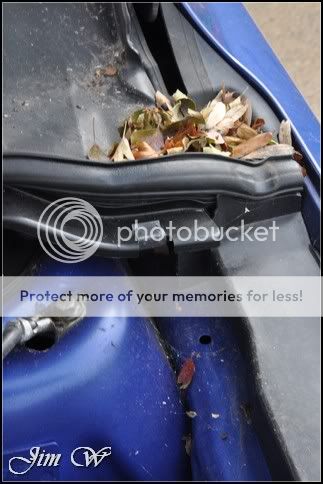
After a thorough pressure rinse (concentrating on all panel gaps and crevices where six months of muck/spider-webs and moss had accumulated) a second snowfoam layer was given to assist the two bucket wash stage.

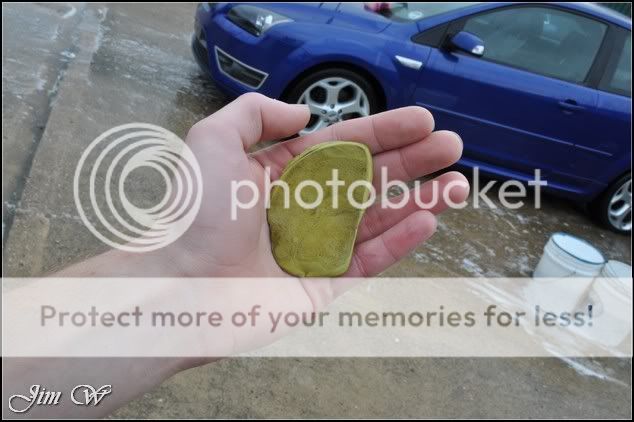
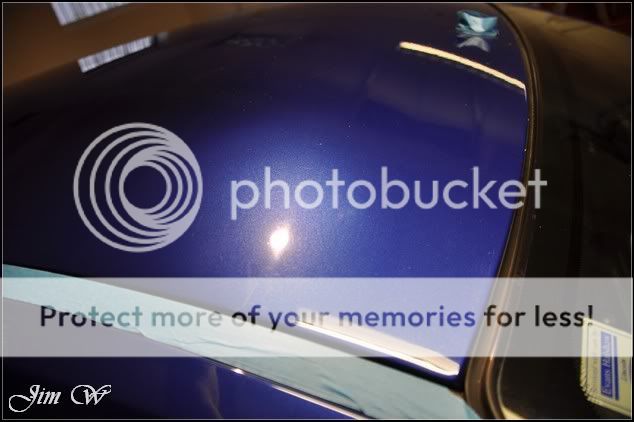
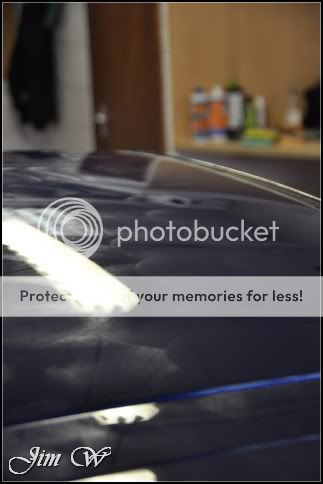
Armed with Elite Car Cares Fine Grade Claybar, I went at it with Meguiars Last Touch as lube.
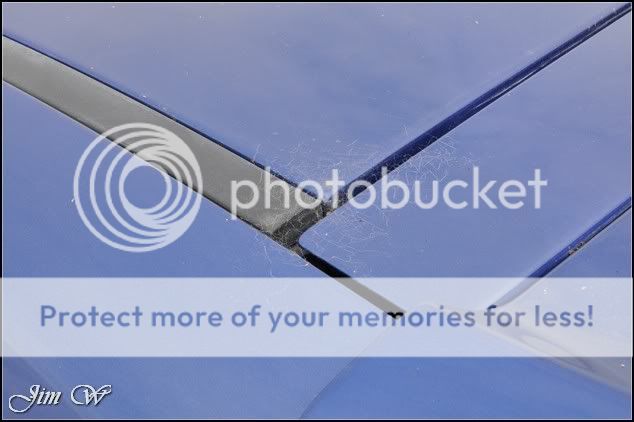
Contaminants collected from half the roof alone
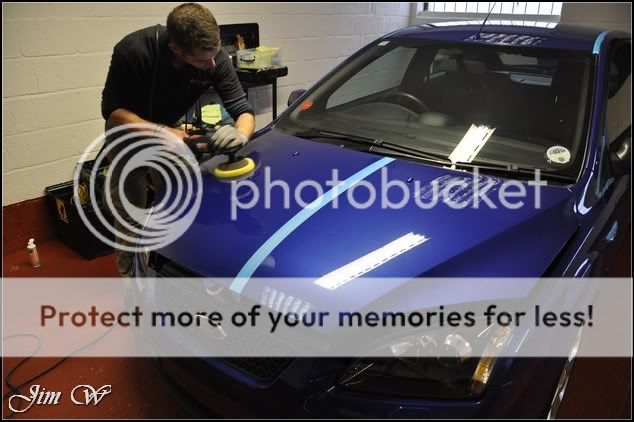
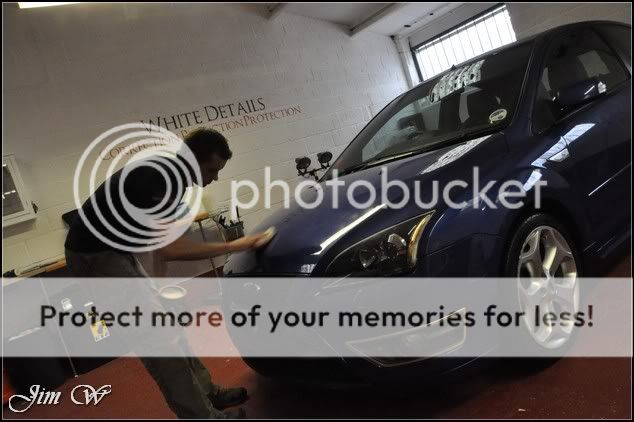
Once clayed and tar spots removed with AutoSmart Tardis, the car was wheeled inside for drying.
Using a deep plush microfibre towel for the most of and the Black Baron Vehicle Dryer for the crevices, badges and wheels.
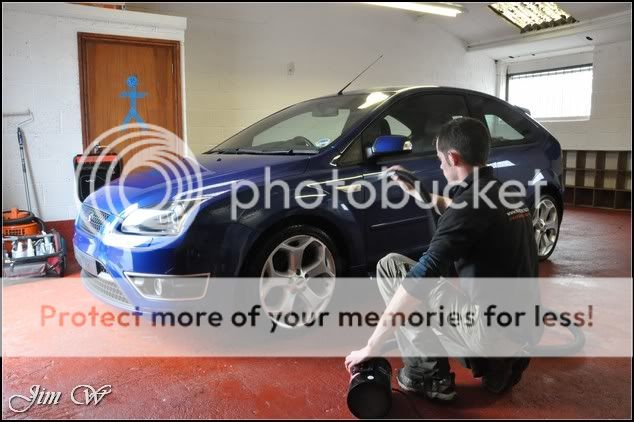
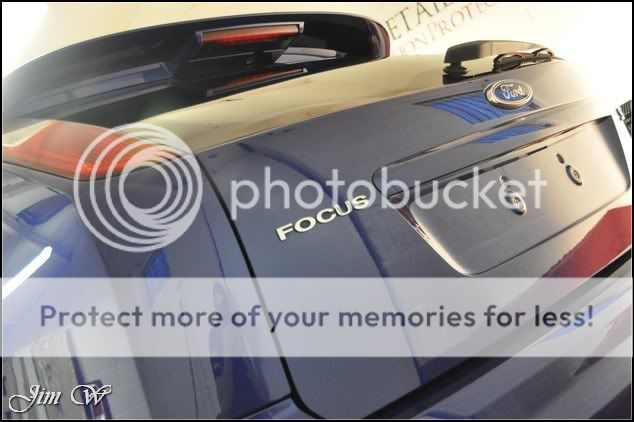
Left looking like this:

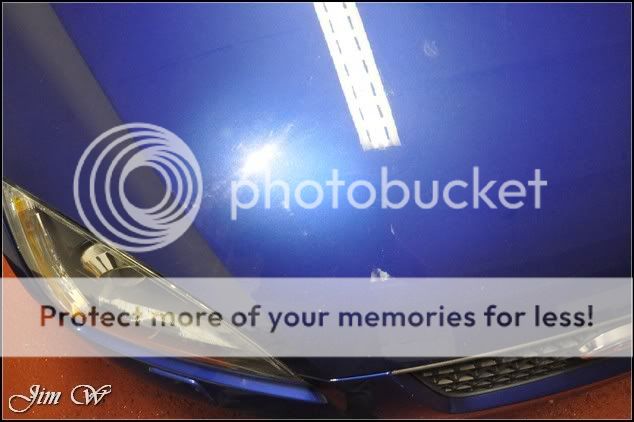
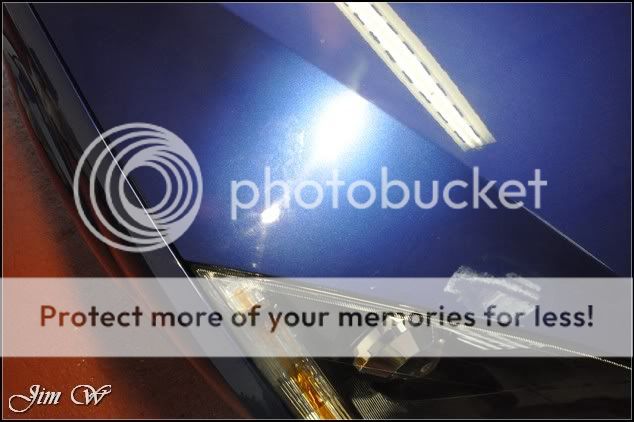
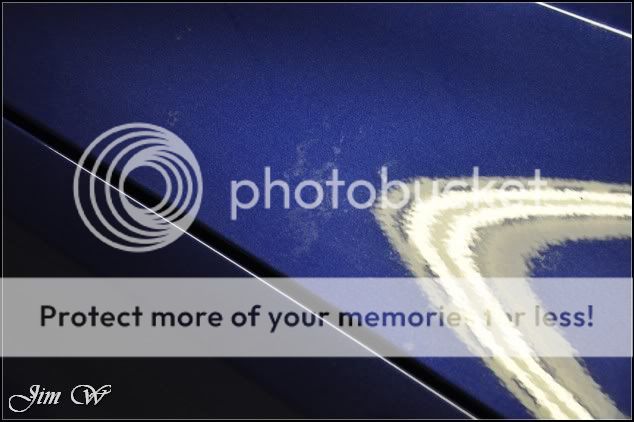
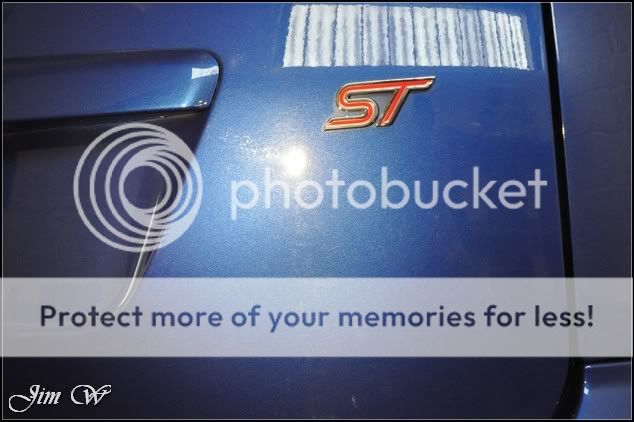
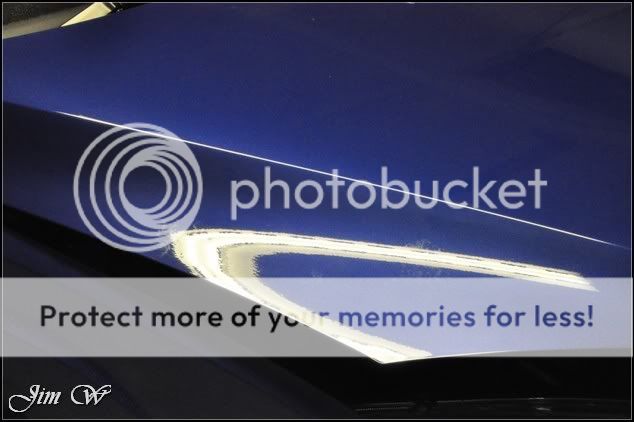
Defects:


Hello and welcome! Although the format of this report is the same, there is a slight twist!
Offering a mobile service is all well and good until you get caught out in the rain and/or dusty/dark/cramp environments. Many times I have had to cancel a job or continue to struggle on against the elements and battle on regardless Not ideal! Like other professionals in related sectors, a decent working environment is paramount.
In teaming up with 66 Motorsport, WhiteDetails is now able open the doors to our new studio. Work in progress still, but on a whole, a massive leap forward for both companies. Exciting times indeed.
Product
3M Fast Cut Plus
3M Glass Cleaner
Autosol
AutoGlym Vinyl & Rubber Care
AutoSmart G101
AutoSmart Tardis
Chemical Guys New Look Trim Gel
Elite Fine Grade Clay
Dodo Juice Born To Be Mild
Dodo Juice SuperNatural
Meguiars Last Touch
Meguiars Wheel Brightener
Menzerna 85RD 3.02
Menzerna 203s Power Finish
Menzerna 106FA
Job was split over two days. The first day was a Wednesday and then all was finalised the following Tuesday! (For why? All will be revealed)
The Focus is currently SORN. Its been off the road since March and hasnt been washed since. Having been transported here by 66 Motorsport, it was left with us until the work was complete.
Inspection:
Bird etchings which look like theyve been stood for a while (could be interesting later on!)
With the owner not realising, a fence panel with a protruding nail had dropped against the side of the car whilst parked. When the car was next moved, a scratch from the N/S door all the way back to the edge of the rear quarter was formed. Brilliant.
Engine bay just needing a quick tickle.
Kitting up for the first time at the new unit, I started with the Focus wheels.
AutoSmart G101 up into the arches and tyres. Megs Wheel Brightener to alloy facing and deeper into the rim.
Door shuts and sills then attacked. Megs Hyper Wash used to foam the car and lift the surface dirt.
After a thorough pressure rinse (concentrating on all panel gaps and crevices where six months of muck/spider-webs and moss had accumulated) a second snowfoam layer was given to assist the two bucket wash stage.
Armed with Elite Car Cares Fine Grade Claybar, I went at it with Meguiars Last Touch as lube.
Contaminants collected from half the roof alone
Once clayed and tar spots removed with AutoSmart Tardis, the car was wheeled inside for drying.
Using a deep plush microfibre towel for the most of and the Black Baron Vehicle Dryer for the crevices, badges and wheels.
Left looking like this:
Defects:


")
