- Joined
- Mar 19, 2004
- Messages
- 393
- Reaction score
- 19
- Points
- 18
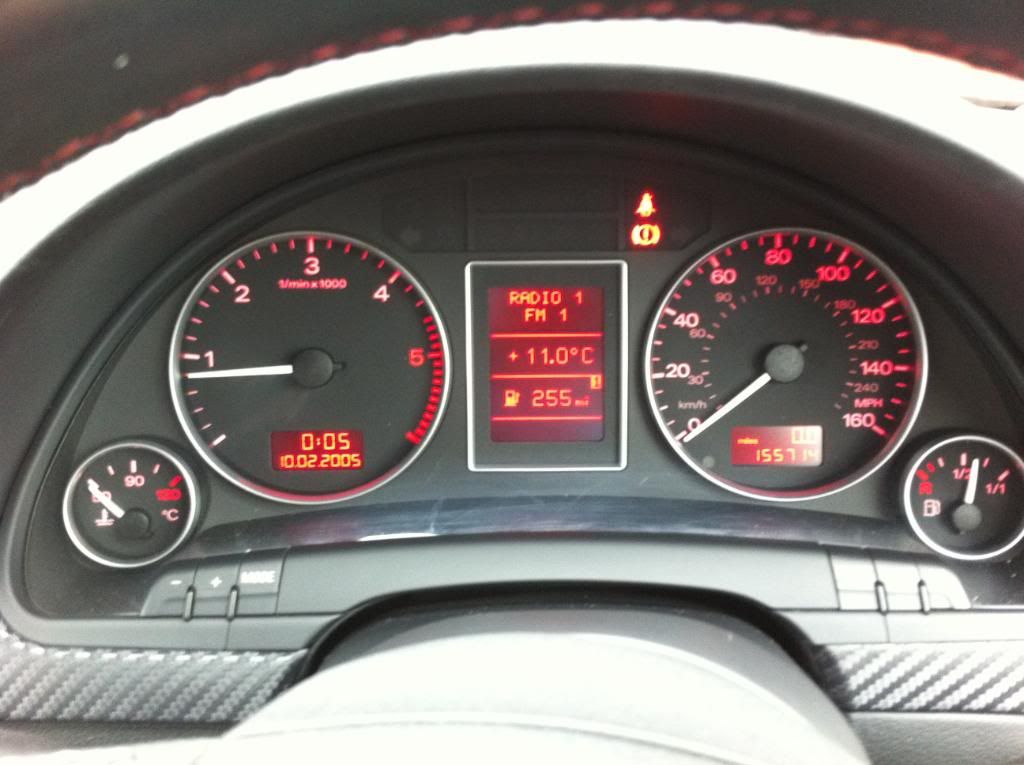
I've changed the colour of my dials again so I thought I'd do a write up for those of you who are brave/stupid enough to have a go!
I've decided to do my digits in red and change my needles to white to make it look oem+. You can pretty much go for any colour you like as long as you can find the LED's. I use Farnel to get mine.
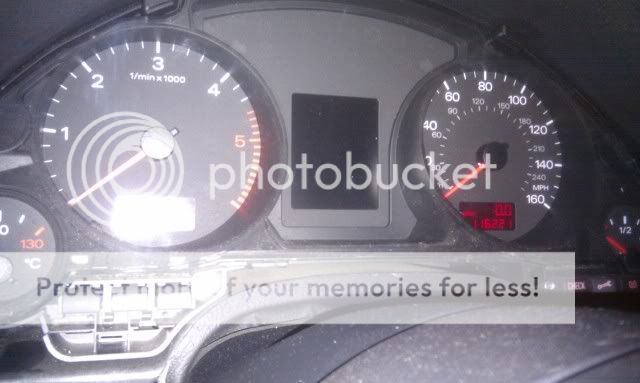
First thing you need to do before anything else is take a picture of how your dials are now.
Step one...Remove the dials...
Pull off the blanking plate that sits between the buttons on the front of your clocks. This will reveal two T20 torx screws. Undo these then pull or push the dials out. Its sometimes easier to remove the fuse box cover and push them out from the back.
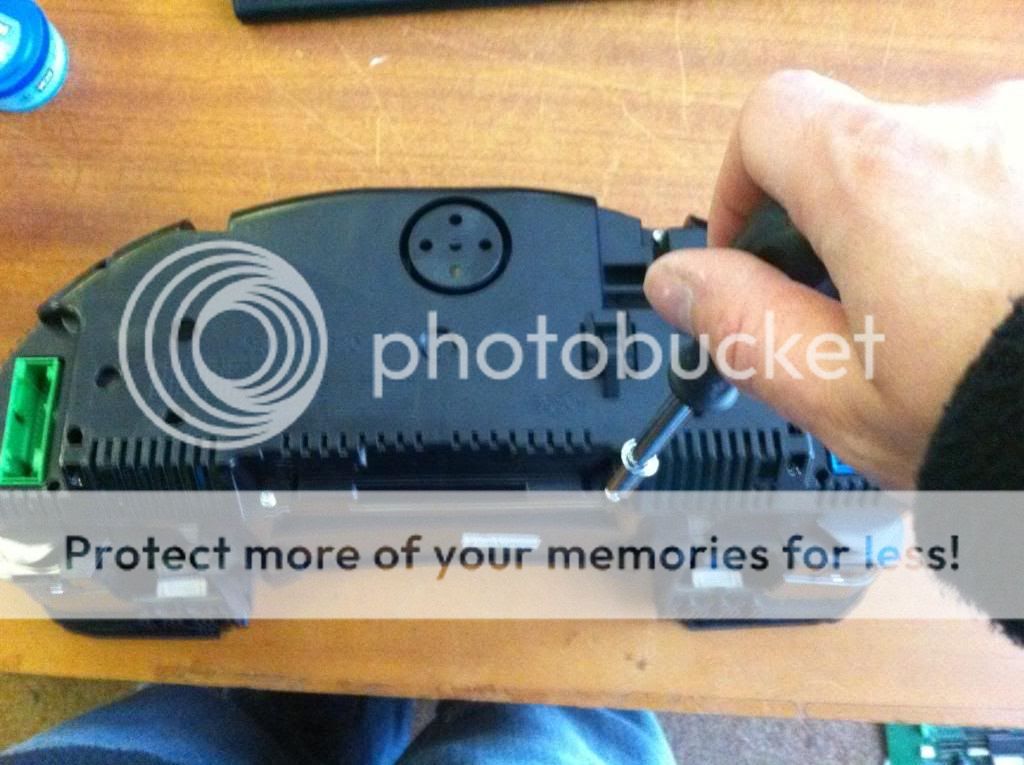
Step two... Stripping the dials down!
Lay the dials on a soft surface on their front. This will reveal 4 T10 screws. Undo these and the back cover will come off...
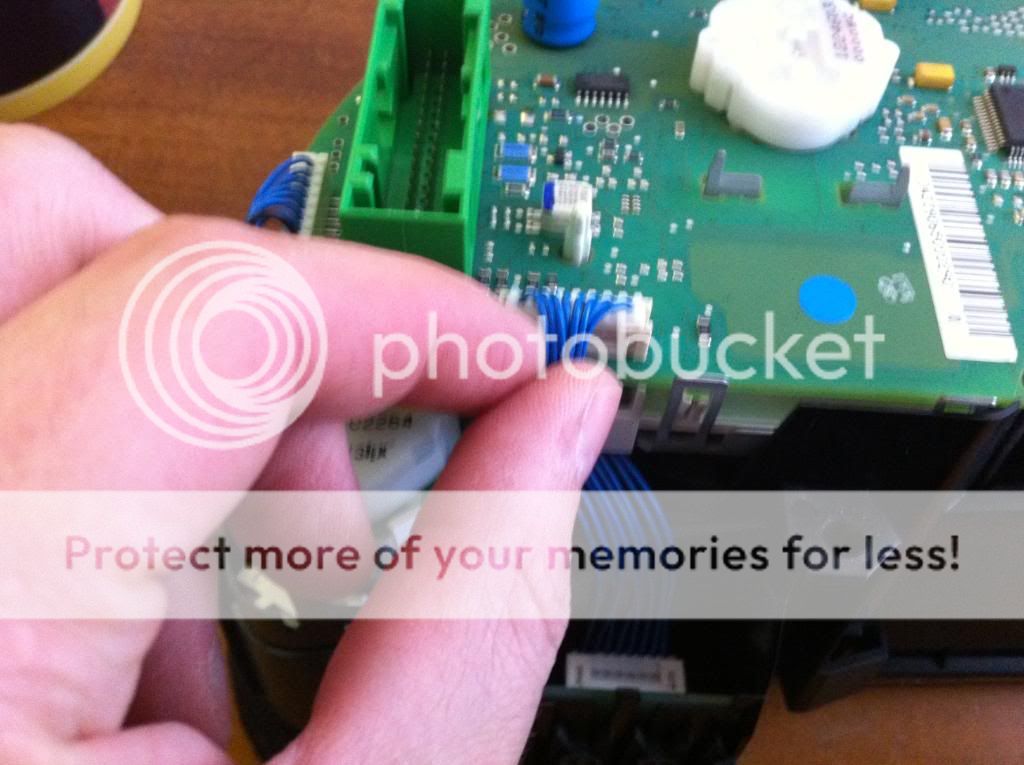
Next you need to remove the front. Just unclip the tabs around the screen...

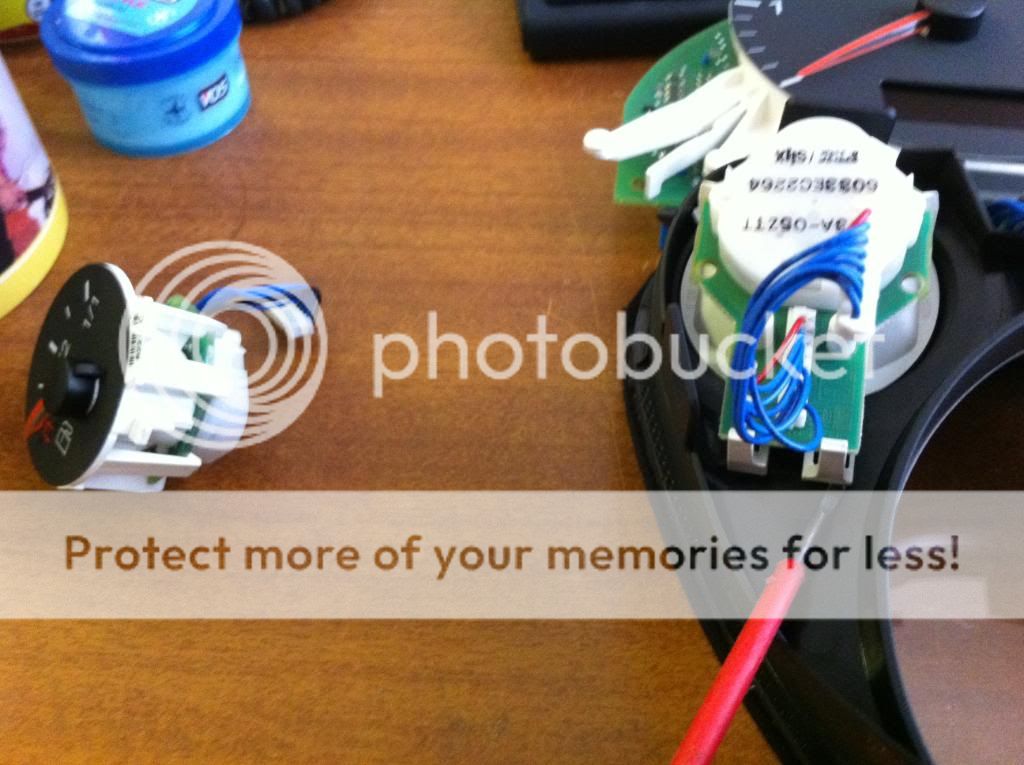
You will now see 4 sets of blue wires. All these need unplugging then the dials will drop out..
The two smaller dials will be left in place. These simply pop out using a screwdriver...
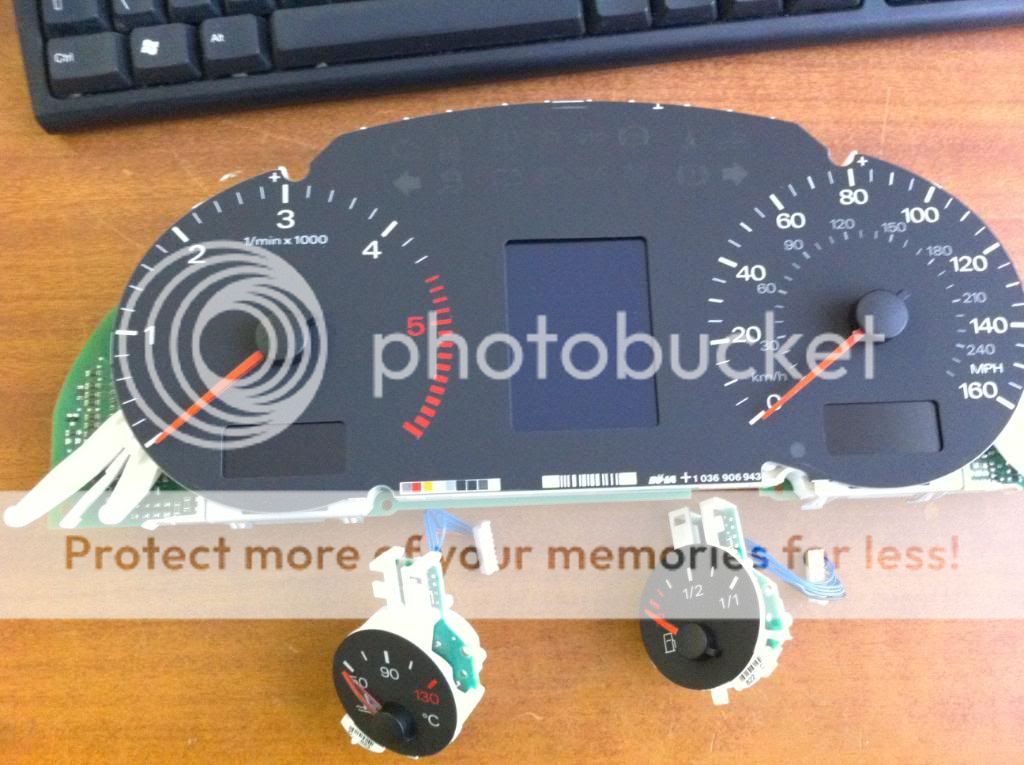
Now the needles need to be removed. I've found the best way to do this is to use two teaspoons opposite each other. Place these under the base of the needle and push down gently...
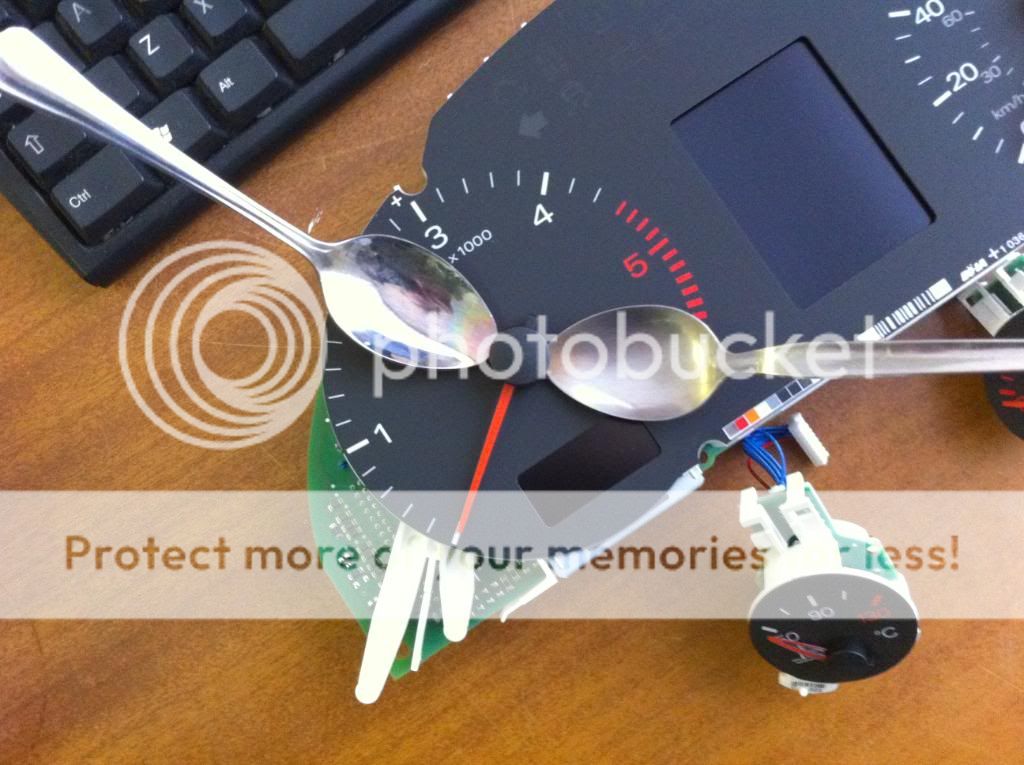
After a bit of gentle persualsion the needles will come away so that you can now remove the dial covers. This will reveal a white plastic section that also needs removing. Undo the two metal clips over the LCD displays at the bottom of the clocks (leave the centre display alone) then prize out the connecting tabs and it will come away from the circuit board. You should now have something looking like this..
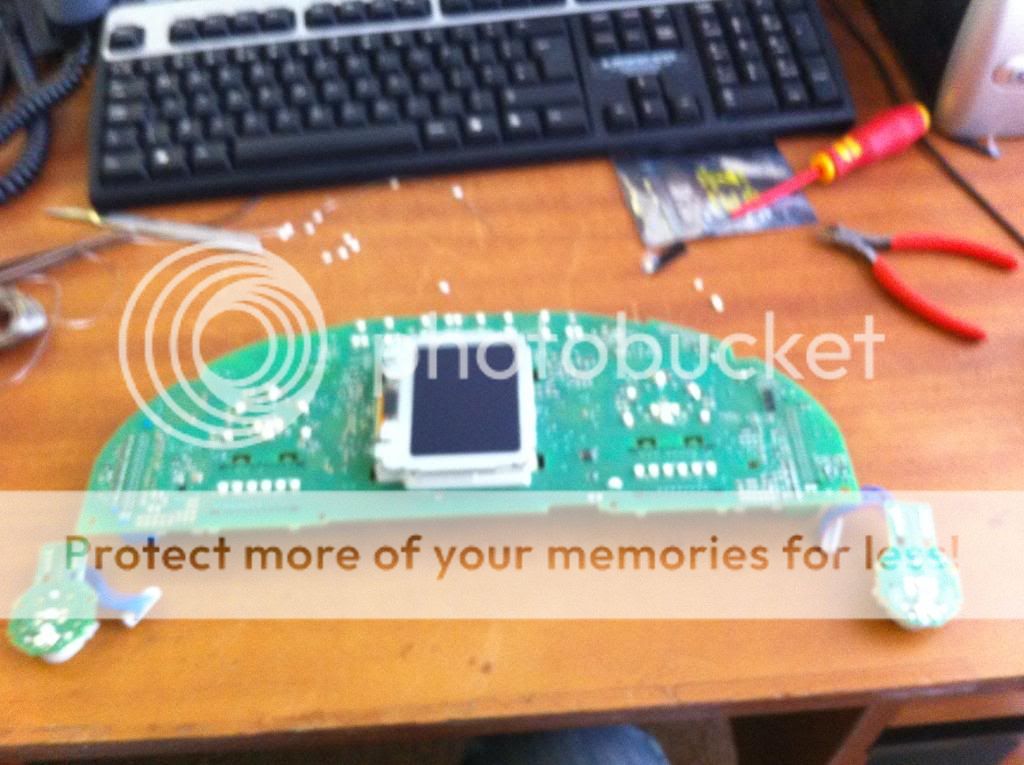
There are 5 LED's for each of the larger dials and just one for each of the smaller that need replacing. Each LED is a PLCC2 and is a nice easy unit to work with.
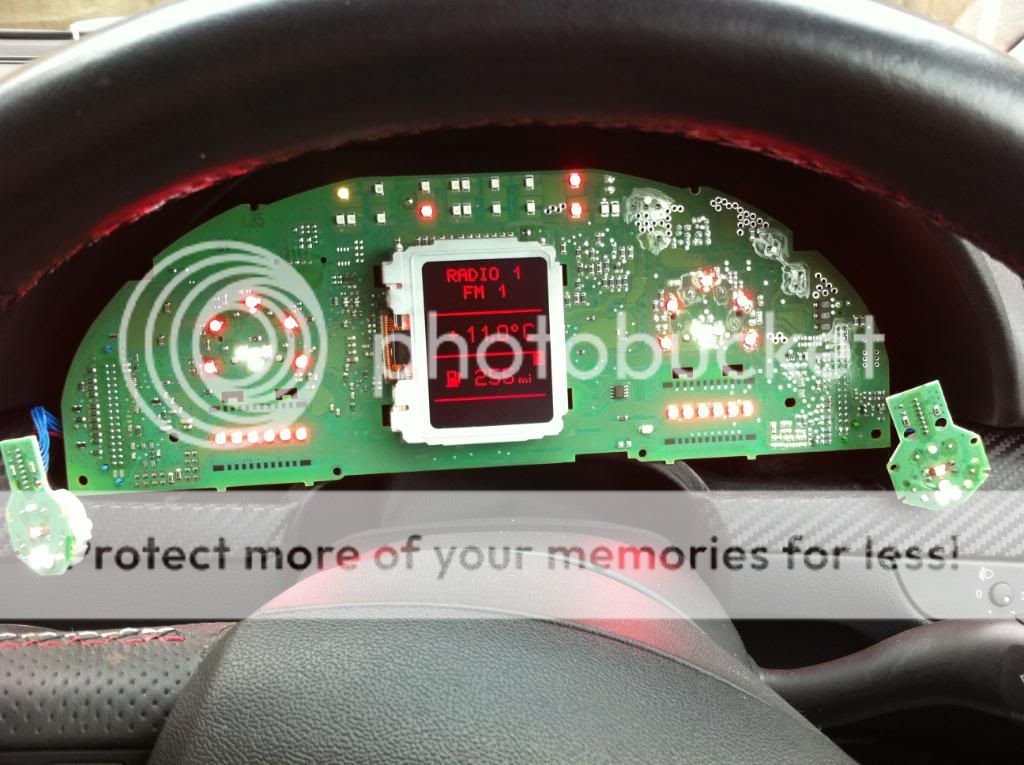
You can see the LED's that have been changed illuminated here..
Step 3... Soldering!
Each LED has a small notch out of the corner. Its best to mark up where the notch is using a marker pen so you don't get your new ones the wrong way round. De solder the old LED and then re solder in your new LED ONE AT A TIME. This way you have much less chance of getting any the wrong way round. Use tweezers to hold the LED in position as they are far too small to be accurate using your fingers.

To chech you have done the job properly, its best to plug your dials back into the car and test before fitting everything back together. I have also changed my needles to white. I can do a seperate write up on that if anybody is interested.
Step 4... put it back together.
Once you have soldered in all your new LED's and tested you need to put it all back together. Remember the picture you took at the start. This is where that comes in handy. Look at where your needles used to rest and resit them in the same position. Re clip and screw everything back together. Put the dials back in the car and wait for the dark to arrive!


I've decided to do my digits in red and change my needles to white to make it look oem+. You can pretty much go for any colour you like as long as you can find the LED's. I use Farnel to get mine.
First thing you need to do before anything else is take a picture of how your dials are now.
Step one...Remove the dials...
Pull off the blanking plate that sits between the buttons on the front of your clocks. This will reveal two T20 torx screws. Undo these then pull or push the dials out. Its sometimes easier to remove the fuse box cover and push them out from the back.
Step two... Stripping the dials down!
Lay the dials on a soft surface on their front. This will reveal 4 T10 screws. Undo these and the back cover will come off...
Next you need to remove the front. Just unclip the tabs around the screen...
You will now see 4 sets of blue wires. All these need unplugging then the dials will drop out..
The two smaller dials will be left in place. These simply pop out using a screwdriver...
Now the needles need to be removed. I've found the best way to do this is to use two teaspoons opposite each other. Place these under the base of the needle and push down gently...
After a bit of gentle persualsion the needles will come away so that you can now remove the dial covers. This will reveal a white plastic section that also needs removing. Undo the two metal clips over the LCD displays at the bottom of the clocks (leave the centre display alone) then prize out the connecting tabs and it will come away from the circuit board. You should now have something looking like this..
There are 5 LED's for each of the larger dials and just one for each of the smaller that need replacing. Each LED is a PLCC2 and is a nice easy unit to work with.
You can see the LED's that have been changed illuminated here..
Step 3... Soldering!
Each LED has a small notch out of the corner. Its best to mark up where the notch is using a marker pen so you don't get your new ones the wrong way round. De solder the old LED and then re solder in your new LED ONE AT A TIME. This way you have much less chance of getting any the wrong way round. Use tweezers to hold the LED in position as they are far too small to be accurate using your fingers.
To chech you have done the job properly, its best to plug your dials back into the car and test before fitting everything back together. I have also changed my needles to white. I can do a seperate write up on that if anybody is interested.
Step 4... put it back together.
Once you have soldered in all your new LED's and tested you need to put it all back together. Remember the picture you took at the start. This is where that comes in handy. Look at where your needles used to rest and resit them in the same position. Re clip and screw everything back together. Put the dials back in the car and wait for the dark to arrive!


") Not had the exhaust yet, booked in around 20th Oct. 3-4 days worth of fabrication and because it's a DD I need to wait for a week when I dont need the car. Can't decide between 4" and 4.5" slash cut tips at the moment... 4.5" fills the cut-outs nicely but with hardly any gap, 4" is fairly common and I wanted something a bit different. Second guessing the decision to go for the jap-style slash cut (all be it curved to the valance) now and contemplating a 4" inward rolled tip... need to decide soon so the parts/tips cab be ordered!
Not had the exhaust yet, booked in around 20th Oct. 3-4 days worth of fabrication and because it's a DD I need to wait for a week when I dont need the car. Can't decide between 4" and 4.5" slash cut tips at the moment... 4.5" fills the cut-outs nicely but with hardly any gap, 4" is fairly common and I wanted something a bit different. Second guessing the decision to go for the jap-style slash cut (all be it curved to the valance) now and contemplating a 4" inward rolled tip... need to decide soon so the parts/tips cab be ordered!