Ok, update!!!! (and pics at the end if you can get that far!!)
Thanks to help from matt and the sacrificing ofmost of my knuckles and finger muscles, my S4 lives again. I started it up last night and ran it up to temp and no leaks, bangs or rattles were evident, so tonight will tidy things up and give it a proper run.
The job took me 3 hours on Friday where I got the driveshaft covers (b@stards!) off, downpipe heatshields and exhaust off, then the downpipe nuts and all the top covers off. I also got the bumper, headlights and plastics off the front clip. I also wiggled out the downpipes and put them aside (I had prepared de-catted ones from a replacement system). One tip here to add is that I found by removing the EGT sensors early on and all the heatsheild bolts I was able to move the sheilds around a lot to enable easier access to the DP nuts. Finally I drained the oil (and saved it as it was only serviced 1000 miles ago!) and the water from the lower rad hose and sensor outlets.
I should point out that I had the use of a big dry workshop with a two post lift and plenty of good tools. I also prepared better this time with a paint pen to mark things up, boxes to categorise the bits as they came off, and a proper lambda sensor open socket amongst other bits.
Then I started again on Saturday at 7am and finished at midnight (!!) - Matt joined me mid morning and we had the lump out by about 1pm, the hardest part being the lowest 3 bellhousing bolts that are completely innaccessible without jacking the engine up with the mounts undone and even then are a PIG!!
The intercoolers and pipework all come off easily, and the way we did it this time (yes, I did this all only a year ago..) was much simpler in the amount of pipes and cables that had to be disconnected - in effect we didnt mess with any oil lines apart from the gearbox cooler pipes (which had been bodged back into place by the previous engine removal - yeah, thanks Sienna (again)) - more on that later.. These mount onto the OS turbo housing on one bolt which is hard to get to but makes getting the engine impossible if you forget to remove it (as we found!) - once removed, all the oil pipes stay with the car and the engine comes out neatly.
Matt proposed that we pulled the A/c rad and assembly off to one side to avoid regassing if we could, and this worked - it was only slightly inconvenient to work round it or hold it as the car went up on the lift each time - no biggy. The front clip came off as a complete lump with the water hoses being the biggest pain to persuade that disconnection was a good thing!
We then used some chain and bolts to use the 3 lifting eyes on the heads / block to lift the lump out with a hoist - we spent ages trying to get bolts / nuts / brackets to make this bit work properly - even on the top of the engine there really is NO room at all!!
Ok, so at this point the engine is hanging out on the hoist, just clear of the front chassis legs to give us the clearance to remove the manifolds..
All the manifold nuts undid easily, though the turbo housing bolts (3 in each, 8mm IIRC allen head) were piggies and theres one on each that is hard to access and of came the manifolds..
Aaarrrrggghhhh!!! - My pre-facelift car has already had the manifolds replaced!!! I had bought a used set ready to fit and the ones we removed were identical - and even had an audi part number sticker on one showing that at some point in my cars early life, the manifolds had been replaced.
I must admit to feeling slight peeved at this point, BUT AT LEAST I NOW HAD PROOF THAT MY RATTLE WASNT SOMETHING AS SERIOUS AS THE MANIFOLDS BREAKING UP!
Matt suggested testing the actuators which we did with a little gentle pressure from an air line. The NS turbo (where my rattle originated) seemed to have play in both the arm "bearing" and the actuator "penny" too. We compared the two and both had play but it appeared that the NS one wasnt seating quite properly, so Matt set about adjusting it carefully to get it to seat properly. I must admit this is right out of my skillset as I was led to believe that you cant go adjusting actuators and I have no idea what "right" looks like. However, Matt did, and I left him to it whilst I set about breaking things..
First I refitted the OS manifold (I compared my existing one to the replacement ones and selected the one that resonated the least and had the neatest port openings just cos really!) and promptly snapped a stud in the block.. off with the manifold again..
Matt again came to the rescue and by hammering a small 12 point socket onto the stud got enough purchase to unwind it - I found a suitable bolt and replaced it with that.
Then one of the turbo housing allen bolts wouldnt wind in, and the threads started to strip, so that had to be retapped and a replacement bolt found (amazingly I had a couple of identical allen bolt in my spares box!) necessitating removal of the mainifold again, and finally one of the other studs on the NS head that had unwound on removal wouldnt go back in properly so we had to replace that with a bolt, too!!
So we lost about 2 hours messing about with studs and bolts before the manifolds were safely and firmly back on and we could wriggle the block back onto the gearbox / splines.
It never seems to want to go back on and suspect this is because the lump came out at a slight angle and we were struggling to line everything up initially, but with some lumps of wood, a jack and some levering it all popped back into place.
I spent the rest of the afternoon and evening carefully checking every bolt and connector and got as far as I had the previous night with just the downpipe bolts to tighten and the exhaust to attach, plus the bumper and lights and fluids but spent a good hour and a half trying to fit the gearbox oil pipes back up onto the turbo housing clamp - it seems that they had been bent over by a previous bodger and I had to lever and carefully bend back these thick metal pipes so they lined up, then get access to the turbo flange and loosen the clamp bolt to swivel the base of the clamp round to where it should have been (would have been easy with the engine out!!) then tighten it all up again and fit the oil pipe clamp. Anyway 90 minutes later and that was fixed too.
The new (de-catted) downpipes were wriggled back in and the DP nuts were actually really easy - 3 from underneath and one each from the top.
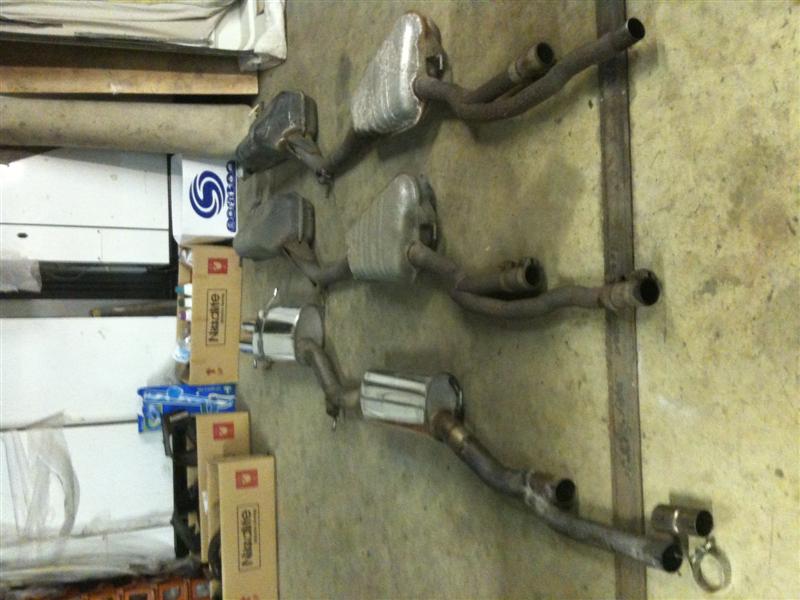
I bought Matt's yummy looking stainless system to fit but its missing a reducer so I trial fitted it to see where it will all go but in absence of that I got my £20 second hand system welded back together (was cut in half to get in a car!) and refitted that for this week and also it means I can see how everything is "stock" but de-pre-catted before I untroduce further changes.
Massive thanks to Matt for his knowledge and skills - without him I would have prevaricated a lot with the manifolds and turbos and probably wouldnt have touched the actuators. At least now I KNOW that the manifolds are fine, the turbos are new, the actuators have been checked and everything that I can, has been inspected!
Weird thing is, despite having hands that look like Mike Tyson's after 9 rounds of pummeling, I actually enjoyed it and now I know better ways of doing each stage, would do it again! (pref not on my car though..) I reckon it has taken about 20 hours total of my time plus 5 or so of Matt, though there were periods where I was prevaricating rather than just doing!!
Will post how I get on with the test drive and how the new exhaust sounds / works when I get to that.
..now I just need to get my beach buggy engine reassembled and back in and I can relax for a few beers over summer maybe...?!
Sorry for the long post, hope this is useful / interesting to someone!!
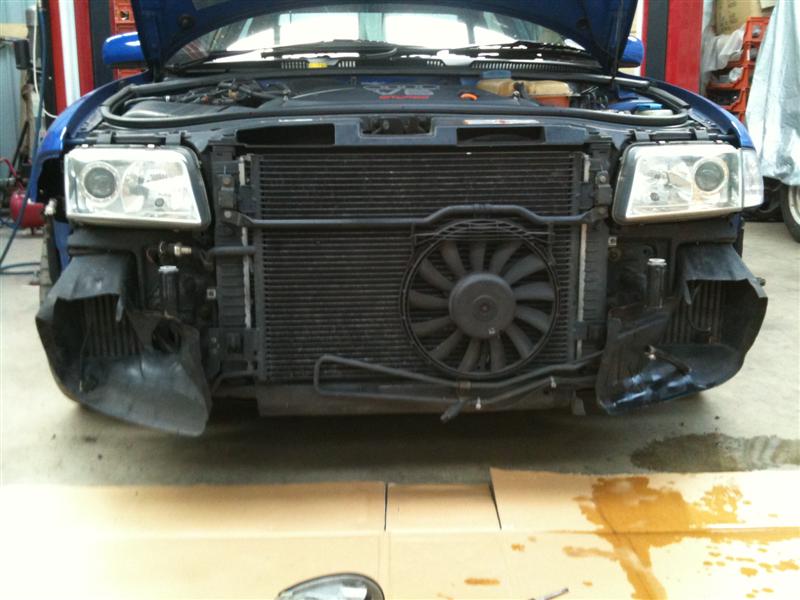
Front bumper off, ready to dive in..
Front clip almost ready to remove..
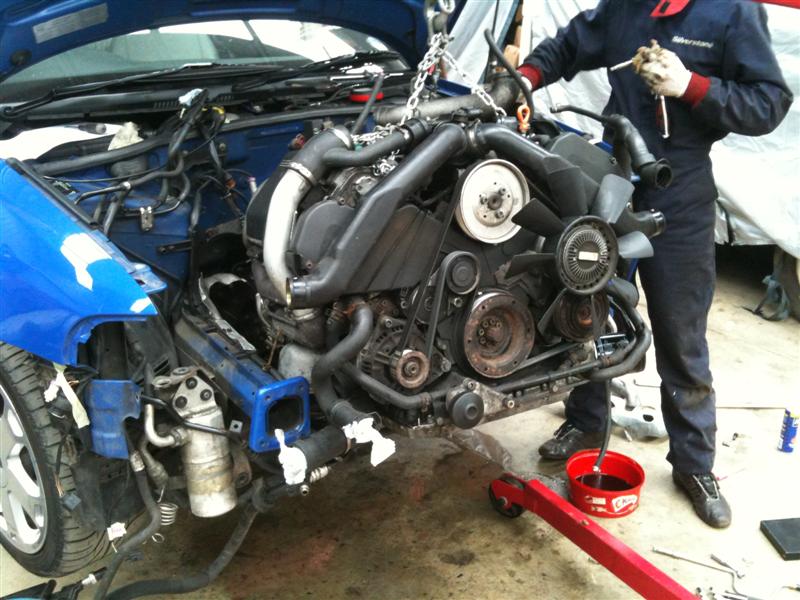
Engine out, access to manifolds now possible!
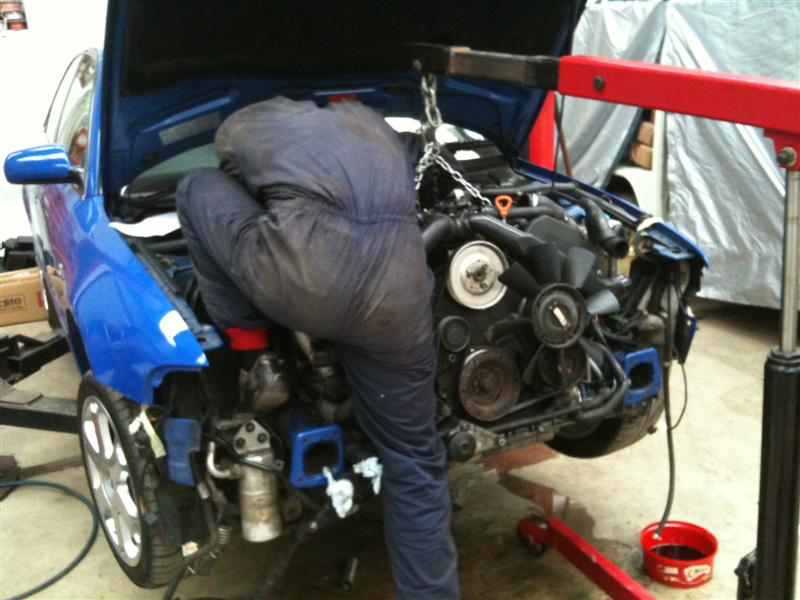
Matt gets stuck right in there!
Exhausting - options...


 so I was able to do a few tests - after gently driving it the first mile (it had a good 20 minutes at idle to warm everything up) I gave it the beans and all felt good, right up to 130mph (or so I dreamed officer!). And 40-100 took a shade over 6 seconds even with 2 gearchanges - nice.