

I thought I'd share my experience of replacing the front control arms and the rear control arms and bushes.
Firstly, I ordered the parts from All German Parts Passat, A4, and A6 suspension - Our Online Shop. It is the Meyle front control arm set, the rear refresh kit and the rear eccentric bolts
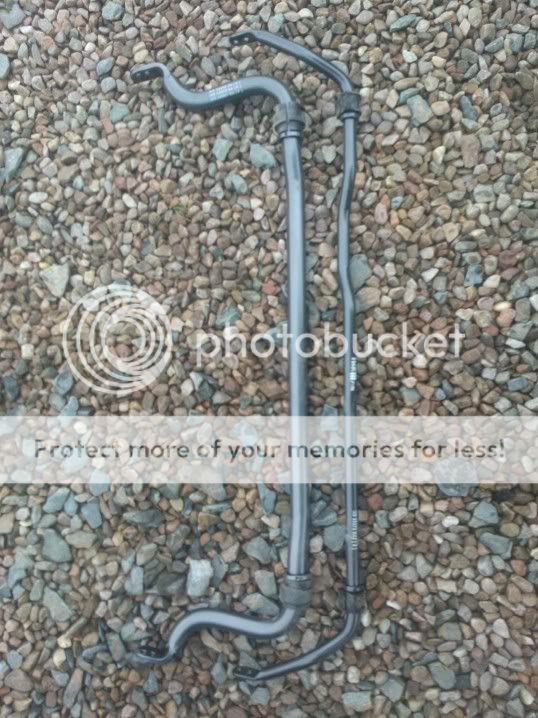
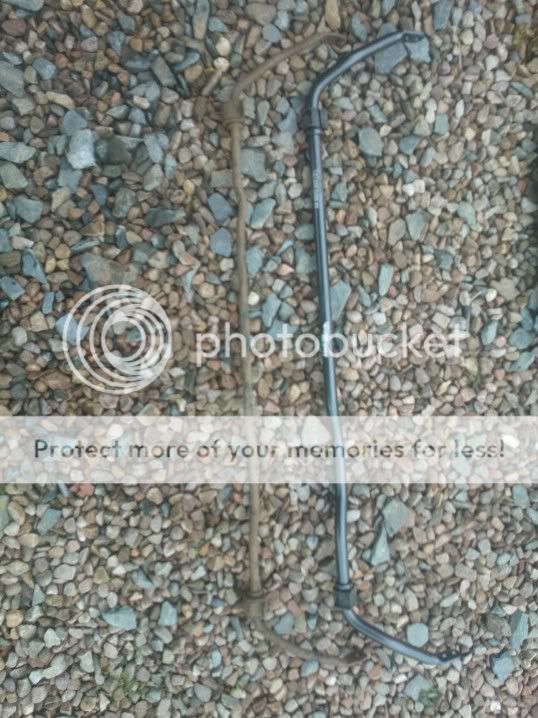
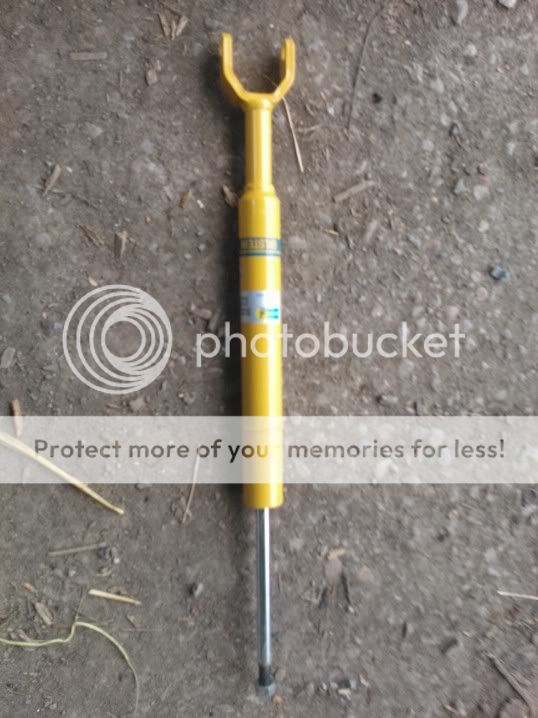
The parts look like this
Front
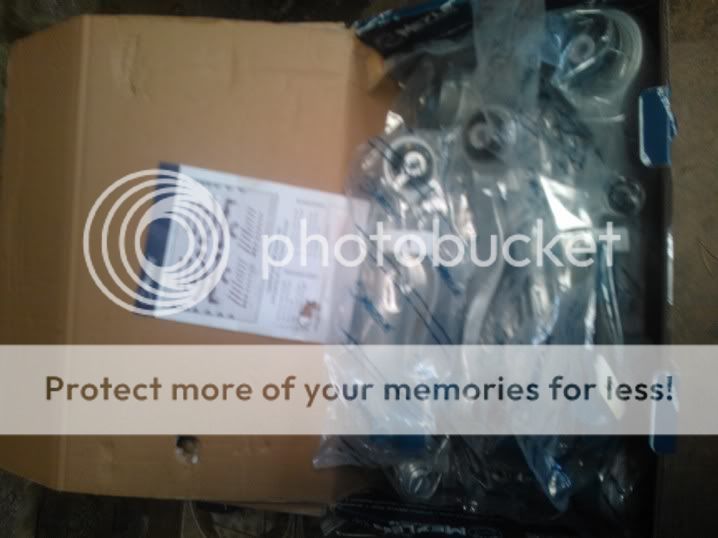
and rear

I allowed three days for the job, having had grief with my wife's car.
First gain access to and then slacken the front driveshaft bolt. It is **** tight, so if you try it when jacked, you will move the car off jacks!
Jack the front of the car, and remove the wheels and brakes, and the loosened driveshaft bolt.
I would suggest starting with the pinch bolt, as it determines the time to do the front suspension
Note that if it is stuck, putting it in a press will only pinch up the end resting on the press and grip the bolt tighter. The general consensus seem to be cut the bolt through the pinch gaps and try and punch it out whilst heating it. Good Luck!
I then removed the track rod end, and fitted the new one

making sure my measurement was from the steering rod to the centre of the track rod end ball joint bolt, as old and new may be different

Then remove the two upper arms from the hub, and unbolt the strut from the lower arm.
Then access the three strut mounting bolts in the engine bay, and remove them
You can then remove the whole strut for accessing the upper arm bolts
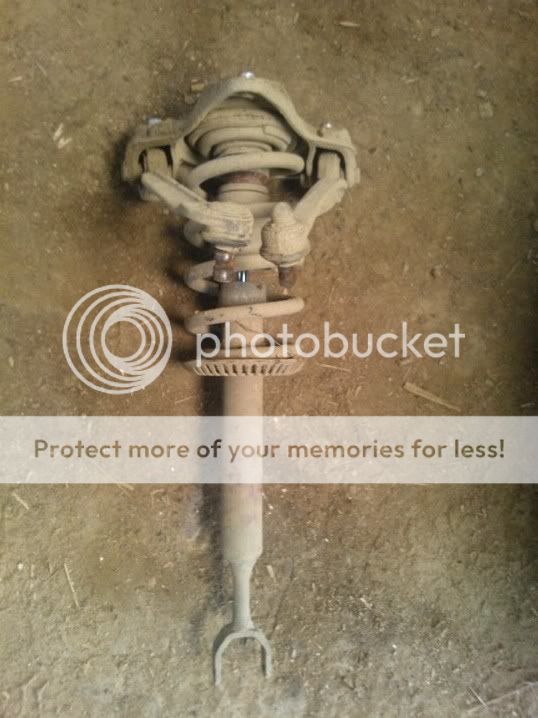
Loosely fit the two upper arms to the strut, ensuring they are still free to rotate.
I then put the strut back and completed the top part of the job.
Note the copious amounts of grease used throughout.
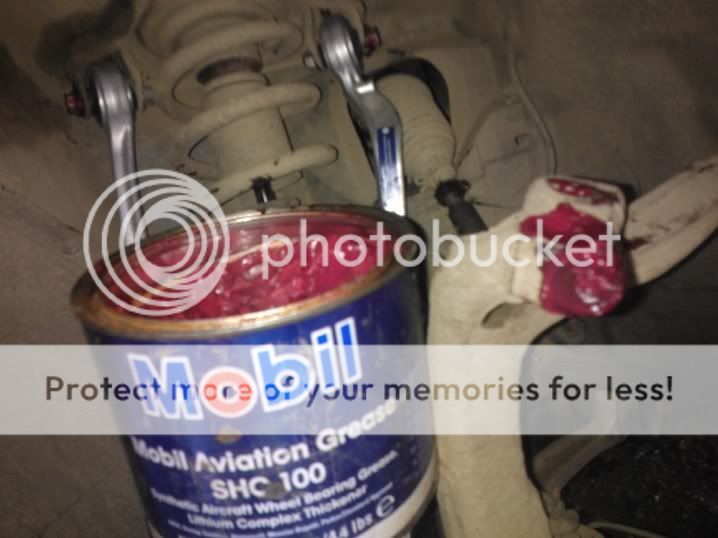
This should make removal easier if required in the future.
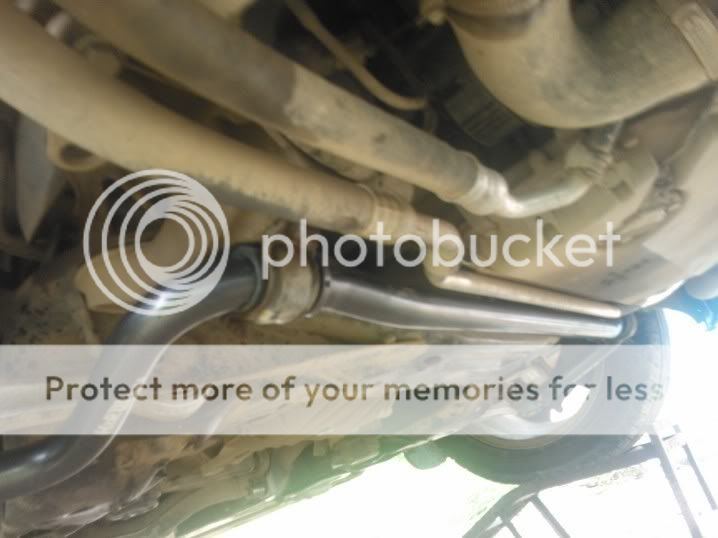
The lower arms and 'C' link are fairly straight forward,

however, ensure the 'C' link has the correct orientation, and the correct mounting holes are used for the lower arms - there are two.
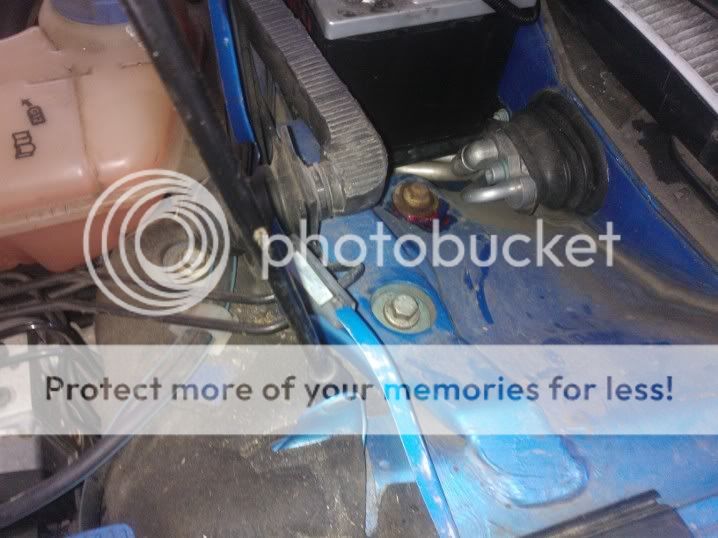
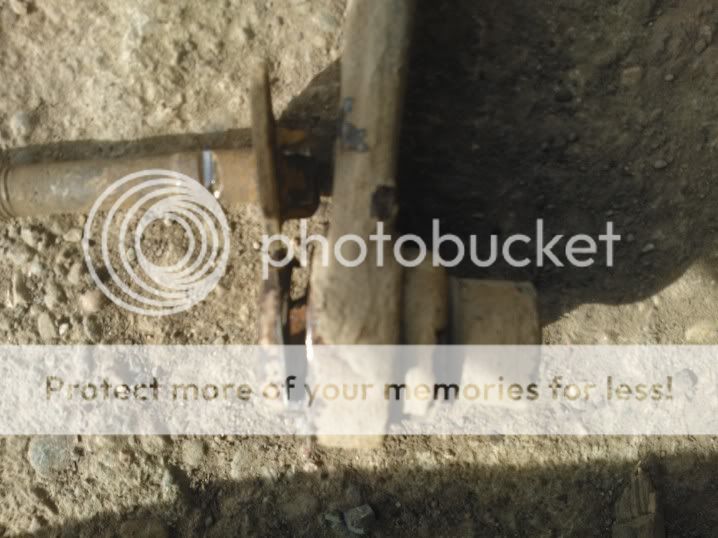
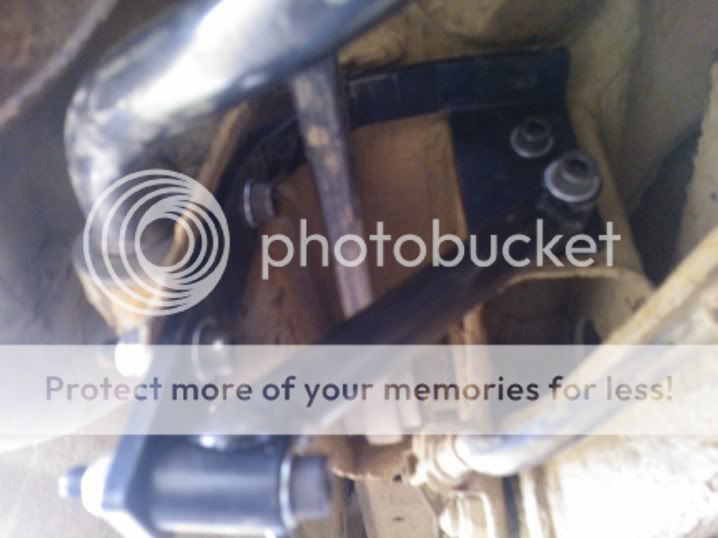
I was able to remove my lower rear arm without lowering the subframe, by using a spanner to move the bolt out of the way as I removed it

It was tight, as the marks here show
However, on my wifes' car, I had to undo the subframe bolt and drop the frame an inch or so.
As all the guides say, installation is a reverse of removal, remembering that the bolts need to be tightened under load. The easiest way to do this is a jack under the front balljoint

Deagrease the brakes, and that's the front done!
Both sides took a lesiurely day to do.
For the rear, first slacken the driveshaft bolts, jack the back and remove the wheels and brake discs and calipers.
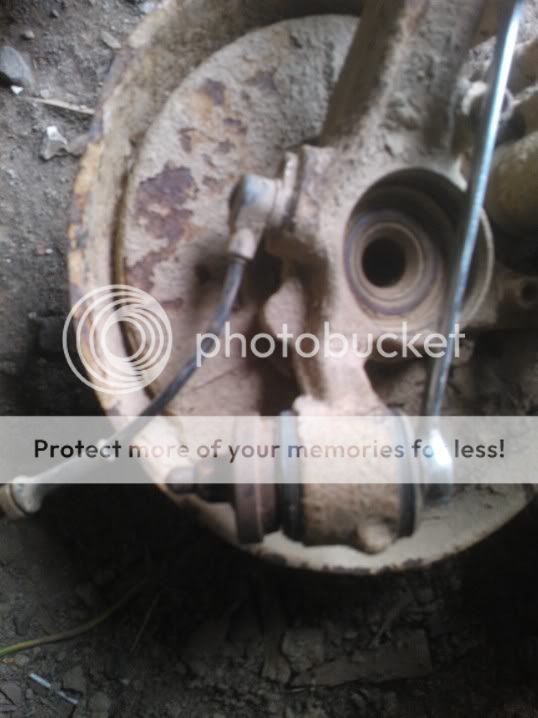
Remove the hub by unbolting the top arm

(Note the four strut mounting bolts in the picture - and yes, mud is an issue!) )
and remove the lower eccentric bolt. My ones were seized solid - more of that later!

I then undid the ABS sensor connector (under the rear seat) and pulled the wire through. This allowed me to remove the hub without disturbing the sensor.
I also was able to confirm my earlier diagnosis of a cracked reluctor ring (ABS engages at low speeds, no fault codes)

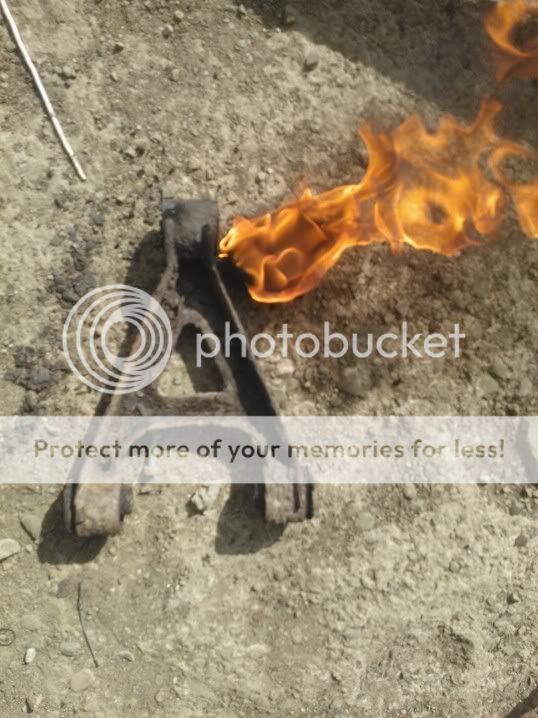
a bit of Oxy-Acetelyne and a file later

I cleaned up the CV joint with a file, and heated the ring to cherry with a propane burner. Dropped it on and it's a shrink fit.
With the hub removed, the two lower bushes can be removed (mine fell out!) and new ones fitted.
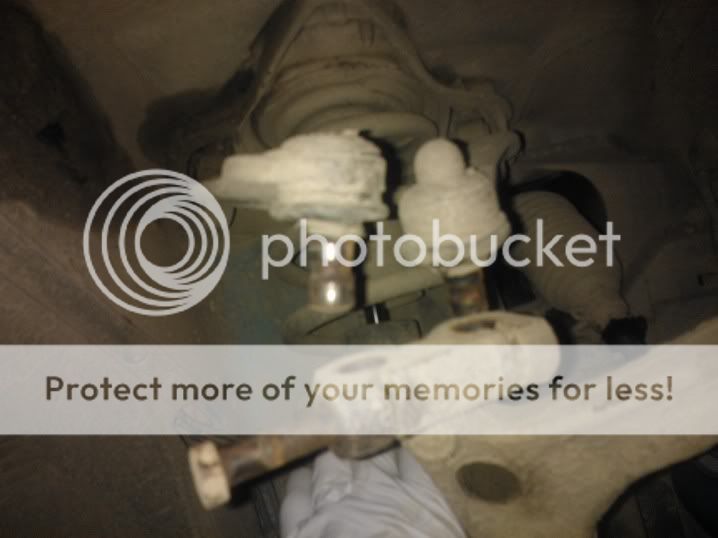
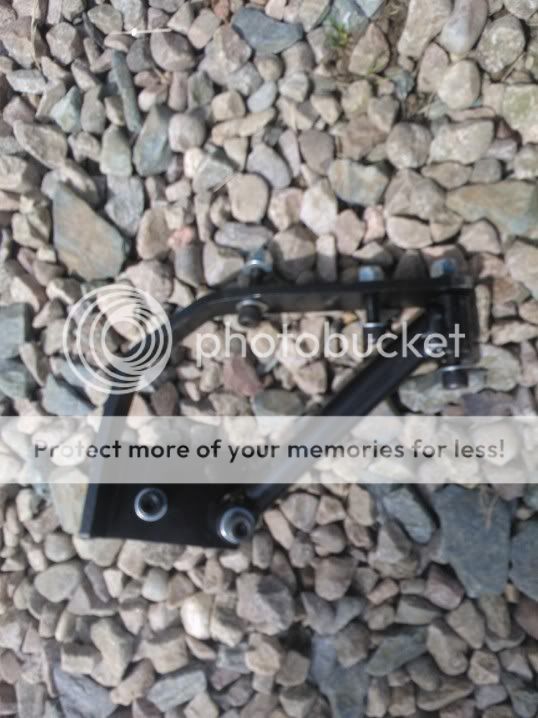
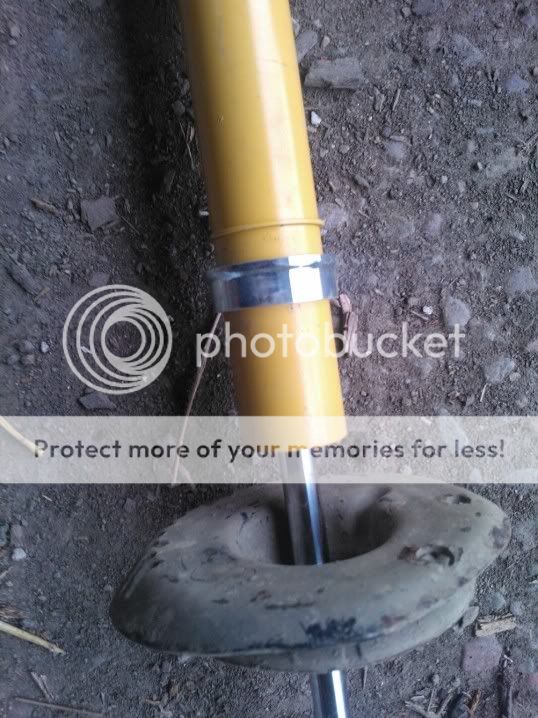
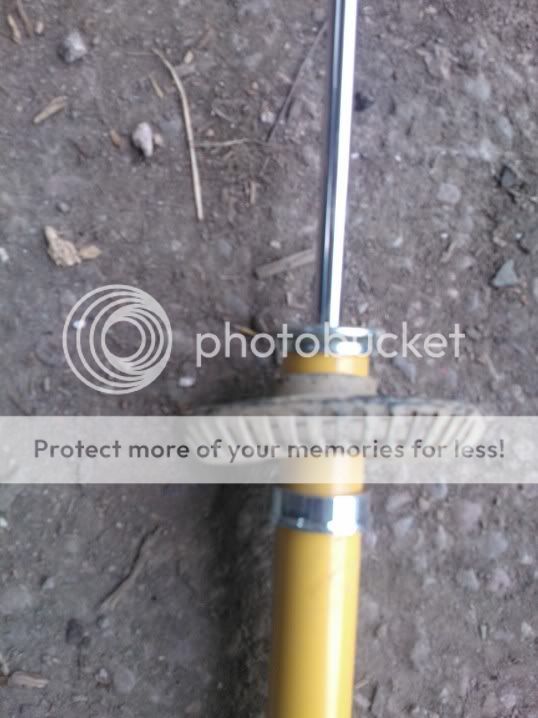
I came up with a couple of 'clever' ideas to remove and install the bushes
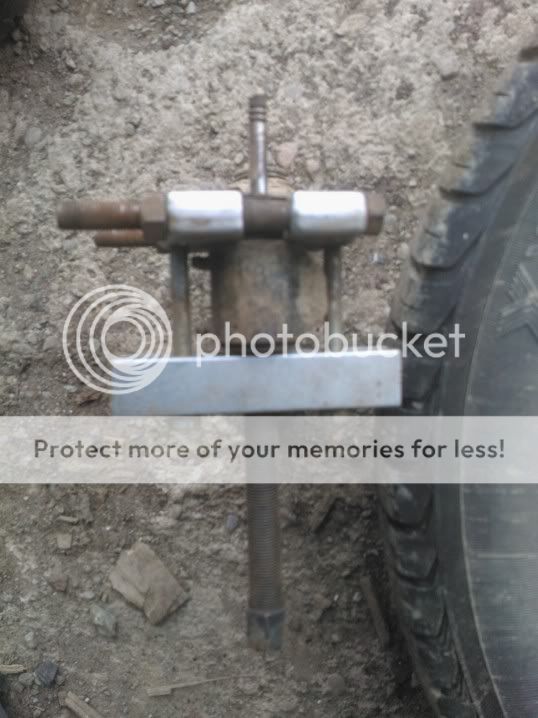
Basically a combination of bolts, washers and plates
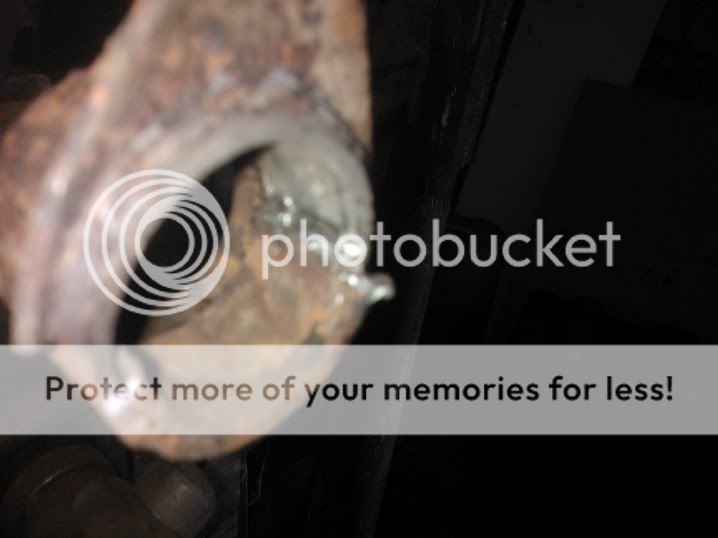
I would recommend using a bearing splitter on the lower ones, unlike the lower picture, as there is a rubber flange that compresses and can cause all sorts of grief if you're not careful
I then undid the four bolts holding the strut and moved it ourboard, to give me clearance to remove the top wishbone bolt.
Due to time issues caused by the first side I did, I gave up being clever with removal and refit of the bushes,
and use a propane felt burner to remove the rubber, cut a couple of slots with a hack saw, and SDS'd the sleeve out
A vice and spacers refitted them

I then refitted the arms and hub, and went to change the drop links and control arms. This turned into a bit of a disaster - see here Rear Suspension Help
I was able to remove them in the end with the judicious use of a used 9" grinding disc on a 4.5" angle grinder, sans guard. This allowed me to cut far enough through the bolt and bush for them to be removed.
Heat wasn't an option, as it would have melted the rubber, and left me with nothing to prevent the sleeve turning.
Not a recommended technique in a confined space, as my luckily still attached index finger will testify.
Due to my problems, I didn't get the lower inner wishbone bushes done, but I think it is possible to do them in situ with pullers.
The forward lower inner pair looks as if they will need the subframe lowed an inch or two for access - similar to the front.
I will say that I had alreaady experience problems with the rear eccentric bolts on the avant, so I had bought new bolts, nuts and washers as they are 'dealer only' - particularly galling as both cars had had 4 wheel tracking done within the previous 6 months. This necessiates the moving of these bolts on the bush sleeve to adjust toe and camber. I have still got the computer printout showing before and after, and I can only think that the adjustment was made bty torsioning the rubber to get movement.
As I said on the other thread, after proper adjustment, the car felt great, and it was a good job done.
If I get pics of the lower wishbone bushes getting done, I'll add them here
The ABS repair was a corker too - no more pulsing at very low speeds!
Paul
Firstly, I ordered the parts from All German Parts Passat, A4, and A6 suspension - Our Online Shop. It is the Meyle front control arm set, the rear refresh kit and the rear eccentric bolts
The parts look like this
Front
and rear
I allowed three days for the job, having had grief with my wife's car.
First gain access to and then slacken the front driveshaft bolt. It is **** tight, so if you try it when jacked, you will move the car off jacks!
Jack the front of the car, and remove the wheels and brakes, and the loosened driveshaft bolt.
I would suggest starting with the pinch bolt, as it determines the time to do the front suspension
Note that if it is stuck, putting it in a press will only pinch up the end resting on the press and grip the bolt tighter. The general consensus seem to be cut the bolt through the pinch gaps and try and punch it out whilst heating it. Good Luck!
I then removed the track rod end, and fitted the new one
making sure my measurement was from the steering rod to the centre of the track rod end ball joint bolt, as old and new may be different
Then remove the two upper arms from the hub, and unbolt the strut from the lower arm.
Then access the three strut mounting bolts in the engine bay, and remove them
You can then remove the whole strut for accessing the upper arm bolts
Loosely fit the two upper arms to the strut, ensuring they are still free to rotate.
I then put the strut back and completed the top part of the job.
Note the copious amounts of grease used throughout.
This should make removal easier if required in the future.
The lower arms and 'C' link are fairly straight forward,
however, ensure the 'C' link has the correct orientation, and the correct mounting holes are used for the lower arms - there are two.
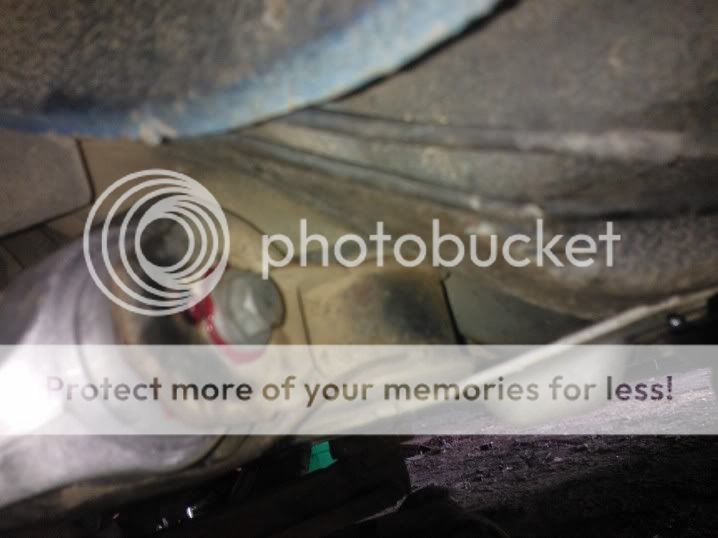
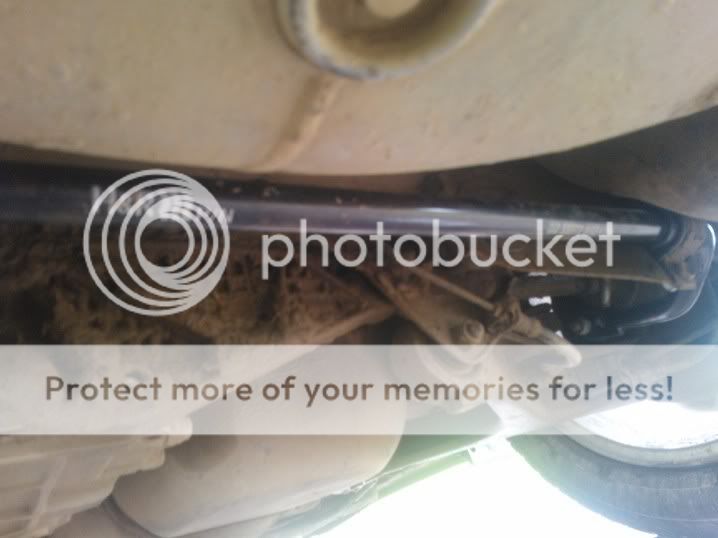
I was able to remove my lower rear arm without lowering the subframe, by using a spanner to move the bolt out of the way as I removed it
It was tight, as the marks here show
However, on my wifes' car, I had to undo the subframe bolt and drop the frame an inch or so.
As all the guides say, installation is a reverse of removal, remembering that the bolts need to be tightened under load. The easiest way to do this is a jack under the front balljoint
Deagrease the brakes, and that's the front done!
Both sides took a lesiurely day to do.
For the rear, first slacken the driveshaft bolts, jack the back and remove the wheels and brake discs and calipers.
Remove the hub by unbolting the top arm
(Note the four strut mounting bolts in the picture - and yes, mud is an issue!) )
and remove the lower eccentric bolt. My ones were seized solid - more of that later!
I then undid the ABS sensor connector (under the rear seat) and pulled the wire through. This allowed me to remove the hub without disturbing the sensor.
I also was able to confirm my earlier diagnosis of a cracked reluctor ring (ABS engages at low speeds, no fault codes)
a bit of Oxy-Acetelyne and a file later
I cleaned up the CV joint with a file, and heated the ring to cherry with a propane burner. Dropped it on and it's a shrink fit.
With the hub removed, the two lower bushes can be removed (mine fell out!) and new ones fitted.
I came up with a couple of 'clever' ideas to remove and install the bushes
Basically a combination of bolts, washers and plates
I would recommend using a bearing splitter on the lower ones, unlike the lower picture, as there is a rubber flange that compresses and can cause all sorts of grief if you're not careful
I then undid the four bolts holding the strut and moved it ourboard, to give me clearance to remove the top wishbone bolt.
Due to time issues caused by the first side I did, I gave up being clever with removal and refit of the bushes,
and use a propane felt burner to remove the rubber, cut a couple of slots with a hack saw, and SDS'd the sleeve out
A vice and spacers refitted them
I then refitted the arms and hub, and went to change the drop links and control arms. This turned into a bit of a disaster - see here Rear Suspension Help
I was able to remove them in the end with the judicious use of a used 9" grinding disc on a 4.5" angle grinder, sans guard. This allowed me to cut far enough through the bolt and bush for them to be removed.
Heat wasn't an option, as it would have melted the rubber, and left me with nothing to prevent the sleeve turning.
Not a recommended technique in a confined space, as my luckily still attached index finger will testify.
Due to my problems, I didn't get the lower inner wishbone bushes done, but I think it is possible to do them in situ with pullers.
The forward lower inner pair looks as if they will need the subframe lowed an inch or two for access - similar to the front.
I will say that I had alreaady experience problems with the rear eccentric bolts on the avant, so I had bought new bolts, nuts and washers as they are 'dealer only' - particularly galling as both cars had had 4 wheel tracking done within the previous 6 months. This necessiates the moving of these bolts on the bush sleeve to adjust toe and camber. I have still got the computer printout showing before and after, and I can only think that the adjustment was made bty torsioning the rubber to get movement.
As I said on the other thread, after proper adjustment, the car felt great, and it was a good job done.
If I get pics of the lower wishbone bushes getting done, I'll add them here
The ABS repair was a corker too - no more pulsing at very low speeds!
Paul
Last edited:


 (3000 tonnes to hardcore-only the lot, at £10-15 tonne delivered plus machinery and time....)


 and had to block the sun - we're not used to it up here)