SuperBaaaad
Registered User
So this weekend I decided to start the first of many things I've wanted to do to my A4. The first being sorting out the scratches on the rubber couated bits of my interior and replacing the gaiter - mine had a small tear in it. I thought I'd post up a small guide - hopefully might be of assistance to people in the future.
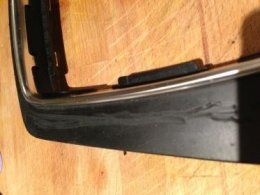
My gearknob surround was quite scratched, which you can see here:

I also needed to replace my gaiter as mine had a tear in it:

First step was to remove the gearknob, gaiter and surround. A pretty simple task - the gaiter simply 'popped off' - first lifting it from the front (closest to the dash) then from the back. Then, the gearknob simply pulls off.
I then removed the gaiter from the plastic part at its base - to which it had been stapled to.
Next, I removed the gaiter from the top, where it attaches to a metal ring. This bit was a complete ***** to do. My hands absolutely kill.
Basically, it was held in place by two pieces of plastic - a ribbed, conical shaped piece:

The conical piece popped off, although in doing this, I snapped the tiny pieces it clipped on to, but on reassembly, this didn't matter - I'll come to this later.
With the conical piece off, the next task was to remove, what I can only describe as a plastic 'plug' which held the top of the gaiter to the gearknob:

Getting this piece out was a nightmare - it was stuck in so tight and I had very little leverage. Basically, I couldn't work out if it was clipped in, in simply held in through being such a tight fit. I decided that, being just a tiny piece of plastic, even if I broke it, it wouldn't cost a lot to replace.
So I spent the next 20 minutes, slowly levering it out:

I could then remove the gearknob from the old gaiter.
With everything separated, my next job was to remove the scratched rubber coating from the surround.
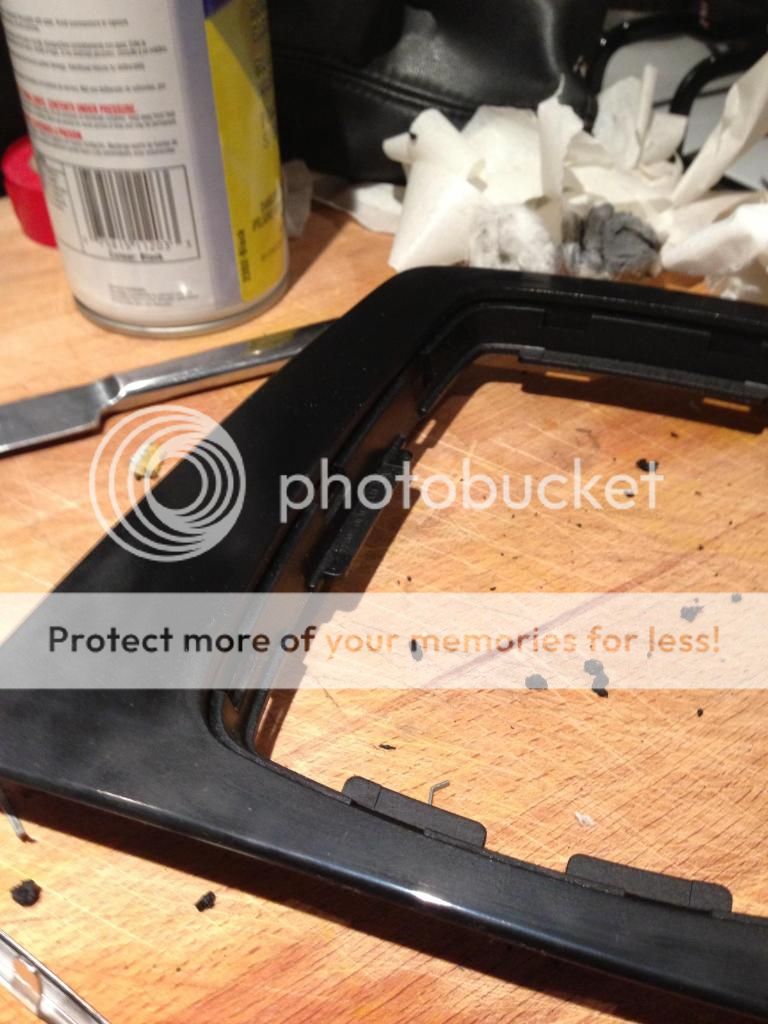
First task was to remove the chrome trim. It was held on by parts of it bent back underneath. I was worried that, as these were plastic, if I tried to bend them, they would snap, but discovered that whilst feeling quite stiff and fragile, they actually flexed fine. I bent them all straight then removed the trim:

Having read several guides on how to remove the coating, the best way I found was simply to scratch it off using my fingernails. What these guides didn't tell you was it was then a nightmare to get it out from under your nails.
Once I'd got the worst of it off, the next job was to pinch some of the Mrs's acetone (nail varnish remover):

I simply put some of this on to a cotton wool ball, and rubbed the surface of the surround. This removed the rest of the rubber coating, leaving me with a nice shiny surface:
To replace the rubber coating, I bought some Plasti-Dip:

http://www.plastidip.co.uk/eStore/i...low,White,Red,Green,Orange,Brown&pid=PDL-0009
Once dries, it forms a rubberised skin that's extremely durable, and I would say that it gives the closest match to the original rubber surface.
I then masked the middle of the surround and gave it three coats - once every 30 mins or so.
The final result was nothing short of amazing - I'm so pleased with it:


* The photo shows some scratches on the chrome surround, but in real life they're hardly noticeable so I'm not going to worry about them.
I then reassembled doing the above steps in reverse order.
The bit that nearly caused my fingers to bleed, was getting the top of the gaiter back in to the gearknob, with that ridiculous plastic clip. After trying several different ways of doing this, the one that I found worked the best was this:
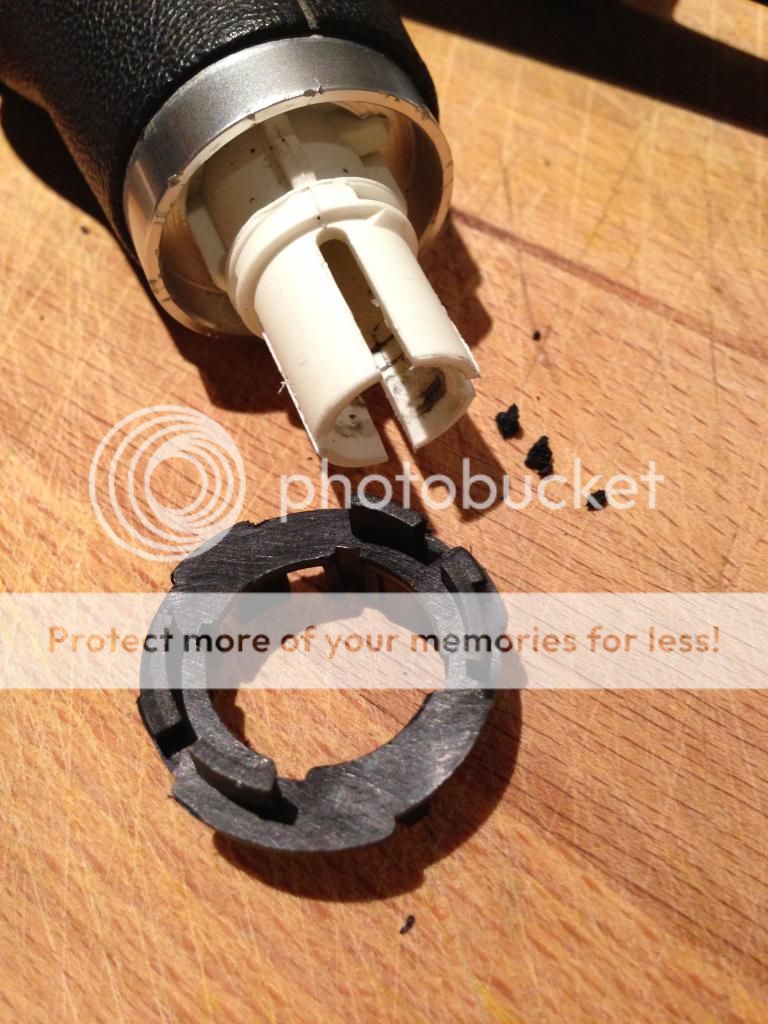
1. Push plastic clip up inside the gaiter, so that its edge is at the top edge of the gaiter. When you look through the clip, you will notice every 90 degrees, a small indentation:
These match four protrusions on the gearknob, so make sure that when you push the clip up, it is the right angle:

2. Push this into the gearknob. This will require a fair amount of force as it's such a tight fit.
3. Once in, turn the gaiter inside out and re-attach the conical piece:
*I snapped the pieces on the 'plug' that the cone clipped to, but once I'd pushed the cone on, it was so snug, there was no way it was moving. I'll just keep an eye on it - it'll either stay on or fall off - in which case I'll just order a new one.
That's it for this part - the gearknob should be firmly attached to the gaiter.
I then attached the base of the gaiter to the plastic piece the original gaiter was stapled to. The plastic piece actually has four 'hooks', so instead of stables, I simply made four small incisions into my new gaiter and hooked it on:

By the way, my new gaiter was £5 from ebay. Take your pick: a4 leather gaiter | eBay
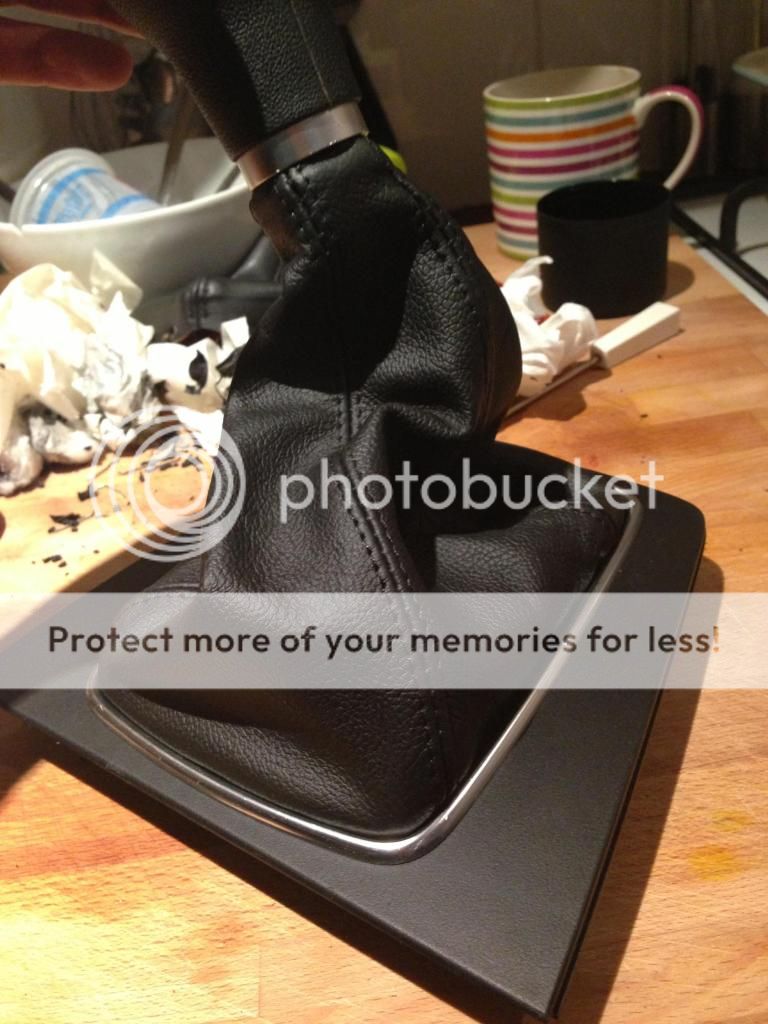
I re-attached the crome trim to the surround, then the plastic piece the base of the gaiter is hooked on to, clips in to the surround, and ta da:
I'm so chuffed with the result. Cost all of £15 and next to no tools. I reckon it took about 2 hours in all and simply requires patience.
My gearknob surround was quite scratched, which you can see here:
I also needed to replace my gaiter as mine had a tear in it:
First step was to remove the gearknob, gaiter and surround. A pretty simple task - the gaiter simply 'popped off' - first lifting it from the front (closest to the dash) then from the back. Then, the gearknob simply pulls off.
I then removed the gaiter from the plastic part at its base - to which it had been stapled to.
Next, I removed the gaiter from the top, where it attaches to a metal ring. This bit was a complete ***** to do. My hands absolutely kill.
Basically, it was held in place by two pieces of plastic - a ribbed, conical shaped piece:
The conical piece popped off, although in doing this, I snapped the tiny pieces it clipped on to, but on reassembly, this didn't matter - I'll come to this later.
With the conical piece off, the next task was to remove, what I can only describe as a plastic 'plug' which held the top of the gaiter to the gearknob:
Getting this piece out was a nightmare - it was stuck in so tight and I had very little leverage. Basically, I couldn't work out if it was clipped in, in simply held in through being such a tight fit. I decided that, being just a tiny piece of plastic, even if I broke it, it wouldn't cost a lot to replace.
So I spent the next 20 minutes, slowly levering it out:
I could then remove the gearknob from the old gaiter.
With everything separated, my next job was to remove the scratched rubber coating from the surround.
First task was to remove the chrome trim. It was held on by parts of it bent back underneath. I was worried that, as these were plastic, if I tried to bend them, they would snap, but discovered that whilst feeling quite stiff and fragile, they actually flexed fine. I bent them all straight then removed the trim:
Having read several guides on how to remove the coating, the best way I found was simply to scratch it off using my fingernails. What these guides didn't tell you was it was then a nightmare to get it out from under your nails.
Once I'd got the worst of it off, the next job was to pinch some of the Mrs's acetone (nail varnish remover):
I simply put some of this on to a cotton wool ball, and rubbed the surface of the surround. This removed the rest of the rubber coating, leaving me with a nice shiny surface:
To replace the rubber coating, I bought some Plasti-Dip:
http://www.plastidip.co.uk/eStore/i...low,White,Red,Green,Orange,Brown&pid=PDL-0009
Once dries, it forms a rubberised skin that's extremely durable, and I would say that it gives the closest match to the original rubber surface.
I then masked the middle of the surround and gave it three coats - once every 30 mins or so.
The final result was nothing short of amazing - I'm so pleased with it:
* The photo shows some scratches on the chrome surround, but in real life they're hardly noticeable so I'm not going to worry about them.
I then reassembled doing the above steps in reverse order.
The bit that nearly caused my fingers to bleed, was getting the top of the gaiter back in to the gearknob, with that ridiculous plastic clip. After trying several different ways of doing this, the one that I found worked the best was this:
1. Push plastic clip up inside the gaiter, so that its edge is at the top edge of the gaiter. When you look through the clip, you will notice every 90 degrees, a small indentation:
These match four protrusions on the gearknob, so make sure that when you push the clip up, it is the right angle:
2. Push this into the gearknob. This will require a fair amount of force as it's such a tight fit.
3. Once in, turn the gaiter inside out and re-attach the conical piece:
*I snapped the pieces on the 'plug' that the cone clipped to, but once I'd pushed the cone on, it was so snug, there was no way it was moving. I'll just keep an eye on it - it'll either stay on or fall off - in which case I'll just order a new one.
That's it for this part - the gearknob should be firmly attached to the gaiter.
I then attached the base of the gaiter to the plastic piece the original gaiter was stapled to. The plastic piece actually has four 'hooks', so instead of stables, I simply made four small incisions into my new gaiter and hooked it on:
By the way, my new gaiter was £5 from ebay. Take your pick: a4 leather gaiter | eBay
I re-attached the crome trim to the surround, then the plastic piece the base of the gaiter is hooked on to, clips in to the surround, and ta da:
I'm so chuffed with the result. Cost all of £15 and next to no tools. I reckon it took about 2 hours in all and simply requires patience.