

So I'm not a mechanic but like to try and do as much as I can to save a little money and learn as I go, I've tried to keep this basic, and clearly there's people who know more about how this works I just wanna share my experience....
My previous cars all had park assist, some front and rear, mostly rear, her in doors new 3 series (yeah I know, and it White...)has park assist, you get lazy, you get used to it and you forget how to park without them.
So, a good guy I know from the gym is an Audi Tech at York Audi, he said that the Cobra kit is what Audi use at factory and they use the kit for Retro Fit too. So, I decided to do it.
I bought the kit un painted (I painted them with a very thin coat of Dolphin Grey myself) from InCartec in York INCARTEC :: YORK TECHNOLOGY SPECIALISTS if you're local and want to buy from them (great guys in there, good service etc) let me know and I can arrange discounts as we send work to each other and it results in a little discount, I think retail is about £90 on these.
So, car had a towbar that I wanted shut of, don't tow anything and kept walking into it too, hurts the shins....
My Mrs has gone off to Center Parcs and took the decent camera so I'm affraid the pics are done on an iPhone so please try to allow for this.
Pics:
Before

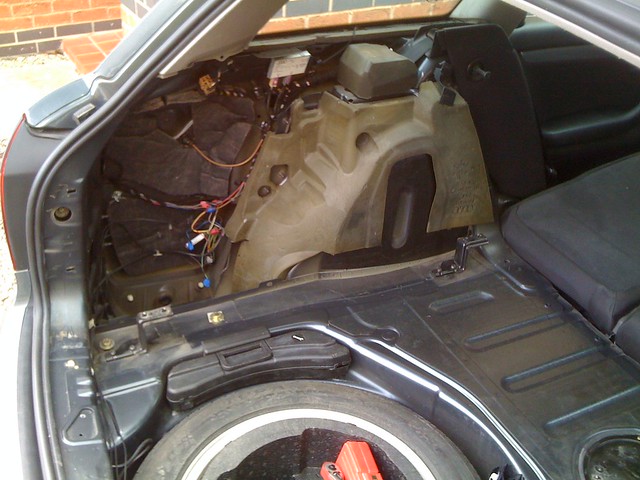
Trim panels out from both sides, a bit fiddly, hex bolts dodgy clips etc:
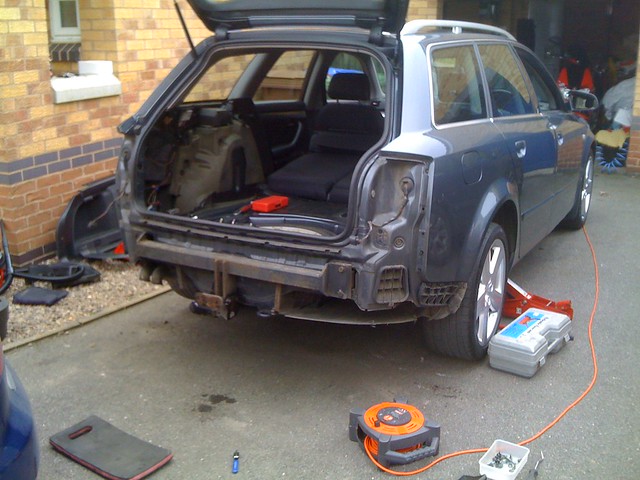
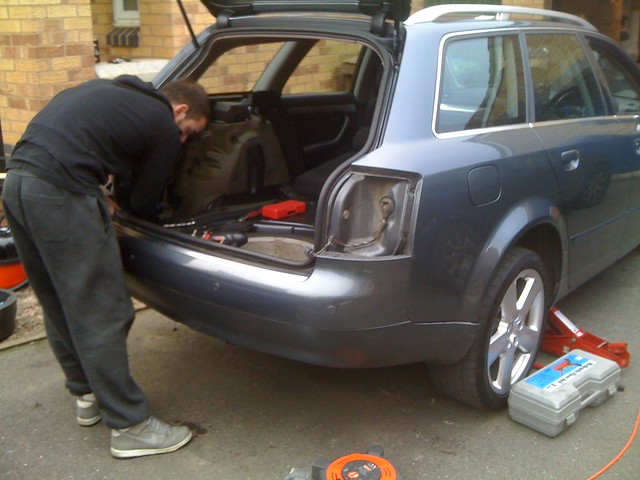
Lights don't need to come out really but everything else was coming out so they did too towbar off in this pic and bumper too, a few bolts in rear arch lowers, plastic cowling underneath and off it comes:
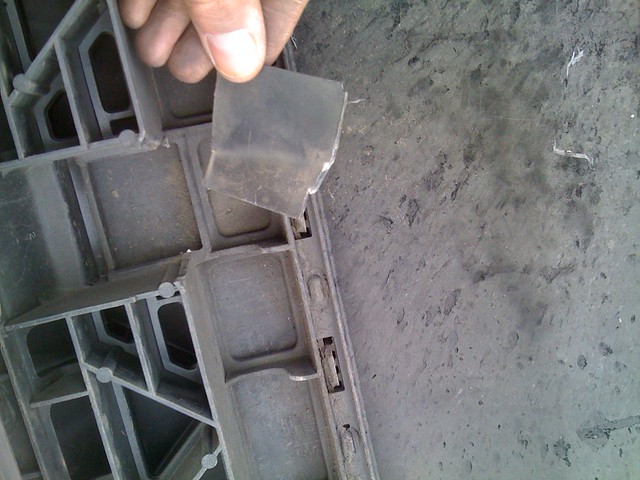
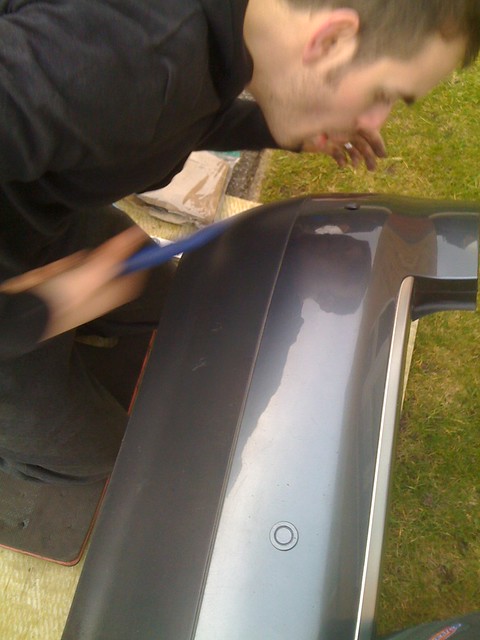
Now for the drilling bit, now I'm scared of permanently wrecking the bumper but Ben the Audi Tech has done this many times so in he goes. Note that we've cut the plastic away to locate the ''X marks the spot'' mark and go in with a good angle to get the perfect hole to fit the sensor.
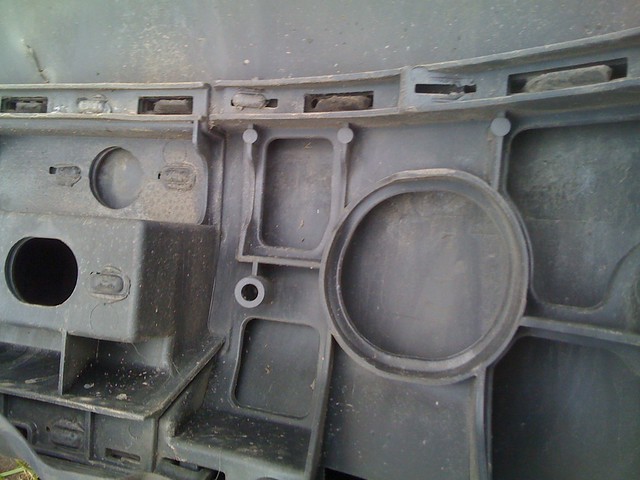
May be able to see the X below, and lots of diesel soot!
 File out the hole, line the sensor up using the little ridge and dot it has to indicate it's correct position....
Action shot of Ben ''blowing'' the hole out. Dirt bomb style.
So, here's the last sensor going in and the wires being wire tied to keep them neat and not getting caught up during the re-fit. The hole cutting was done over some floor under lay to protect the bumper and to try and avoid nasty splitting of the paint as the drill goes through. Also, look at the B7 DTM edition with a few tweaks, nice....
Sensors in, Ben's Mauritius Blue B6 in the background too, nice sneakers by the way.
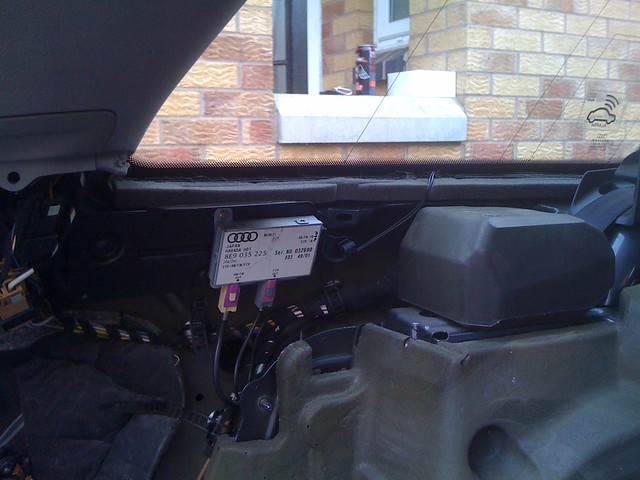
To the left rear (closest to the back of the car) there's a grommet and wiring to go at, feed through the sensor cable and tap into the reversing light cable, I think it was Blue with a Red marker strip on, mine is a bit messy in there due to awful wiring by the person who fitted the tow bar, in the void at the bottom is a good place to put the brain for the sensors, the beeper / buzzer for the sensors fitted nicely on the aerial block just below the rear side window, it sits directly under the vent or grille in the trim panel so it can be heard well.
The aerial base section where we put the buzzer / beeper (the kit comes with sticky pads to do this:
Bumper back on and cables fed through the grommet etc, this was a 2 man job to get it all lined up.
Notice the Genuine RS6 Ronals, played out? Maybe but I love them, they look subtle OEM and damn they're easy to clean...

So, all back together! Lower bumper section a little bent up due to towbar, maybe look to replace it or give it a little bend and see if I can straighten it out. Job done, 2 hours.
Bonus shot of the DTM with FBMFSW!
I hope you've found this useful, considering I'm not too skilled in this type of thing it was a pleasure to do, but, I could not have done it alone.....
My previous cars all had park assist, some front and rear, mostly rear, her in doors new 3 series (yeah I know, and it White...)has park assist, you get lazy, you get used to it and you forget how to park without them.
So, a good guy I know from the gym is an Audi Tech at York Audi, he said that the Cobra kit is what Audi use at factory and they use the kit for Retro Fit too. So, I decided to do it.
I bought the kit un painted (I painted them with a very thin coat of Dolphin Grey myself) from InCartec in York INCARTEC :: YORK TECHNOLOGY SPECIALISTS if you're local and want to buy from them (great guys in there, good service etc) let me know and I can arrange discounts as we send work to each other and it results in a little discount, I think retail is about £90 on these.
So, car had a towbar that I wanted shut of, don't tow anything and kept walking into it too, hurts the shins....
My Mrs has gone off to Center Parcs and took the decent camera so I'm affraid the pics are done on an iPhone so please try to allow for this.
Pics:
Before
Trim panels out from both sides, a bit fiddly, hex bolts dodgy clips etc:
Lights don't need to come out really but everything else was coming out so they did too towbar off in this pic and bumper too, a few bolts in rear arch lowers, plastic cowling underneath and off it comes:
Now for the drilling bit, now I'm scared of permanently wrecking the bumper but Ben the Audi Tech has done this many times so in he goes. Note that we've cut the plastic away to locate the ''X marks the spot'' mark and go in with a good angle to get the perfect hole to fit the sensor.
May be able to see the X below, and lots of diesel soot!
Action shot of Ben ''blowing'' the hole out. Dirt bomb style.
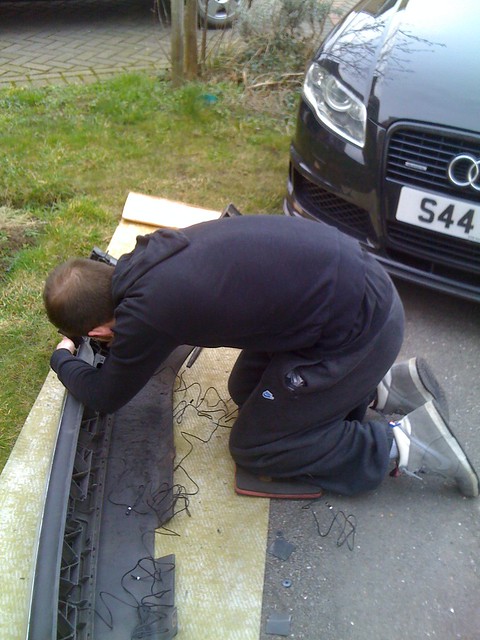
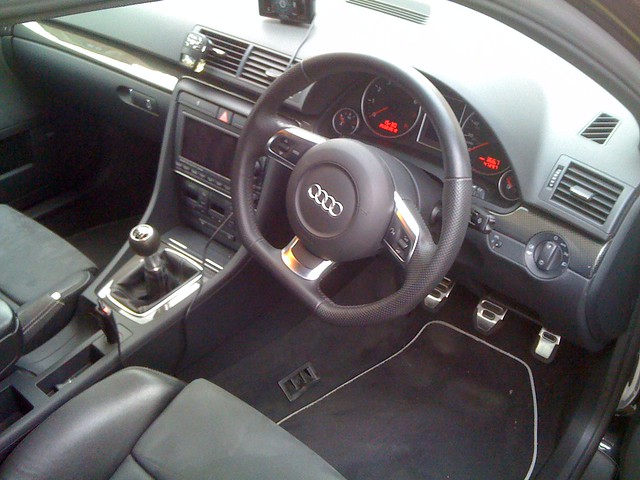
So, here's the last sensor going in and the wires being wire tied to keep them neat and not getting caught up during the re-fit. The hole cutting was done over some floor under lay to protect the bumper and to try and avoid nasty splitting of the paint as the drill goes through. Also, look at the B7 DTM edition with a few tweaks, nice....
Sensors in, Ben's Mauritius Blue B6 in the background too, nice sneakers by the way.
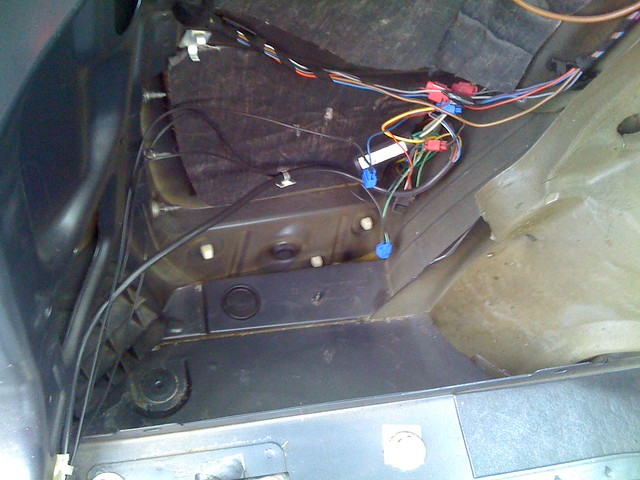
To the left rear (closest to the back of the car) there's a grommet and wiring to go at, feed through the sensor cable and tap into the reversing light cable, I think it was Blue with a Red marker strip on, mine is a bit messy in there due to awful wiring by the person who fitted the tow bar, in the void at the bottom is a good place to put the brain for the sensors, the beeper / buzzer for the sensors fitted nicely on the aerial block just below the rear side window, it sits directly under the vent or grille in the trim panel so it can be heard well.
The aerial base section where we put the buzzer / beeper (the kit comes with sticky pads to do this:
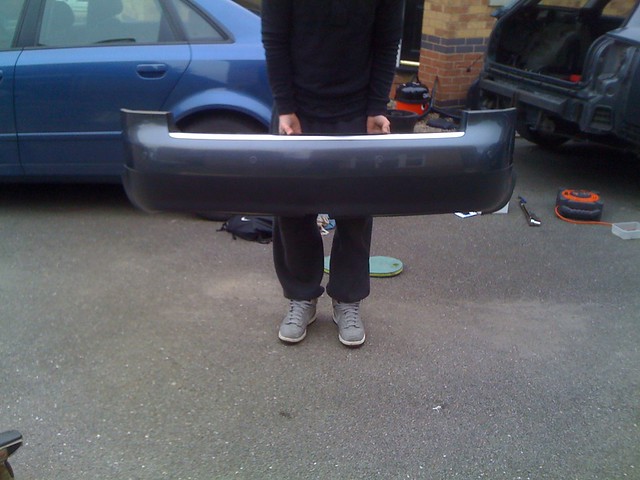
Bumper back on and cables fed through the grommet etc, this was a 2 man job to get it all lined up.
Notice the Genuine RS6 Ronals, played out? Maybe but I love them, they look subtle OEM and damn they're easy to clean...
So, all back together! Lower bumper section a little bent up due to towbar, maybe look to replace it or give it a little bend and see if I can straighten it out. Job done, 2 hours.
Bonus shot of the DTM with FBMFSW!
I hope you've found this useful, considering I'm not too skilled in this type of thing it was a pleasure to do, but, I could not have done it alone.....


