

Thought this may be useful to pthers here. The part number (for my cab anyways) is 6R0-973-734.
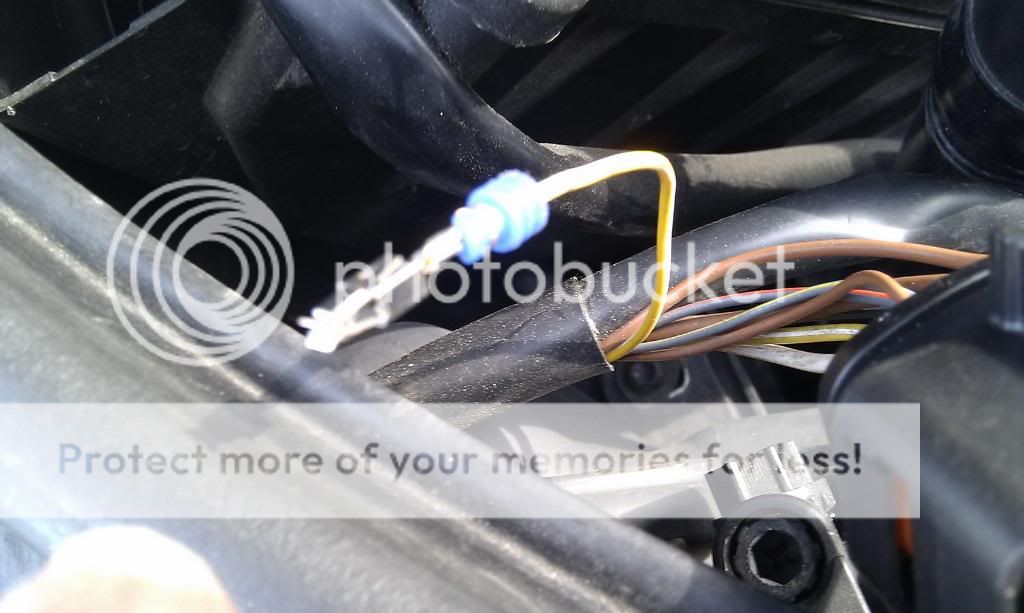
Problem - snapped / damaged release lever (pic below)

Solution - replace the connector body !
Make sure everything is switched off before doing this and make very carefull note of which pin goes where. I did mine one at a time.
What to you need - a new connector body, small thin screwdriver and a connector removal tool (like this - 0-703-99 Durite terminal connector de-mounting tools - TheToolBoxShop.com (or possibly 2 v small jewellers type screwdrivers but I wouldnt recommend it)

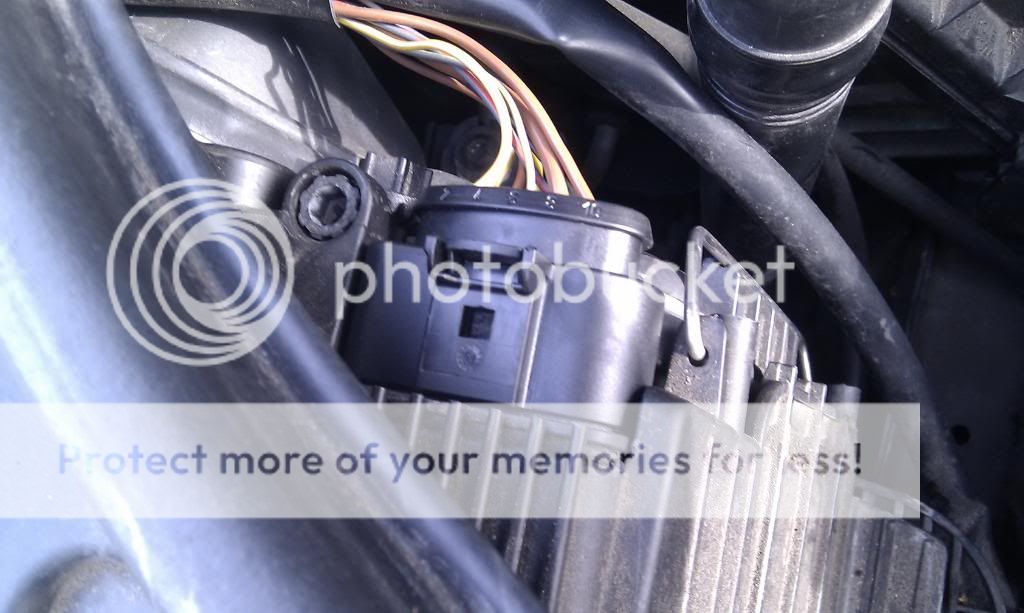
First remove connector from headlight (remember to push it in before trying to release it)
Second - using a small screwdriver down into the connector from the pin side, slide the purple retaining clip all the way out through the side of the connector body and keep safe. (pic of what it looks like below), This clip helps retain the pins in place.

Third - using the special tool (the green thing), insert down each pin connector slot, from the connector side, what you are trying to do is release the small metal spring clip that locks the pin into the houding.
Wiggling and a little pushing pressure helps as you gently pull the wire out of the back of the connector.

Released pin (pic below)
Four - Push the pin into the correct numbered hole on the new connector body, note orientation as it only goes in one way (the pins arent round) and make sure the rubber seal on the wire goes into the hole to.
On mine there was one pin not used, there was a rubber bung to keep water out, just push it out of the back of the housing with a long thin screwdriver.
Five - once all pins are in the new body, slide in the purple locking slide, plug into light connector and test everything all works.
Six - stand back and look smug at saving an hour of Audi labour")
Problem - snapped / damaged release lever (pic below)
Solution - replace the connector body !
Make sure everything is switched off before doing this and make very carefull note of which pin goes where. I did mine one at a time.
What to you need - a new connector body, small thin screwdriver and a connector removal tool (like this - 0-703-99 Durite terminal connector de-mounting tools - TheToolBoxShop.com (or possibly 2 v small jewellers type screwdrivers but I wouldnt recommend it)
First remove connector from headlight (remember to push it in before trying to release it)
Second - using a small screwdriver down into the connector from the pin side, slide the purple retaining clip all the way out through the side of the connector body and keep safe. (pic of what it looks like below), This clip helps retain the pins in place.
Third - using the special tool (the green thing), insert down each pin connector slot, from the connector side, what you are trying to do is release the small metal spring clip that locks the pin into the houding.
Wiggling and a little pushing pressure helps as you gently pull the wire out of the back of the connector.
Released pin (pic below)
Four - Push the pin into the correct numbered hole on the new connector body, note orientation as it only goes in one way (the pins arent round) and make sure the rubber seal on the wire goes into the hole to.
On mine there was one pin not used, there was a rubber bung to keep water out, just push it out of the back of the housing with a long thin screwdriver.
Five - once all pins are in the new body, slide in the purple locking slide, plug into light connector and test everything all works.
Six - stand back and look smug at saving an hour of Audi labour
Last edited: