My latest A3

Pops848

Registered User
Joined
May 3, 2011
Messages
597
Reaction score
59
Points
28
Location
Essex
Hey All,

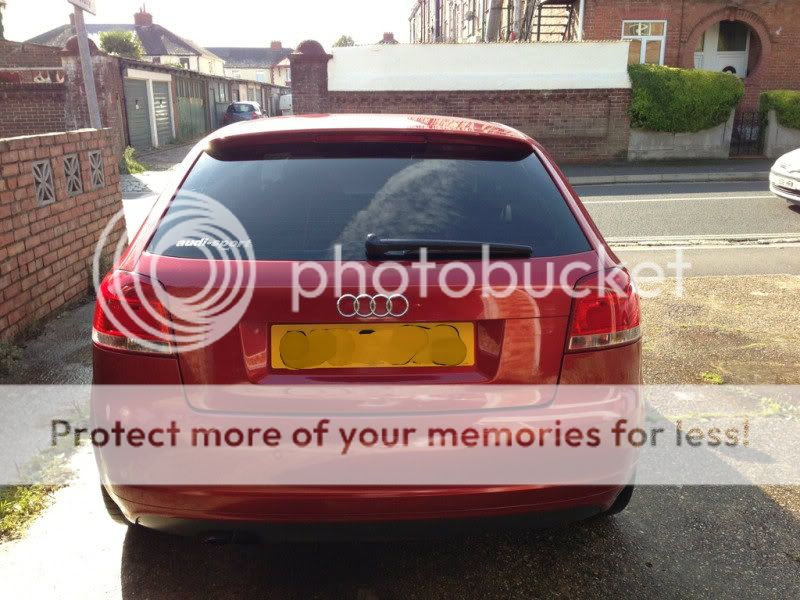
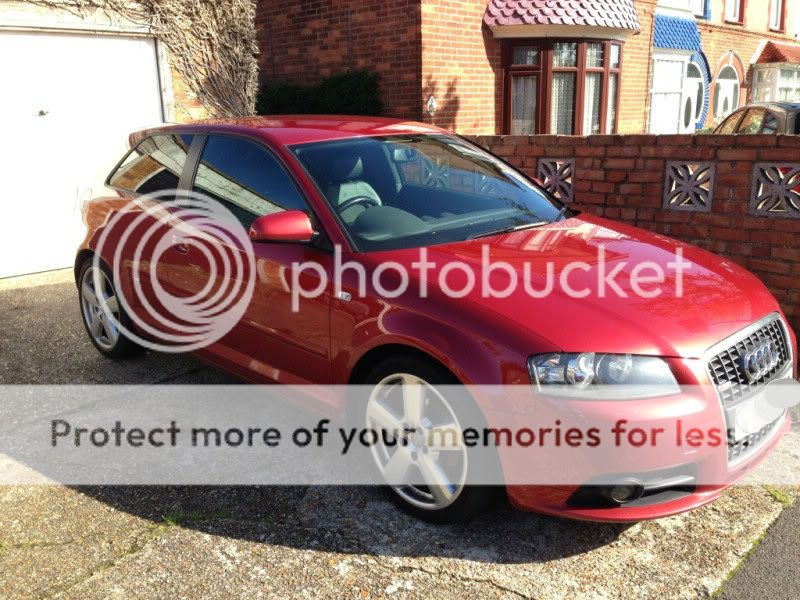
Some of you may of seen me over on the 8L section previously and I've also posted a bit on the 8P section too recently. I've now got my latest A3, a 2006 2.0 TDI S-Line DSG. This is an upgrade from a 2001 A3 1.8T remapped to 200 BHP so it's a real different drive but I'm loving every minute of it so far!!

The car developed a fault straight from the off, so it went back to have it's manifold replaced as it was sticking open causing overboost. So after that got done I could finally get my hands on it and start work :yes:

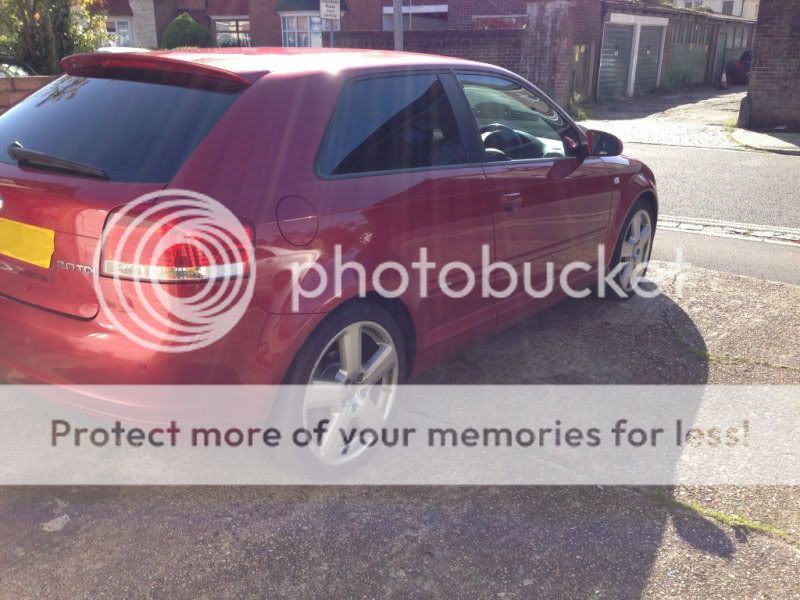
First thing was first, a good wash. The car came out looking really good. Some swirl marks and minor scratches on the tail gate that I need to sort out, but a car is for using, not just keep clean so I'm not worrying too much right now

A050ECA8-FE70-401A-8D2A-A298CA6C0C27-4732-00000219F87FCBCA.jpg


A49EF4B4-178E-44D5-BD27-C3AF3507C4D4-4732-00000219C851AC35.jpg


D67E08DC-04AD-427A-B8B9-95FCB8901E0A-4732-00000219EC835E4E.jpg


FDE5DA4A-2AC2-40BB-A0CA-2806B86483B4-4732-00000219D3CA9EE7.jpg


B15F9435-BF8D-406B-8D8F-1C0428B78E42-4732-00000219DCB3C2B6.jpg


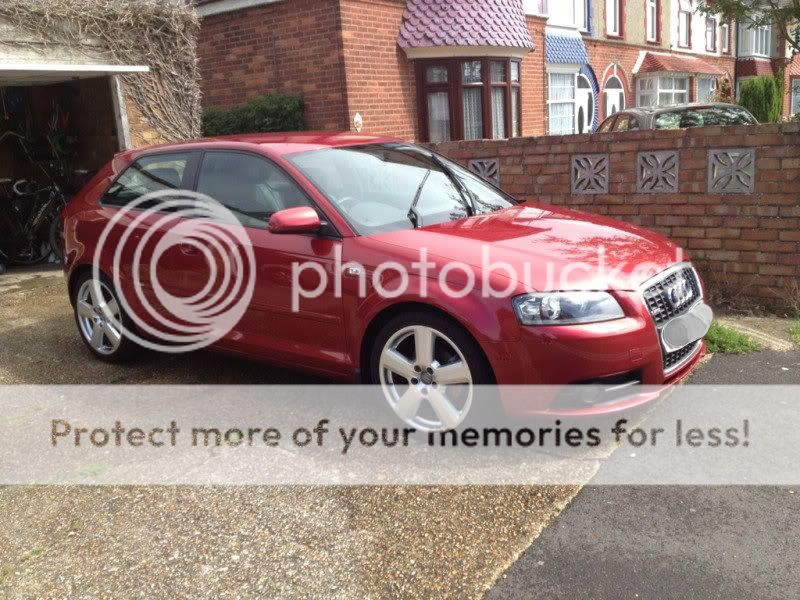
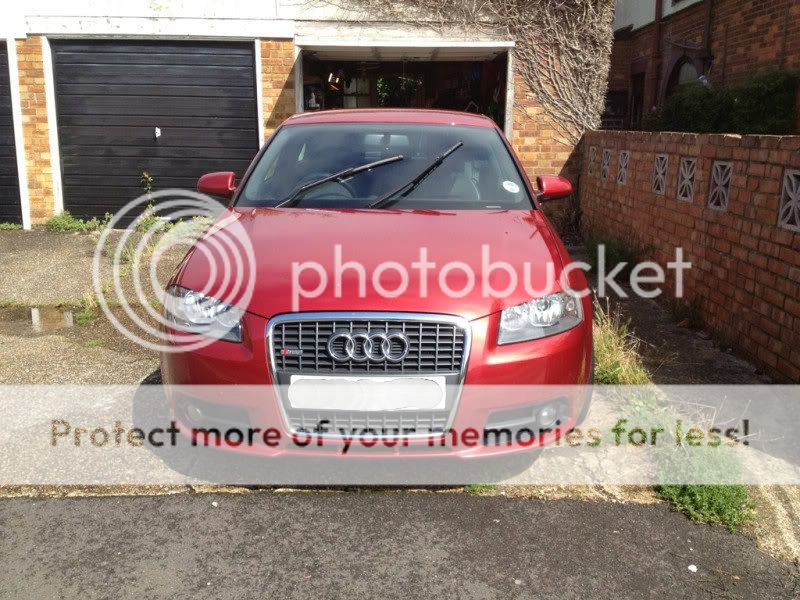
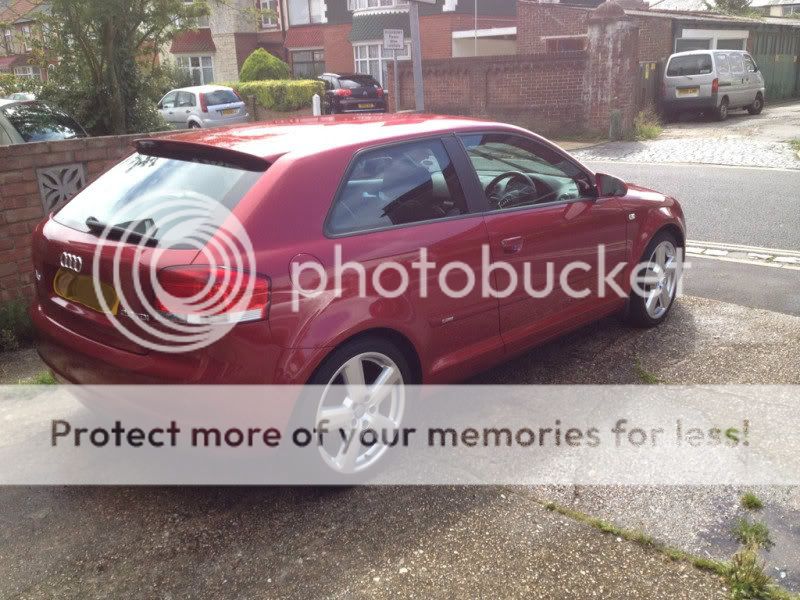
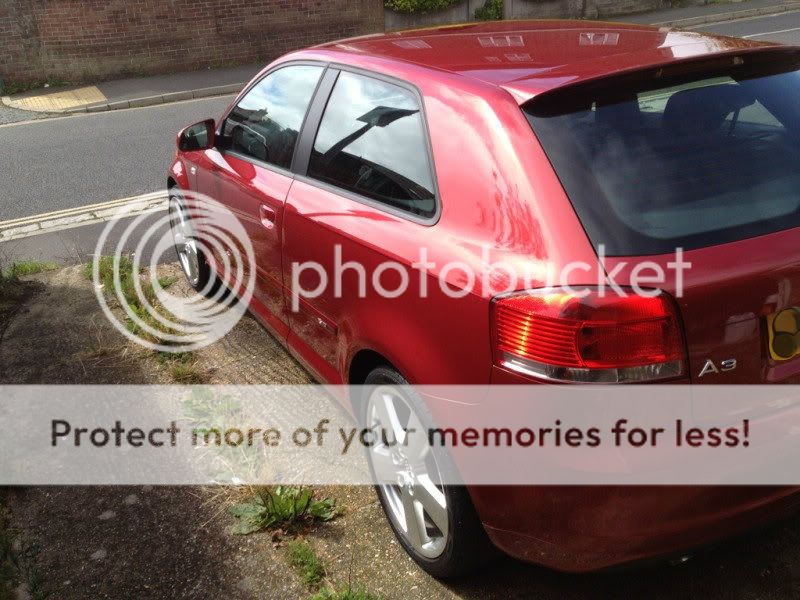
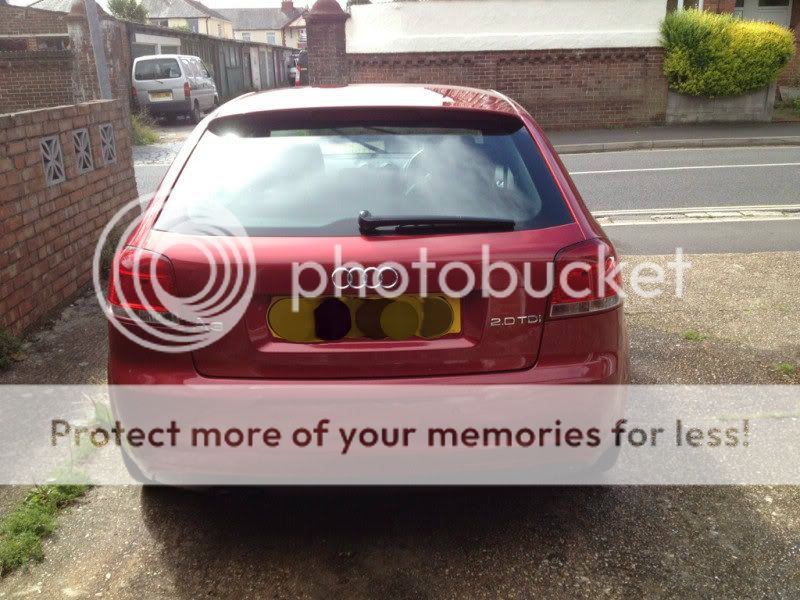
I personally love the colour. It's different to the standard colours you see and it stands out a little bit but without being too in ya face!

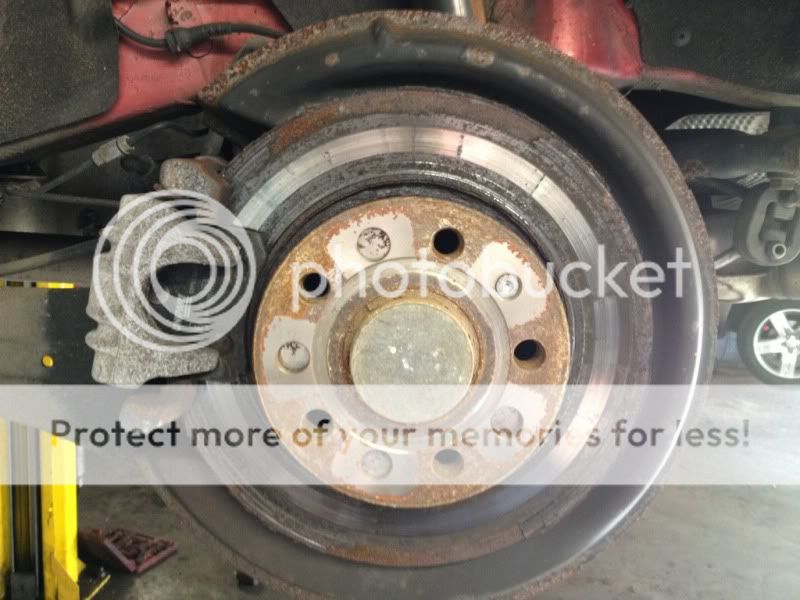
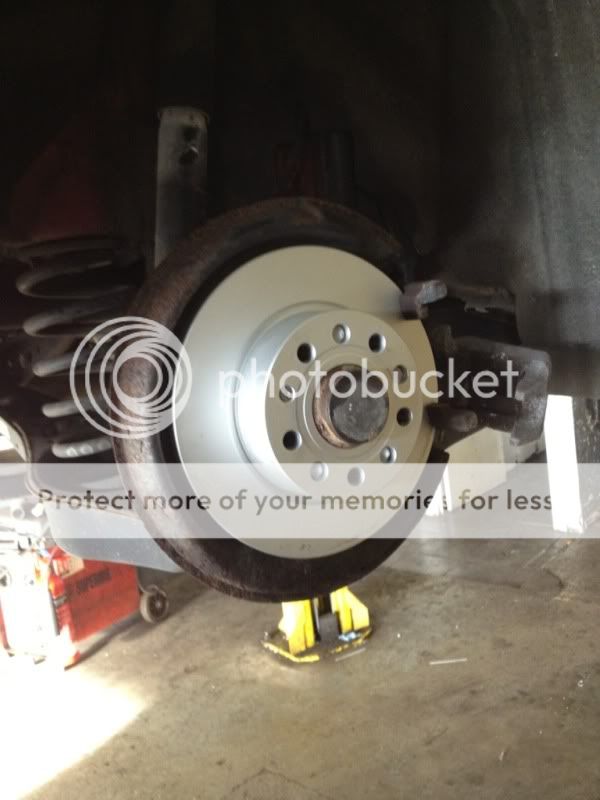
After the wash I went straight out and bought some new brakes as the old ones were looking pretty poor, working but I just hated the rust and rot that had set in

Old Brakes ;

6ECD194D-F5BD-4A48-8453-825D31E90EA0-4732-000002198D4F1C44.jpg

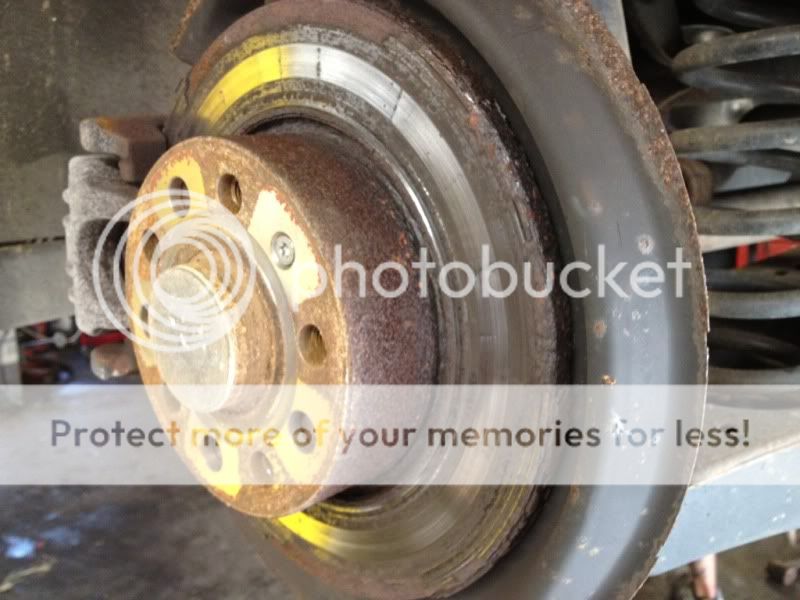
I promise they weren't actually yellow!! Just a reflection in the garage

C2FA865C-0C1C-4F05-8467-0656192B8BF9-4732-000002199401AE43.jpg


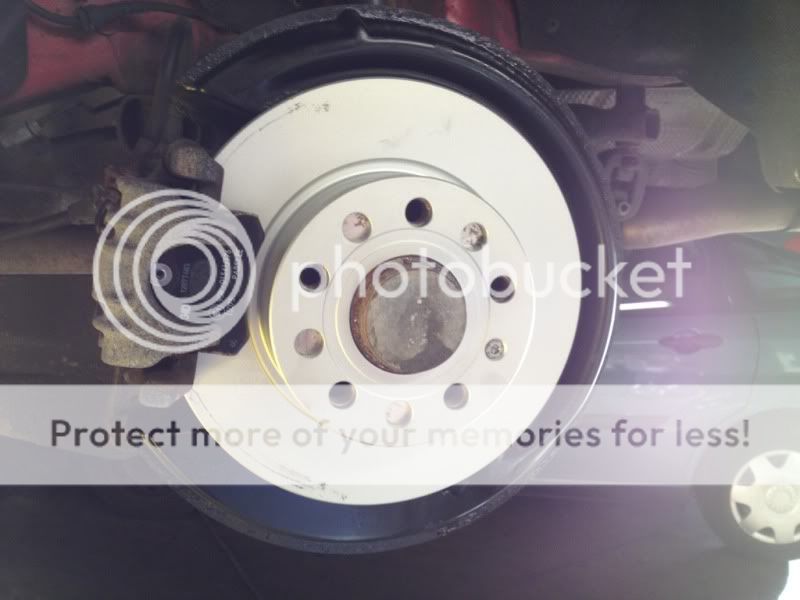
After putting the new discs on I knew I couldn't leave the backing plate as it was

8EADC76D-2E91-49F1-8C2A-0F6ACD447DAD-4732-00000219A9CB8950.jpg


So the discs came off and I covered up the caliper

5C9E0CA0-63B8-4569-9E37-AF26A09FA93F-4732-000002197571022D.jpg


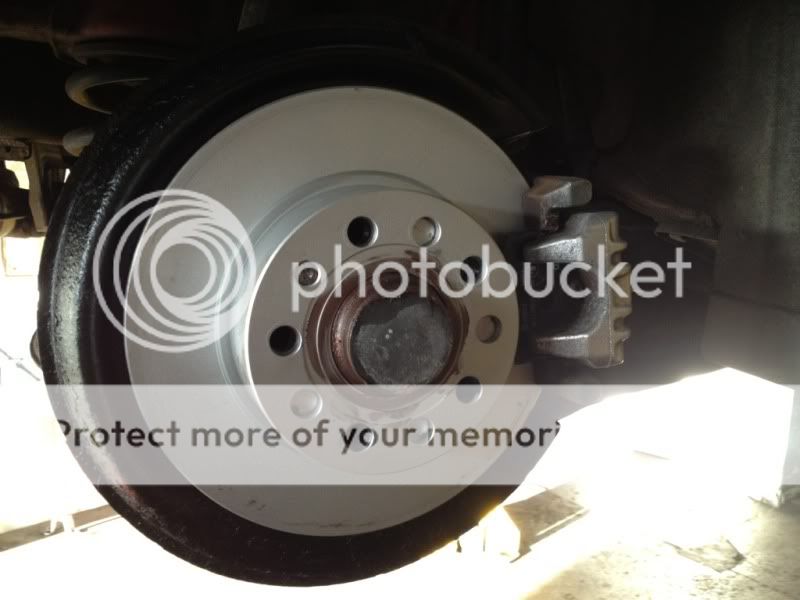
Then rubbed down the backing plates and sprayed them up black and refitted the new discs, along with caliper

A5E7076B-A42F-4A13-B534-C115D5857C0C-4732-000002194725678C.jpg


Not being 100% happy I decided to rub down my caliper too... Didn't paint it though! Copper greased up ready for a wheel

66A85C07-422B-4384-B8FF-8E377E78B925-4732-000002195DCF5B9D.jpg


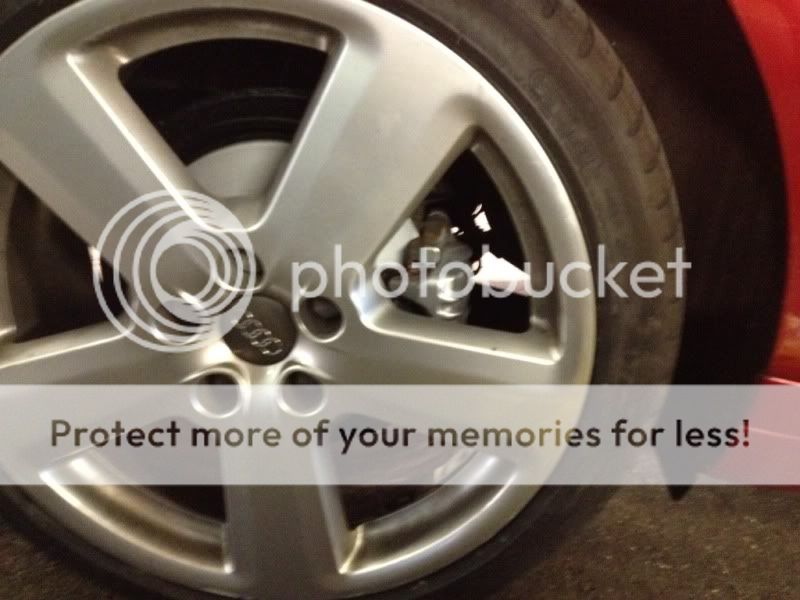
With the wheel on ready to drive again with some new rear pads and discs

7FD6F764-AB00-4618-8216-00F5C468FC53-4732-00000219310EEC62.jpg
 
Last edited:
Nice car mate, someone got their moneys sorth out of them discs! lol
 
The next step was to get some upgraded lighting inside. You can see the difference between the yellow lights and the LED's I put in here

8A56B1FC-6E41-468A-BA37-3759DAED0070-4732-00000219B95694E0.jpg


I have just ordered tonight some more LED's from Trups so once they are in I will get some decent photos in. But after I put some LED's into the front light unit I moved onto the next purchase

So I bought a MFSW

cleaned up and ready to go on

716164E8-7DF9-4C01-BCFB-1FC7F0B2DAFF-4732-0000021B6246C566.jpg


Once I get a cruise control stalk I'll get the CC and MFSW all fitted in one go rather than keep taking it on and off.

One thing led to another and I've not had a lot of time to do much to the car, being burgled, becoming and uncle, having family stay from abroad. So I've been a bit tied up and not been able to sort anything out. However, now it has all calmed down a wee bit I decided to get my windows sorted out. So I booked in to get my rear windows sorted out. I couldn't decide on what tint to go for so asked on here, friends and finally asked the guy tinting the car. He was so confident that it would look great as a contrast that I trusted his instinct and went straight for the limo black. I used a local company called Automotive Window Tinting. Between the two guys in there they have over 40 years experience in window tinting. Professional and good customer service with great prices. The tints were done in just under 90 minutes. Top job!
Anyway, the final product...

82CBDE90-CAC9-4928-938D-3F0A474A301F-4732-000002190EDEE18E.jpg


AA6CBC92-3AAC-4440-930B-839F469BC749-4732-0000021918602550.jpg


AE06FA79-7C88-4771-9ED0-9118B742F06A-4732-000002191CD5A720.jpg


4CB95A3C-3282-42CC-B5BA-A1BBA44AA9FF-4732-0000021914118271.jpg


I personally love the way the car turned out, the contrast is spot on and really makes the car stand out. Next plans are the cruise control as previously mentioned, and then a few extras like auto wipers and lights and I want a OEM bluetooth kit in the car. Visually I'm now considering wrapping the roof in black along with the door pillars to give it that extra gloss black finish. Otherwise the car will be staying pretty much as it is with a good mop / paint renovator job and refurb of the alloys. Hope you all like it so far, and I'll try to keep this updated for all to see! After the tailgate has been tinted I'm now also considering a rear wiper delete. They seem to go wrong far to often anyway!
 
So a small update this weekend.

Thursday night I emailed Trups for some LED's, they arrived first thing Saturday morning. Hats off to the man! Thanks again! So it was off out cracking on with the LED upgrade.

6F70CA39-2ACA-4A13-B00F-0C8C35727D29-6746-00000329643D5E80.jpg


First thing to do was to put new LED's in the front lighting unit to replace the current LED's I had in there. They came from china and were only a £1 a pop inc delivery so was worth testing them out. Needles to say, Trups has awesome LEDS and they took a day to get here instead of 5 weeks. They are also made a lot better.

Here is a look of the Chinese LED compared to the one from Trups

F53EBE9E-F5C4-4088-8524-F9083560ED22-6746-000003293CE929EE.jpg


I also ordered the boot and glove box LED's. However my glove box has been broken and the light stays on all the while the car is unlocked.

So it was out with the glovebox to try and find the issue.
Turns out there is a small piston like switch that connects two copper ends making the circuit. This had snapped and looking at where it joins on to it was a new glove box lid and switch mechanism. Looking on ebay the glove box is over £100. So I attempted a repair. Taking my soldering iron to the plastic I plastic welded the two ends together.
First attempt was neat but the plastic just snapped again instantly

I then just went mental with it and decided to melt the entire lug and plastic weld it back together. Took a bit of time, but wasn't too fiddly

The End result
B5CA682D-15DE-43CC-88F7-C5A822AC7067-6746-000003292FC03E55.jpg


Only problem I have now is my glove box is REALLY slow to open, but I'd rather have a slow opening glovebox than a light that is constantly on!!

Here's a few pictures of the LED's once installed

Boot before

B7CB3756-15CB-4681-A95B-0B25B4A11358-6746-000003295CD7D562.jpg


and after

A213670A-4817-42A8-8FD7-D61A50725B5C-6746-0000032942AA405E.jpg


Glove box before

4848900C-DED3-4F24-BEA1-02AE792A5F26-4732-00000219B1C37C83.jpg


and after

(the wire is for the ipod, I re-routed it from under the climate control unit into the glove box so I didn't have to keep taking it out and hiding it. Now it's left in my glovebox all the time.
A584EB83-1239-4FBF-95D8-9E7248B9E02B-6746-0000032907B53C1C.jpg


Rear light unit

3C80CBD9-3897-4C95-8B14-625831311A88-6746-00000328FE366246.jpg


6B17D405-CC92-4CC2-AC12-4754E162E334-6746-00000328D791CB59.jpg


All together

4F06F58F-C970-4741-A985-D1C7181C8549-6746-00000328E8D00CD6.jpg


I kind of like the contrast between the lights but think I'll end up making it all one shade of white.

I also fixed my drivers seat memory position when i tilt the seat forward, that was easy enough, just a metal lug needed pusshing forward. However I need the plastic clip for the link cable from audi for the passenger one as that has snapped. Will probably get a few to stop me having to keep ordering more.

The last bit I did this weekend was add a little something,

This arrived in the post just before the weekend

2E962F47-1902-4E2C-B49C-B1D45C9B8834-4732-00000219FFF81B87.jpg


So it was fitted as soon as possible :-D

8E432A65-0ED6-48AF-9DBF-A16244AC4EF4-6746-00000329709BBE5A.jpg


I also debadged the rear leaving just the four rings on. Much tidier ;)
BAD0CBB2-5A01-442F-86B6-AA3357EF4EBB-7448-0000036D350A6A10.jpg
 

Similar threads

Replies
19
Views
1K
Replies
7
Views
2K
Replies
33
Views
2K
N8
Replies
49
Views
3K