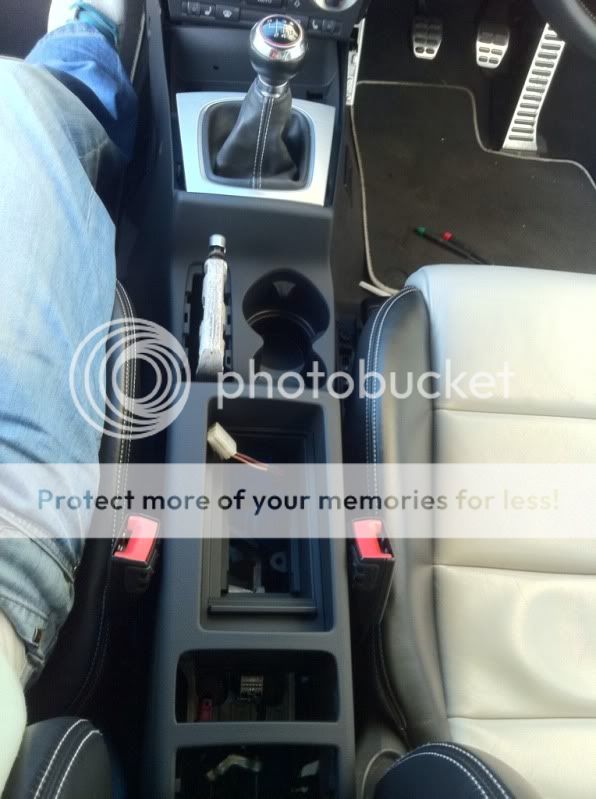
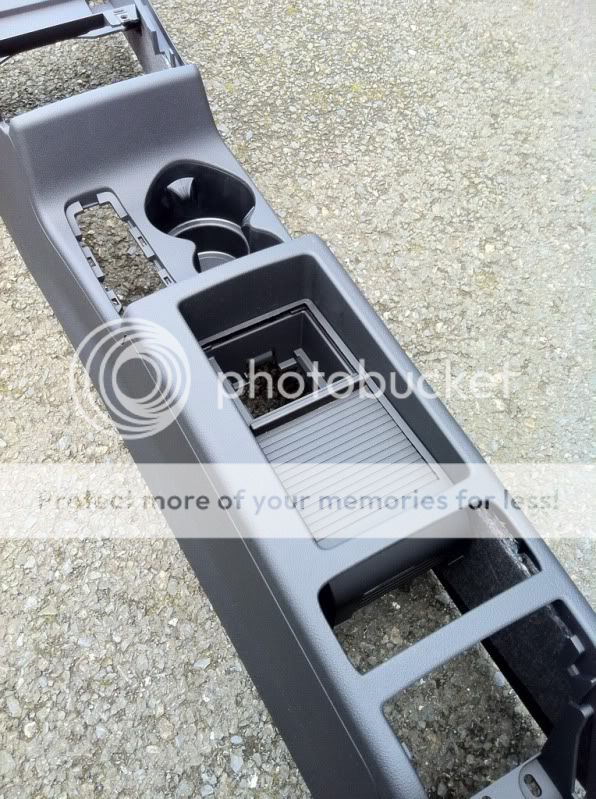
U.S. Sytle Cup holders - Centre console

I'm stretched out atm after an osteo visit, text me & I'll grab it tomorrow, you'll need connectors, repair wires & it connects to the 32pin connector on rear of the rns, I have basically all of these parts if you want me to send over :)
 
Good progress boydie!
I thought that the parts list had some duplications on it but wasn't sure.
Im interested to see why you were given so many repair wires? I mean you only need 2 for the lighters... Also does the cup holders have those 3 rubber bits sticking out of it to hold the bottles?
Im going to be ordering these bits in very soon
 
Ain't goner lie ....can't wait until I see this laid out in the car...:jump:
 
Thanks to NHN for sorting me with the AUX

edfacfc0.jpg
 
  • Like
Reactions: MrWhItEwOlF
boydie, you have no idea how badly some of us are wanting to see the finished thing lol.

its tantalisingly close:jump:
 
boydie, you have no idea how badly some of us are wanting to see the finished thing lol.

its tantalisingly close:jump:

+1 can't wait to see it finished boydie, well done for being the one to jump in and do it.
 
The words of Monty Python.


P.S. I don't even own a 8P and I can't wait to see it finished.
 
Last edited by a moderator:
  • Like
Reactions: MrWhItEwOlF, plezz and MartayMcFly
Severe guinea pig and quite nervous lol not sure how to approach installation.

Thinking of removing the seats entirely which will give me more room to work and find it easier to work out how it comes out!

Anyone taken the seats out before?
 
yh, just move the seat all the way back and you can see the front 2. move it forward to get to the back 2. I disconnected the plugs under the seats first so that it came out easily.
 
Oh, and *IF* you take the seats out, can you take a pic or two of where the farking bluetooth box goes...?

I have one here to install, but it's farking *HUGE*, and I don't even know which seat it goes under, or which way up!

Cheers!

Keef
 
weird place for central locking switch??
 
My son likes it there. He's usually the only person back there, and he can lock the doors if he wants to. (5-door sportback).

There are NO central locking switches in the rear doors, remember.
 
We just have a small shelf in that area which is already present in my existing console. Will have an attempt at this tomorrow and sunday!

Thanks guys!
 
We just have a small shelf in that area which is already present in my existing console. Will have an attempt at this tomorrow and sunday!

Thanks guys!

Did you see the comment in the Stoke Audi thread? There is cutting around the bulkhead required since the LHD console is slightly different (well that's the best guess as why). Just so you know, it probably won't be as straight forward as I was hoping it would be.
 
This might sound daft but are the centre console's the same for lhd and rhd???
LHD&RHD consoles are different anyone attempting this will need plenty of Stanley blades to cut bits from new console right up at the bulkhead area :(
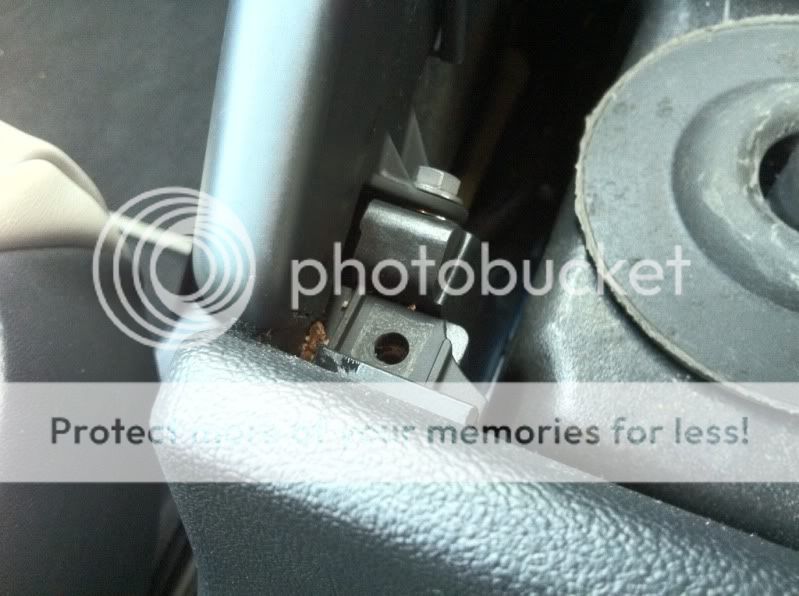
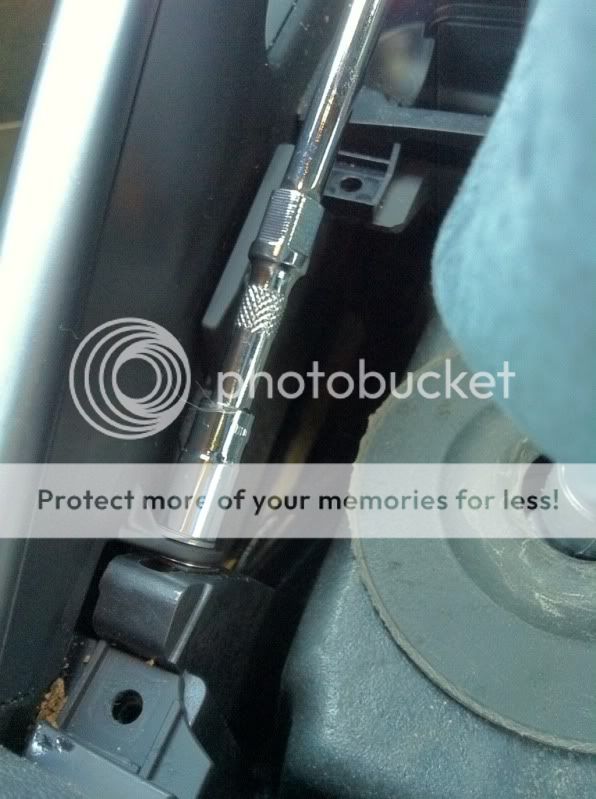
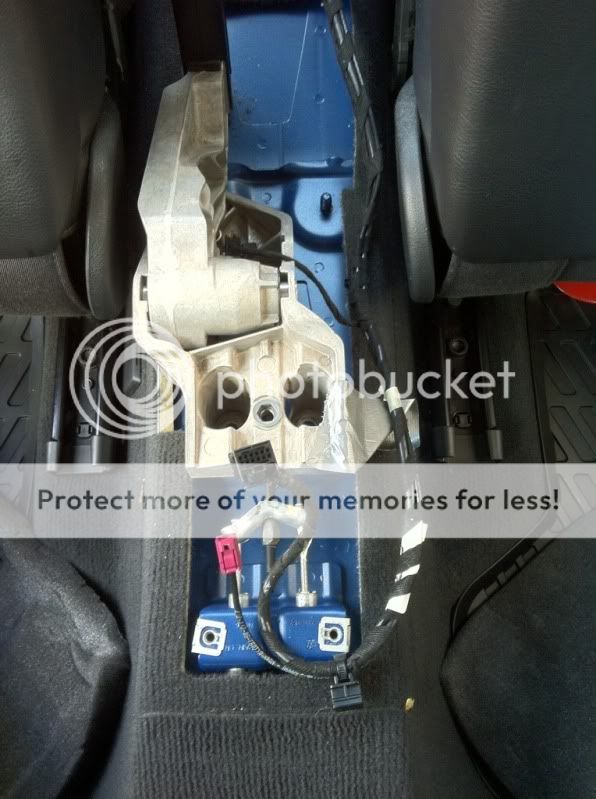
There is also some pipe work on the passenger side that will foul, you don't have to remove seats to get console out/in,
First of all remove armrest (2x10 mm bolts iirc)
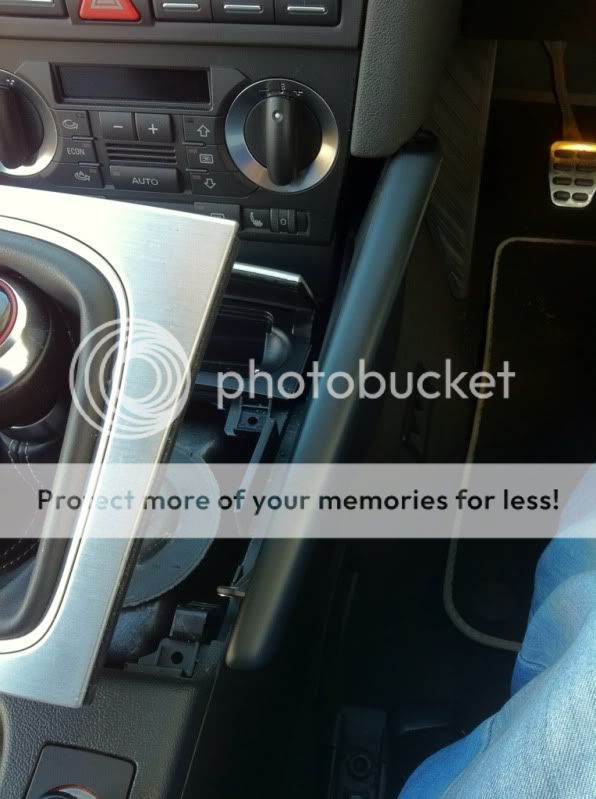
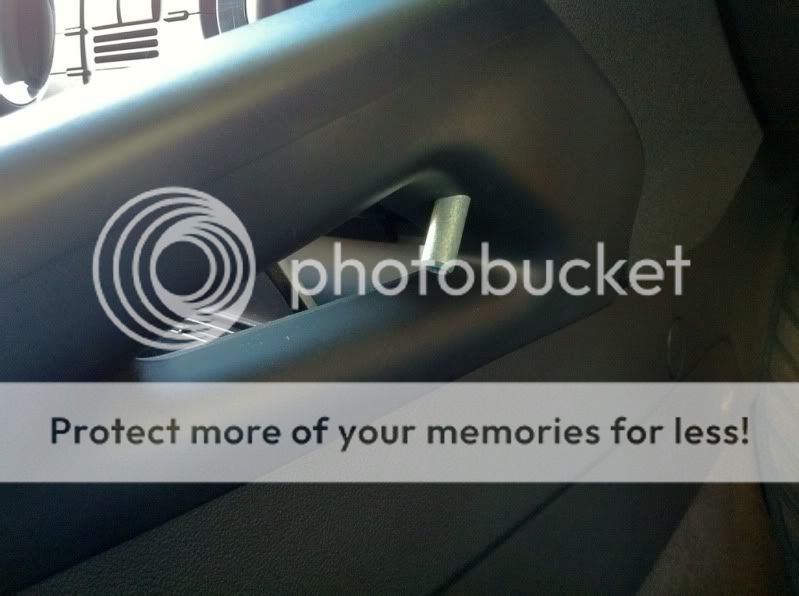
Two bolts in at passenger footwell 1 at drivers footwell 2 bolts under rear ashtray cubby hole part, 2torx under gear stick gator then remove both grab arms (2bolts plus 1 allen head screw on each 1) then finally pop off trim at handbrake might also help to remove leather handbrake handle,
Boydie, use ure original console as a template against the new one to see where to cut,
Ive had this stuff since Nov and hid it in the loft from my other half, I only remembered about it after boydie bringing this thread alive again,
Total fitting time 60-90mins I have only 1 ciggy lighter wired in as I used original plug from std lighter just now,
I still have some minor trimming to do to get it perfect :(
no pics yet either
 
Last edited:
  • Like
Reactions: Boydie
Dammit lol didn't know this had already been done!

Thanks for the advice, I will make sure to take a lot of pictures and attempt a "how to" guide.

Are there any "buldges" or "sticky out" bits because of the fouling pipes?

Part numbers for the Aux in and connector are:

8J0 035 475
1J0 972 977 B
 
Dammit lol didn't know this had already been done!

Thanks for the advice, I will make sure to take a lot of pictures and attempt a "how to" guide.

Are there any "buldges" or "sticky out" bits because of the fouling pipes?

Part numbers for the Aux in and connector are:

8J0 035 475
1J0 972 977 B
Yeah boydie the console at passenger footwell sticks out a little due to pipes but when I get a chance I will try and trim it to be perfect ;)
(to be honest it's only me who notices it!)
im not trying to put anyone off just making you all aware it's NOT just a "old 1 out new 1 in job"
I stupidly done it in the middle of a freezing nite shift, you will see when you have both consoles side by side clearly what has to be trimmed, it can be done "in-situ" but I would advise to inspect them side by side 1st hand,
seriously m8 you can have consoles in and out in probably 40mins, but take some time for trimming and yours will look great;););)
Has the aux in got a 3.5mm jack or a USB ?
 
Last edited:
Ok, so far so good. Started raining so thought I would come in, get some lunch and update you guys.


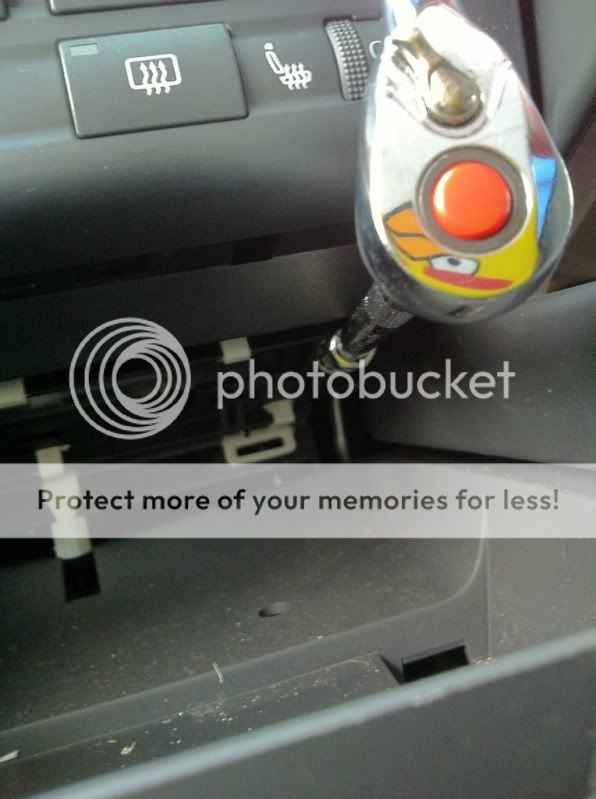
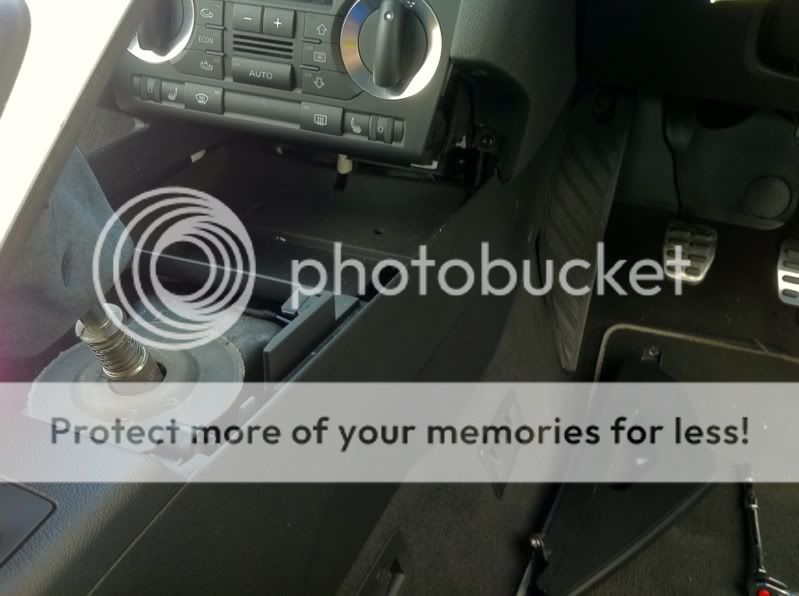
To start, lift up the ash tray lid and pull at the gear surround - this just pops up:

3de61741.jpg


4 torque screws around this area:

a37b0e6a.jpg


Two bolts at opposite side holding the support brackets:

edec20d4.jpg


Voila:

1c73d220.jpg


Wiggle the ash tray out at this moment.

Allen head screw inside the bracket:

fd8ad339.jpg


Two bolts opposite side behind where ash tray was:

15ac95e8.jpg


Brackets off, easier than I thought:

953e95fa.jpg


1d257f30.jpg


Rear of armrest - the small ash tray just pops out as well as the small insert, just give it a yank!

12ca1ad7.jpg


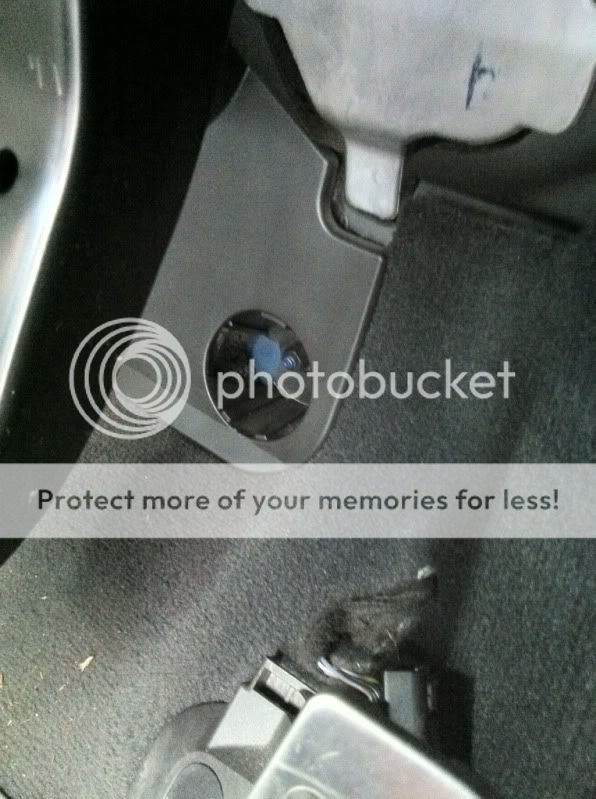
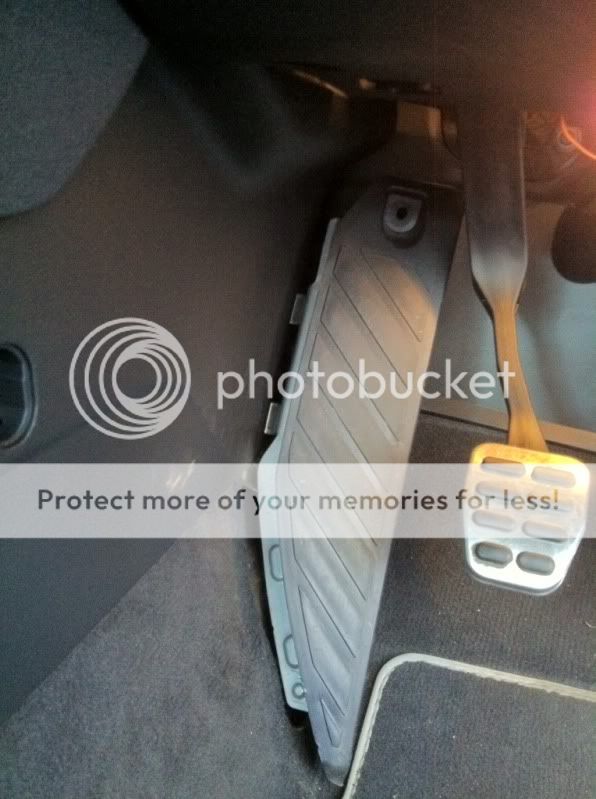
Drivers footwell - use a flat head to pop off cover:

523842ce.jpg


Reveals a bolt:

924052ef.jpg


I also partially removed the dead pedal - screw head and a bolt behind a cover:

f1c00f87.jpg


b5aede81.jpg


Passenger footwell:

bcdb0ad2.jpg


Back to the armrest, I have GSM phone so had to detach these plugs:

561c7c72.jpg


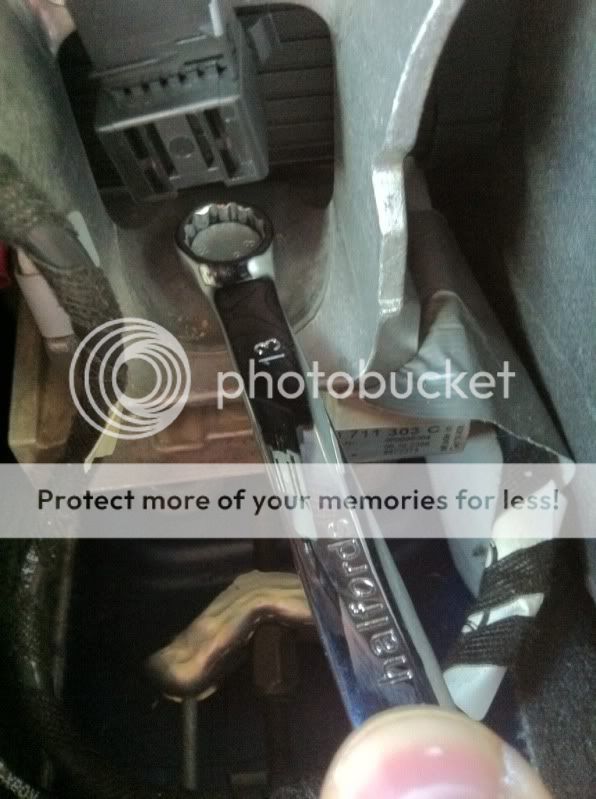
13mm spanner to slacken the armrest bolt:

ee8bf30c.jpg


Et voila:

04be3d4e.jpg


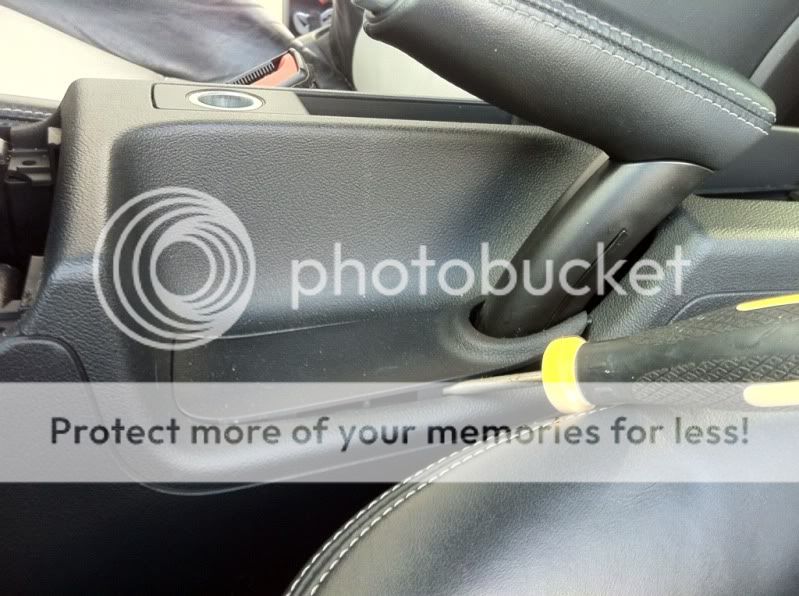
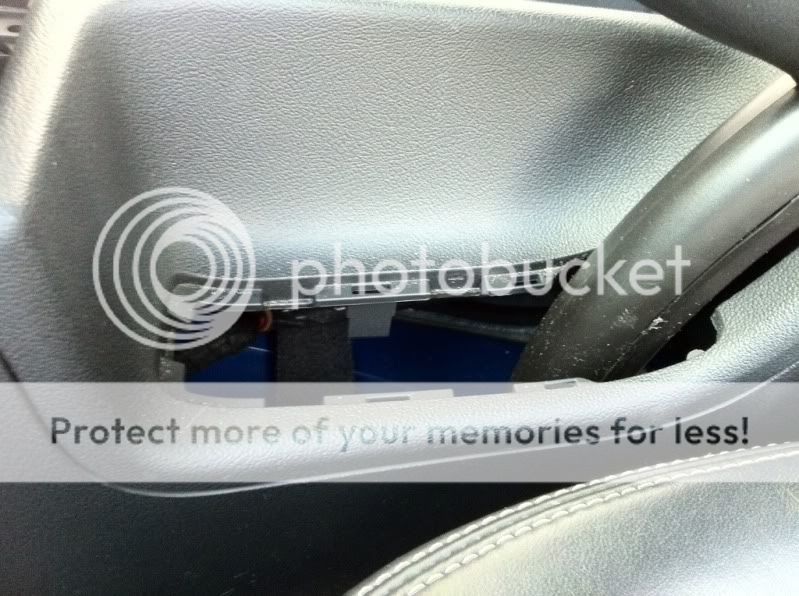
Pop off handbrake cover:

e31c9b94.jpg


80903859.jpg


Pop out cig lighter and disconnect plug:

ebf27016.jpg


At this stage the console will just slide off, just need to manoeuvre it over the handbrake and gear surround:

a1d229f9.jpg


73eb8303.jpg


Result :)

57d5e0b8.jpg


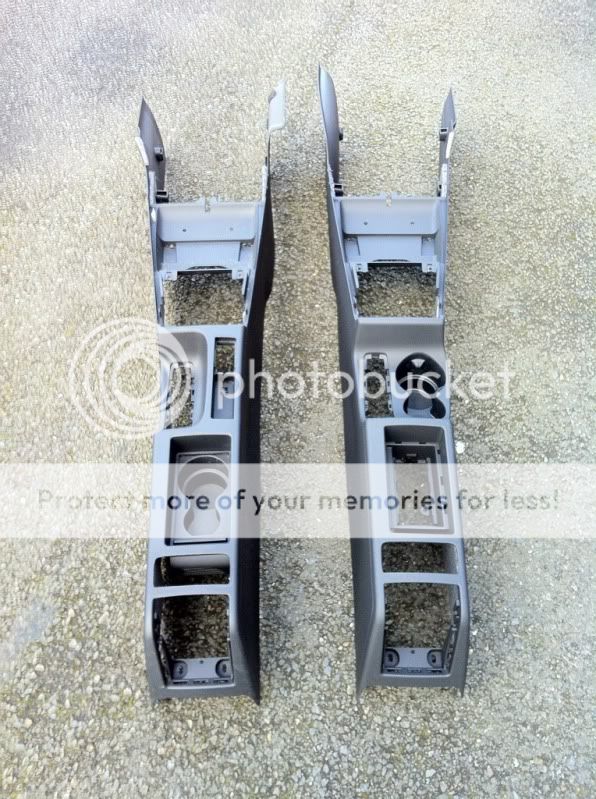
Difference between the two:

1e6fc89a.jpg


c6d22e7d.jpg


Removal off sliding door - easy peasy!!

6eea0da2.jpg


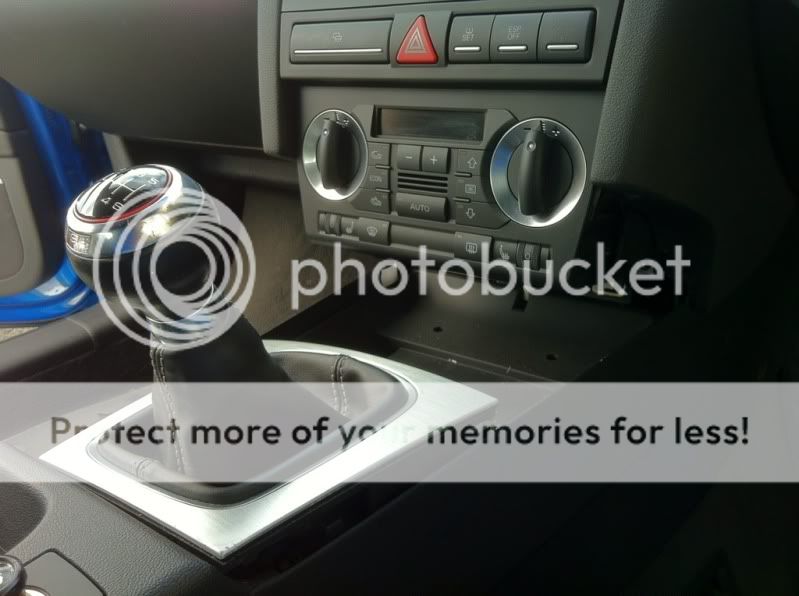
Fitted:

392e430c.jpg


The console needs trimmed so took it inside to take under an inch off the drivers side:

eca193e1.jpg


Lunch time!
 
  • Like
Reactions: poli84, RedDejavu, MrWhItEwOlF and 1 other person
This is looking goood!! Get back out there boydie and remember to try concentrate on showing us the cutting part. Great job so far mate.
 
Great Step by step ........Can't wait to see it finished... :jump:
 
Going to be near impossible to show the cutting part - so many trips back and forth to trim the console due to it not fitting properly.

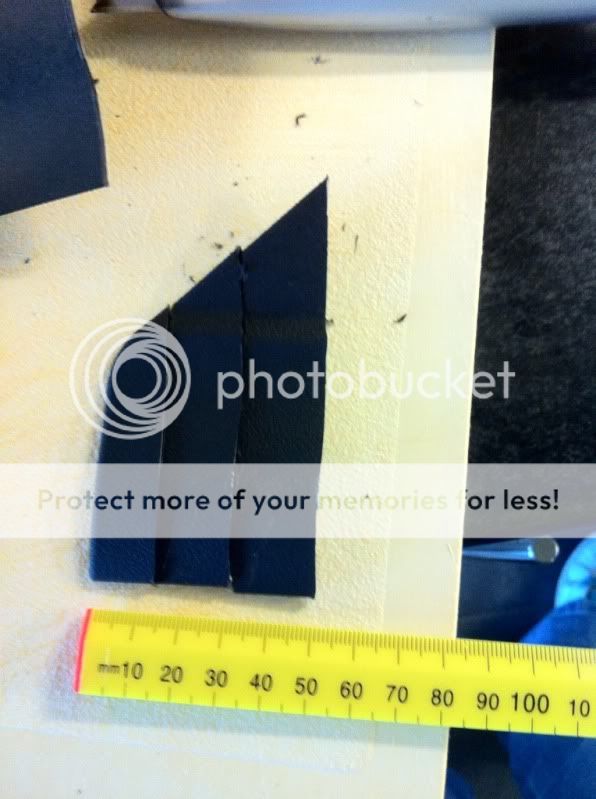
On the drivers side I took this much off the end:

bc2f7f20.jpg


I think I took a corner off as well so it would get past the mount for the dead pedal - I would now recommend fully removing this.

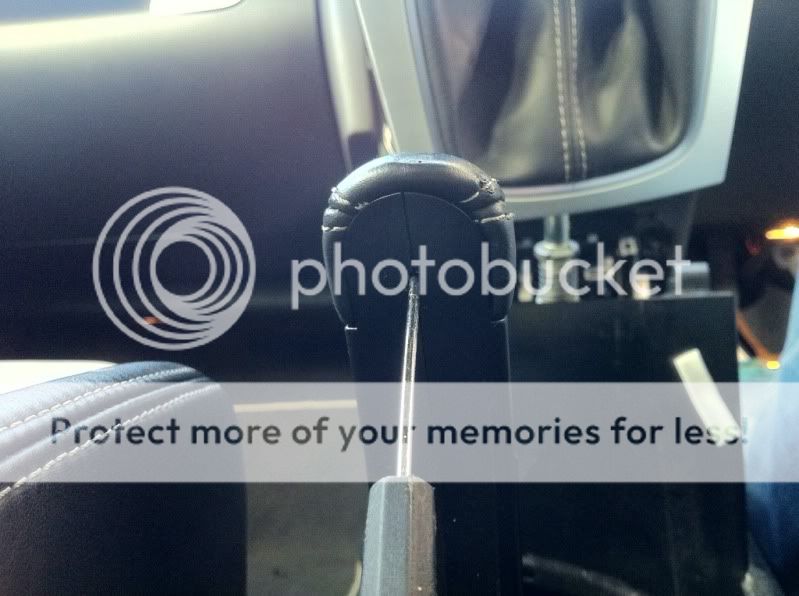
Also, I would recommend removing the hand brake cover as it will get marked due to taking the console in and out of the car. Get a very small diameter screw driver, stick it into the back of the hand brake upwards, you will feel a spring resistance, pull hard towards the dash and it will pull off. I might now replace the hand brake cover :(

9d575bf5.jpg


d922c08f.jpg


fb538d2d.jpg


After trimming the drivers side, more or less fits:

40a7f13c.jpg


However, passenger side:

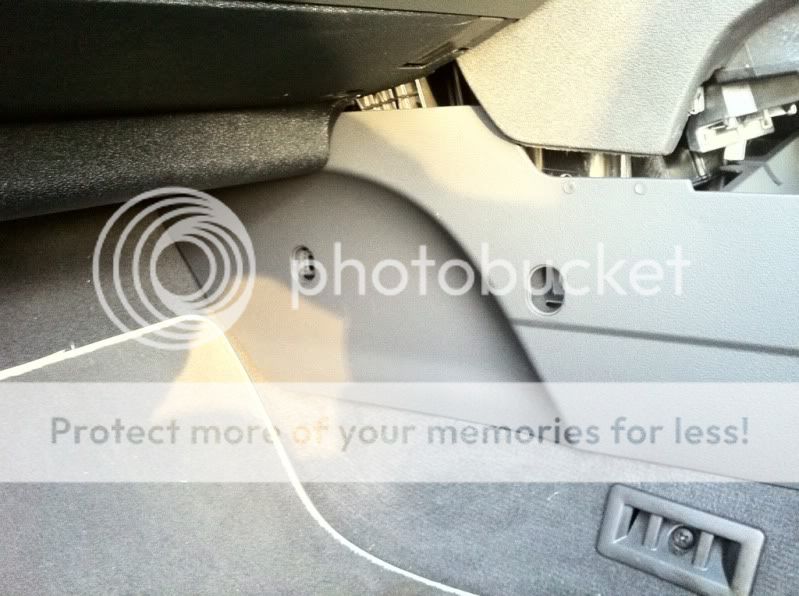
ad3edc05.jpg


Too long basically and the pipework behind this panel are forcing it out and down so the holes do not line up - might just have to do with one bolt in and maybe cable tie the corner of the console somewhere?? I will try and see if I can use both screws, ideally!

Taking shape:

27f29031.jpg


Rectangular section cut:

498b6aa5.jpg


Still more to cut here to allow more room but all will be hidden by the glove box - which I would remove too (3 bolts at the top, inside the box, one at the back, one at the side behind removable panel and 2 below the glove box)

How this was fitted in 2 hours is beyond me lol I am really taking my time as I do not want to cut too much off or be left with gaps. I want it to fit perfectly and as tight as possible but for now, that is me done until the morning as I have ran out of day light :( In a grumpy mood now as I wanted to get it finished :(
 
  • Like
Reactions: MrWhItEwOlF and Ash187
Nice write-up so far mate.

Jnow what it feels like having to stop half way through something.

This pipe work, what exactly is it? Is it possible to re-route? What exactly is the difference on the two consoles which means it doesn't fit due to this?
 
The pipework is metal so I am guessing it is for the heating. It is solid and can't be moved :(

The shape therefore is different either side

You can see it here - USA close:

c6d22e7d.jpg
 

Similar threads