Starting the process of getting the car back to standard - inc. pics of de-build!

warren_S5

Moderator
Moderator
VCDS Map User
Joined
Oct 31, 2007
Messages
6,883
Reaction score
1,844
Points
113
After 4.5 years of reasonably happy motoring, the S3 is being returned to OEM this week in readiness for part-exing. I was expecting the new car to be ready for collection at the weekend, but it appears a delay may now mean that the date has moved to end of next week :keule:.

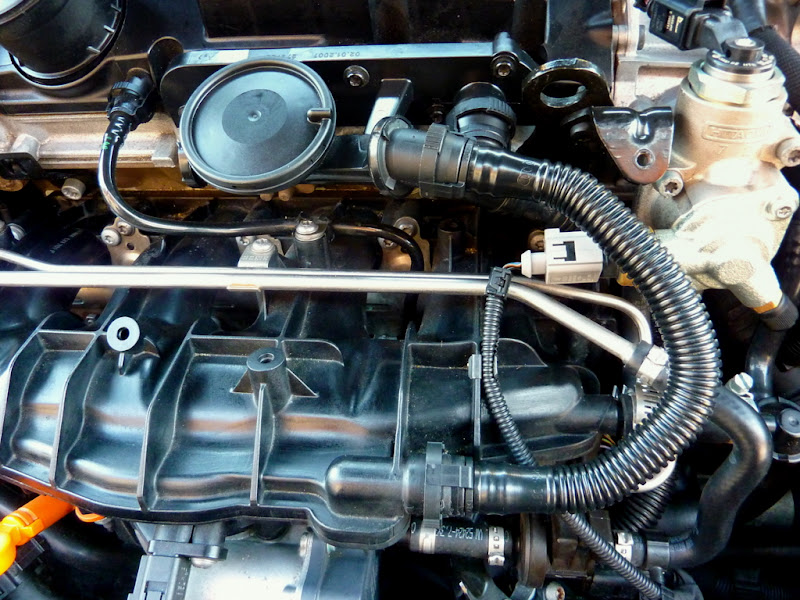
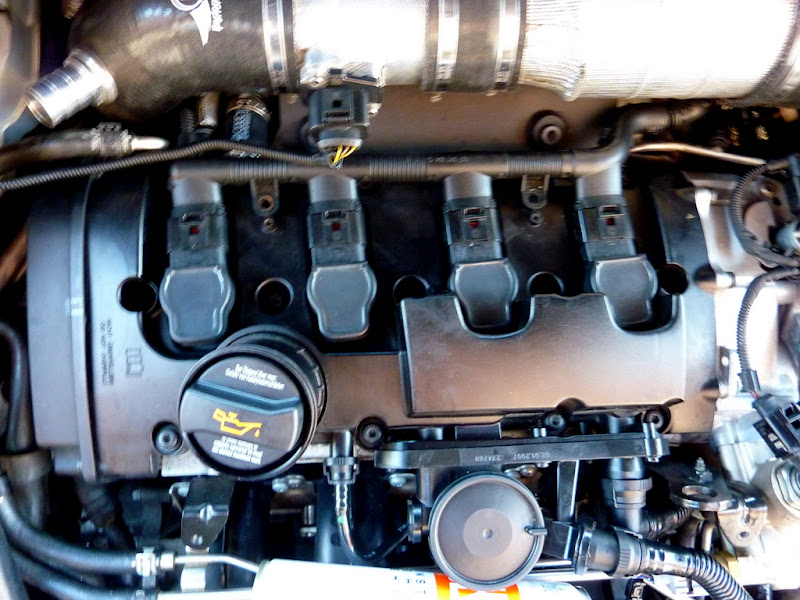
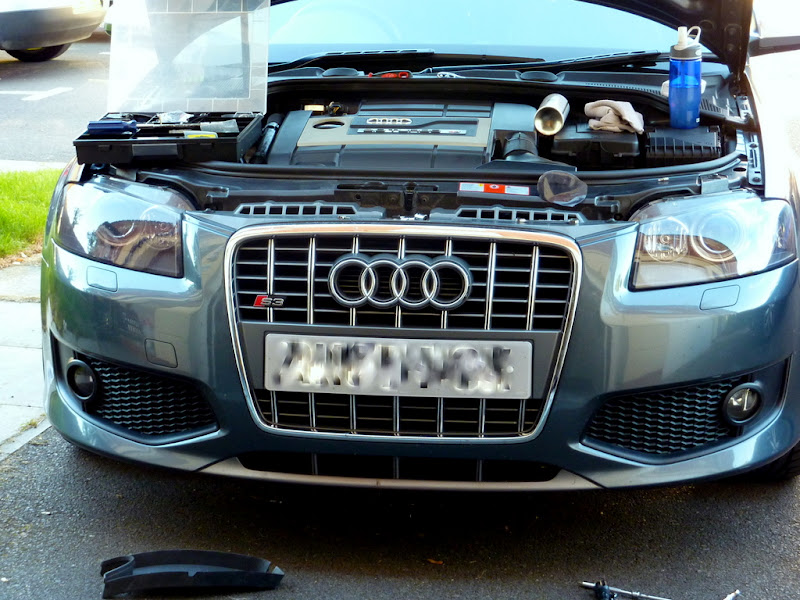
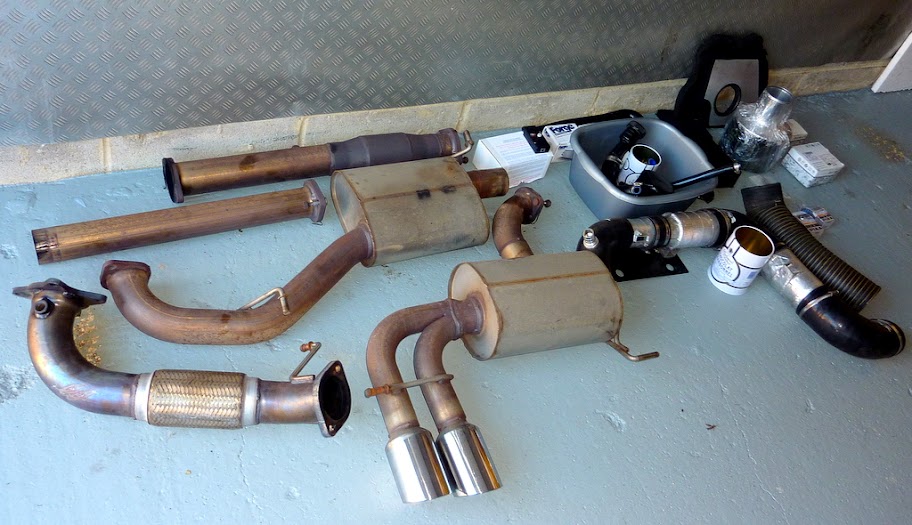
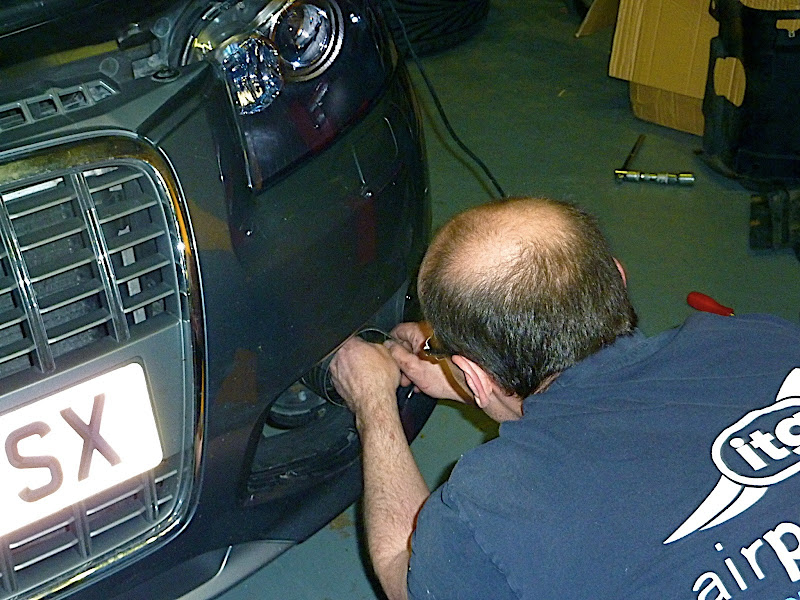
Yesterday I was in Brackley for a meeting, and I chanced an opportunity to drop into APS in Brackley as they were based locally to the venue. I'd put the old exhaust in the car on Saturday afternoon after ADI knowing I would have to prioritise getting the car put back to standard pretty quickly.

I turned up early and asked Ed (the head man at APS) whether they would have any spare time in their schedule to whip off the stainless pipework and replace it with the OEM tat in the boot. They already had another S3 8P in for a clutch and coilovers, and an R32 for something else, so it would be a close shave but may be do-able. I said if he could do it then great, if not no it wasn't an issue.

As luck should have it by the end of the day the job was done, and at a very reasonable price. Given the service standards I received during the day I will definitely be using them again. Very clean garage, no bull**** approach, and just seem to be passionate about supporting Audi owners achieve their end game (& help pick up the pieces when the dealers fail to deliver as they so often do in the service arena). Top marks to them, they definitely stood up to their multiple Gold Awards from Audi Driver, and a batch of glowing reviews found from dredging the net. Only shame is they're not a Revo dealer, but then you can't have it all!

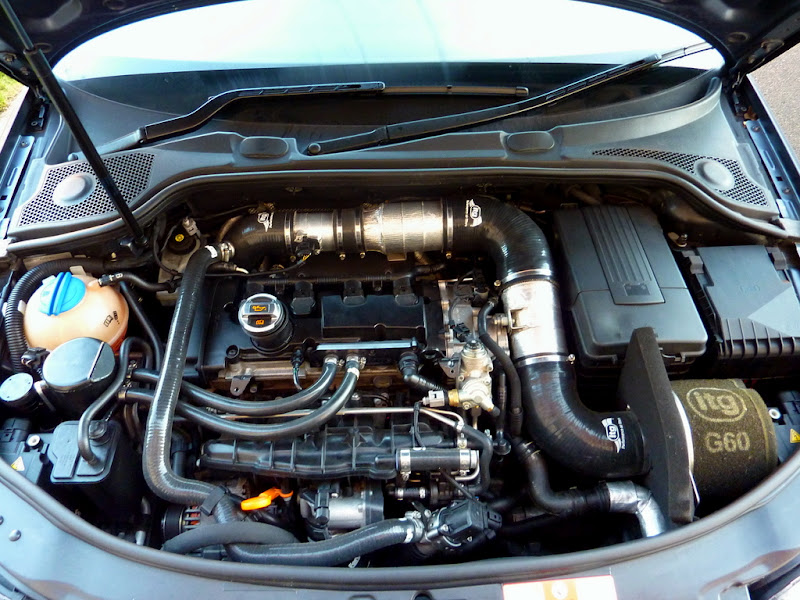
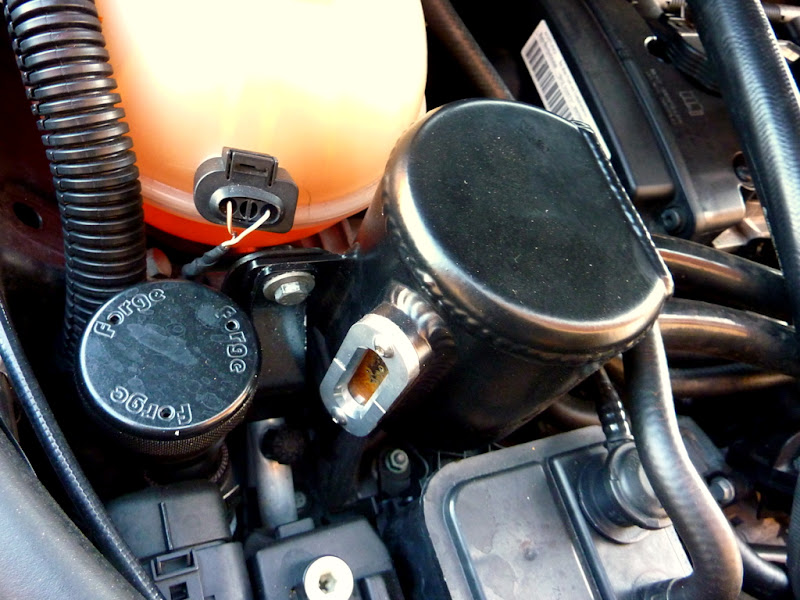
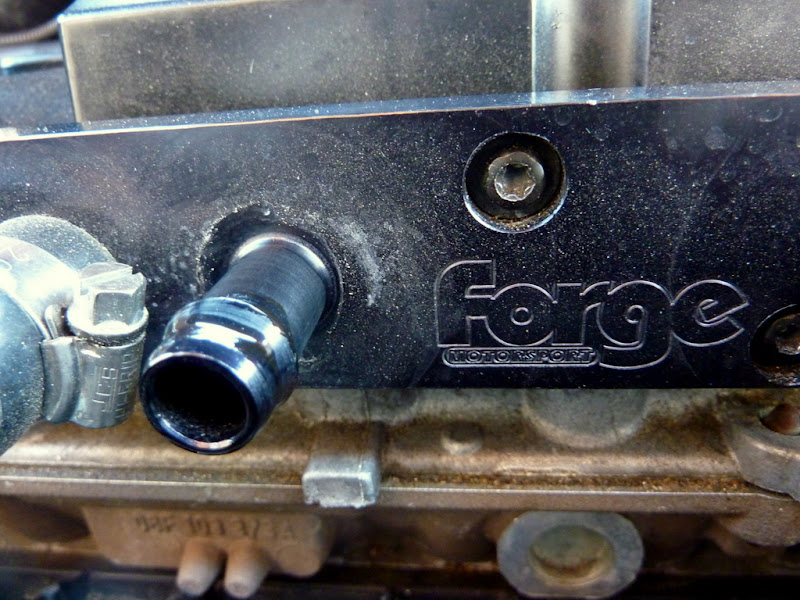
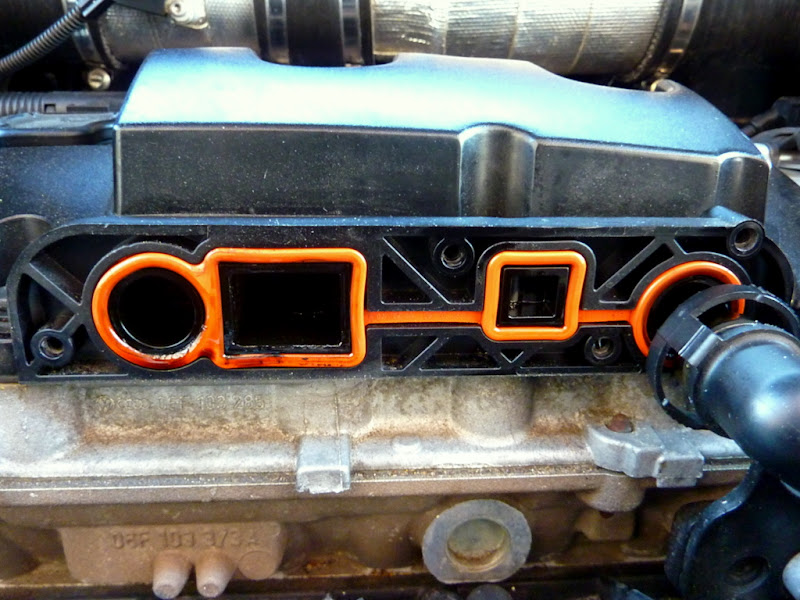
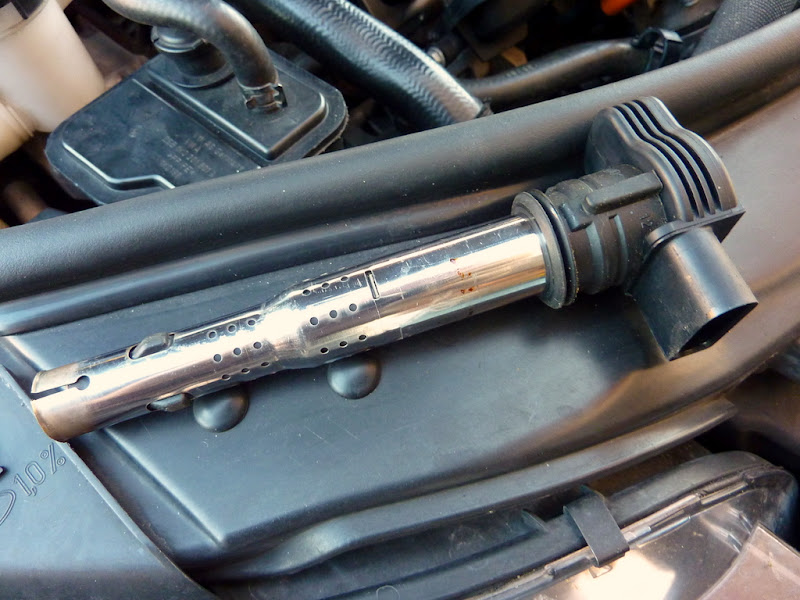
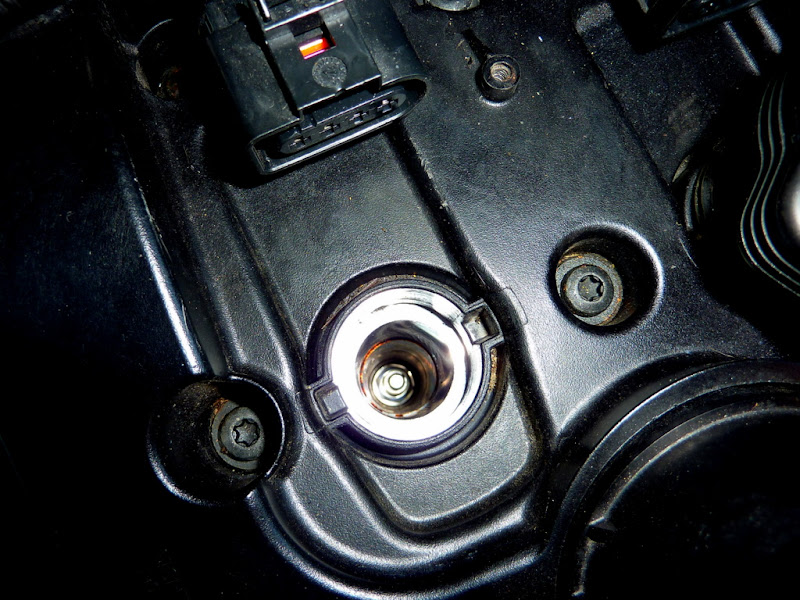
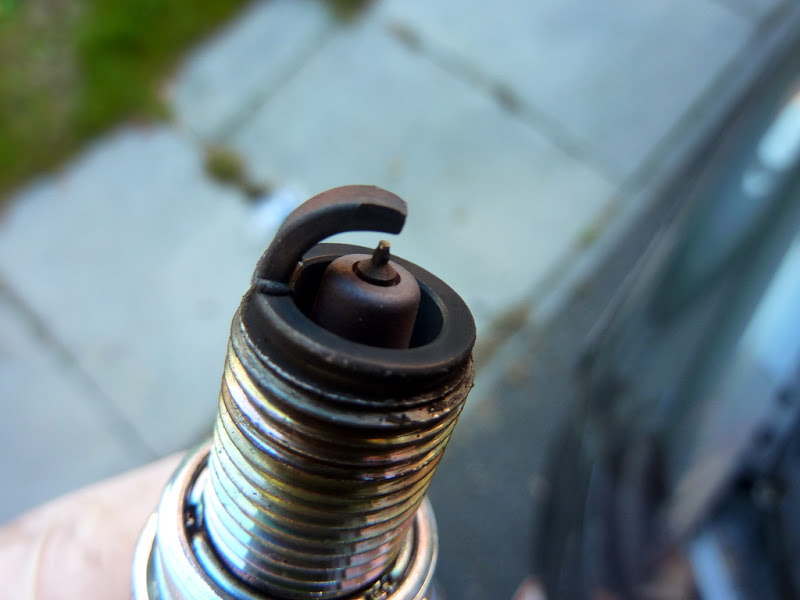
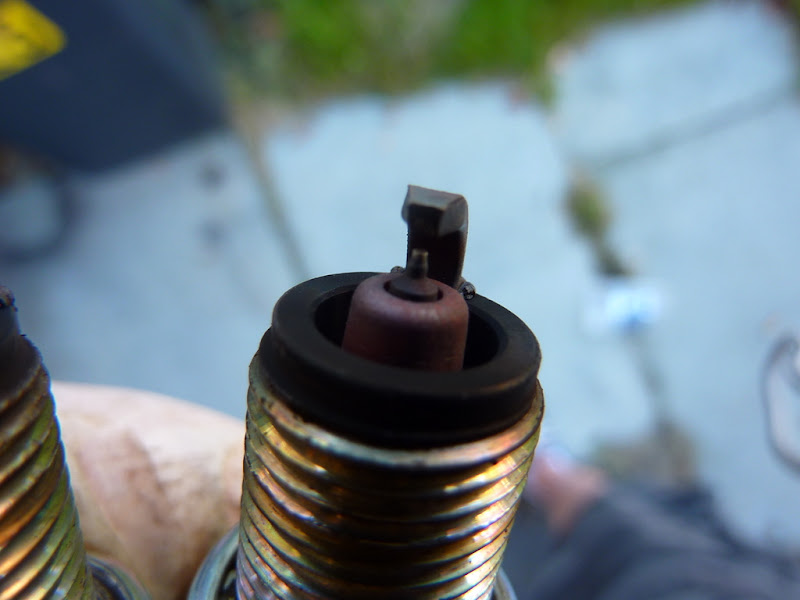
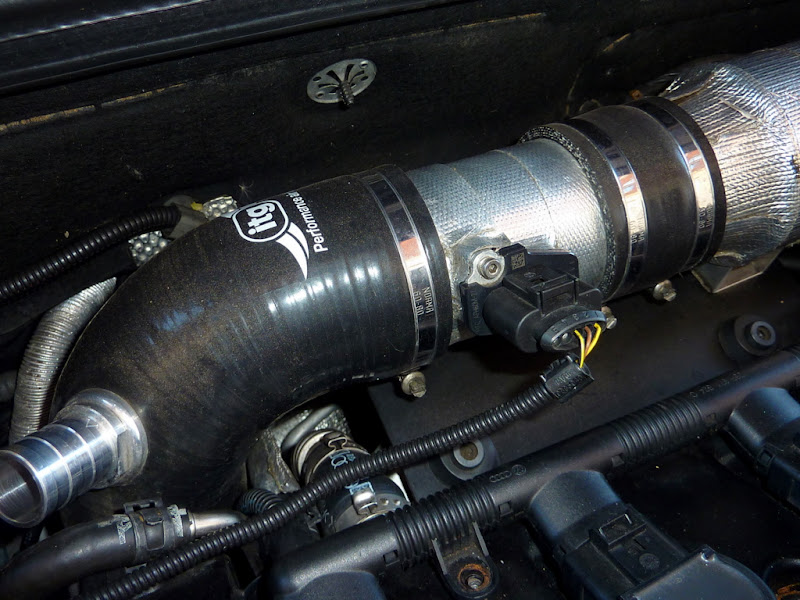
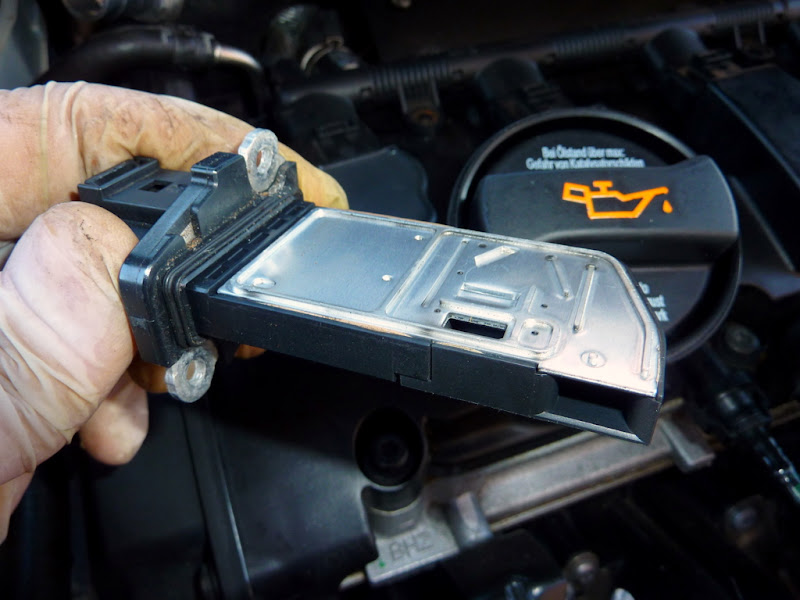
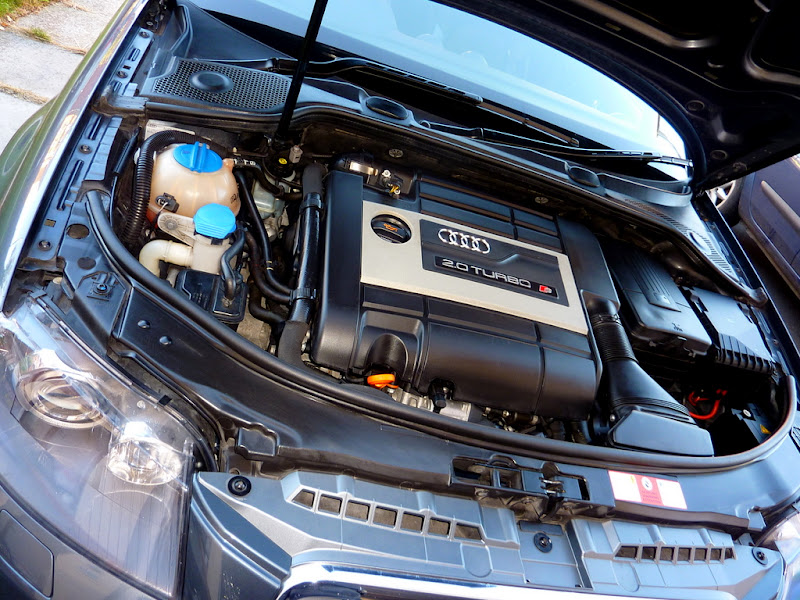
ITG / Forge catch can / Lamin-X / Alarm Chirps / NGK Iridiums / Forge hoses / Silvertec & PIAA bulbs / RS4 reps all need to be removed by the end of the week by my own fair hands, then it's a trip to Revo HQ to get the factory code reloaded on Saturday morning.

After 20 years of modding I've never really got over the misery of putting a car back to standard to sell when it's as good as this has been. I remember being hugely disappointed with the S3 out of the box, and the S2+ spec takes a competent car and somehow gives it a soul / makes it such much more fun to drive.

The initial run in period for the new S3 is going to be like pulling teeth having spent over £30k on something that lacks any real exhilaration. Only the thought of the final modification end game makes it a repeatable proposition. The upshot is as part of this miserable process I've found a really decent Audi independent who I can heartily recommend.

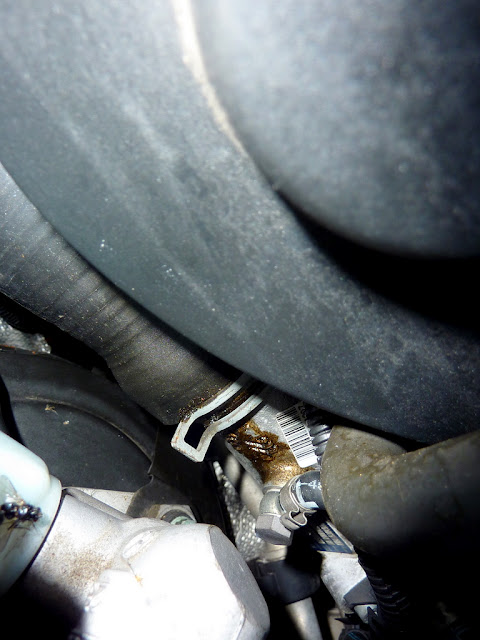
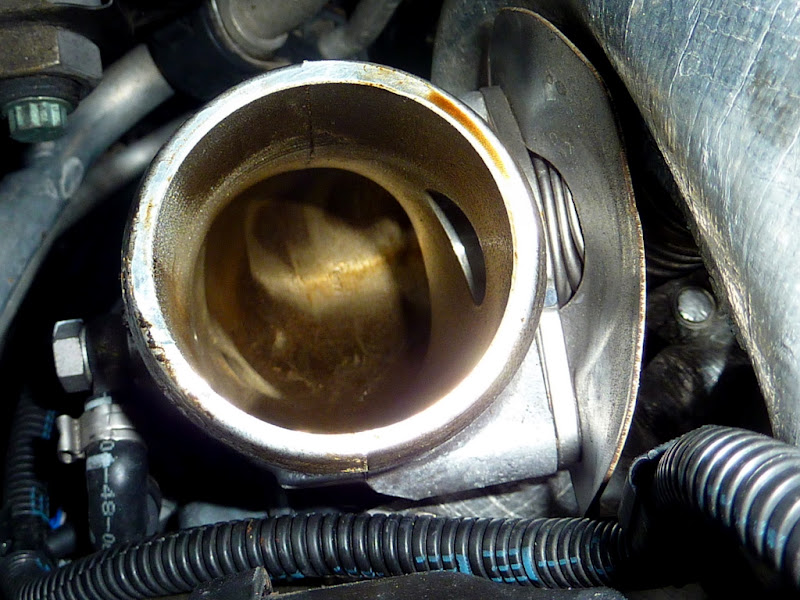
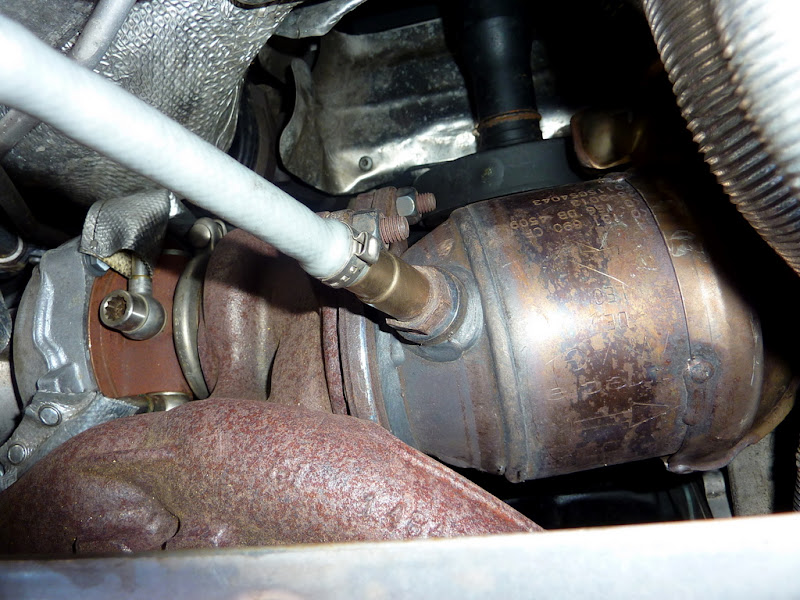
As for the difference after the upgraded TBE has been removed, it's.... well staggering to be honest. Amazing a bit of pipe can do so much!

Some memories of the old girl being put through her paces over the years, across 6 European countries and even popping my Ring cherry last year!

1) Last weekend at ADI:
web.jpg


2) 10 minutes after driving her fresh off the dealer forecourt back on 1st March 2007

web.jpg


3) At ADI 2007:
web.jpg


4) At Audi's in the Park
web.jpg


5) ADI 2010 (Staz riding shot gun)
web.jpg


6) At the Hotel at Nurburg 2010
web.jpg


7) At the Ring 2010
web.jpg


8) Saint Malo 2011
web.jpg


web.jpg


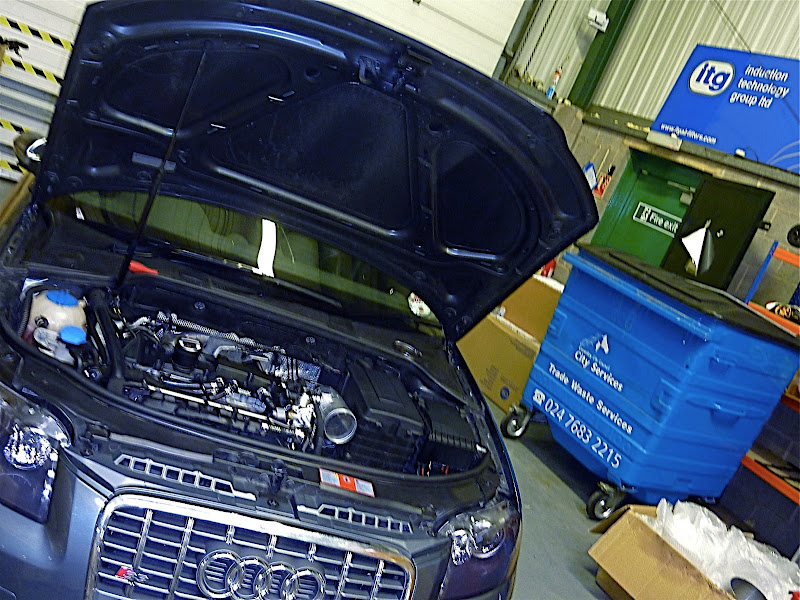
9) At ITG as the Maxogen S3 system was developed
P1010845.JPG


P1010855.JPG


10) An impromptu photo at sunrise in Berkshire
P1010550.JPG
 
  • Like
Reactions: Kelza and Paullie
Nice one Warren. I'm looking forward to your initial thoughts of the new S3 and the subsequent write ups as the mods go on.
 
Hi Warren.....let's hope you like the new one even more!.....you and various others here and on VAGOC have a lot to answer for when it comes to my car,and my wallet!
 
Cheers Rico, hoping I won't end up with Paddy's misfire syndrome!

Just need to source a new HPFP and all the kit I need is there for S2+ again. Give her a 1000 miles to bed in and then off we go again, but this time with more handling mods!

Alex, if you don't spend it on mods the bankers or the tax man will find some way to get it; lesser of the evils ;-) Don't think I'll be going as far as you with the next one either, 2+ will have to do as the Mrs. uses it!
 
Last edited:
nice work Warren, will all be worth it once you got all the bits back on the new one! :wub:

by the way, i saw you at ADI in the morning sitting in the car and i was like that must be Warren.. Then i didnt see you again the whole day so sorry i never got to come over and introduce myself! :salute:
 
nice work Warren, will all be worth it once you got all the bits back on the new one! :wub:

by the way, i saw you at ADI in the morning sitting in the car and i was like that must be Warren.. Then i didnt see you again the whole day so sorry i never got to come over and introduce myself! :salute:

Thanks, and no probs mate; there will be plenty more meets to come! Be matching colours next time out (or near enough)!
 
Thanks, and no probs mate; there will be plenty more meets to come! Be matching colours next time out (or near enough)!

indeed, i guess your going to be right up for it next year with your new shiny motor! :icon_thumright:
 
Cheers Rico, hoping I won't end up with Paddy's misfire syndrome!Just need to source a new HPFP and all the kit I need is there for S2+ again. Give her a 1000 miles to bed in and then off we go again, but this time with more handling mods!Alex, if you don't spend it on mods the bankers or the tax man will find some way to get it; lesser of the evils ;-) Don't think I'll be going as far as you with the next one either, 2+ will have to do as the Mrs. uses it!
Good move....Mine won't touch my car,and probably best she doesn't!.....hates the noise and the way it moves....
 
Good move....Mine won't touch my car,and probably best she doesn't!.....hates the noise and the way it moves....

that is the way forward... Dont want your mrs driving your car??????...... buy a Garett lol!
 
Nice write-up Warren and good luck with the new motor when it finally arrives. Glad you got on well at APS - Ed's a really nice guy, and I've had my S3 serviced there from new, that's how much I respect them.
 
that is the way forward... Dont want your mrs driving your car??????...... buy a Garett lol!
Seems to have worked.....mine doesn't really like fast cars anyway,so the faster it gets the less trouble I have...!
 
Strangely Forge's DV spacer has had similar effect for me which is good news as its saving me a fortune in kerbed alloys, and for very little outlay ;-)
 
  • Like
Reactions: zippyijk
So the big day is nearly here then mate :) good luck ! a few miles in a stock S3 will just make you appreciate the goodies all the more when you put them back on..
 
Good luck with the new car... I personaly like the Sportback your parked next to at ADI in the first picture on Saturday.... Oh that will be mine then lol :sly:
 
Good to see you are getting another S3 and modding it straight to 2+ (after running it in!)

Pleasing to see the difference you say the Milltek makes, mine should be on any day if people stop letting me down with borrowing a ramp to fit it, can't wait until we have our own workshop!

What handling mods are you going for?
 
So the big day is nearly here then mate :) good luck ! a few miles in a stock S3 will just make you appreciate the goodies all the more when you put them back on..

This is almost what I'll be getting back at the end of the week.....until it's run-in,it's on stock settings.
 
So Sunday morning is ****** cold, 4 degrees is showing on the temperature gauge, and I go out to finalise the process of getting the car back to standard.

Late on Friday I popped into Revo to get the map removed from the car, so she's now back at OEM map for the first time since day 3 of ownership!

As I opened the bonnet I was confronted with this sight, and a fair bit of work to do. I whipped off the R8 oil cap as a starter for 10, replacing it with the plasticky OEM job. Then it was onto jobs requiring proper tools!

P1030948.JPG


1) Forge DV Spacer / OEM rev 'D' DV
First and easist job on the card (3x T30 torx bolts to remove!) was the removal of the DV and DV spacer. I wanted to take the Rev. D DV off, put back on the original gasketed DV which is in fair condition, and remove the spacer. A job any idiot can achieve with a Halfraud's toolbox and 10 minutes of time.

P1030949.JPG


P1030950.JPG


I was surprised how much ganky **** had build up around the apertures of the DV spacer, but then I suppose in a high compression engine that is re-circling all sorts of unwanted gases and grime them it's to be expected.

2) Forge DV return hose
Another job for an idiot. If you own a pair of mole grips for the OEM spring clips, a flat blade screwdriver and more than a single brain cell then its a goer.

P1030951.JPG
P1030953.JPG


The nice thing about this hose is it doesn't seem to compress and flatten like the OEM one which gets squashed against the catchcan pipes and when warm almost flattens completely.

3) Forge catch can & washer bottle filler neck
Now I assumed this was also a simpleton job as removing the catch can is simpler than taking candy from a baby. True to form the catch can was a piece of **** to remove, but then I had to remove the carbon canister to get leverage on the washer bottle hose. A 10 minute job took over half an hour in the end, and a lot of fight!! Eventually it all worked out well, but lets just say the Forge washer bottle hose is looking 'abused'! A 10mm socket, a flat blade screwdriver and a T25 torx bit (with ratchet) is pretty much most of the tools you'll need for the basic parts of the job, but yo will need a long extender bar for your socket set to remove carbon canister bolts, and a lever tool to remove hose on washer bottle neck.

P1030955.JPG


P1030958.JPG


P1030960.JPG


I was slightly suprised to see how much oil vapour was on the outlet pipe from the engine block (see below). Whether I've allowed the tank to overfill at some point, or whether its impossible to stop some escape of this in some conditions due to expansion / contraction of jubilee clips under heating cooling I don't know. May try fitting expander clips on this when it's refitted.

P1030957.JPG


The troublesome washer bottle filler

P1030964.JPG


P1030965.JPG


Removal of carbon canister to facilitate removal of lower pipe

P1030966.JPG


Prizing hose off with two long files! (No sympathy!)

P1030967.JPG


And finally OEM washer filler is refitted

P1030969.JPG


4) Refitting OEM PCV
There's nothing pleasqant about having to fit a part as unsavoury as this. Utter trite, and this part made my car idle like a drag racer. Poor effort VAG group, but thankfully easy to fit! 3 T25 torx screws are the only bit of kit you need to refit, BUT, and I CANNOT STRESS THIS LOUDLY ENOUGH(!) NEVER OVERTIGHTEN THE BOLTS AS YOU WILL STRIP THE THREADS. ONCE IT FEELS TIGHT JUST STOP, AND TIGHTEN SLOWLY! The pipes just clip on, so no tools for them.
P1030961.JPG


P1030963.JPG


5) Remove NGK Iridium Plugs and refit Bosch OEM ones
Hardest part of this job other than the deep set plug removal is getting the coil packs out. I nicked someone else's approach for this and use two long zip ties (connected to form a loop) to pull and wiggle the coil pack out of the block.

P1030970.JPG


Our friend the coil pack. Guaranteed to give you a good dose of misfire!

P1030971.JPG


One deep set Iridium plug. Removing these required the right deep socket and a long extension bar. When replacing the plugs NGK recommend tightening to finger tight and adding 1/16 of a turn for a brand new plug (fresh uncompressed washer), and somewhere between 1/2 and 1/3 of an extra turn for used plugs with a compressed washer. failure to abide by this may mean the plug doesn't seat properly allowing blow by, or if over-tightened may transfer too much heat back into the block. Also severe over-tightening may cause threads to strip.

P1030973.JPG


PLUG 1: Cylinder 1 (Drivers side) - NGK Iridium BKR7EIX with 11,000 miles on it.

P1030974.JPG


P1030975.JPG


Passenger side plug

P1030978.JPG


The above one looks much redder than the other one around the ceramic collar (compare with below pic)?!?!?! Not sure why you'd get such a disparity in burn colour unless they weren't tightened to the same torque or if one coil pack may be weaker?

P1030979.JPG
 
Last edited:
6) CAI and MAF removal

The CAI is quite a piece of kit to remove with plenty of jubilee clips, a heat shield and a couple of fastener bolts to remove. Again, a flat blade screwdriver and a pair of 10mm spanners should be about all the tools you need unless you've retained the constant tension clip on the turbo pipe. To remove the MAF I think the torx screw for the MAF may have been T15, but the OEM ones have a small allen key bolt (possibly a 3mm).

The MAF is shown in the CAI below, so the first job was to get this out.

P1030980.JPG


The MAF
P1030981.JPG


Now getting the CAI pipe which connects the turbo off looks harder than it is. Due to oil build up in this area it is fairly easy just to pull this pipe clean off! However when doing so make sure you keep a hand on the retention clip. ANOTHER WARNING: NEVER LET ANYTHING FALL INTO THE APERTURE THIS HOSE COVERS. DOING SO WILL KNACKER YOUR TURBO! Make sure you put the replacement hose back on as a prioirity to stop any unwanted guff indavertantly making its way into this opening!

P1030983.JPG


The hose and constant tension clip (above).

Hose removed (below)

P1030985.JPG


I was suprised by how oily this gets, as you can see below its absolutely coated, so I got some lint free cloths and some carburettor cleaner and gave it a quick wipe round.

P1030988.JPG


It was now time to refit the OEM hose which comes in 2 parts (the main hose and a rubber gasket), both of which I cleaned with vinyl cleaner and then degreaser before refitting.

P1030990.JPG


Fitting the constant tension clip is quite tough as you want to refit it with the lugs showing (where they can be easily accessed), and if you don't have a special tool for this (Laser do one), I ended up having to use two mole grips! Limited space meant this was a tough job, but it went on in the end!

P1030991.JPG


While I was down in that neck of the woods I thought I'd take a photo of the turbo unit (you can see the Haldex prop in the background!)

P1030993.JPG


Then all that remained was to deconstruct the ITG unit from the filter head back (head has been rebagged and pipes will be sent off to be cleaned and ceramic coated before refitting I think).

P1030984.JPG


7) Refit the OEM engine cover
Next was getting the OEM cover back on. Thankfully refitting is MUCH EASIER than taking the ****** thing off. I re-fitted the rubber grommets (2 of which end up holding the heatshield for the ITG in place, and then it's just a case of align, press back down first, then press front down, then reconnect MAF / connector, then attach clips for DV return hose. 5 minutes tops.

Getting the 4 rubber seats in place
P1030997.JPG


Get the cover on
P1030998.JPG


Refit the MAF
P1030999.JPG


The final part of CAI closedown works was to remove the air feed hose from the bumper and refit the OEM slam panel air scoop. Fog light grille off, pull through, job 1 done.

P1040002.JPG


P1040004.JPG


P1040012.JPG


8) Lamin-X removal from headlight and fogs, PIAA bulb removal (side lights)


Lamin-X is purely a tear off job, and I have to say the headlights look in such good nick for having some protection. Simple as peeling an orange, only slightly tricky job is removing fog light grilles as they can be a bit tight.

P1040006.JPG


PIAA Mirror blue Xenon effect DRL bulbs removed - don't need to explain this process, it's in the car manual!
P1040008.JPG


OEM clear (yellow colour) halogen bulbs (you can see filament)
P1040009.JPG


9) JOB DONE (Well nearly)!!
And after a long morning of I guess about 2.5 hours it was all done.

Set up VCDS and removed the alarm chirp from open / close on the convenience module. Checked for error codes, none! Fired the car up and she started like a dream.

Only a couple more jobs to do and she's finished.

1) Get OEM rims back on
2) Fix glovebox lid - 1st Fix attempt made
3) Remove tax disc holder - NOW DONE
4) Remove silvertec indicator bulbs - NOW DONE

And a quick wipe with Autoglym bumper care and it was job well done:

P1040013.JPG
 
Last edited:
Tax disc awaiting removal:

P1040017.JPG


Spent Lamin-X

P1040015.JPG


The growing pile of 'bits'

P1040014.JPG
 
I always enjoy reading your how to's, Warren! Very interesting stuff indeed. I love how precise and comprehensive your guides are, you never leave anything out, which for someone who's not that technically minded - like me, lol - is of great importance!! Can't wait for your first impressions of your new S3 and the subsequent updates as your mods are popped back on, ..not to mention your new suspension choices. All the best for your new motor, Dude! Will be sad not to see your current beauty on here any longer, but onward and upward hey! Great stuff :wub: xx
 
great job Warren!! so when you're getting your hands on the new beast??
 
I always enjoy reading your how to's, Warren! Very interesting stuff indeed. I love how precise and comprehensive your guides are, you never leave anything out, which for someone who's not that technically minded - like me, lol - is of great importance!! Can't wait for your first impressions of your new S3 and the subsequent updates as your mods are popped back on, ..not to mention your new suspension choices. All the best for your new motor, Dude! Will be sad not to see your current beauty on here any longer, but onward and upward hey! Great stuff :wub: xx

Hi Paullie

Will be sorry to see her go as me & the better half have had many great road trips and epic journeys (Strasbourg to Calais in 4 hours!) in it, so whilst it's nice getting a new car you can never overlook the history. The old girls worked hard for us, and the the other great thing is that I feel safe letting Clare loose in her whatever the weather as the car feels so safe despite the 360bhp on tap! It's such a great allrounder, and will be sorely missed, so many thanks for your kind comments.

great job Warren!! so when you're getting your hands on the new beast??

Hopefully this weekend, but the dealer has gone very quiet. It was build first week in September (5th from memory was build week), so I'd expect it to be heere by weekend or Monday next week at the latest.
 
bet you can't wait :D
oh, and 1 more question (sorry for a little OT):
you had KMD pump internals, and then you changed your pump because it was worn up. was it because internals, or because they weren't put together properly? you wouldn't recommend them? the reason why i'm asking is, because i have set of KMD internals and newer fitted them, and after reading your thread about them, i'm unsure about fitting them. how long did they last? thanks.
 
I did indeed have KMD internals fitted by JBS about 2 years ago.

I started getting a really pronouned metallic 'tink' sound under high range acceleration and when it was traced to the pump (by Revo), it was identified that the KMD internals had worn the internals of the pump over tolerance so not even new seals would have fixed the problem.

As this was a very early set of pump internals they were uncoated, and whether this lack of coating led to metal on metal wear I don't know.

Here is a picture of the old knackered pump with KMD internals after I removed it:

P1040018.JPG


The cam follower had taken an absolute hammering, and whilst it hadn't fractured, the wear on the pump meant fuel was getting into the oil. Fortunately as it was spotted very early there have been no noticeable side effects.

Close up of KMD piston
P1040020.JPG


I have now switched brand to Autotech (newest coated variant), and there is a pic of my Autotech internal compared to the OEM supplied in the OEM pump:

P1040023.JPG


I'm hoping this one when fitted to the new car will be more resiliant as I'm just not prepared to pay APR prices at present.
 
PS: Now it's back to standard I remember why I thought it was rubbish when I first bought it!
 
Warren, did you always have a cold feed pipe from behind the fog grill??

No, I had it fitted later on as I wanted a direct air feed into the filter head as it was shielded from a direct air flow by the headlamp. Made some good difference, but there is significantly more crud on the underside of the filter head. Might have been worth fitting a fine mesh or some tights over it!
 
  • Like
Reactions: Boydie
Wow, sad times seeing them back to stock! Always loved your car, esp the colour and the mods you did to it. On the plus side, i'm sure the 1k miles wont take too long to clock up so not long to put up with your new unmodded car. Good write up, I know where to come lol
Enjoy the times ahead when you can work your magic again.
 
try fitting one of the wife stockings over the end of the pipe like i did lol
 
No, I had it fitted later on as I wanted a direct air feed into the filter head as it was shielded from a direct air flow by the headlamp. Made some good difference, but there is significantly more crud on the underside of the filter head. Might have been worth fitting a fine mesh or some tights over it!

I was considering doing this but now I think I might just! Read mixed reports of people agreeing or disagreeing that an extra cold feed didnt work - will try it out!
 
for how long did you have your kmd pump fitted (miles)? as i can't sell the internals over here, i might get the spare pump and uprate it.
 
for how long did you have your kmd pump fitted (miles)? as i can't sell the internals over here, i might get the spare pump and uprate it.

22,000 miles from memory, but the new internals with coating should outlast that.

I'm going to buy a new pump to fit the internals to so they bed in together from day 1, and then I have a spare on hand.
 
Interesting read warren. Just how different is the s3 in stock form then?
 
I'm sure I speak for alot of others on here.. Whats for sale? :whistle2:
 
It's interesting to hear how the standard S3 can feel so constrained. This still is, remember, a car capable to 0-60 in the mid 5s, 0-100 in the mid 13s and blistering all weather backroad pace straight out of the box!