- Joined
- Jun 19, 2009
- Messages
- 3,883
- Reaction score
- 619
- Points
- 113
- Location
- Leeds
- Website
- www.aldevelopments.com
I've been asked by some on here about head work as lot of people have said that they like what they see. I did this guide on other forums as they also wanted to see what i could do.
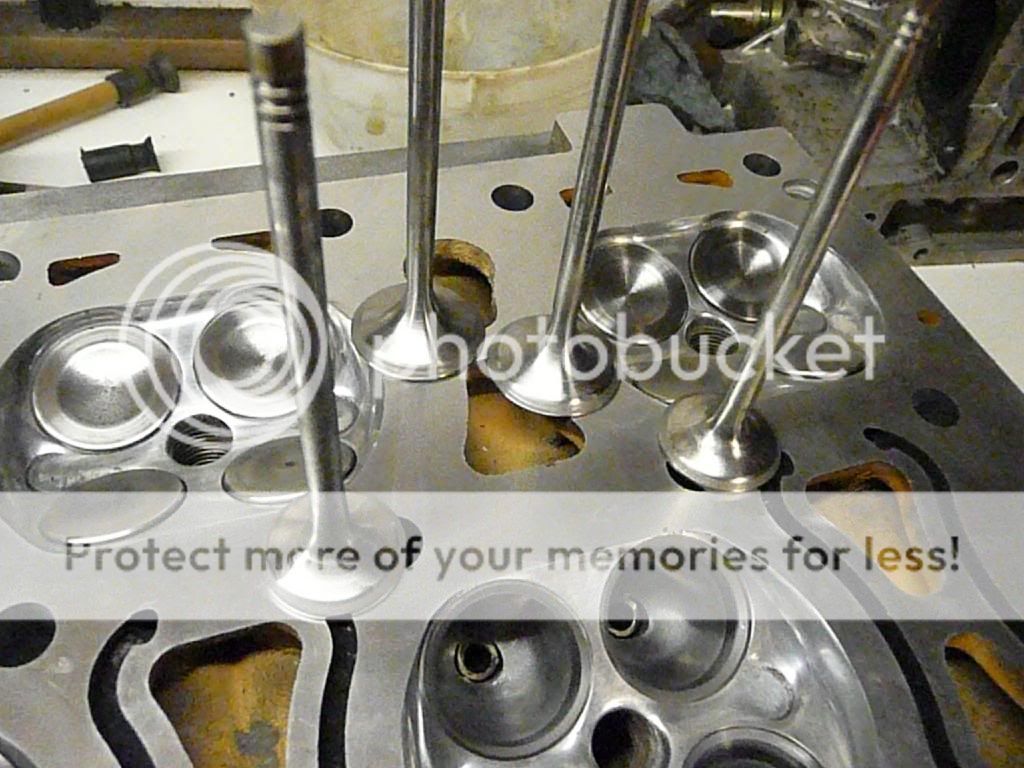
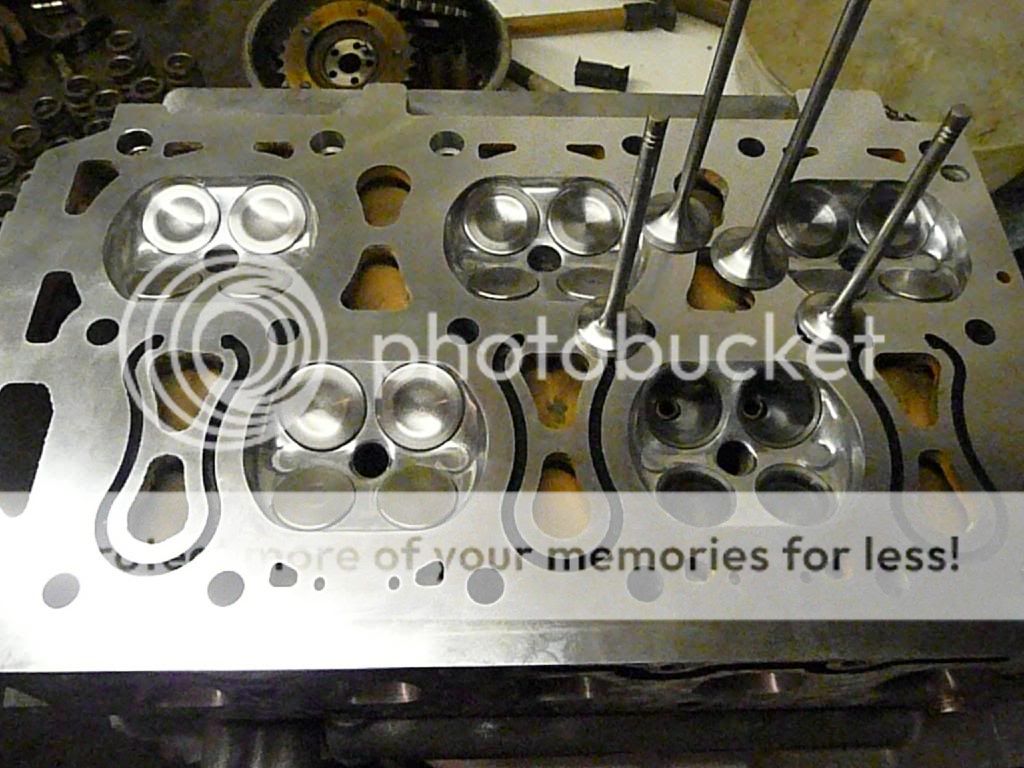
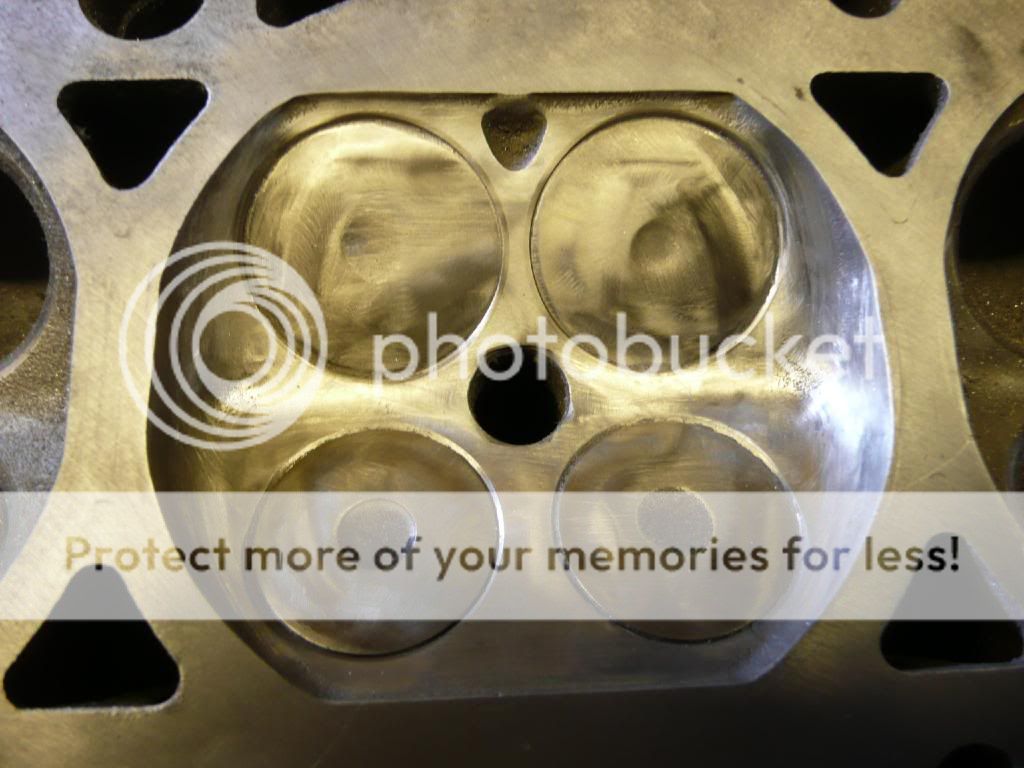
The head you see is from a Ford Focus ST170, most of my work is in Fords but i wanted to lean more so i got myself a S3 project and want to branch out to other makes of car
anyway here we go
------------------------------------------------------------------------------------WARNING-----------------------------------------------------------------------------------------
THIS IS A GUIDE ONLY, I WILL NOT BE HELD RESPONSIBLE FOR PERSONAL INJERY OR DAMAGE TO ANY CYLINDER HEADS DONE BY FOLLOWING THIS GUIDE, IF YOU ARE UNSURE THEN PLEASE SEND THE HEAD TO A SPECIALIST FOR THE WORK TO BE DONE. I AM MORE THAN HAPPY TO TAKE ON THIS WORK SO PLEASE EMAIL ME AT. MY PROCES ARE VERY GOOD AND SOME TUNERS ARE ALSO USING ME TO DO THERE HEAD WORK freakpower300@rock.com.
I HAVE BEEN DOING CYLINDER HEAD WORK FOR THE BEST PART OF 10 YEAR WORKING WITH PEOPLE THAT HAVE BEEN DOING THIS FOR MANY MORE YEARS THAN ME.
I HAVE WORKED WITH SOME MECHANICS FROM GINETTA RACE CARS AND OTHER HEAD SPECIALISTS WORKING WITH THE RIGHT TOOLS AND EQUIPMENT FOR TESTING AND DEVELOPING CYLINDER HEADS ( I.E SUPERFLOW FLOW BENCHES ).
IF YOU ARE ARE AT A STAGE BEYOND THIS THEN I WILL BE MORE THAN HAPPY TO SELL YOU A PTS/HYBRID FLOWBENCH CAPABLE OF FLOWING OVER 600CFM'S AT 28IN PRESSURE. PRICES START AT £7000 inc Excel software
Right lets get started
Health and safety is very important so get yourself some eye protection and a dust mask at least. You don't want aluminium swarf in your eyes or in your lungs from the dust produced by the emery cloth from the finishing.
The tools
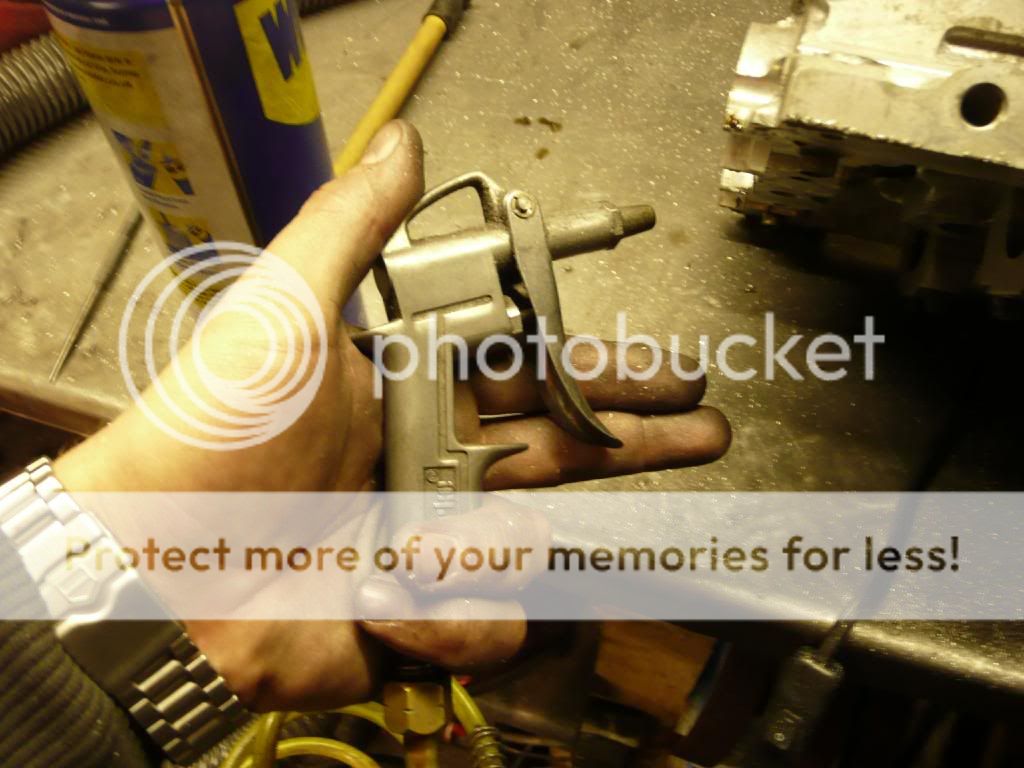
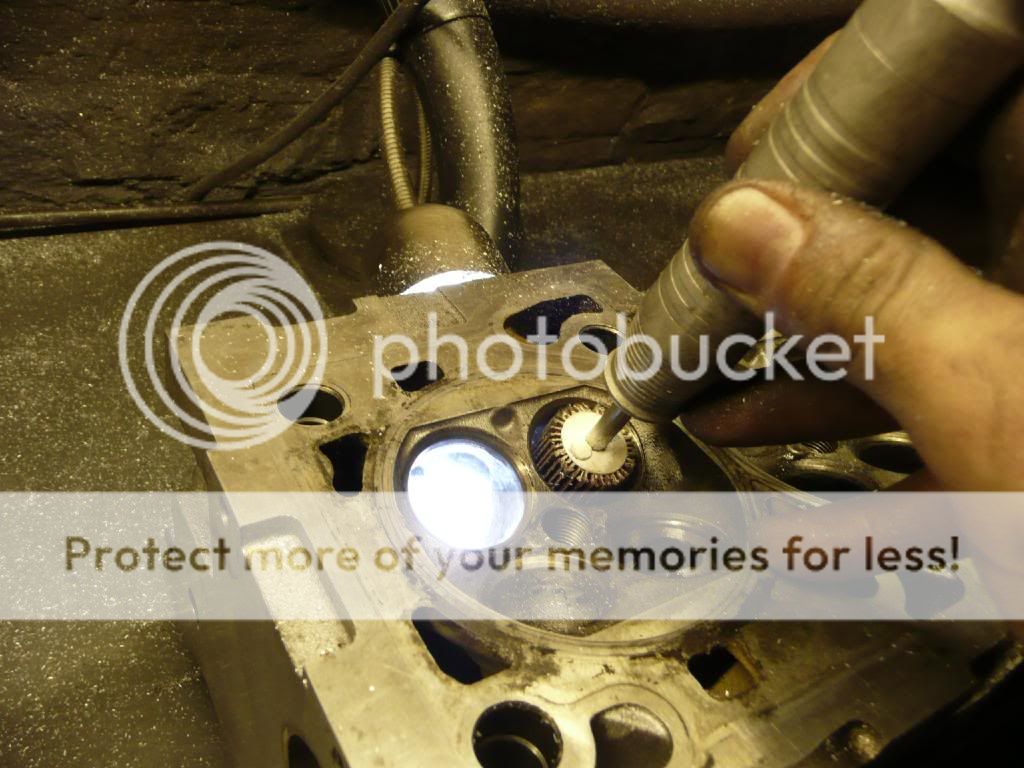
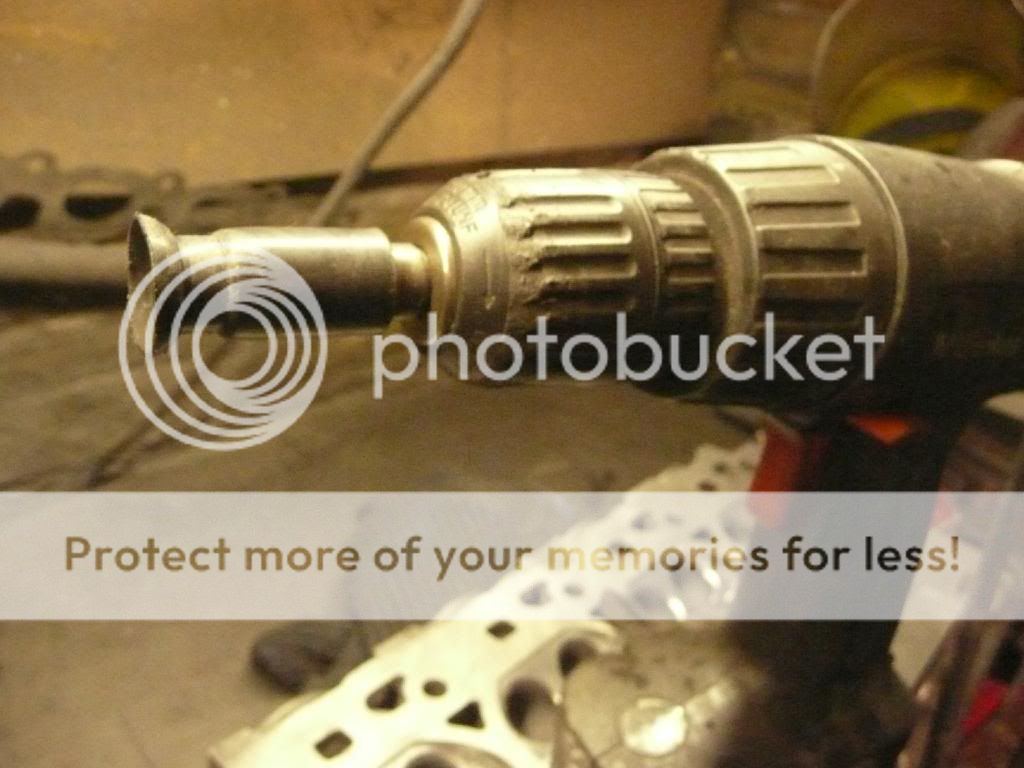
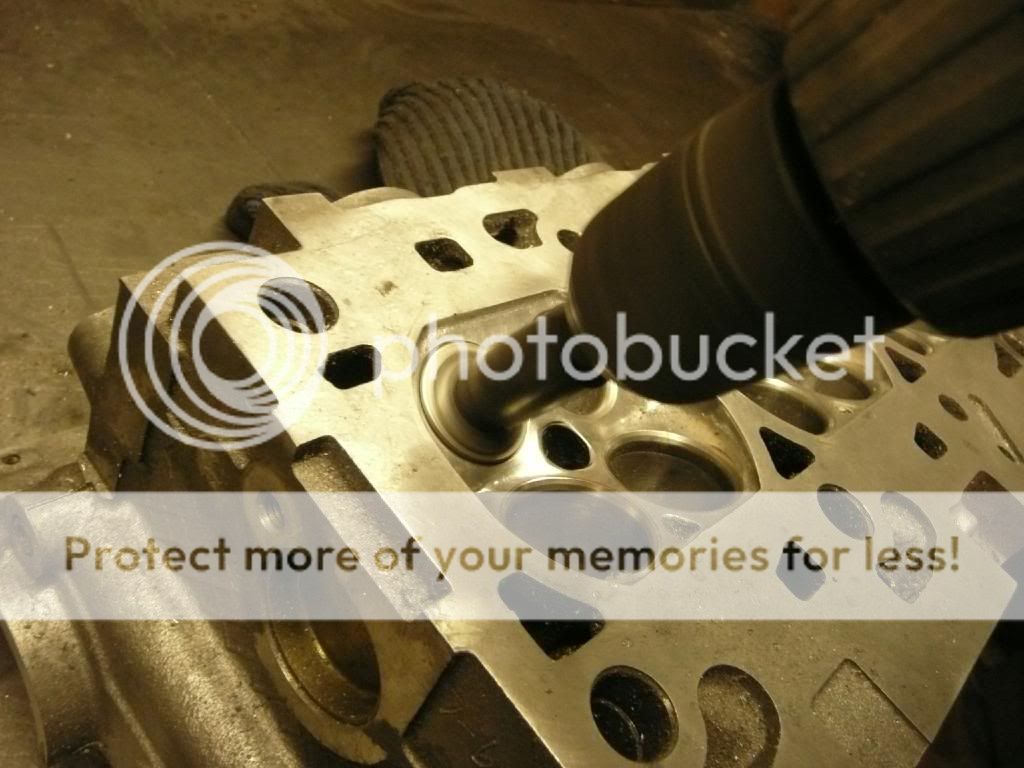
Over the many years of doing head work you pick up you own ways of doing things and you make your own tools also but the the main tool you need is a air die grinder or a electrical one thats capable of 25,000 rpms, the one you will see I'm using is a electrical one. Don't even bother with a drill with a flex shaft as at the most it will run about few thousands rpm's and is only able to run at less than a hour before it starts to over heat if your lucky.
Here is what i use
http://www.axminster.co.uk/product.asp?pf_id=792327&name=die+grinder&user_search=1&sfile=1&jump=48
http://www.axminster.co.uk/product-Axminster-Heavy-Duty-Flexible-Drive-Unit-20091.htm
Here is a few things you will need

As you can see some of the stuff is self explanatory and some not but all of it will be covered as i go though this thread
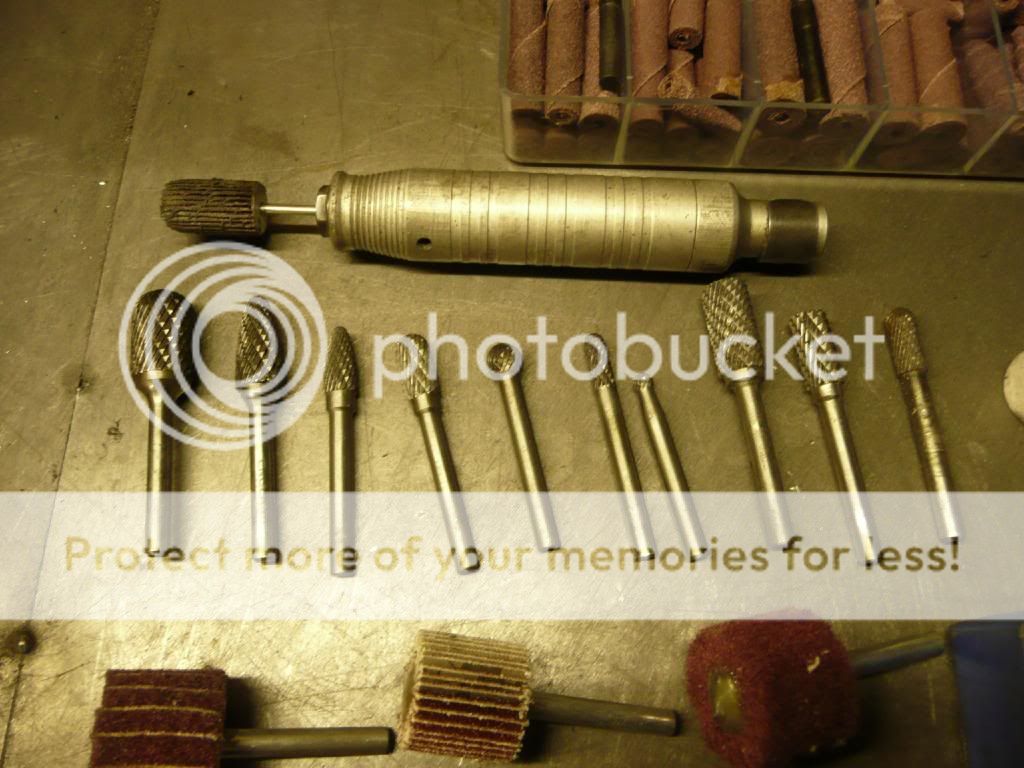
Carbide burrs
I found that the good ones can last a life time if looked after, i Paid £25+ for each of these but i'm doing this a lot so the cheaper ones will be fine for you
http://www.cromwell.co.uk/quicksearch?search=carbide+burrs&x=0&y=0
Cartridge roll test kit
Used for some of the head to reach places
http://www.cromwell.co.uk/YRK2059800K
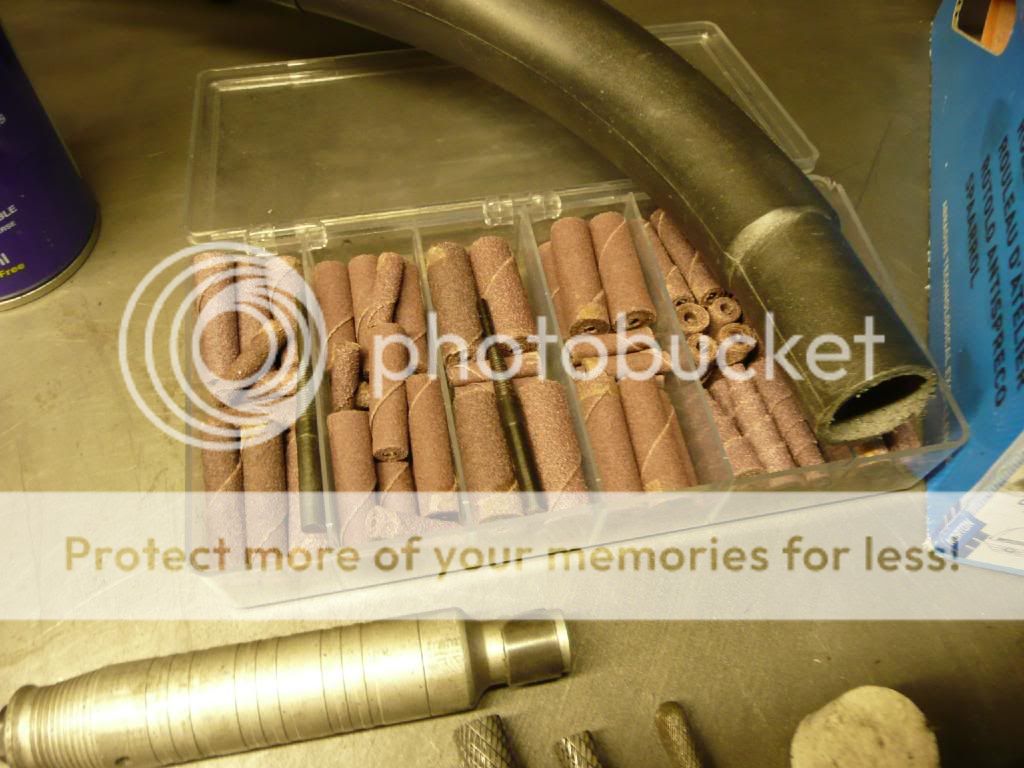
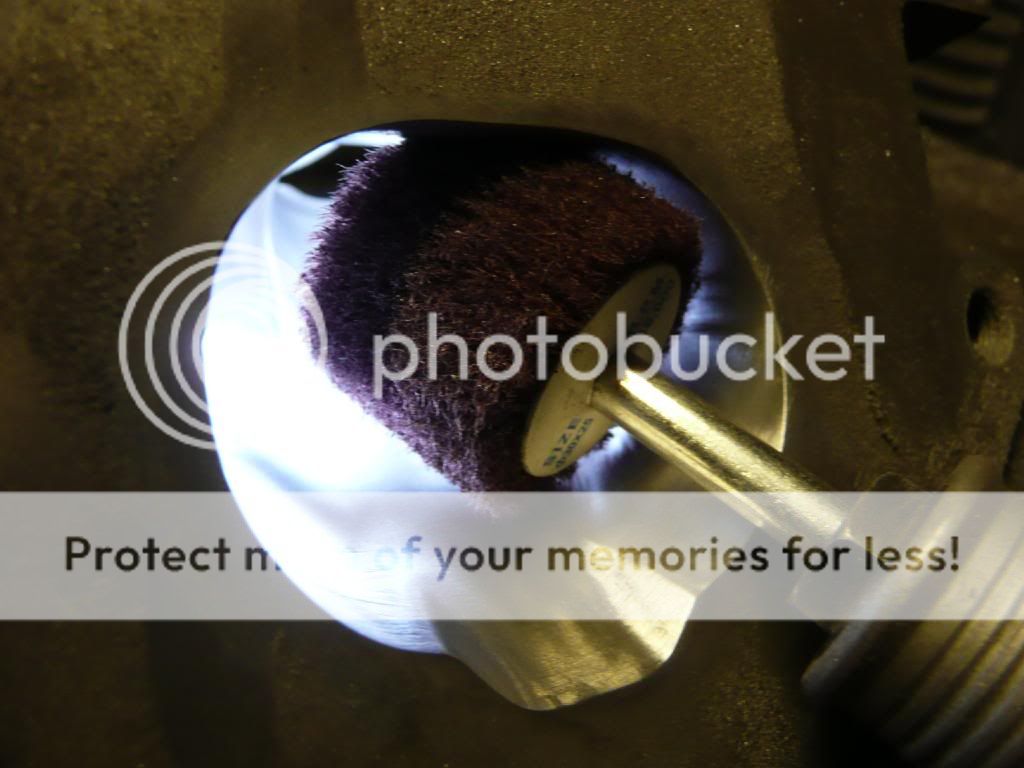
Scotchbrite/emery cloth roll, Flap sander, Scotchbrite roll, split rod to use with emery cloth and two of my tools i made for making sure the ports and round, smooth and uniformed and one that i use the most as to replace the emery cloth is easy and cheaper than the flap wheels.
flap wheel and scotchbrites found at www.rdgtools.co.uk

Emery cloth 60 grit, 120 grit, 180 grit and 400 grit
http://uk.rs-online.com/web/search/searchBrowseAction.html?method=retrieveTfg&binCount=38&Ne=4294957561&N=4294962344+4294776144

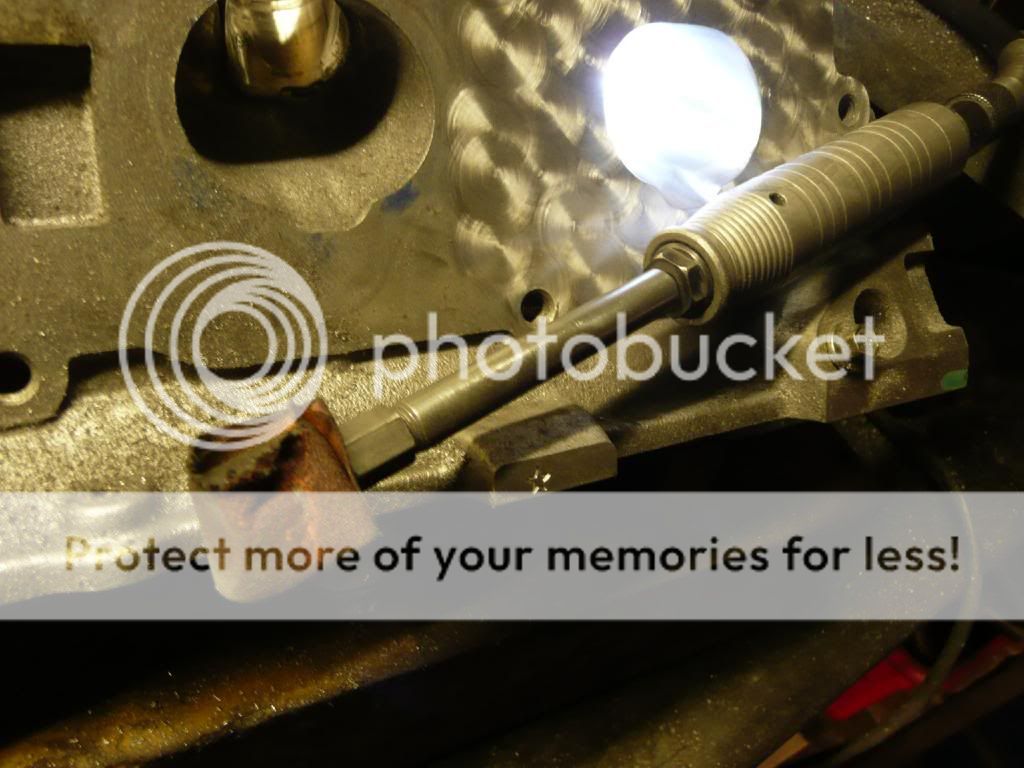
spring calipers set is used to make sure every port is the same size and that each port is the same diameter run though
Found at any machine mart

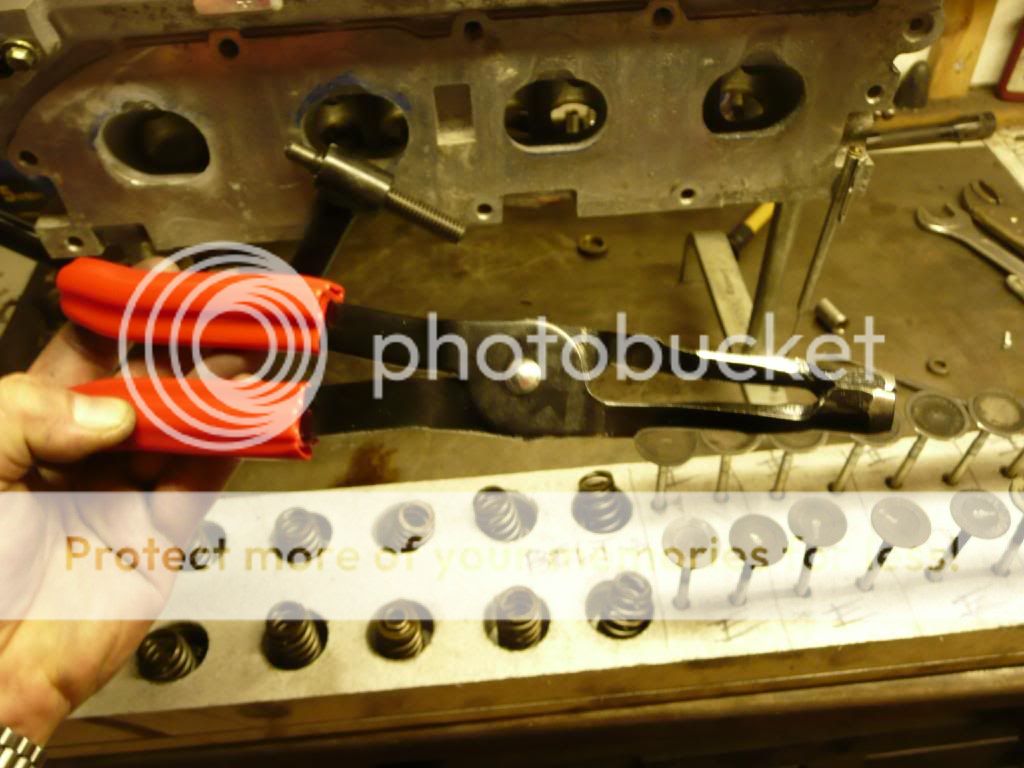
Spring compressor, this is a great little one that fits zetec, I4 and even Vag 20v head with small tappets, its light and come with different size fitting
Also found at machine mart
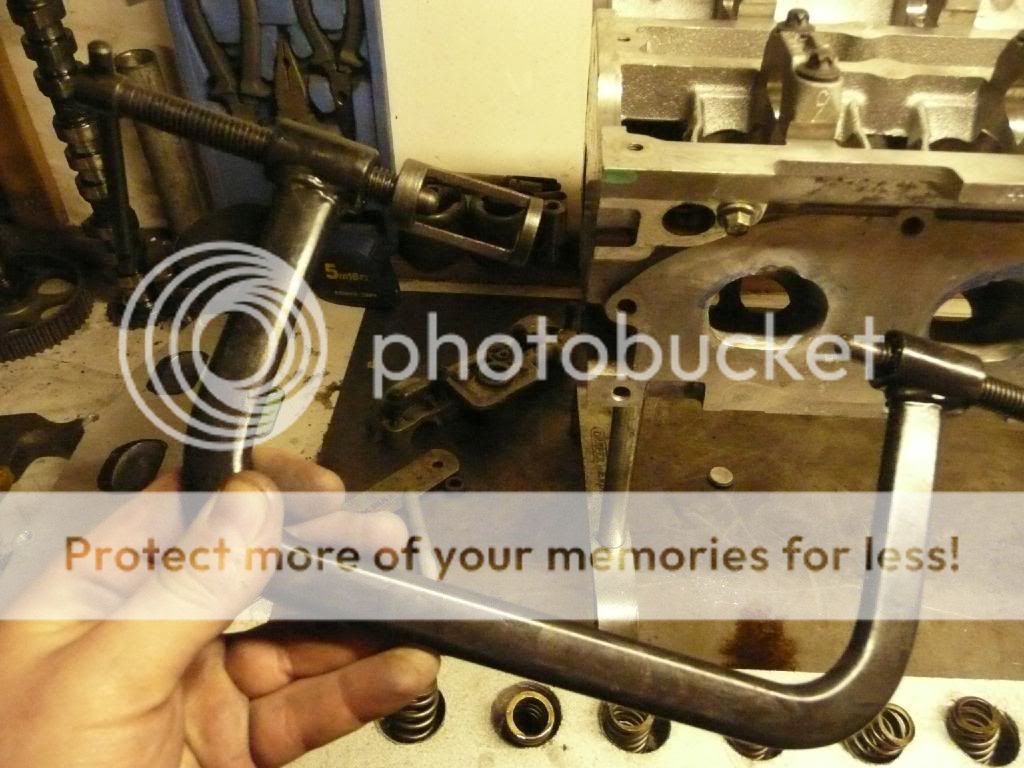
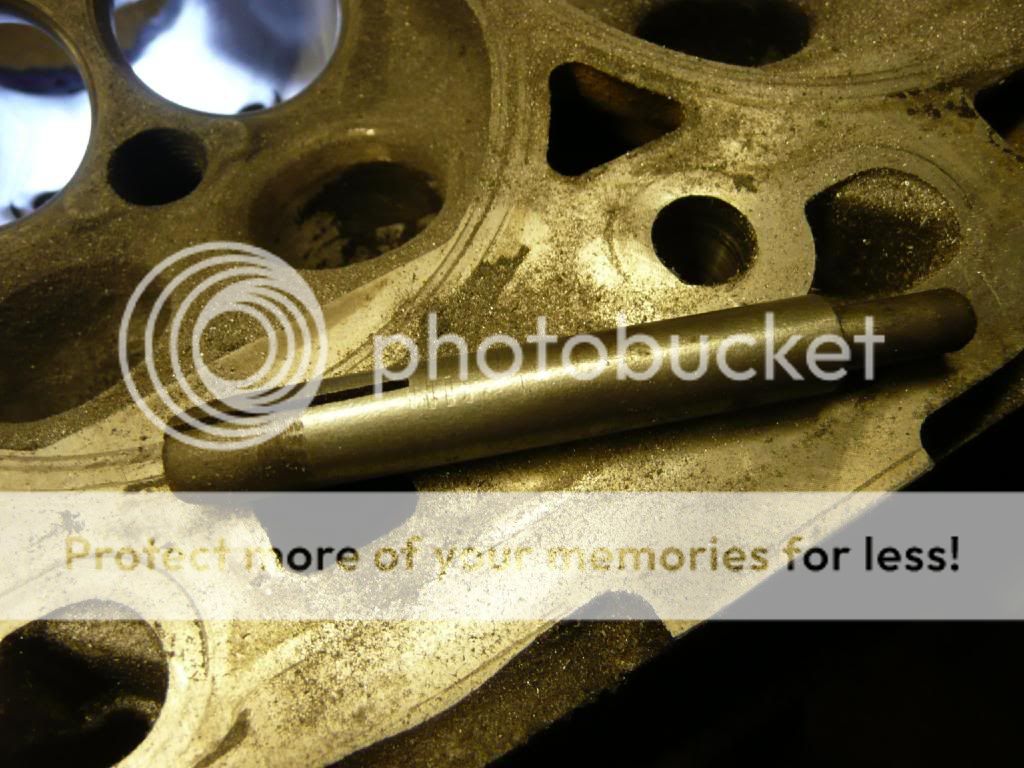
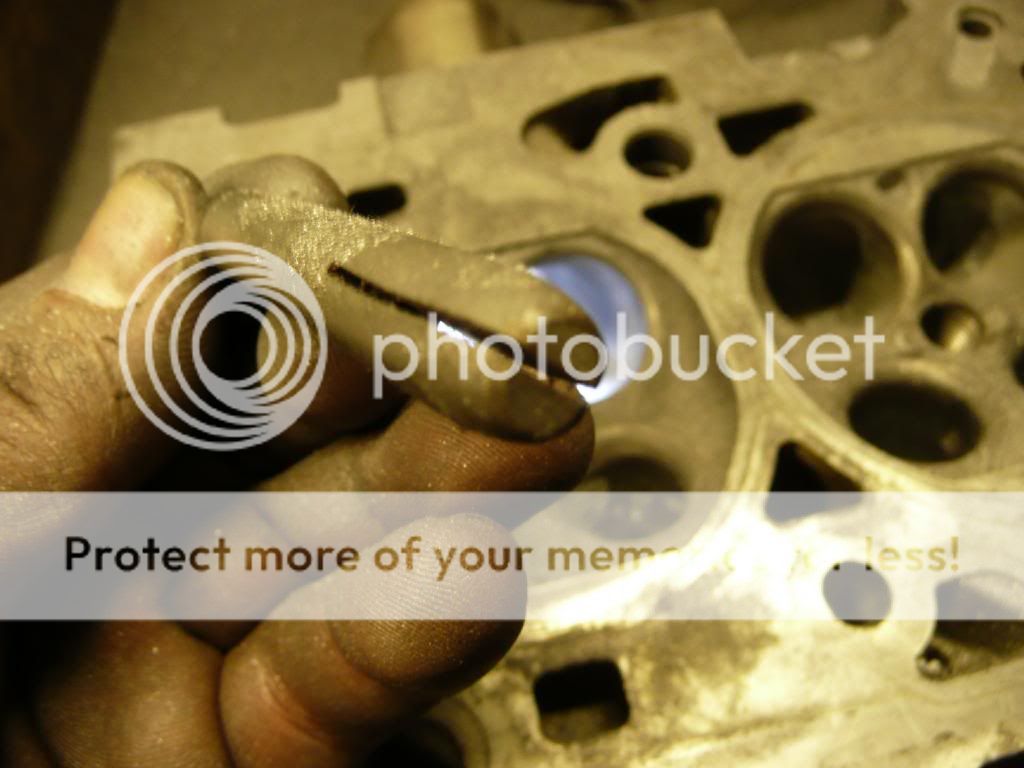
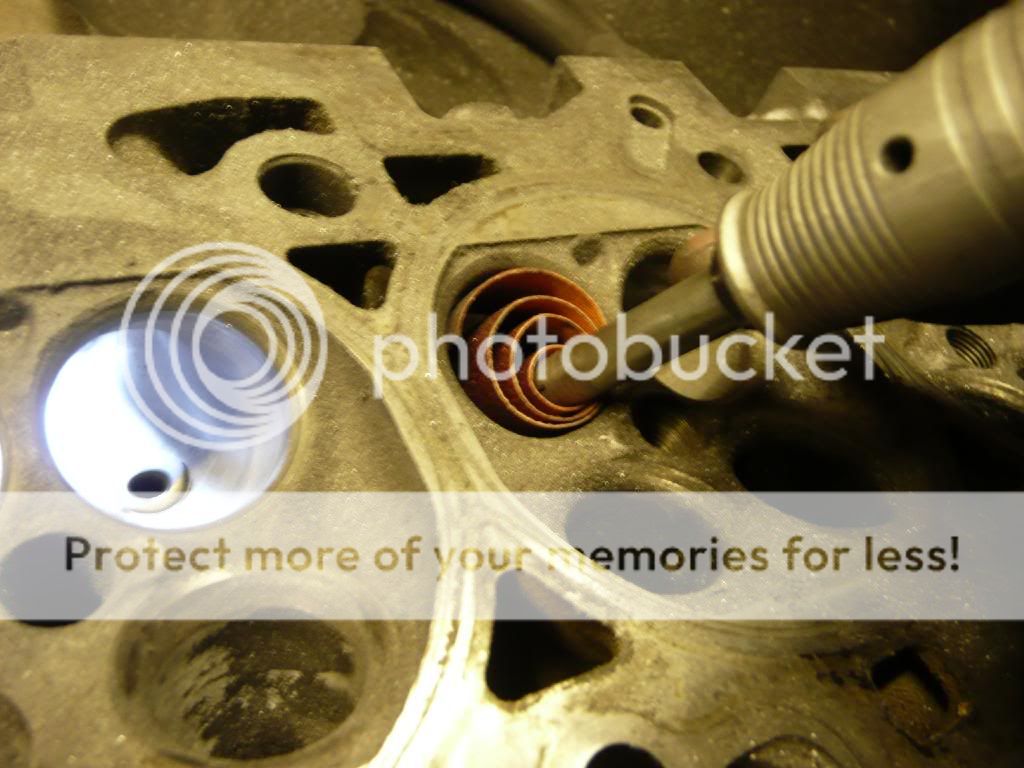
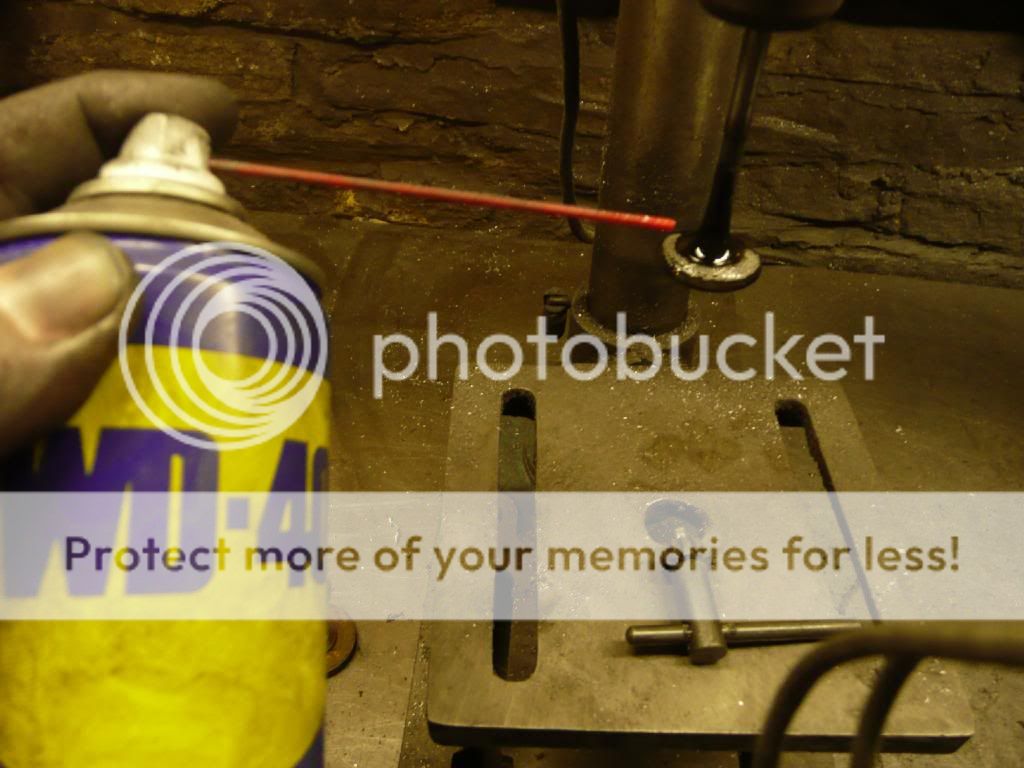
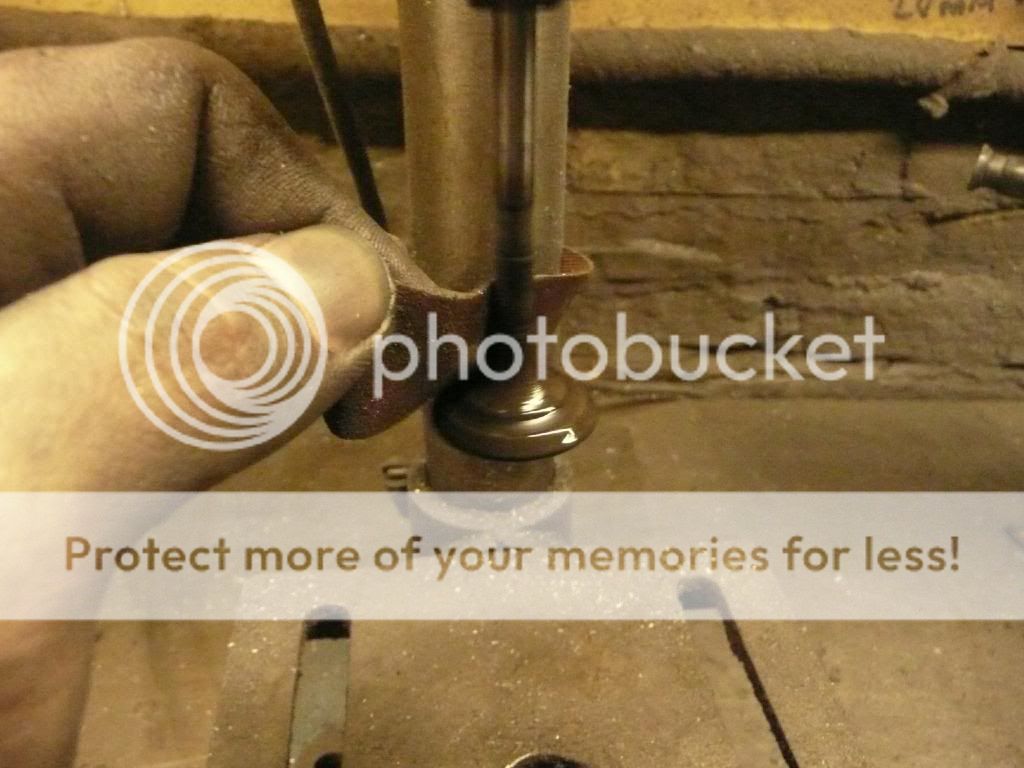
Oil seal removal tool, loads better that a pair of pliers, trust me if you ever come to dismantling a 20v Vag head or motor bike head these are a must
I got these cheap on ebay at £20 they have been modified to get a small bore tappet holes.
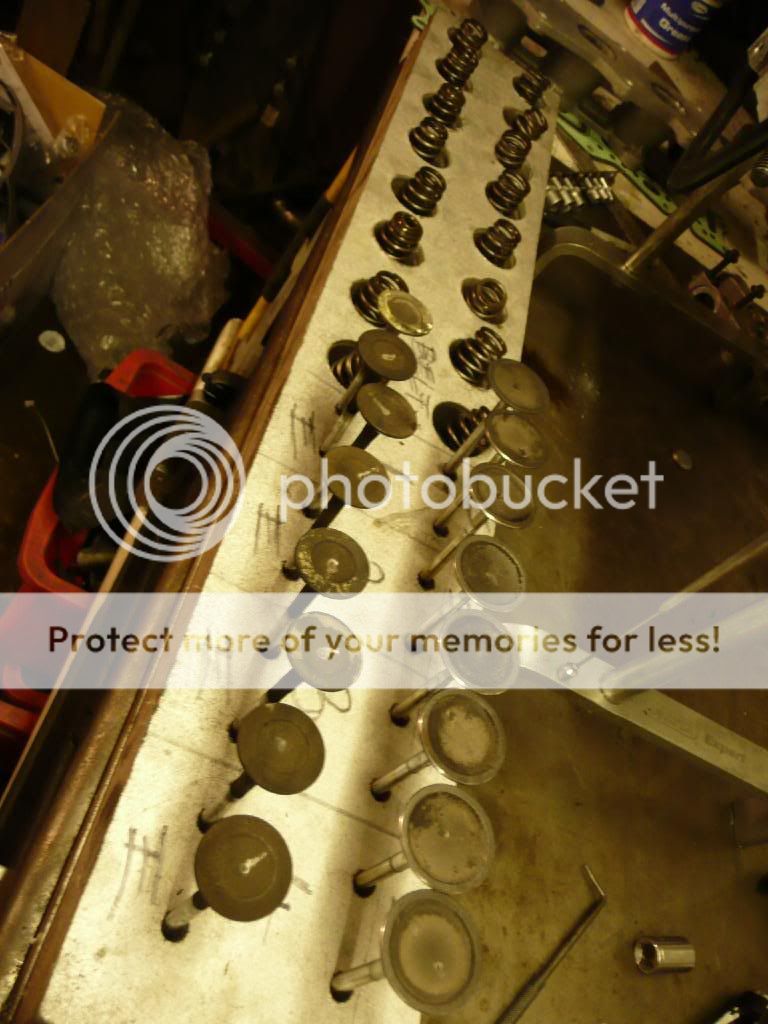
When dismantling the head you want to keep every valve component in the right order they came out of as that part is worn matched to the guide, if fitting new valves some time new guides and seats need recutting, if the old parts go back in the wrong order they will wear out faster. This is just a bit of MDF with holes drilled in it marked with what cylinder and valve number
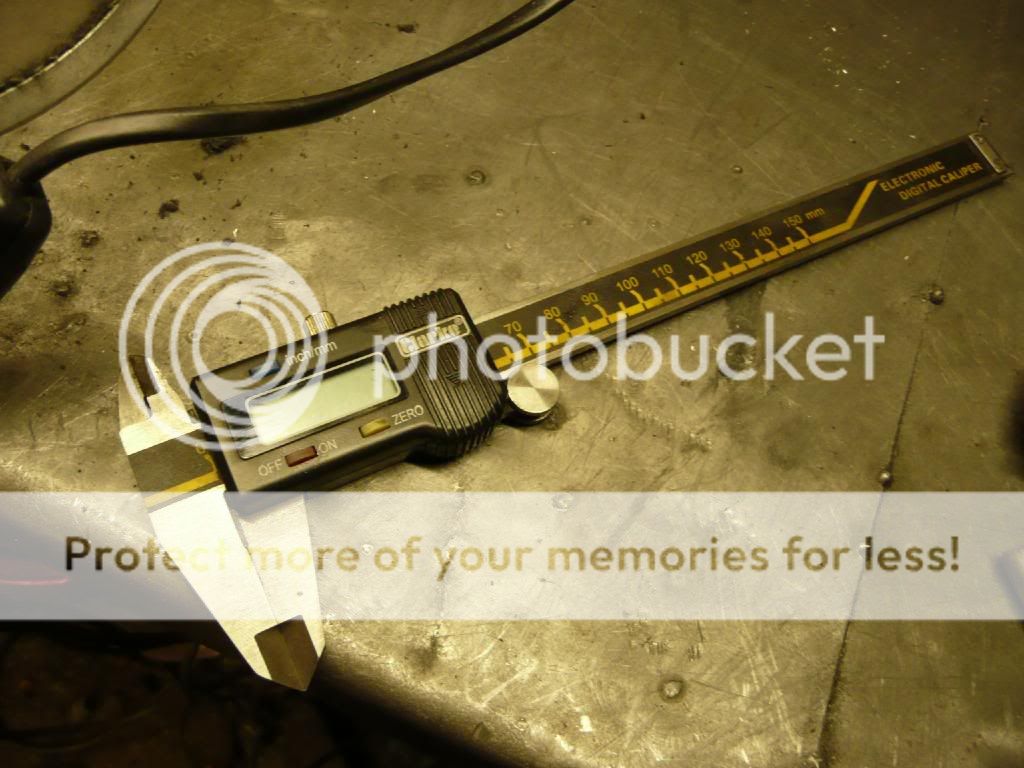
Digital caliper, i will show you what this is used for later in the thread
Also found in machine mart
Magnetic pick up tool for when you remove the collets
Found in most Halfords and motor spares shop

Head stand for disassemble and reassembling the head as this will make things much easier. found very cheap on Ebay
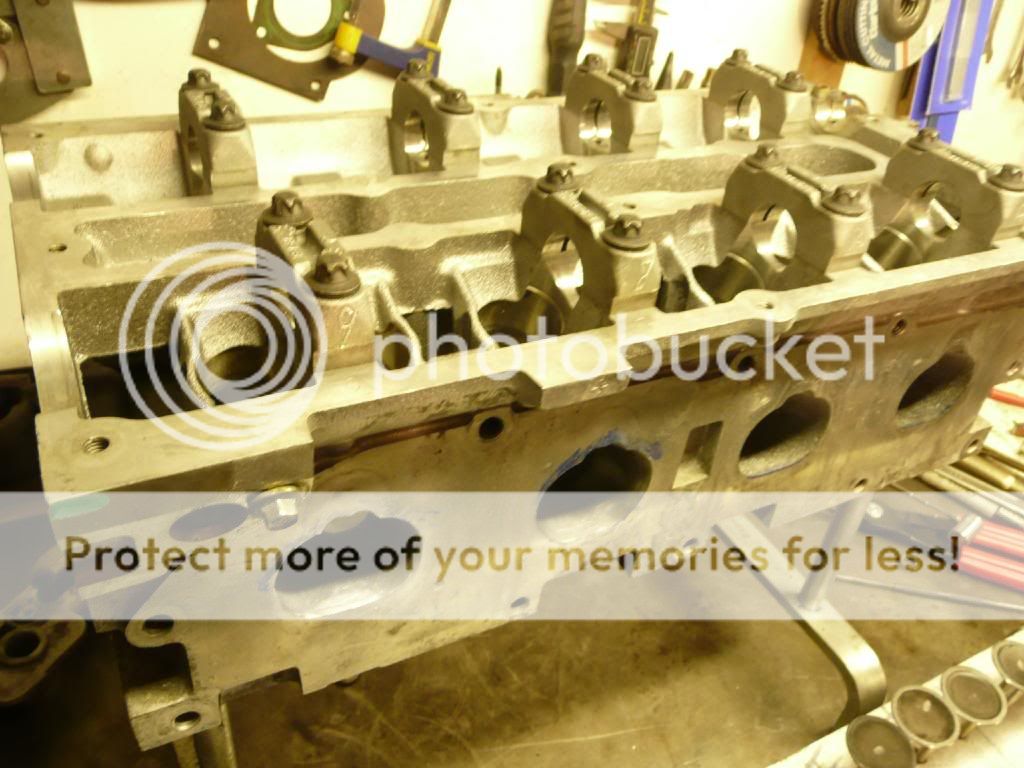
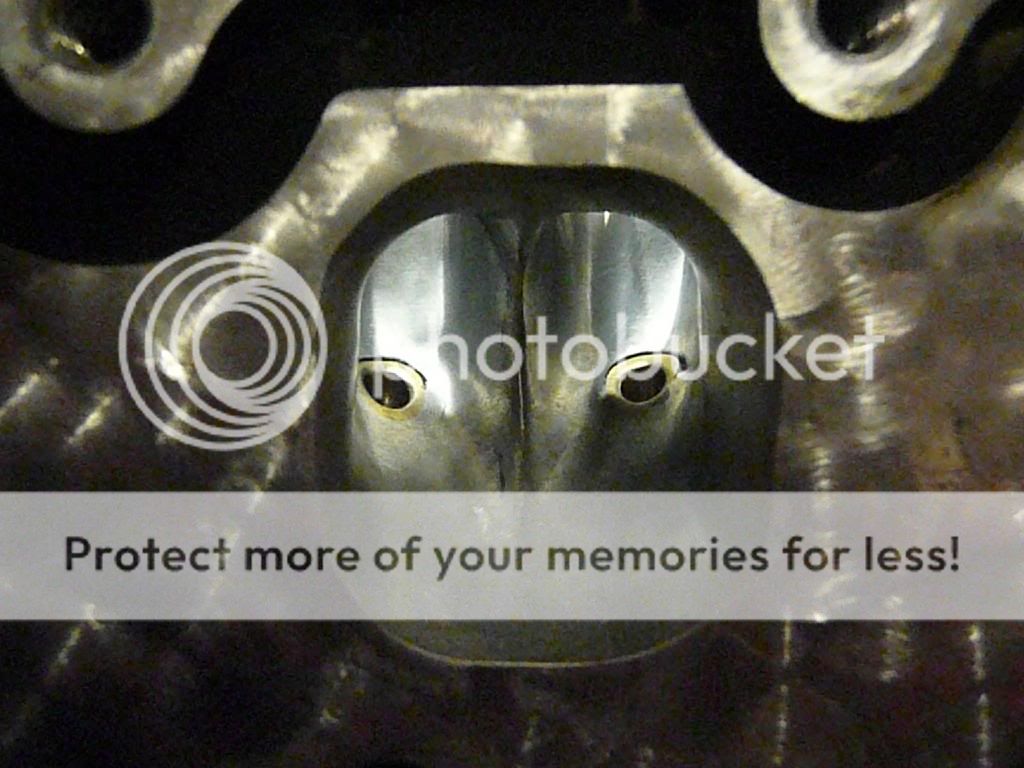
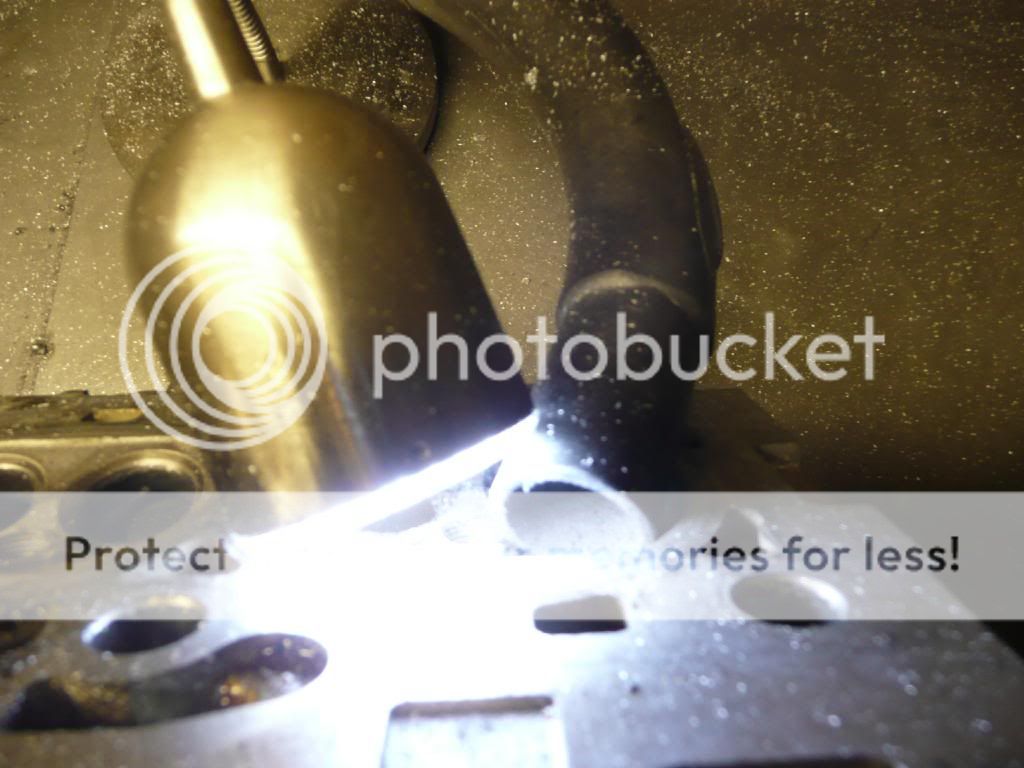
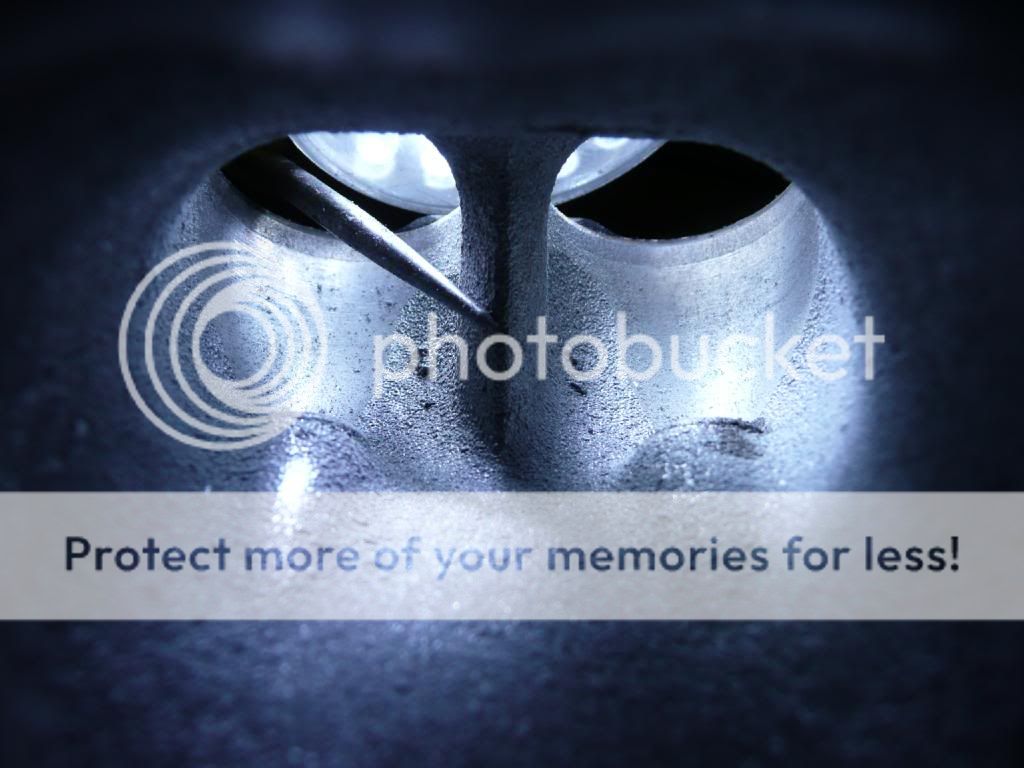
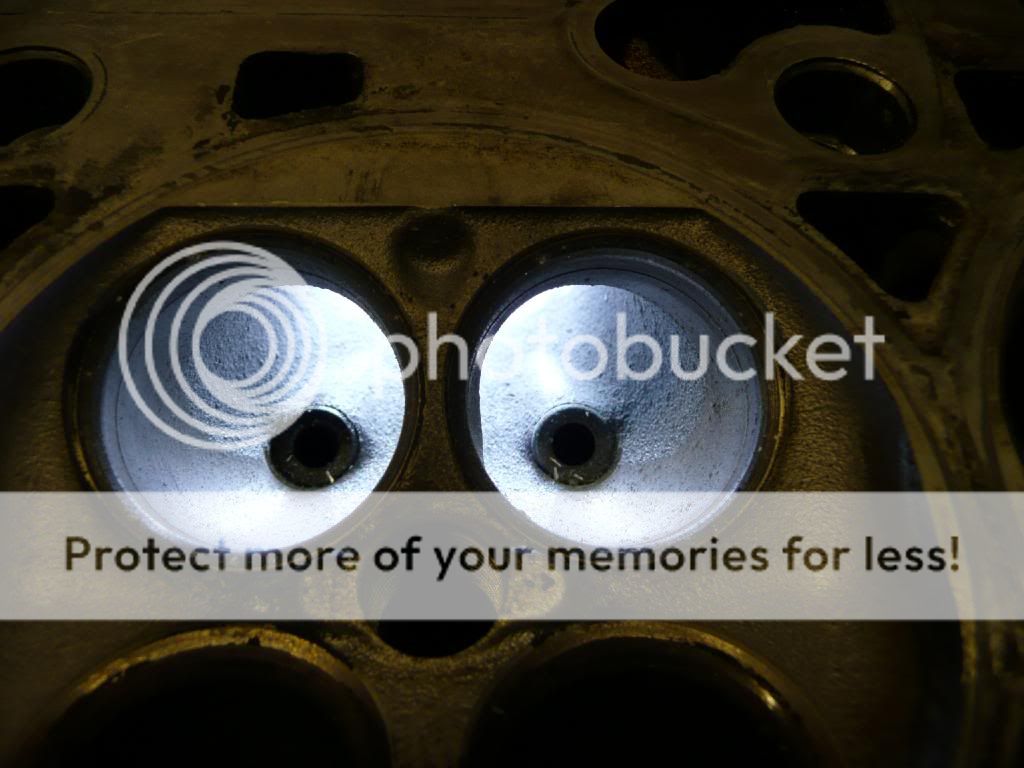
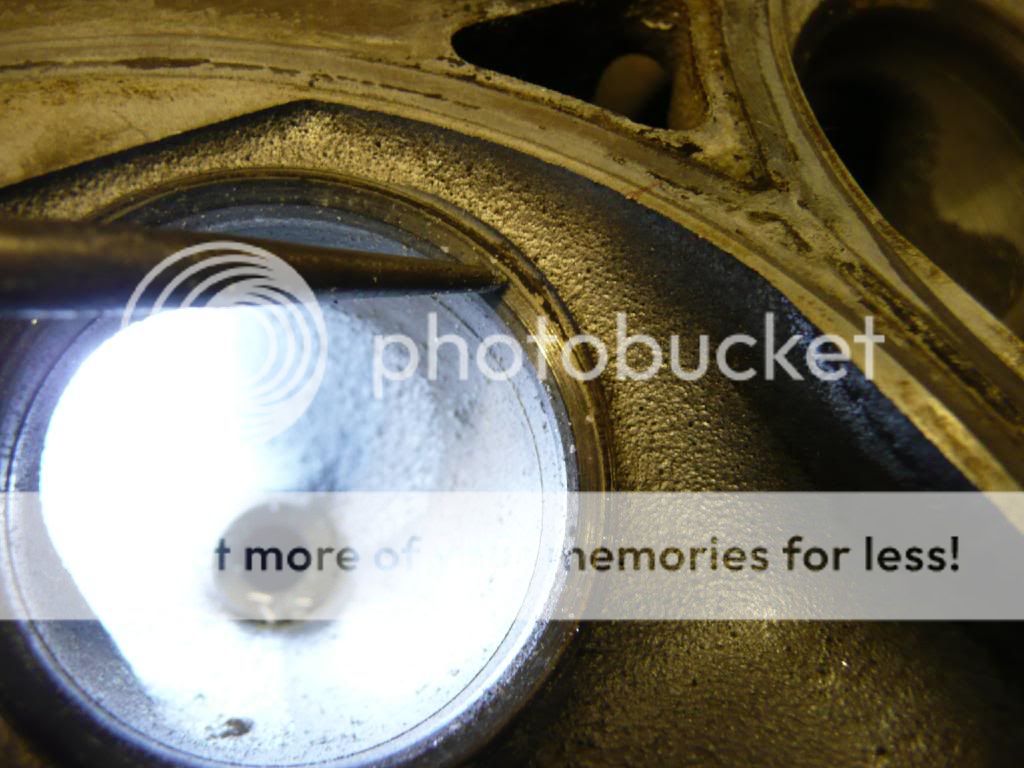
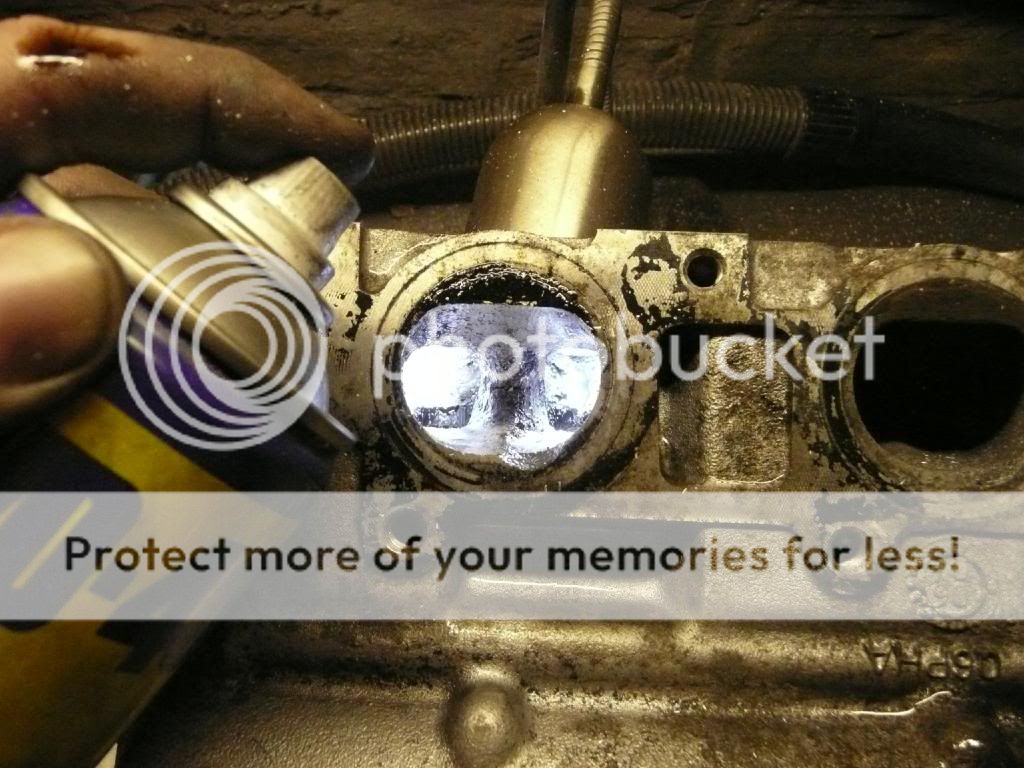
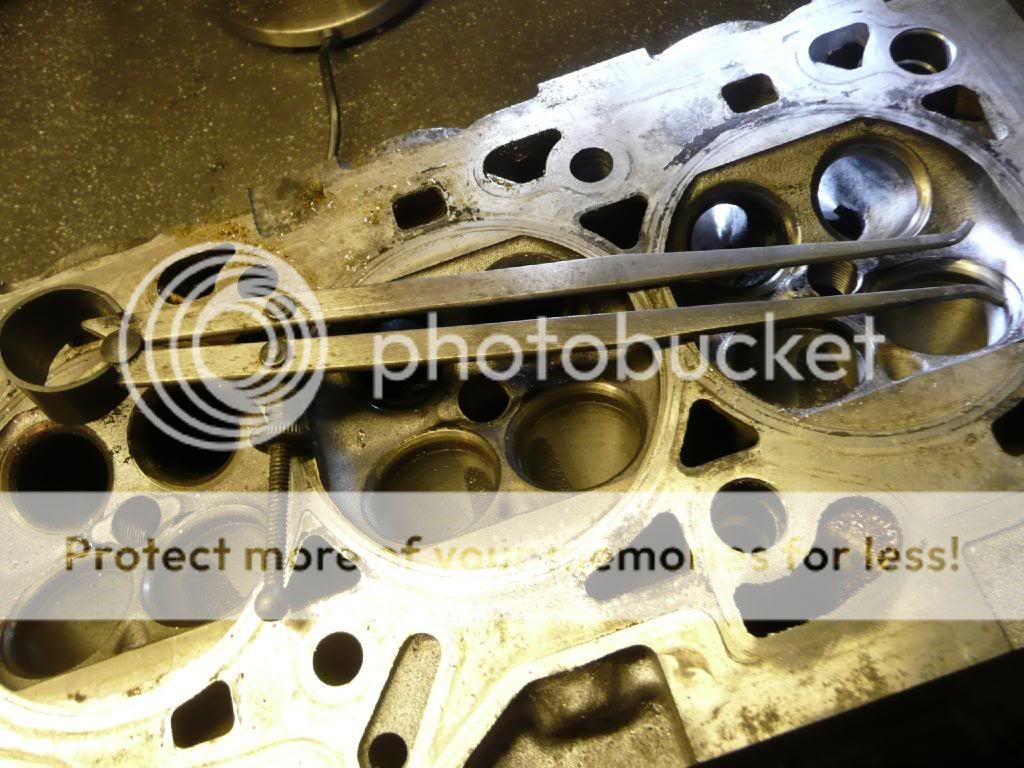
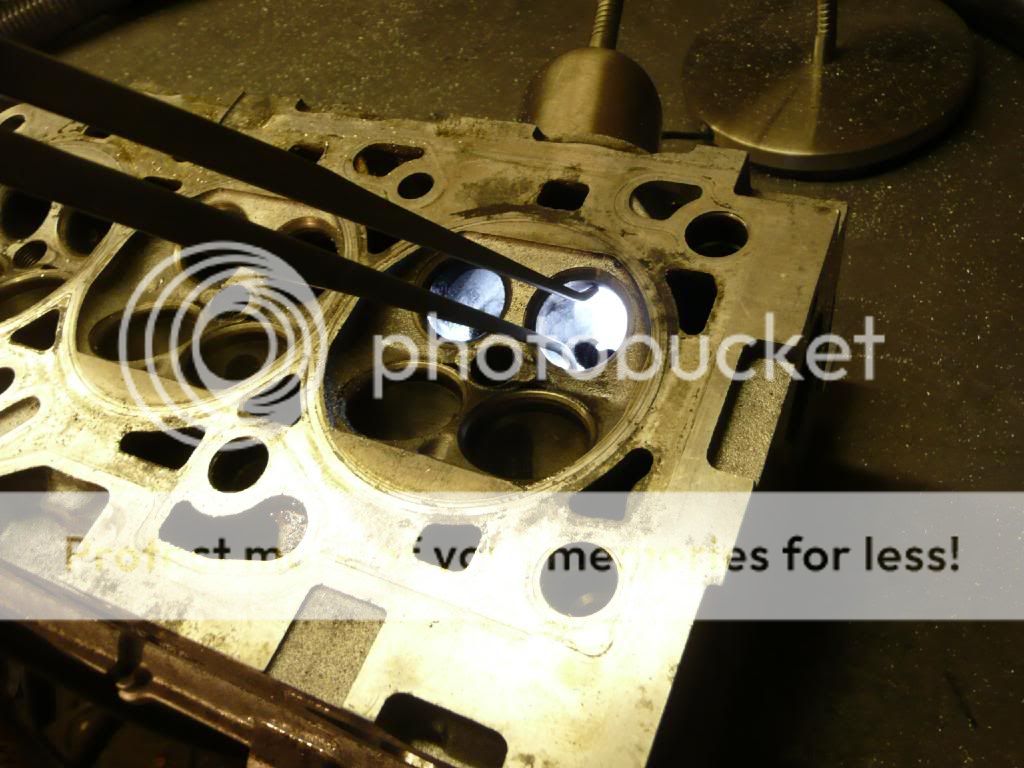
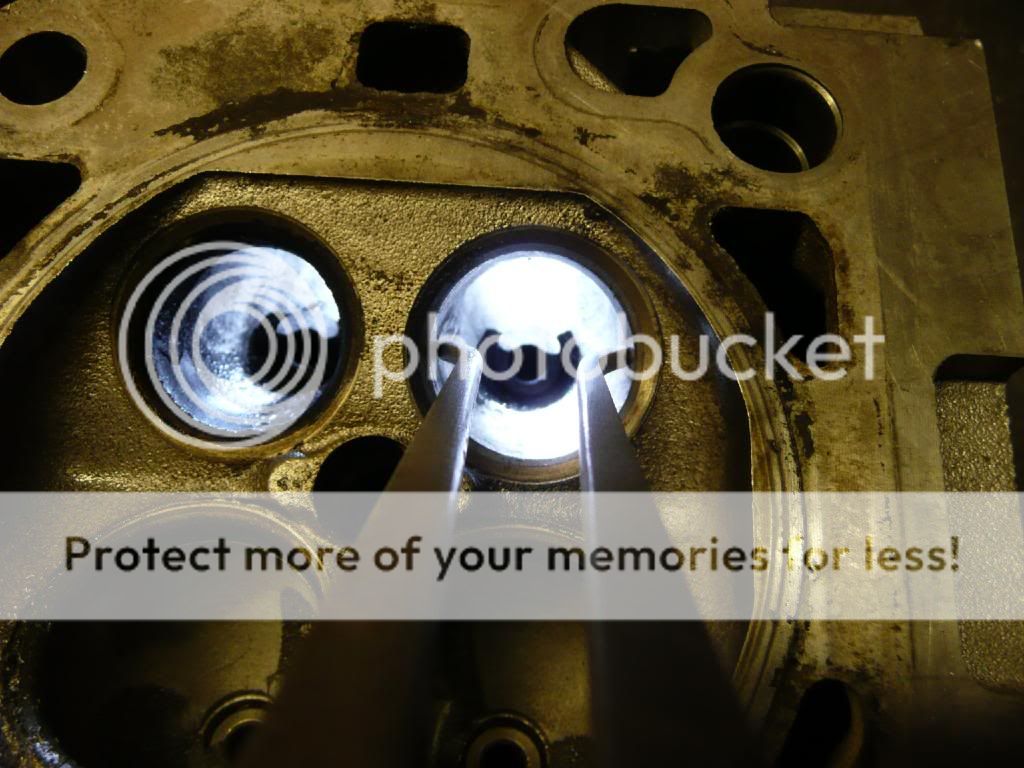
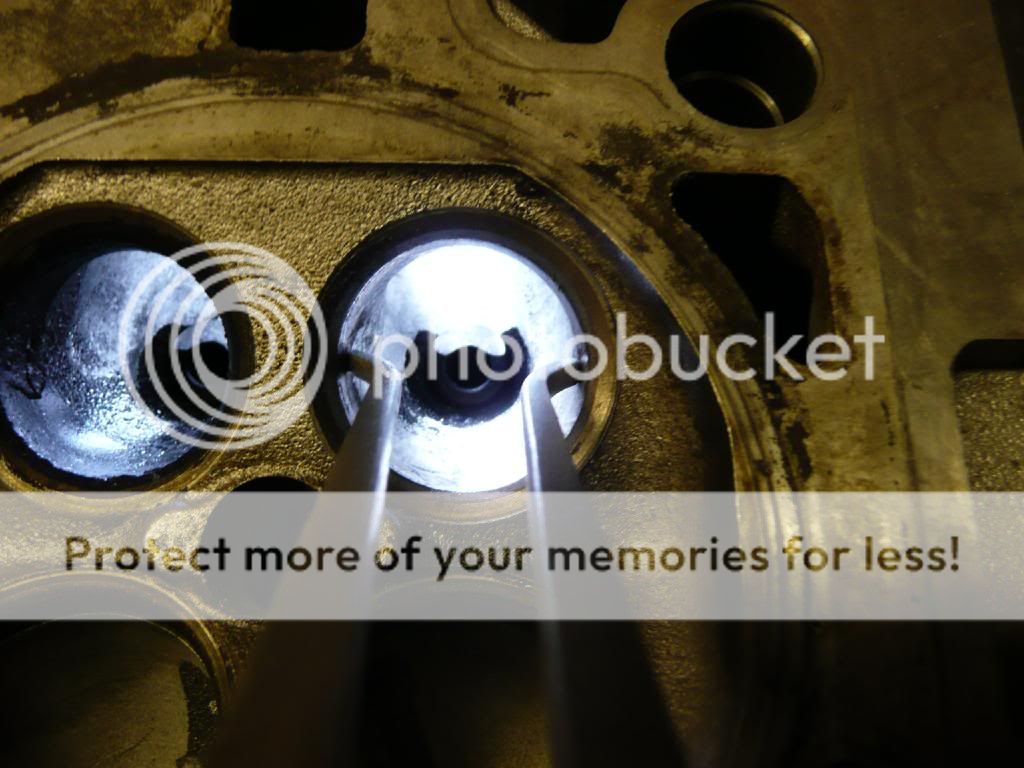
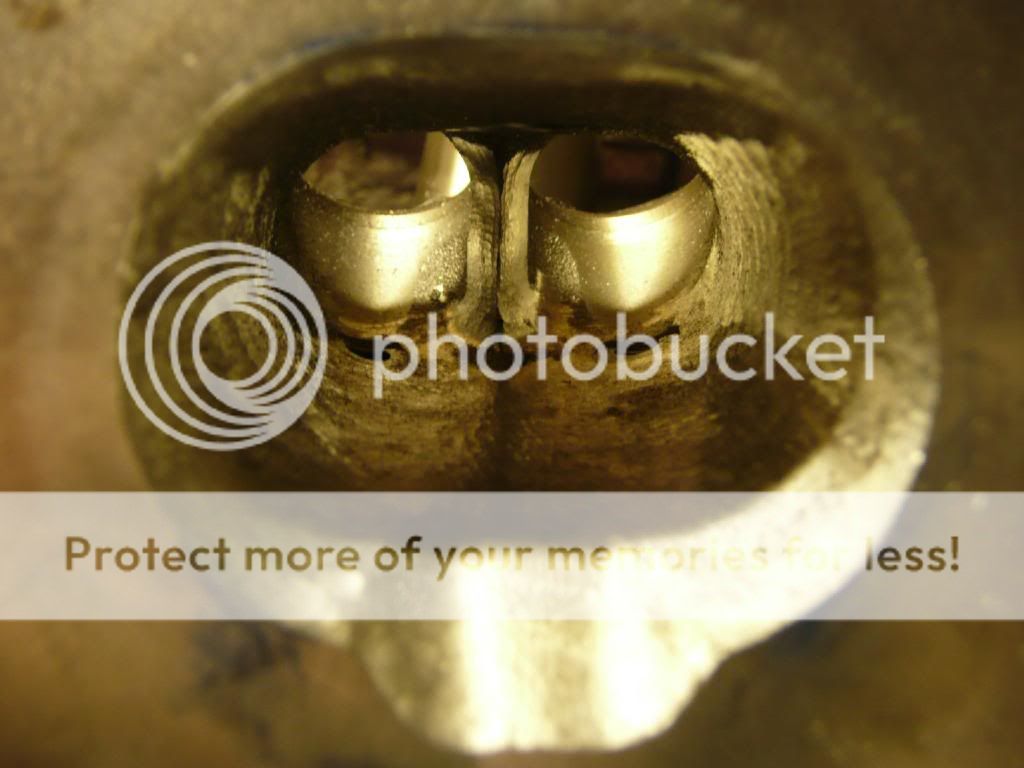
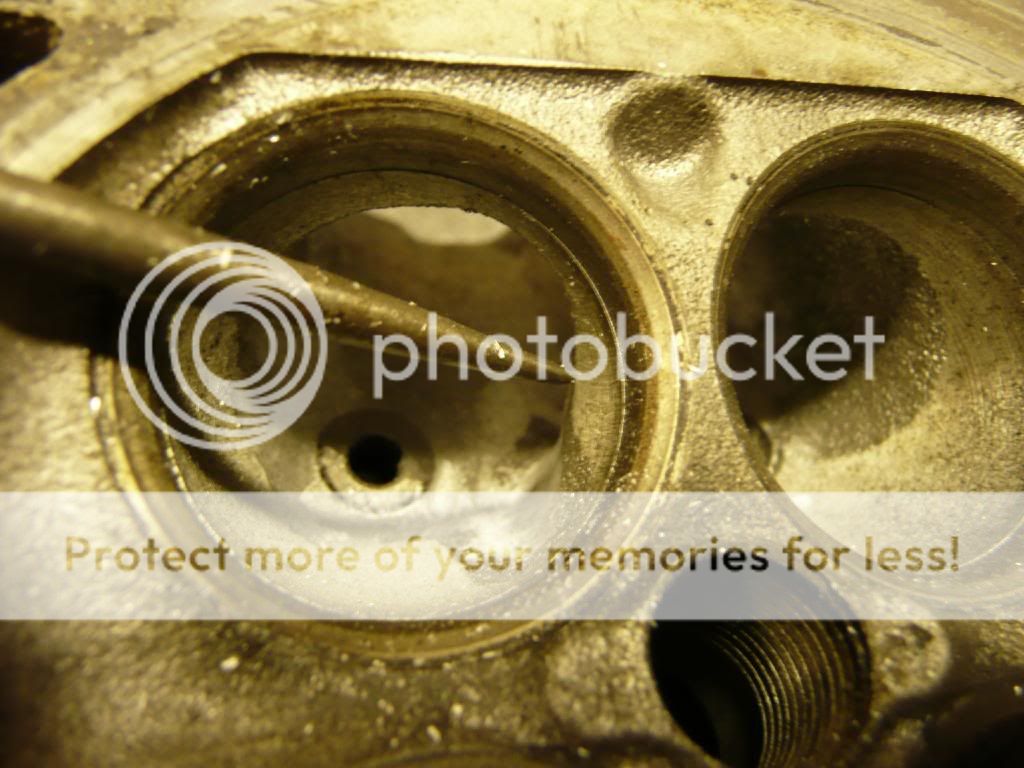
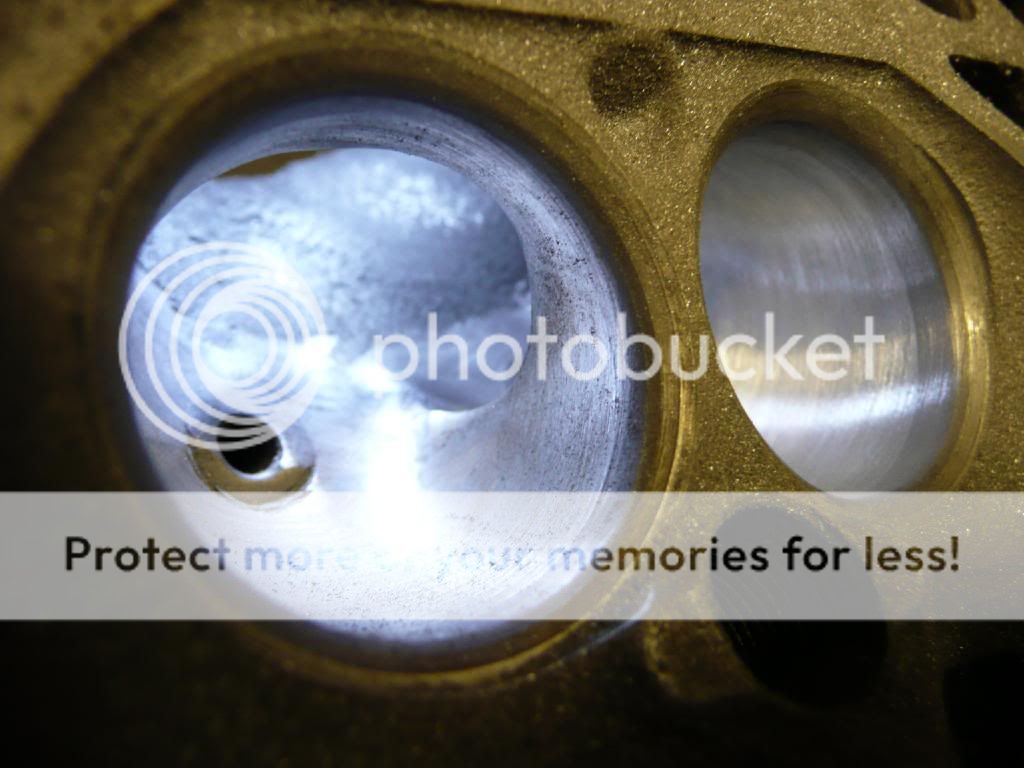
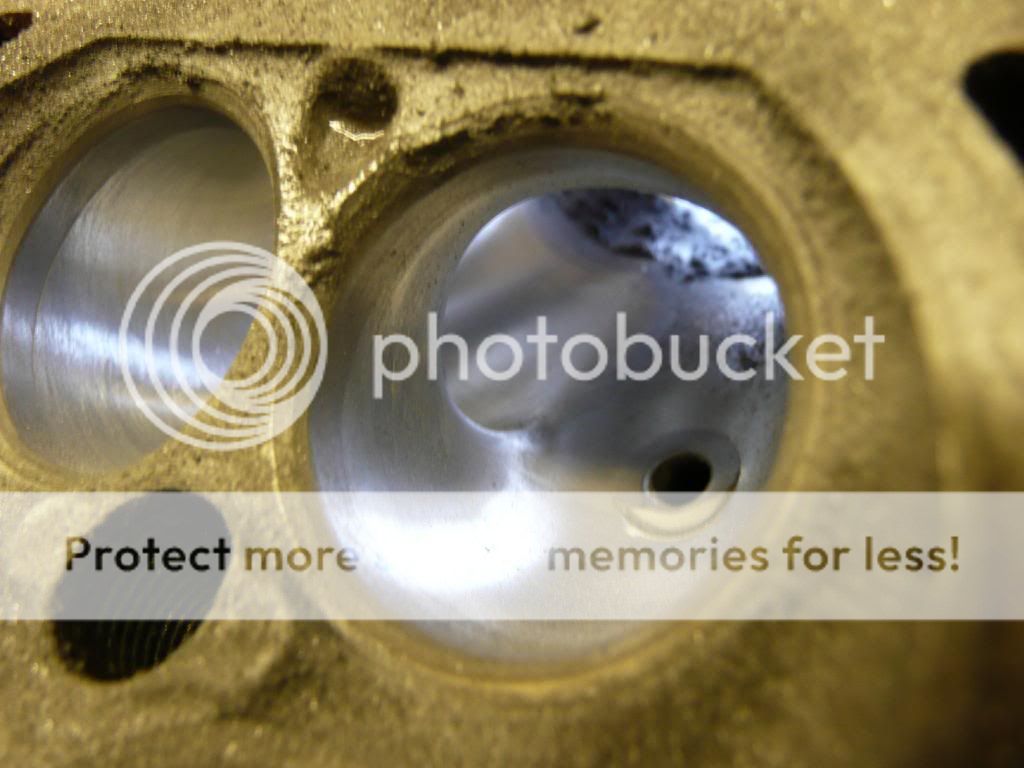
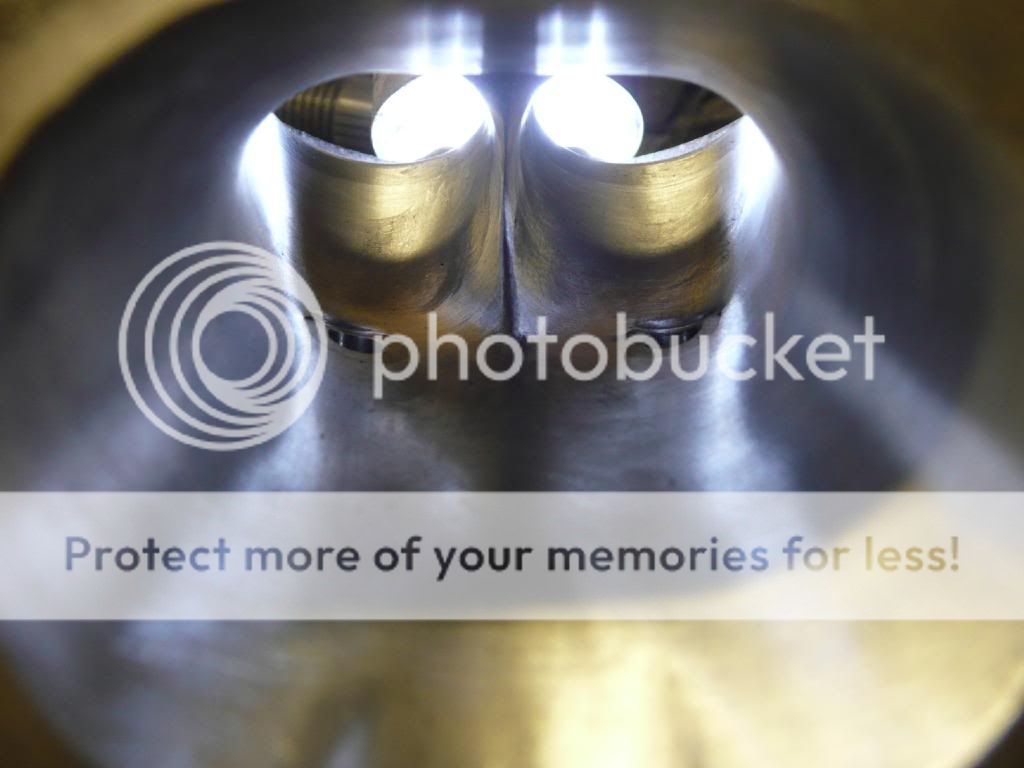
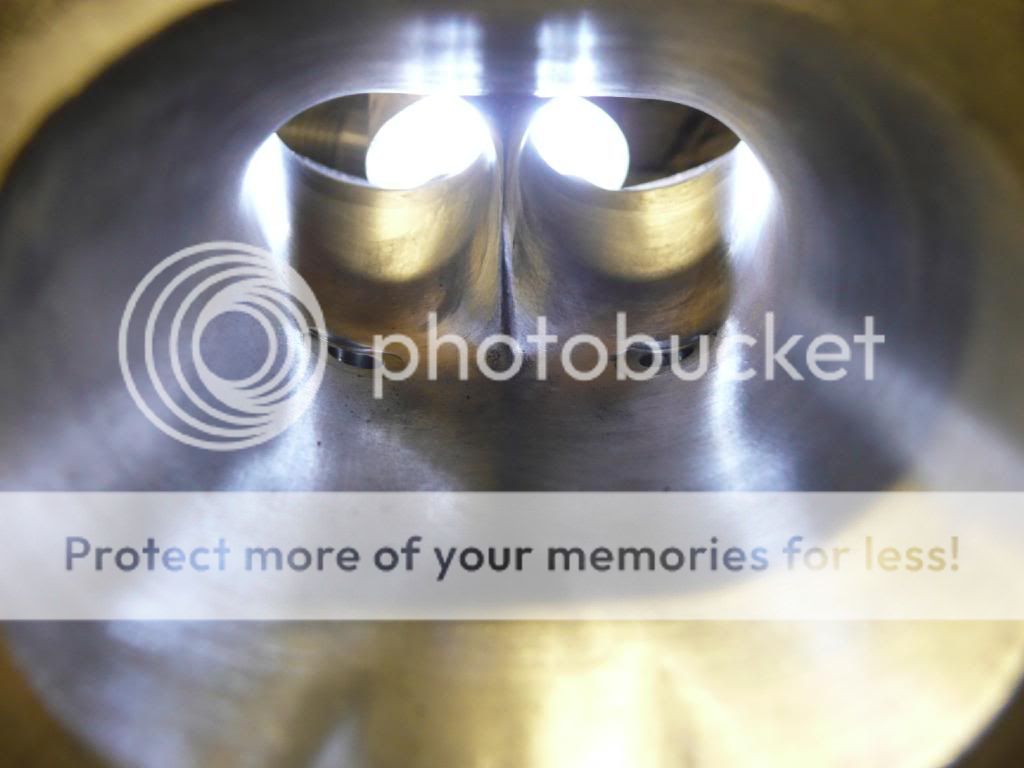
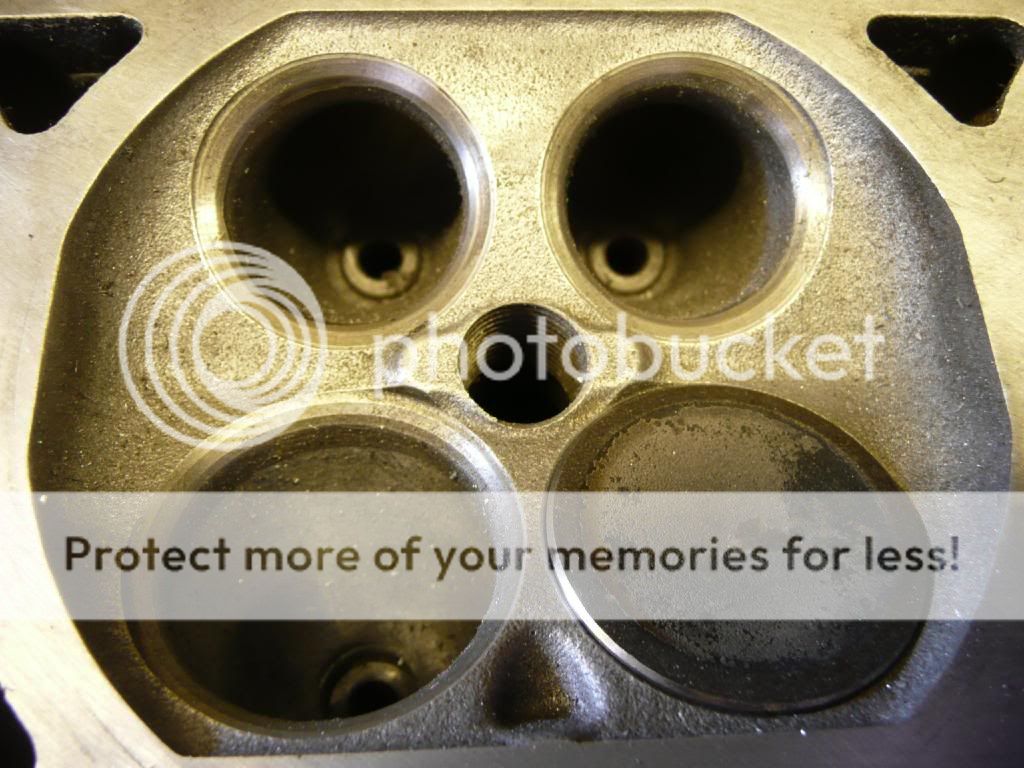
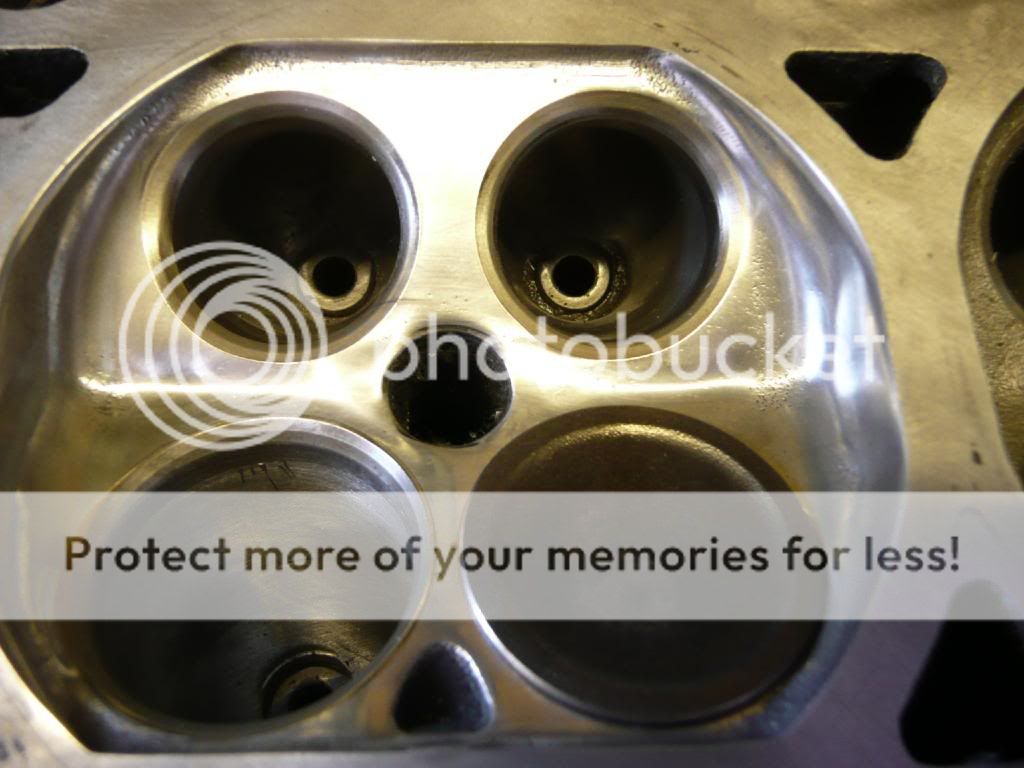
You've now stripped you head and you've keep everything in order what you need to do next is clean the head and inspect it for any damage, seeing most of you will be reading this to do work on there I4 then you will be looking for cracks. You don't want to be doing hours of work on a head to find out its cracked and rendered useless.
When cleaning a head your best getting one of these but if not a old tube with lots of hot soppy water, a jet wash is another or your mother/other half dish washer.
You could also use brick acid or oven cleaner on stubborn dirt

The head you see is from a Ford Focus ST170, most of my work is in Fords but i wanted to lean more so i got myself a S3 project and want to branch out to other makes of car
anyway here we go
------------------------------------------------------------------------------------WARNING-----------------------------------------------------------------------------------------
THIS IS A GUIDE ONLY, I WILL NOT BE HELD RESPONSIBLE FOR PERSONAL INJERY OR DAMAGE TO ANY CYLINDER HEADS DONE BY FOLLOWING THIS GUIDE, IF YOU ARE UNSURE THEN PLEASE SEND THE HEAD TO A SPECIALIST FOR THE WORK TO BE DONE. I AM MORE THAN HAPPY TO TAKE ON THIS WORK SO PLEASE EMAIL ME AT. MY PROCES ARE VERY GOOD AND SOME TUNERS ARE ALSO USING ME TO DO THERE HEAD WORK freakpower300@rock.com.
I HAVE BEEN DOING CYLINDER HEAD WORK FOR THE BEST PART OF 10 YEAR WORKING WITH PEOPLE THAT HAVE BEEN DOING THIS FOR MANY MORE YEARS THAN ME.
I HAVE WORKED WITH SOME MECHANICS FROM GINETTA RACE CARS AND OTHER HEAD SPECIALISTS WORKING WITH THE RIGHT TOOLS AND EQUIPMENT FOR TESTING AND DEVELOPING CYLINDER HEADS ( I.E SUPERFLOW FLOW BENCHES ).
IF YOU ARE ARE AT A STAGE BEYOND THIS THEN I WILL BE MORE THAN HAPPY TO SELL YOU A PTS/HYBRID FLOWBENCH CAPABLE OF FLOWING OVER 600CFM'S AT 28IN PRESSURE. PRICES START AT £7000 inc Excel software
Right lets get started
Health and safety is very important so get yourself some eye protection and a dust mask at least. You don't want aluminium swarf in your eyes or in your lungs from the dust produced by the emery cloth from the finishing.
The tools
Over the many years of doing head work you pick up you own ways of doing things and you make your own tools also but the the main tool you need is a air die grinder or a electrical one thats capable of 25,000 rpms, the one you will see I'm using is a electrical one. Don't even bother with a drill with a flex shaft as at the most it will run about few thousands rpm's and is only able to run at less than a hour before it starts to over heat if your lucky.
Here is what i use
http://www.axminster.co.uk/product.asp?pf_id=792327&name=die+grinder&user_search=1&sfile=1&jump=48
http://www.axminster.co.uk/product-Axminster-Heavy-Duty-Flexible-Drive-Unit-20091.htm
Here is a few things you will need
As you can see some of the stuff is self explanatory and some not but all of it will be covered as i go though this thread
Carbide burrs
I found that the good ones can last a life time if looked after, i Paid £25+ for each of these but i'm doing this a lot so the cheaper ones will be fine for you
http://www.cromwell.co.uk/quicksearch?search=carbide+burrs&x=0&y=0
Cartridge roll test kit
Used for some of the head to reach places
http://www.cromwell.co.uk/YRK2059800K
Scotchbrite/emery cloth roll, Flap sander, Scotchbrite roll, split rod to use with emery cloth and two of my tools i made for making sure the ports and round, smooth and uniformed and one that i use the most as to replace the emery cloth is easy and cheaper than the flap wheels.
flap wheel and scotchbrites found at www.rdgtools.co.uk
Emery cloth 60 grit, 120 grit, 180 grit and 400 grit
http://uk.rs-online.com/web/search/searchBrowseAction.html?method=retrieveTfg&binCount=38&Ne=4294957561&N=4294962344+4294776144
spring calipers set is used to make sure every port is the same size and that each port is the same diameter run though
Found at any machine mart
Spring compressor, this is a great little one that fits zetec, I4 and even Vag 20v head with small tappets, its light and come with different size fitting
Also found at machine mart
Oil seal removal tool, loads better that a pair of pliers, trust me if you ever come to dismantling a 20v Vag head or motor bike head these are a must
I got these cheap on ebay at £20 they have been modified to get a small bore tappet holes.
When dismantling the head you want to keep every valve component in the right order they came out of as that part is worn matched to the guide, if fitting new valves some time new guides and seats need recutting, if the old parts go back in the wrong order they will wear out faster. This is just a bit of MDF with holes drilled in it marked with what cylinder and valve number
Digital caliper, i will show you what this is used for later in the thread
Also found in machine mart
Magnetic pick up tool for when you remove the collets
Found in most Halfords and motor spares shop
Head stand for disassemble and reassembling the head as this will make things much easier. found very cheap on Ebay
You've now stripped you head and you've keep everything in order what you need to do next is clean the head and inspect it for any damage, seeing most of you will be reading this to do work on there I4 then you will be looking for cracks. You don't want to be doing hours of work on a head to find out its cracked and rendered useless.
When cleaning a head your best getting one of these but if not a old tube with lots of hot soppy water, a jet wash is another or your mother/other half dish washer.
You could also use brick acid or oven cleaner on stubborn dirt


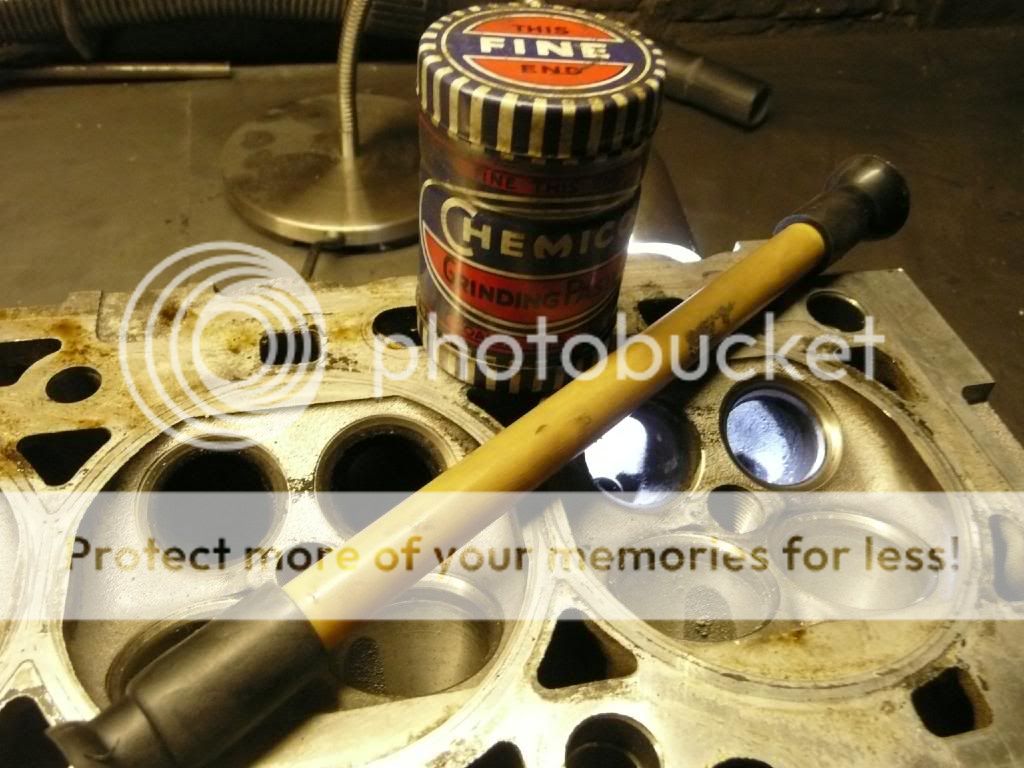


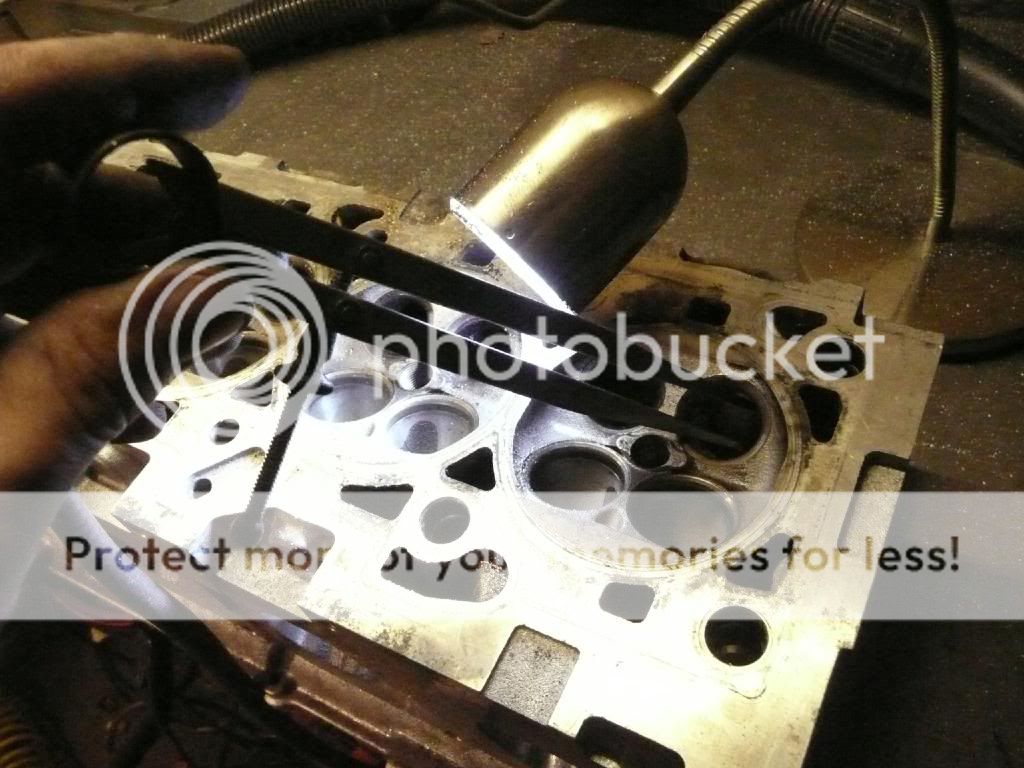
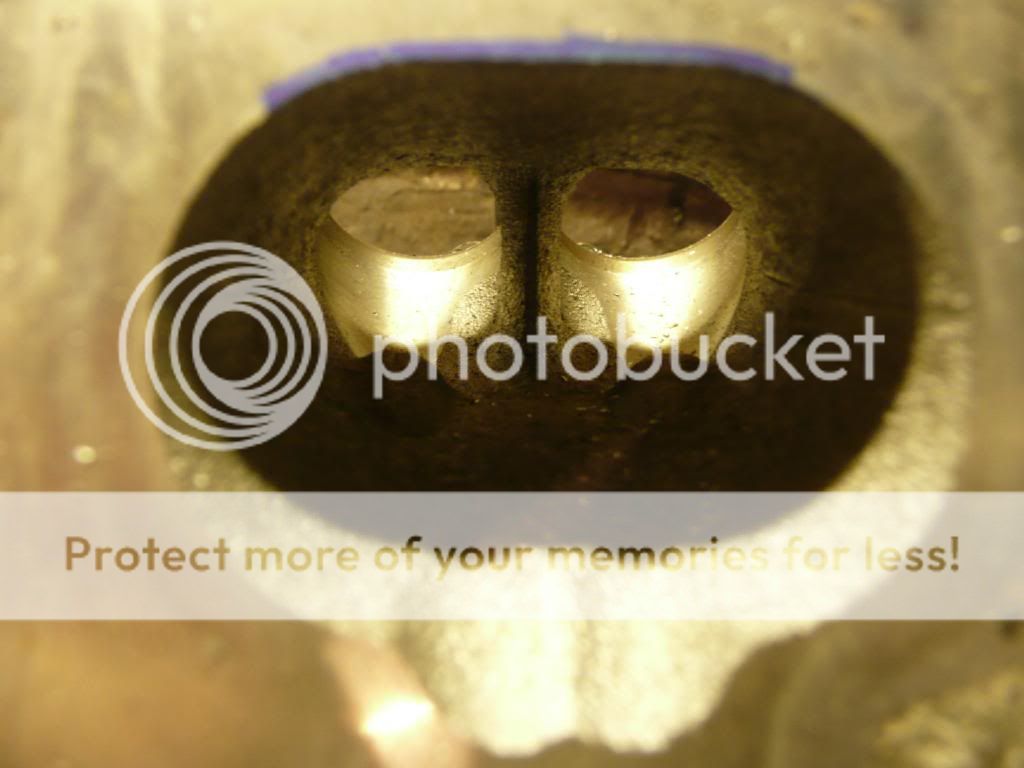


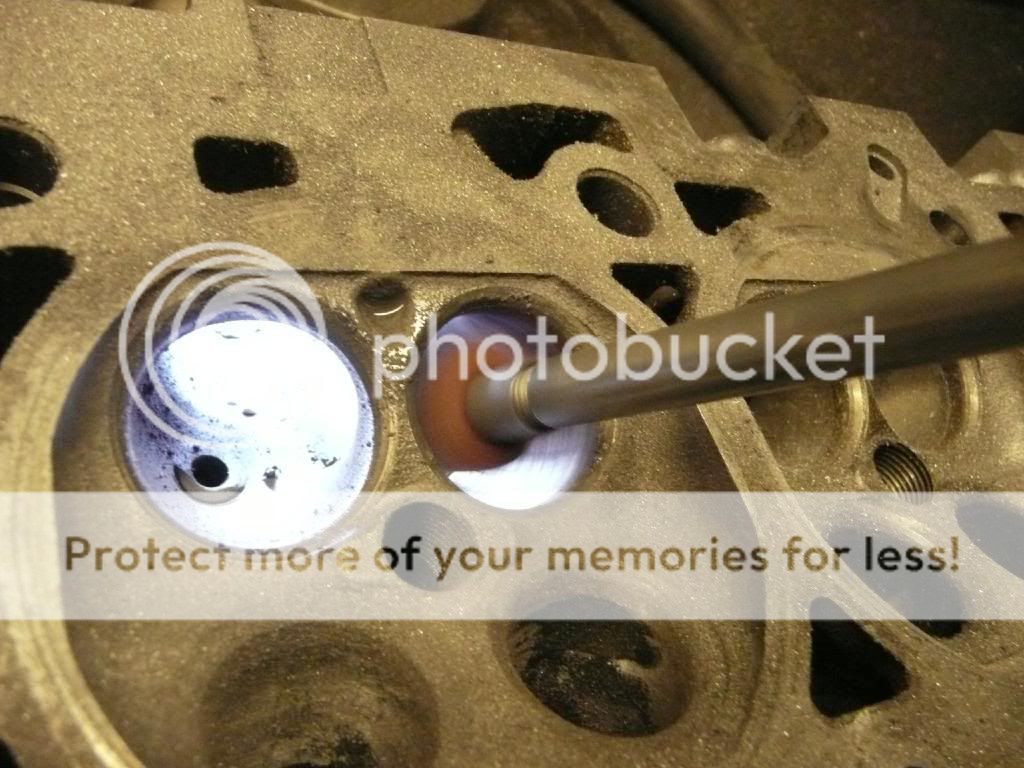
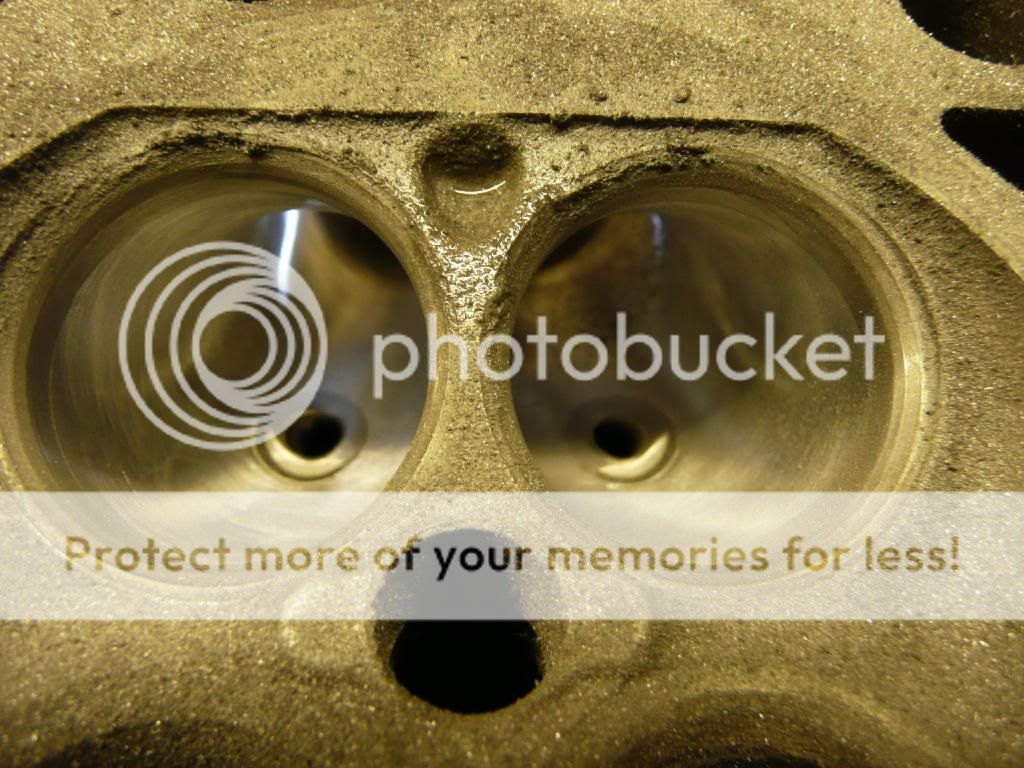

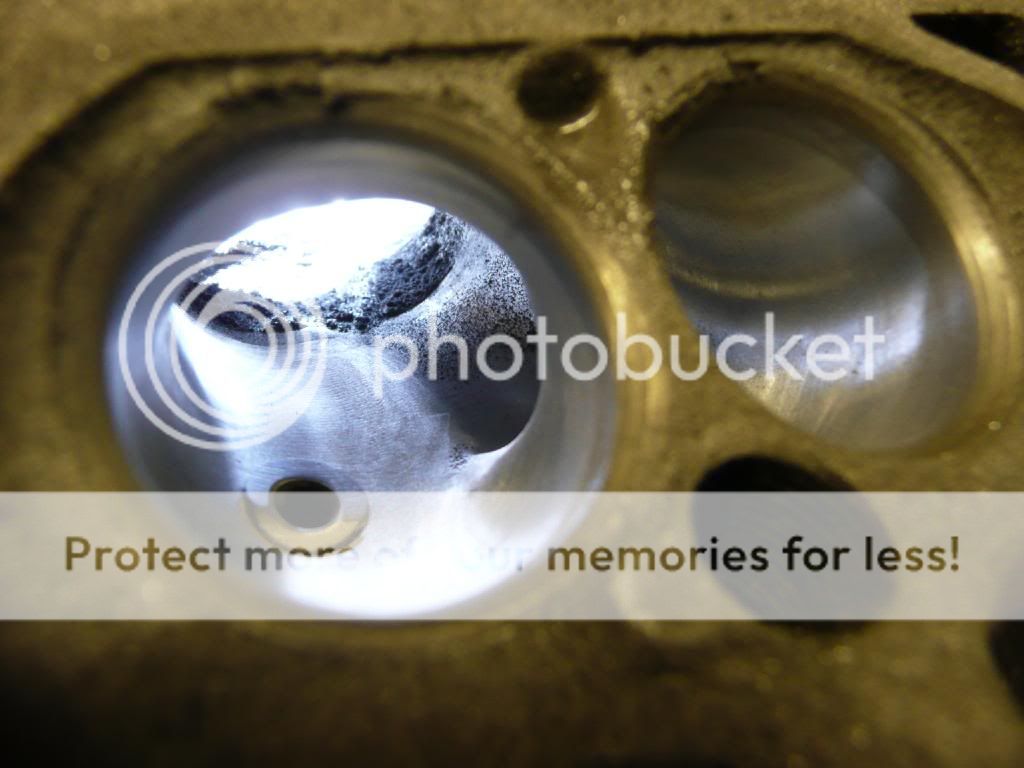
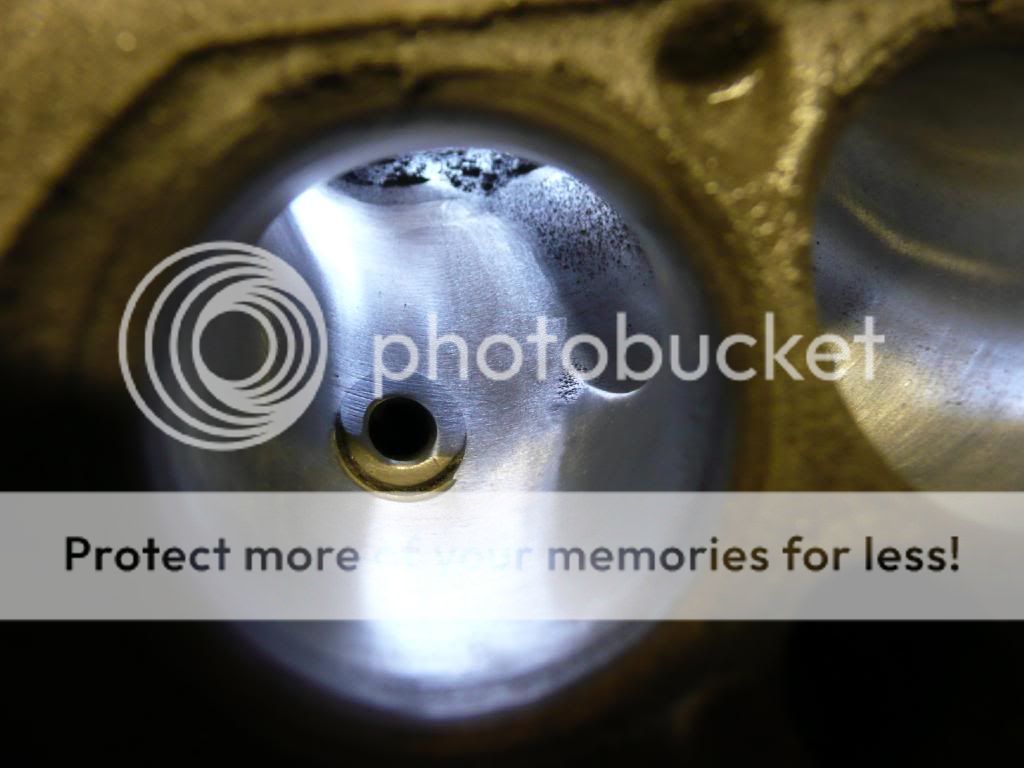


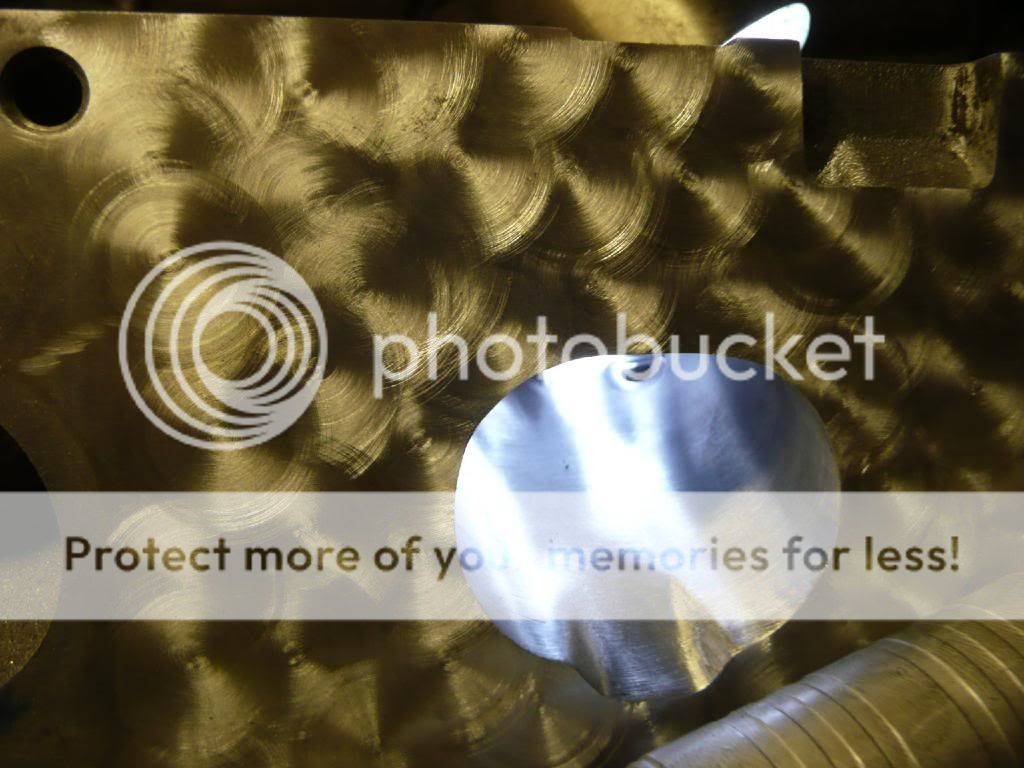
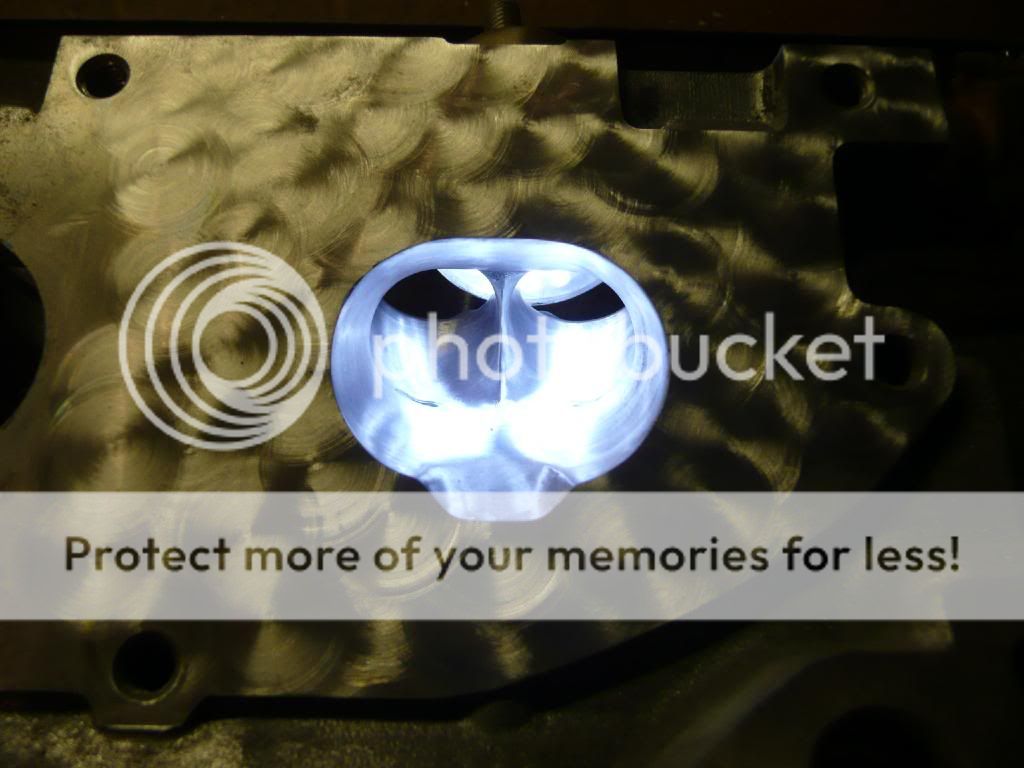


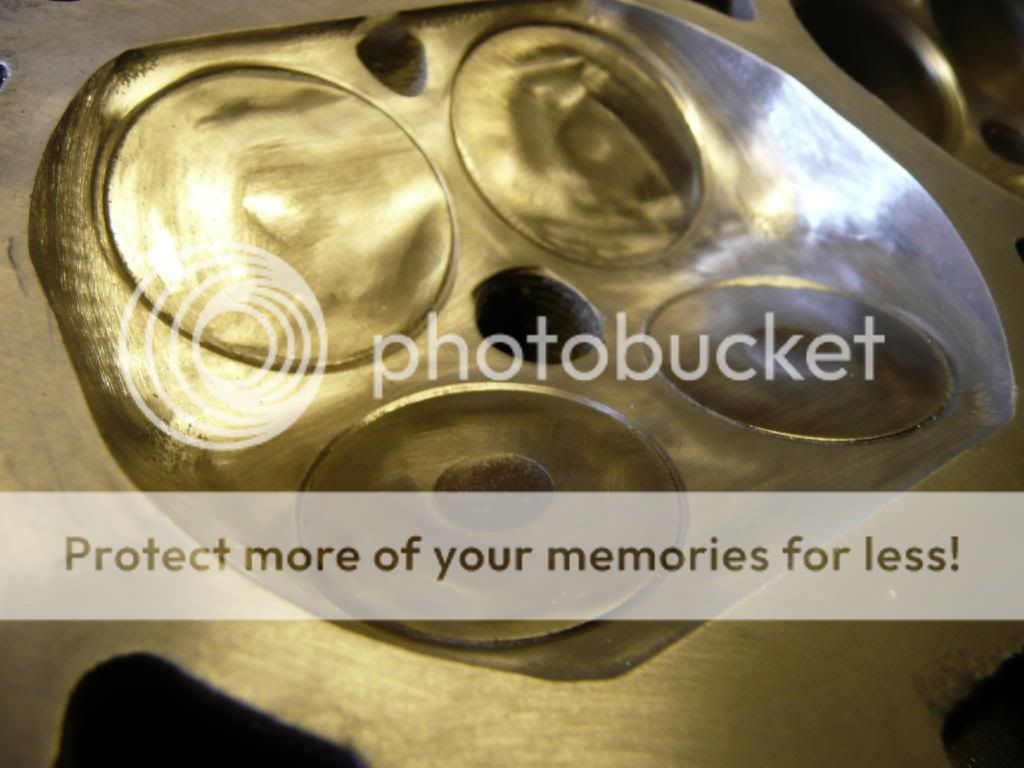
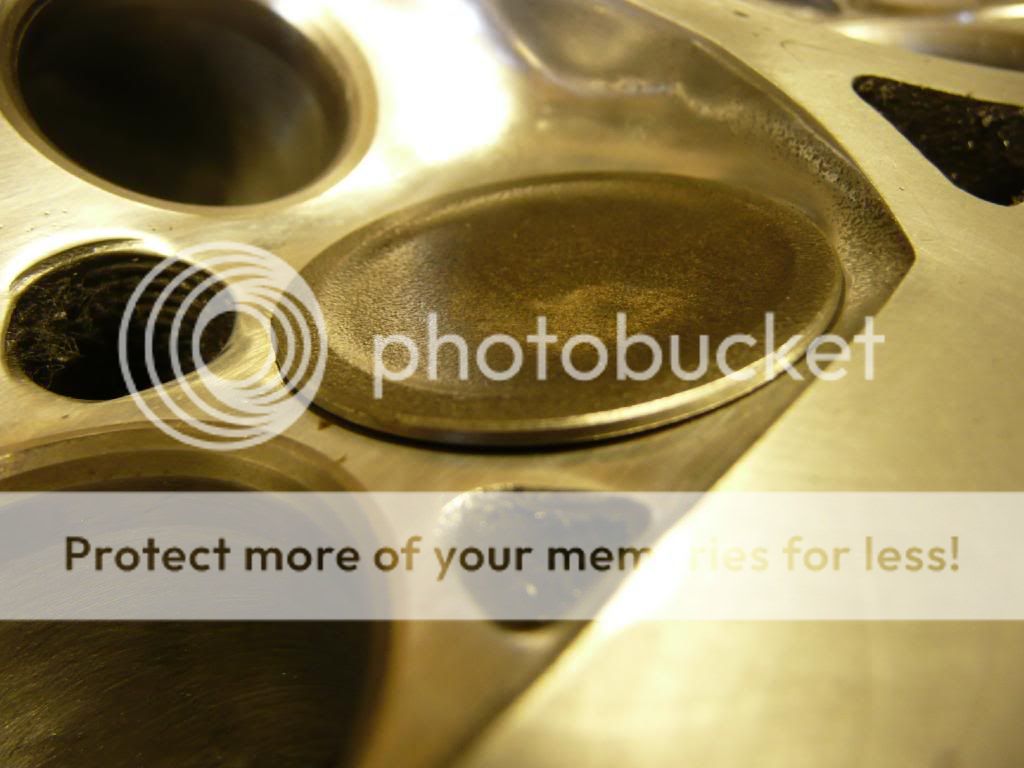


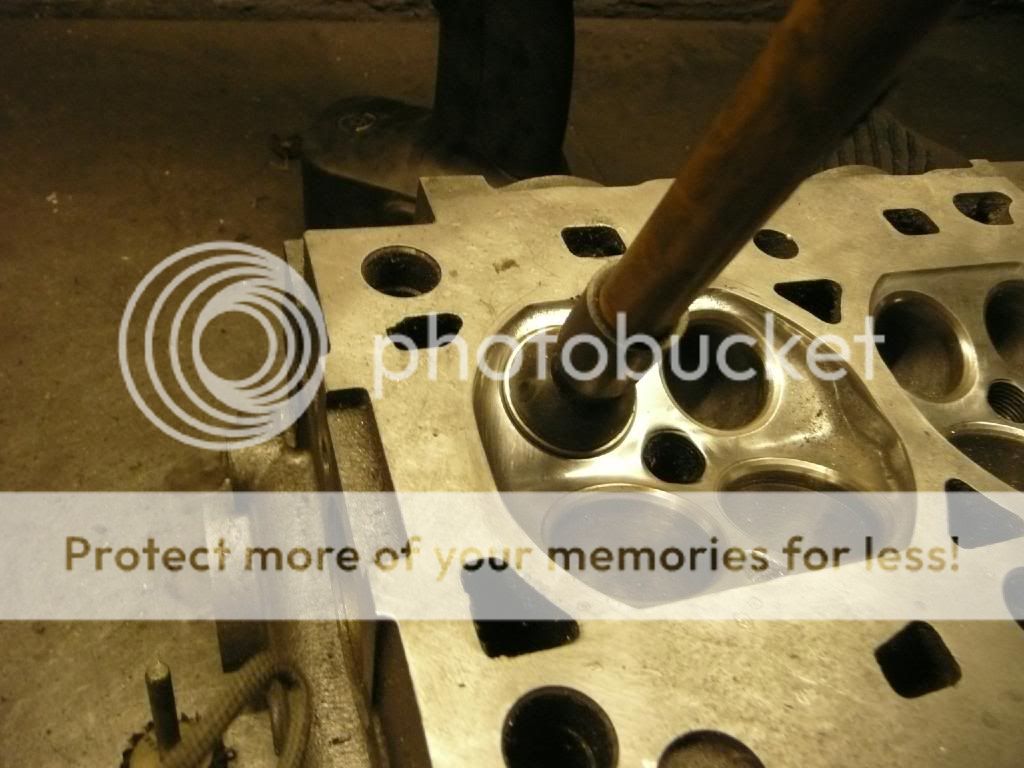


 i decided to go at my S3 head with that little bit more knowledge,i ordered a few bits from your thread.so i stripped it all down and got cracking i have made all the gasket marks,and started with the burr.