Blimey just been looking on JBS website at clutches and they say 5 hrs approx to change the clutch are the super hero's that work there?
but then you are paying a grand for single mass flywheel and clutch set
lol, hmmm, typo me thinks for fwd only..

"approx", give or take 100%
 
Aw, I think running a standard system for a bit while running a BT at high boost may have contrubuted to your turbo cracking. Hopefully it gets sorted by the company you bought it off.

What is considered high boost pressure for the setup your running.

Nathan
 
Last edited:
TTS take a day and half to do the clutch and flywheel on quattros. You'll need to get the wheel alignment checked after aswell
 
i'll confirm that, still to have my alignment done :( once ive sorted the rear bushes
 
Aw, I think running a standard system for a bit while running a BT at high boost may have contrubuted to your turbo cracking. Hopefully it gets sorted by the company you bought it off.

What is considered high boost pressure for the setup your running.

Nathan

>1.5bar boost is what i consider high boost
 
CRW_9866.jpg

We thought of threatening it
IMG_9853.jpg

Got it out
IMG_9856.jpg


Found a much easier way to get it back in...Remove the Xfer box.

The only issue is the seals that Elsa says to renew are aparently not available according to Audi...

Strange though as my ETKA clearly shows them in diagrams 409-49 and 409-45 with part numbers

(68x 2.5mm) 02m 409 203
(13.5x 2.5) N904 837 01
(20x 3.5) 028 222 2

Maybe my Etka is wrong huh!!
 
Last edited:
The clutch and flywheel swap can be done in between 5 and 6 hours.
I know this as i saw it done on my car. Changed a standard clutch and flywheel ( and the release bearing thingy) for a sach power clutch, LUK duel mass flywheel.
All fitted and tracked/chamber checked in under 6 hours.

Paul, after cracking my old k04 hybrid ( rough comparision at best ) across the waste gate like yours i suffered all manor of problems with holding boost. Could the problems holding/sustaining boost you had early on be linked to the crack where the waste gate should seal??
 
The clutch and flywheel swap can be done in between 5 and 6 hours.
I know this as i saw it done on my car. Changed a standard clutch and flywheel ( and the release bearing thingy) for a sach power clutch, LUK duel mass flywheel.
All fitted and tracked/chamber checked in under 6 hours.

Must have done a few then... granted now I know a little more about doing one (first time with mine) then I reckon I could do one quicker but I am not the fastest at anything anyway...

Paul, after cracking my old k04 hybrid ( rough comparision at best ) across the waste gate like yours i suffered all manor of problems with holding boost. Could the problems holding/sustaining boost you had early on be linked to the crack where the waste gate should seal??

I don't think so no... with the MBC the turbo holds what ever I tell it too now.... no idea when the damage was done so no idea if it had any effect on boost... all I know now is that prior to taken the car off the road it was holding the 1.5bar I have set it too...

<tuffty/>
 
Productive day... many thanks to great mate Mark with an appearance and helping 'hand' from Welly....

...gearbox out...
20100907_IMAG0139.jpg


..old clutch off and looking a little tired...
20100907_IMAG0140.jpg


..new dual mass flywheel and Sachs plate on...
20100907_IMAG0148.jpg


...and cover plate...
20100907_IMAG0149.jpg


...fitted new concentric slave (great design this!)...
20100907_IMAG0154.jpg


...and decided after the agro getting the box off with the bevel box attached it would be removed to put back on... ****** gearbox more or less went striaght on.... first time!!!... bevel box in the capable hands of great mate Mark...
20100907_IMAG0150.jpg


Bolted the box back on to the block and re-fitted the gearbox mount... had enough by then so called it a day.

Some parts to pick up tomorrow and then cleaning a few bits up before refitting the subframe and bolting all that shizzle back together...

Had some potentially good news about the turbo... CR reckon they could do something with it and for reasonable money if everything is good... did learn something intersting though... turns out my turbo may not be a proper GT30... I knew it was a modded version to use the GT2871 comp and turbine housings making it compact but it turns out its not a 'special' as we thought and uses a smaller trim turbine to the normal GT30 turbine... this would go a way to explain why I haven't gotten the power figures we were expecting from the turbo... CR reckon they can sort it all out and even upgrade it to the bigger turbine...

I am going to measure mine against the GT3071 thats being fitted to a Mk2 Golf in the workshop at the moment to see what the difference is but hopefully my turbo is recoverable... Special thanks to Bill for taking the time while on his hols to make a few enquiries for me... luv yah big man!!

More fun tomorrow :)

<tuffty/>
 
Last edited:
The power of "mates" in high places.
Rest of us pay our money and cross our fingers.
 
The power of "mates" in high places.
Rest of us pay our money and cross our fingers.
I know if had "mates" in places i too would be calling favours.lol

Especialy the magician who can do the clucth/flywheel and prper alignment in 6 hrs, its supposed to take up to an hour to properly align a 4WD car on its own, hats off to them( assuming it was an actual 4wd car they did it on)
 
It was on my s3 .
My post was a joke.
The fitting of a clutch and the rest of the job. WAS done on my car in the given time.
 
Cool, thats good then 6 hrs. Its quoted at over a day iirc.

Ahh comedy,LOL

Nah it's all good mate. I know if i could abuse some leads to get cheap bits, i would be all over it like a rash.
 
Ive had blown turbos where the garage wouldnt even contact the actual suplier until ( strangly) the warrenty had just expired.
Then all i got was " you need a new turbo"
The lad ( a good mate of mine) who did my clutch does almost all the major work on my car and is more than qualified . He did it at a well know VAG tuners that he worked at .
 
6 hours is good going and fair play to the man... if you do enough of them then you get to learn how to do them quickly...

Not sure I would care to try and do one in 6 hours though... that would be tough work...

<tuffty/>
 
He should work for a rally team! he realy does go all out .
He fitted my full uprated suspension onto my VR6 golf in about an hour.
Aslong as he has his tools ( aparently mine are too cheap ) he will always suprise me with how fast jobs are done

Anyway,
I hope the turbo is something they can help you with,
I was gutted when my little k04 hybrid siht itself.
 
Wednesday was mostly taken up getting and ordering parts, did clean the subframe up a bit and finished bolting stuff back onto the gearbox etc that was removed or undone to facilitate its removal...

I can't put the bevel box on until the seals I ordered turn up and I can't put the subframe back on until the bevel box is back on so I stripped the old head and swapped the bits over to the large port....

First set the cams on the timing marks.... the cams have a little notch in the them for the chain sprockets to key into... these both need to line up (give or take a little chain tension) with the little arrows on the cam caps gearbox side of the head...
20100909_IMAG0159.jpg


I then marked with a permenant marker across the chain and on the sprocket for each cam where the chain was so that I could line it up more easily on assembly.... there is a way to get this right by counting the number of rollers (16) between notch in the cam but marking this helps get it right as sometimes the tensioner can make you think its lined up when its not and because I am using a new chain its easier to transfer the marks across ensuring I get the chain in the right place...
20100909_IMAG0157.jpg


...removed the cam bearing caps on the old head...
20100909_IMAG0161.jpg


...removed the cams and then removed the followers as I am transferring those over to the large port as well...
20100909_IMAG0162.jpg


...marked the new chain ready to install...
20100909_IMAG0164.jpg


...and cleaned up the VVT tensioner unit as this is being transferred over to the large port head...
20100909_IMAG0163.jpg


...pre-assembled the cams/chain/VVT tensioner ready to go into the large port head...
20100909_IMAG0165.jpg


...refitted the cam bearing caps and torqued everything up... span the cams round a couple of times back to TDC to make sure everything had settled in and there you have it, one finished head :)
20100909_IMAG0166.jpg


All thats left is to remove the last couple of stubborn nuts holding the exhaust mani onto the old head...

Spoke to Mark at CR Turbo's today to discuss the options I have for my turbo.... it is now very clear that the turbo is not the spec Bill and I first thought it was but it is an off the shelf unit. Its essentially a compact GT3071R using GT28 form factor... it has a GT3071 compressor wheel but has a smaller turbine wheel than a normal GT30...

The options I have open to me (subject to inspection of the unit) are to have it refurbed as is (replacement housing maybe) or upgrade the unit to a proper size turbine wheel which will get me closer to the performance of a T3 framed GT3071R.... I know my turbo is a compromise and that it won't perform like a proper sized T3 GT3071R but it will be fairly close if I change the turbine wheel and should run a little cooler too at the same boost while providing more power...

I boxed the unit up today ready for CR to pick up tomorrow, should have some idea of what to do early next week...

Tomorrow I will be mostly putting the running gear of the car back together once I have picked up the parts and taking pics to do a inner driveshaft gaiter tutorial as I need to change one...

<tuffty/>
 
Last edited:
  • Like
Reactions: hydro s3
Thanks for going into such detail with these pictures Tuffty-

this is a real resource!!

JimP
 
Busy day, fitted the bevel box back in and refitted the subframe.... picked up some more parts this morning including the adaptor plate for the R32 throttle body to fit the std manifold...
20100910_IMAG0167.jpg


...it has been made to taper (sort of) to 70mm and as you can see you will need to remove some material... could have got it sized to fit but kinda defeats the object...
20100910_IMAG0168.jpg


...marked up ready to 'port' out to size...
20100910_IMAG0173.jpg


...nearly there...
20100910_IMAG0174.jpg


...once more or less to size I fitted the adaptor and matched it up as best I could...
20100910_IMAG0176.jpg


...then started on the phenolic spacer and opened the ends of the runners a bit... I didn't do loads here as the tools I have aren't man enough really and its still only a small port manifold but it makes the transition from small to large a little better...
20100910_IMAG0183.jpg


...compared to a std manifold...
20100910_IMAG0184.jpg


...difference between the std TB and R32 TB...
20100910_IMAG0169.jpg


20100910_IMAG0171.jpg


...and fitted to the head...
20100910_IMAG0188.jpg


Very pleased with the results, hopefully it will help in improving flow a bit more....

<tuffty/>
 
Your cars going to love all this increase in air it will be having. The difference between the things you have replaced are pretty big, I think you will feel a big difference when up and running again.

Nathan
 
Great work tuffty, should make a good improvement in airflow.
 
Will the R32 TB need alot of fiddeling to get it to work as the standard one does?
What are you going to do for a hose to the TB?
I have a spare inlet manifold so quite like this idea.
 
Will the R32 TB need alot of fiddeling to get it to work as the standard one does?

Connector fits and pin outs are the same as far as I am aware... there may be something that needs doing in the mapping but I don't know for sure... used an R32 TB on mat20vt's GT2871r A3 quattro and the Polo and both worked fine...

What are you going to do for a hose to the TB?

This provides a vacuum source for the charcoal canister and is split at the bulk head with a pipe going into the TIP... on early Ibiza's this pipe just vented to atmosphere, I plan to get rid of the vacuum pipe and vent the TIP one to atmosphere too... I am removing any unnecessary pipes etc (PCV and the like) from the TIP only having the DV inlet so its only air going into the turbo... all the other stuff is just PCV and emmisions rubbish so not really an issue on my car anymore :)

You can of course retain the TIP pipe from the charcoal canister if you prefer and just block off the pipe coming from the inlet mani...

Should you wish to retain that too there is a bit on the inlet mani where you could drill and tap an outlet to take the vacuum from or earlier R32 TB's have a pass through pipe on the top of the TB where you could connect the pipe to one end and pick up a vacuum from teeing off the larger outlet under the inlet mani...

I have a spare inlet manifold so quite like this idea.

Do it... Pricing is yet to be sorted on the adapters but now its been done once then others can be made

<tuffty/>
 
I am a tool maker by trade so "jobs on the side " are not a problem.
will you be making a stepped down hose from the TB to the intercooler outlet?
 
Productive day again today... replaced the inboard gaiter on the nearside driveshaft as it had split... I took a load of pictures and did a tutorial which can be seen here...

Clicky >> http://www.audi-sport.net/vb/a3-s3-...7-driveshaft-gaiter-replacement-tutorial.html

A bit later in the day Bill popped in after his week away (glutton for punishment that man) and so we got on with modding my FMIC for 60mm pipework :thumbsup:

I was considering getting Alex at AH Fabs to make me a new cooler and we could mod that meaning I would then sell on my old (and the first) FMIC once done but the issues with my turbo means I can't really afford to fork out for a new one to be made so we just went ahead and started modding mine...

...starting with cutting off the old outlets (gulp!!)...
20100911_IMAG0227.jpg


...then marked up and fettled for 60mm pipes...
20100911_IMAG0228.jpg


...tacked on some 90 degree 60mm alloy bends and fitted back on the car...
20100911_IMAG0235.jpg


...refitted the bumper and...
20100911_IMAG0243.jpg


20100911_IMAG0242.jpg


20100911_IMAG0241.jpg


Result!!! bit more work to do with working out the rest of the pipe route... this is not going to be a straight forward fitment like the original FMIC... the pipework coming off these outlets is not going to the same as the original piping with off the shelf stuff. We are fabricating the connecting pipes and taking a different route than the normal one but I'll have a look and see if I can work out roughly whats needed...

Will be doing a bit more tomorrow...

<tuffty/>
 
Last edited:
TOP job mate, this is some good info you are providing us with..
keep up the good work..:icon_thumright::icon_thumright:
 
Little update as I only spent a couple of hours at the unit today...

20100912_IMAG0246.jpg


20100912_IMAG0248.jpg


Will be rubbing the fmic and repainting tomorrow... one other possible job I need to do now is to make a 'socket' that the ball of the headlight adjuster motor to sits in.. one of my motors isn't working so I managed to break the socket removing it... I have glued it but its not good so will look to make one out of some nylon...

<tuffty/>
 
Like the modding on that intercooler matey.

Any chance that as you have it off the car you might get some good dimensions for us? maybe post them on the Intercooler comparison thread? what pipes did you use? where from? how far they come out before the bend etc?

Basically just want to know how long they are etc so i may be able to do the same. (he cheekily says... lol)

keep up the good work, love this thread as its basically the same idea i have for mine...
 
one other possible job I need to do now is to make a 'socket' that the ball of the headlight adjuster motor to sits in.. one of my motors isn't working so I managed to break the socket removing it... I have glued it but its not good so will look to make one out of some nylon...


I bought some clips off a member on here ( that i cannot remember) that are smaller versions of these, they screwed in easily and the motor popped in nicely.
 
Last edited:
Busy couple of days sorting stuff out, turbo is away at last and hopefully should fine out the prognosis tomorrow...

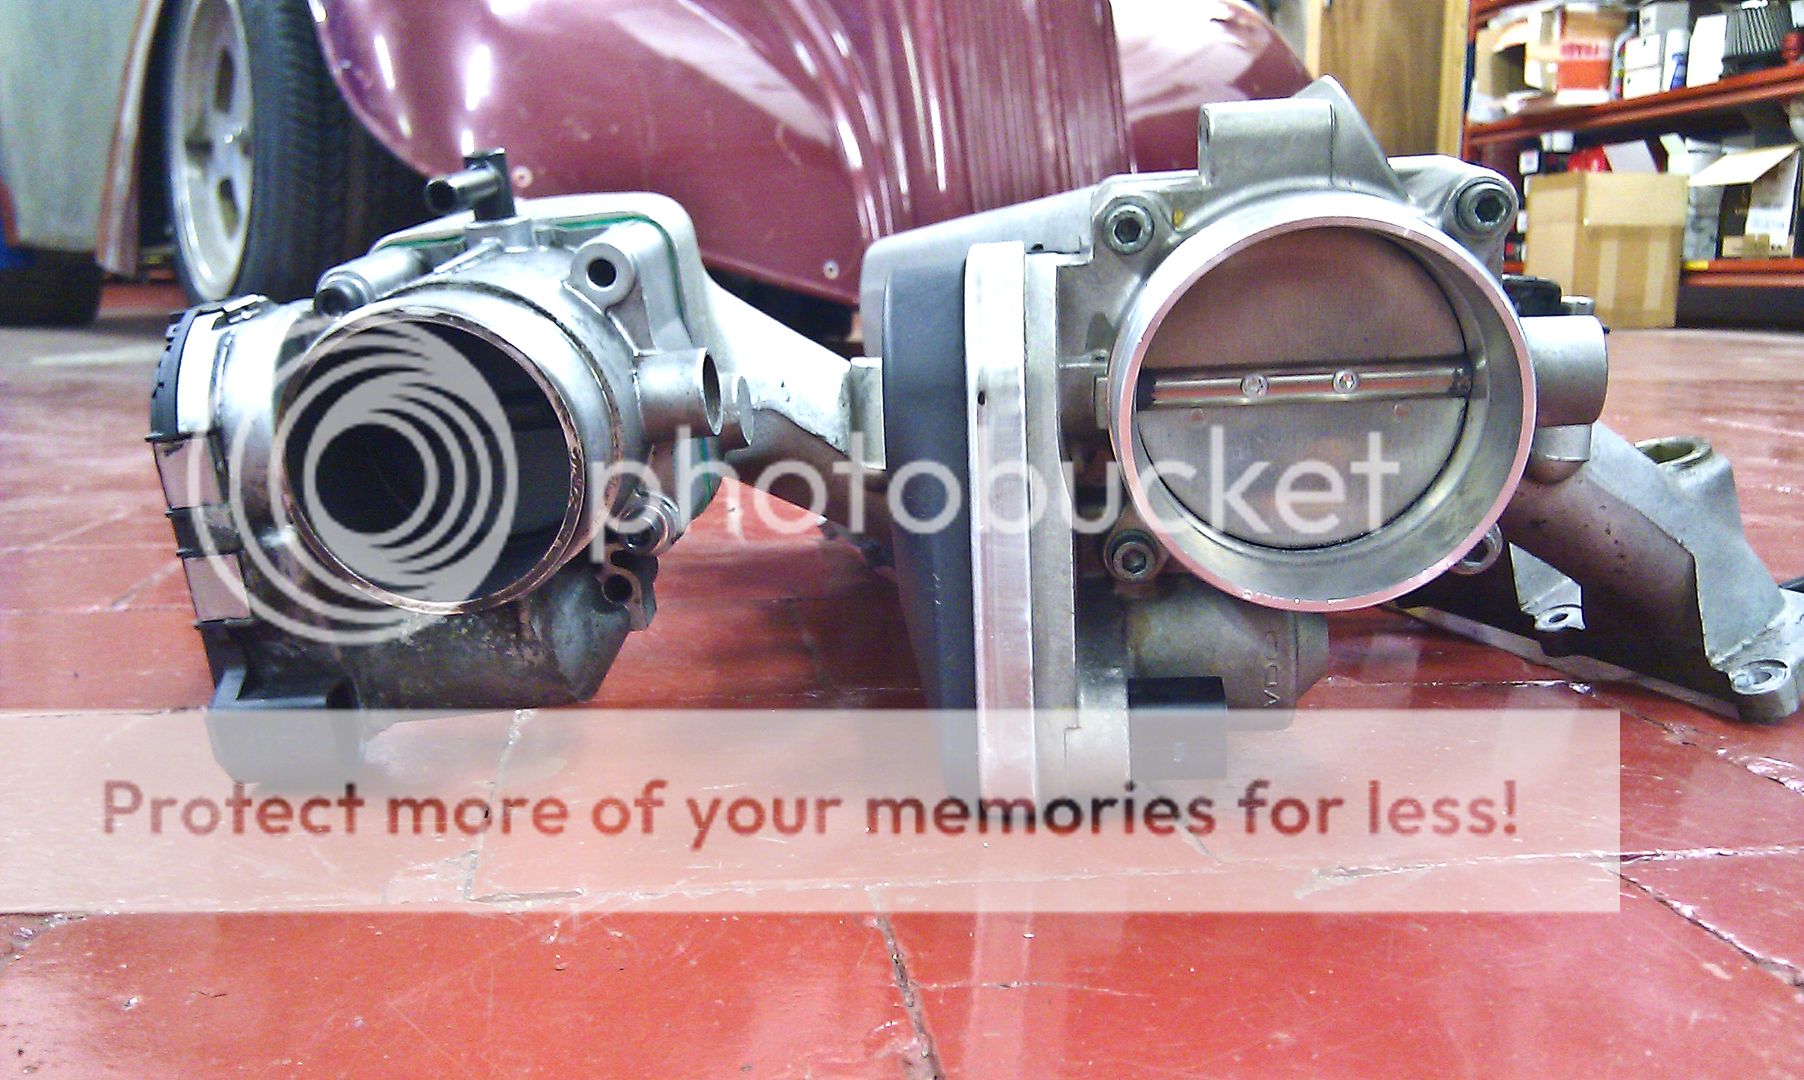
FMIC is now repainted and on the car, I have been sorting out the pipework and nearly finsihed it all... finding silicon to fit the R32 throttle body has been a challenge but using a similar approach the to big turbo Polo that rolled out of Badger 5 a little while back I have gone for an SFS 83mm to 70mm straight reducer (in black of course) that will lead onto a 70mm 90 degree alloy bend that will then be welded to the 60mm pipework by skillage and magic...

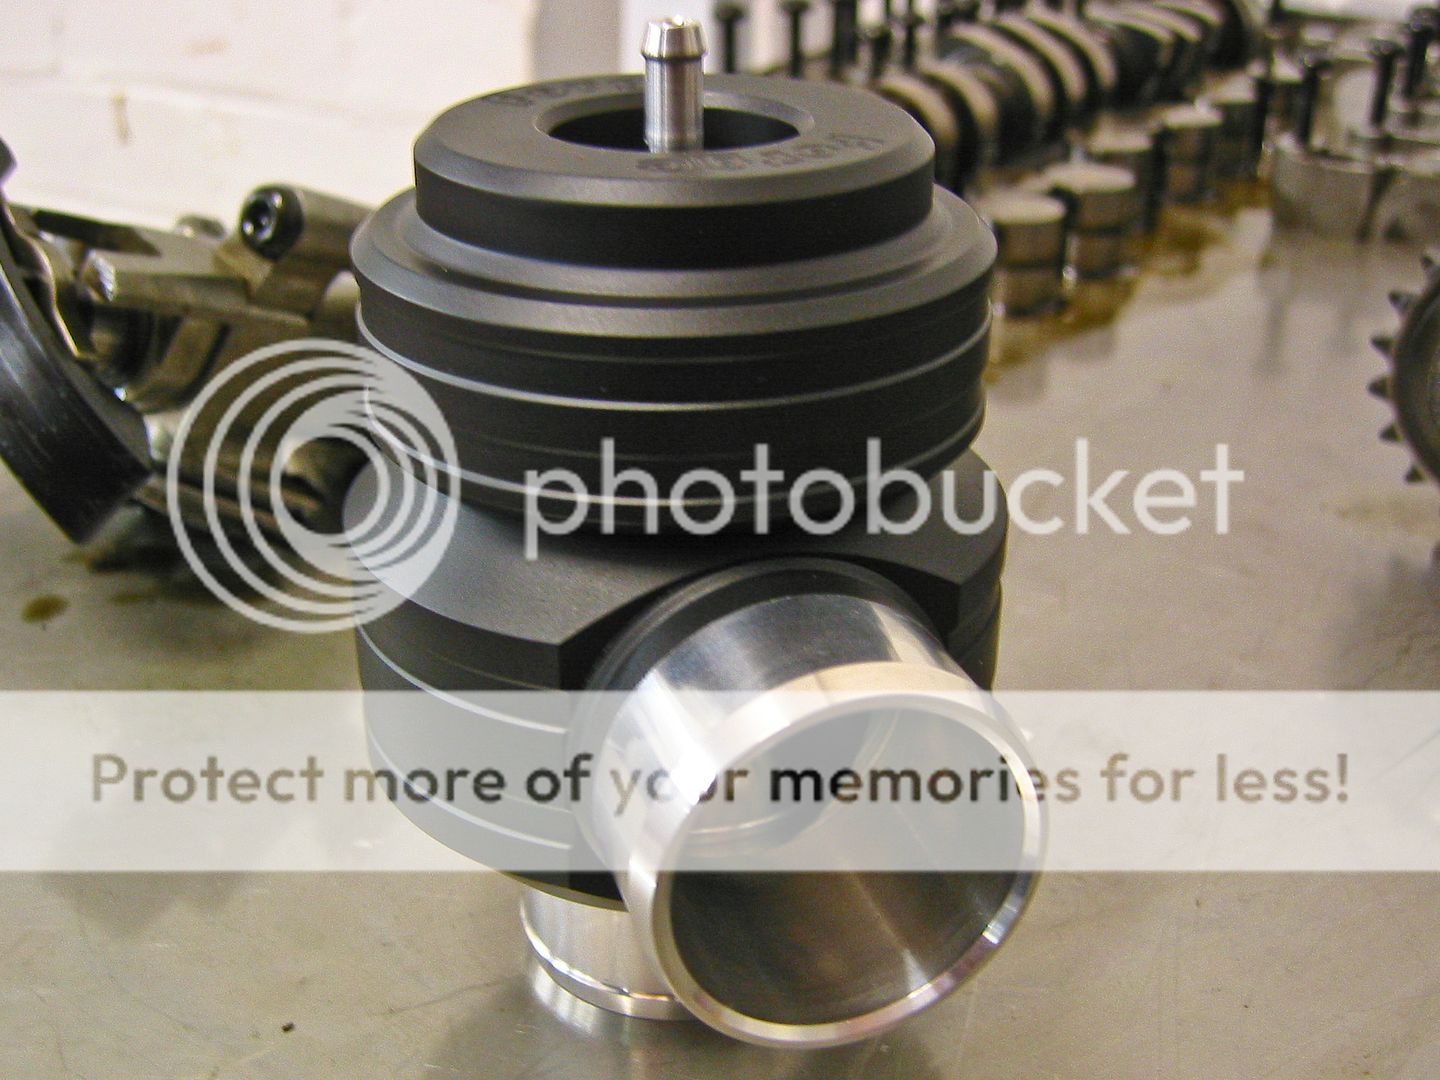
I have also been toying with the TIP and positioning of the super size DV... I think I may have to compromise the OEM look a tad as I have far too many 'large' things under the bonnet to fit it all out of sight but I have a couple of ideas that I can try out once I have picked up the bends to build a new TIP as its better than just welding plates over the holes in the old one... there is only going to be one connection going into the TIP this time, the DV... the charcoal breather, N75 vent (as I don't use an N75) and PCV are being ditched... only thing going into my turbo is air....

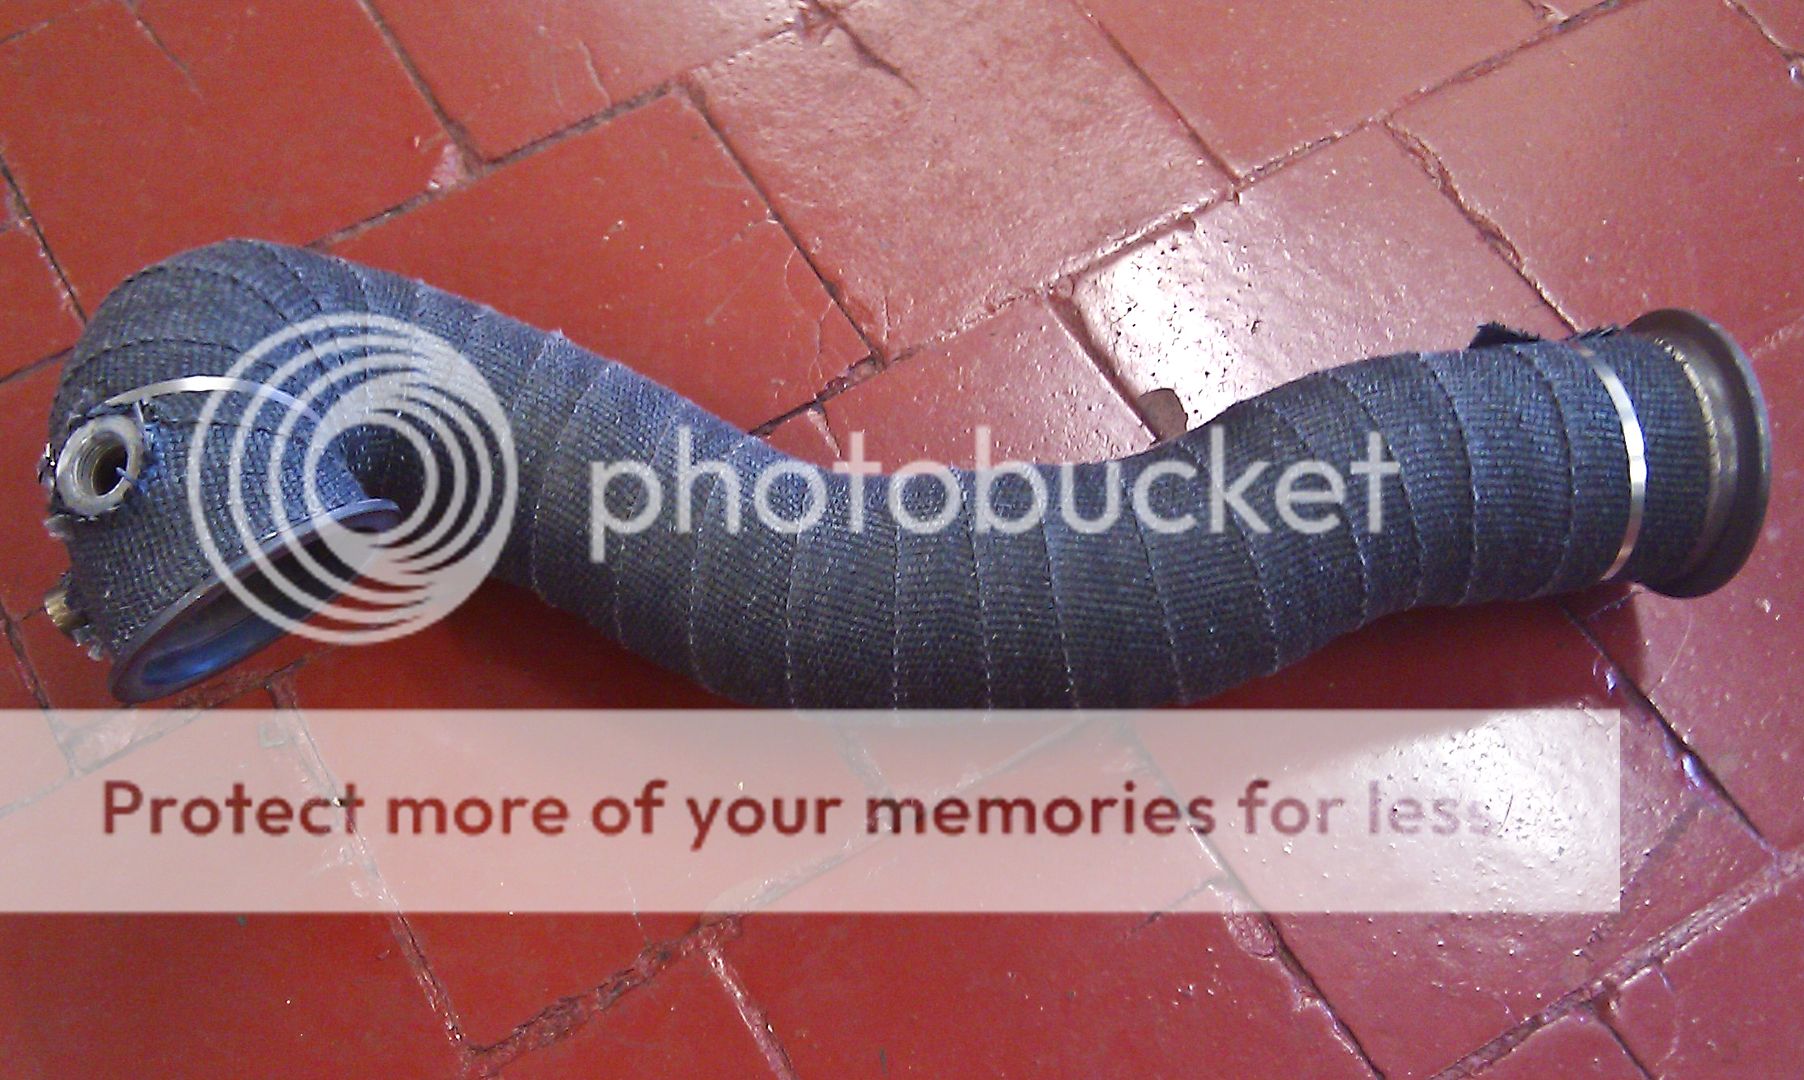
Another job I did was to re-wrap the downpipe as even though the wrap itself had plenty of life left, it was looking a little battle weary from the early days before I sorted the mounts out properly and its position.... the prop shaft had cut into the wrap and shredded it a little...

Before...
20100913_IMAG0252.jpg


After...
20100913_IMAG0253.jpg


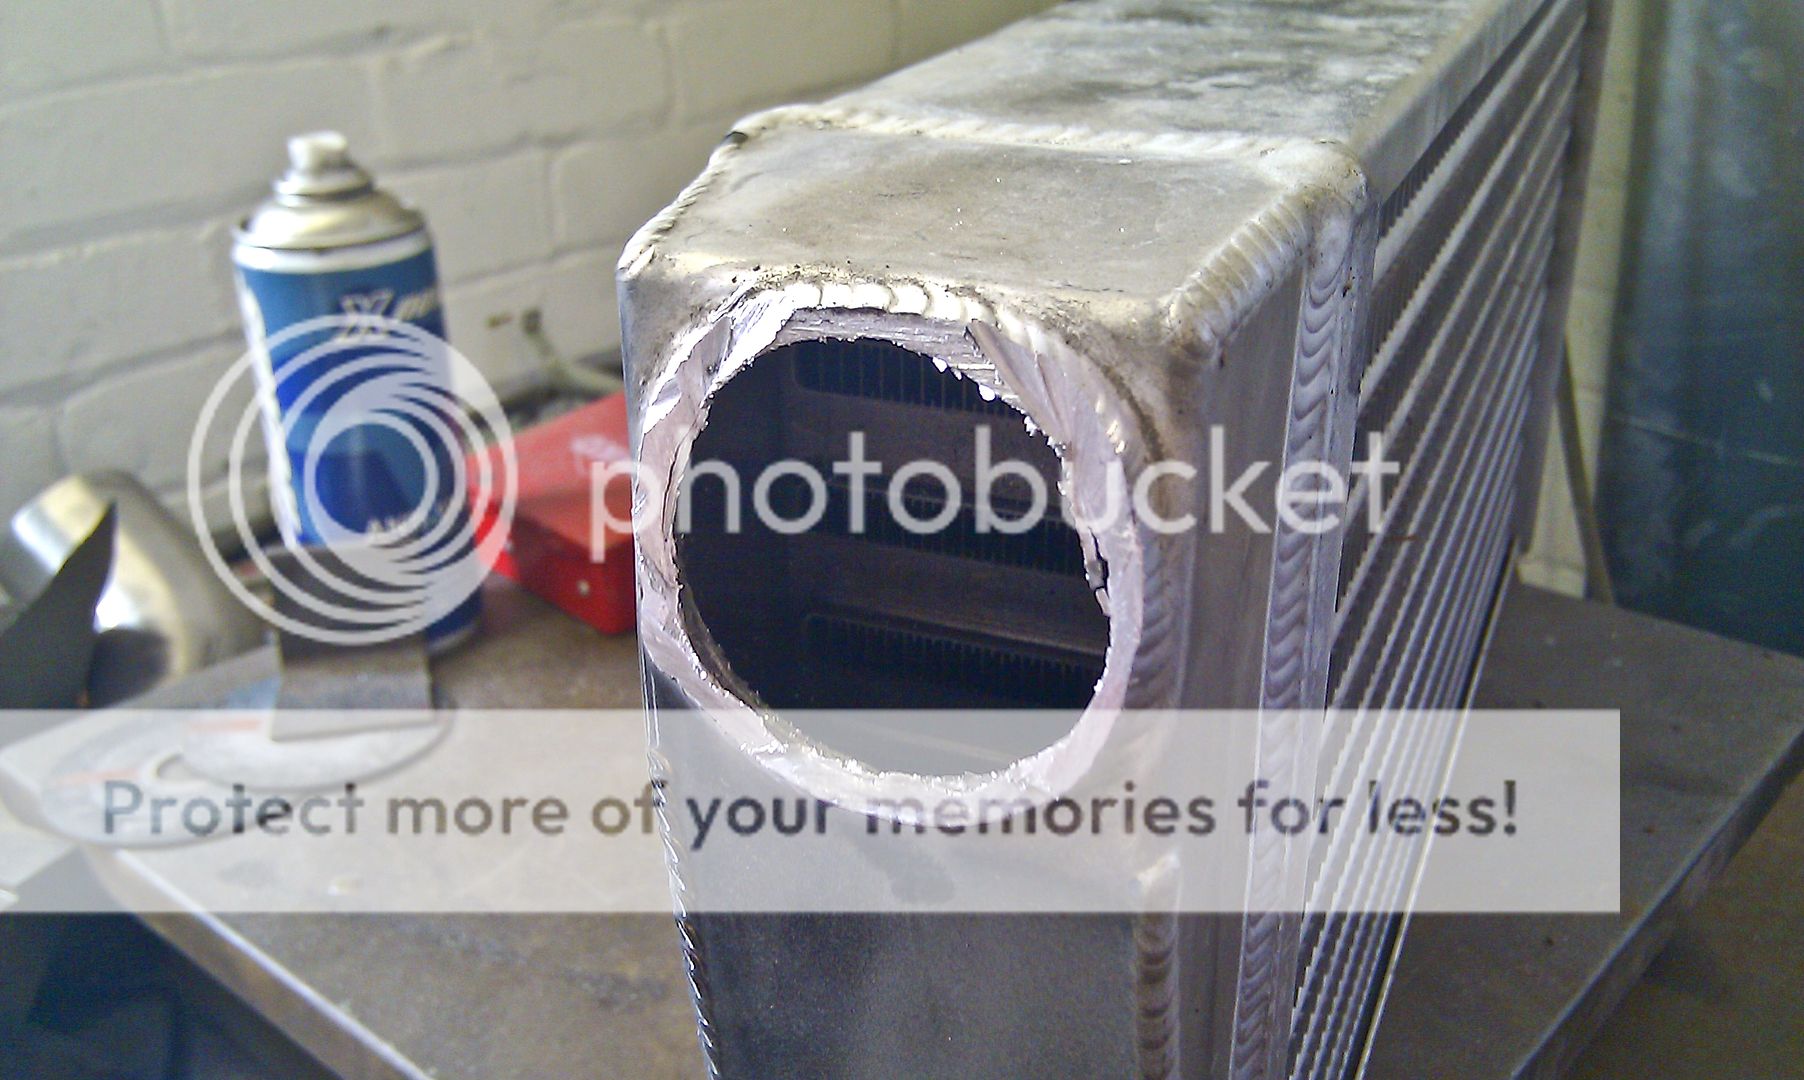
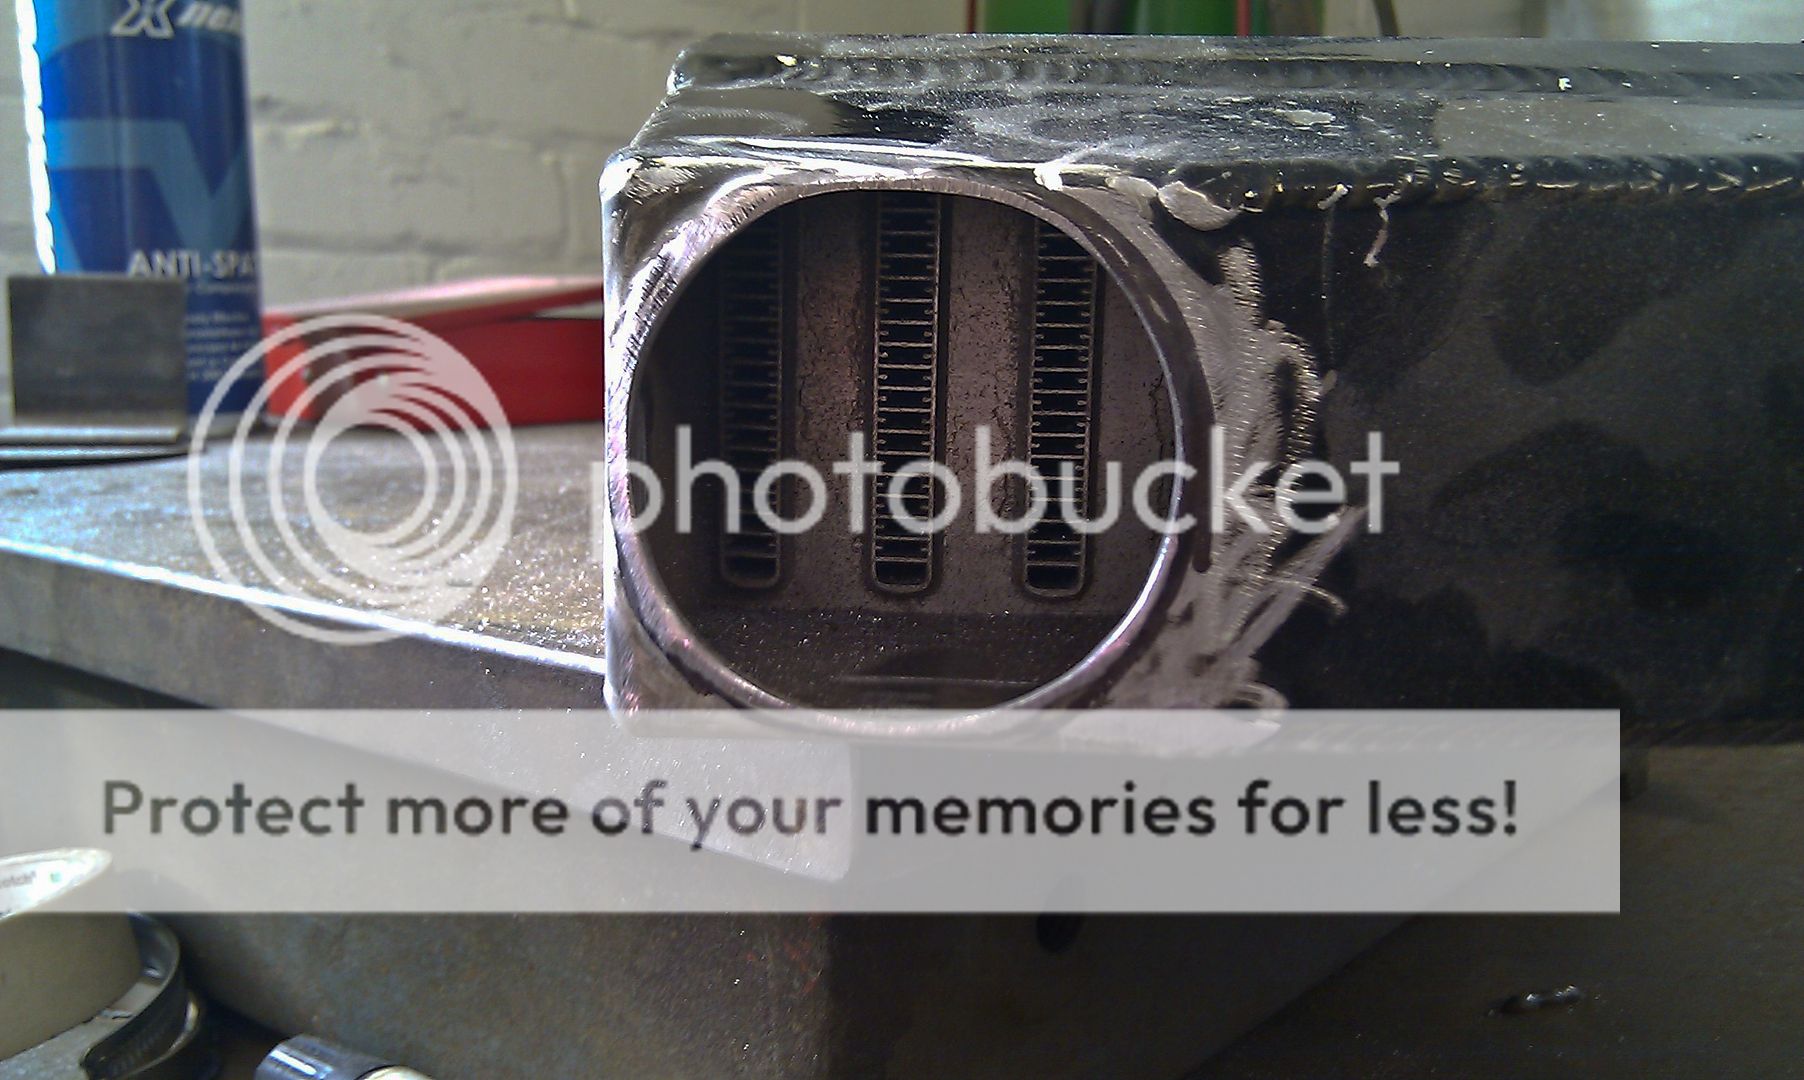
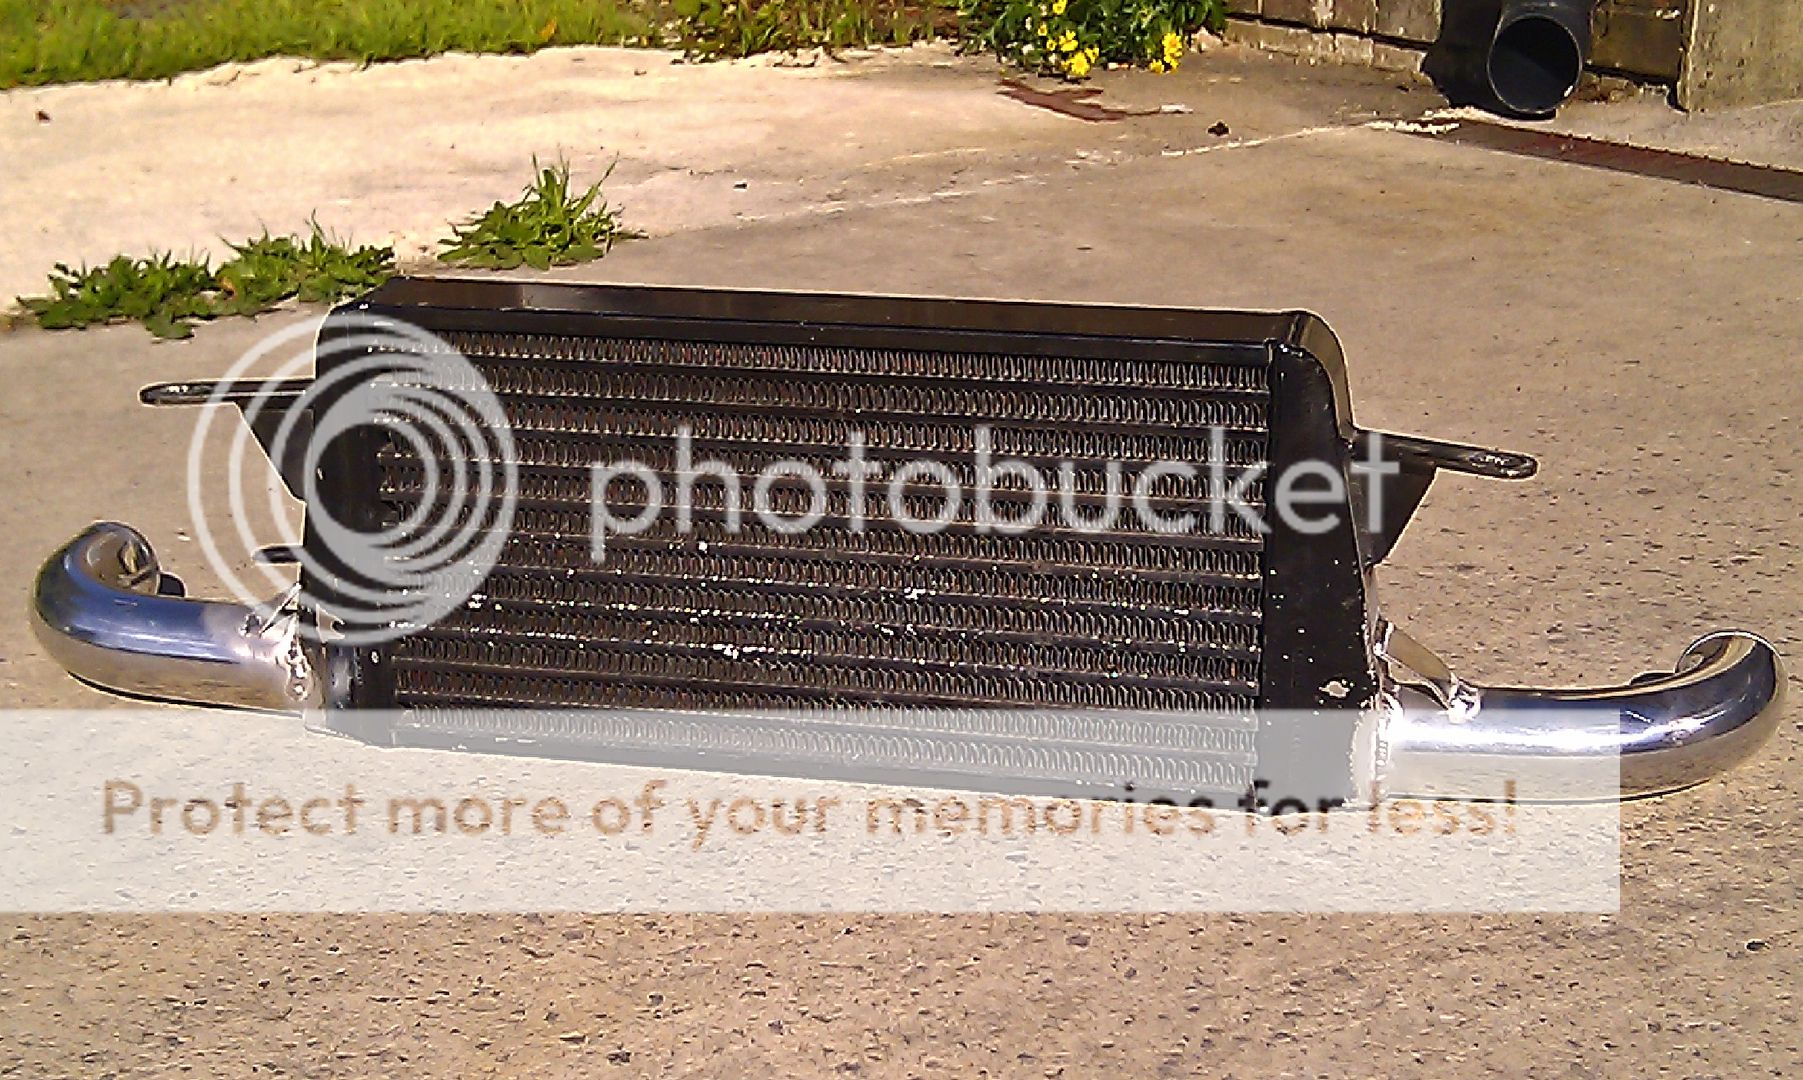
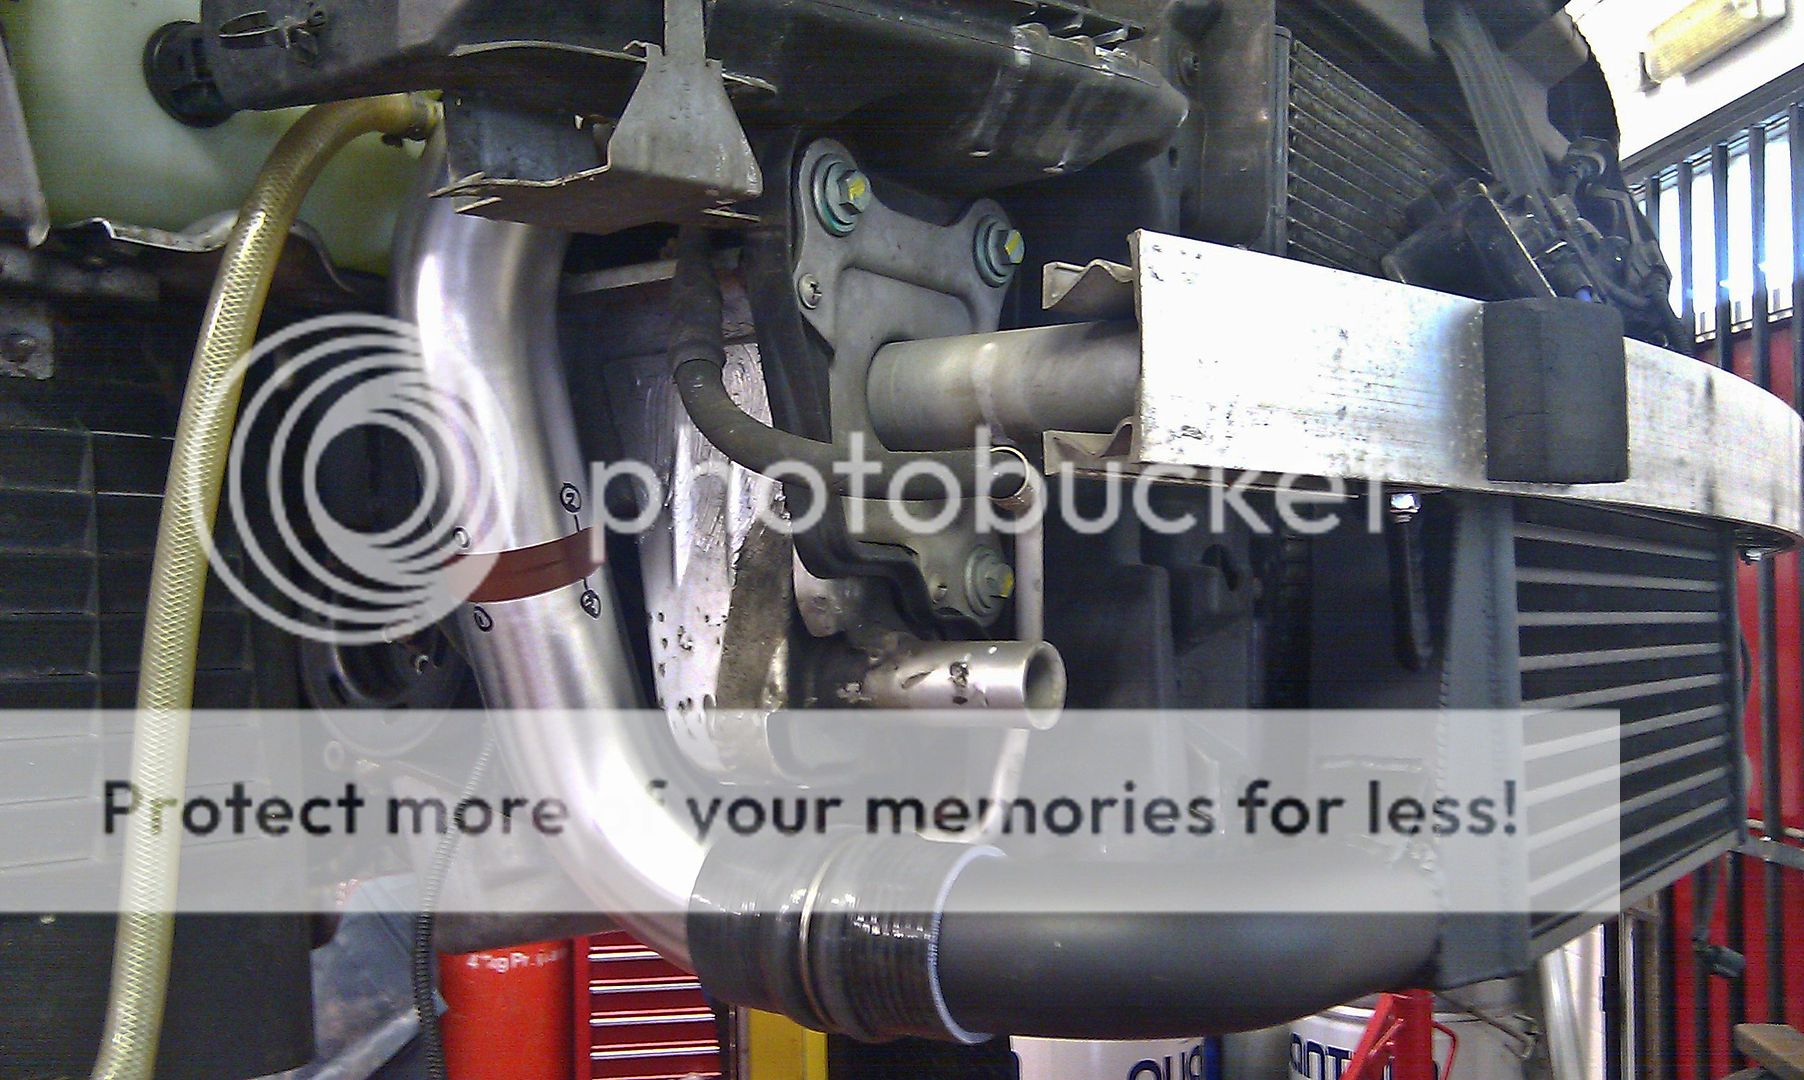
Pictures of the FMIC installation so far...

Painted... (only the front face with a fairly light coat)
20100913_IMAG0259.jpg


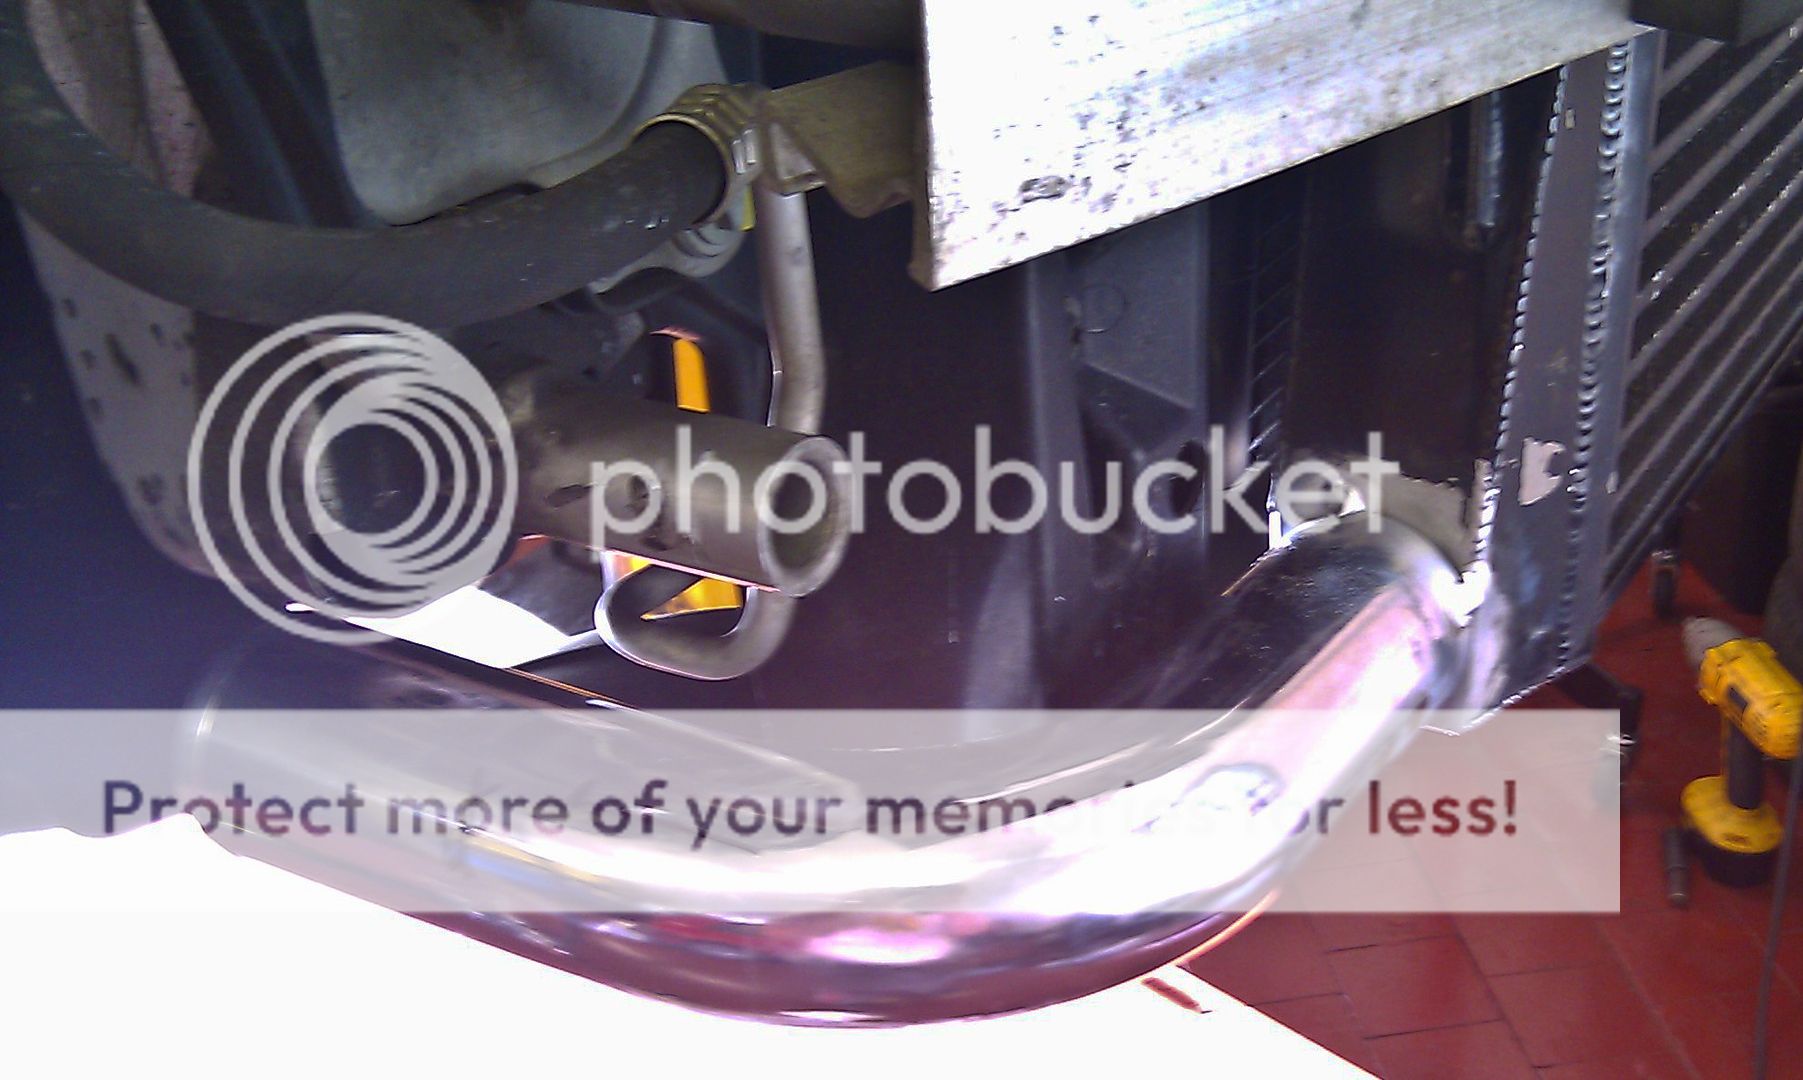
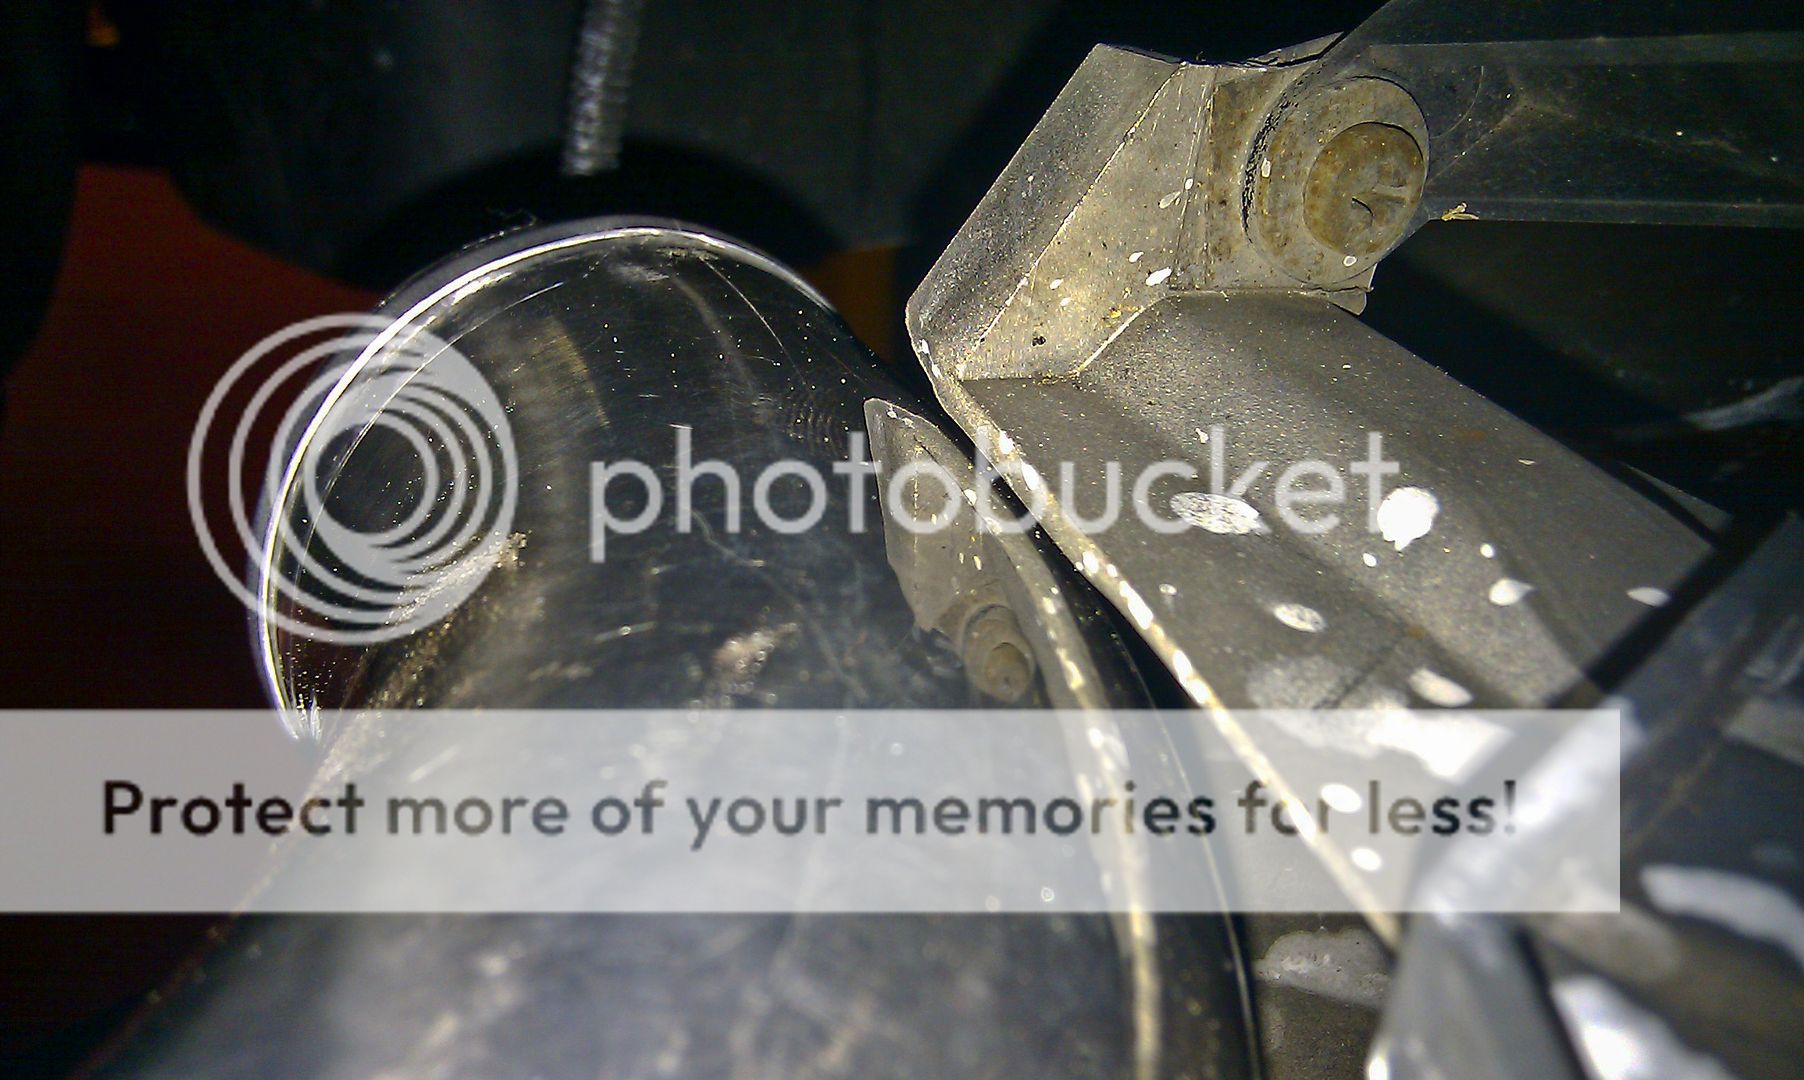
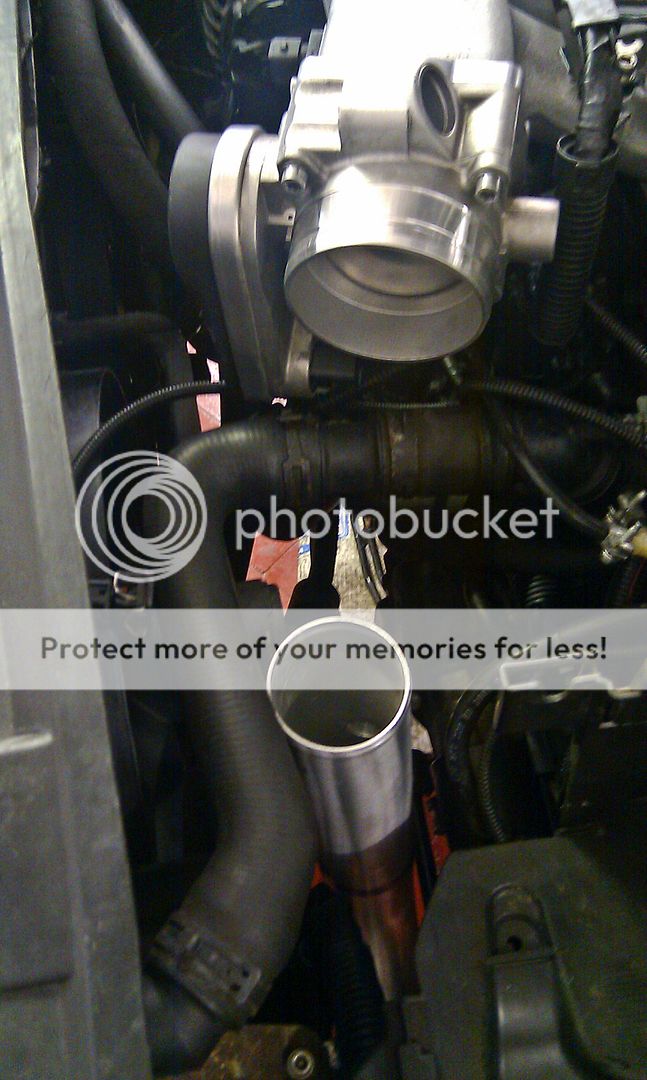
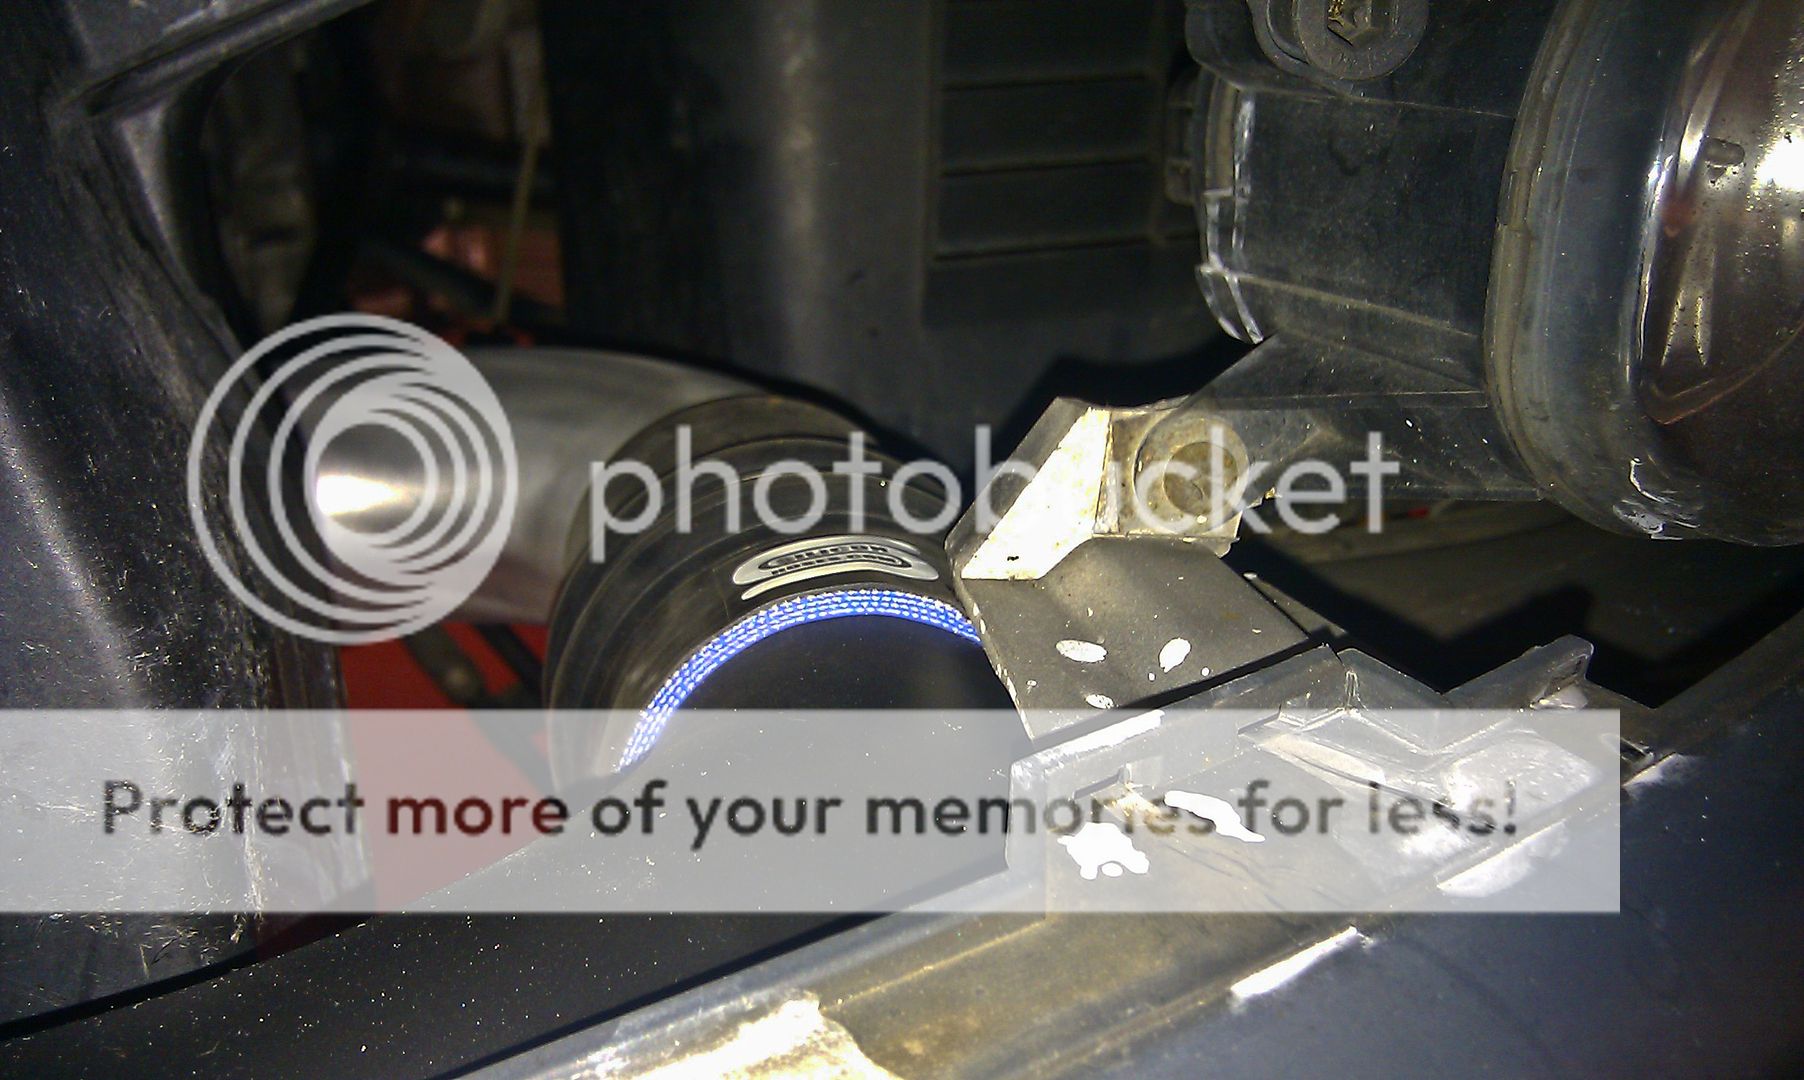
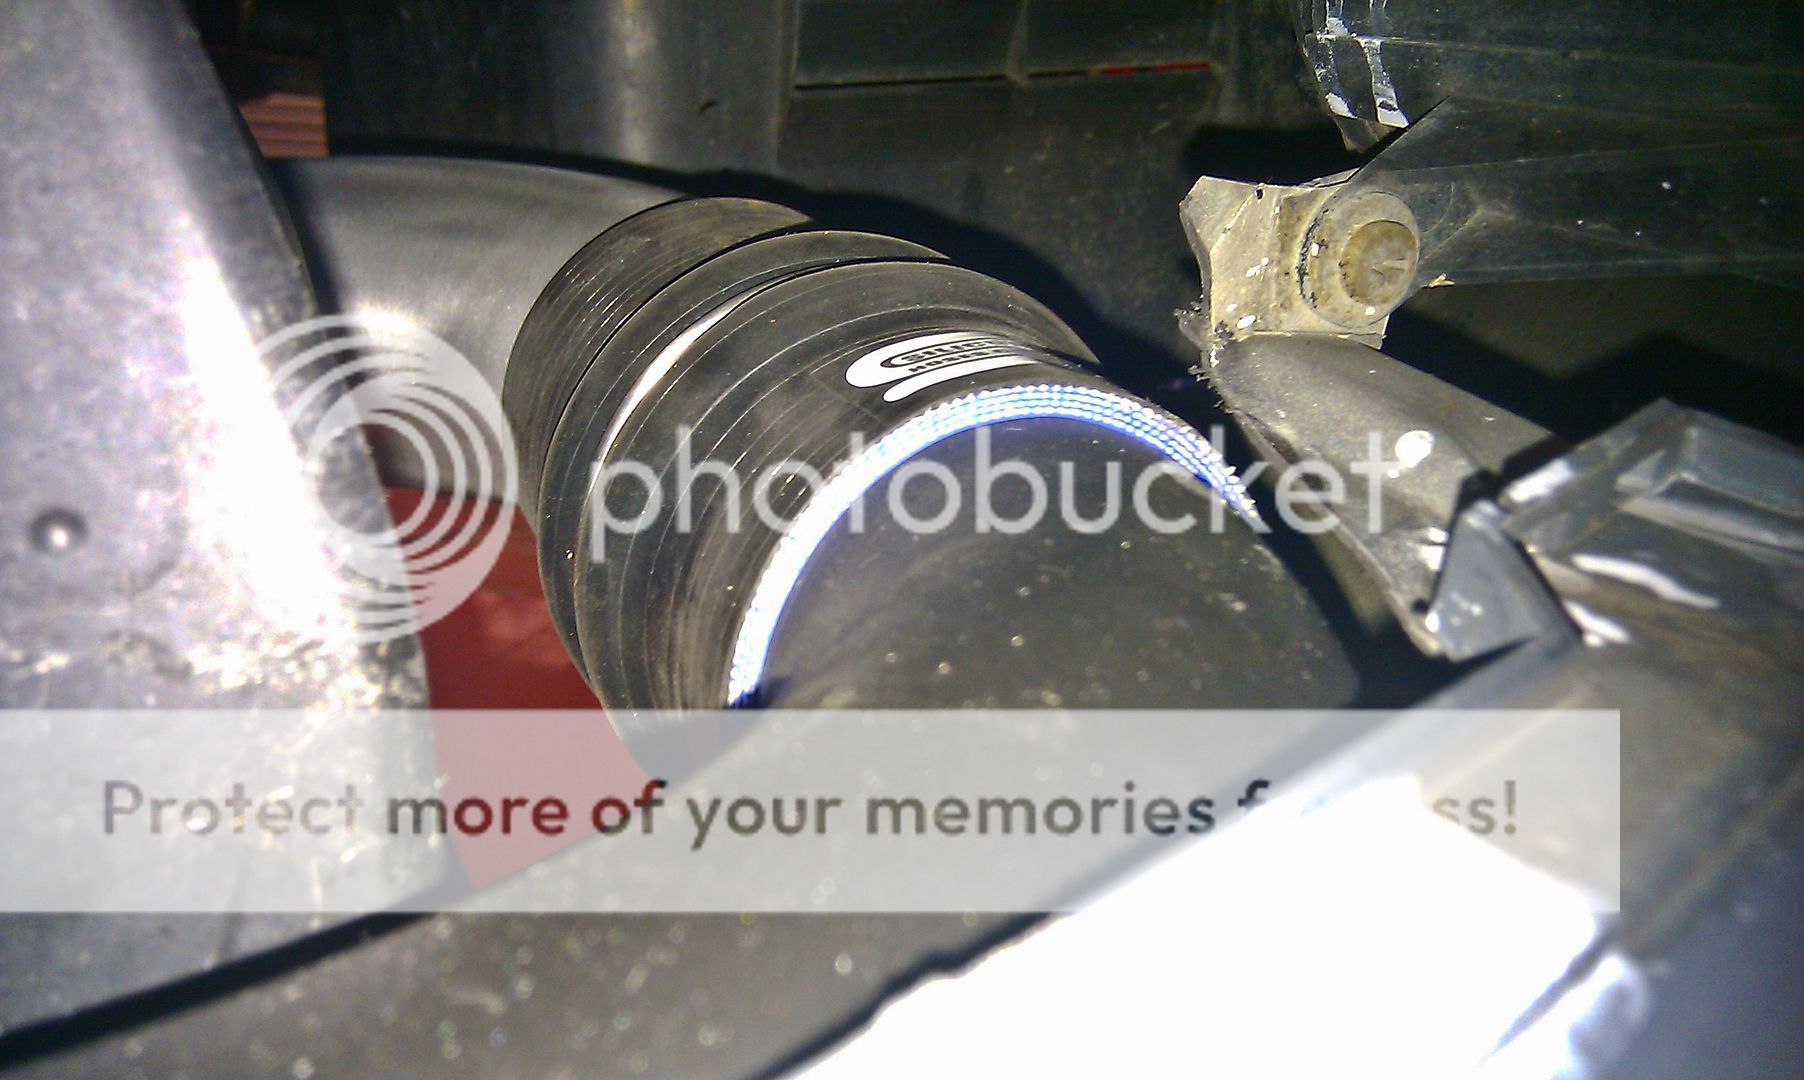
Offside pipe work (complete with welding tape TM)
20100914_IMAG0265.jpg


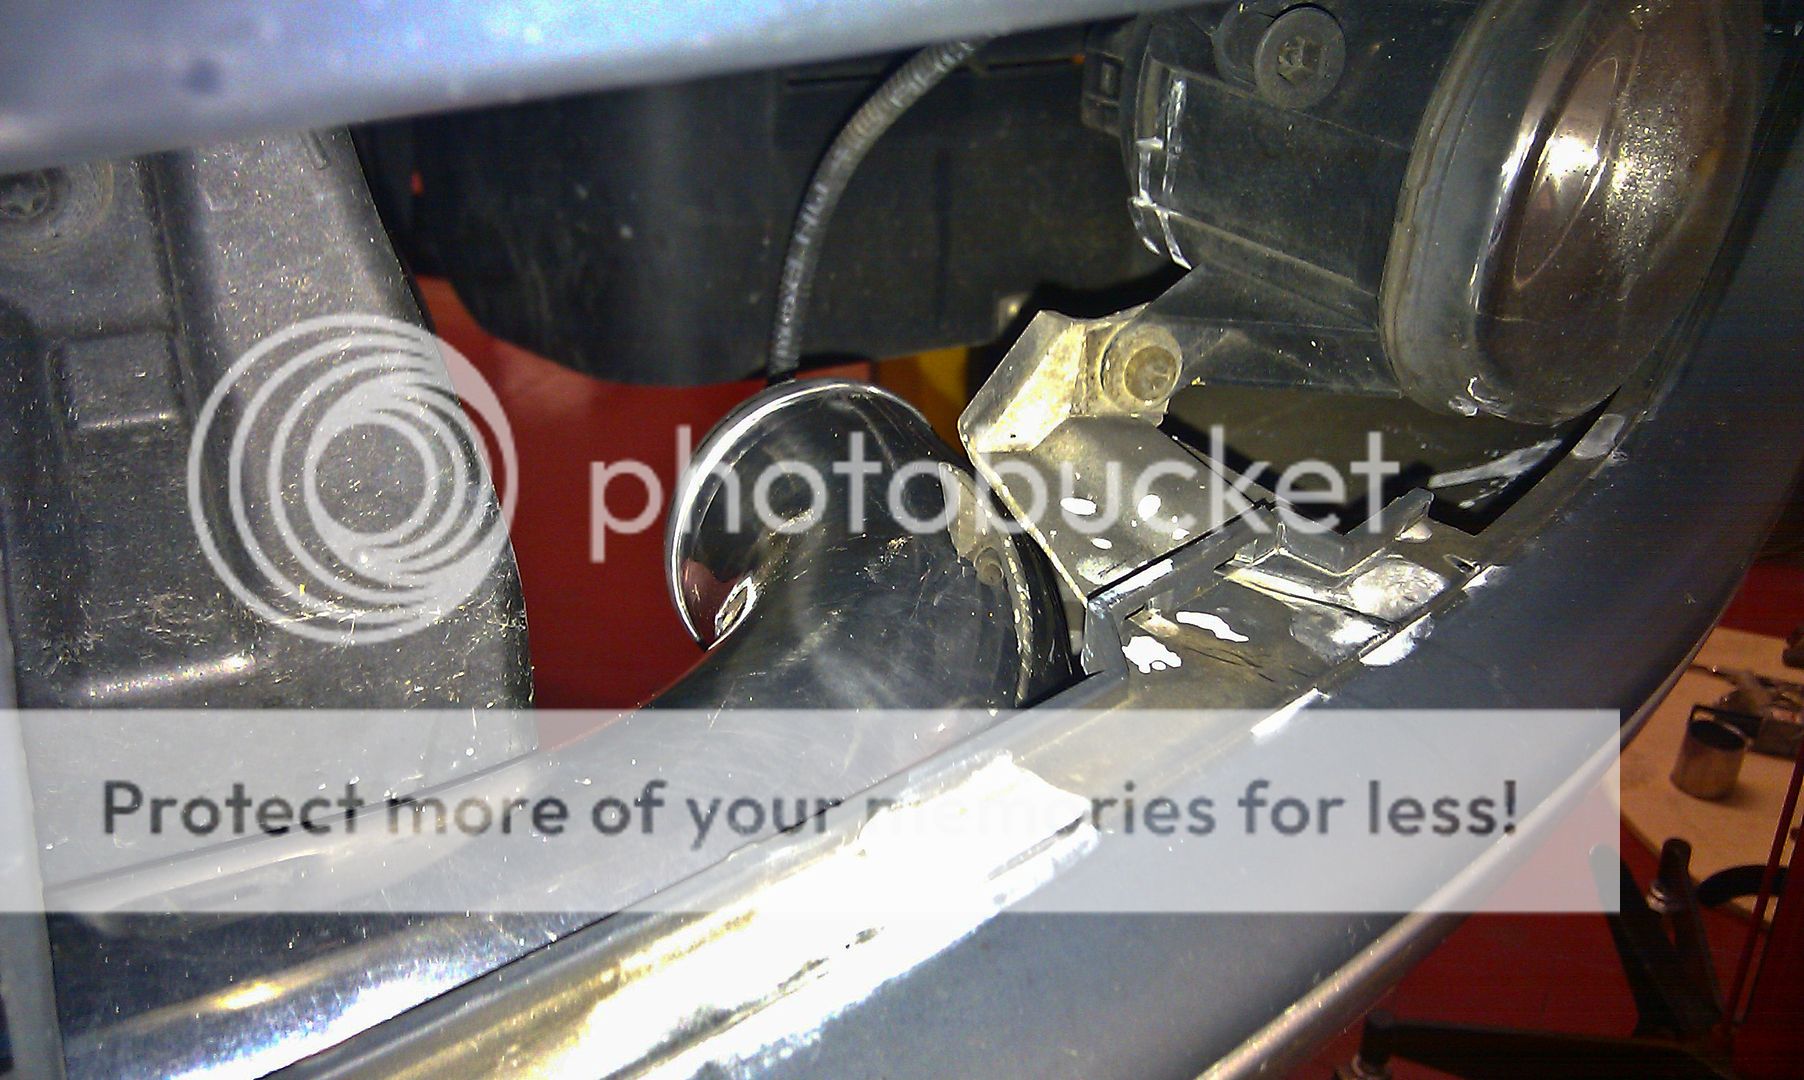
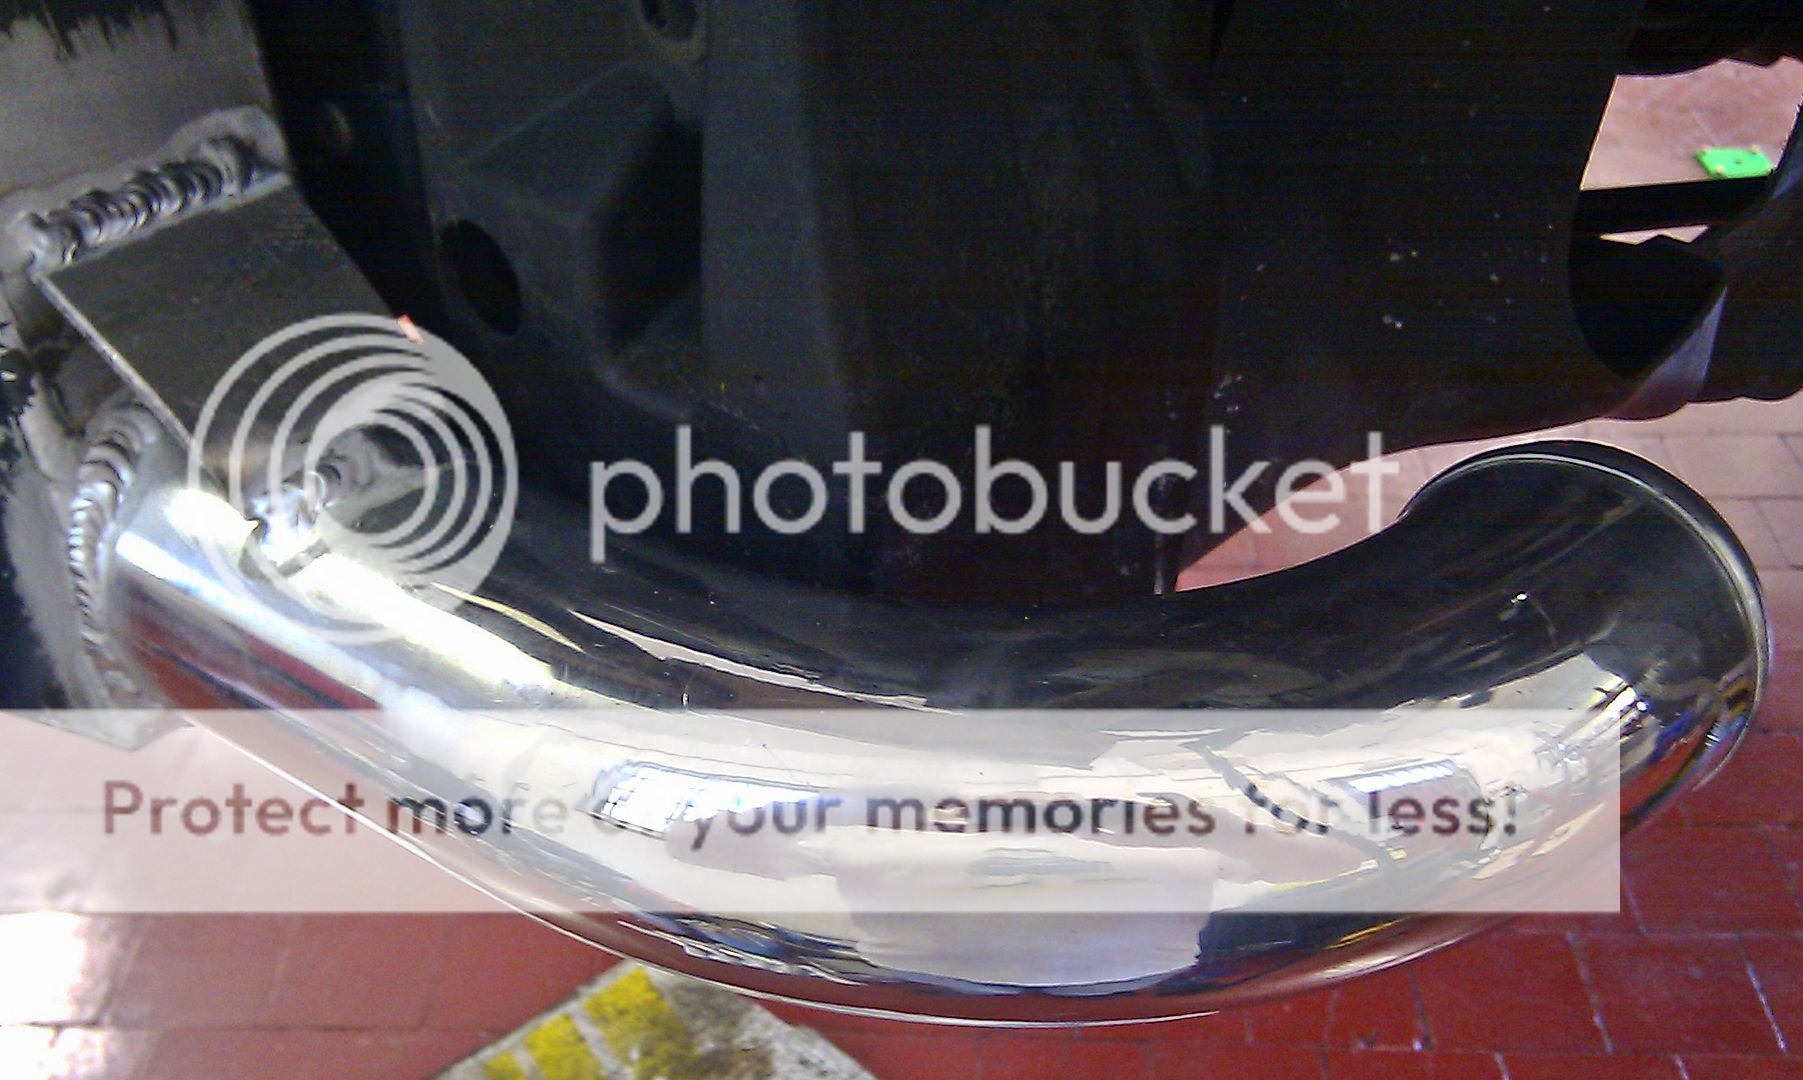
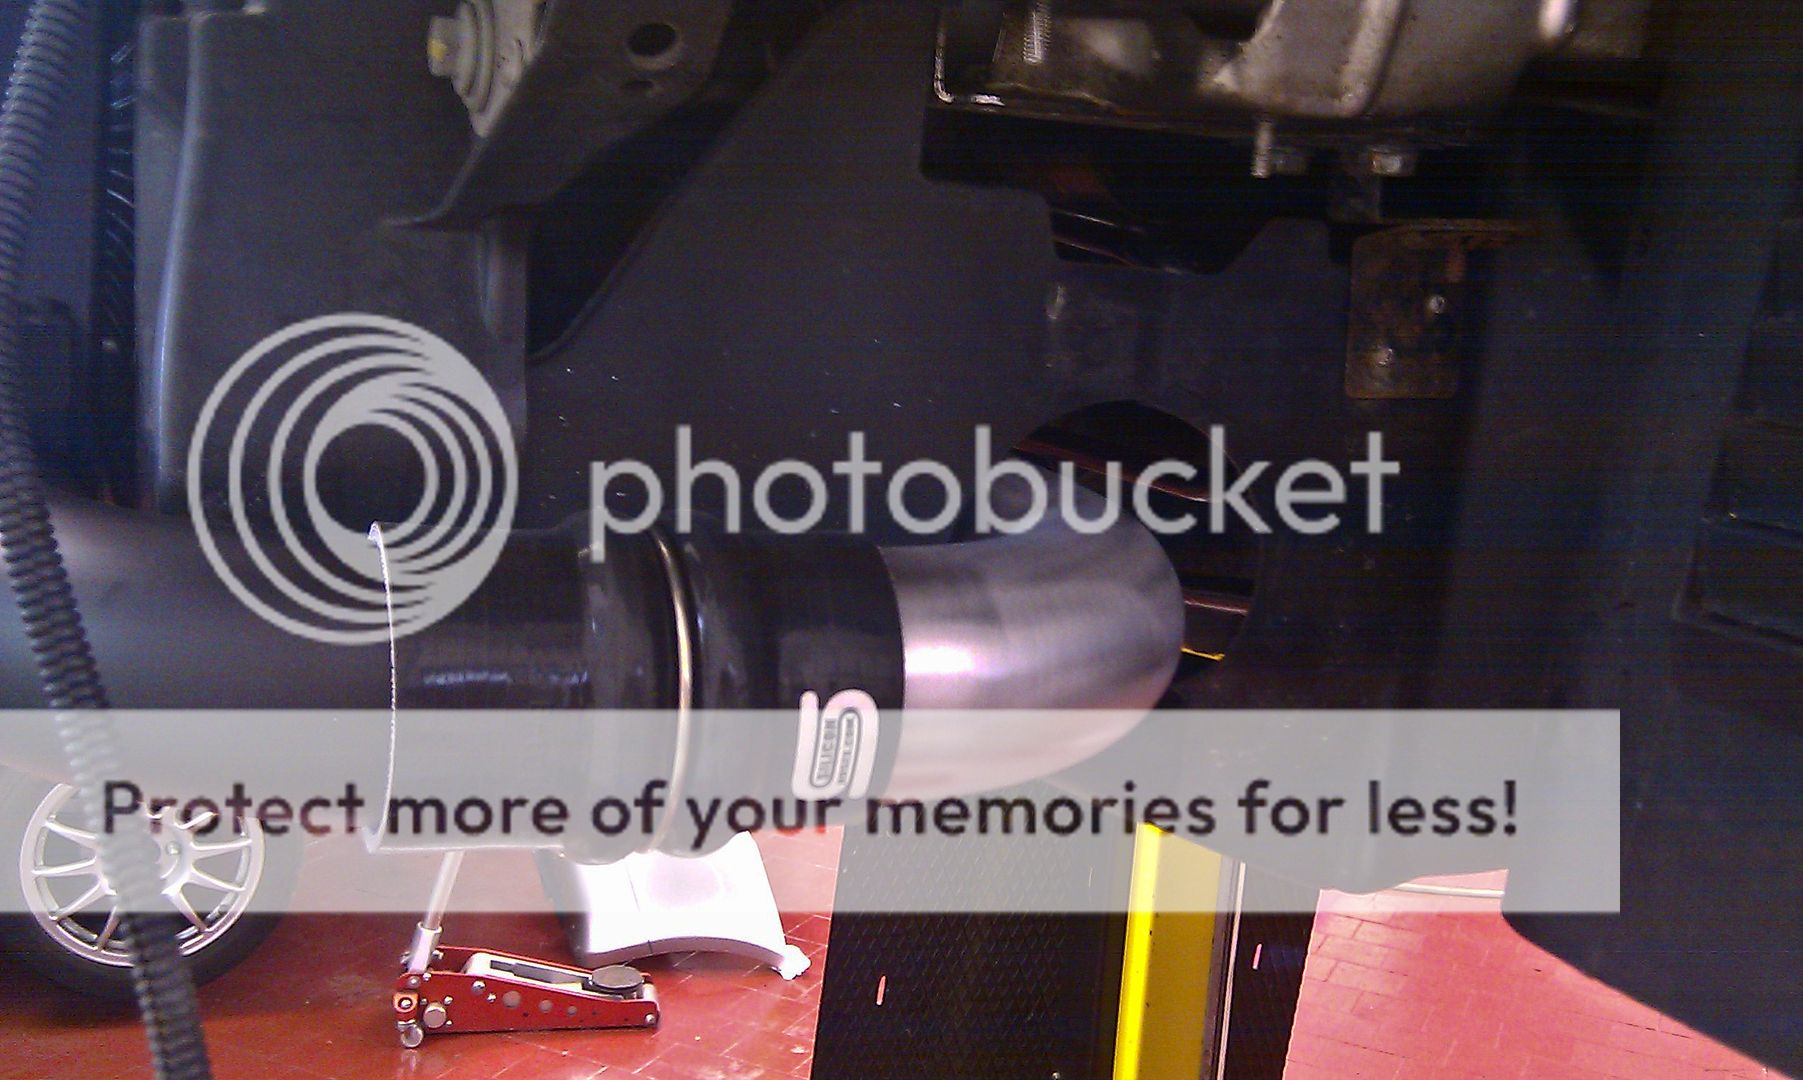
Nearside pipework...
20100914_IMAG0264.jpg


20100914_IMAG0273.jpg


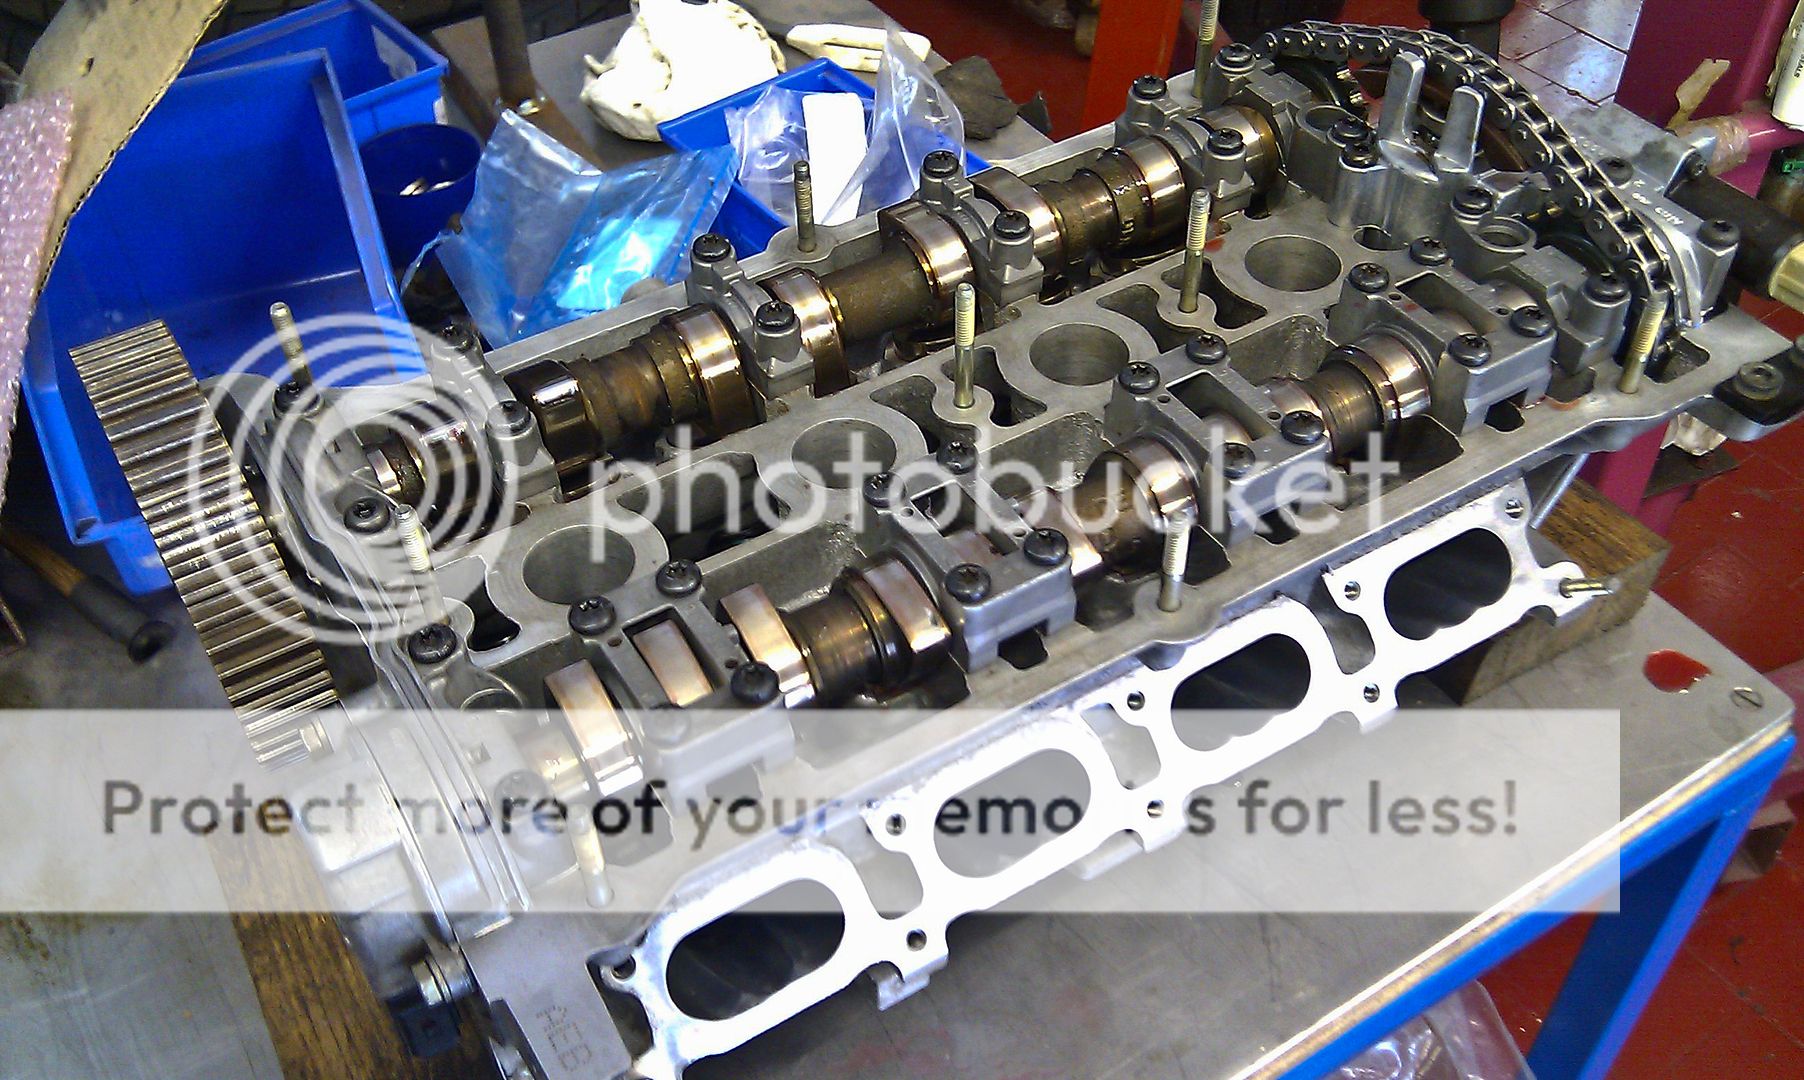
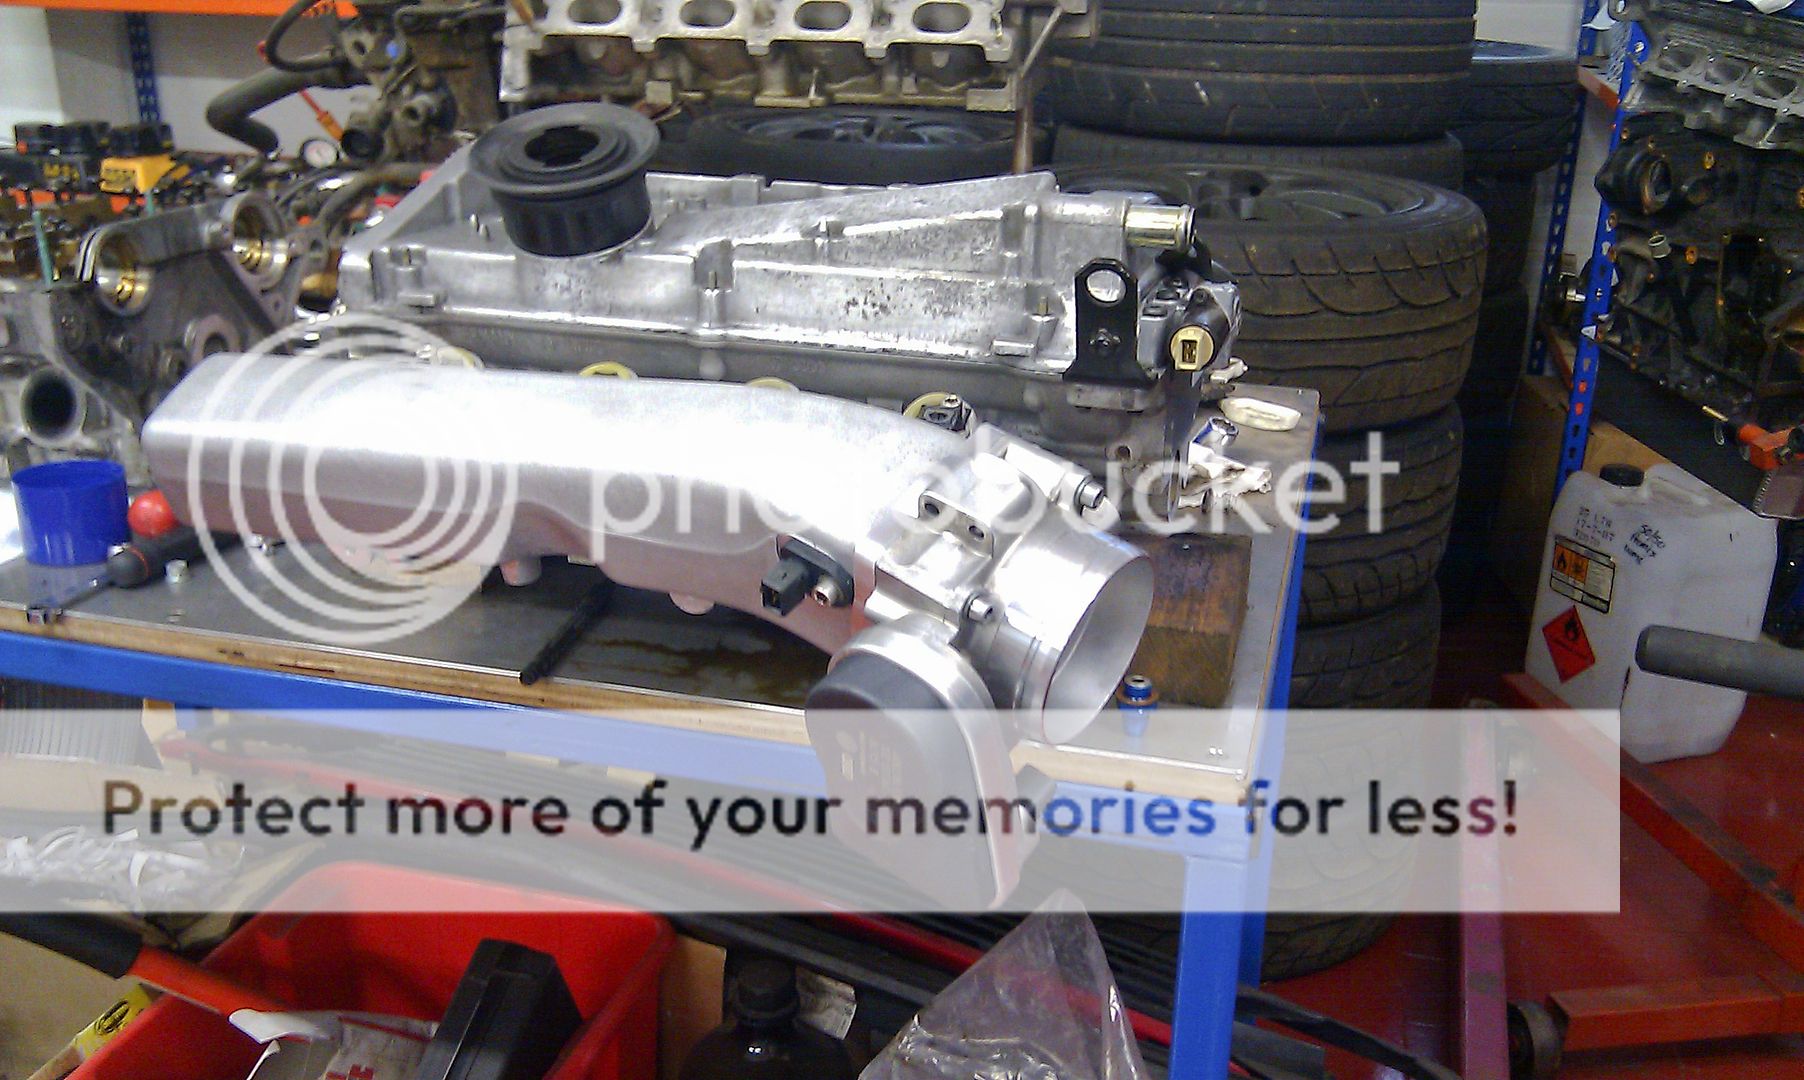
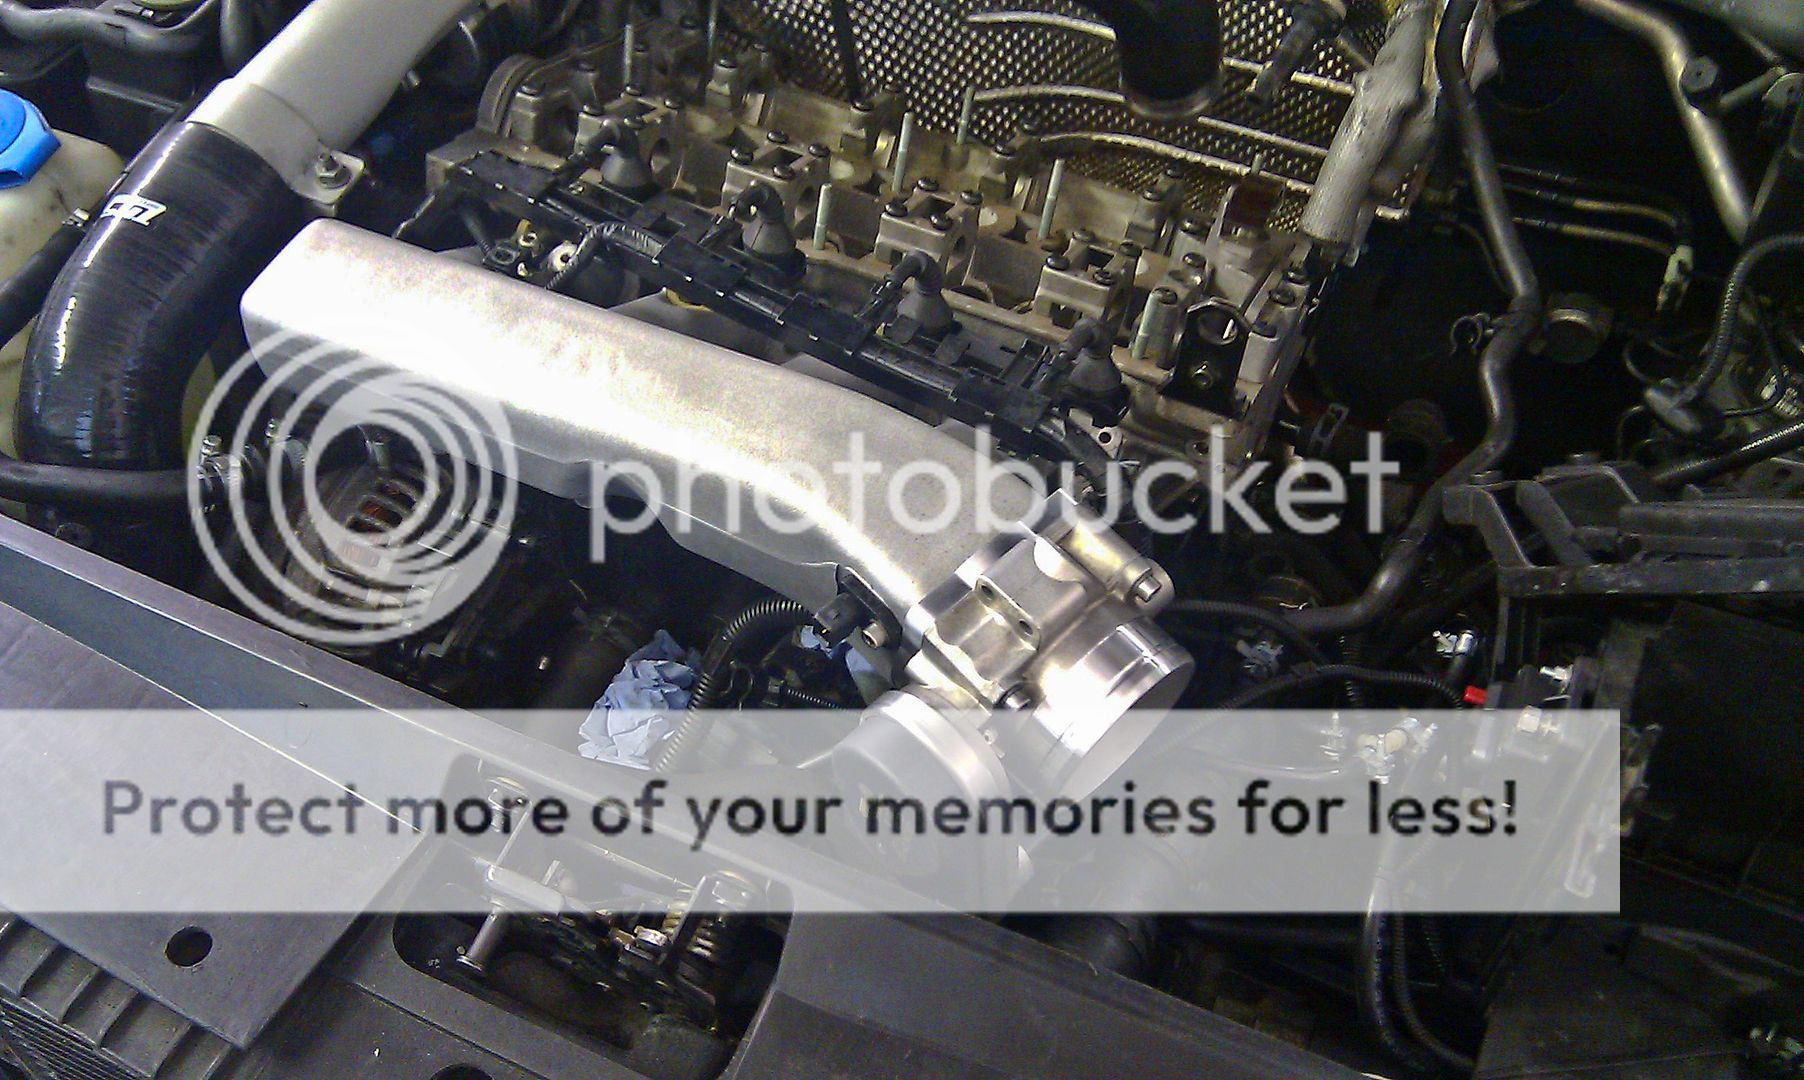
Fitted my inlet mani to a spare head and put that on the engine so I could work out where the pipework would end up...
20100914_IMAG0267.jpg


...awaiting the SFS reducer and 70mm alloy bend...
20100914_IMAG0275.jpg


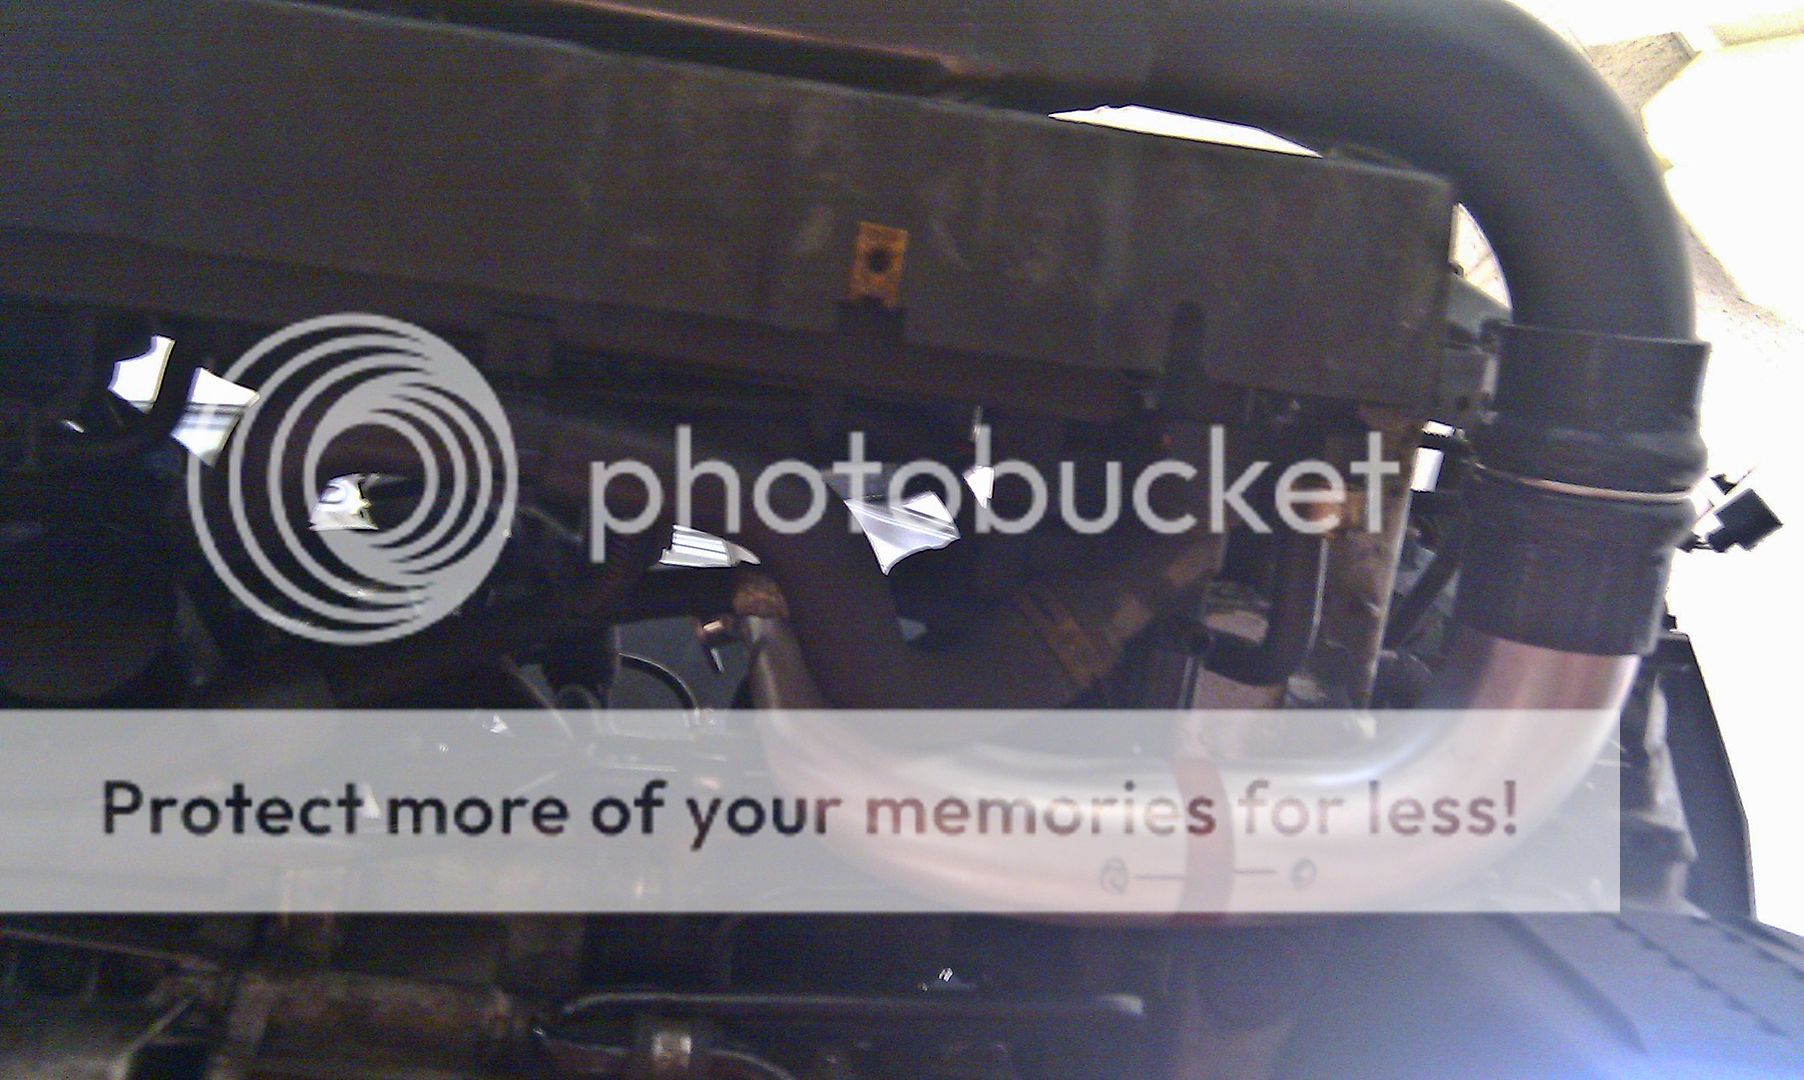
Now that most of the pipework was in, I though I had better try the bumper again... as I suspected, there was a minor bit of trimming that needed to be done...
20100914_IMAG0278.jpg


This was the same both sides so I marked up the fog light bracket, removed the bumper and trimmed it a little...
20100914_IMAG0287.jpg


Bill is welding the pipes up for me over the next couple of days and welding in a boss for the WMI nozzle ready for when I eventually go WMI...

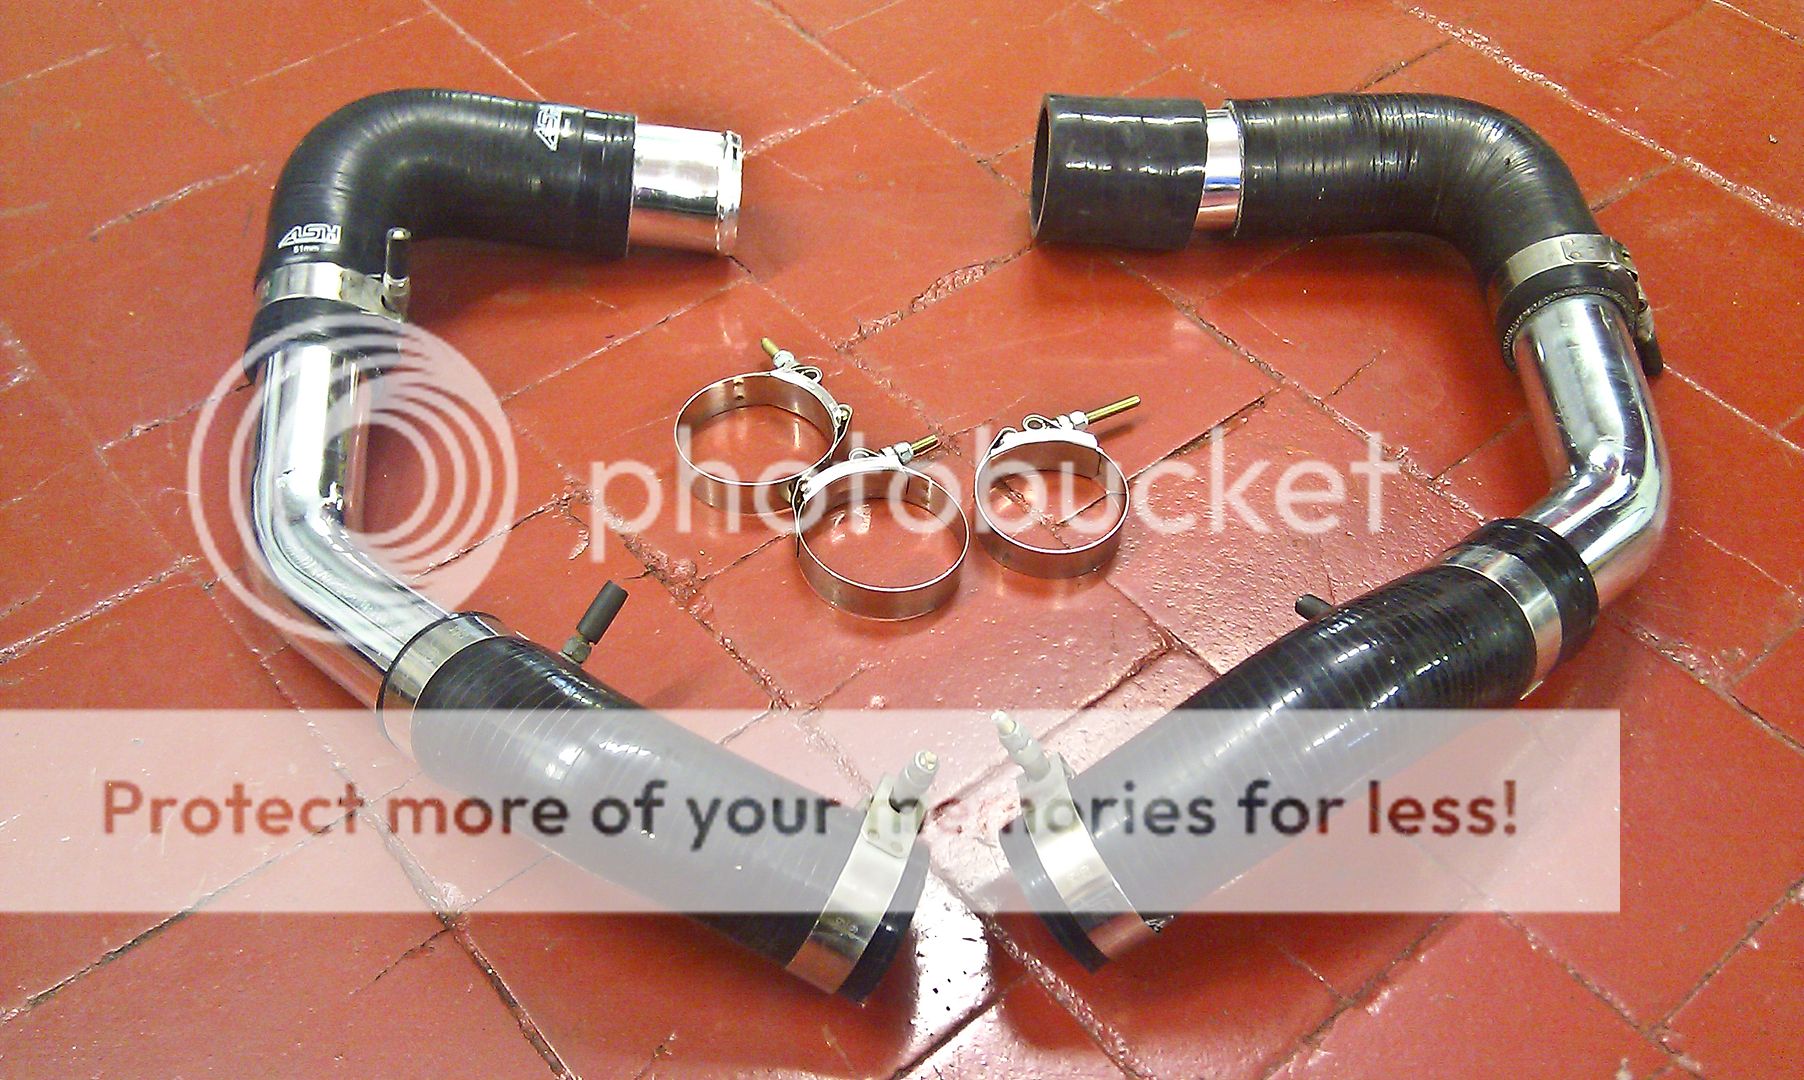
A lot different from the hoses I removed...
20100914_IMAG0268.jpg


Ideal for someone planning on getting an AH Fabs FMIC :thumbsup:


Remaking the TIP tomorrow and working out where to run the pipework for the supersize DV...
20100202_IMG_3971.jpg


My feet are killing me though... I spend most of my working day sat on my fat ****... this actual working thing is knackering lol

<tuffty/>
 
Looks spot on paul. Loving the new route for the fmic pipework, what you doing about the MAP sensor though?
 
Using a Forge MAP sensor tube... its the tube just in front of the TB in this pic...
20100914_IMAG0275.jpg


<tuffty/>
 
come on man get it all fited i need to know what the clutch is like. lol all looking good though mate will be interesting to see the increase in flow
 

Similar threads

Replies
5
Views
1K
Replies
1
Views
1K
D
Replies
0
Views
702
Deleted member 65282
D