ROLTYA3TURBO
essex boy :)
Hi guys.I have now sprayed my engine cover and thought i'd do a little write-up about it to share some knowledge in a step by step guide so you can have a gander and maybe get some inspiration if your looking to do this yourself.
Right!
Well first up obviously go to your car, lift the bonnet and remove your engine cover.On the a3 1.8t there is 4 screws located at the top just pop these out and your done!
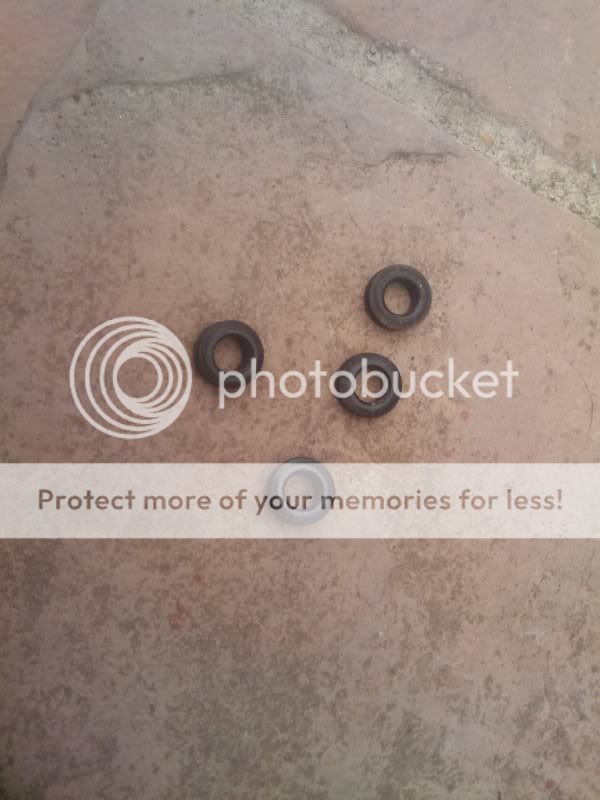
Before cleaning/degreasing your cover make sure you remove the 4 screws and also the rubber grommets from the cover (use a small flat tool to pop these out) to get right in the nooks and crannies.
Clean your cover with a SUITABLE degreaser.Obviously no strong acids as the plastic WILL melt, a motor oil/mechanics degreaser or white sprit/turps is fine, it's only to remove the strong bedded in oils and stains.Rinse off and allow to dry.
Once that is done, i used a regular (not too abrasive) sandpaper to rough over the cover and remove some of the grain pattern.
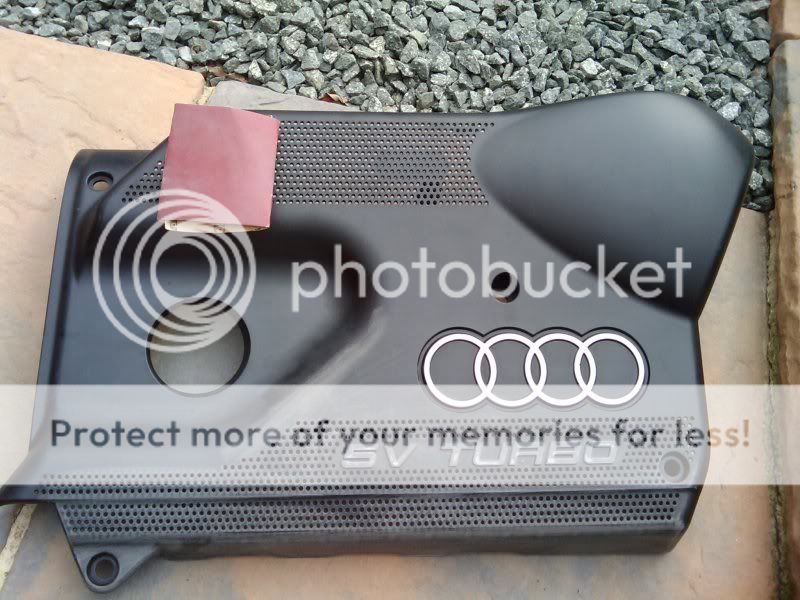
And you end up with something like this

Next i rubbed over the cover a few times with 240 grade wet and dry paper with soapy water (cleans the surface aswell as lubricating the paper) to take out the rough spots left by the sandpaper just to allow a smoother surface.Rinsed off with clean water and allowed to dry.
Once dry I then wiped the cover over with pre-paint to get rid of any residue left by the sanding process.
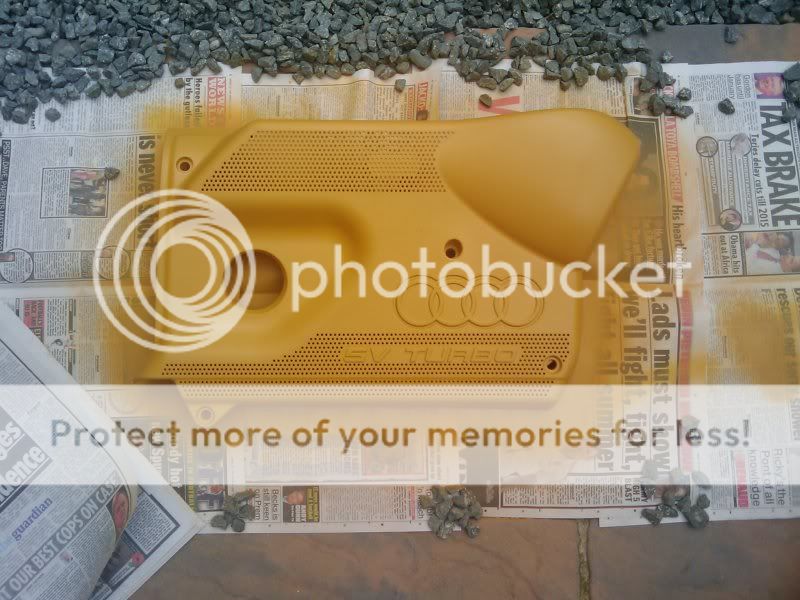
Then mist a coat of filler primer over the cover to fill in any grained pattern and allow to dry for a few minutes, then apply a second coat.
1st coat

2nd coat
dried before being wet sanded

Right,well after allowing to dry for a couple of hours i then used the same 240 grade wet and dry paper with some soapy water and gently smoothed the cover over.
Then i set about masking up my spray area in my dads shed lol so wherever your spraying obviously mask up everywhere as you don't want paint all over the shop!

Once your set up use some more pre paint with a clean cloth and wipe the area to remove any dust.
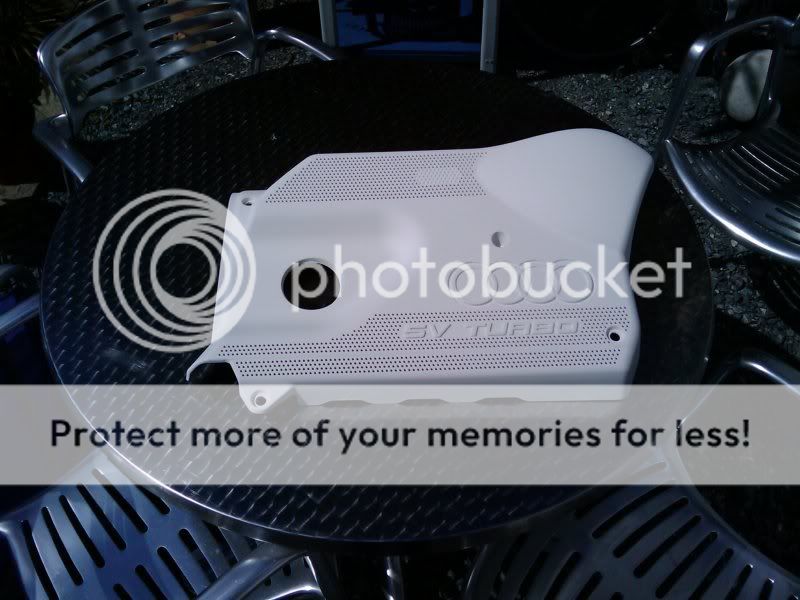
Then place your cover in your spray area and apply 2-3 coats of normal primer.I used white primer, as the colour i chose to spray my cover with was the metallic blue that my car is painted so it'll make it "pop" more.Like for like if you choose a dark colour use a dark primer,light colour light primer.

Left out in the sun to bake hard for an hour
Then i wet sanded the cover with some lighter grade 600 wet and dry paper with the soapy water and left to dry.
I then applied a mist coat of colour before applying the second coat around 10 minutes later.Left to dry

Again i used some lighter grade 800 wet and dry paper to remove any unsmooth paint.left to dry
Wipe over the cover with pre paint and wait a few minutes to dry.
I then sprayed on another 2 heavy coats of colour this time allowing around 15 minutes between coats to get a good coverage.Left to dry.
Wet sanded and left to dry again before wiping over with pre-paint.
I then sprayed on 3 coats of clear laquer allowing 10 minutes between coats and left to dry for 24 hours.
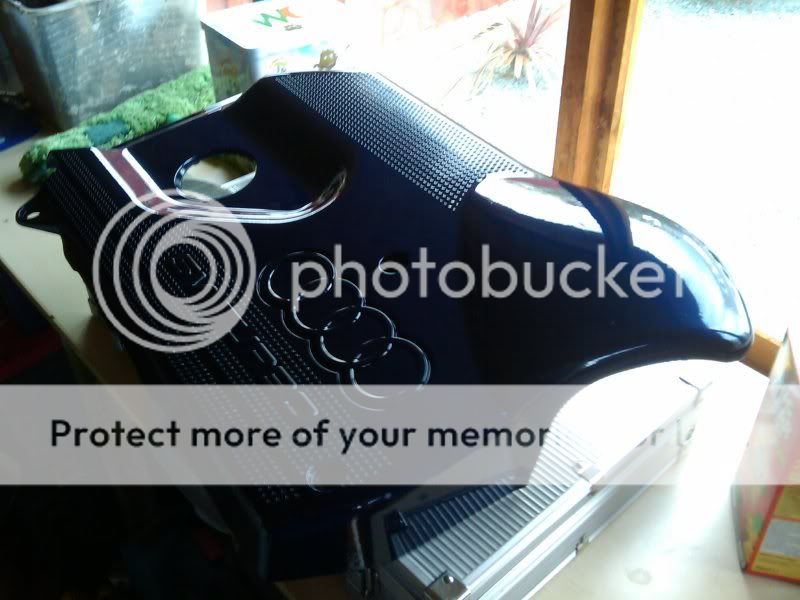
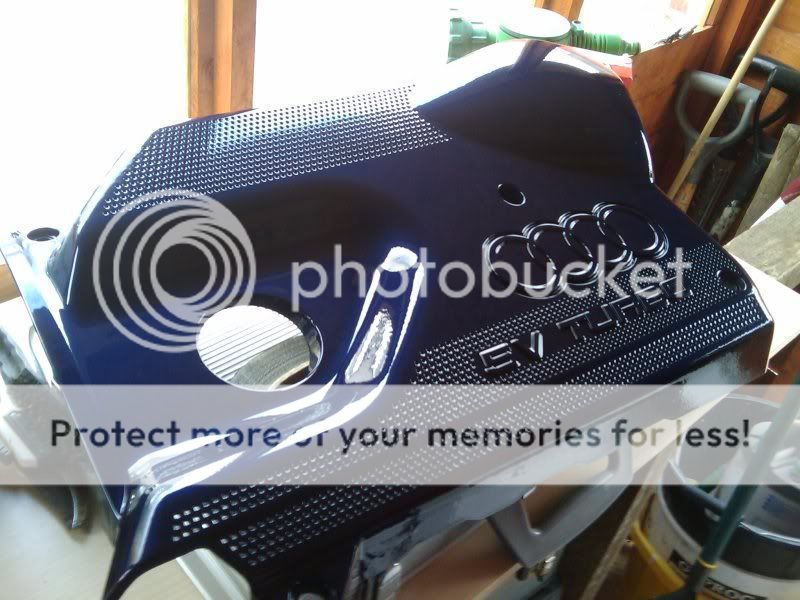
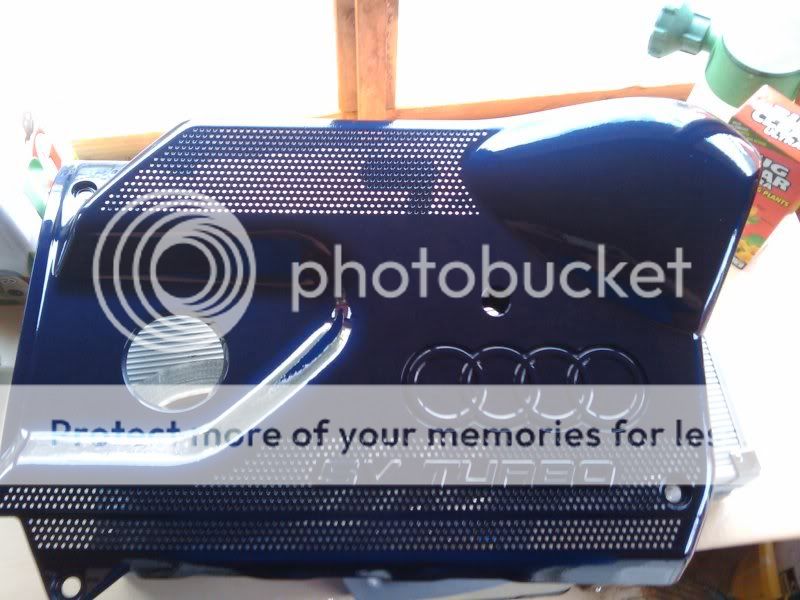
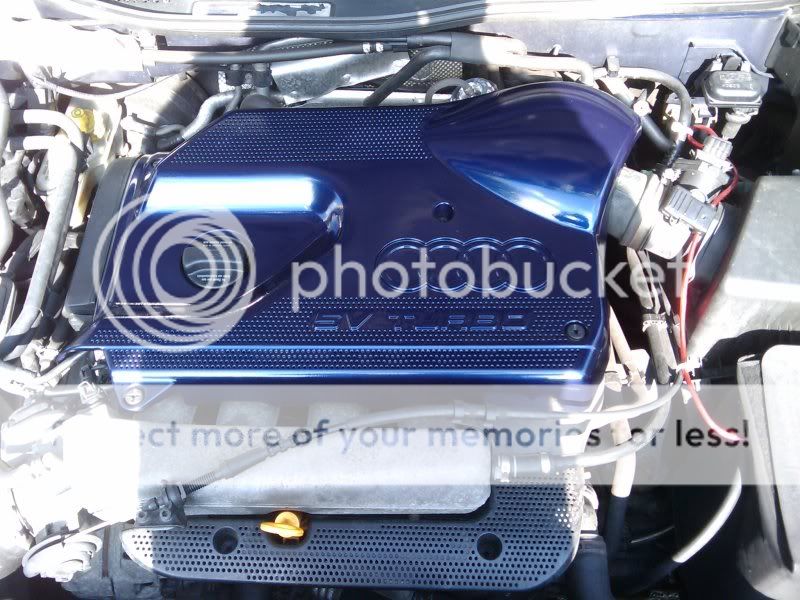
At the end you will end up with something that looks like this")
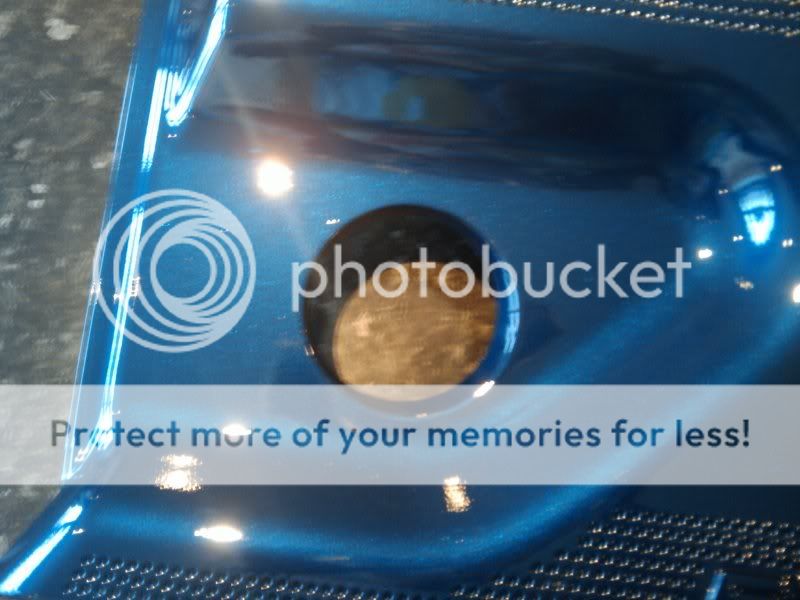


Originally after spraying the colour i was going to mask up the audi rings and the 5v turbo emblems and spray them in silver or white but after spraying over with the blue i really loved the "stealth" look of it so i'm keeping it like this
I hope you enjoyed reading this and hopefully i have given you all some ideas!
Thanks for looking,if you have any questions just pm me and i'll be glad to help:thumbsup:
Right!
Well first up obviously go to your car, lift the bonnet and remove your engine cover.On the a3 1.8t there is 4 screws located at the top just pop these out and your done!
Before cleaning/degreasing your cover make sure you remove the 4 screws and also the rubber grommets from the cover (use a small flat tool to pop these out) to get right in the nooks and crannies.
Clean your cover with a SUITABLE degreaser.Obviously no strong acids as the plastic WILL melt, a motor oil/mechanics degreaser or white sprit/turps is fine, it's only to remove the strong bedded in oils and stains.Rinse off and allow to dry.
Once that is done, i used a regular (not too abrasive) sandpaper to rough over the cover and remove some of the grain pattern.
And you end up with something like this
Next i rubbed over the cover a few times with 240 grade wet and dry paper with soapy water (cleans the surface aswell as lubricating the paper) to take out the rough spots left by the sandpaper just to allow a smoother surface.Rinsed off with clean water and allowed to dry.
Once dry I then wiped the cover over with pre-paint to get rid of any residue left by the sanding process.
Then mist a coat of filler primer over the cover to fill in any grained pattern and allow to dry for a few minutes, then apply a second coat.
1st coat
2nd coat
dried before being wet sanded
Right,well after allowing to dry for a couple of hours i then used the same 240 grade wet and dry paper with some soapy water and gently smoothed the cover over.
Then i set about masking up my spray area in my dads shed lol so wherever your spraying obviously mask up everywhere as you don't want paint all over the shop!
Once your set up use some more pre paint with a clean cloth and wipe the area to remove any dust.
Then place your cover in your spray area and apply 2-3 coats of normal primer.I used white primer, as the colour i chose to spray my cover with was the metallic blue that my car is painted so it'll make it "pop" more.Like for like if you choose a dark colour use a dark primer,light colour light primer.
Left out in the sun to bake hard for an hour
Then i wet sanded the cover with some lighter grade 600 wet and dry paper with the soapy water and left to dry.
I then applied a mist coat of colour before applying the second coat around 10 minutes later.Left to dry
Again i used some lighter grade 800 wet and dry paper to remove any unsmooth paint.left to dry
Wipe over the cover with pre paint and wait a few minutes to dry.
I then sprayed on another 2 heavy coats of colour this time allowing around 15 minutes between coats to get a good coverage.Left to dry.
Wet sanded and left to dry again before wiping over with pre-paint.
I then sprayed on 3 coats of clear laquer allowing 10 minutes between coats and left to dry for 24 hours.
At the end you will end up with something that looks like this
Originally after spraying the colour i was going to mask up the audi rings and the 5v turbo emblems and spray them in silver or white but after spraying over with the blue i really loved the "stealth" look of it so i'm keeping it like this
I hope you enjoyed reading this and hopefully i have given you all some ideas!
Thanks for looking,if you have any questions just pm me and i'll be glad to help:thumbsup: