Double Din Conversion / RNS-D Retro Fit

g60leigh

Registered User
Joined
Jun 16, 2007
Messages
1,667
Reaction score
207
Points
63
Location
Stockton on Tees
All done now. So here is the promised write up.

Tools needed:

T25 torx driver (short shaft is best)

Torch

Stereo release keys (4 if fitting a nav unit)


Steps:

1) Remove both side under dash panels by removing the two screws underneath and the screws behind the dash end trims.


2) Remove old stereo and trim piece around hazard switch

attachment.php


Slide out climate control unit.

You will now see all the torx screws to be removed.


3) Remove the 2 screws at the top, 4 on the front and also there are 2 on either side near the back of the trim.

attachment.php
attachment.php


4) The trim will now pull forward allowing you to disconnect the electrical connections and remove.


5) This will now reveal the inner cage which is held in my a screw either side.

Remove the screws and the cage will lift out.

attachment.php
attachment.php


6)Run your GPS antennae connection to the rear if the stereo and locate the receiver end up into the dash cavity. As high up as you can so it has a clear as possible line up through the windscreen.

If your also fitting TMC or TV tuner as well run the cables into the stereo area now.

7) Now it's just a case of fitting new double din parts in reverse of the above.

8) Once you have refitted all the dash panels you will be ready to install the nav unit.
This is just a case of plugging in all the connections and sliding the unit in.

One thing to note on the install is that the RNS-D required a 'safe' feed wire.

This was simply a wire linked from the permanent live to the safe connection as shown on the wiring sticker

On mine it was the red and white cable linked into the plug hole next to it.


Notes:

Don't tighten the new inner cage until you have lined up the outer trim.

When fitting the outer trim locate the base first and it will go back in a lot easier.

Finished result

attachment.php


All in all it is not a difficult or long job.

It's taken me about two hours and I have done that in the dark (only spare time I could get)

To set up all the features of the nav unit you will need access to vcds to code it in.

I will add a link to the coding info below.

If you have any questions or would like extra help just let me know.
 
  • Like
Reactions: Jay A3
Thanks Leigh, thread is now a sticky. :icon_thumright:x
 
Nice DIY man!!
Can you tell me the exact model and manufacturer of the stereo to buy in ebay?
Thanks!!
 
Nice DIY man!!
Can you tell me the exact model and manufacturer of the stereo to buy in ebay?
Thanks!!

Mine is a RND-D. Audi A3 (8L) model so straight fit on the fascia side.
My model number is 4D0 035 192 H

I think any RNS-D will work but A4 & A6 ones etc need trimming to fit the dash. And your left with gaps at the top

Easiest way is to hang on for A3 one.
 
Hi all, today I buyed RNS-D 4D0 035 192 H, i read that great tutorial and I have some questions:

First of all If I mount that RNS-D it will work with the DIS, my car is the A3 8L ReStyling From 2002 with CANBUS, or i need the TMC Tuner?

And If I need the TMC module can you tell me the model number of the TMC that you used?

Thank you for all and Sorry For my english.
 
I wrote a quick guide for installing the RNS-E system in the 8L chassis so thought i would post it here as its very similar to the RNS-D system.

Basic Guide to setting up RNSE in an Audi 8L

Items needed :

RNSE – Best from an audi B6/B7 A4 as these are the closest in size to the hole in the 8L dash. Please note in order to get the RNSE to fit properly you will need to trim it down a small bit on the sides towards the top and also on the bottom edge as you need to remove the chrome strip and then remove the excess plastic.

Stereo removal keys x 4 : Best bought as a set along with the loom from Kufatec

Fakra radio connector : to connect your radio aeriel to the RNSE again best from Kufatec

GPS aeriel : bought as part of a bundle with loom from kufatec

Loom : Kufatec will make a loom for your car after you let them know which stereo you had originally and what car you have and does it have bose or not.

Wire to run from behind dash clocks to the loom for Can High Can Low and Gala speed sensor.

Maps DVD – preferably an original as these work best.

VCDS : to be able to code the RNSE unit so that it thinks its fitted to an a^ as this is the only way to get it to function in the 8L

To Install :

In order for the RNSE to function correctly 3 wires need to be run from behind the dash clocks (speedo rev counter etc).

Remove the clocks and on the back you will see 3 connectors 1 green 1 blue and 1 grey. We need to connect a wire on Pin 31 on the blue connector and run that to the wire on your new kufatec loom that connects to the gala speed sensor in the RNSE. We then need to connect 2 more wires in the grey connector Pin 5 (Can High) and Pin 6 (Can Low) these then need to be run to the loom and connected to the same on the RNSE (please note the RNSE has a wiring guide on it to help you identify which wires these are.

Whilst the dash clocks are removed this is a good location to install the GPS aeriel too and then you can run the wire to the RNSE the same as you had with the 3 wires you just made.

The dash clocks can now be reconnected and fitted back in the dash

At this point it might be a good idea to test the setup and code the RNSE so you can confirm everything works.

Once you are happy that the unit functions correctly you can then trim the RNSE to the space you have in the 8L (take you time and remove small amounts at a time).

Once it is trimmed you can push it into the cage and it should click into place.

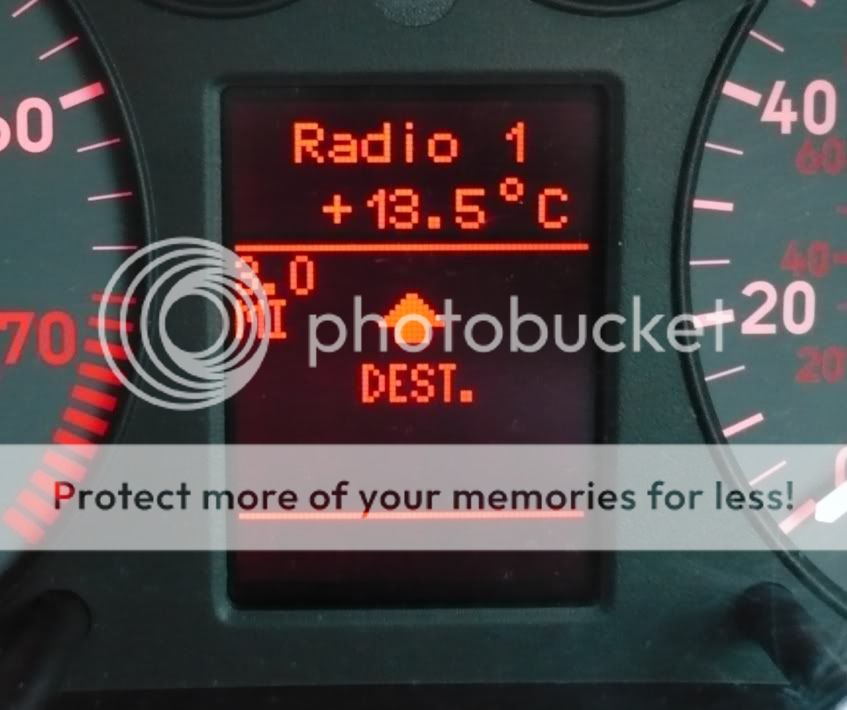
You should now see info displayed on your DIS screen giving SATNAV info and also radio/MP3 info.
 
Anyone know if this can be done on a pre facelift a3 8l? Looking to fit an aftermarket double din to mine, but can't find a definitive answer to what I need
 
I have the RNS-D installed, how the hell do you get it out? Is it same as above? Removal side panels etc or will it slide out with removal keys?
 
And where do they push in? There aren't any visible slots round the outside, although saying that it is pretty dark!
 
I have since found where they go, very well hidden I might add! Just above and below the buttons!
 
  • Like
Reactions: g60leigh
Just a quick update to my post as I spotted a few spelling mistakes etc

I wrote a quick guide for installing the RNS-E system in the 8L chassis so thought i would post it here as its very similar to the RNS-D system.

Basic Guide to setting up RNSE in an Audi 8L

Items needed :

RNSE – Best from an audi B6/B7 A4 as these are the closest in size to the hole in the 8L dash. Please note in order to get the RNSE to fit properly you will need to trim it down a small bit on the sides towards the top and also on the bottom edge as you need to remove the chrome strip and then remove the excess plastic.

Stereo removal keys x 4 : Best bought as a set along with the loom from Kufatec

Fakra radio connector : to connect your radio aeriel to the RNSE again best from Kufatec

GPS aeriel : bought as part of a bundle with loom from kufatec

Loom : Kufatec will make a loom for your car after you let them know which stereo you had originally and what car you have and does it have bose or not.

Wire to run from behind dash clocks to the loom for Can High Can Low and Gala speed sensor.

Maps DVD – preferably an original as these work best.

VCDS : to be able to code the RNSE unit so that it thinks its fitted to an a6 as this is the only way to get it to function in the 8L as we use the Gala speed sensor for the GPS info

To Install :

In order for the RNSE to function correctly 3 wires need to be run from behind the dash clocks (speedo rev counter etc).

Remove the clocks and on the back you will see 3 connectors 1 green 1 blue and 1 grey. We need to connect a wire on Pin 31 on the blue connector and run that to the wire on your new kufatec loom that connects to the gala speed sensor in the RNSE. We then need to connect 2 more wires in the grey connector Pin 5 (Can High) and Pin 6 (Can Low) these then need to be run to the loom and connected to the same on the RNSE (please note the RNSE has a wiring guide on it to help you identify which wires these are.

Whilst the dash clocks are removed this is a good location to install the GPS aeriel too and then you can run the wire to the RNSE the same as you had with the 3 wires you just made.

The dash clocks can now be reconnected and fitted back in the dash

At this point it might be a good idea to test the setup and code the RNSE so you can confirm everything works. This is done in the Navigation section in VCDS and you have to recode the RNS-E (The code will be something like this : 0509135 the important bit is the 05 as that's the A6 part the rest is the config on your car.

Once you are happy that the unit functions correctly you can then trim the RNSE to the space you have in the 8L (take your time and remove small amounts at a time).

Once it is trimmed you can push it into the cage and it should click into place.

You should now see info displayed on your DIS screen giving SATNAV info when using the SATNAV function and also radio/MP3 info

I still have a few PDF`s I gathered when doing this upgrade that go into more detail so if you want them you can PM me :)
 
Some pics of the RNS-E fitted to my car

On


Off


Display on the DIS screen
 
  • Like
Reactions: daithi23 and Gops
Anyone know where the photos have gone as I'm looking at doing this but would like to know and see what I'm doing rather than cocking it up lol
 
Anyone know where the photos have gone as I'm looking at doing this but would like to know and see what I'm doing rather than cocking it up lol

I echo this, if someone still has the pics lying around?
 
the original post's pics aren't there anymore... there is only a
HTML:
, incomplete code

i could only pull up the pictures after successful install
 
On the subject of double din conversions , I'm "almost" ready to mine apart from a loom adaptor .
Alpine to Audi loom .
NON bose with single speaker active sub in the boot .
Anyone know which adaptor I need , there's loads and don't want to get it wrong !
 
Hello everyone, sorry to bring back such an old thread.

I am on the beginning of converting my console to double din in order to install a Pioneer 2Din display.
The car is a prefacelift 2000 S3 with ESP. So far i managed to track and buy the following items:
  1. Single DIN facelift console (including all the bits and miscellaneous parts)
  2. Double DIN cage with some other bits of the console
I have been searching in the forums for details regarding the climate controls but either photos are missing or there are no relevant information...However, it is not clear to me if any re-wiring is required.

Please guys, any help would be very much appreciated!!!!
 
The climate isn't PNP, either rewire needed or change in heater system parts, I was going to upgrade my S3 8L years ago to facelift console but was a little lazy to do then lol.

You'd need to do a pin to pin comparison in elsawin then go from there.
 
  • Like
Reactions: johna650
The climate isn't PNP, either rewire needed or change in heater system parts, I was going to upgrade my S3 8L years ago to facelift console but was a little lazy to do then lol.

You'd need to do a pin to pin comparison in elsawin then go from there.
Thank you NHN for the quick response. I may proceed with changing the climate controls. Instead of the 8L0 unit I plan to use an 8D0 from an A4 B5, which I found in another thread in here to require less wiring mods.

Thanks again mate!!