I'm quoting and posting this from one of the other forums I frequent.
I replaced turbo gaskets and when I started her up she sounded too good, no more gaskets blowing, real nice and smooth, until you rev it up, sounded like a TDI with marbles in the head.
Sounded identical to this
Audi A4 1.8T Cam Chain Tensioner (CCT) Failing? - YouTube
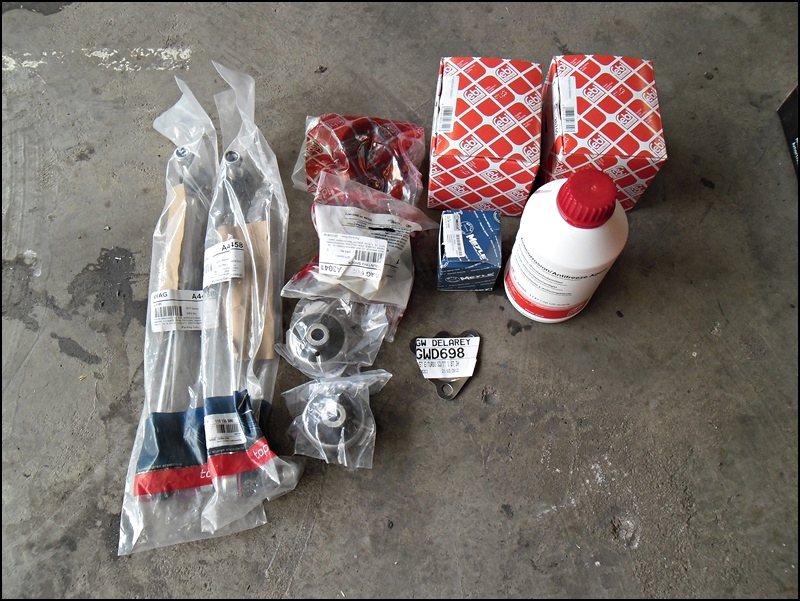
So after some troubleshooting etc, it was narrowed down to the Cam chain tensioner, Message was sent to Wikus at GW delarey and some new parts were collected yesterday (4k later

)........OH how I love my S
3 :lol:
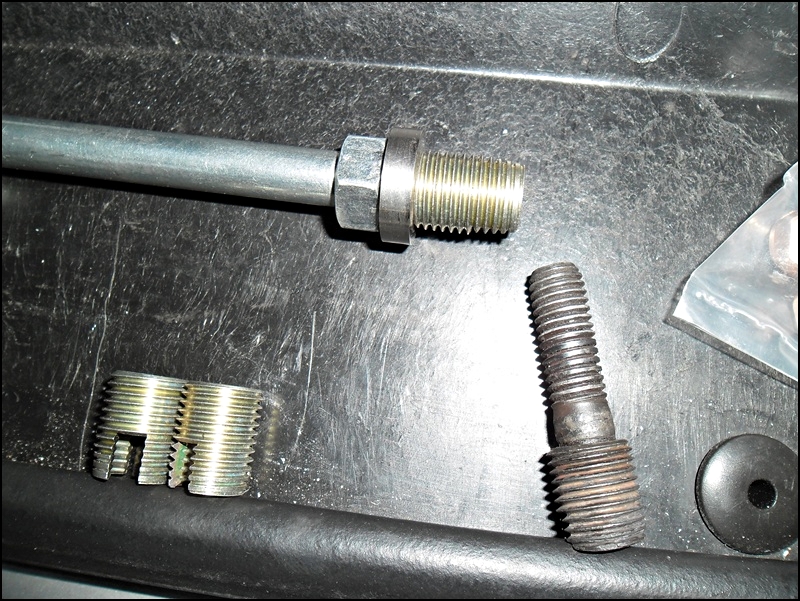
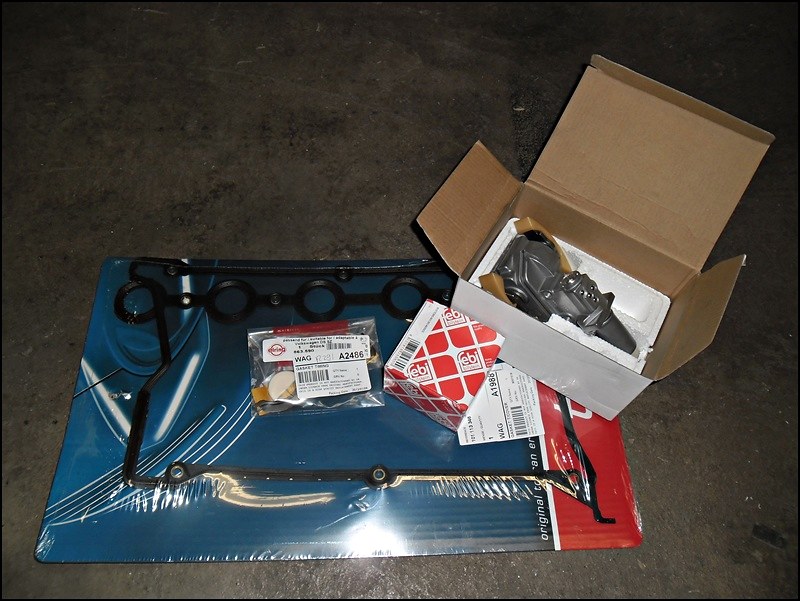
New Chain Tensioner
New Chain
New Tensioner Gaskets
New tappet cover Gasket
As per the above post
Fitted the new chain tensioner and seals, but the noise is still there :bang: But will get to that now later in the post.
Was too happy to fit new tensioner seals and cover gasket as it was leaking like a b**ch.
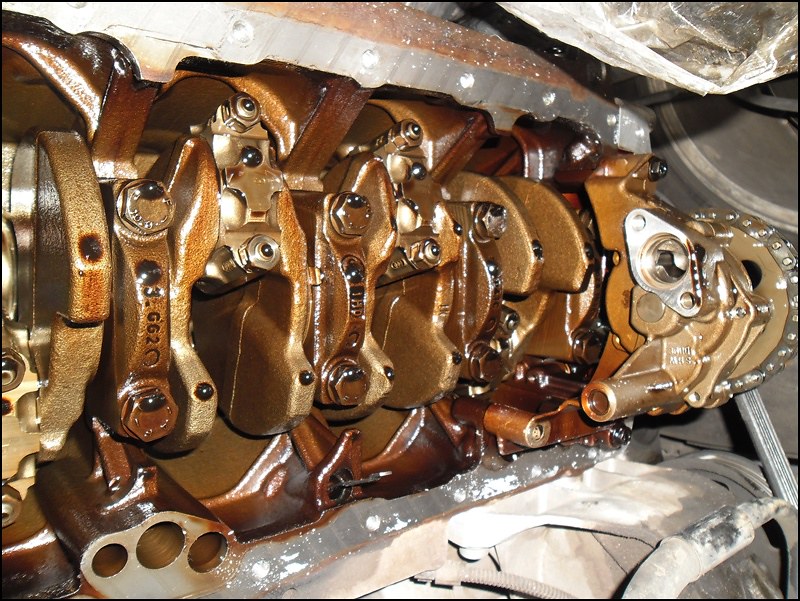
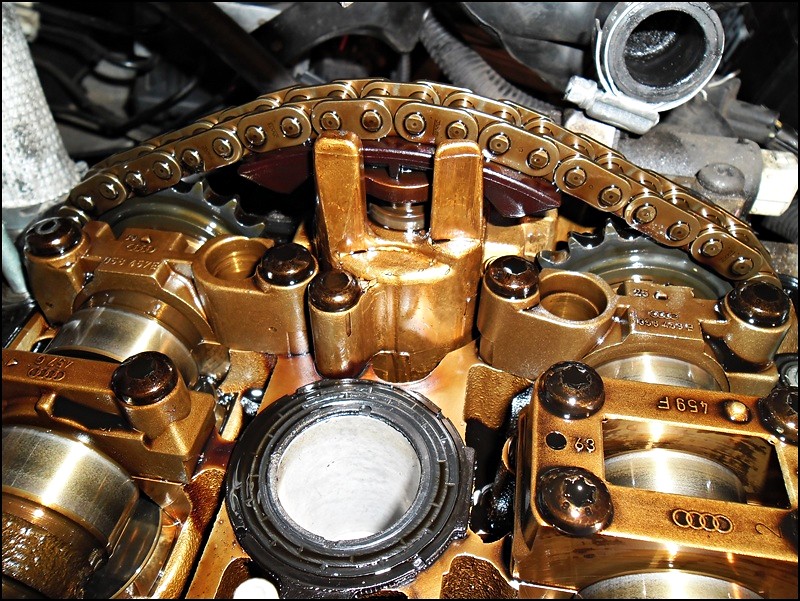
Head inside still looks good, nice and gold from the full synthetic oil used its whole life.
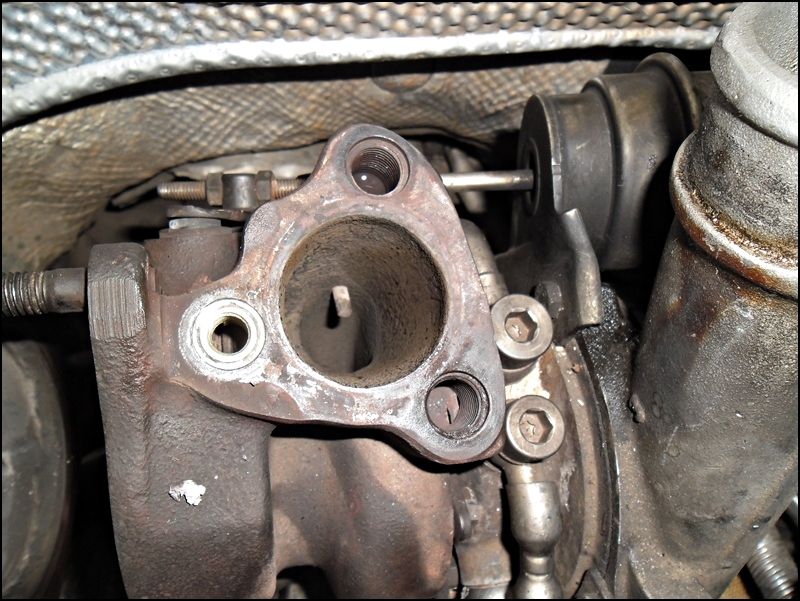
Old tensioner
New Tensioner fitted
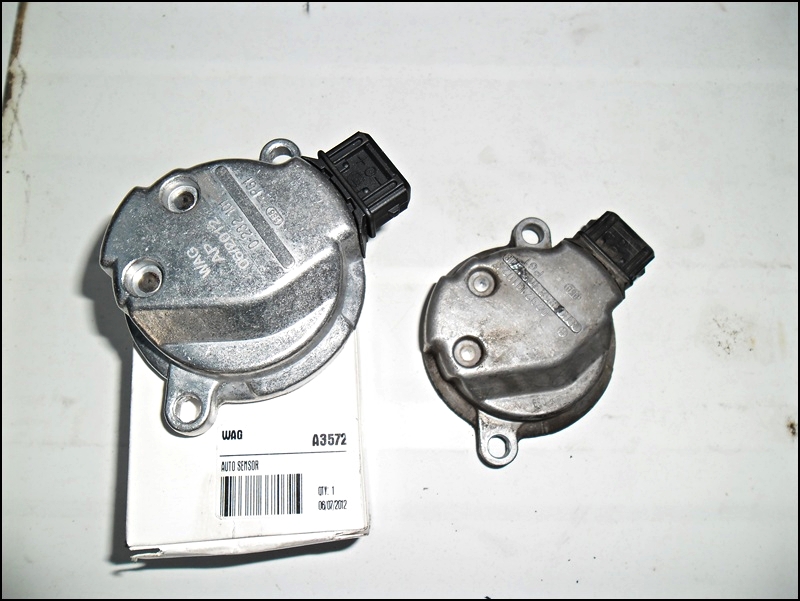
So after being all positive and starting her up, the noise was still there, so very ****** off Gizmo and I run Vag-Com to check for codes, and found that a code that pointed to the CPS (Cam position sensor), so went and purchased a new one, but to no luck, still makes the noise.
So the chain rattle/head noise directs to a few things:
Chain tensioner failed
Cam chain slack
Oil pressure channel to tensioner blocked/sludge
Oil pickup blocked
Low oil pressure
So tensioner has been replaced and noise is still there, so next on the list was to flush the motor and do a sump service.
New oil was purchased (Indy oil 5W40 Full synt) and two filters and new pickup with pan sealant.
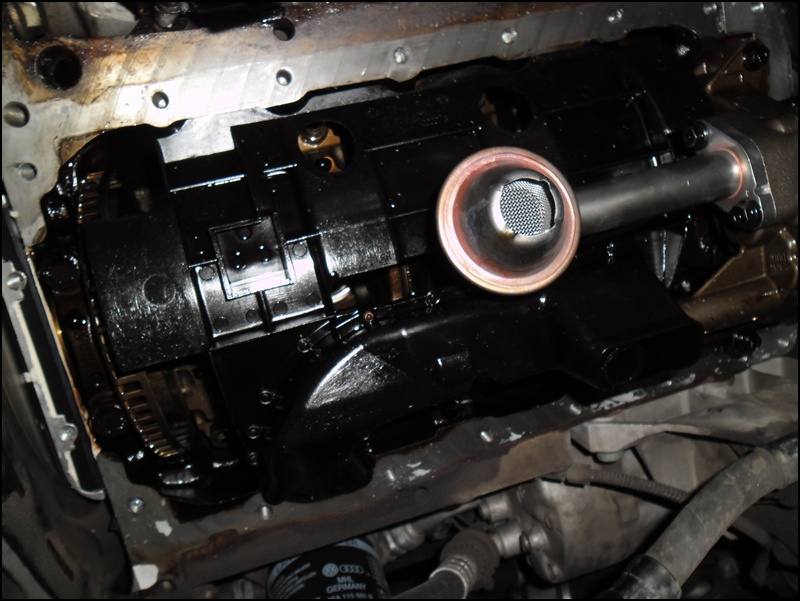
Motor was flushed and oil pan dropped, was expecting to find a sludge filled oil pan with blocked pickup, but to my surprise its actually damn clean.
Oil pan inside
oil pickup
So I will clean the pan out, fit new pickup and then run the new oil for 500km, then drain it again and fill with new oil and filter, and see if this clears up the problem.
So after having chain rattle/tensioner problems for the past 2 months I have done the following to try and cure it.
New tensioner
New cam position sensor
Engine flush
New oil
Sump service
New oil pickup
Oil pressure test
So one thing that was left to do was change the chain itself.
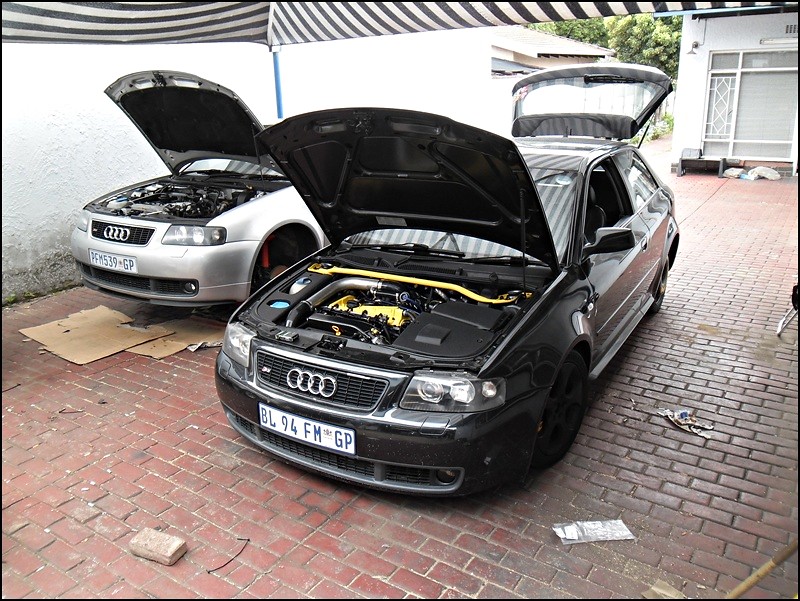
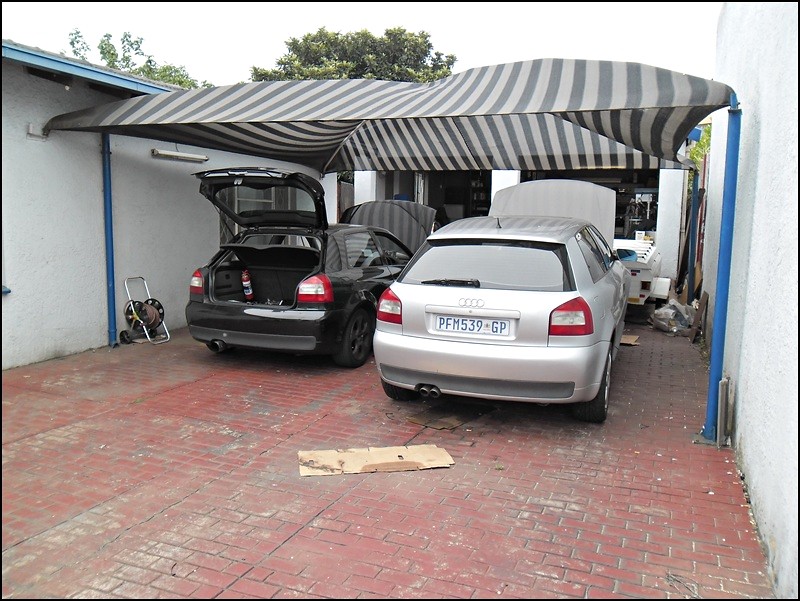
Gizmo and Daniel popped past saturday morning to lend a hand with changing the chain.
What we found was the timing was out 2 teeth, so the previous owner who changed the cambelt fcuked it up.
Well we changed the chain, set the timing and the car is running like a dream, no more chain rattle, power is back (Better than before, never wanted to boost past 0.8 bar, now boosting 1 bar).
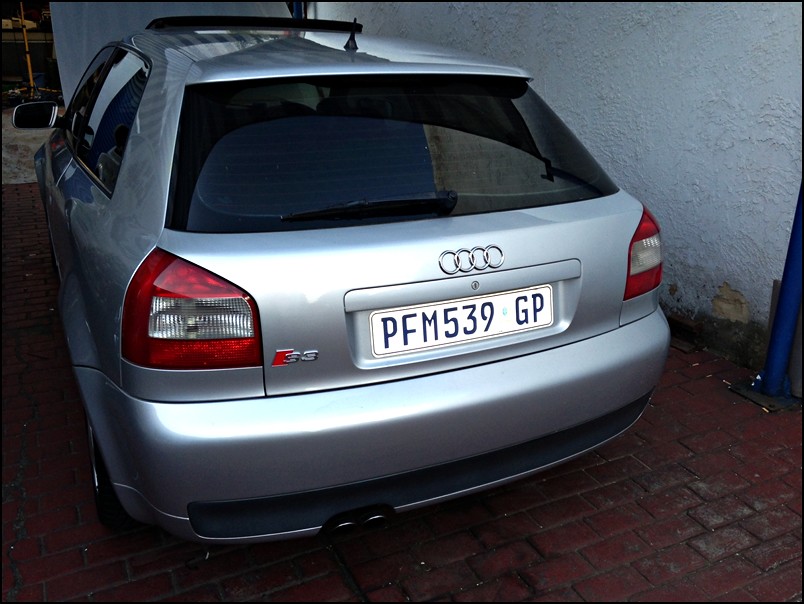
Some random pics that gizmo snapped.


 :Flush:


 thanks bud!