

The Doctor
Registered User
- Joined
- Jul 25, 2009
- Messages
- 1,390
- Reaction score
- 190
- Points
- 63
- Location
- Notts
- Website
- www.wbmcc.com
Well, today I had a day off work and finally got round to fitting my B5 TIP, which I bought unused from Fran-S3 ages ago! It's a v1 TIP, so it's the multi-piece version. I took some pictures of the installation in case it helps anyone else. The v2/v3 installation will be simpler because of the 1-piece construction of the TIP.
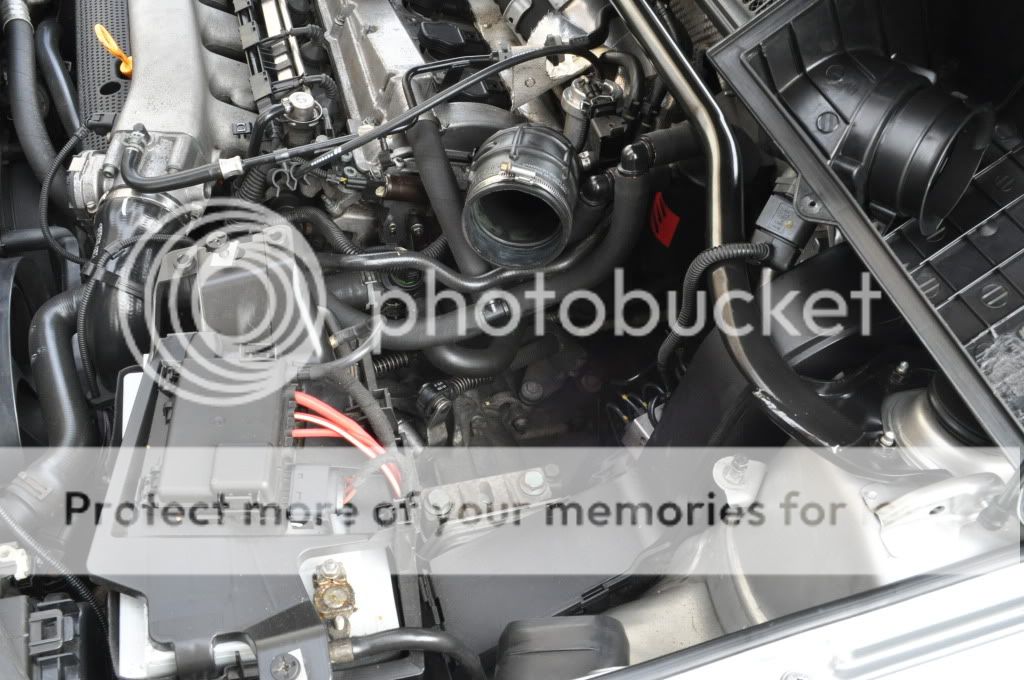
Engine bay prior to installation, with the OEM TIP but with my Saikou Michi catch can visible just under the strut brace:

First, I smoothed off the internal edges of the aluminium section of the TIP where the various pipes join the main body, more to satisfy my OCD tendencies than anything else.
Next I removed the engine cover, battery cover, and airbox. I also removed the standard air duct to the airbox, which is fed from the off-side front wheel arch. This is just held on with 1 nut in the engine bay:

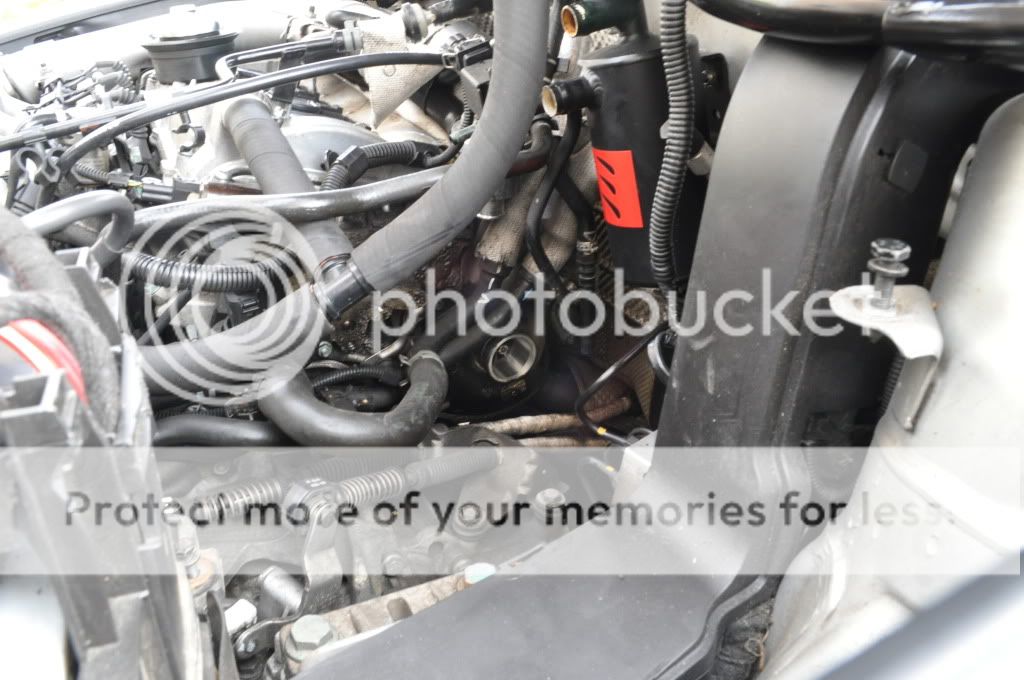
Then I un-plumbed the various connections into the original TIP. Luckily I had already replaced most of the 1-use Audi hose clips with Jubilee versions, so this was relatively straightforward and painless. Finally, I removed undid the jubilee clip holding the original TIP to the turbo itself, and removed the TIP, leaving this:
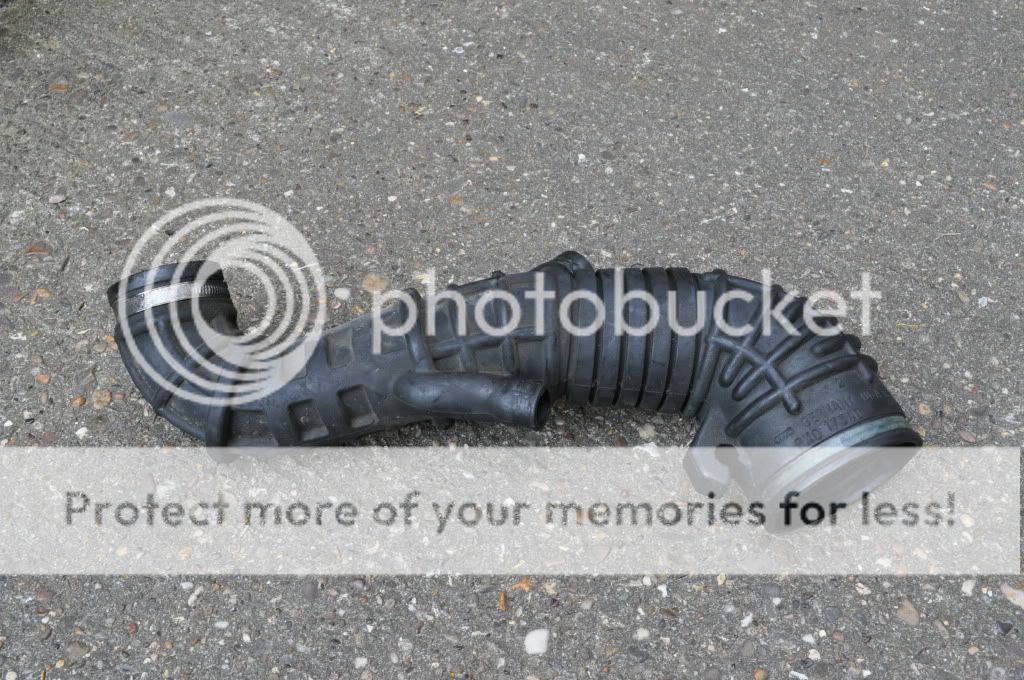
Original TIP was actually in perfect condition:
Turbo hiding away at the back of the engine:

Quick check of the turbo and all looks healthy, vanes spin nice & free:

Next for the installation of the aluminium adapter. Mine is the original version with 2 2mm grub screws. First, I applied a bead of Loctite 5920 Premium Silicone Copper Gasket Sealant (rated to 350 deg C, available from Halfrauds for a fiver) around the inside of the adapter, and also into each of the grub screw threads to ensure an air-tight seal once installed. You only need a thin bead; in the picture below I've used a bit too much, but I wanted to ensure a good seal:

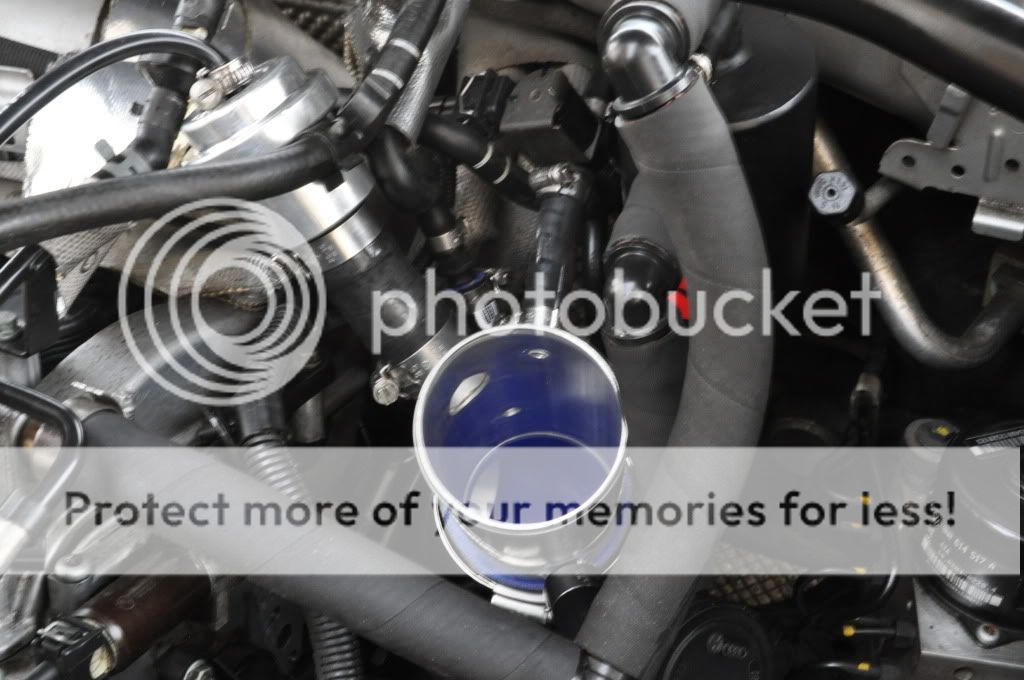
Next, with the adapter installed onto the turbo (it's a snug fit, so wiggle/twist it to get it on, DON'T force it), I wiped the excess sealant away, being very careful not to get any on the turbo vanes:

With the grub screws at the 2 and 4 o'clock positions, I nipped them up and attached the first part of the TIP onto the adapter. I positioned the head of the jubilee clip towards the rear of the engine bay for easiest access. You'll need a 7mm socket and small ratchet to tighten the jubilee around the TIP to hold it tight on the adapter:

I must admit that I then spent quite some time fine-tuning the routing of the various pipes & hoses around the new TIP to ensure a neat installation, and after re-fitting all connections to the main aluminium element of the TIP, ended up with this, which I was pretty pleased with:
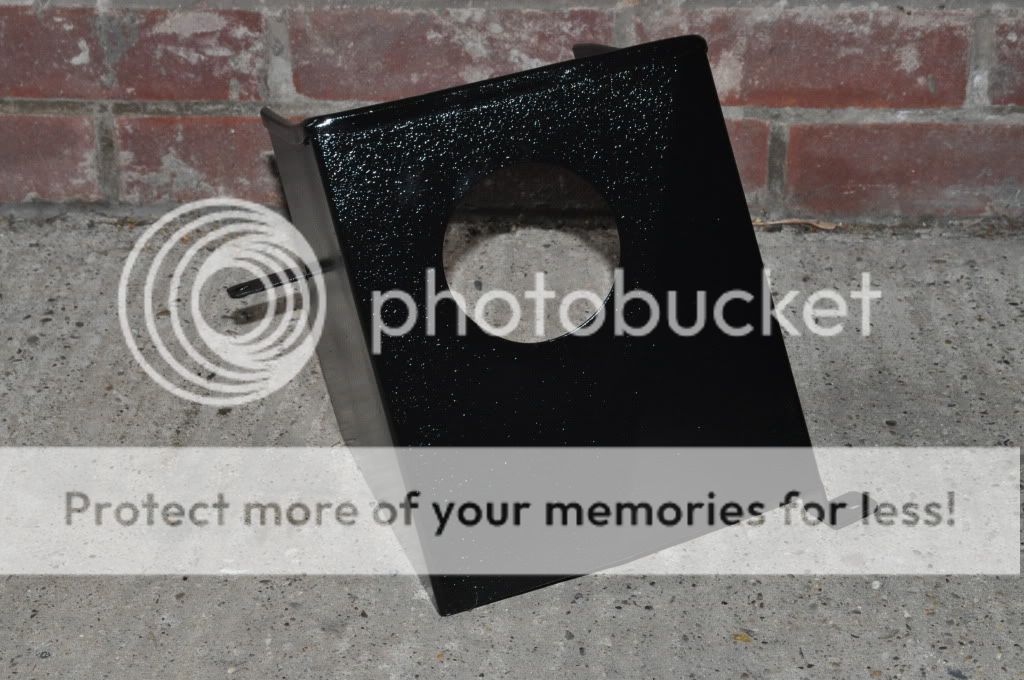
I decided to spray the aluminium heat shield / filter mount with Halfrauds crinkle black paint so that it blended into the engine bay:
Finally, after fitting the remaining 90 degree bend and Jetex filter and replacing the engine covers, I ended up with this:


Very pleased with the installation, and the way the car drives. Hope the pictures are useful to anyone else planning this installation.
Engine bay prior to installation, with the OEM TIP but with my Saikou Michi catch can visible just under the strut brace:
First, I smoothed off the internal edges of the aluminium section of the TIP where the various pipes join the main body, more to satisfy my OCD tendencies than anything else.
Next I removed the engine cover, battery cover, and airbox. I also removed the standard air duct to the airbox, which is fed from the off-side front wheel arch. This is just held on with 1 nut in the engine bay:
Then I un-plumbed the various connections into the original TIP. Luckily I had already replaced most of the 1-use Audi hose clips with Jubilee versions, so this was relatively straightforward and painless. Finally, I removed undid the jubilee clip holding the original TIP to the turbo itself, and removed the TIP, leaving this:
Original TIP was actually in perfect condition:
Turbo hiding away at the back of the engine:
Quick check of the turbo and all looks healthy, vanes spin nice & free:
Next for the installation of the aluminium adapter. Mine is the original version with 2 2mm grub screws. First, I applied a bead of Loctite 5920 Premium Silicone Copper Gasket Sealant (rated to 350 deg C, available from Halfrauds for a fiver) around the inside of the adapter, and also into each of the grub screw threads to ensure an air-tight seal once installed. You only need a thin bead; in the picture below I've used a bit too much, but I wanted to ensure a good seal:
Next, with the adapter installed onto the turbo (it's a snug fit, so wiggle/twist it to get it on, DON'T force it), I wiped the excess sealant away, being very careful not to get any on the turbo vanes:
With the grub screws at the 2 and 4 o'clock positions, I nipped them up and attached the first part of the TIP onto the adapter. I positioned the head of the jubilee clip towards the rear of the engine bay for easiest access. You'll need a 7mm socket and small ratchet to tighten the jubilee around the TIP to hold it tight on the adapter:
I must admit that I then spent quite some time fine-tuning the routing of the various pipes & hoses around the new TIP to ensure a neat installation, and after re-fitting all connections to the main aluminium element of the TIP, ended up with this, which I was pretty pleased with:
I decided to spray the aluminium heat shield / filter mount with Halfrauds crinkle black paint so that it blended into the engine bay:
Finally, after fitting the remaining 90 degree bend and Jetex filter and replacing the engine covers, I ended up with this:
Very pleased with the installation, and the way the car drives. Hope the pictures are useful to anyone else planning this installation.
Last edited:
")

